 by
Article by Pierre66
Did you attend kindergarten? Was your teacher competent? As long as you didn’t have the measles or chickenpox on the day they taught playdough, this method will be a breeze and will make you feel a few (variable) years younger.
Instructions
Materials needed:
- PATAFIX-BLUE TAK
- Scissors
- A toothpick
- A CLEAN surface (or support)
Preparing the model
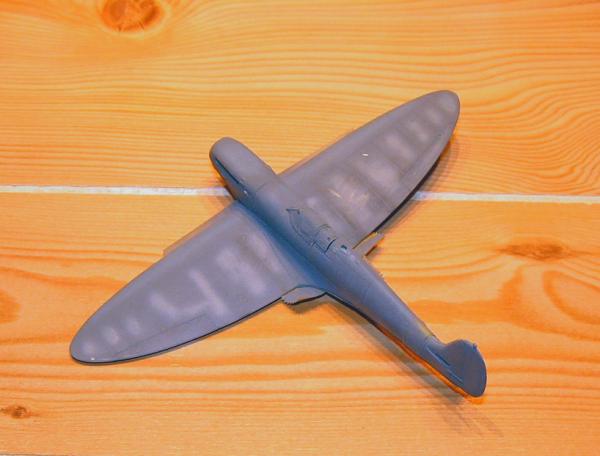
To put it simply, prepare the first coat of paint—usually the lightest shade—bringing it to its finished look (just before applying varnishes, washes, and panel fading/post-shading).
Preparing the rolls
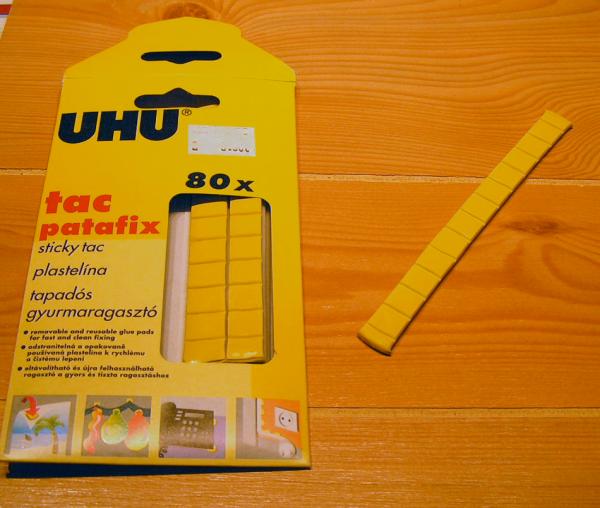
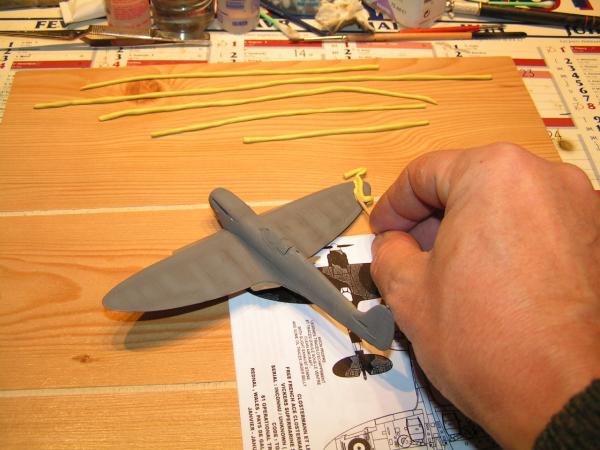
Roll the PATAFIX (this product is called UHU TAC in Switzerland) between your fingers and the work surface to create thin rolls (or sausages).
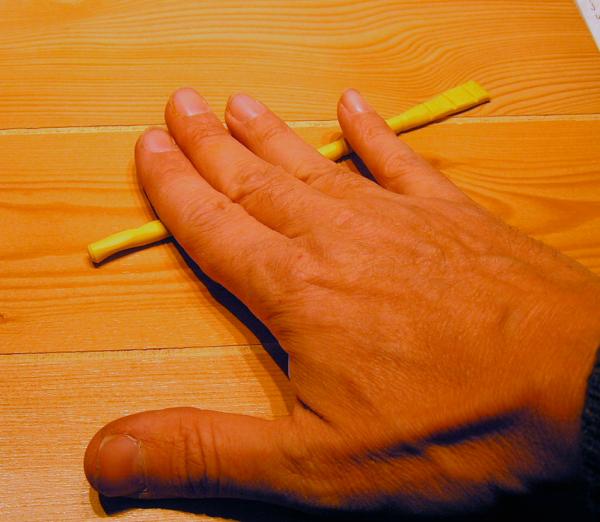
The thinner they are, the easier they are to handle on the model (for intricate or complex camo patterns).
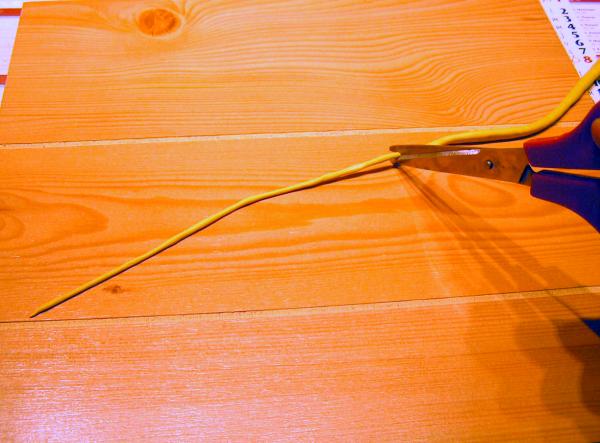
Applying the rolls
Note where they reach the wingtip and wrap them over onto the underside (intrados).
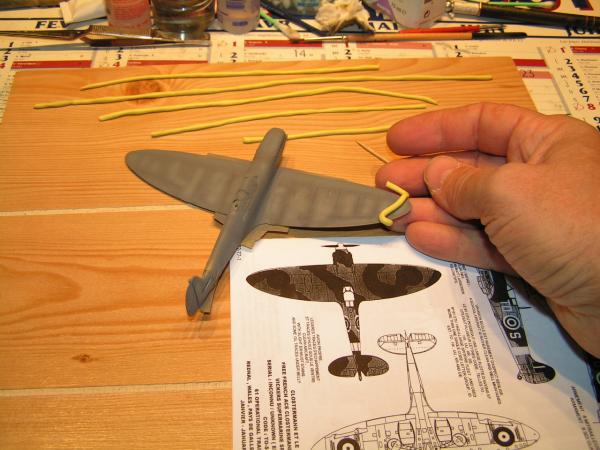
Roughly outline the camo boundary line (demarcation line) using the roll.
Securing the rolls
Secure the roll in place, refining the pattern with the toothpick by lightly pressing down on the side that will not be painted. Please try not to mess up and pick the wrong side to secure the roll, otherwise… you’ll just have to start all over again! It’s not the end of the world, though—the tack can be reused tons of times.
Masking the areas to be protected
Once again, time for some PATAFIX… this time, press and flatten pieces of tack (using a rolling motion) with the toothpick between the main rolls to fully protect all the areas you want to keep as they are.
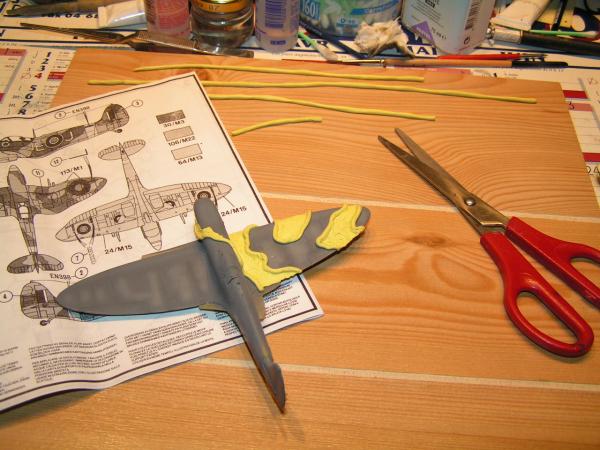
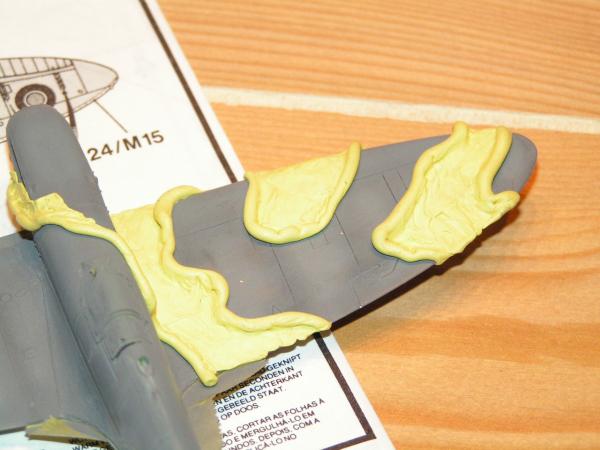
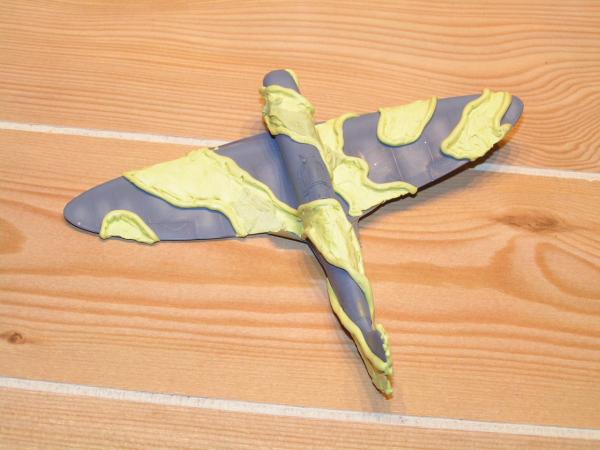
Spraying the second color and applying panel fading
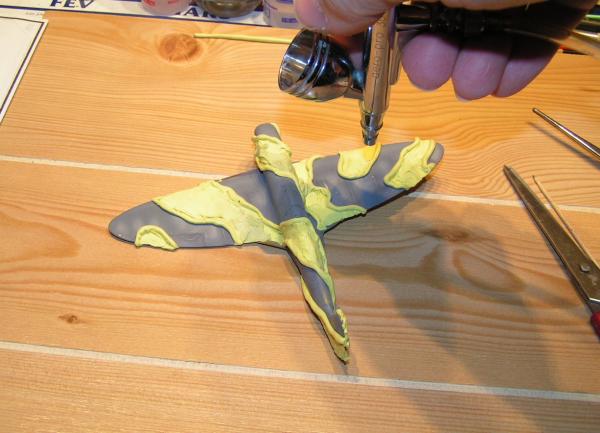
Spraying must be done at a 90° angle relative to the model, and at a relatively low pressure so that the overspray doesn’t completely blow under the curve of the roll. Remember, we are aiming for a soft, feathered edge.
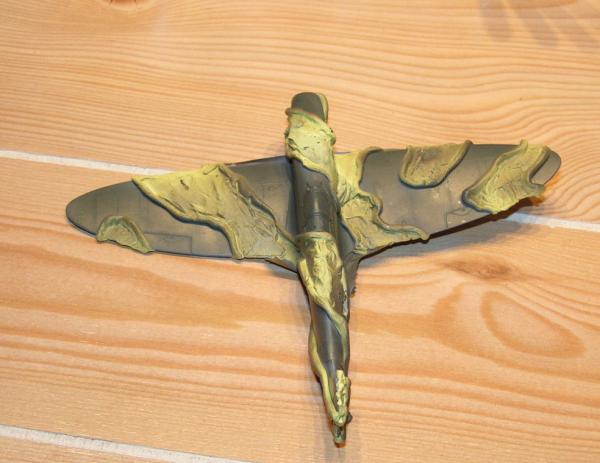
Unveiling
Wait until the paint is dry, then remove the rolls and the masking. You will need a mix of firm pulling and gentle care so you don’t break any glued parts (the most common casualty is a snap at the wing-to-fuselage fairing / wing root).
If some bits of tack remain stuck to the model, don’t panic: just take a piece of PATAFIX between your fingers, tap it against the stubborn spot, and it will pull right off in the blink of an eye.
WATCH OUT FOR YOUR FINGERNAILS during unmasking… unwanted scratches can easily happen depending on the brand of paint used.
And then, just admire your work…
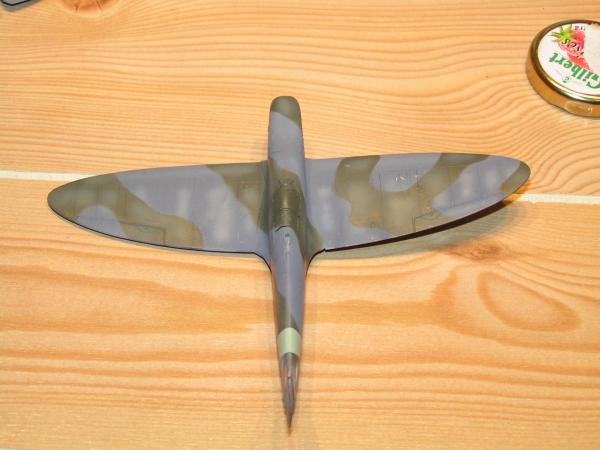
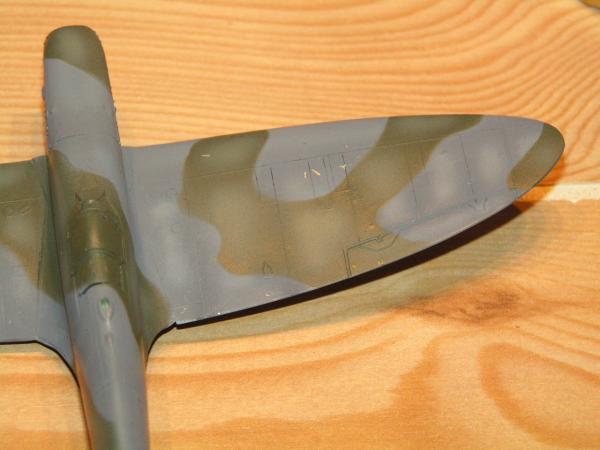
One final detail: this works with ALL paint brands, acrylics, and enamels… and why not “metalizers” to create burnt metal gradients on jet exhausts, for example.
You can also adapt this method for mottling—like on Doret’s Dewoitine D.520 or German night fighters—by using tiny “dots” of PATAFIX… (it’s effective, but practice is highly recommended).
Russian “spaghetti” camo patterns—let’s call them “tagliatelleski”—can also be achieved this way. After applying an overall coat of the “noodle” color, mask it with a roll and spray the two camo colors successively on either side of the roll… and voilà, job’s a good ‘un!
Brand Comparison
In a moment of pure madness, our testing department threw itself into building a succession of old (very old) Spitfires… all camouflaged using tacks! Changing the brand every single time!
The Protocol: On a base coat of Tamiya acrylic, faded/post-shaded with Xtracrylics thinned with Future/Klir; apply the tack masking to the right wing. Wait 2 days before masking the rest (to see if the tack leaves oily residue or not!). Spray Xtracrylics or Tamiya “Dark Green,” followed by panel fading! As soon as the paint is dry to the touch, peel off the Patafix… and take a photo!
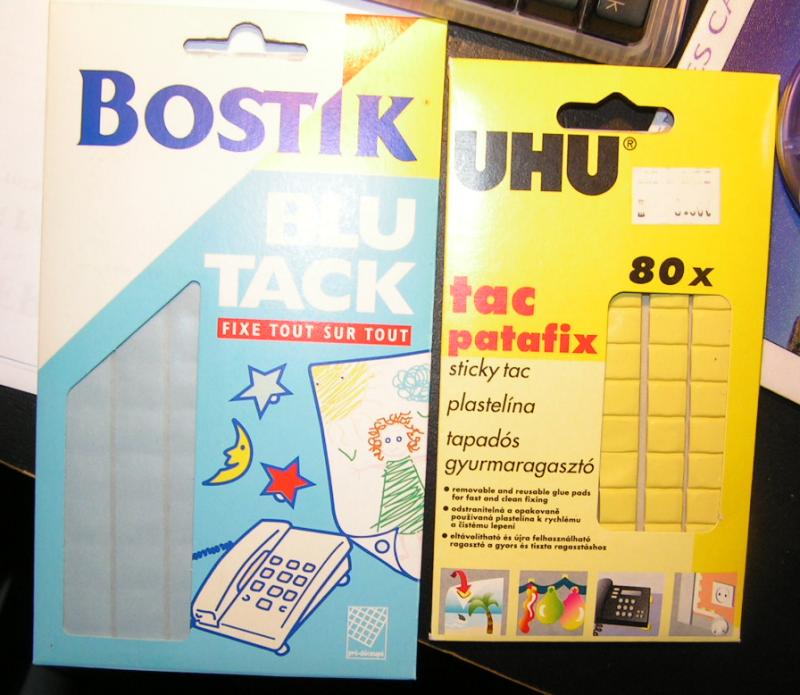
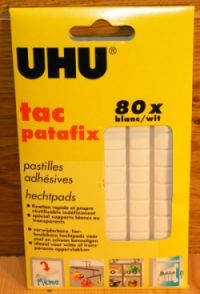
WHITE PATAFIX by UHU… (It’s German… like the OWL???)
“It works exactly like the yellow one, spot on!” you might think. Well, no—it actually behaves quite differently from its old yellow sister.
However, because it’s white, it can be useful depending on your first camo coat (like a winter scheme, if you’re worried about leaving yellow stains!)… or just a matter of preference for the “plastic-gluer.” One thing is certain: by the fifth use, you’ll be using gray PATAFIX!!
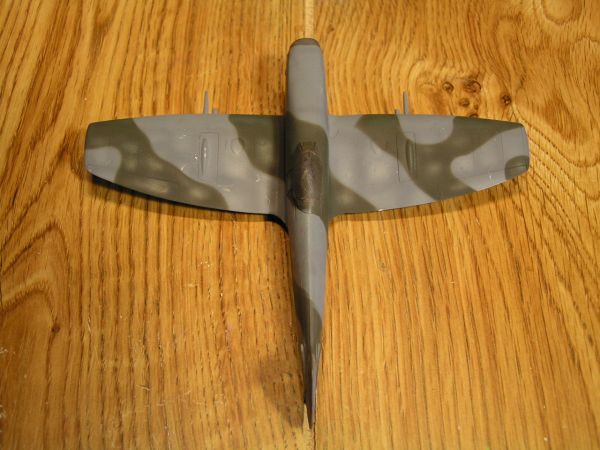
Any volunteers??? Enter the Heller Spitfire Mk.XVI. Rolling it out into sausages takes more effort than the yellow version; the putty is more elastic and tends to shrink back, making the rolls thicker again. Applying it to the kit is less easy than the yellow one… it doesn’t stick as well under the toothpick, but you get there in the end. (4 toothpicks died on the field of honor for this demonstration… requiescat in pace!)
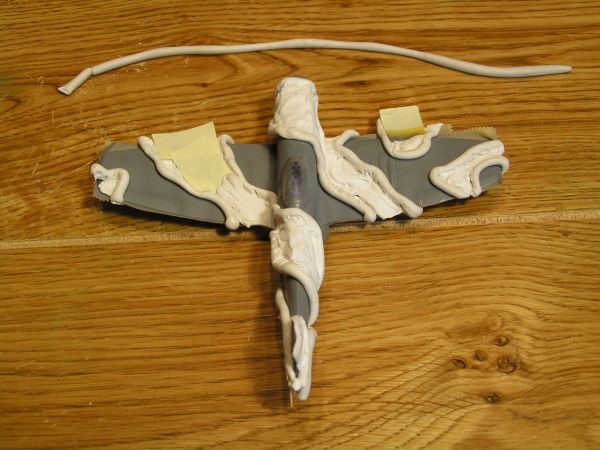
Upon removal, you can see that the pattern lacks precision in the curves, and the feathered edge is “wider” than with the yellow version… definitely one to prefer when you want a “heavy blur” effect.
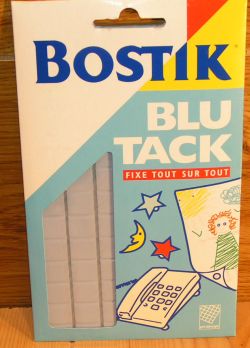
BLU-TACK by BOSTIK… (This comes from Seine-et-Marne… France)
As the name suggests… these tacks are blue!!!! I assigned the Italeri Spitfire Mk.IX to this one. It behaves just like the Owl (UHU), but it might be a bit more stubborn when it comes to getting the rolls to stick in place… Honestly, it’s just a knack you have to catch to get the roll to adhere. “Flat” masking with this tack is highly effective, thanks to how thin you can get it by stretching it without it snapping.
Its behavior is completely identical to the yellow Patafix; the two products are totally interchangeable and yield the exact same success rate!
Upon removal, everything goes smoothly. It’s easy to pull off and doesn’t damage the masked paint layer. No oily residue whatsoever, even after 4 days of involuntary masking (due to an airbrush breakdown!). And the final result is just as satisfying…
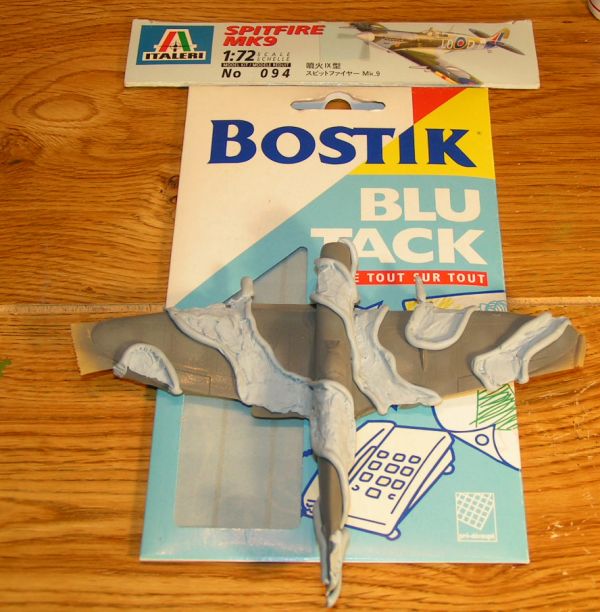
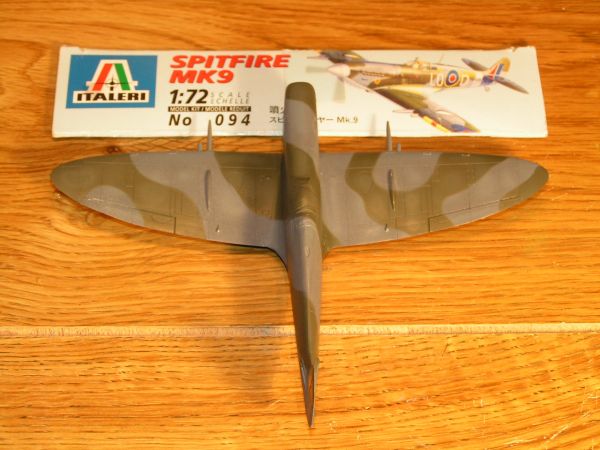
PLASTOFIX by PLASTO….. (This one’s from Bourguogne… France)
Let’s see! It’s white…. and a bit translucent!
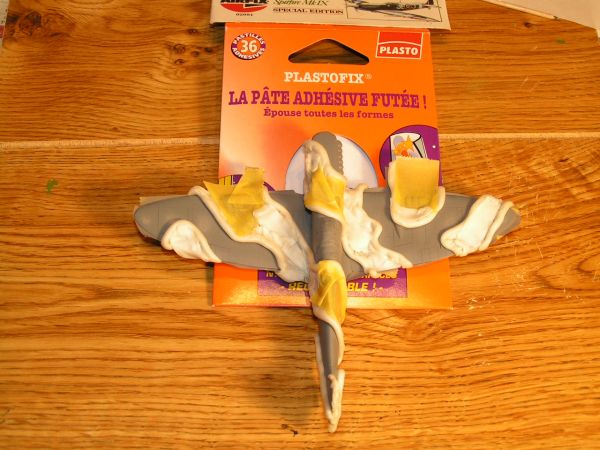
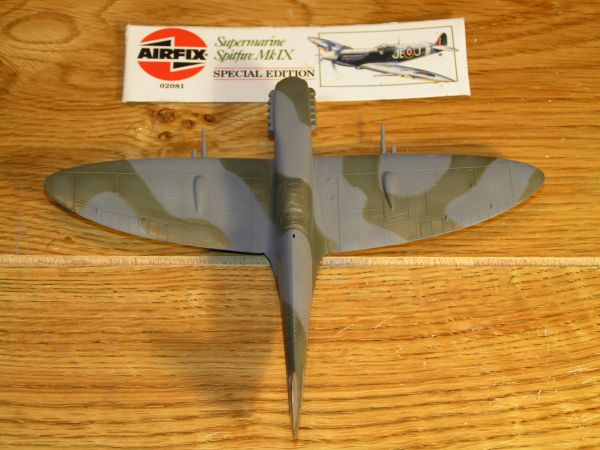
I tried it out on a museum piece: the Airfix Spitfire Mk.IX… And hey, that rhymes!
At first glance, the putty is much harder to shape than its counterparts, and rolling it out into sausages takes quite a bit of muscle! The roll doesn’t form easily and keeps shrinking back, but you get there eventually.
Applying it brings a different set of challenges: it’s stiffer, so your “snake” feels less “alive” and doesn’t tend to accidentally stick everywhere. However, you really have to press down firmly to get the roll to stay put.
Because of this tack’s stiff resistance, you’ll need to use masking tape to mask the areas between the rolls.
Upon removal, it remains just as much of a workout as it was at the start! You have to pull quite hard, and the sections covered with masking tape won’t separate from the putty, which means you can’t reuse it. Because of the brute force needed to “peel it off,” there is a real risk of accidentally ripping parts off or causing spontaneous “weathering.” The final result is still satisfying, but this one is definitely the most difficult to work with.
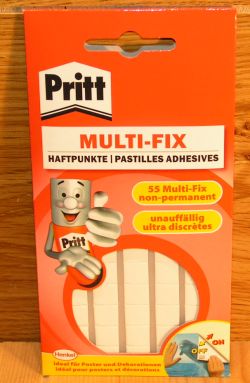
MULTI-FIX by PRITT….. (Henkel…. also German!)
Henkel… feels a bit wrong on a Spitfire, doesn’t it? Oh well, as long as it works! This product is also sold in white.
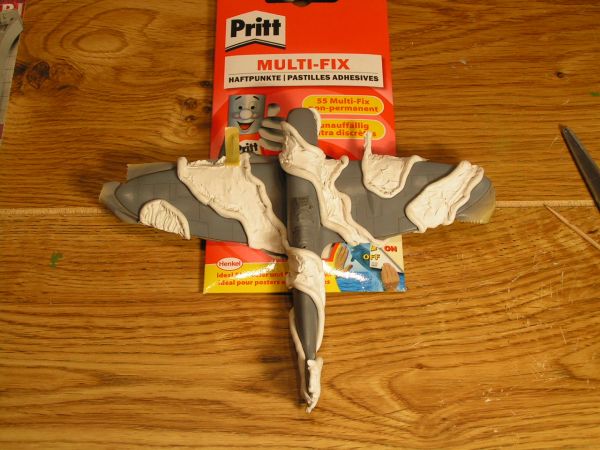
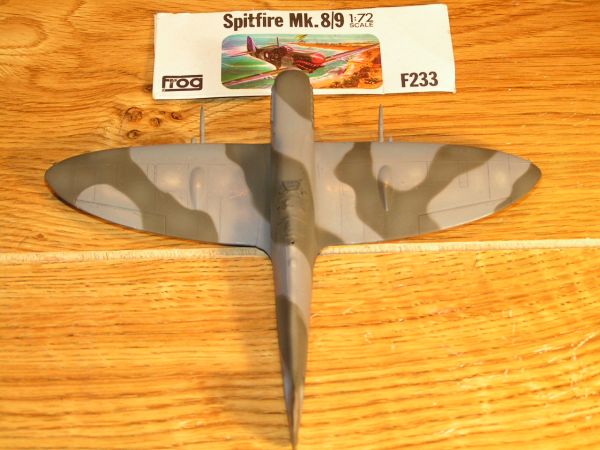
I’m trying this one out on the Frog Spitfire Mk.IX: rolling it out into sausages goes off without a hitch. The putty feels a little stiffer than Patafix, but it doesn’t affect the workflow at all. It goes on very smoothly and sticks perfectly. The putty also reacts well to the filler masking between the rolls.
Upon removal, ZERO oily residue—neither under the areas masked the same day, nor those done 48 hours prior. Not a single piece stays stuck to the model when using standard unmasking techniques. The stickiness seems a hair stronger than Patafix, so when peeling it off… a little tenderness, for heaven’s sake! We aren’t savages!
Once again: great results, highly effective, and a clean finish!
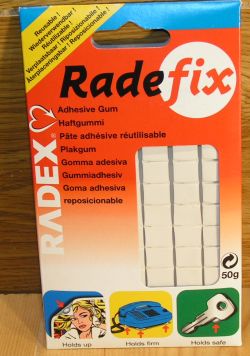
RADEFIX by RADEX…… (KORES… Made in the E.U.)
This one is white too…
I found it in Cerdanya, in a stationery shop up in Font-Romeu… So, if it can make it out to our neck of the woods at 1,800 meters above sea level, you should be able to find it absolutely anywhere!!!!
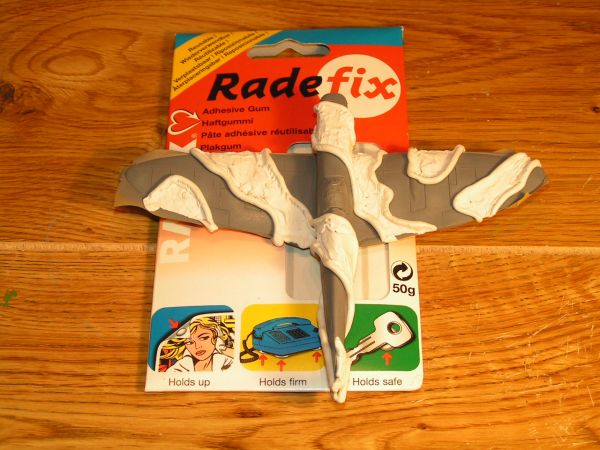
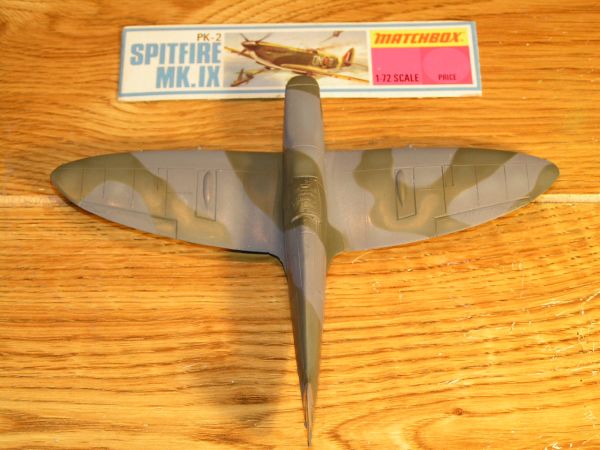
And it’s the Matchbox Spitfire Mk.IX that gets the Radex tack treatment:
The product is a bit soft, and it rolls out into sausages absolutely perfectly. You just have to be careful not to press too hard and take your time; otherwise, the roll will end up uneven. Applying it to the kit is very straightforward—the beast bends easily and holds its curves well.
The tack is also highly malleable, making it great for filling in the masking between the snakes.
Upon removal, the process is a bit long and tedious—the product stays just as soft and sticky as before. It really loves your model, and it shows! You might occasionally find a tiny bit of putty left behind in the deep recesses of a panel line. But as usual, the final look of the camouflage is very pleasing.
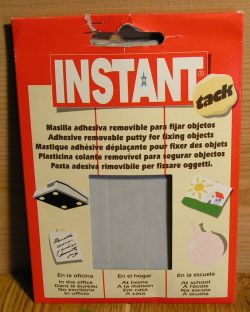
INSTANT TACK by Distributora Universal, made in Barcelona—it’s Catalan!
I found this at GIFI!! (yes, really!)… it’s a “gray-blue” RLM 76 shade, and if you use VALLEJO / ANDREA / PRINCE AUGUST paints… your model will bask in all the glorious light of my beloved Catalonia!!!
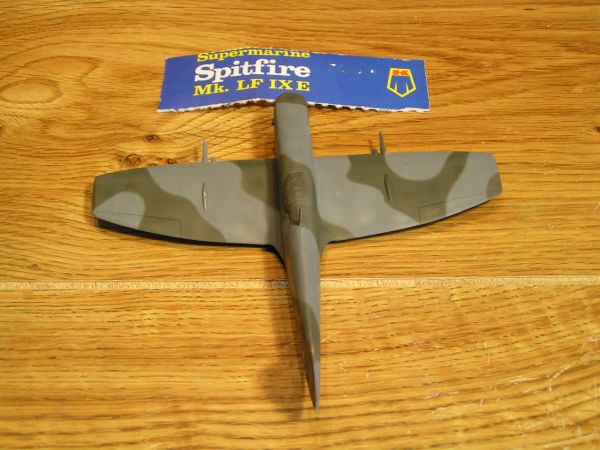
I assigned the KP Spitfire LF Mk.IXe to this one…
Rolling it out into sausages goes off without a hitch, and you can thin it down as much as you like. This tack gives off a faint smell of… grandmother’s modeling clay… quite amusing!
To remove your masking… do it gently, as usual, and it’s completely hassle-free… a flawless result! It’s cheap, and it can really pay off!
The only thing left to find out is its longevity: how many times can you reuse it before throwing it away? That will tell us if it truly is the best value for money on the market!
CREA STICK by SCOTCH…… (3M… Minnesota Mining and Manufacturing… basically 3M! It’s American)
If you spot any of this in your area… test it out… on a Spitfire (just to keep things original!), take some photos, share your review… and “we” will add the results RIGHT HERE!
PS: NOT A SINGLE INSTRUCTION MANUAL FORSEES THIS BEING USED FOR SCALE MODELING… These corporate giants have absolutely no imagination…..
And with whatever putty you have left over, if the wife asks you to anchor the desk phone, hang up Junior’s school schedule, or stick up a photo of your mother-in-law, go right ahead—it works great for that too!
By Pierre66