 by
When it comes to building a 1/48 scale Rafale, there are plenty of options: HobbyBoss (C, B, or M versions), Revell (C, B, or M), or Heller with the original demonstrator.
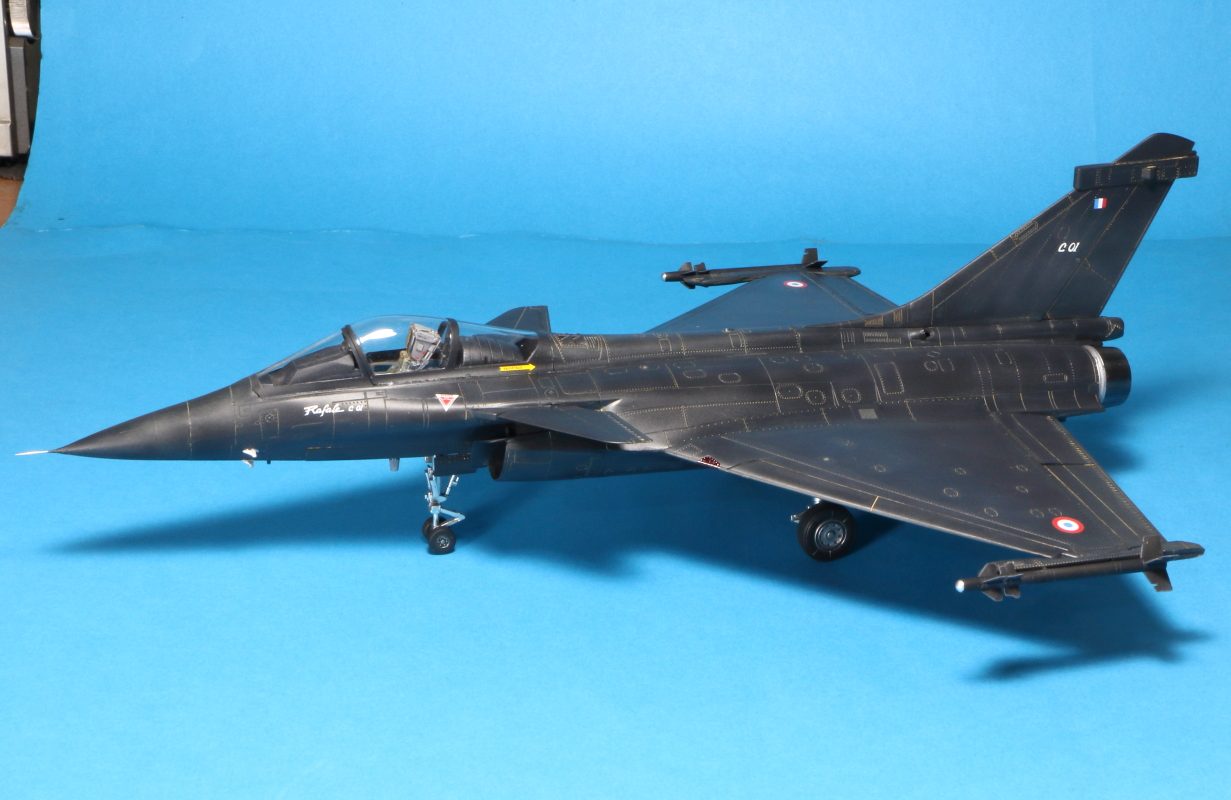
Having already built the Rafale demonstrator and the M02 from the Revell kit, my collection was missing an iconic “prototype”… the C01, famous for its striking characteristic black livery.
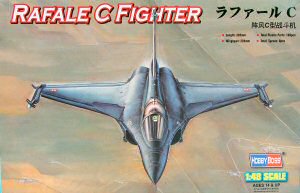
Since HobbyBoss produced the specific version I was interested in, I used it as my base. I won’t do a full sprue analysis here, as you can find plenty online, for example: Cybermodeler HobbyBoss Rafale C Review
Let’s dive straight into the build… but first, we need some reference photos. The most helpful source (rare, but in my personal collection) is Air Fan issue 156 from November 1991… Wow, what a throwback!
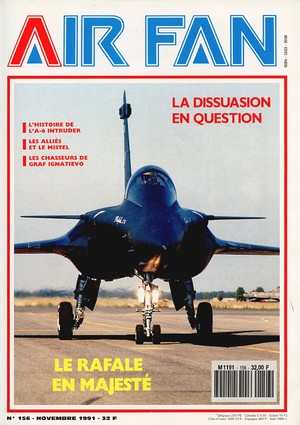
While it lacks close-up detail shots, it provides enough overall views to quickly spot interesting discrepancies in the HobbyBoss kit. There’s some work to do, but honestly, nothing too complex! Of course, an essential resource is the Rafale C01 walkaround available here: Rafale C01 Walkaround – Master194
One important note: looking at these photos, you’ll notice differences in markings or wheels. As a development aircraft, it likely evolved between its rollout and the end of its service. Therefore, I chose to correct the HobbyBoss kit based on a specific reference photo. This doesn’t mean HobbyBoss is “wrong”—later photos of the Rafale show Spectra elements on the air intakes and a refueling probe.
I’ll skip the basic gluing and painting steps and jump straight to the points that I found particularly interesting and that might save you some time.
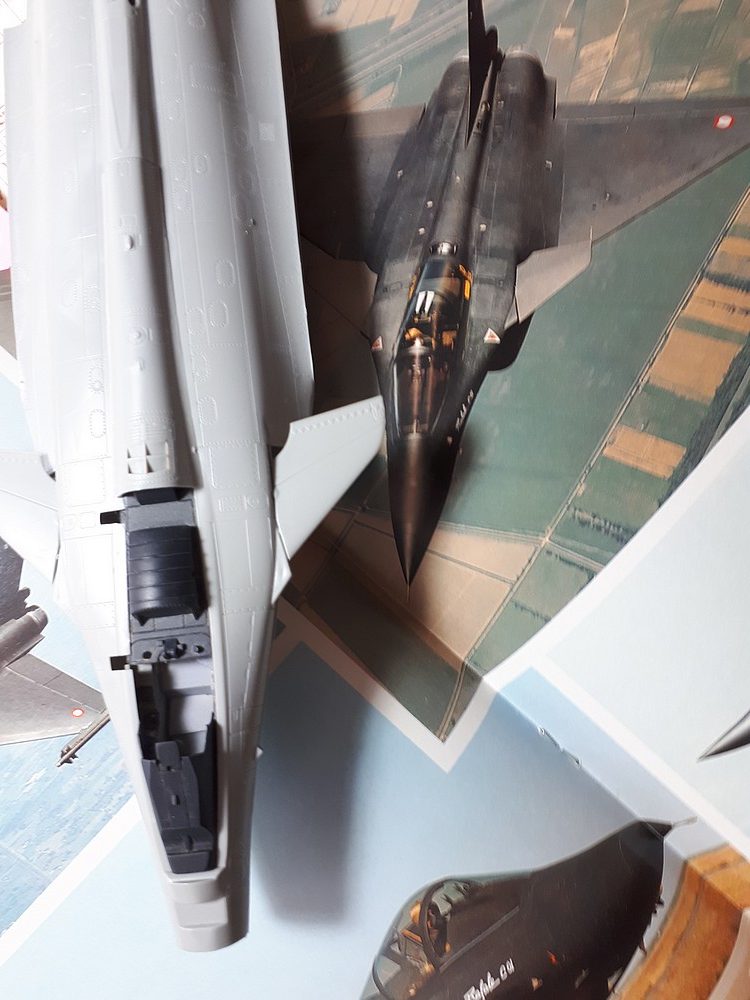
The HobbyBoss Kit vs. The C01 Prototype
The first thing that caught my eye: the canards! On the real aircraft, they align with a protrusion on the fuselage. In the kit, the canard is too far back. This is easily fixed: re-drill the mounting hole slightly further forward, though you’ll need to slightly modify the front of the canard to fit.
Second issue: the OSF (Optronique Secteur Frontal). I haven’t seen any photos of the Rafale C01 fitted with it, even late in its career, yet HobbyBoss instructs you to install it. If you look in the box, you’ll find a part labeled “not for use” (Part G3) that plugs the hole fairly well. So, replace part G2 with G3… but that’s not enough.
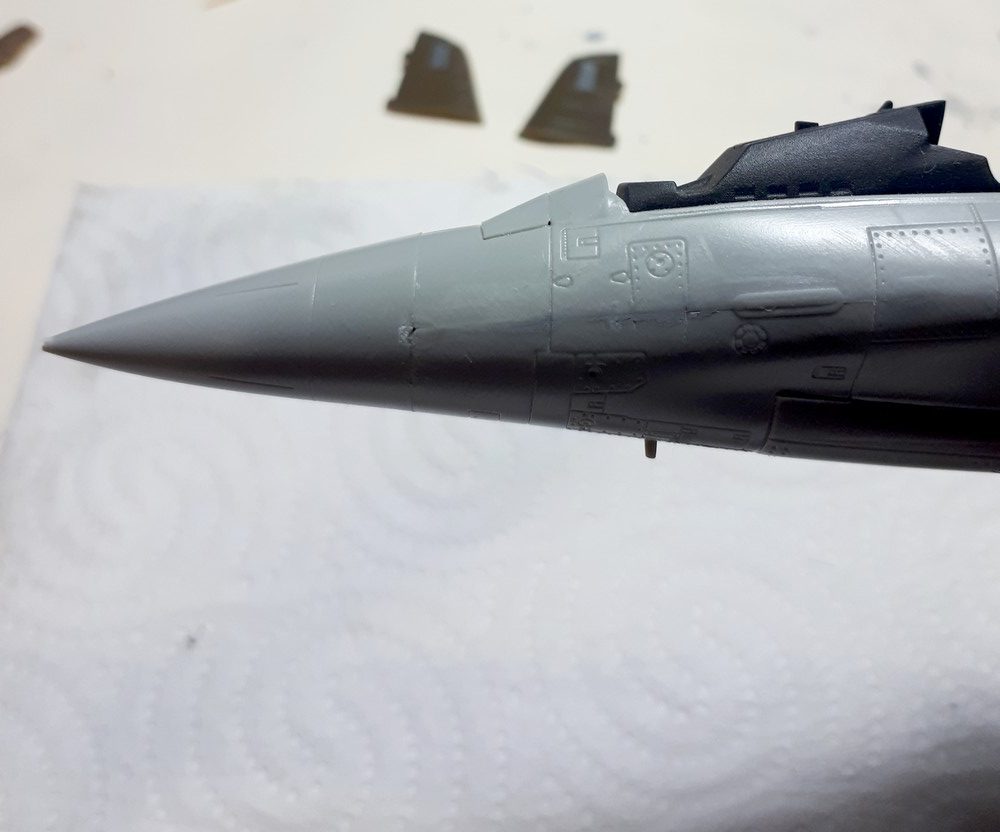
Once G3 is in place, the nose line isn’t quite right. You’ll need to use some filler to smooth it out. To save time, use a bit of plasticard, file it down, and finish with putty.
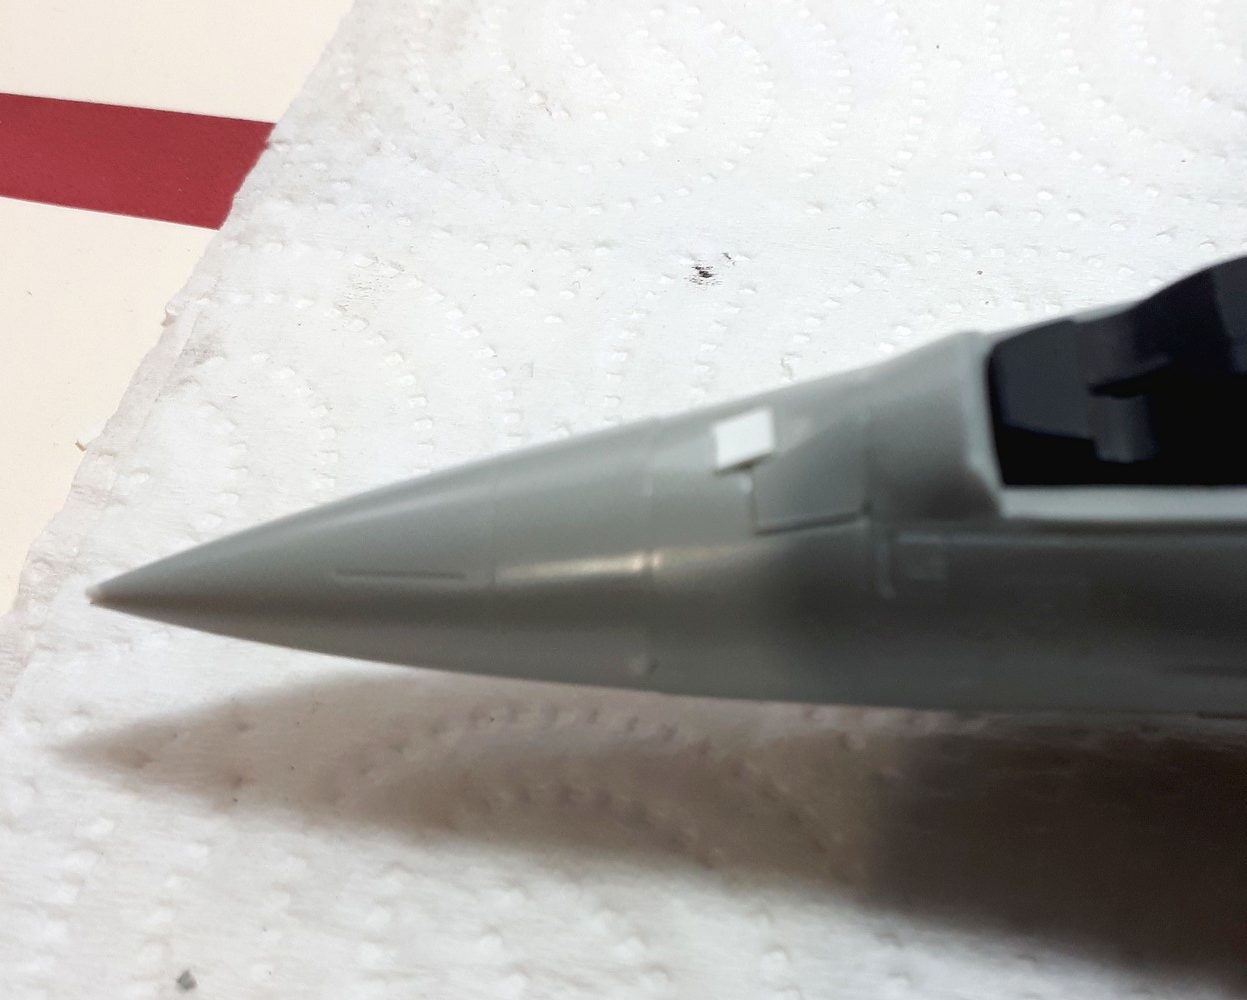
In the next photo, you can clearly see the canard offset and a small protrusion on the side of the fuselage: the DAL (Laser Warning Receiver). This only appeared on production aircraft, not on the C01.
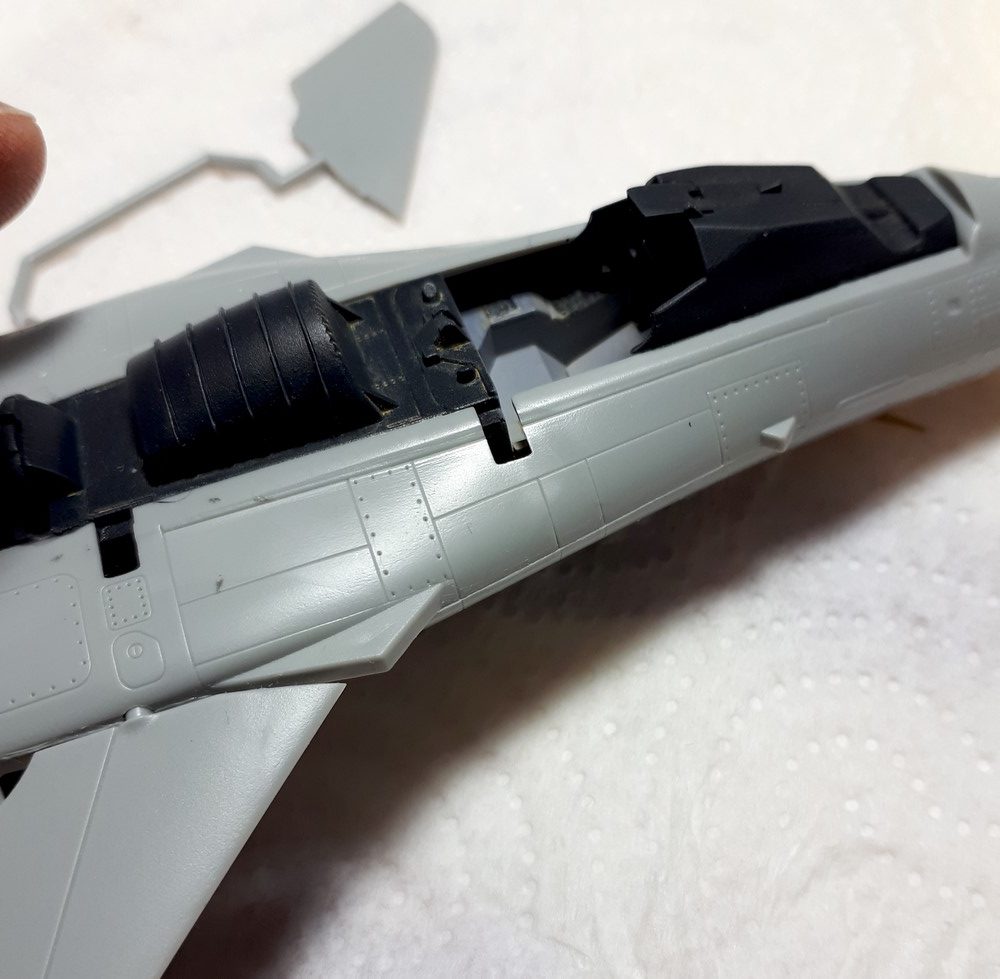
A few cuts and some filing later, the two DALs are gone from both sides of the fuselage… just needs a final touch of putty.
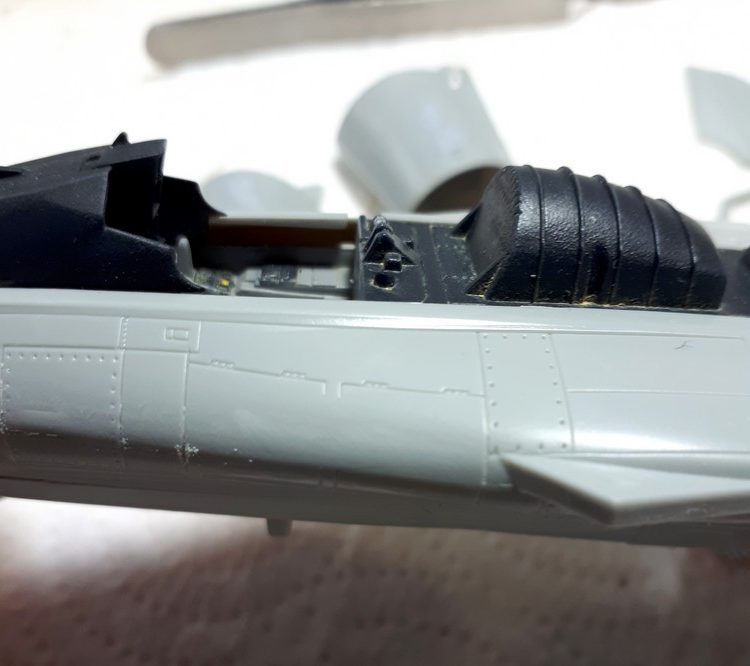
Looking closely at the vertical stabilizer: the top section needs to go, along with the triangular shape at the rear of the sensor housing. Finally, the mounting points for parts C34 on each side of the fin should simply be plugged, as my C01 didn’t have them either.
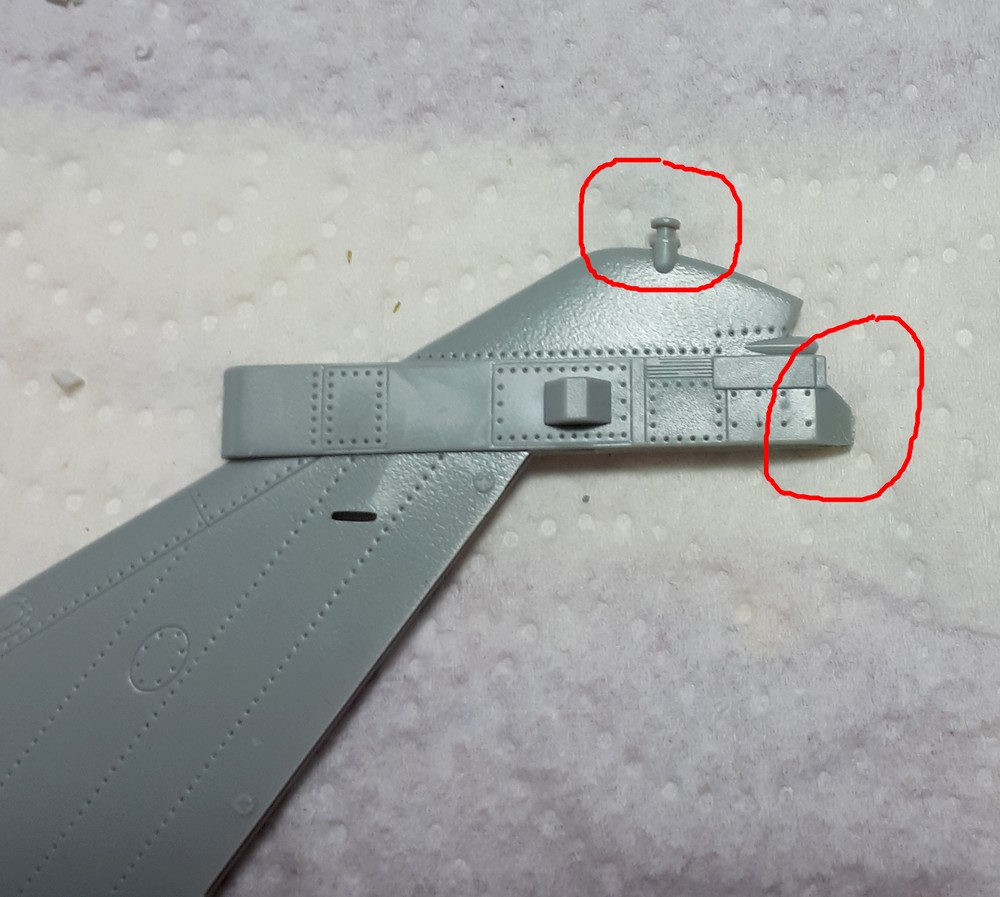
Continuing the “spot the difference” game: the Spectra sensors on the air intakes (parts A6 and A7) should not be installed; just fill the holes.
The Cockpit and the Ejection Seat Mystery
Let’s talk about the interior. A Rafale is all about screens, and despite the large canopy, you can’t see much from the outside. I went “lazy mode” and built it straight from the box. However, one very visible element is the seat. A photo in Air Fan clearly shows a headrest that looks nothing like the Mk.16F found on production Rafales (which is what HobbyBoss provides).
The top of the seat looks strangely like a Mirage 2000 seat (Mk.10Q). The first flights were likely made with this type of seat… perhaps all of them. Lacking further info, I decided to replace the kit seat with a Pavla resin seat (ref: PAVS48042), which looks much more accurate for the visible upper section.
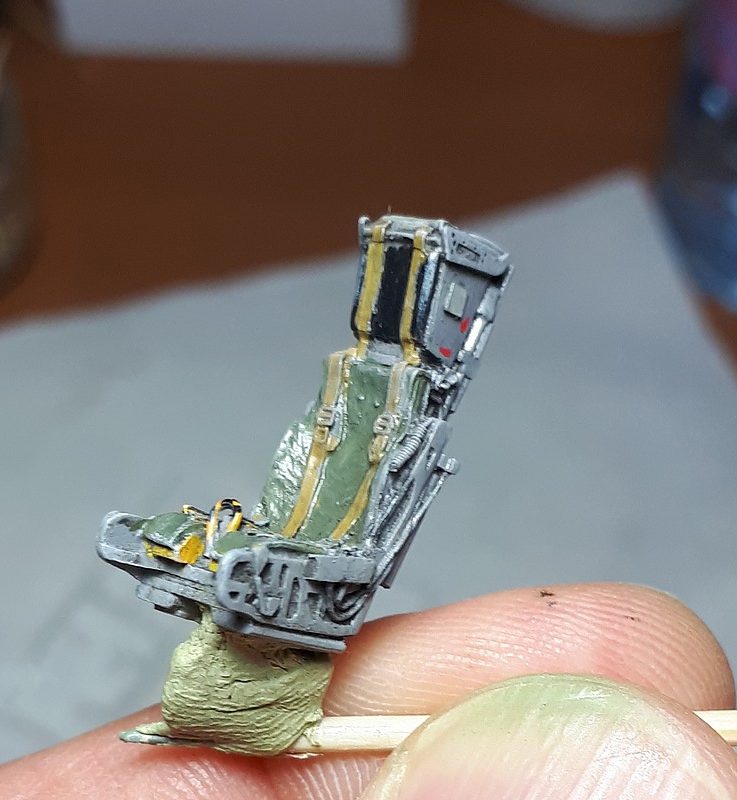
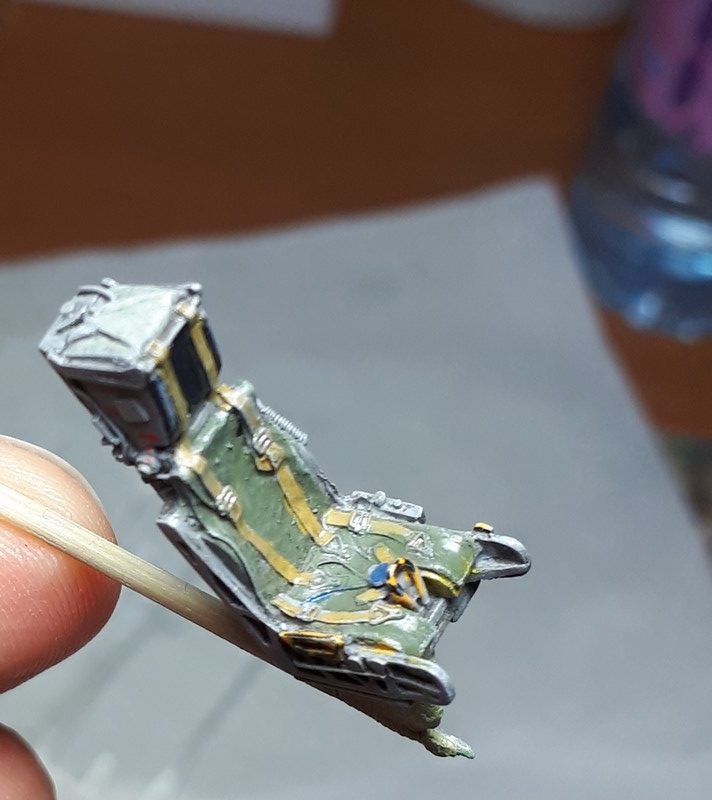
Another major difference that sticks out: the C01 nose has a pitot tube! Making one from stretched sprue was a no-go given the shape, so I used a Master Mirage F1 pitot (ref: MR48076). Based on photos, it’s not an exact match, but it’s much closer than anything I could scratch-build.
After all that and numerous sanding sessions (intakes, removing sensors, filling holes), our Rafale is almost ready for paint. Note: move the canard holes forward and fill the old ones. The kit canards come as one piece, but to make painting easier, I separated them and mounted them at the very end.
Also, no refueling probe on my model!
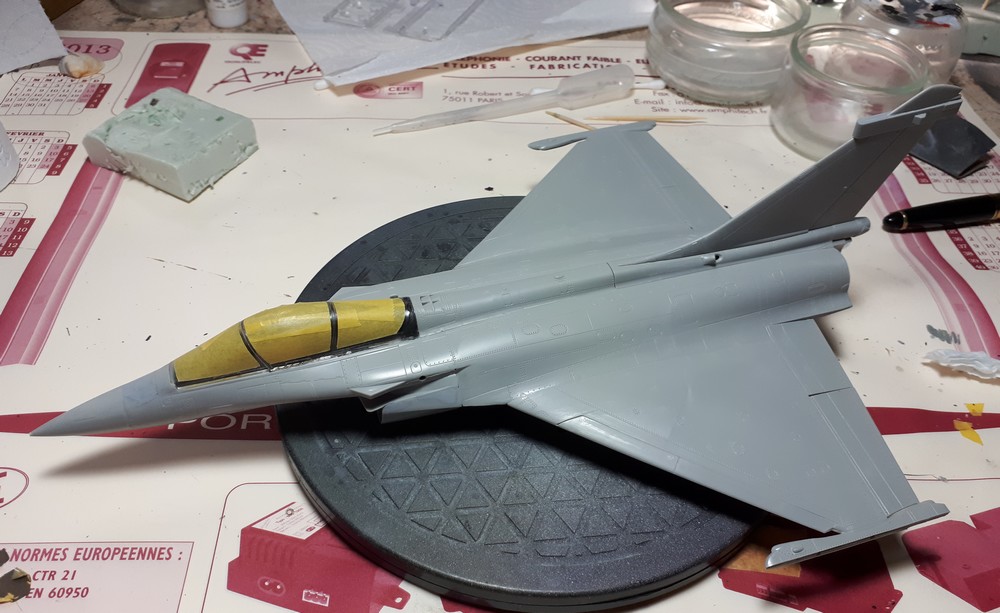
Painting the Black: Nuances and Weathering
For the paint, when I need to do black, I use Gunze H077. It’s black, but not “too” black. I repainted several panels around the cockpit (rear section) and moving parts with a metallic black, then went over it again with a light mist of H077 to keep the effect subtle—so subtle it only shows up under direct light, not in photos.
Next up: gloss varnish and decals. Again, refer to photos as there isn’t much to use in the end. The formation lights, though present since rollout (you can see their distinct shape), are black, the same shade as the aircraft.
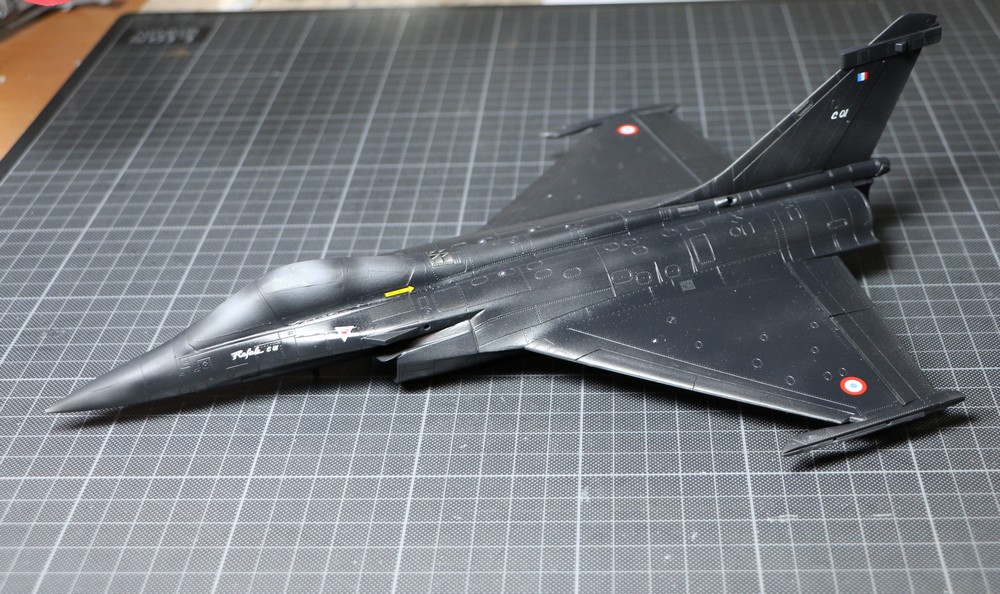
The painted model, glossed and decalled. Now, for a wash… but which one? In many photos, the aircraft has slightly orange reflections. So, I used Ammo Mig PLW Dust wash.
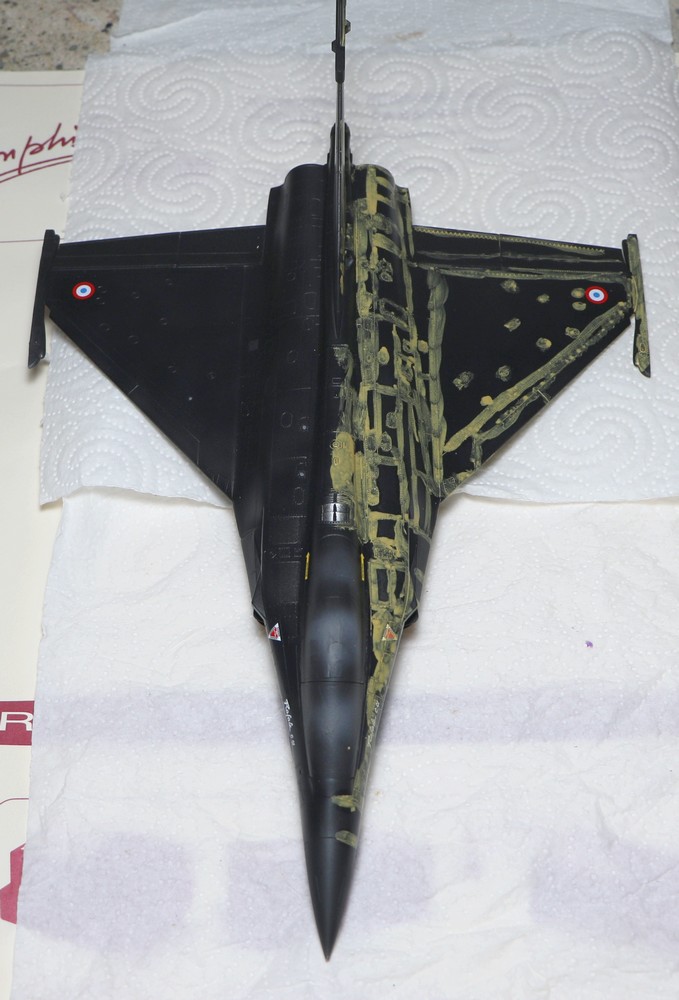
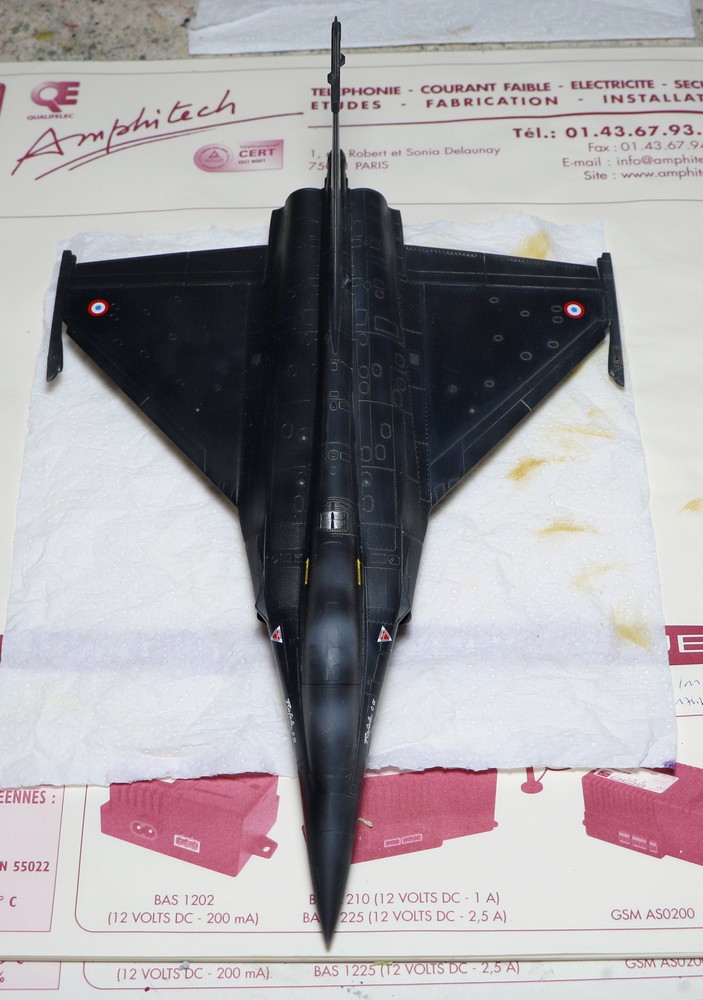
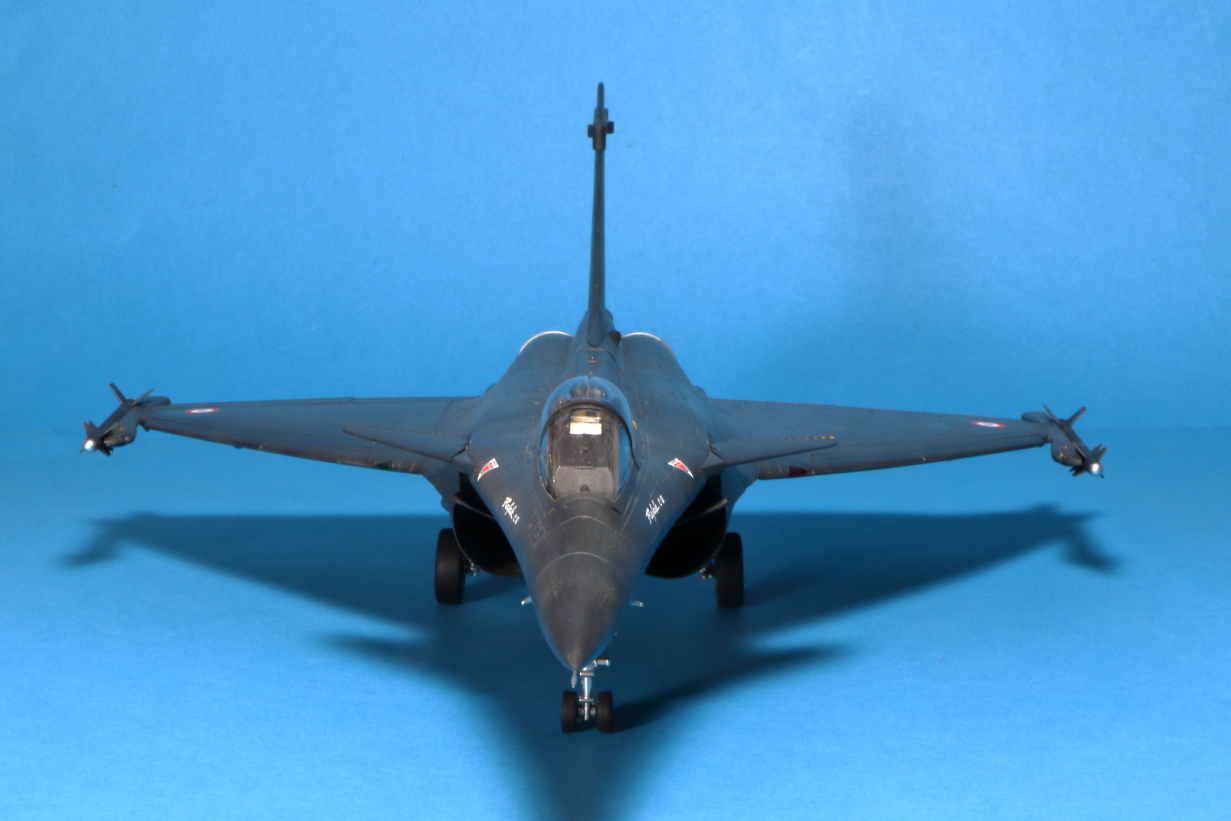
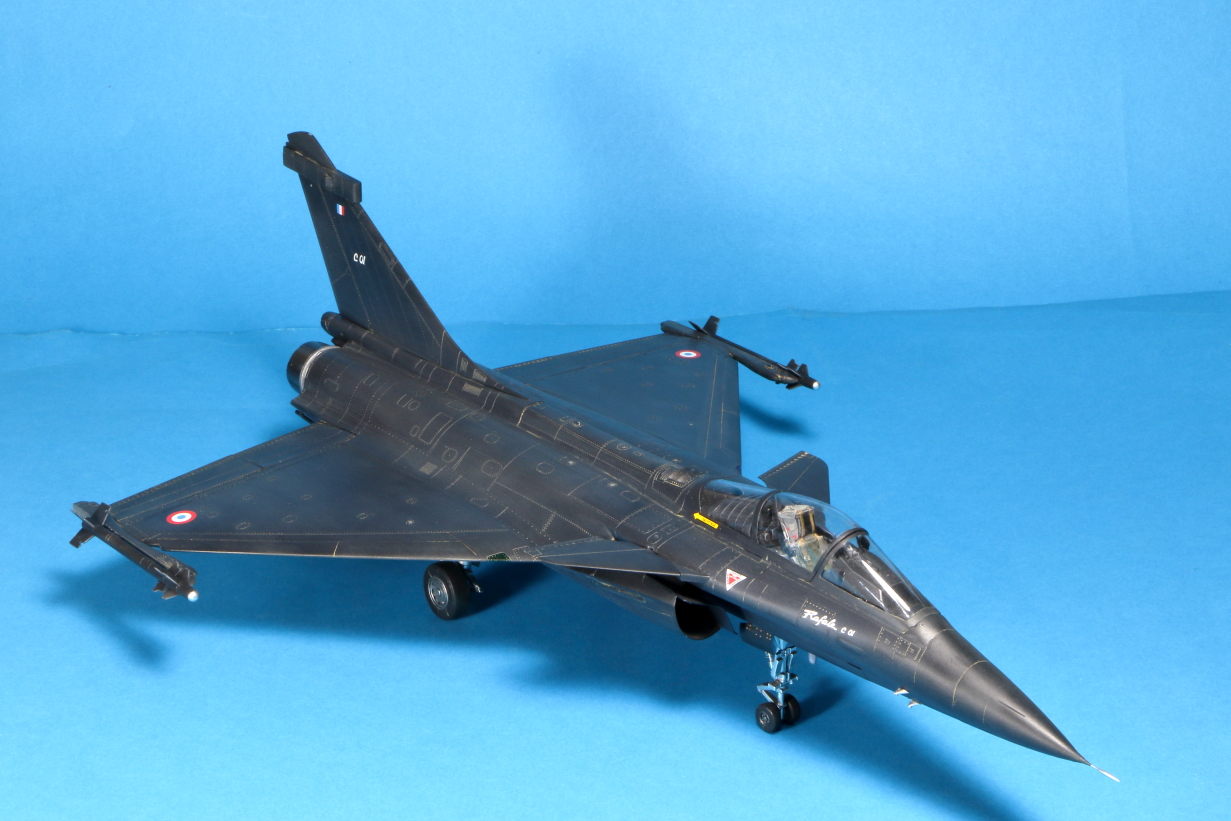
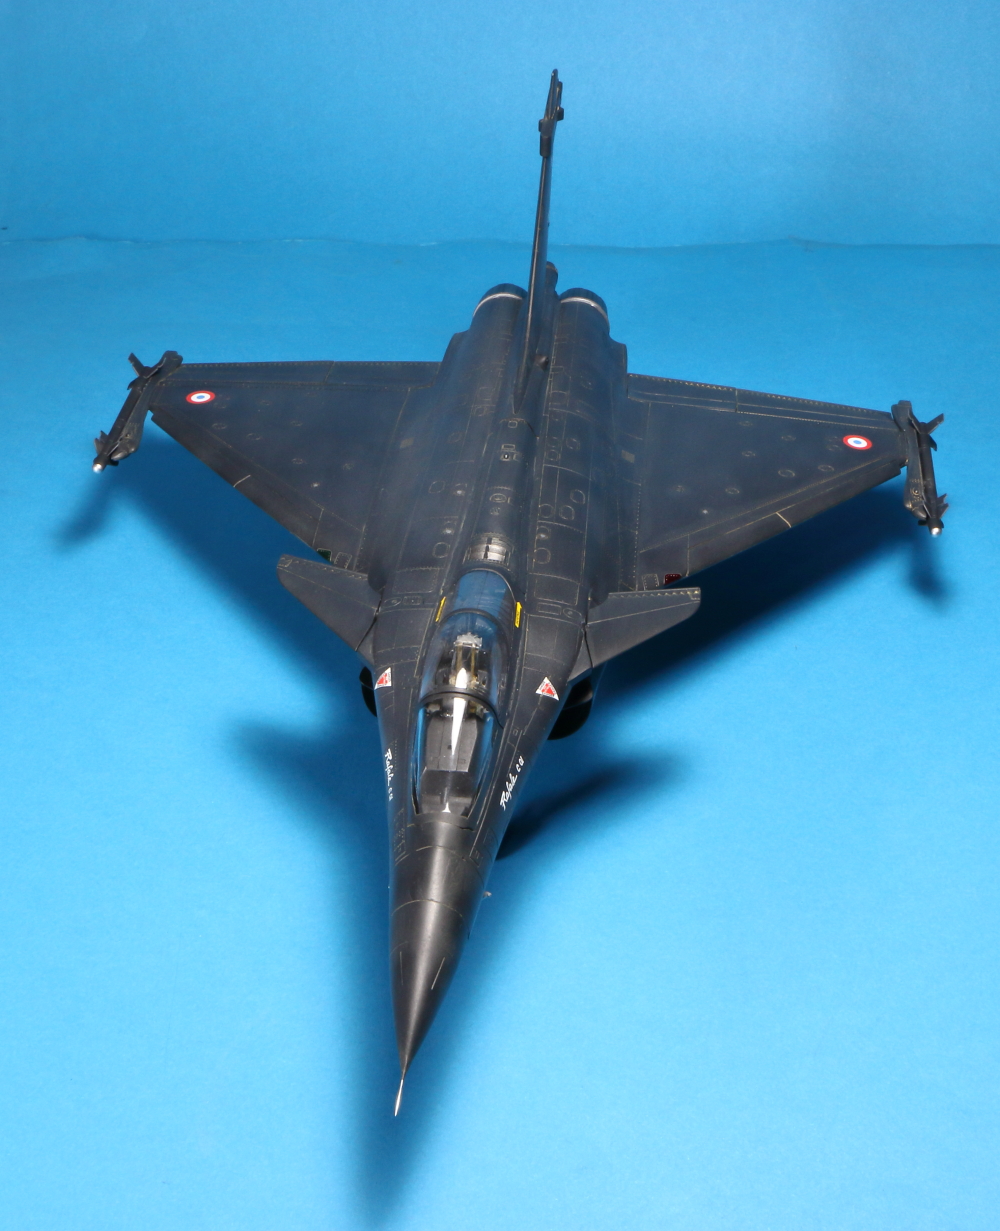
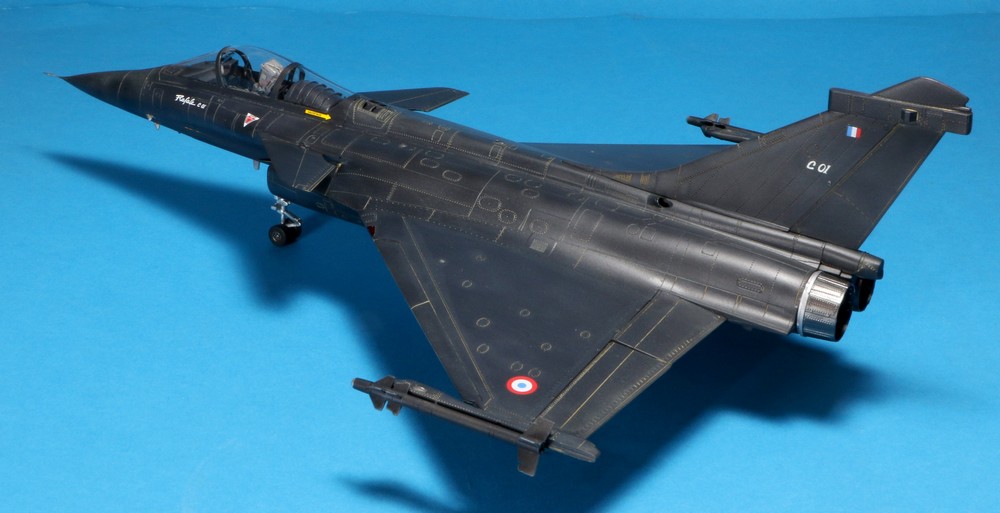
One final tip to avoid a mistake I made: the front of the main landing gear bay isn’t closed, and the air intakes aren’t partitioned. Consequently, from the front, it looks a bit off to see light from the gear bay through the intake. A small piece of plasticard during assembly to close it off is quick and easy… for me, it’s too late!
Happy building! I hope this short article was useful and that you like the result.