 by
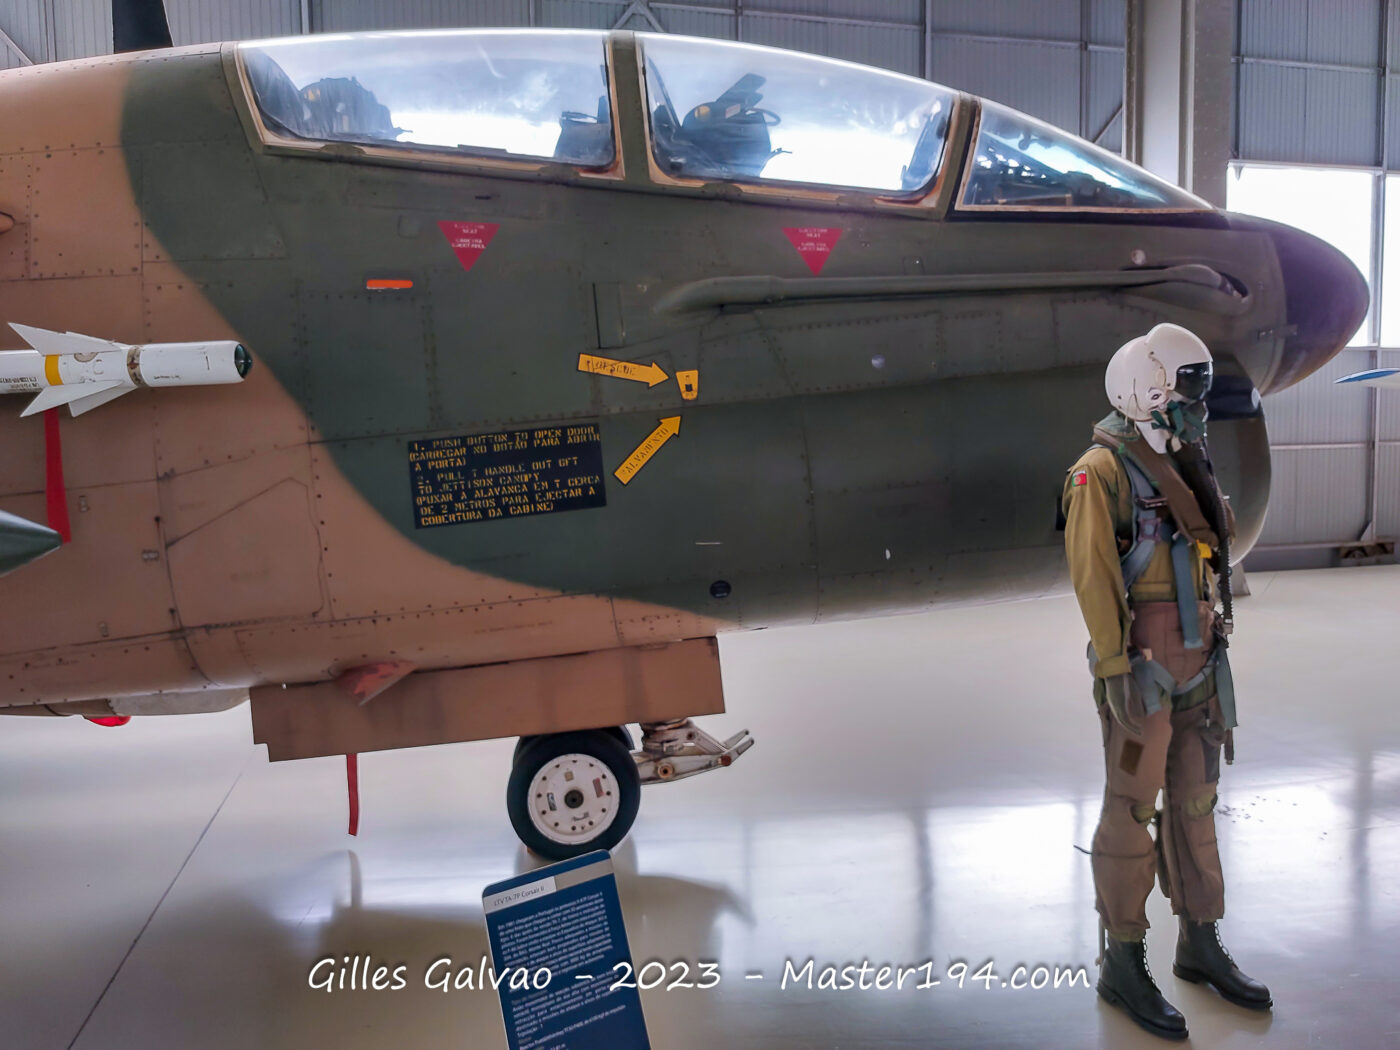
The A-7P Corsair II is the Portuguese version of the American A-7 Corsair II single-seat attack aircraft. In the early 1980s, Portugal acquired twenty former US Navy A-7A aircraft from the United States. These aircraft underwent extensive modernisation to meet the requirements of the Força Aérea Portuguesa (Portuguese Air Force).
The conversion included replacing the original engine with a Pratt & Whitney TF30-P-408, together with a modernised avionics suite incorporating equipment derived from the US Navy’s A-7D and A-7E standards.
AD
A second order followed in 1983, covering a further 24 single-seat aircraft and six TA-7P two-seat trainers. In total, 44 A-7P single-seaters and six TA-7P trainers were ordered. Based at Monte Real, they served with Squadrons 302 and 304, primarily performing ground-attack, maritime surveillance and anti-ship missions, as well as air defence duties. The last aircraft were retired in June 1999, after almost 18 years of service.
As there is no dedicated A-7P Corsair II kit available in 1/48 scale, I decided to build one using the HobbyBoss A-7A kit as a starting point.
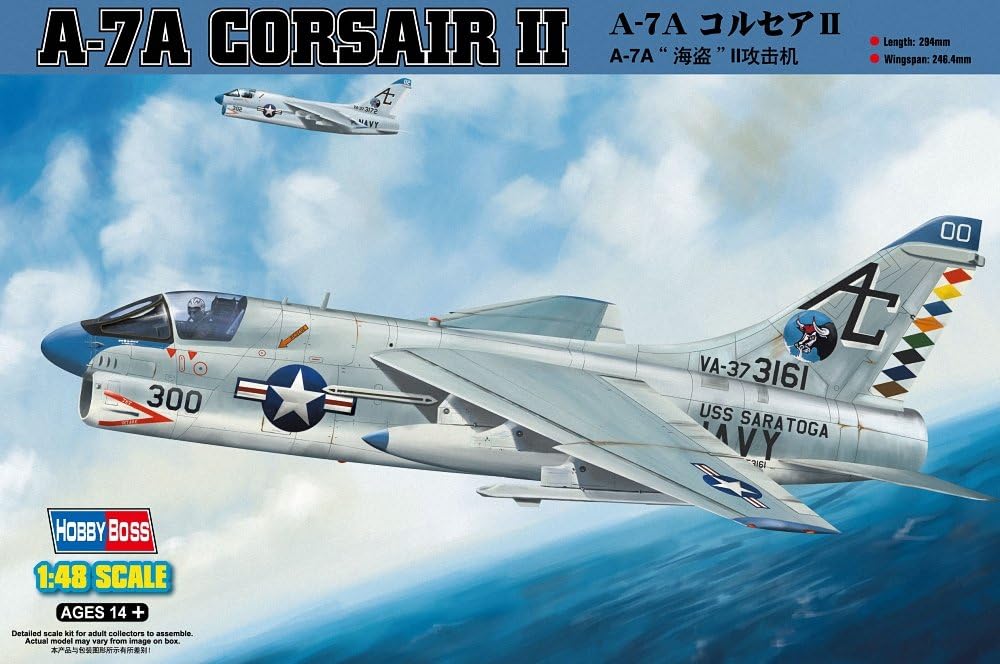
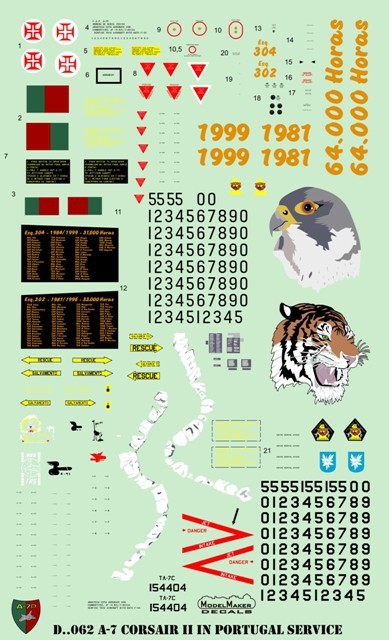
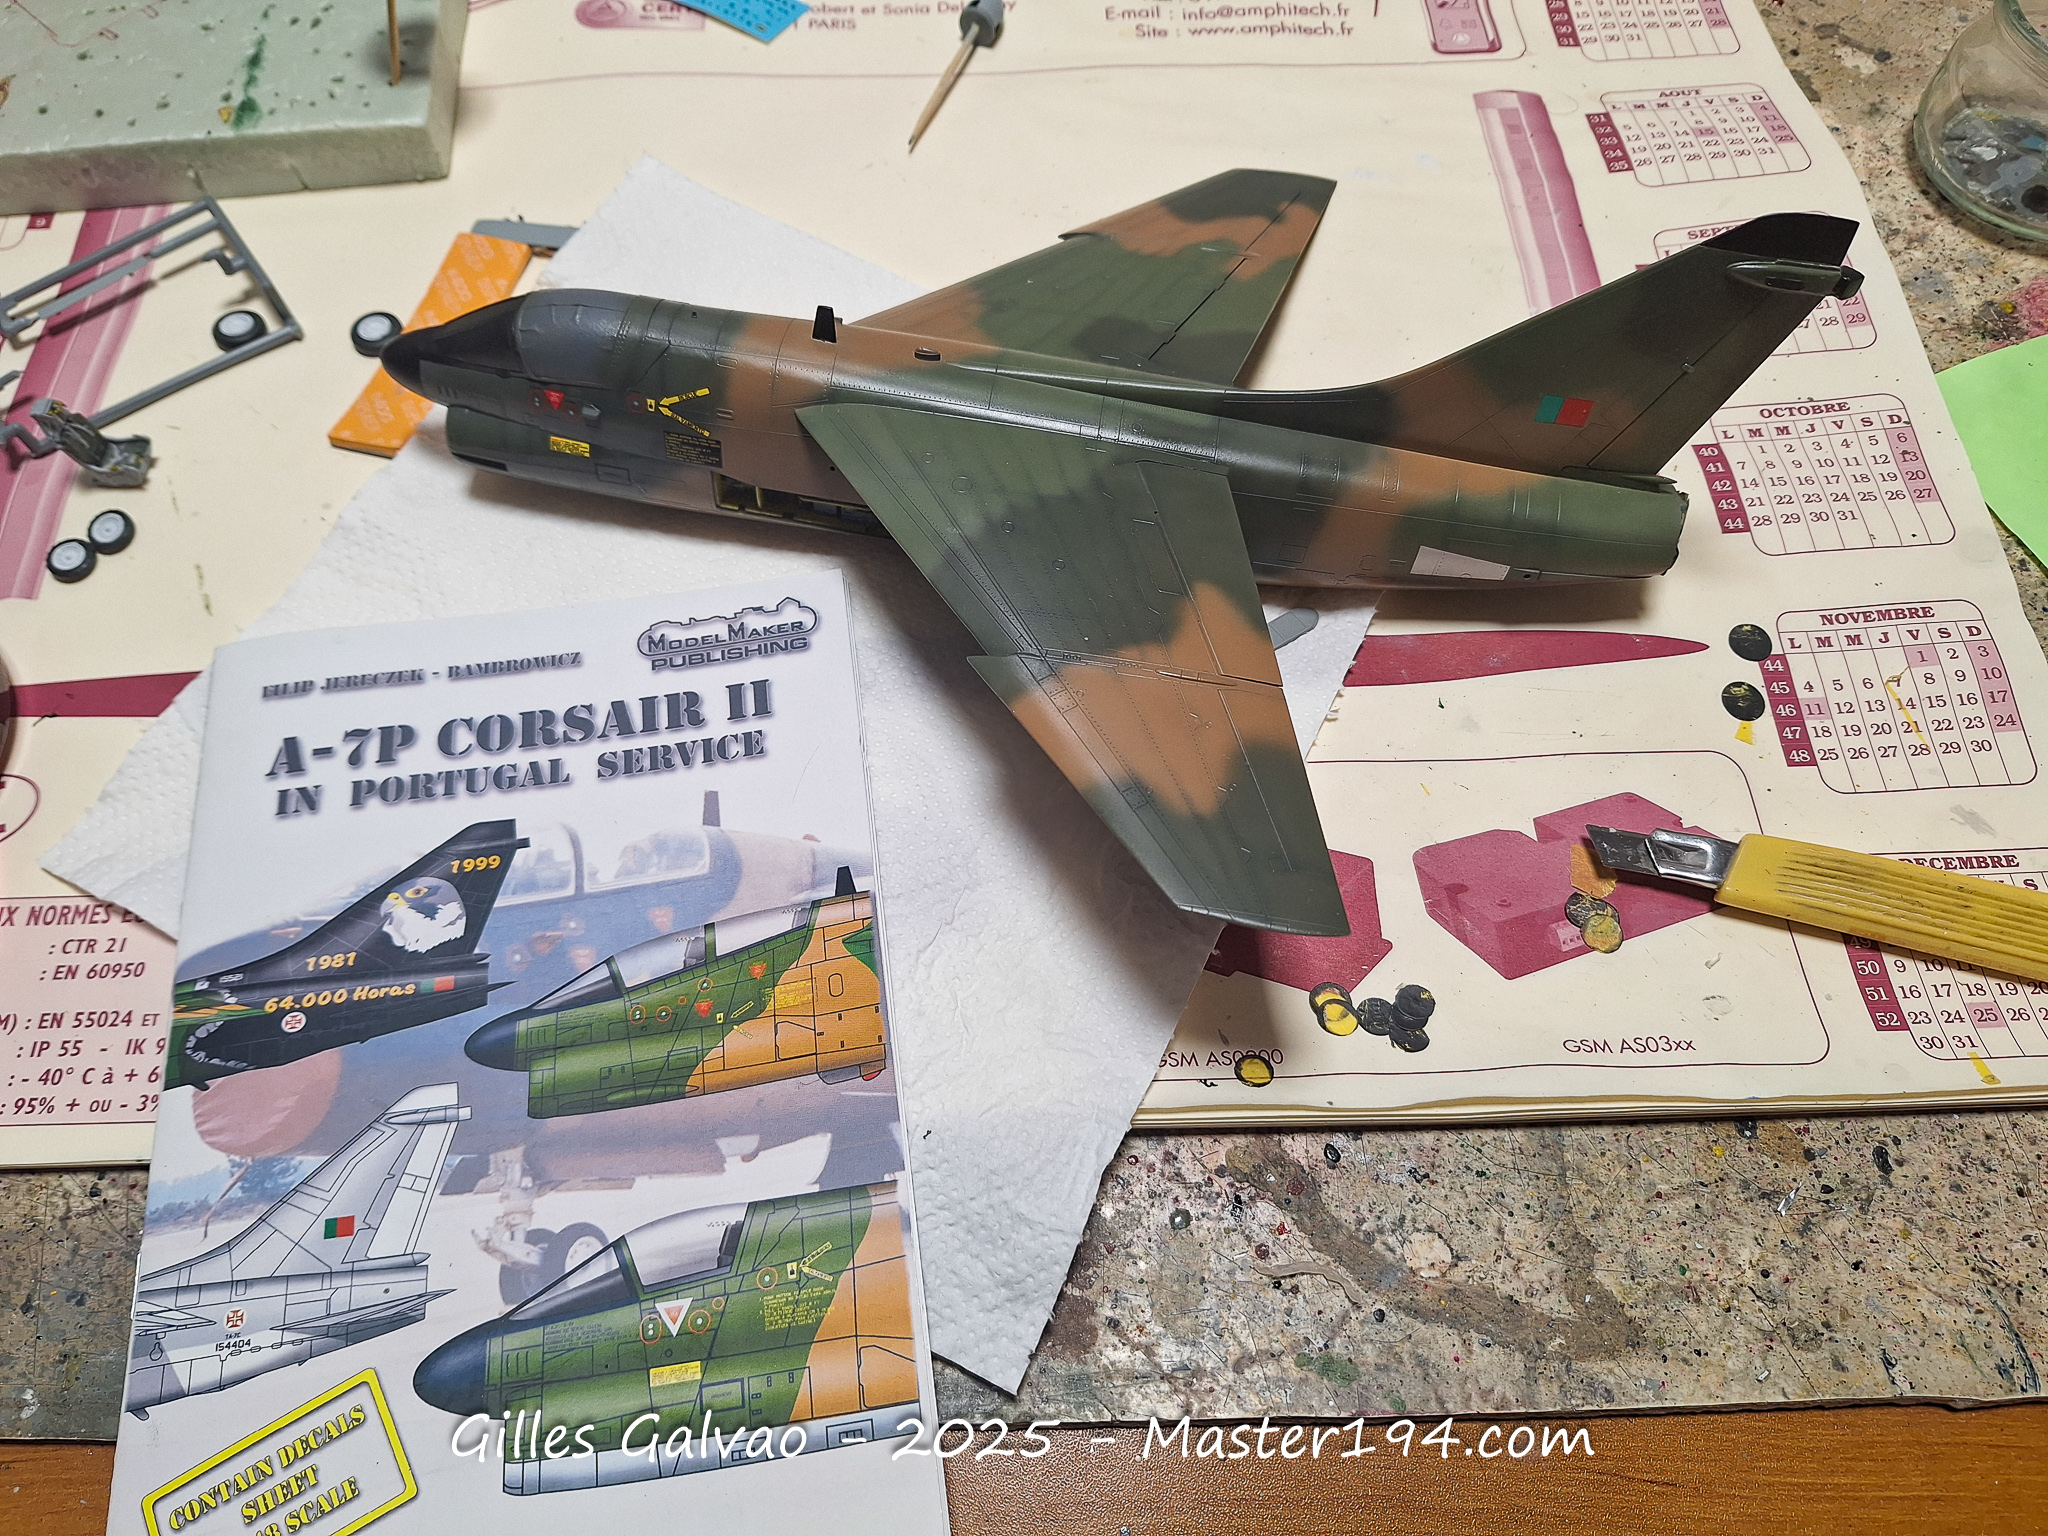
For the decals, I will be using the excellent ModelMaker sheet, reference “D48062 A-7 Corsair II in Portugal service”.
Construction
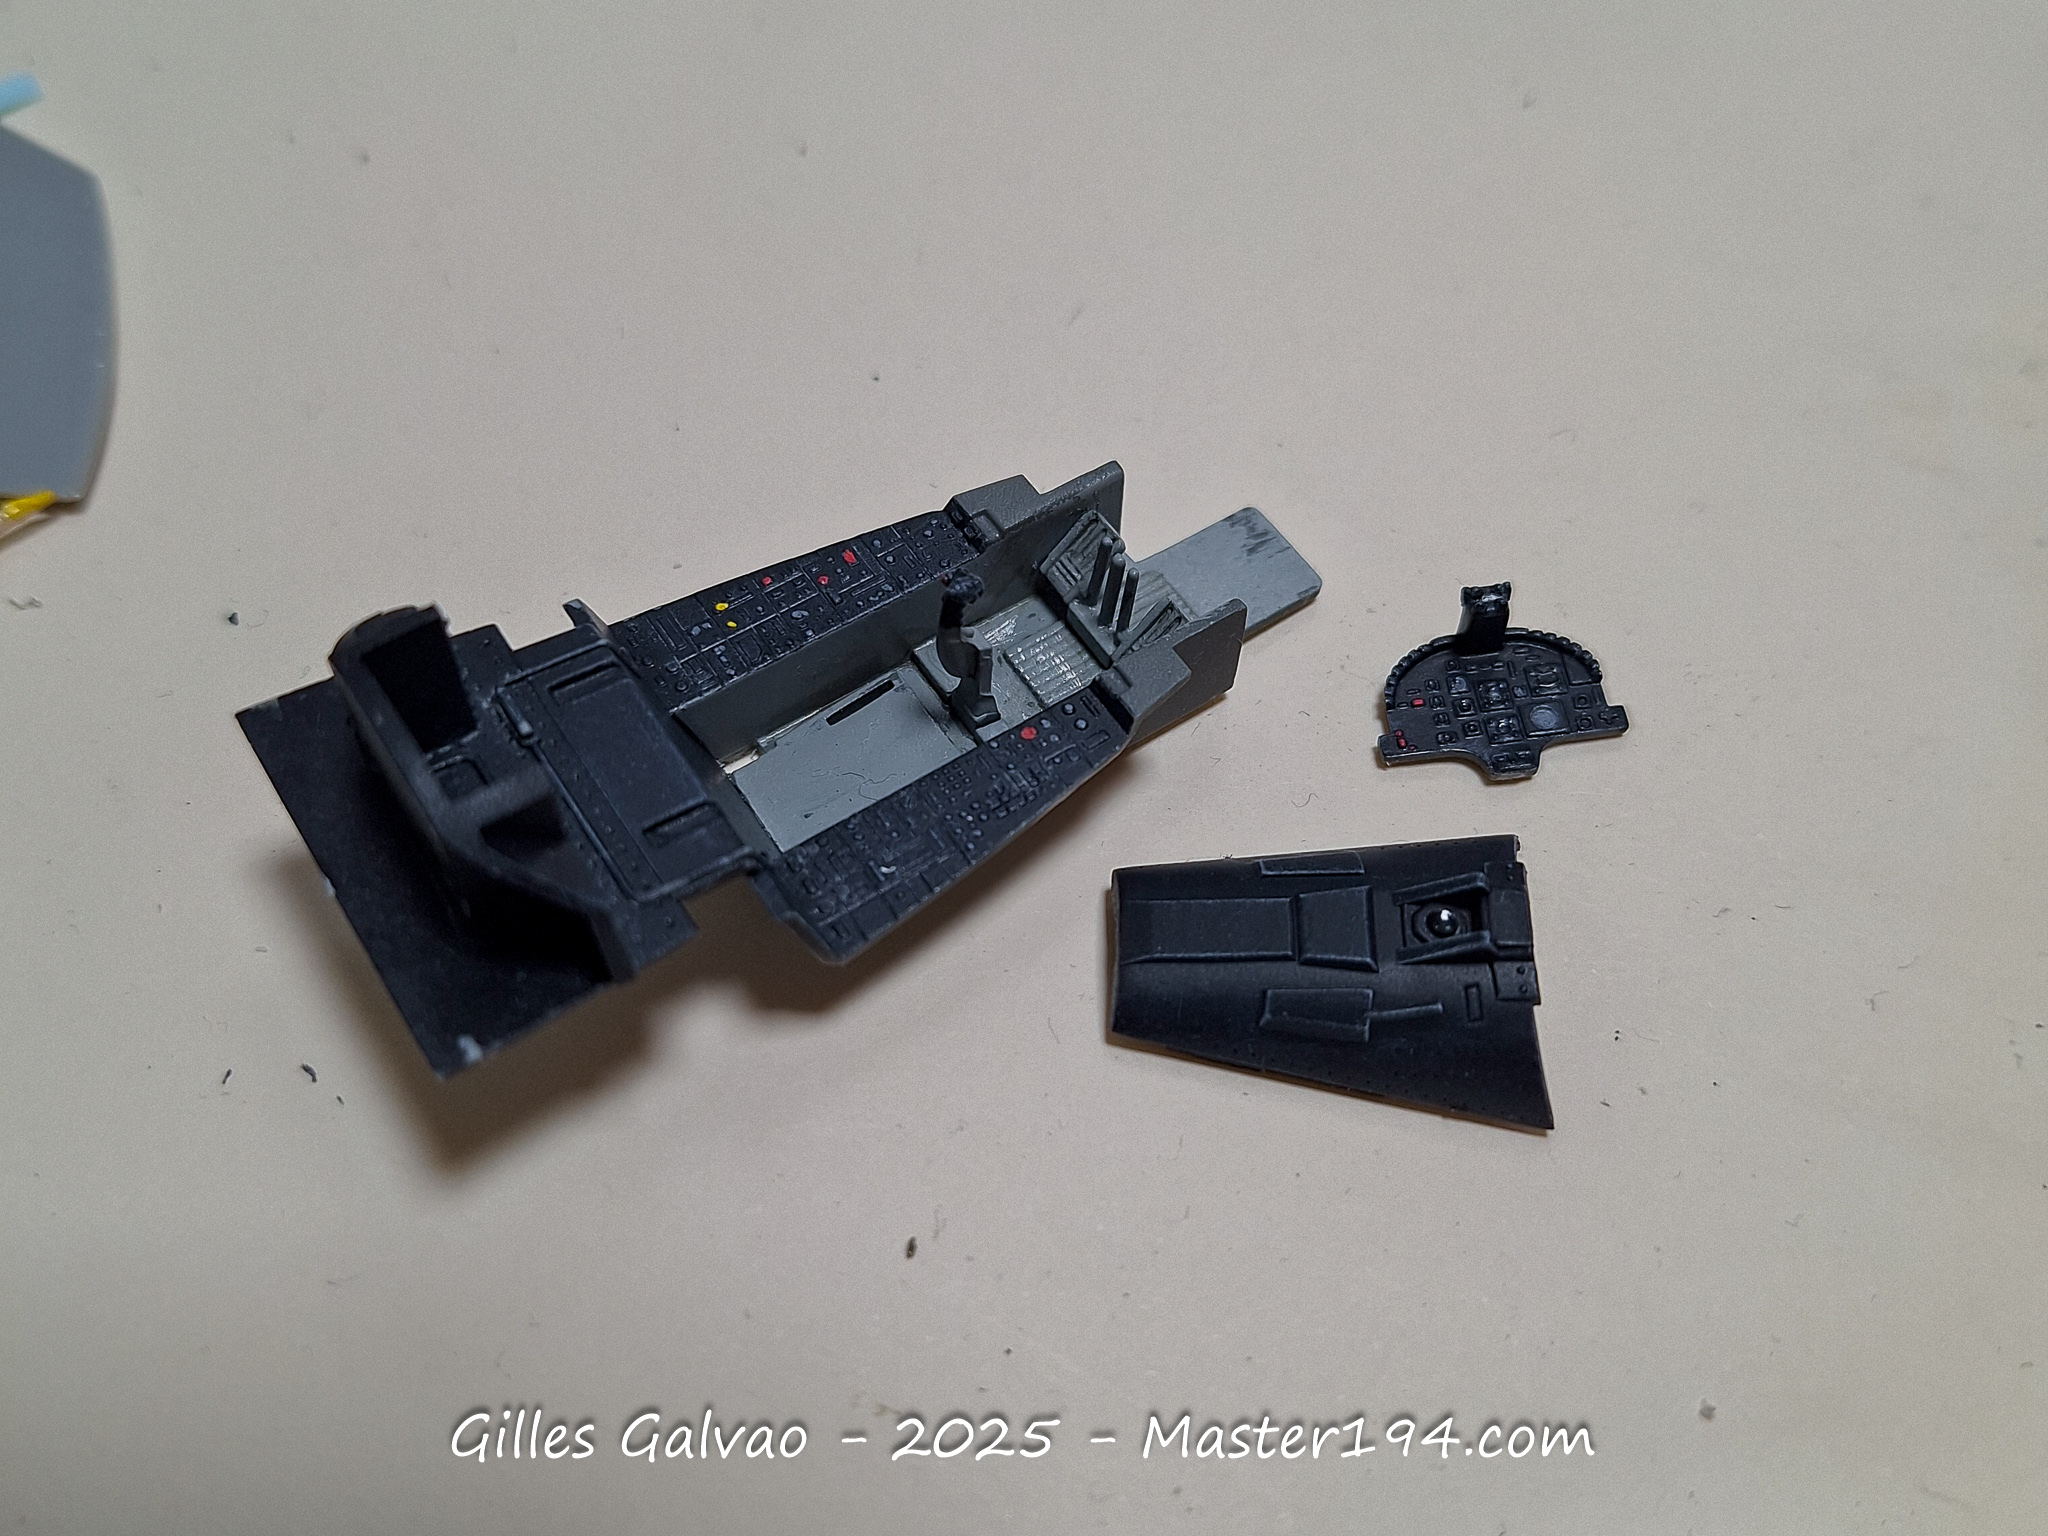
Let’s start with the cockpit. To get closer to the Portuguese configuration, an A-7E instrument panel would be preferable to the A-7A version. It is not an exact match, but it provides a closer starting point.
As I did not have an A-7E instrument panel available, I decided to use the one supplied in the A-7A kit.
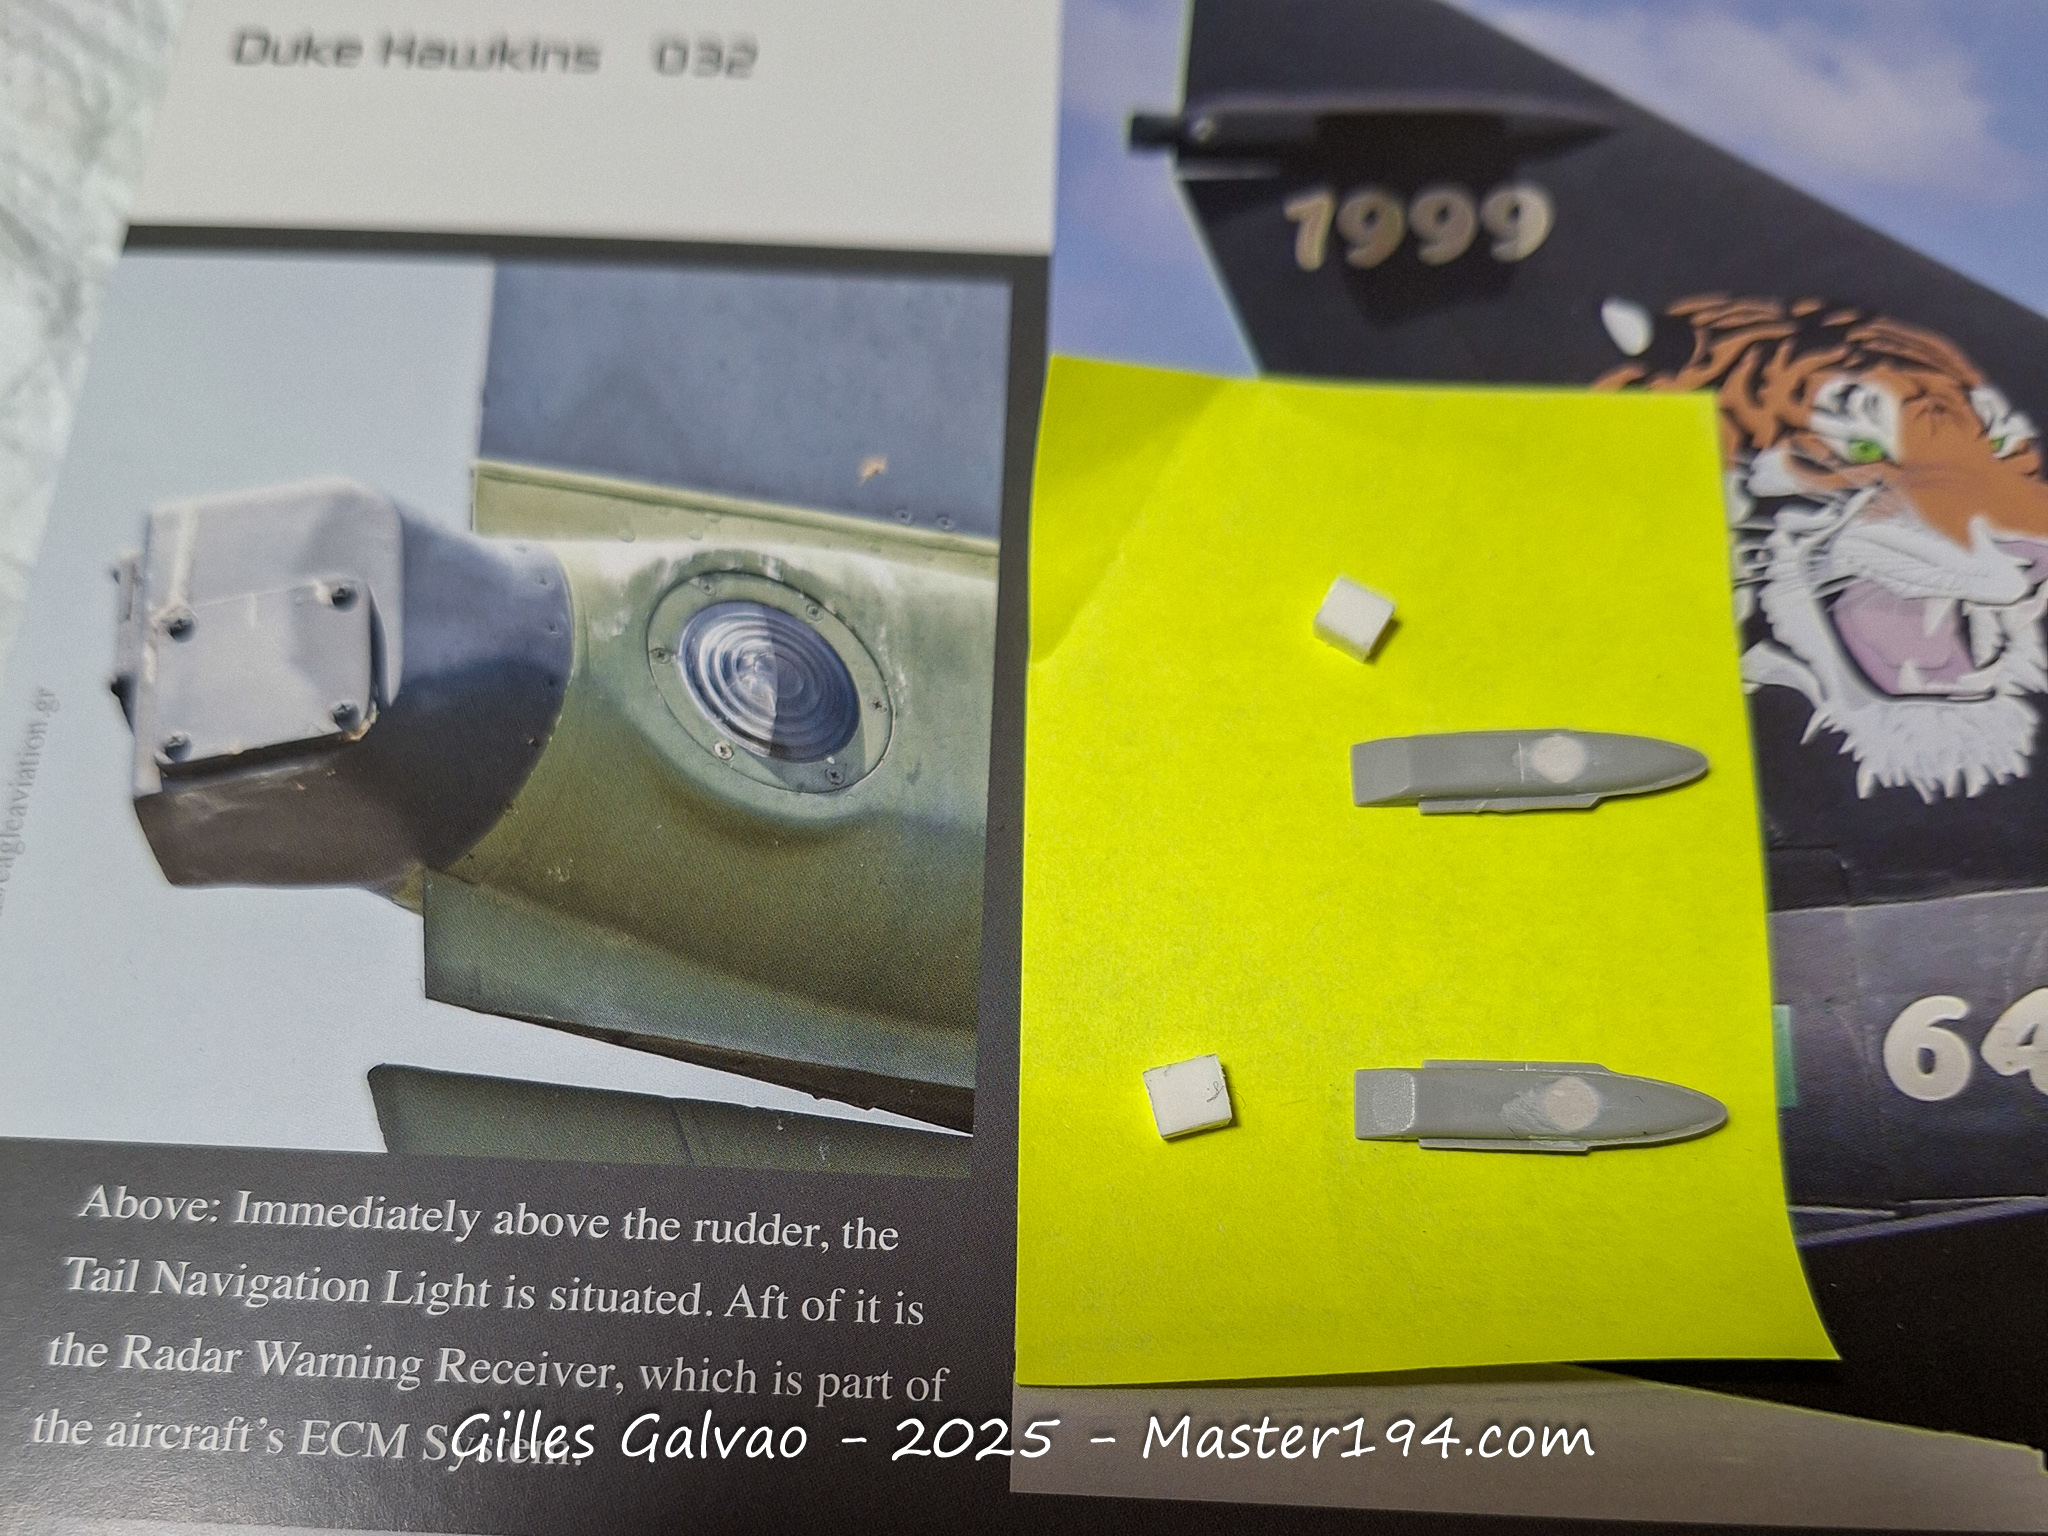
Among the most noticeable modifications are those required to the fin and ECM fairing. Comparing the kit part with the photograph from Duke Hawkins’ book on the A-7 Corsair II shows that there is quite a bit of work to do!
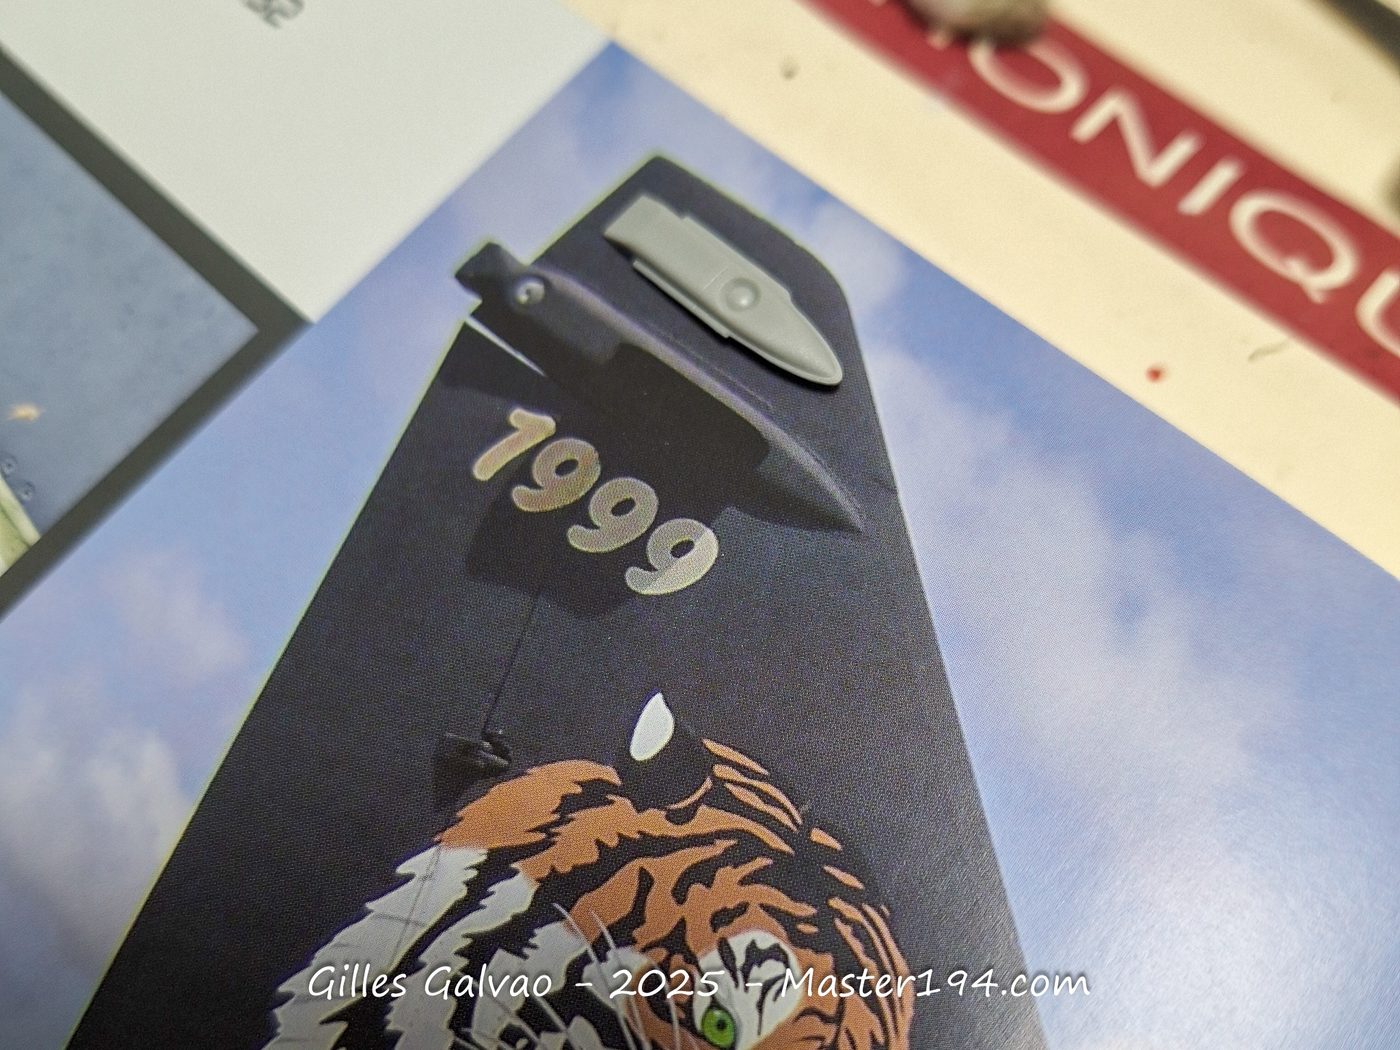
Some of the modifications are relatively straightforward. The most time-consuming part is adding plastic card to the rear section and reshaping it to achieve the correct profile.
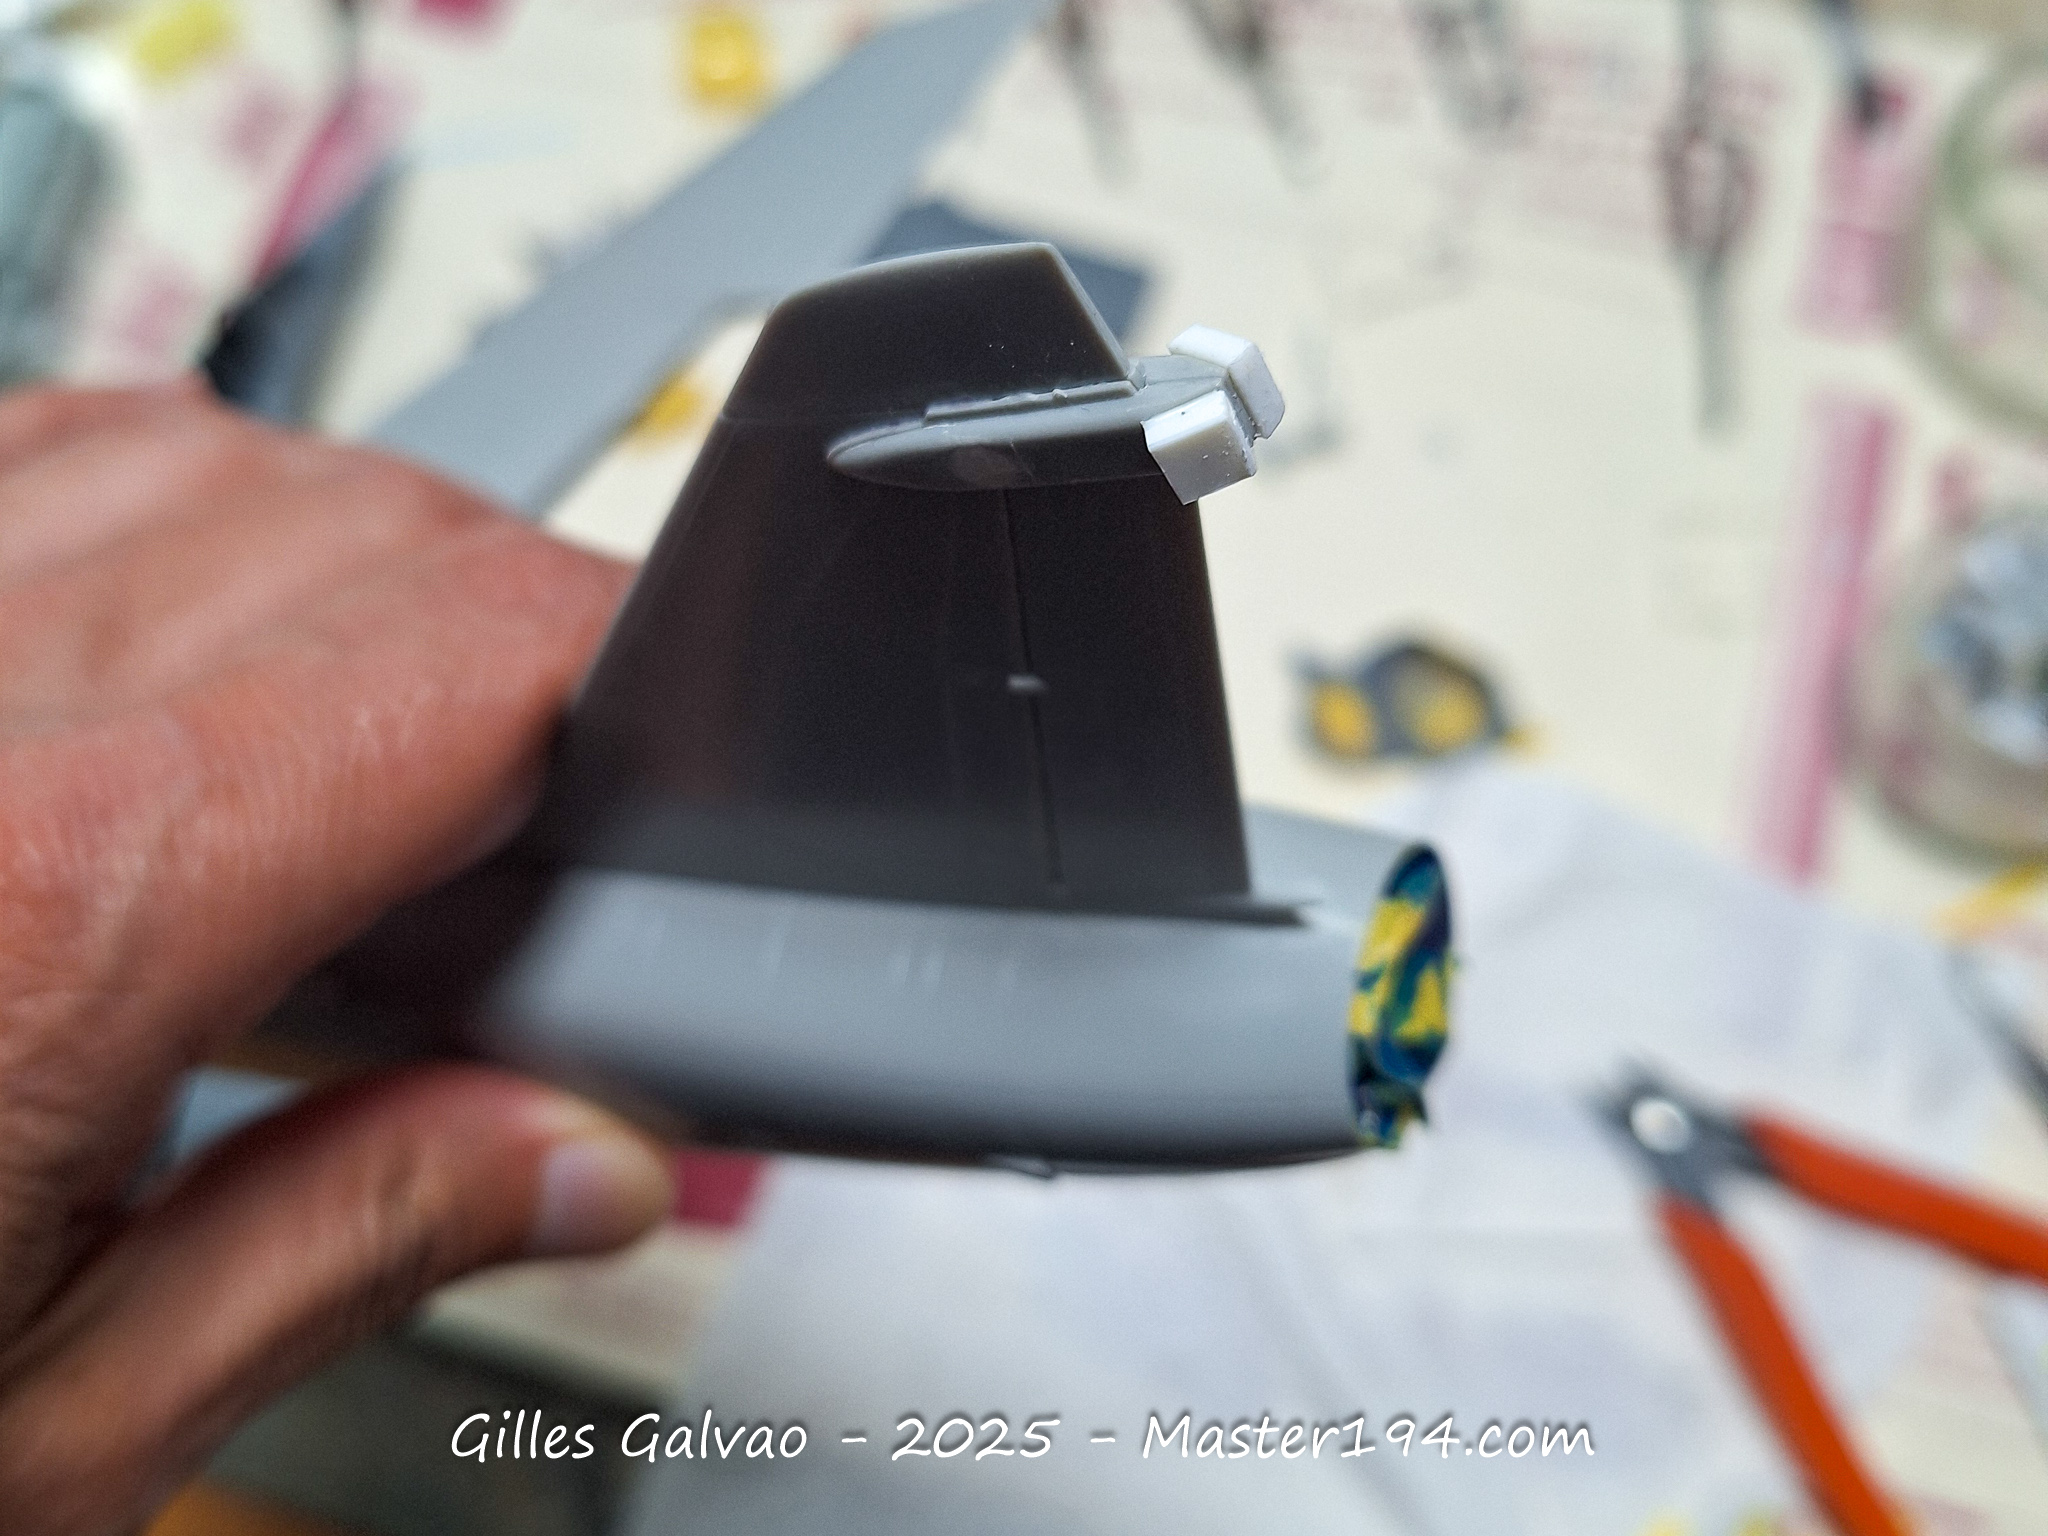
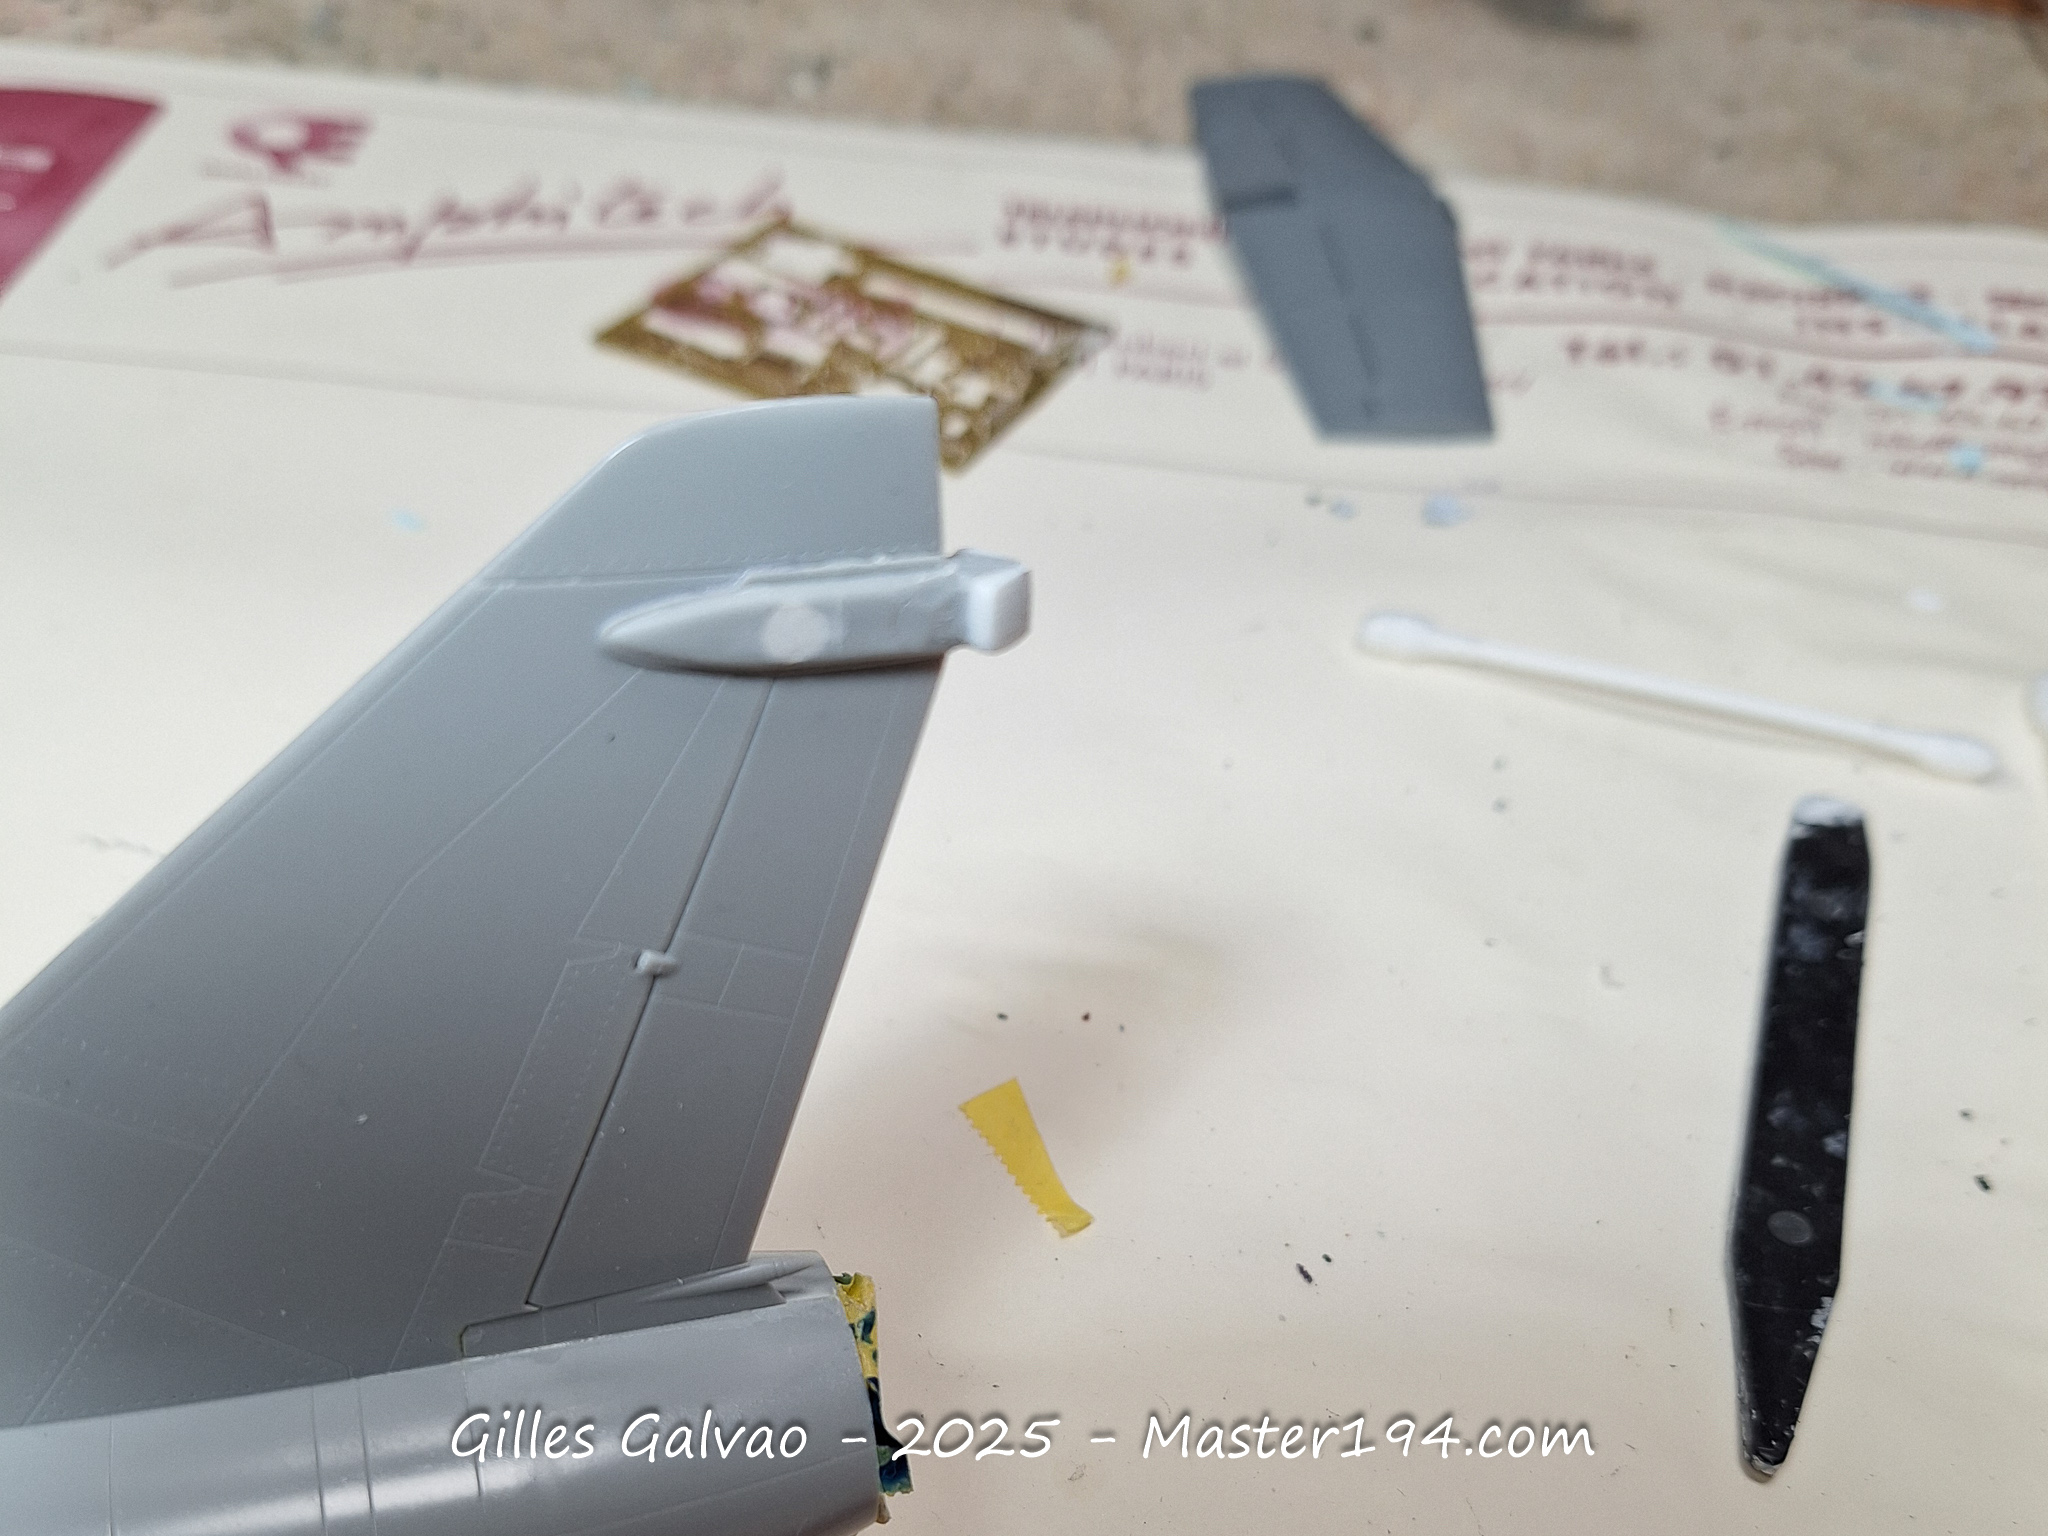
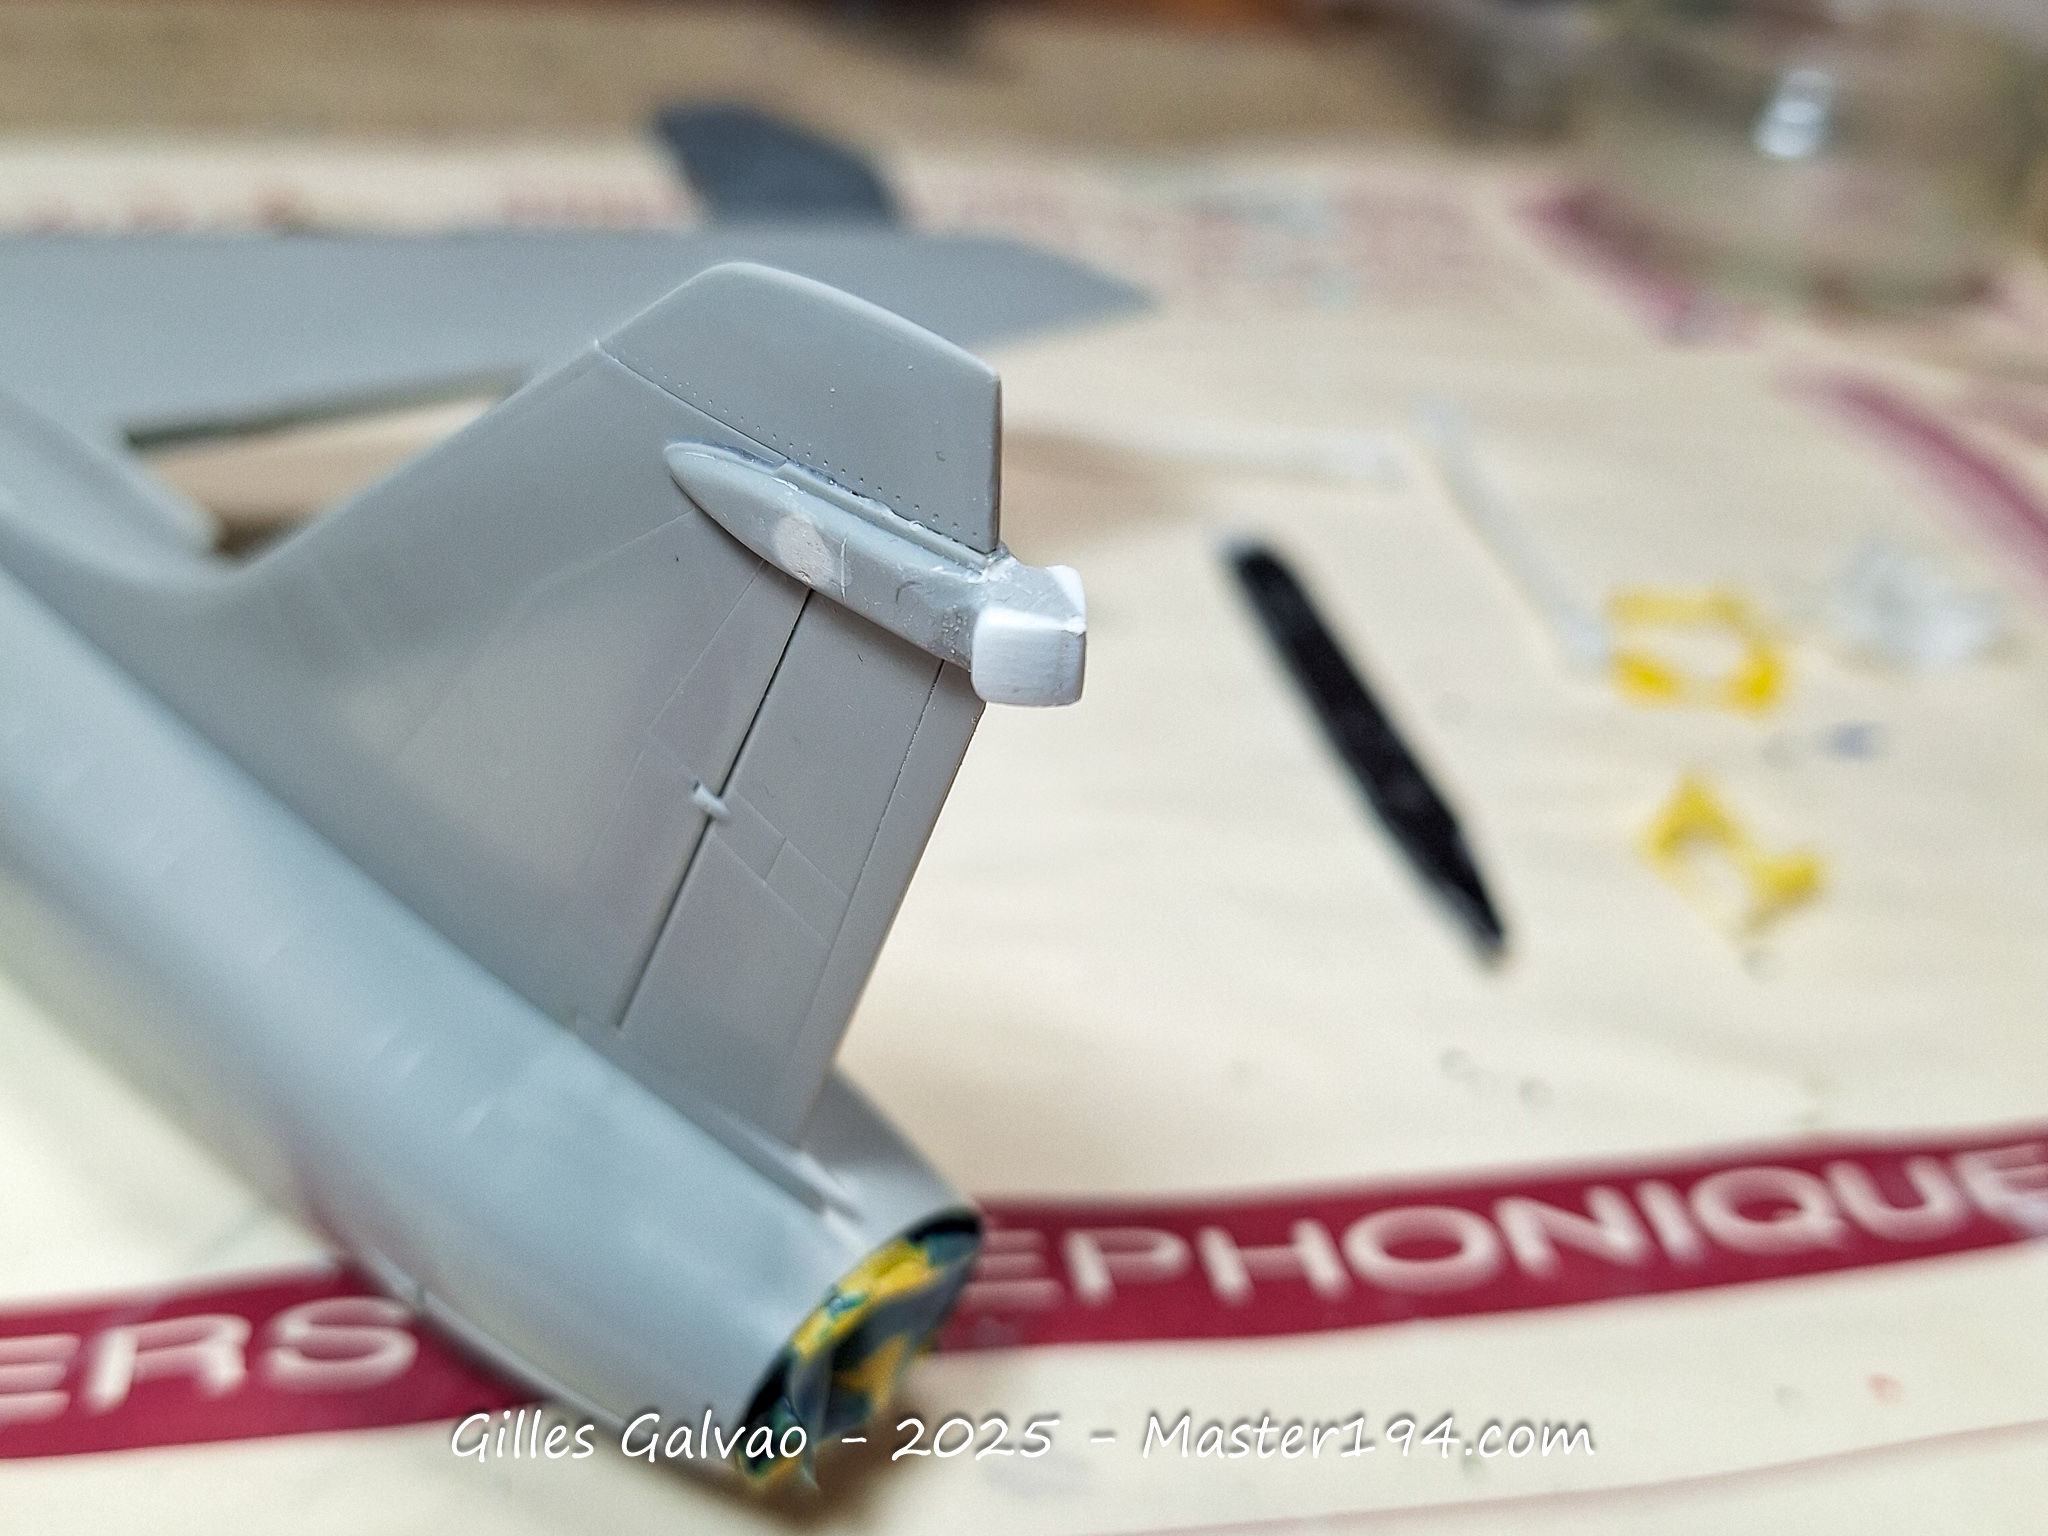
Next, a part that is not used on the A-7A but is included in the kit needs to be added to the A-7P. This is part E26, representing the AN/APN-190 Doppler navigation system.
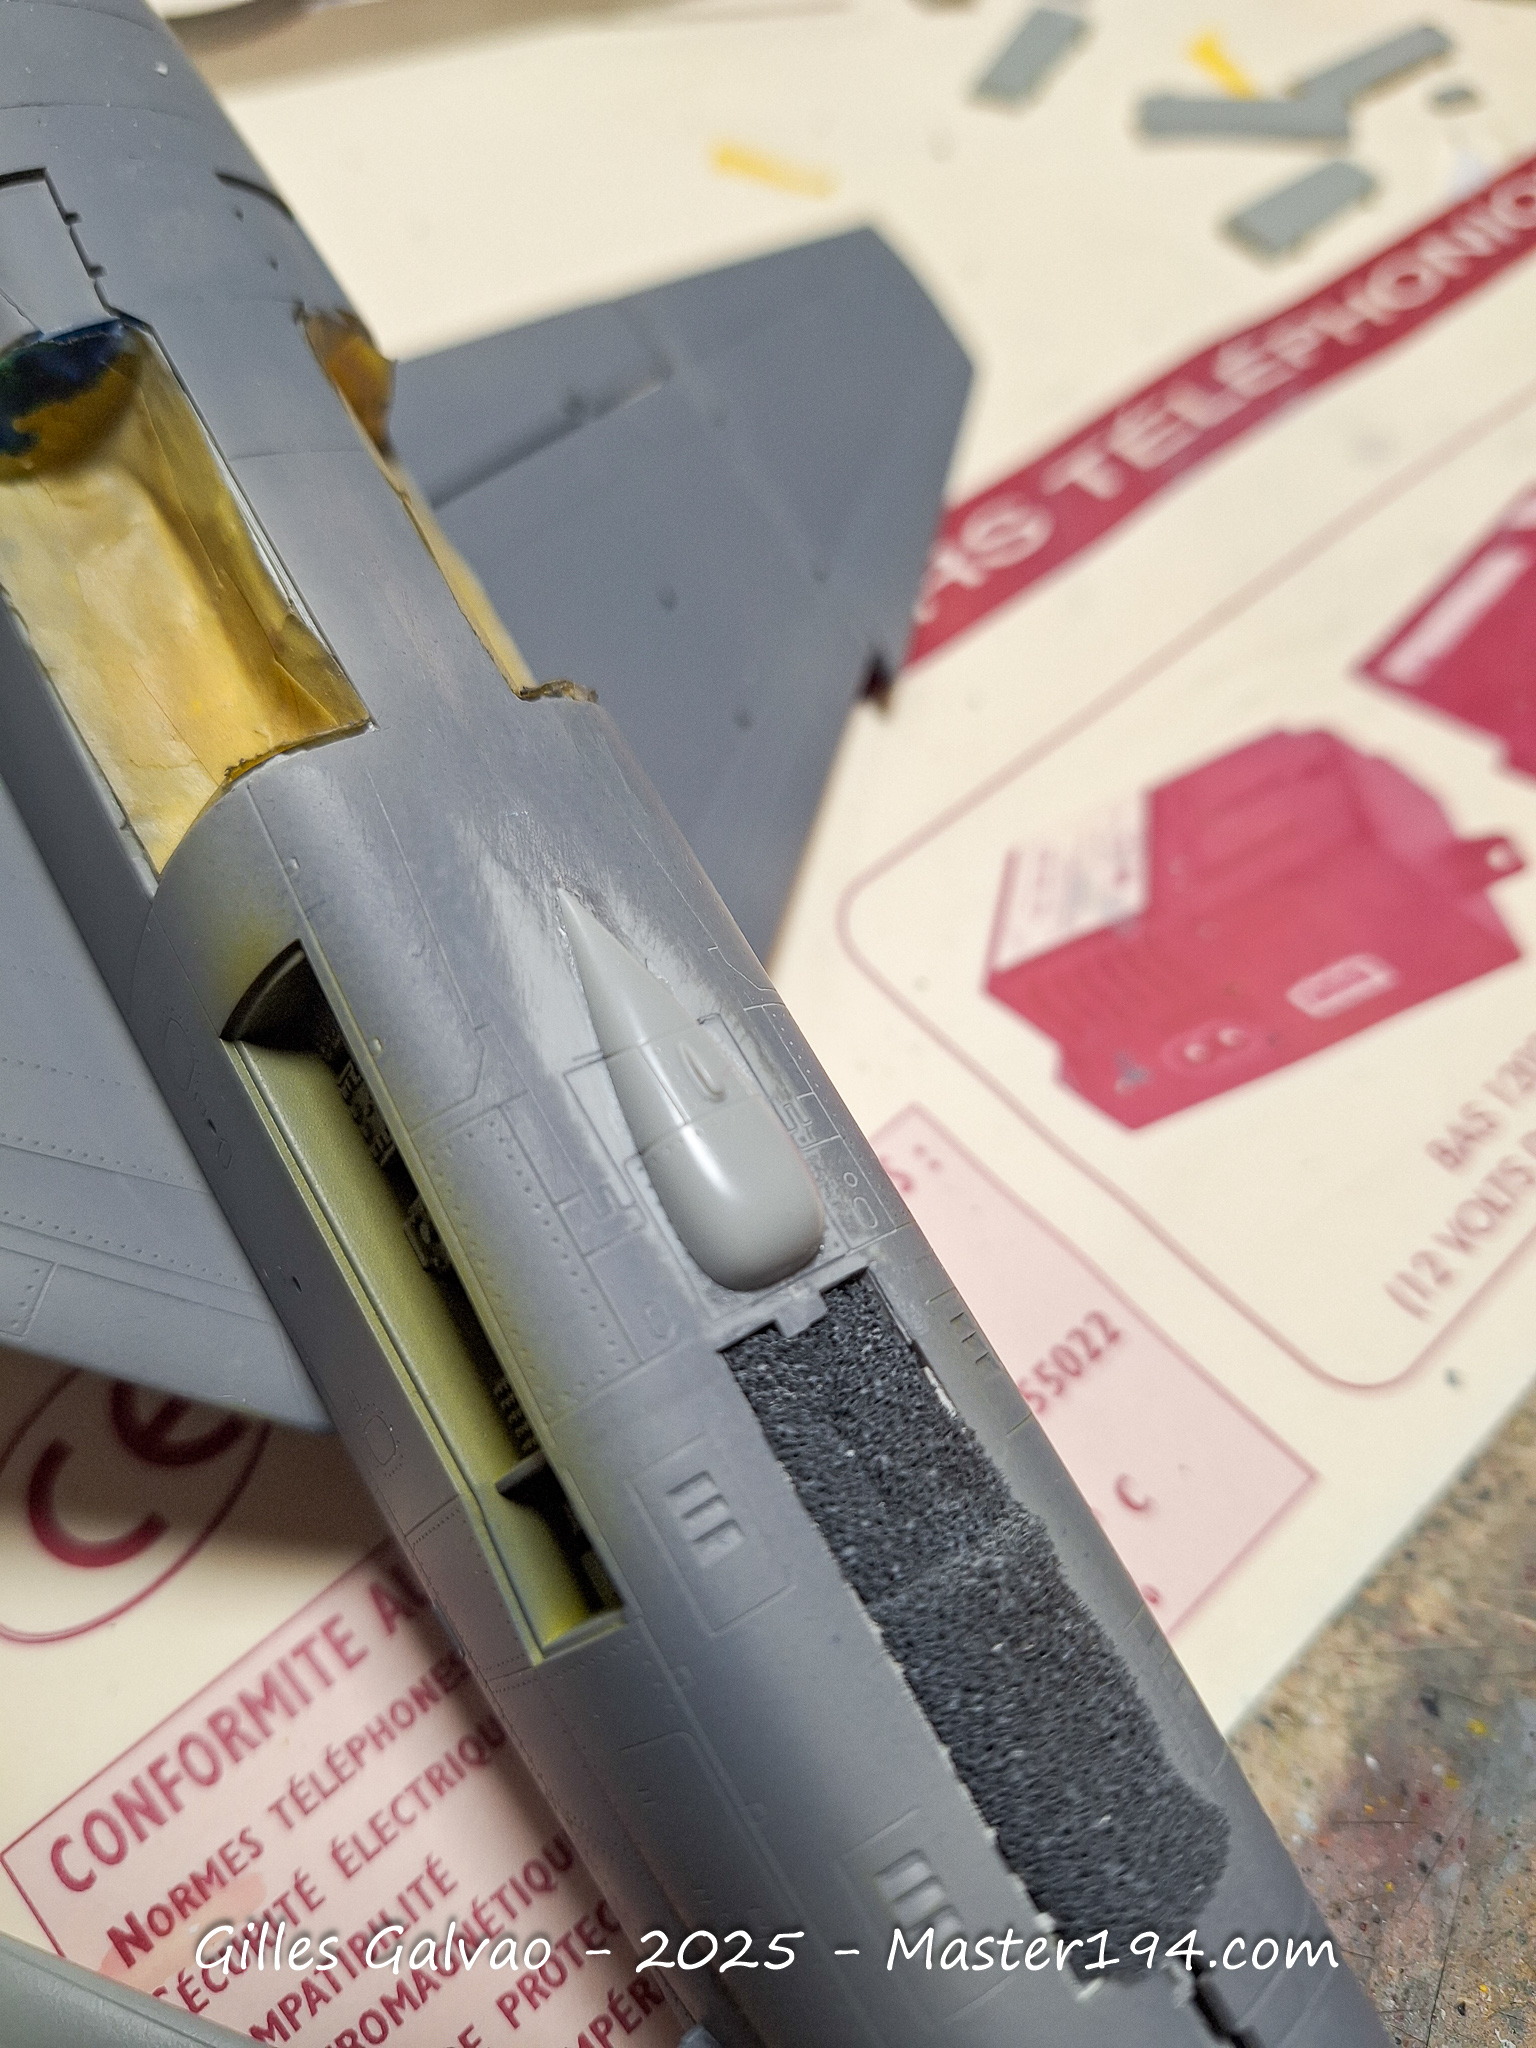
An additional antenna and what appears to be a vent also need to be added. A little plastic card does the trick!
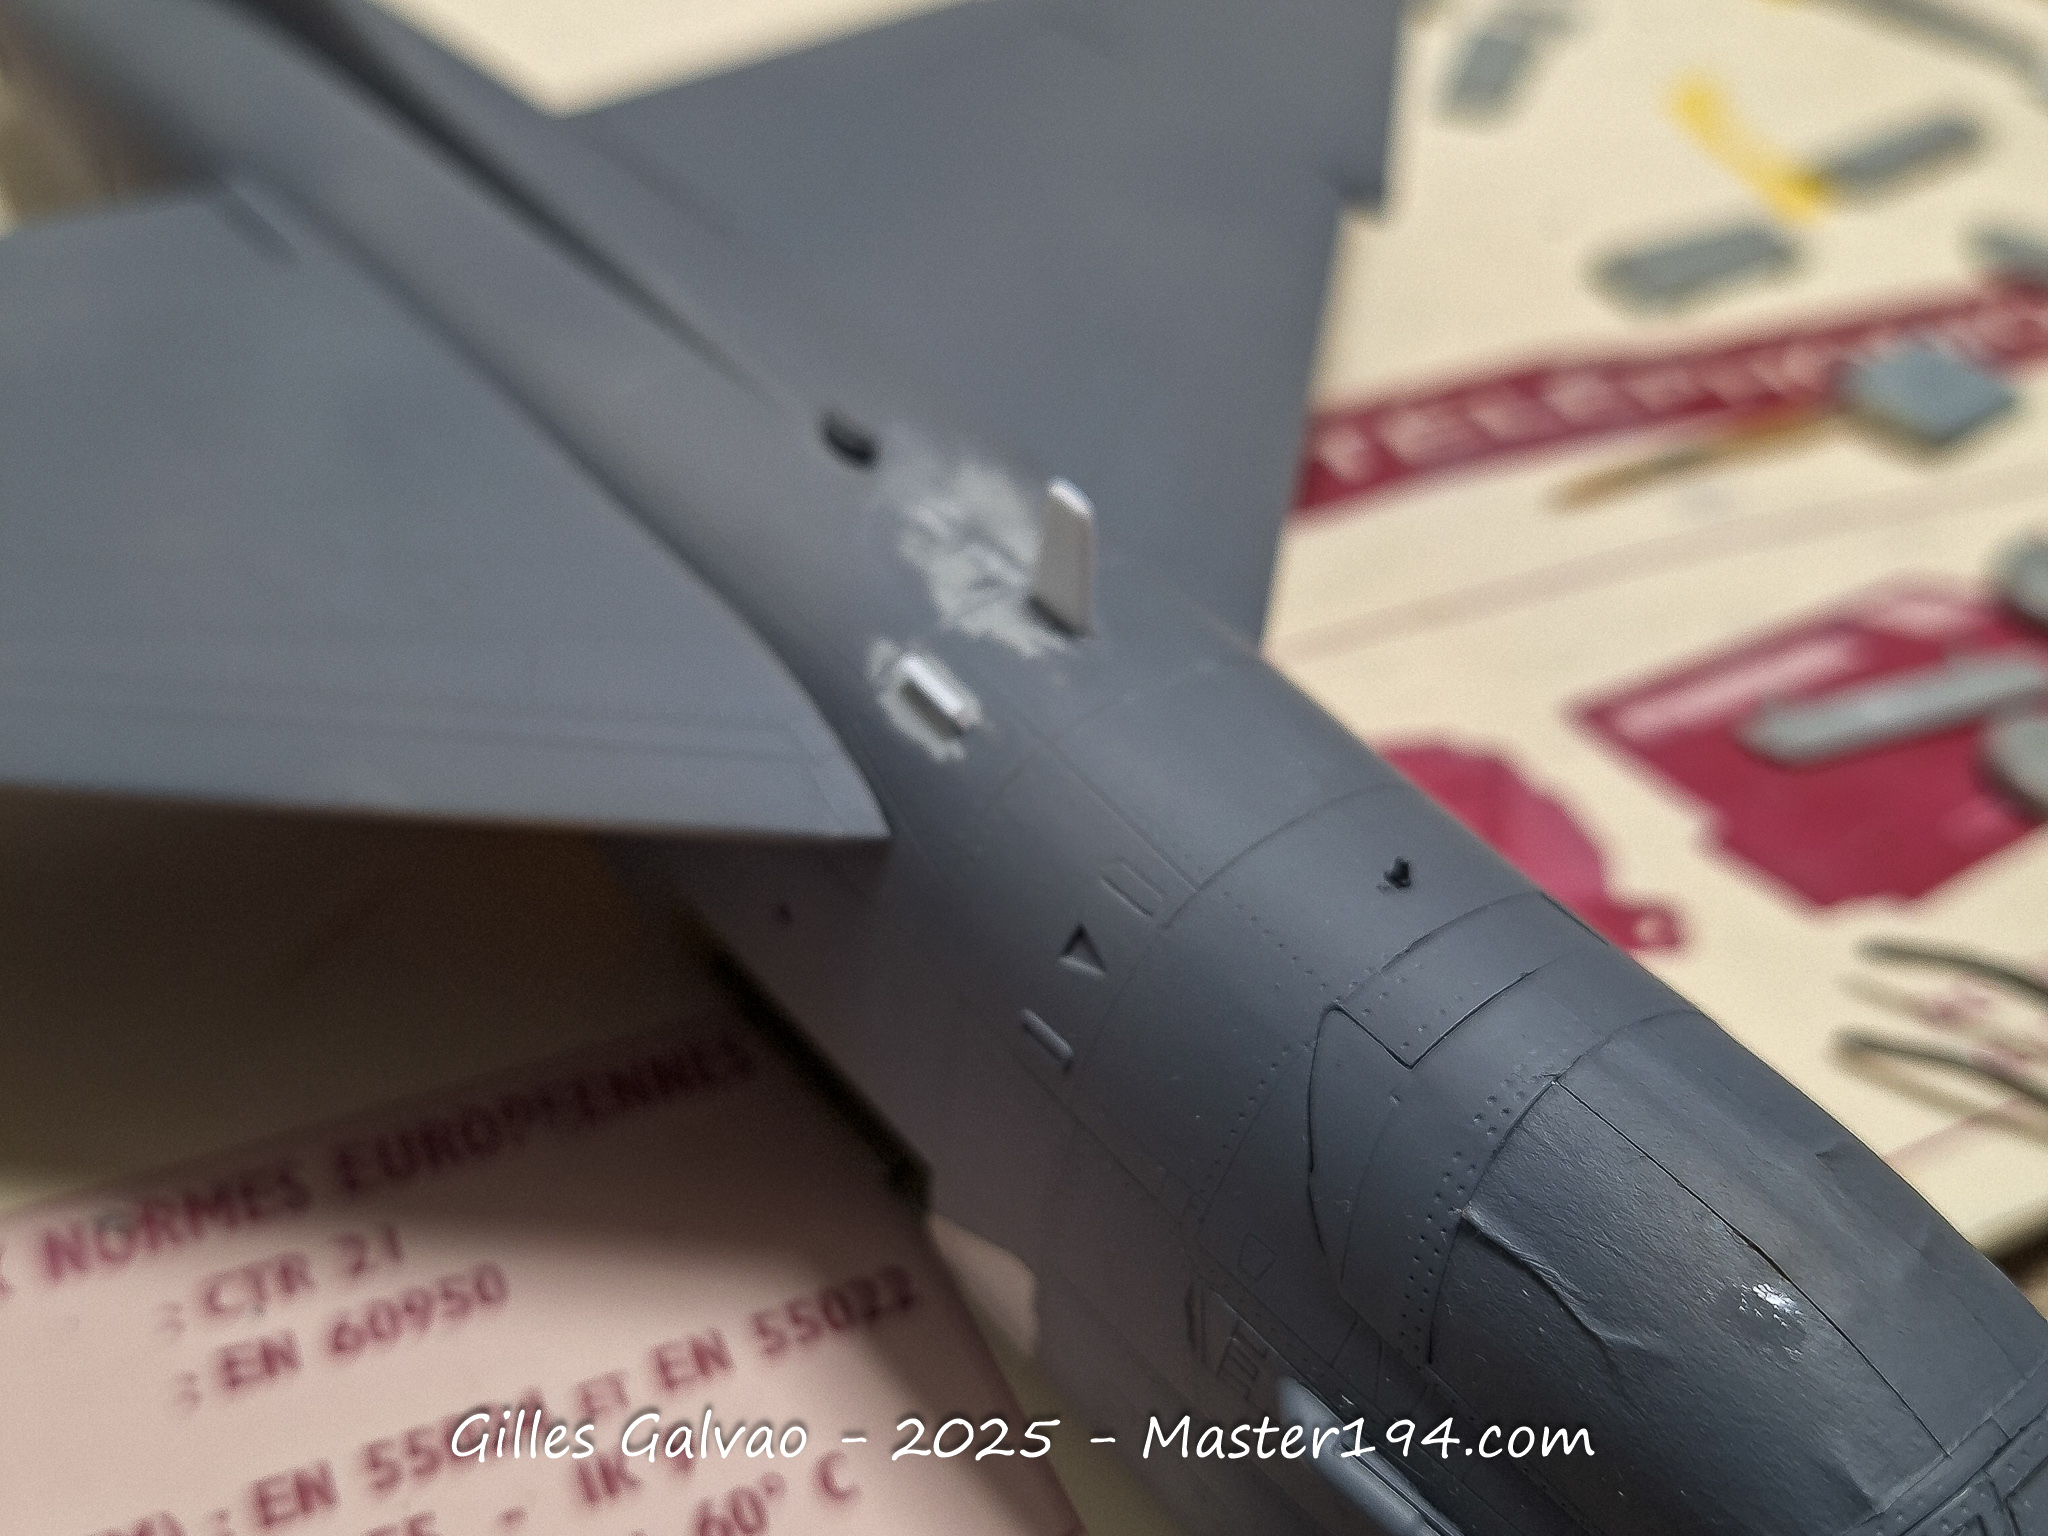
The chaff and flare dispensers also need to be added underneath the rear fuselage. For these, I used dispensers taken from an F/A-18, which I modified by adding plastic card to increase their thickness and reshape them. All that remains is to add the photo-etched parts representing the cartridge openings to complete the assembly.
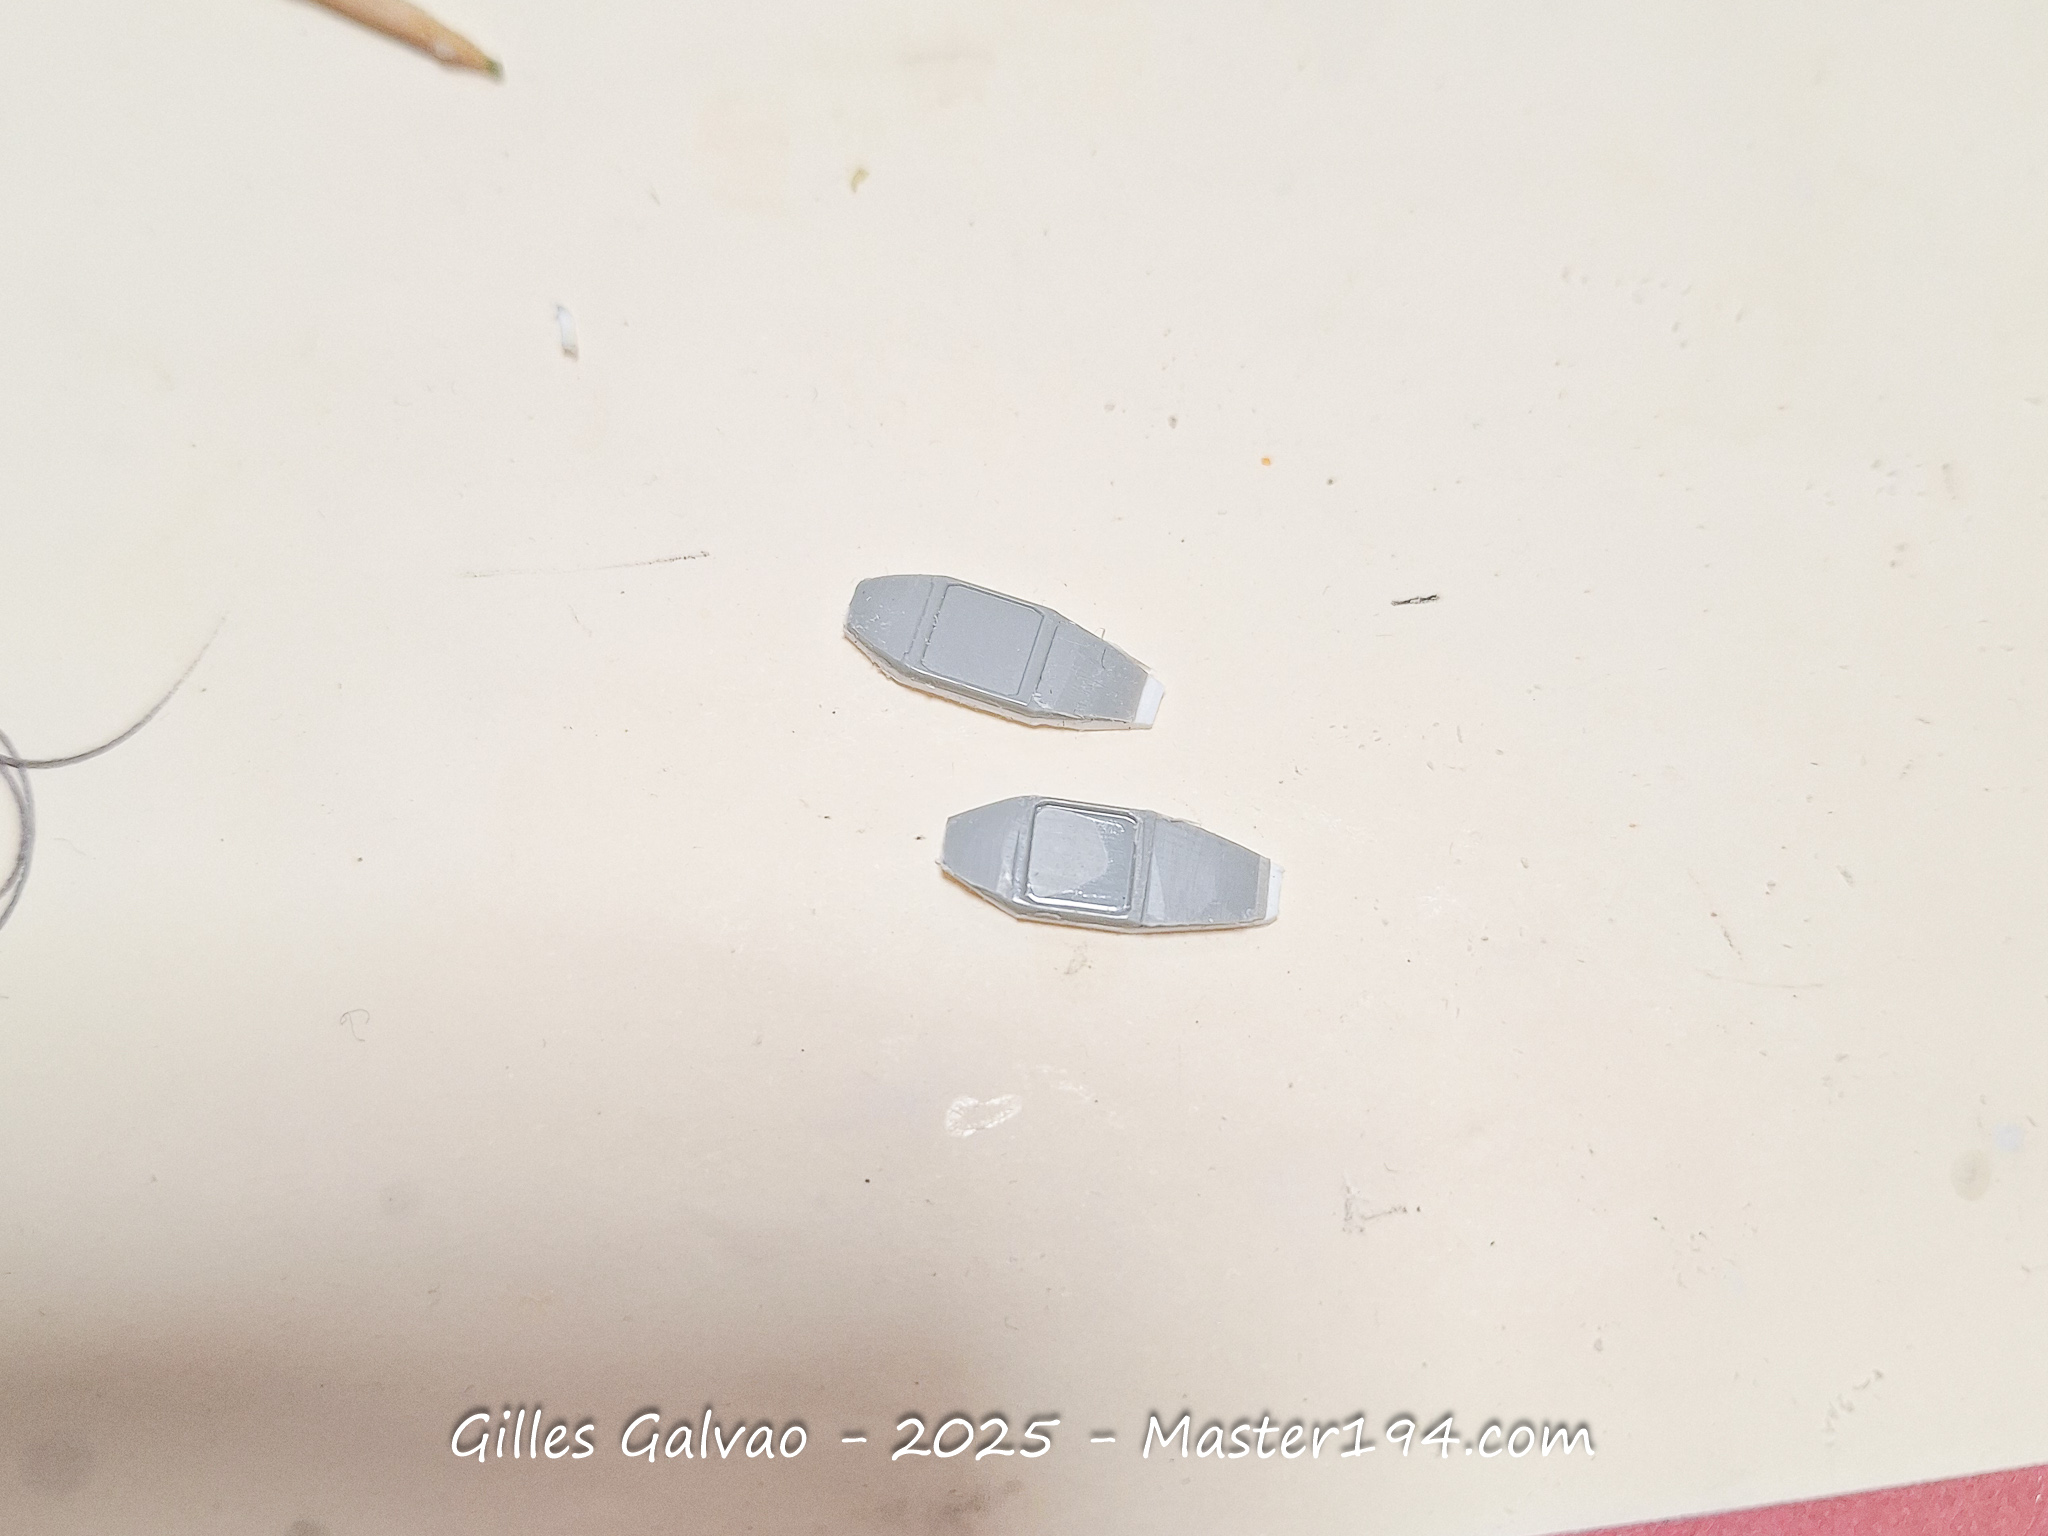
The raised Air Turbine Starter access panel also needs to be removed. On the A-7P, this panel is located further forward on the left-hand side.
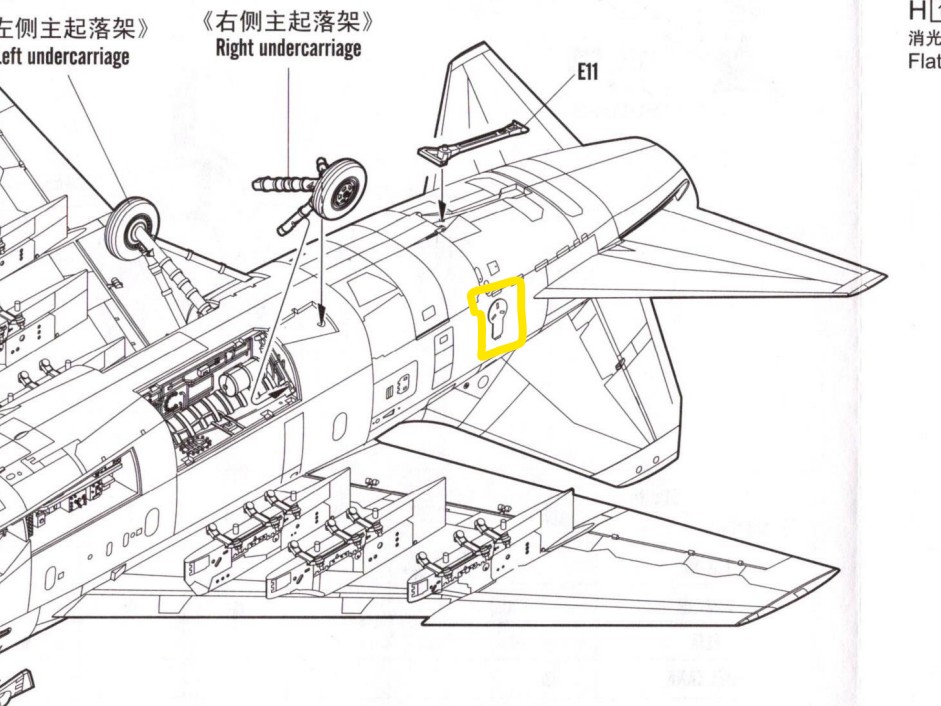
Finally, pay attention to the choice of wheels: parts E7 from the kit are the ones to use.
Painting
Painting is relatively straightforward. I chose the overall three-tone camouflage scheme, using Gunze Aqueous Hobby Color paints:
- Brown FS30219: H310
- Dark Green FS34079: H309
- Light Green FS34102: H303
I started with a coat of grey primer, followed by black pre-shading along the panel lines before applying the camouflage colours.
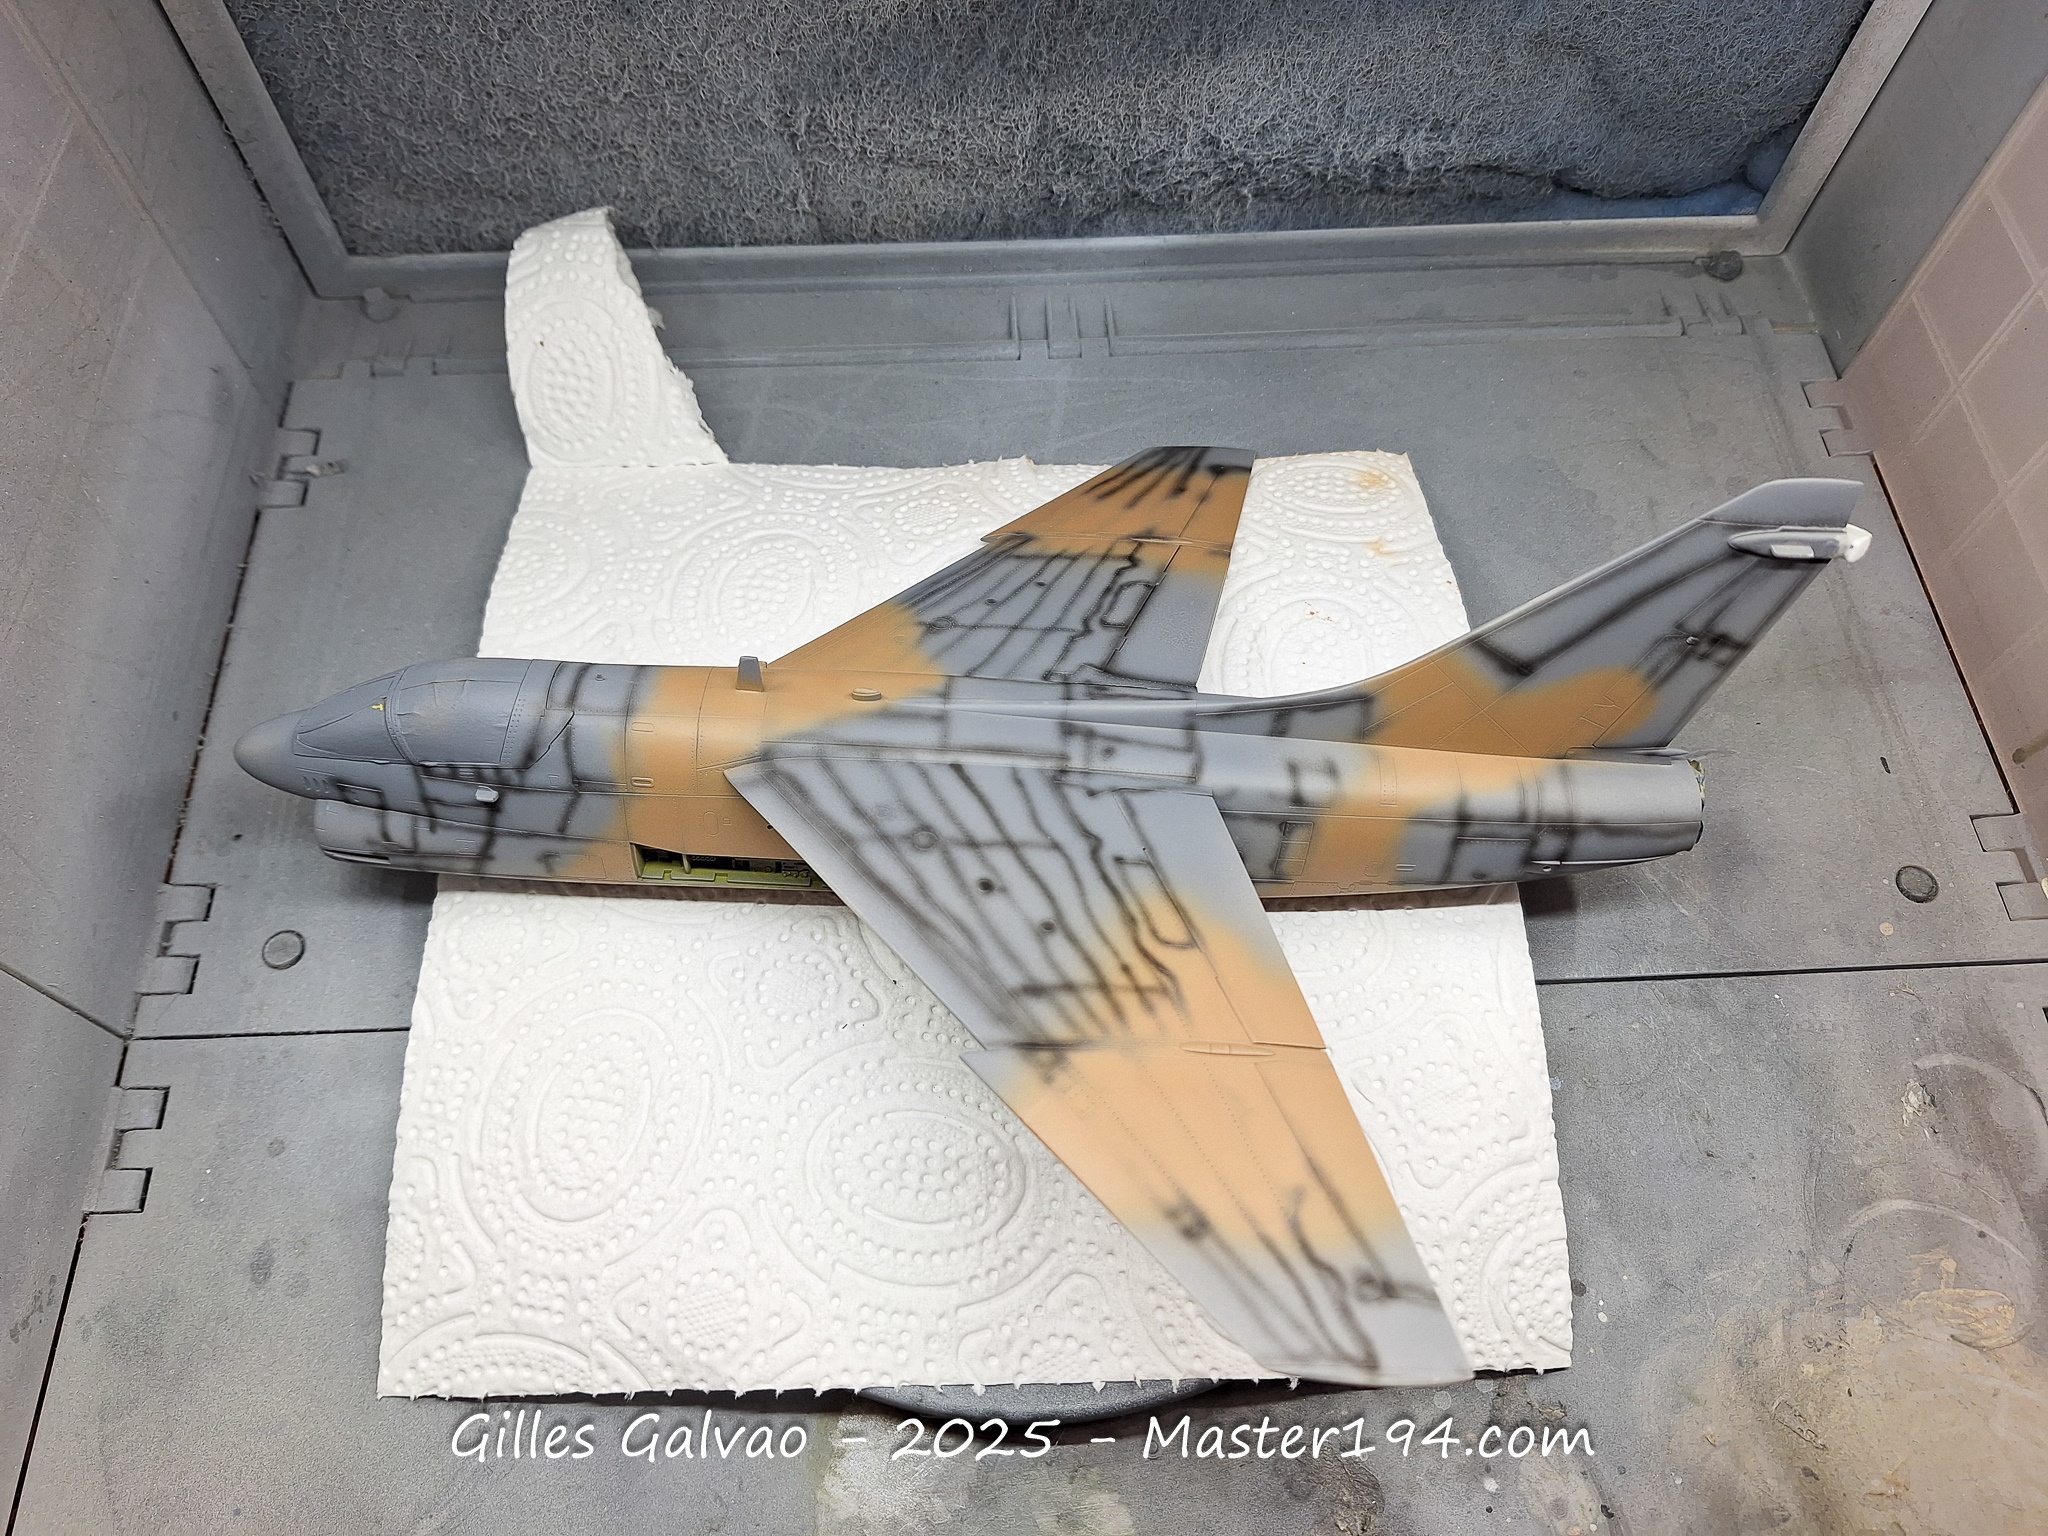
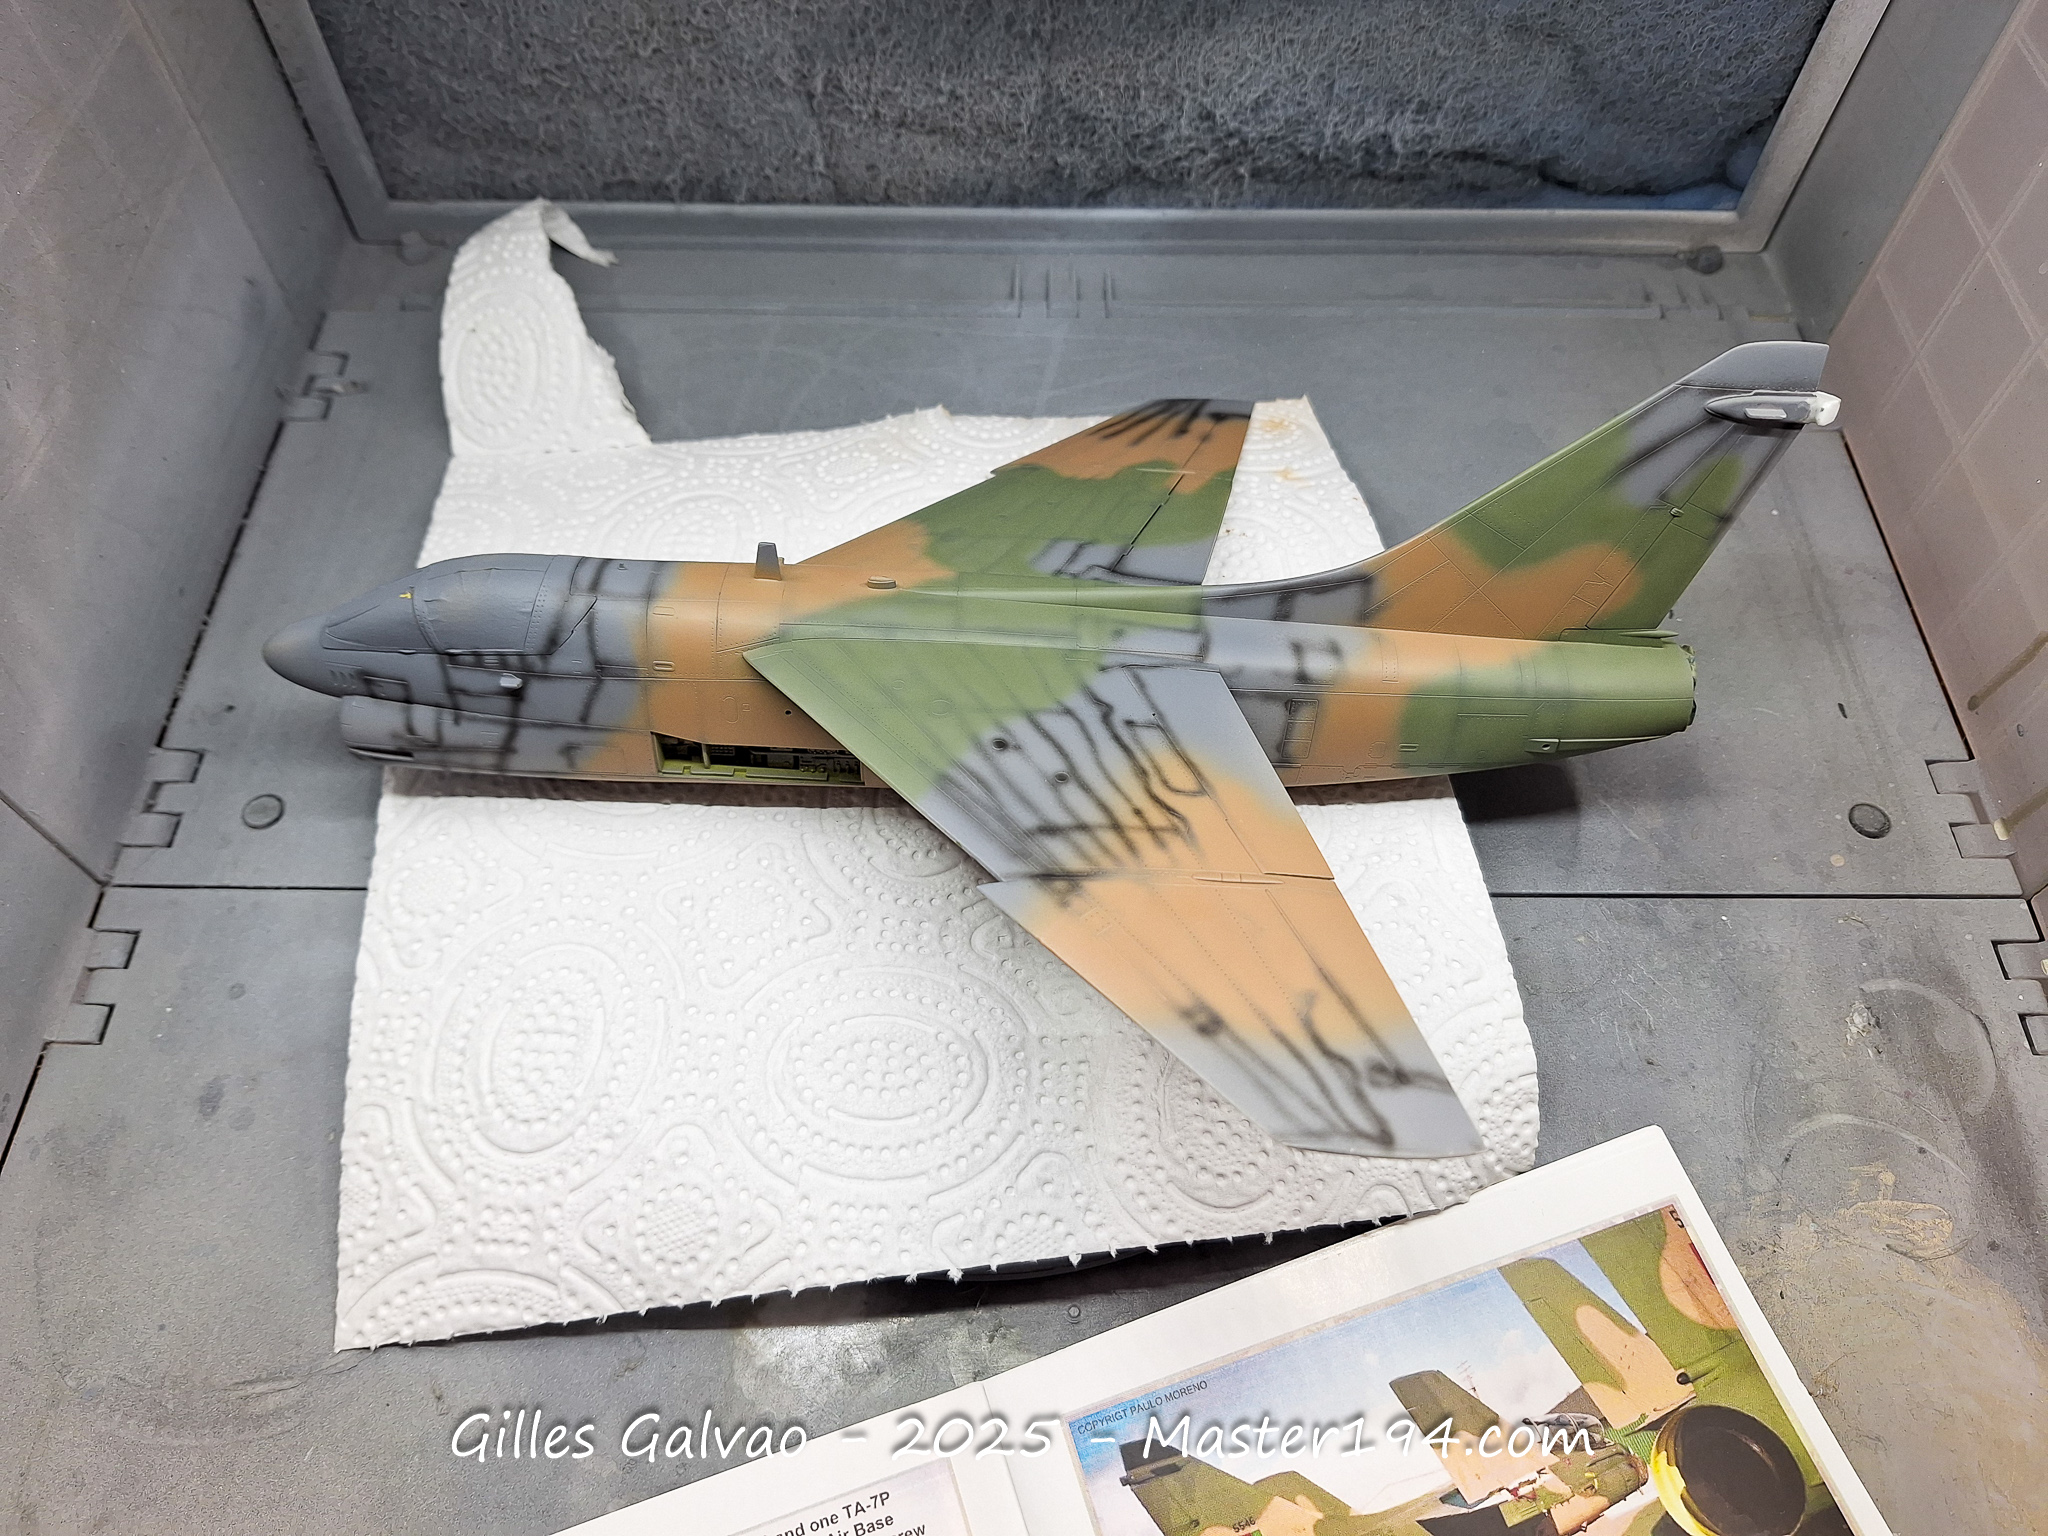
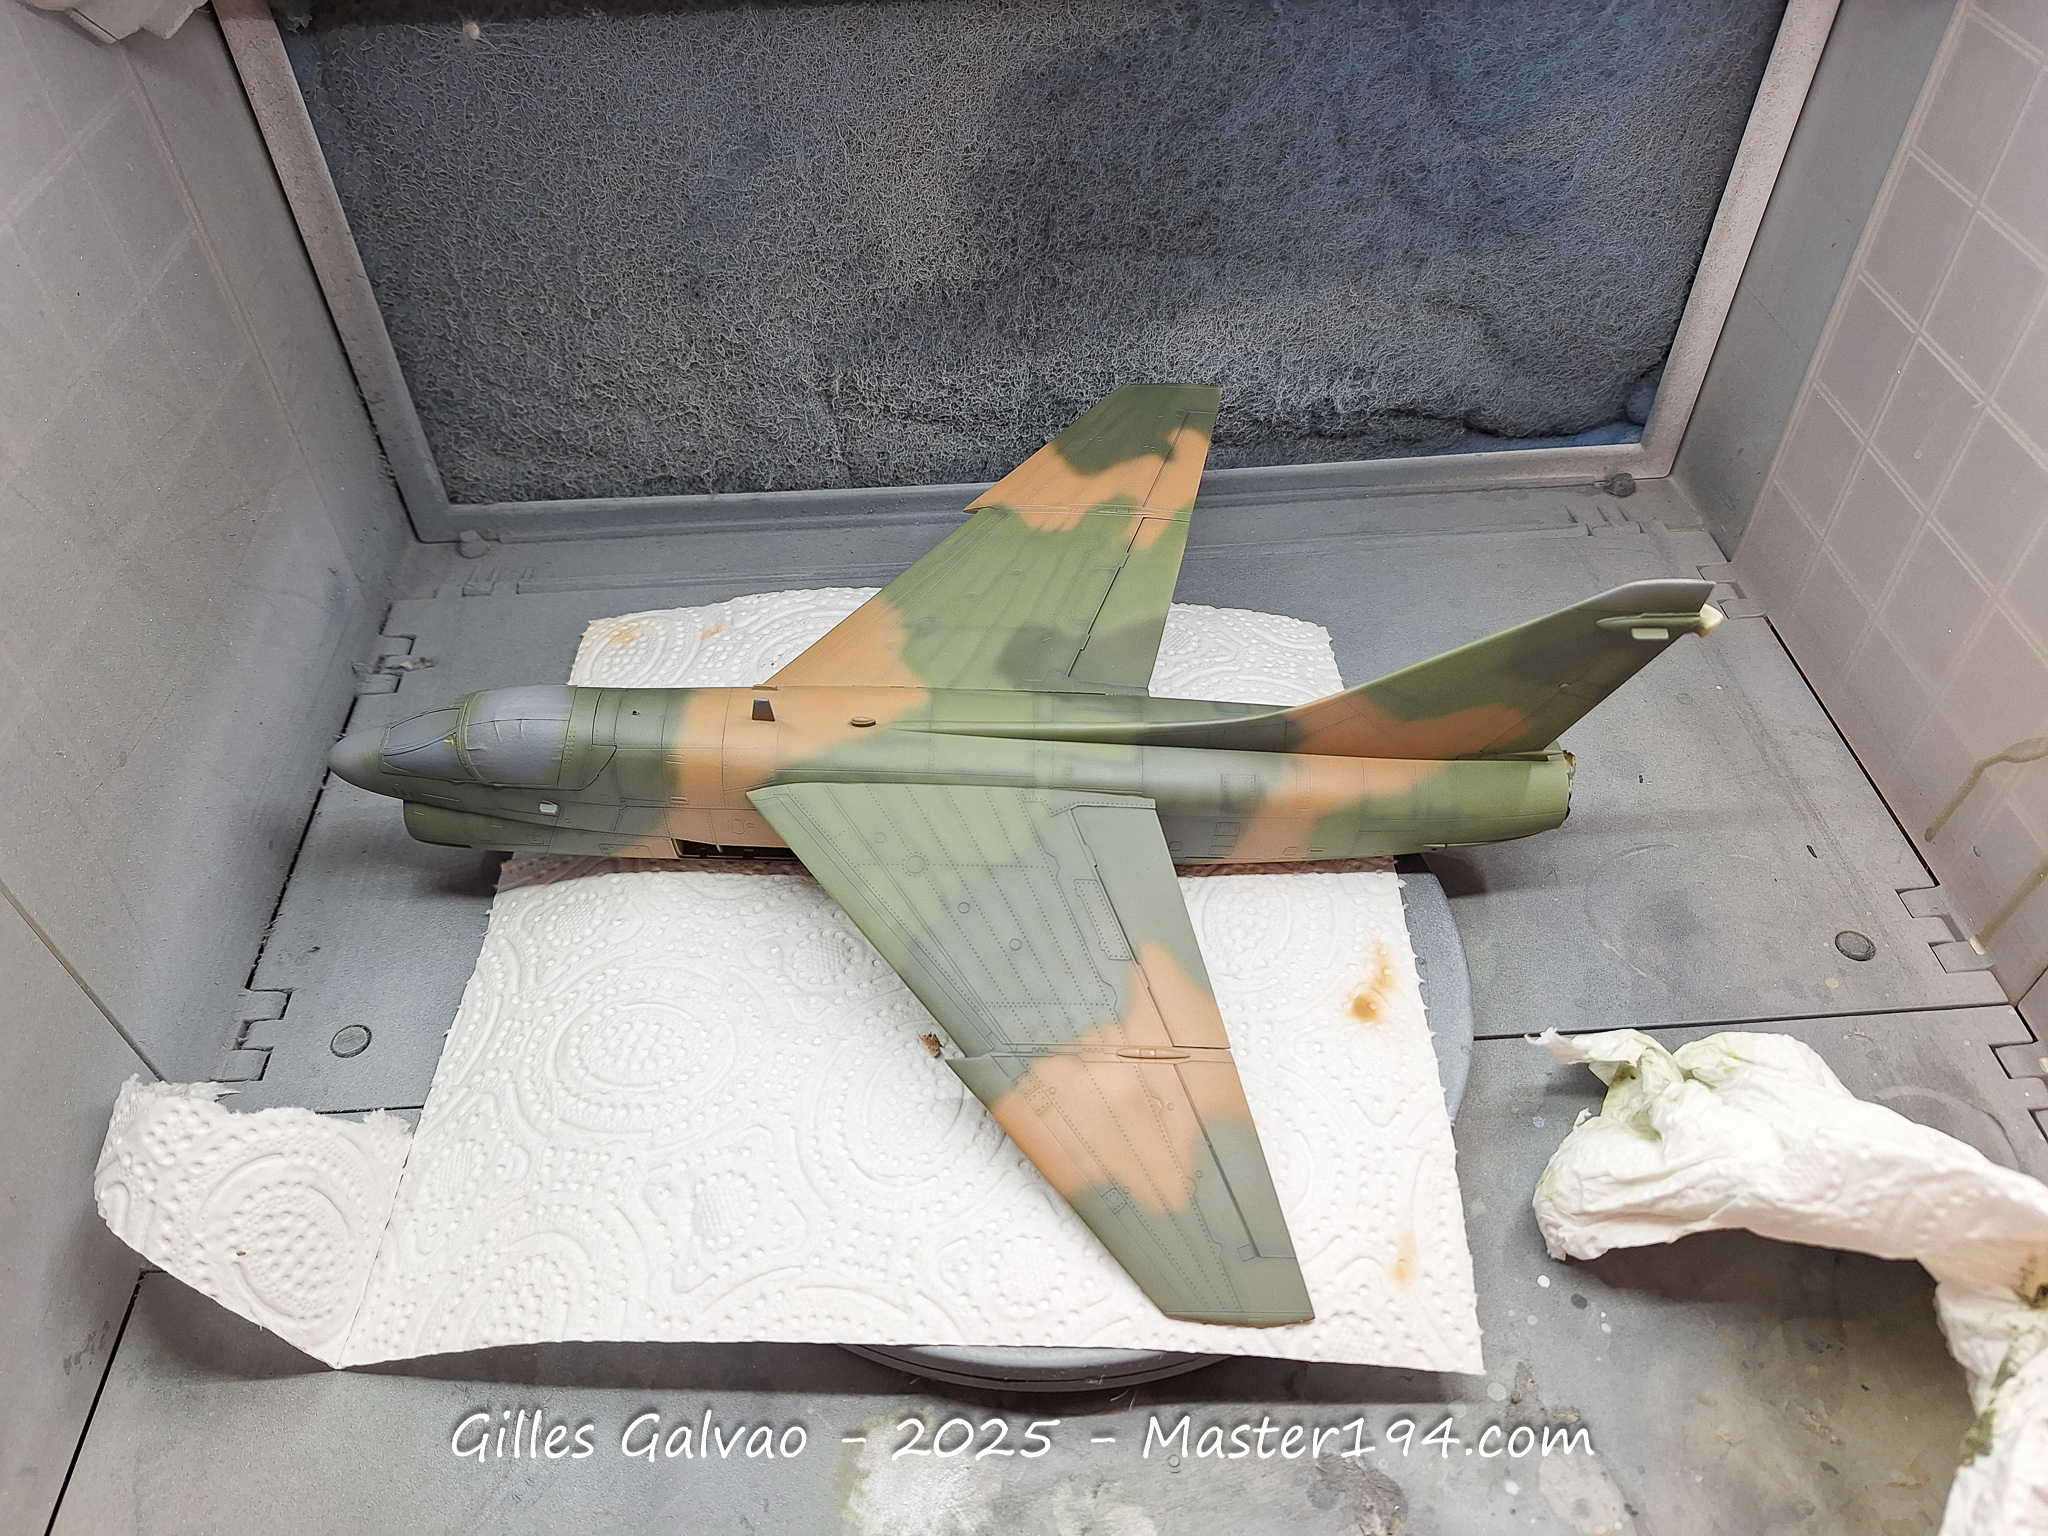
After painting the nose and the various smaller details, I applied a gloss coat to prepare the surface for decal application.
Final details
Once the decals were in place, I turned my attention to the air intake. The kit’s representation is particularly unconvincing, so I decided to fit an intake cover made from adhesive aluminium foil and strips of plastic card. A-7Ps can often be seen on the ground with just the front intake cover fitted.
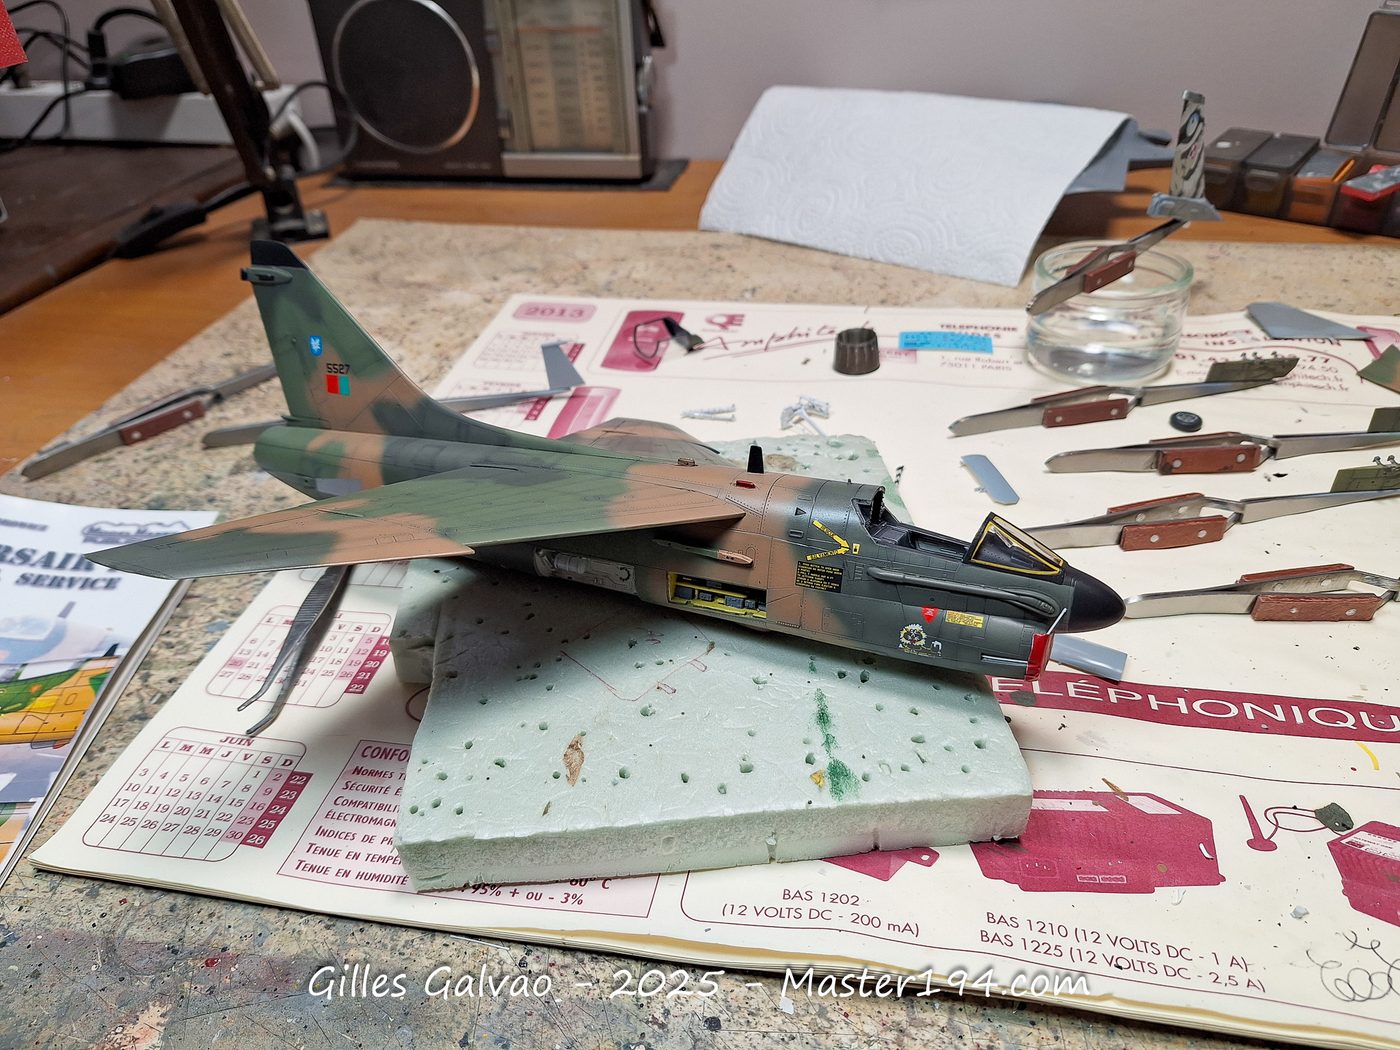
Finally, HobbyBoss has represented not the angle-of-attack probe itself, located just below the cockpit on the left-hand side, but its protective assembly. A touch of red paint and a Remove Before Flight streamer complete this detail.
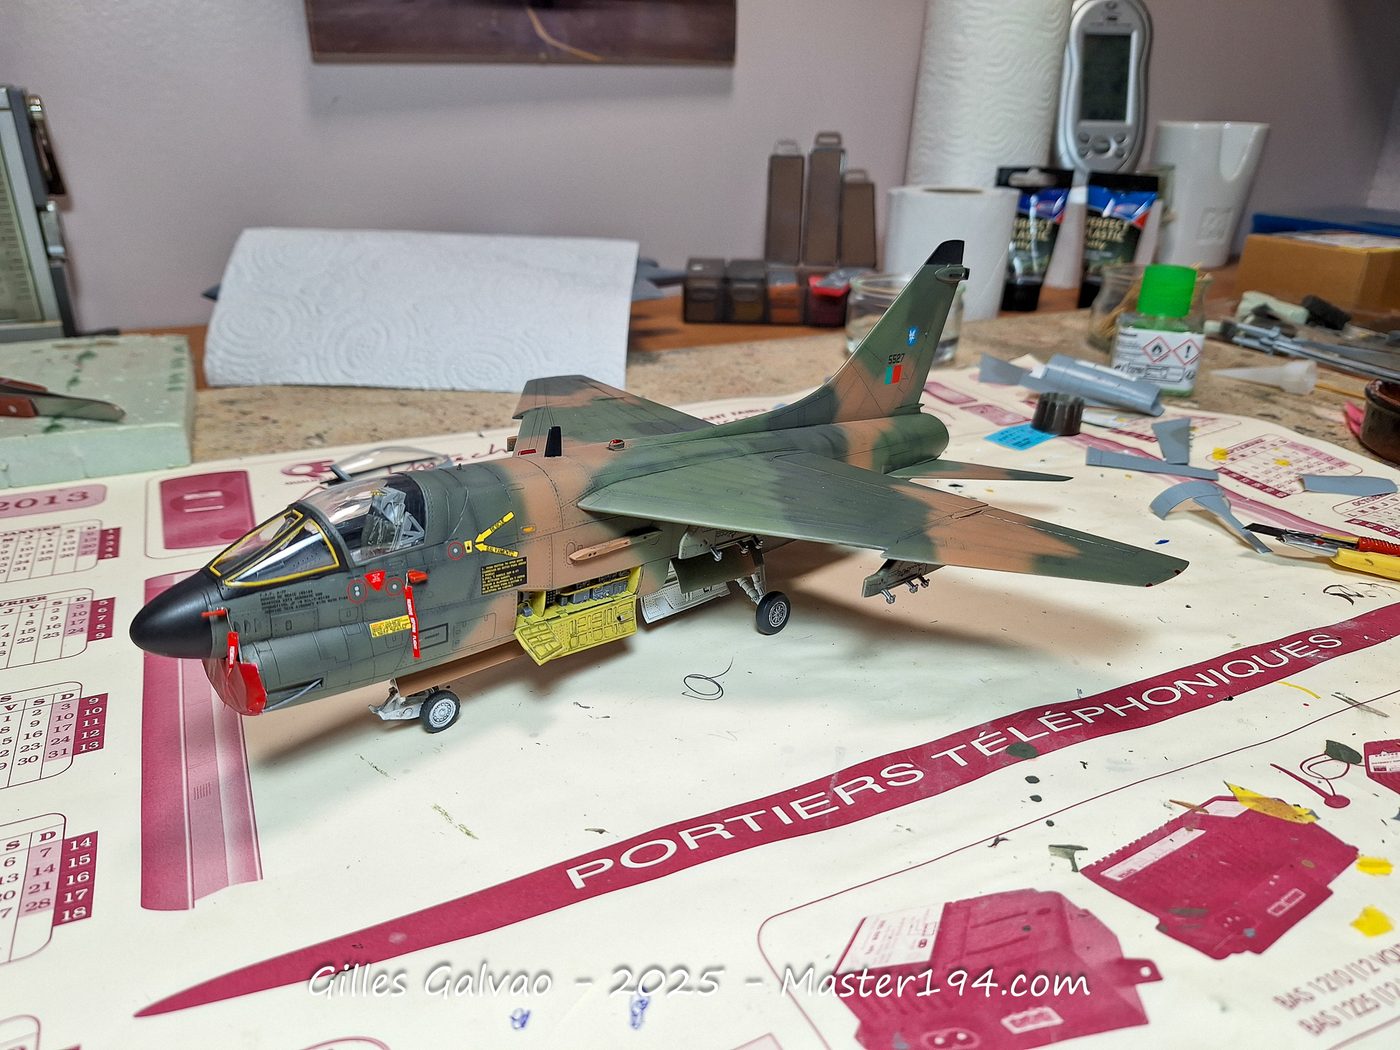
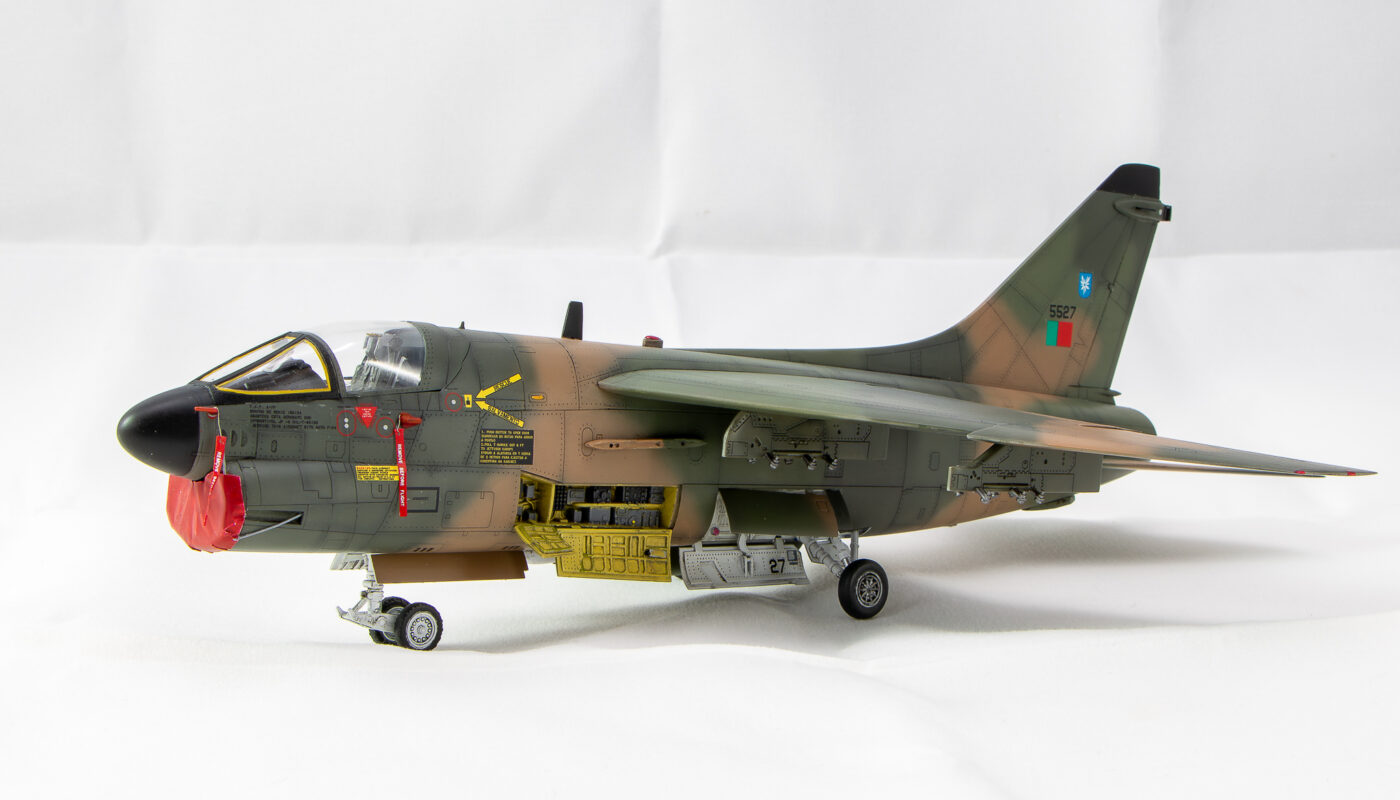
Completed model
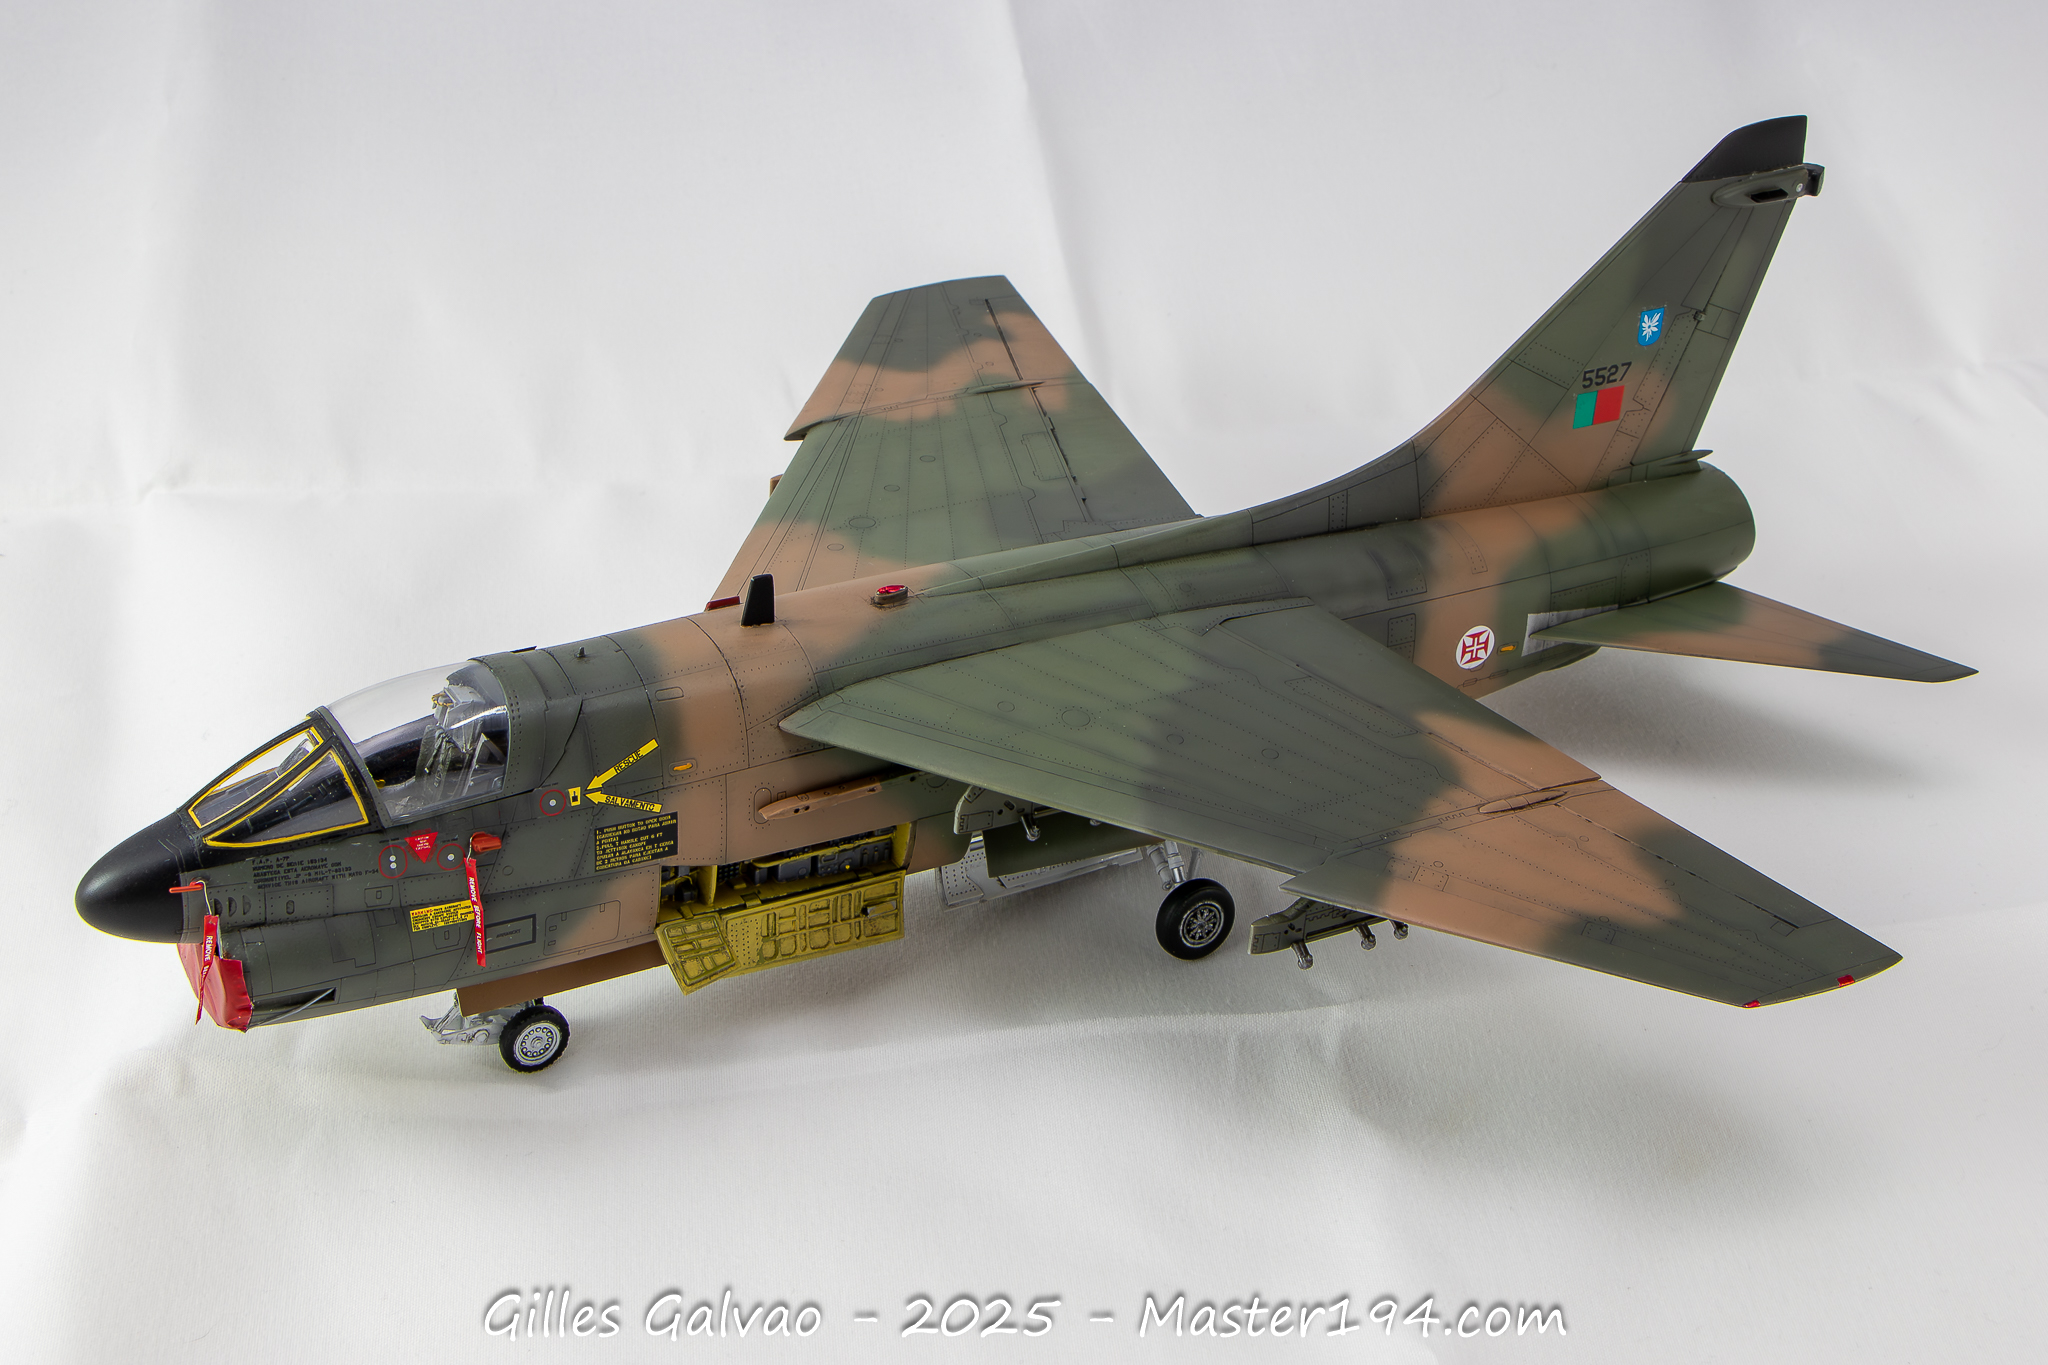
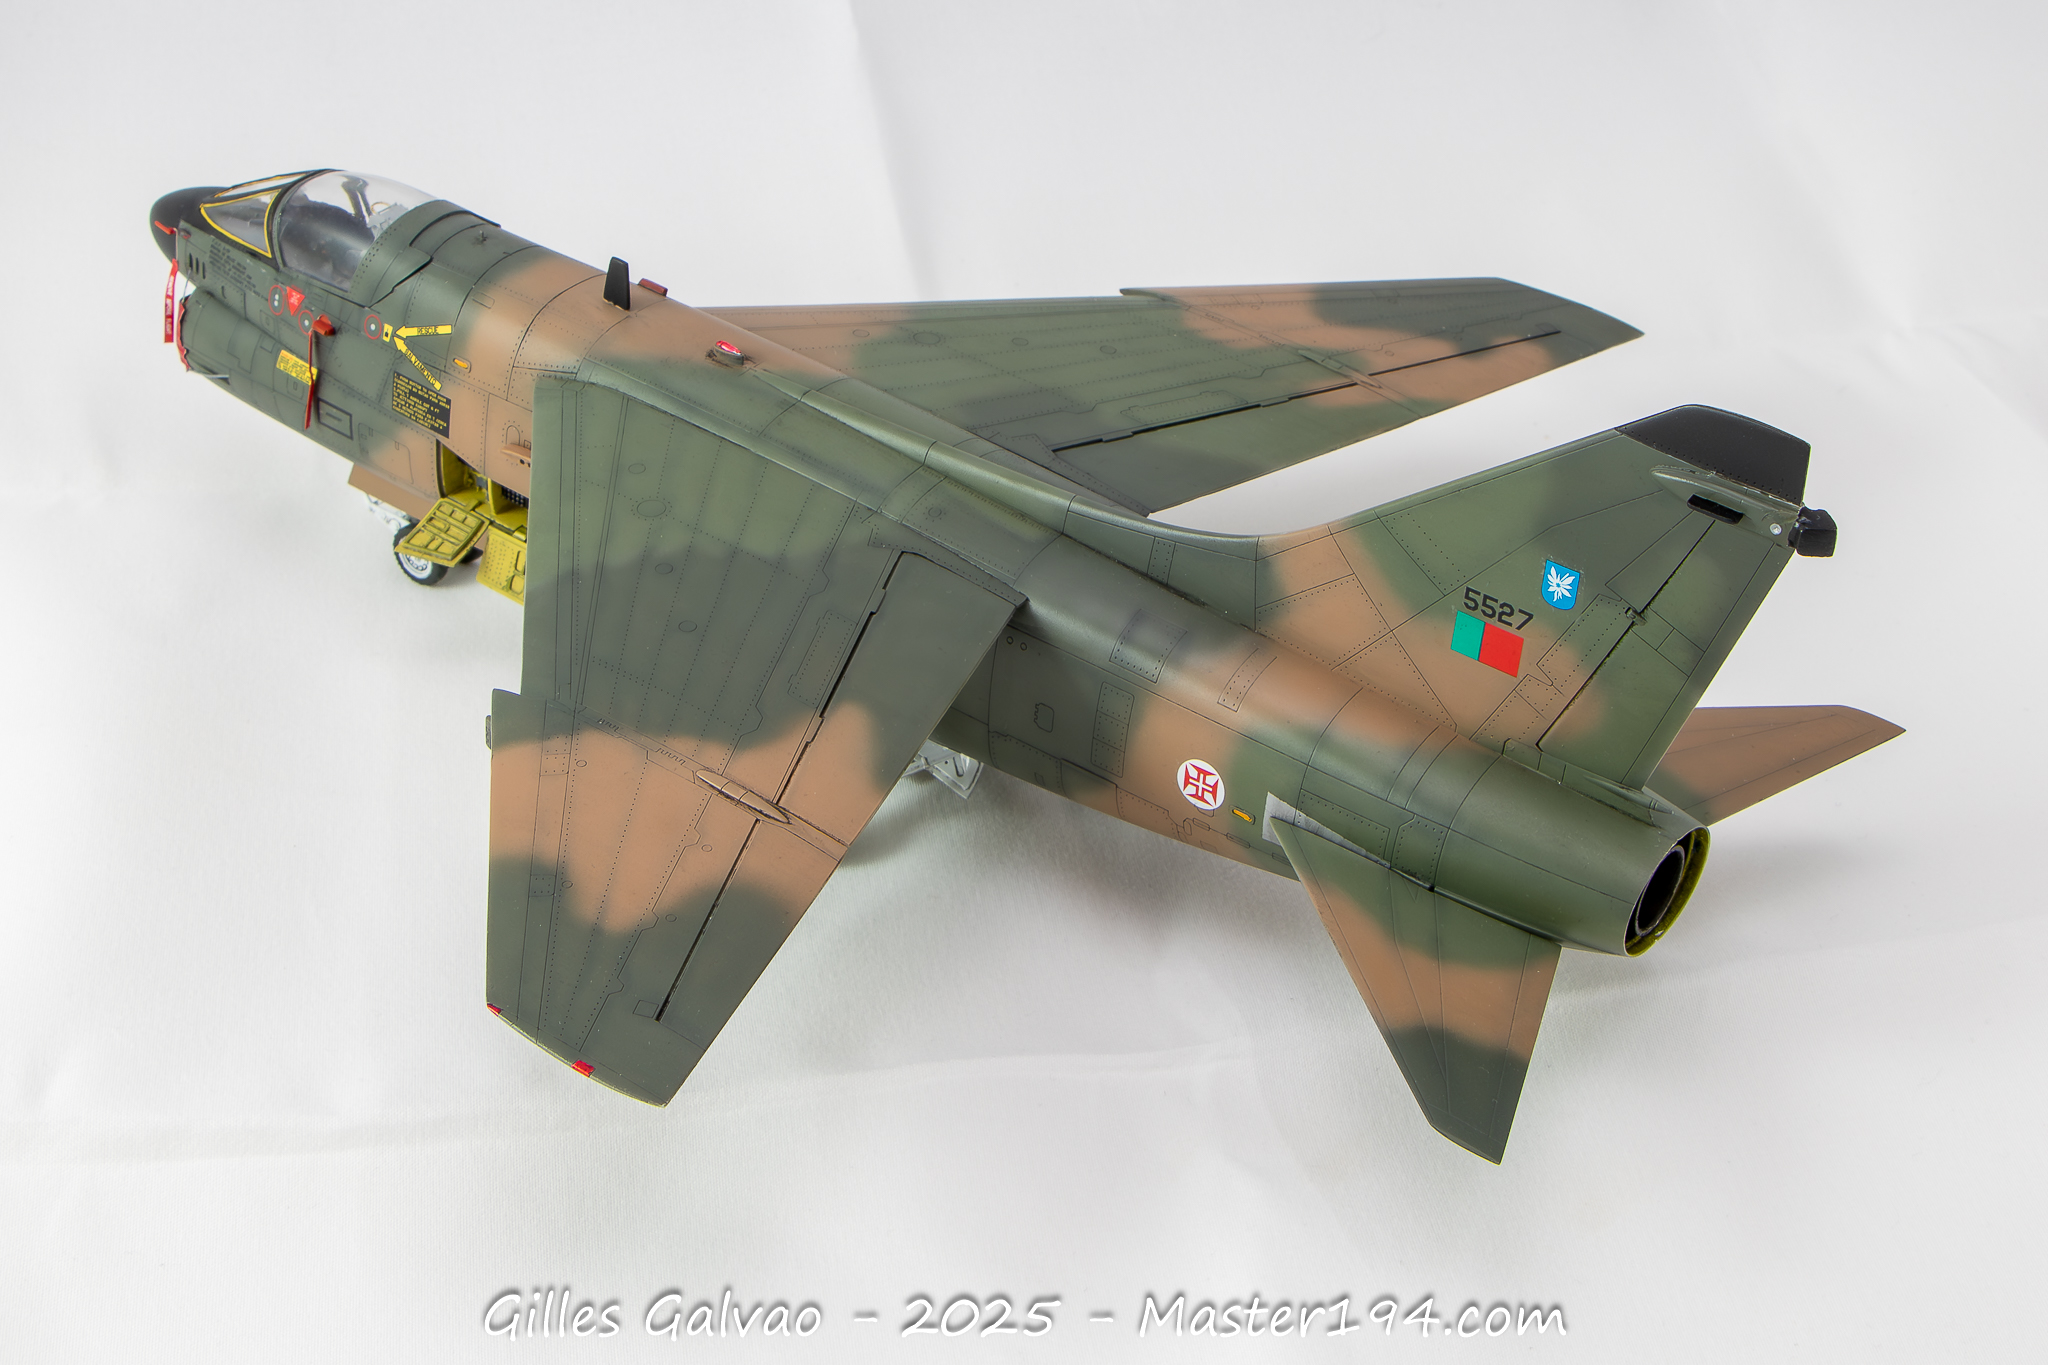
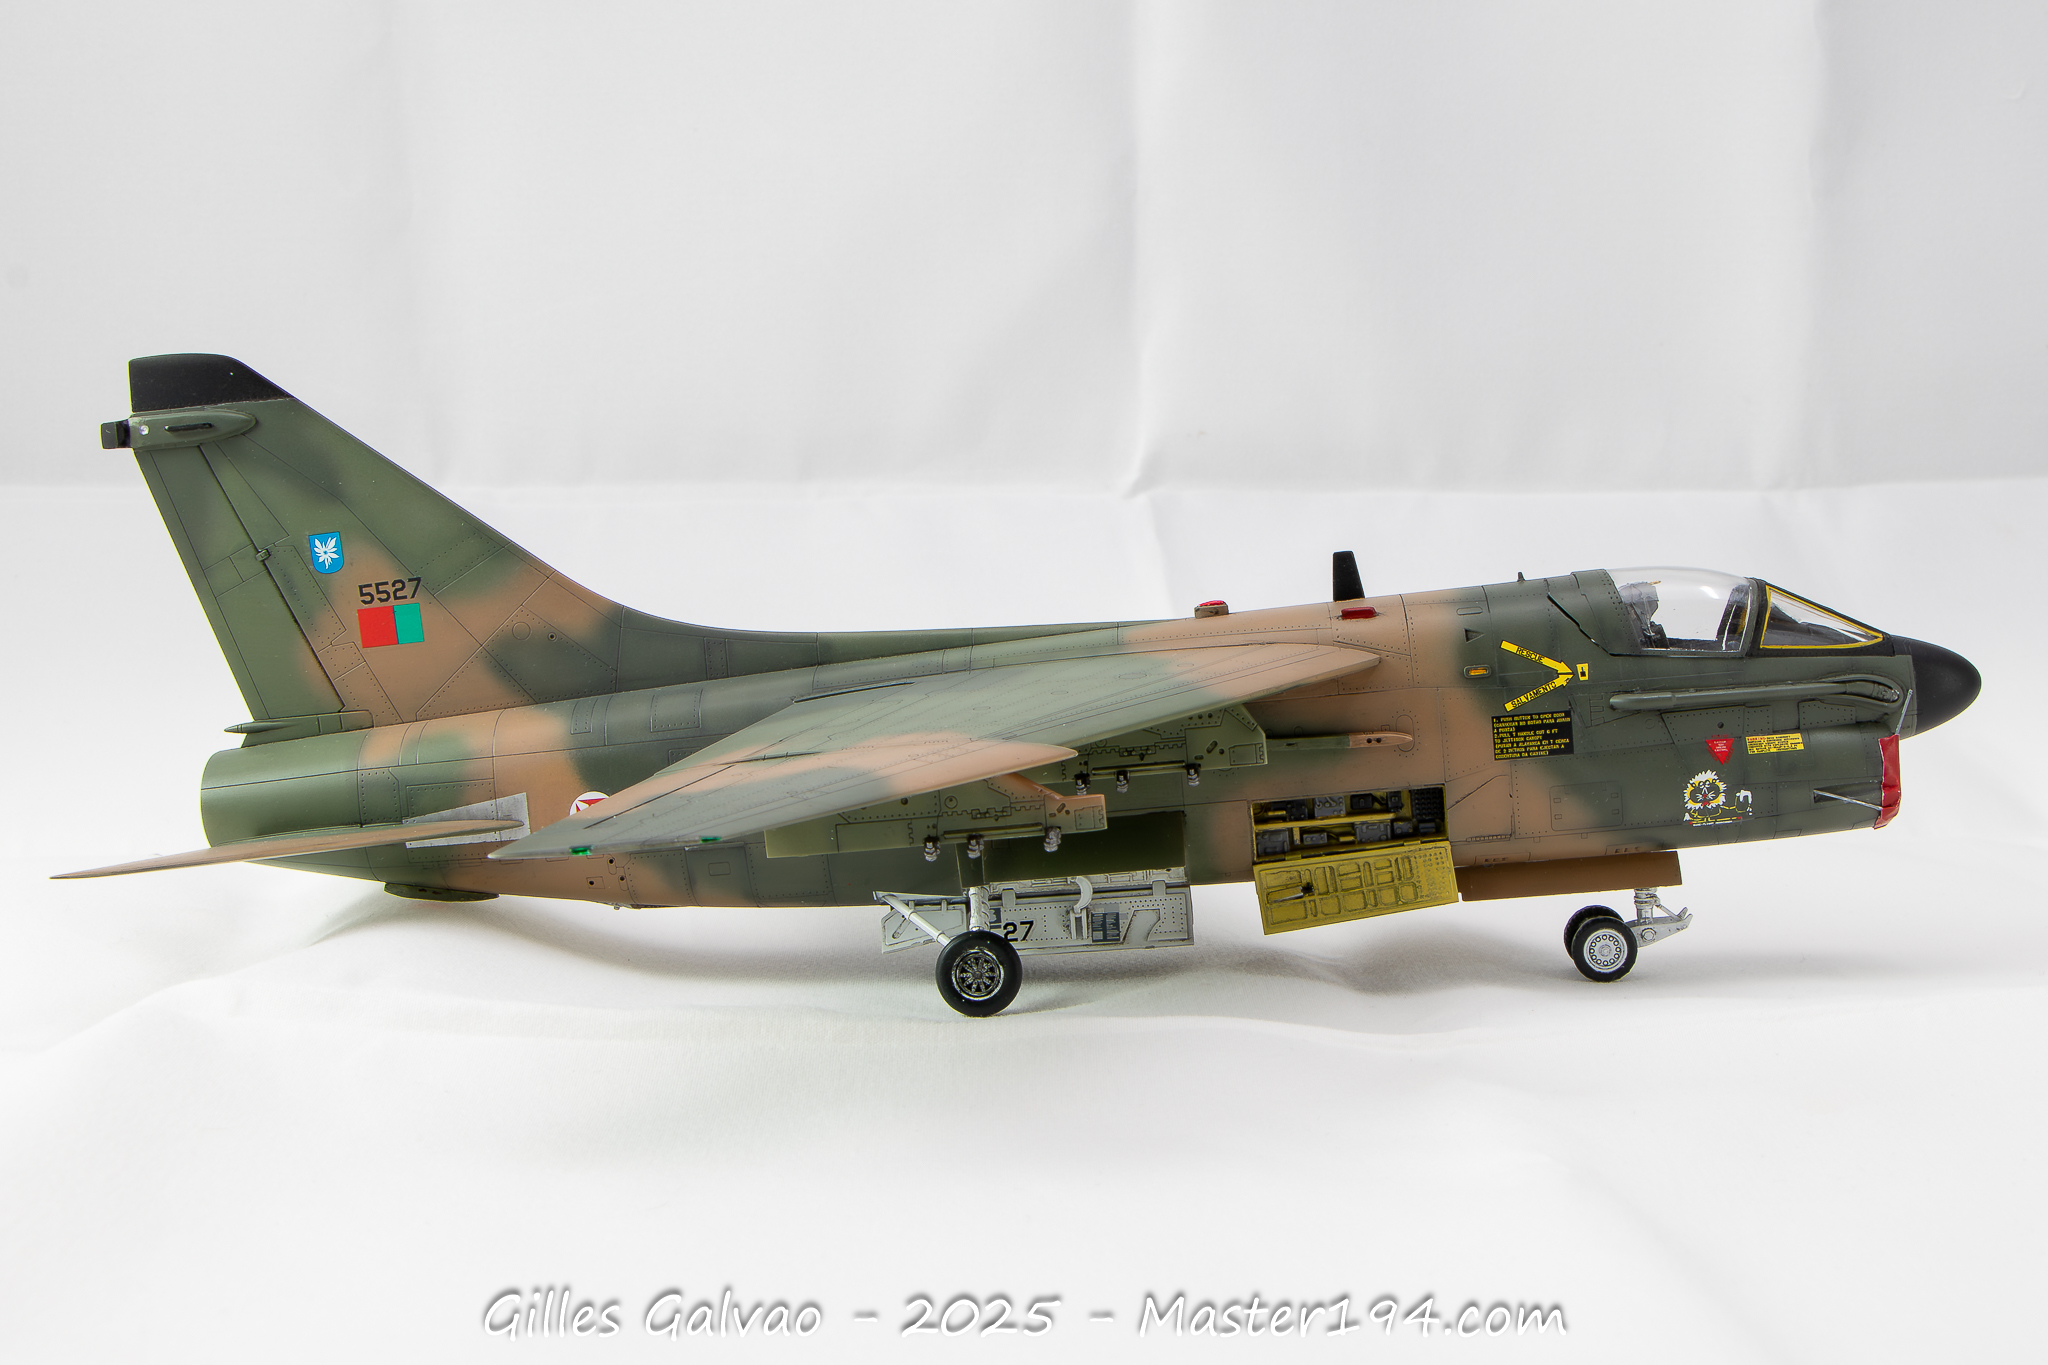
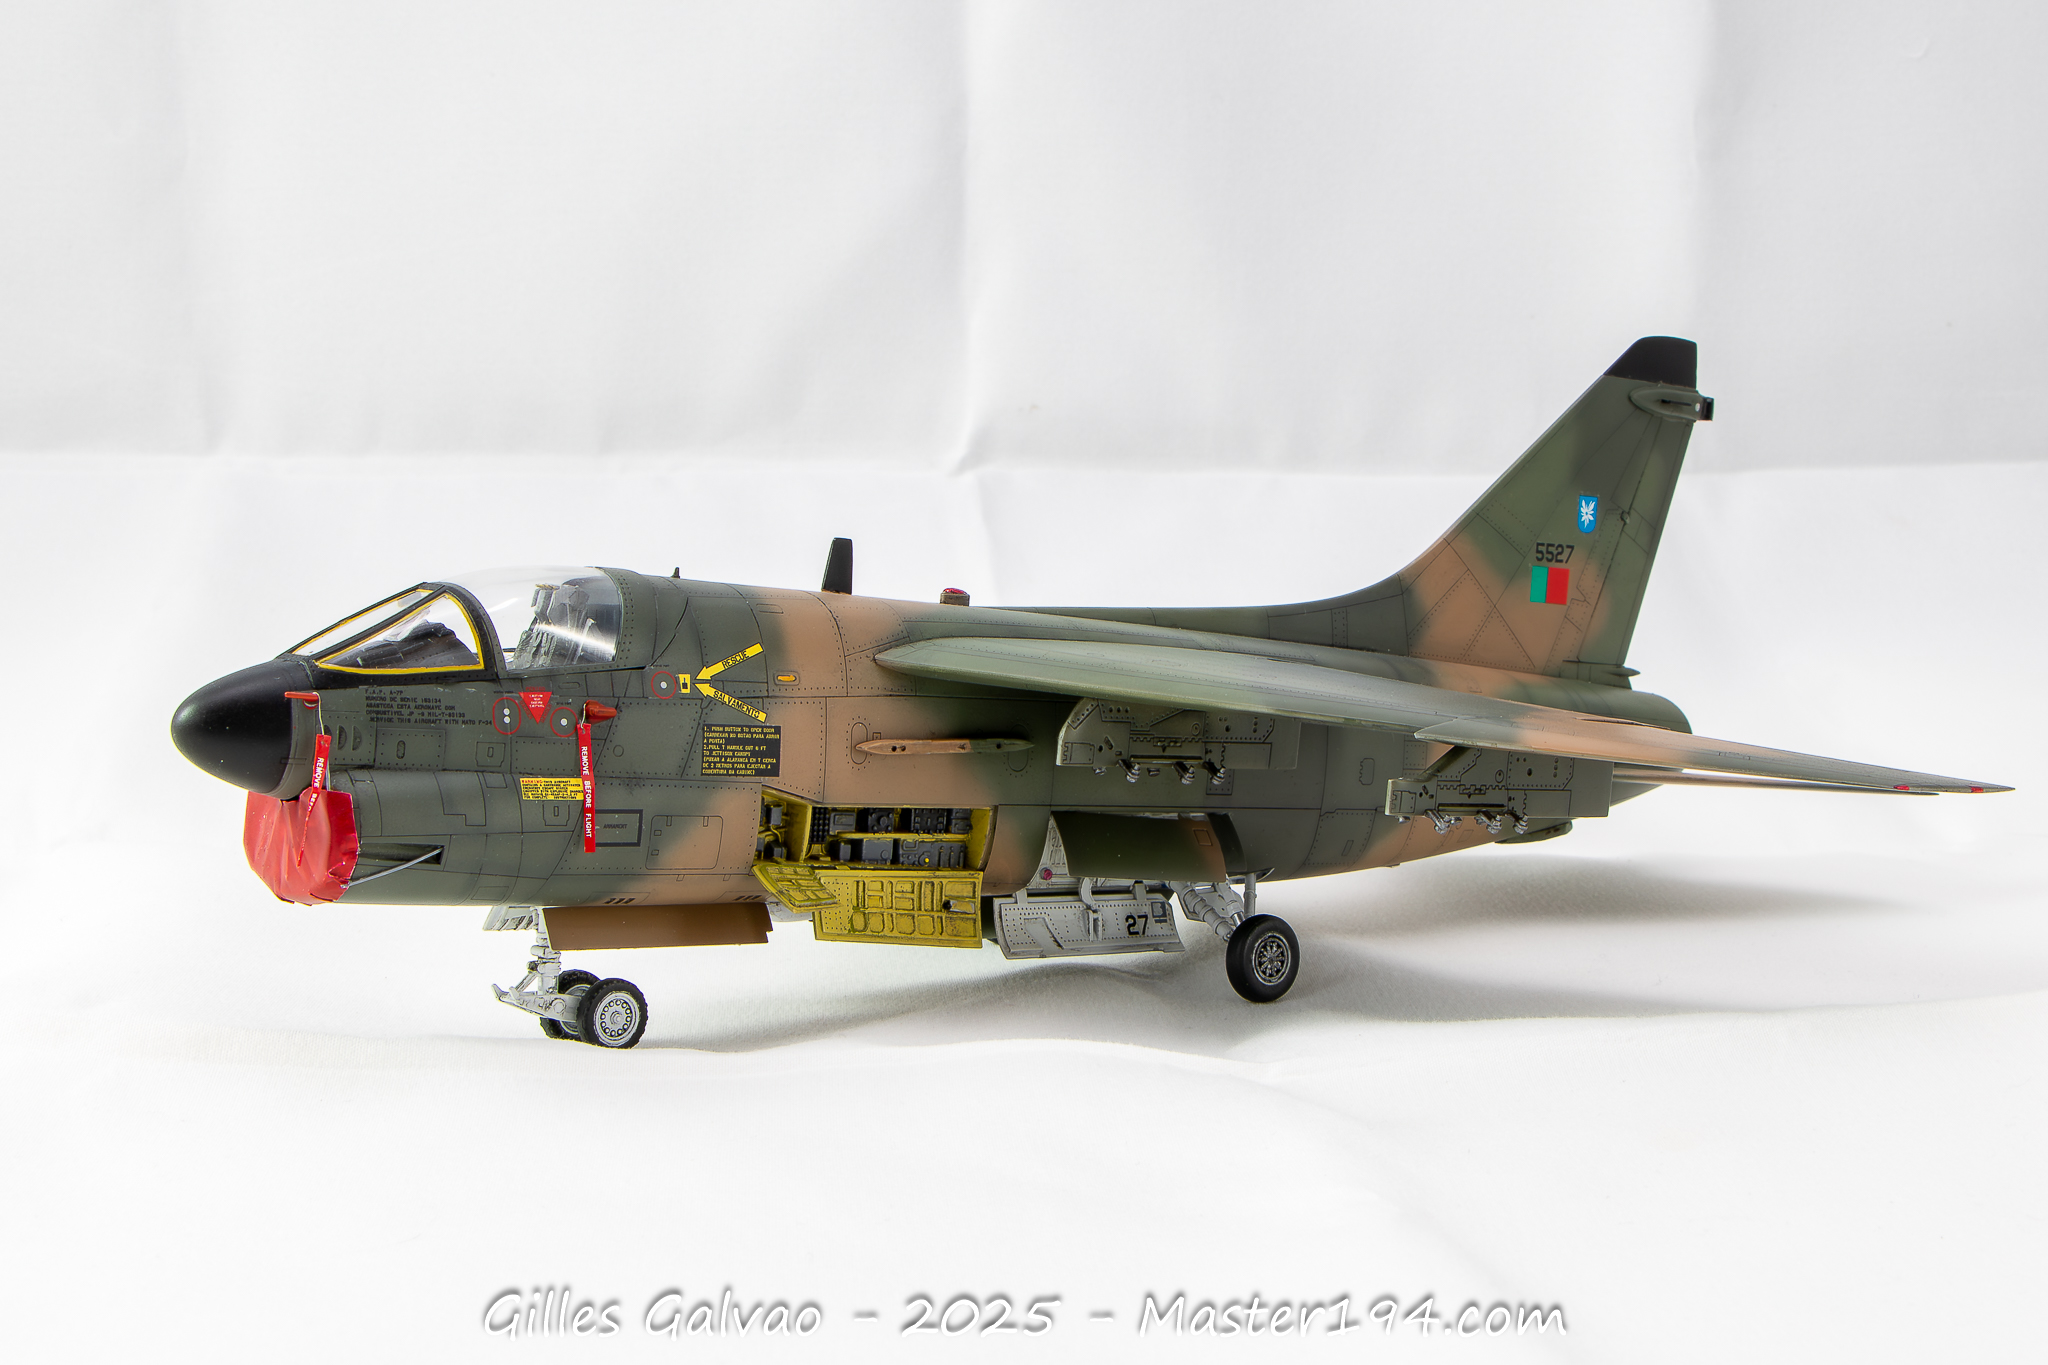
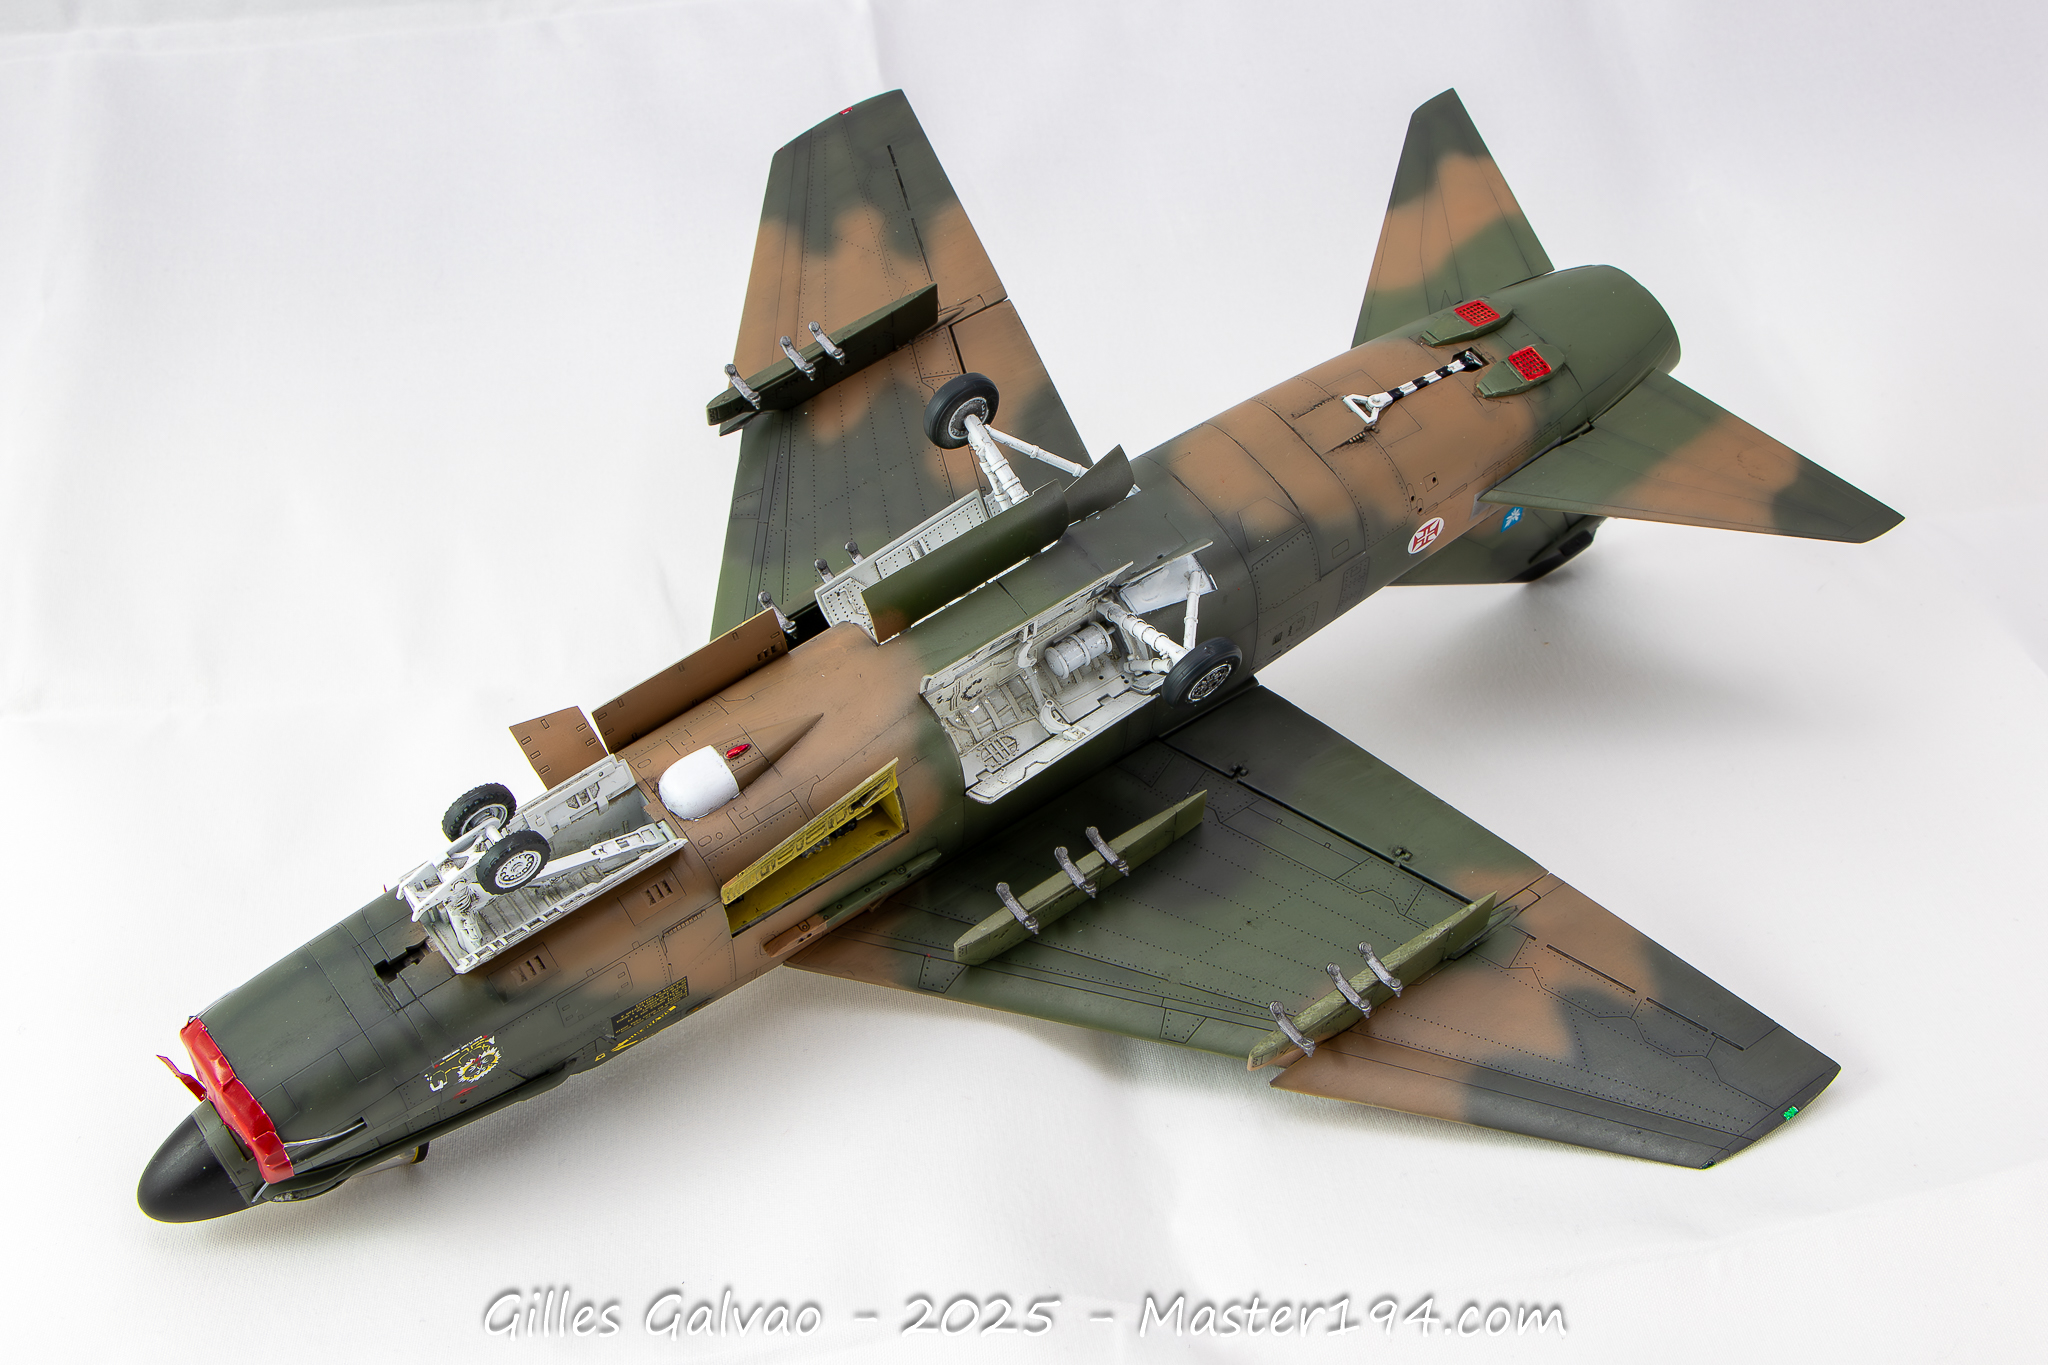
My sincere thanks to Seb LGL for providing the kit and decals at virtually no cost!