by
Some aircraft are legendary, and for me, the Skunk Works Lockheed SR-71 Blackbird is one of them. Between its incredible design, its ahead-of-its-time technology, and its record-breaking performance, it stands alone. Its official speed and altitude records for a crewed, air-breathing jet aircraft (not rocket-powered) set back in 1976 still hold true today: Mach 3.3 (3,529 km/h) and an altitude of 25,929 meters (85,069 feet)!
In the box
As you can imagine, a 1/48 scale SR-71 Blackbird is massive: nearly 70 cm (27.5 inches) long once assembled. The Testors box is truly imposing.

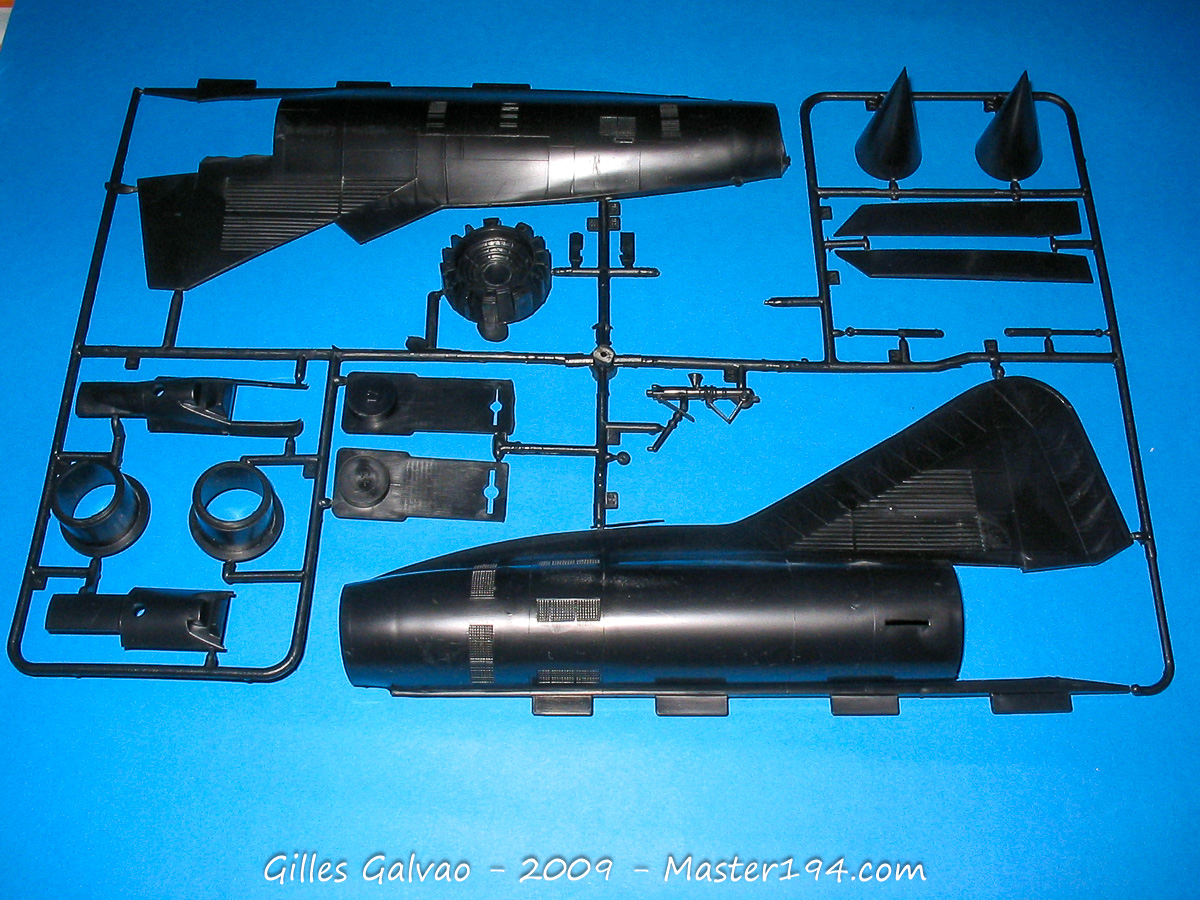
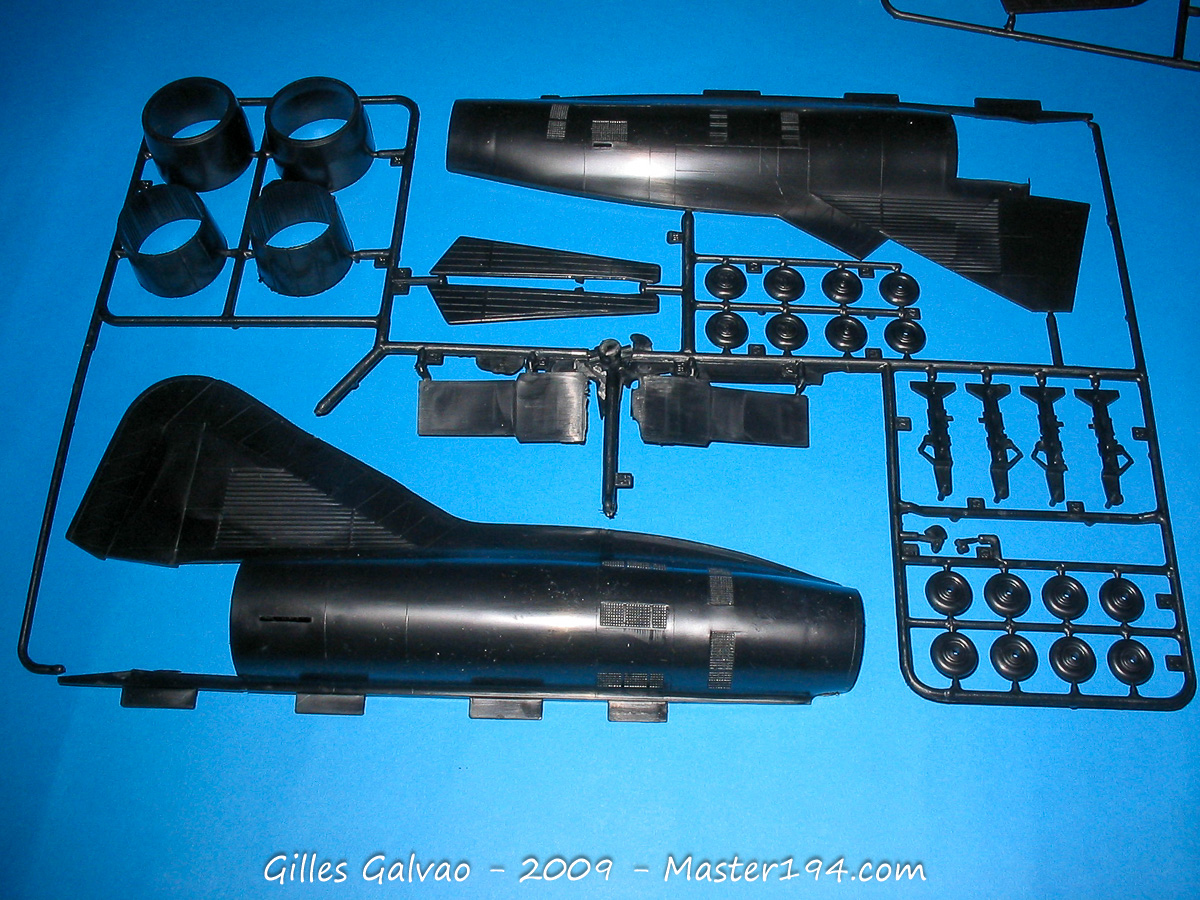
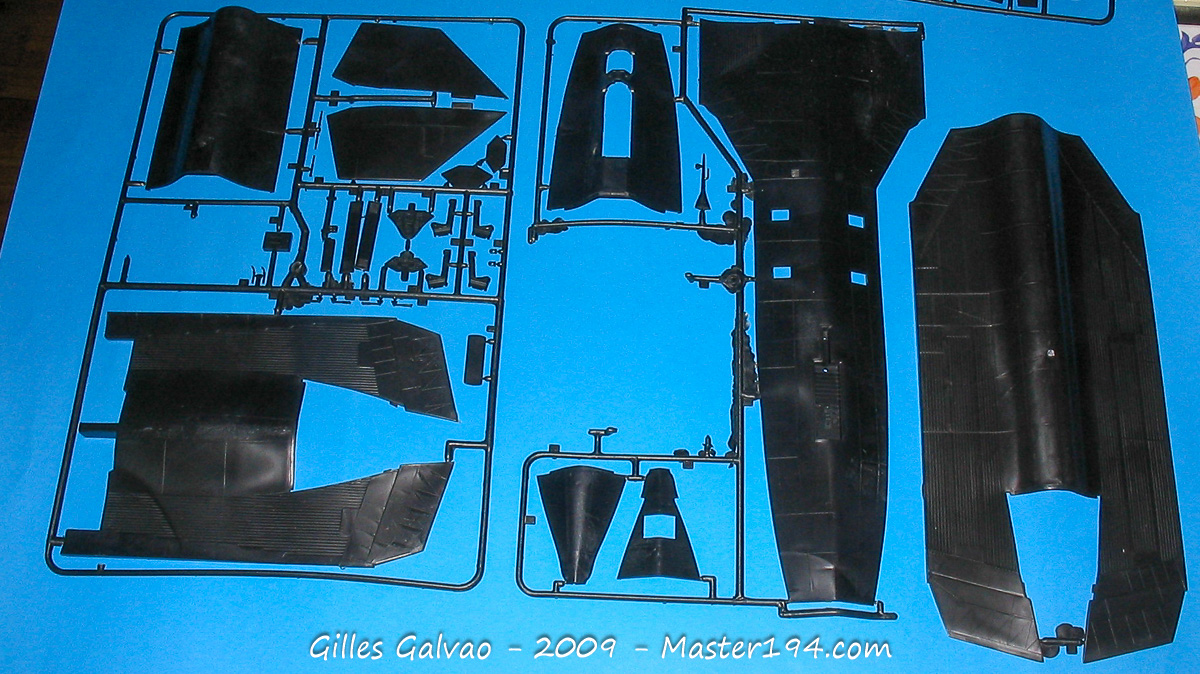
The Sprues:
The fuselage is a real jigsaw puzzle, which doesn’t help with the fit. Dry-fitting reveals that a good dose of putty and patience will be required.
The black plastic sprues look fairly good: ejector pin marks aren’t too badly placed, and the surface finish is quite decent. The raised panel lines can easily be rescribed.
For those worried about rescribing, I invite you to read this article:
How to Rescribe Panel Lines: A Complete Guide for Scale Modelers
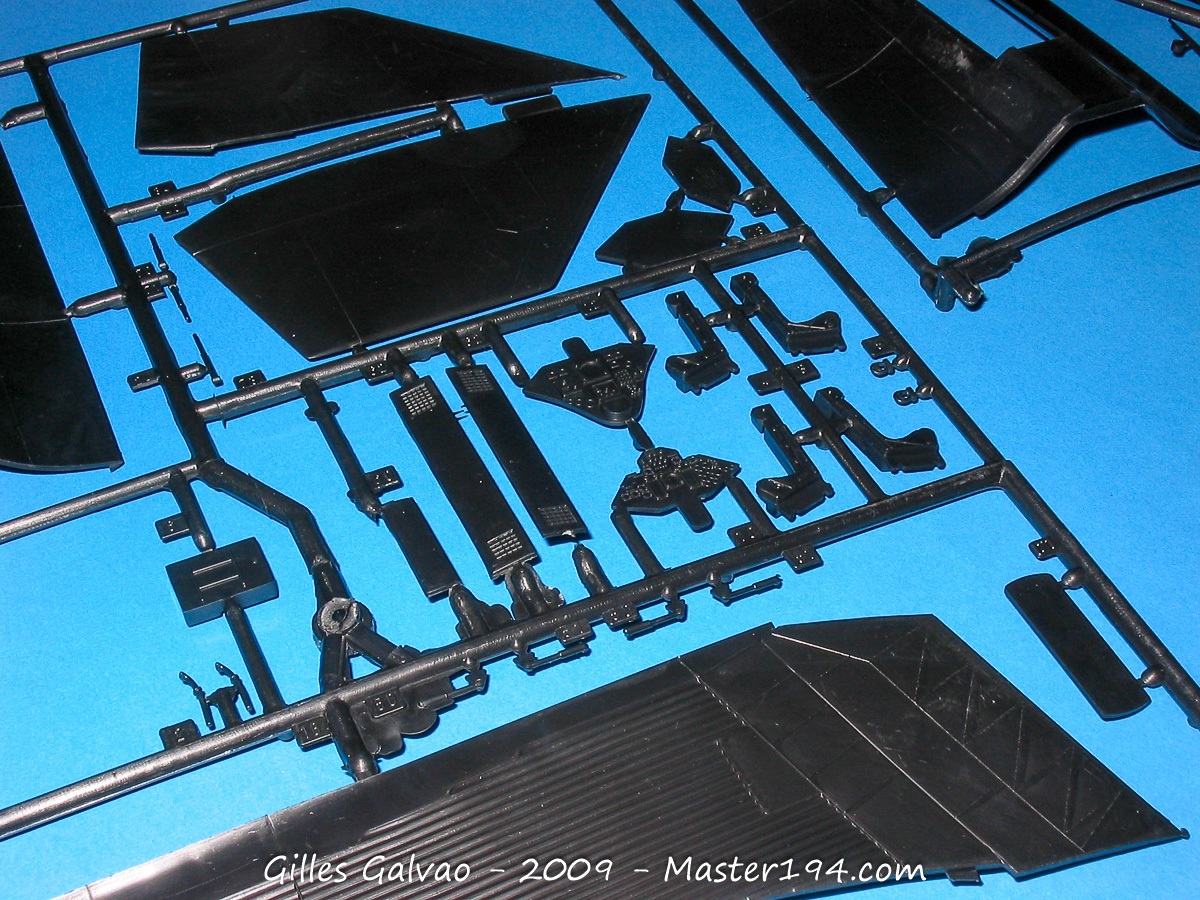
The cockpit and seats are rather basic, but this isn’t a major issue if you plan to display it with the canopies closed, as the glass surfaces are kept to a strict minimum.
However, if you intend to leave the cockpit open, you’ll need to resort to scratch-building or pick up the True Details resin set. Personally, I went with the second option!
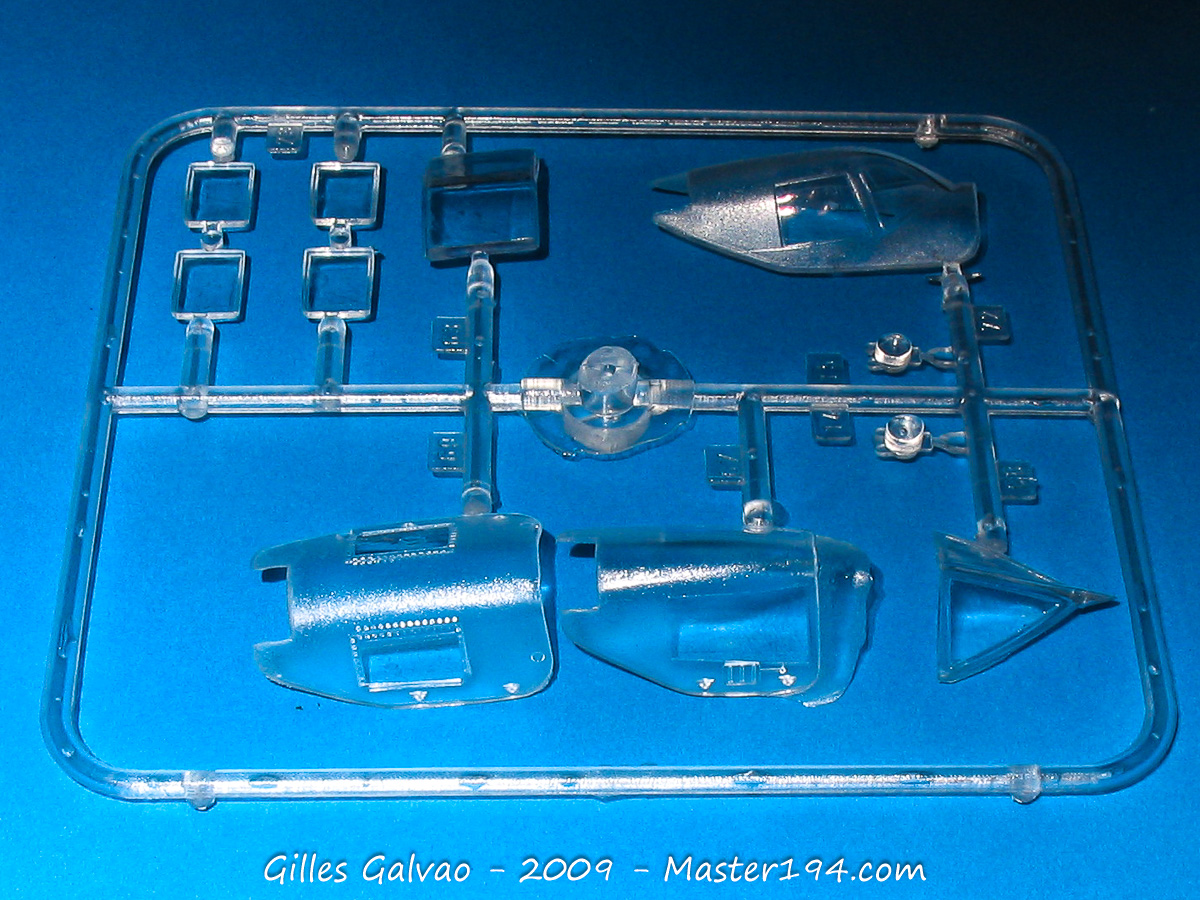
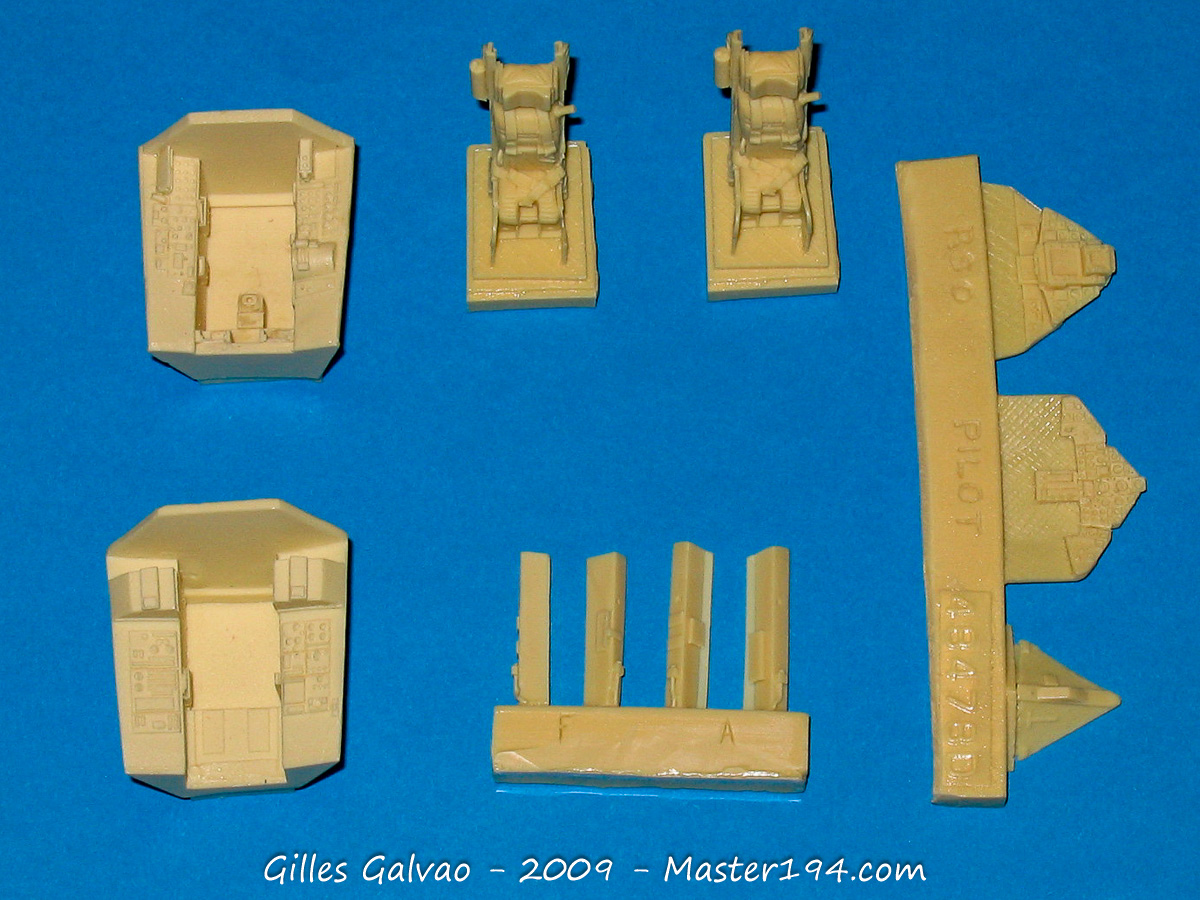
The landing gear and wheel wells will only need a few hoses and lines to look the part. Unfortunately, the kit’s interpretation of the aircraft’s nose is inaccurate… I decided not to modify it myself. Let’s not forget that this kit was designed back in the 1980s!
Instructions and Decals
The instruction manual is a masterpiece of its kind! The assembly is clearly explained (both diagrams AND text) and, more importantly, the painting guide features clear instructions with FS (Federal Standard) color references for every stage. The icing on the cake is the “historical notes” and “technical notes”: small paragraphs explaining, for instance, that the cockpit might be inaccurate because many upgrades were still classified as Top Secret when the kit was developed.
The manual even shares this anecdote: despite the cockpit’s air conditioning, the heat was so intense that you could actually cook food by pressing it against the canopy glass.
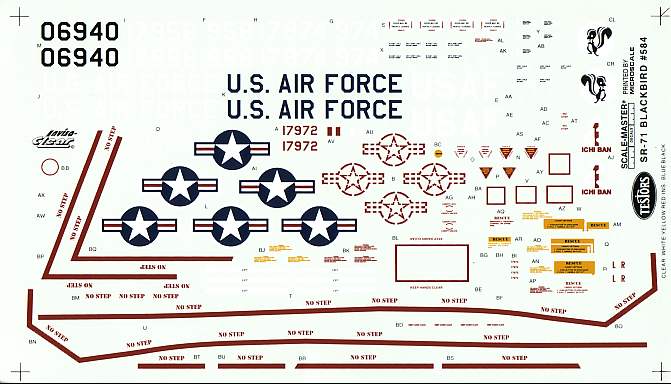
The last page features a small walkaround, though sadly it is somewhat marred by the printing quality. As for the decals, the colors, registration, and precision are decent. You can represent four different aircraft:
- 974 (SR-71A)
- 972 (Low Observable SR-71A)
- 956 (SR-71B)
- 940 (CIA A-12 / M-12, noted as “Conversion for expert builders only”)
The Build
Don’t forget to take a look at the SR-71 Blackbird Walkaround: Secrets of Airframe #61-7962 at Duxford
Rescribing
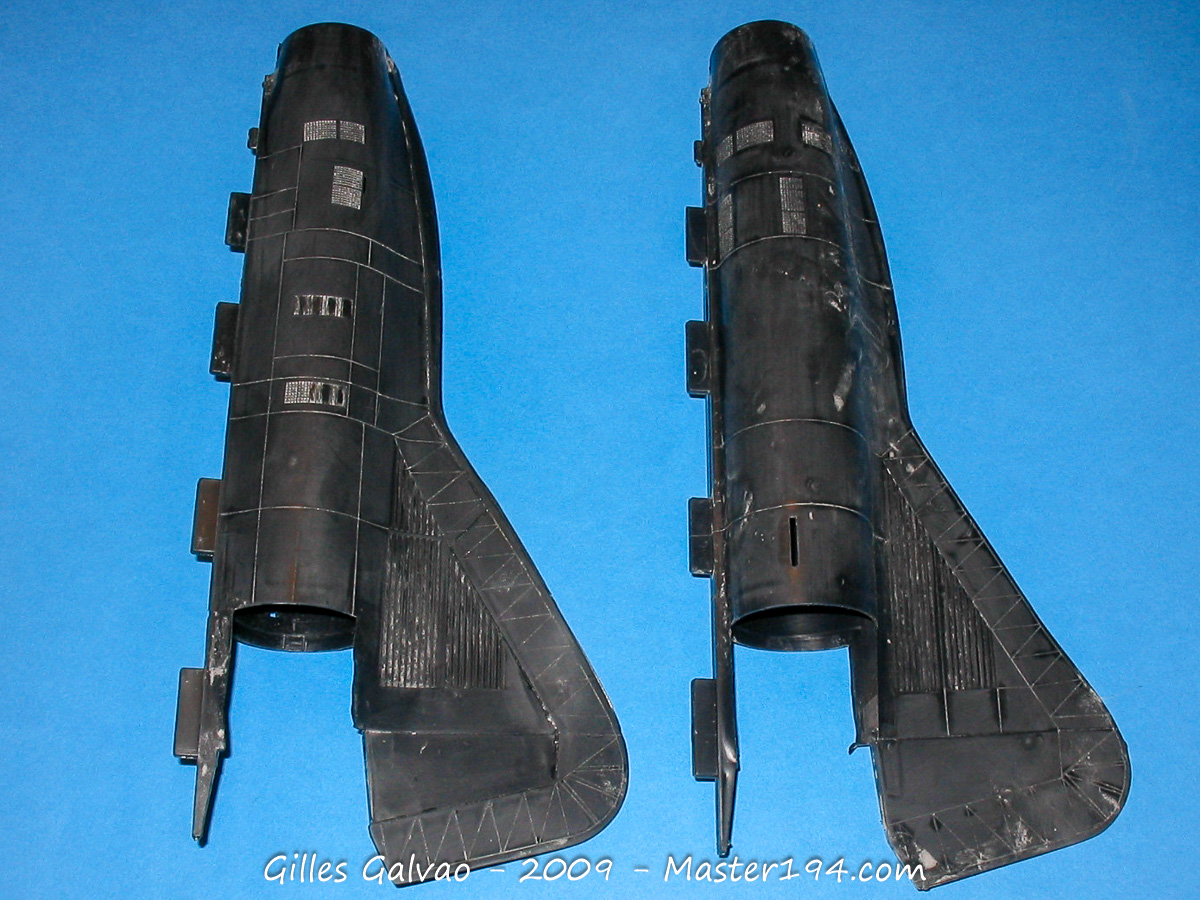
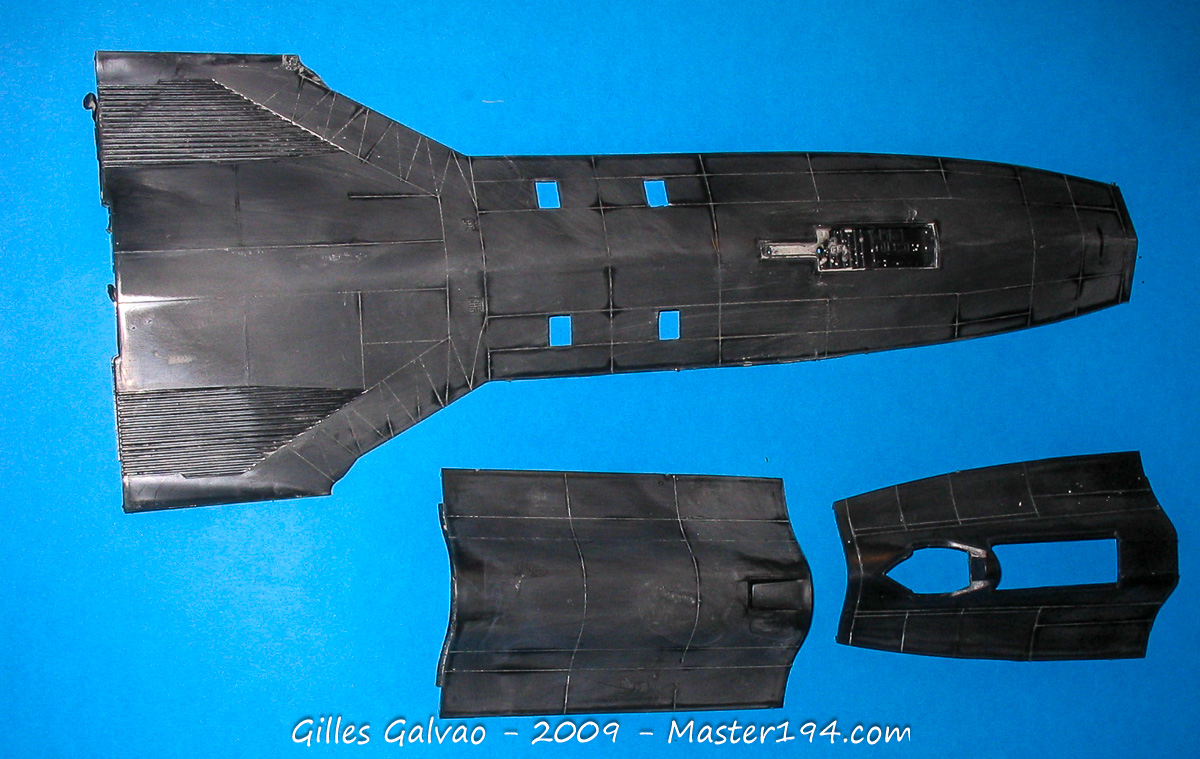
The first step was to rescribe the entire beast. Despite its massive size and the significant number of lines to rework, the process—a first for me—turned out to be relatively straightforward. There are plenty of flat areas and the curves aren’t too sharp. In just a few hours, the job was done.
The cockpit
The instrument panels and glare shield will be painted in Tire Black. A drybrush technique followed by the addition of fine details will then be applied.
By the way, feel free to check out our guide here:
Dry Brushing Guide: How to Highlight Details on Your Models
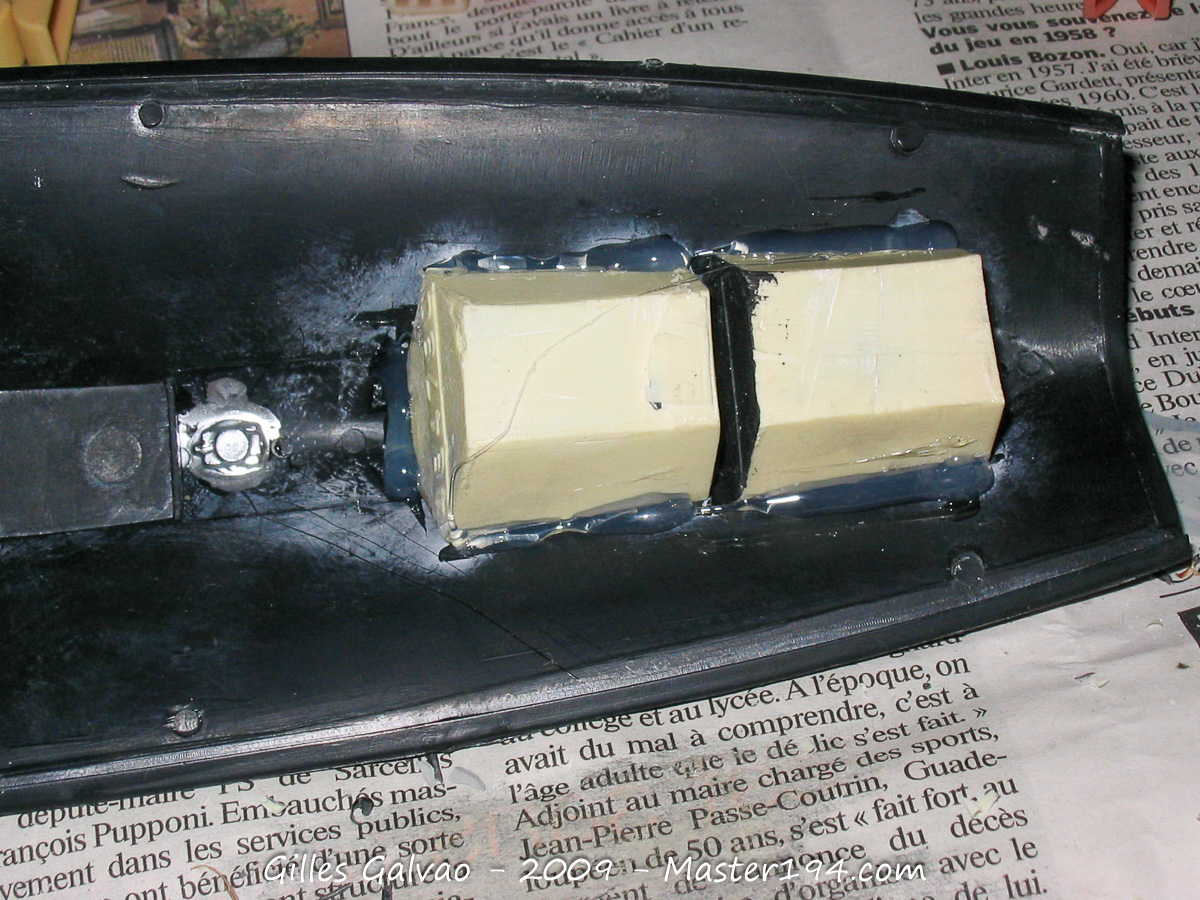
Once the painting is finished, it’s time to glue the cockpit tubs… The resin parts are set in place using cyano (CA glue), then reinforced with a few dabs from a hot glue gun. Before installation, some very simple cuts to the fuselage are required—all of which are clearly explained in the True Details instructions.
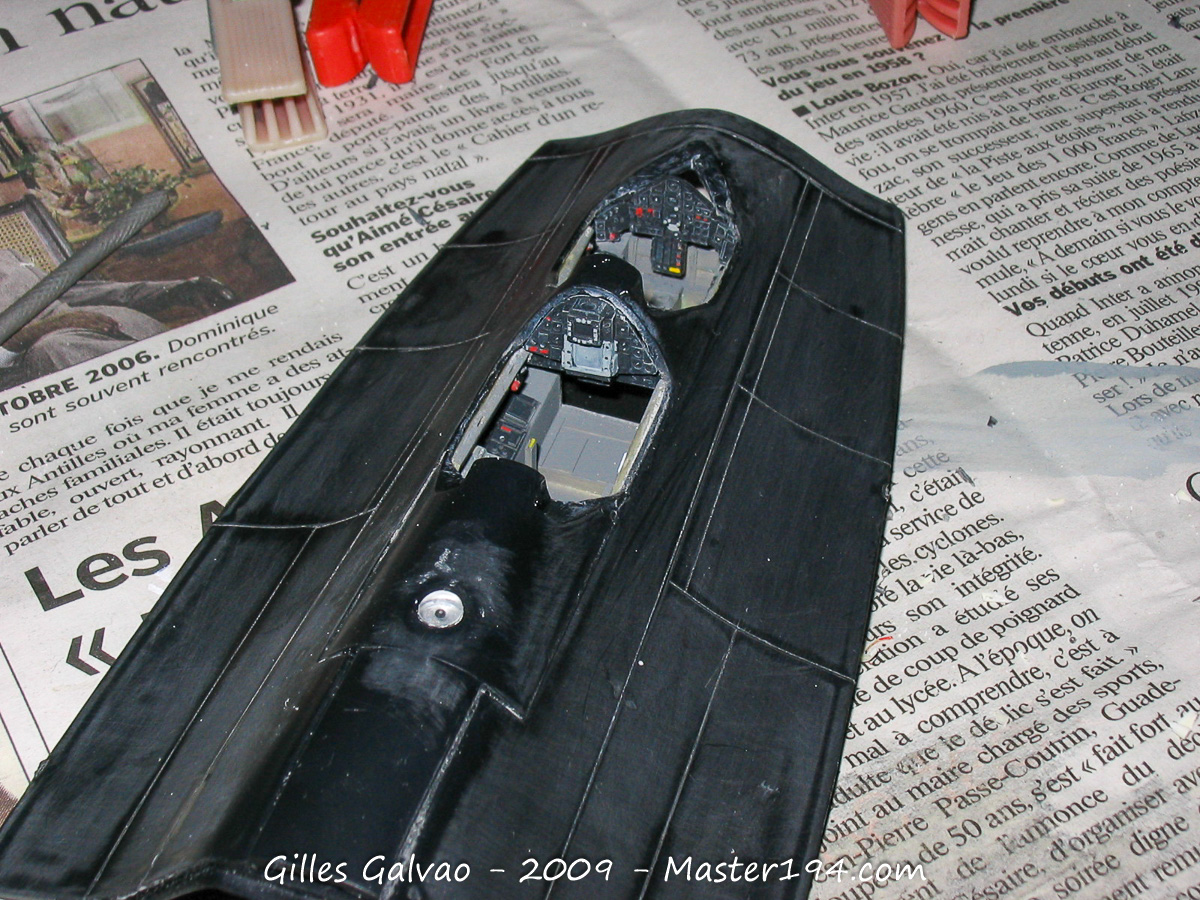
The cockpit is now in place and complete. Just behind the rear station, you’ll notice a small window: this is the ANS (Astro-Inertial Navigation System). It is essentially a high-speed automated sextant, allowing the SR-71 to fix its position by tracking stars. This ensured remarkable navigational accuracy despite the aircraft’s extreme speeds.
Camera Bays
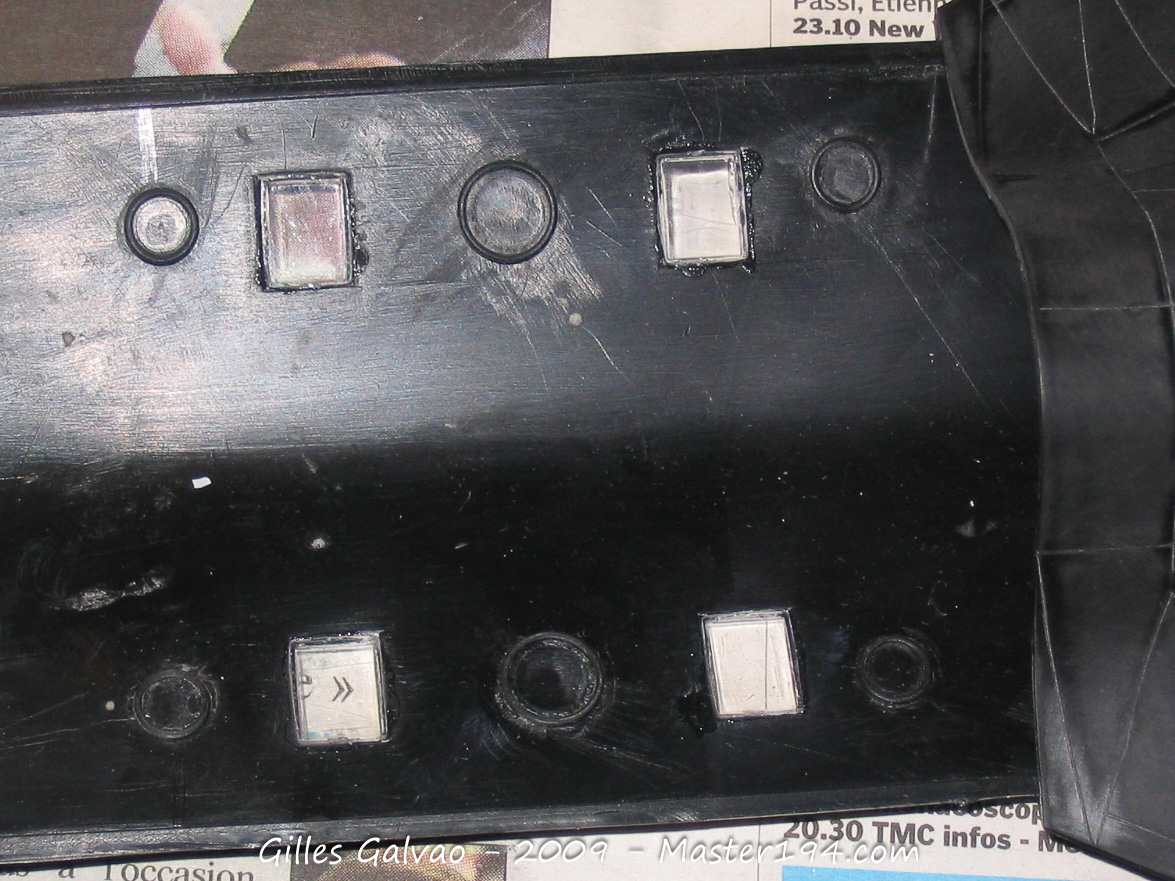
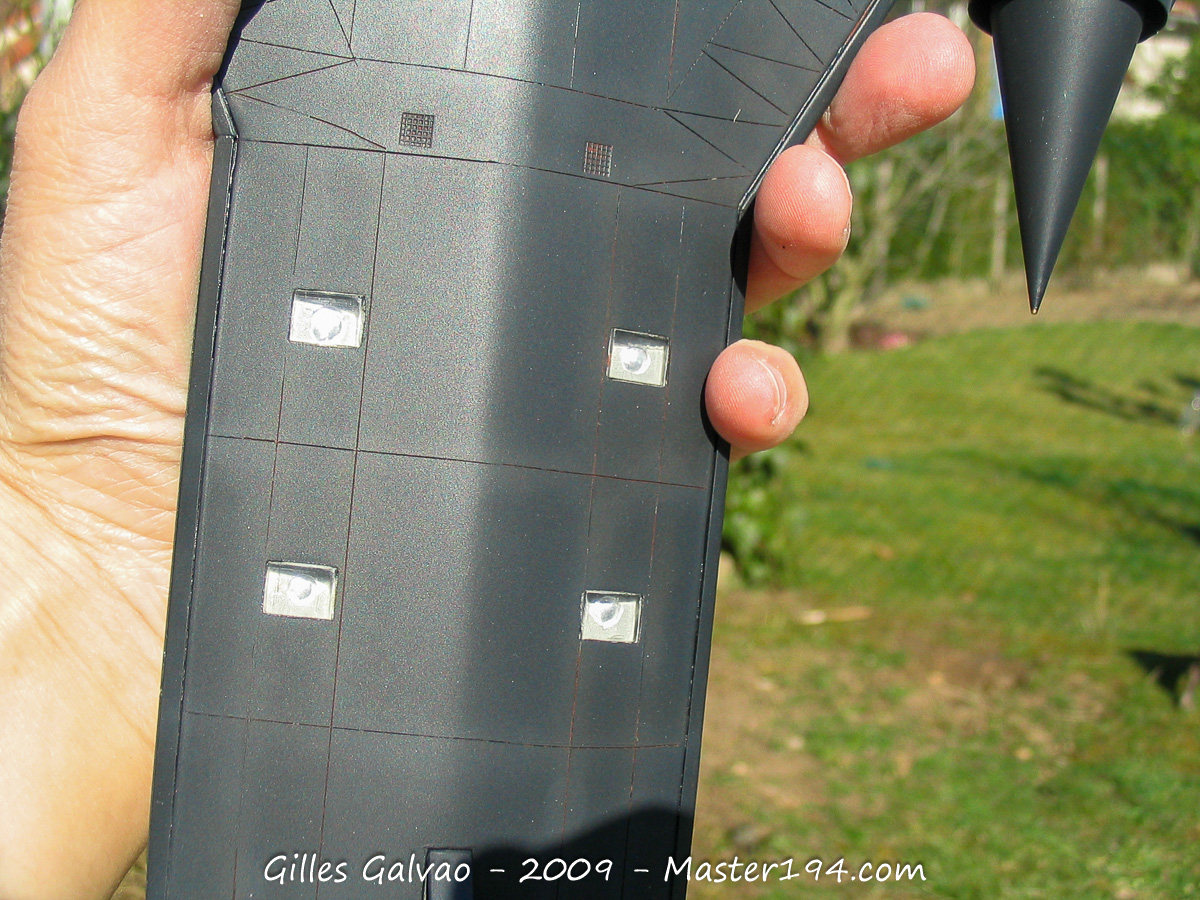
These are represented by clear windows that look into the empty void of the fuselage… Since they are located under the aircraft, they aren’t very visible, but this area can be detailed very easily.
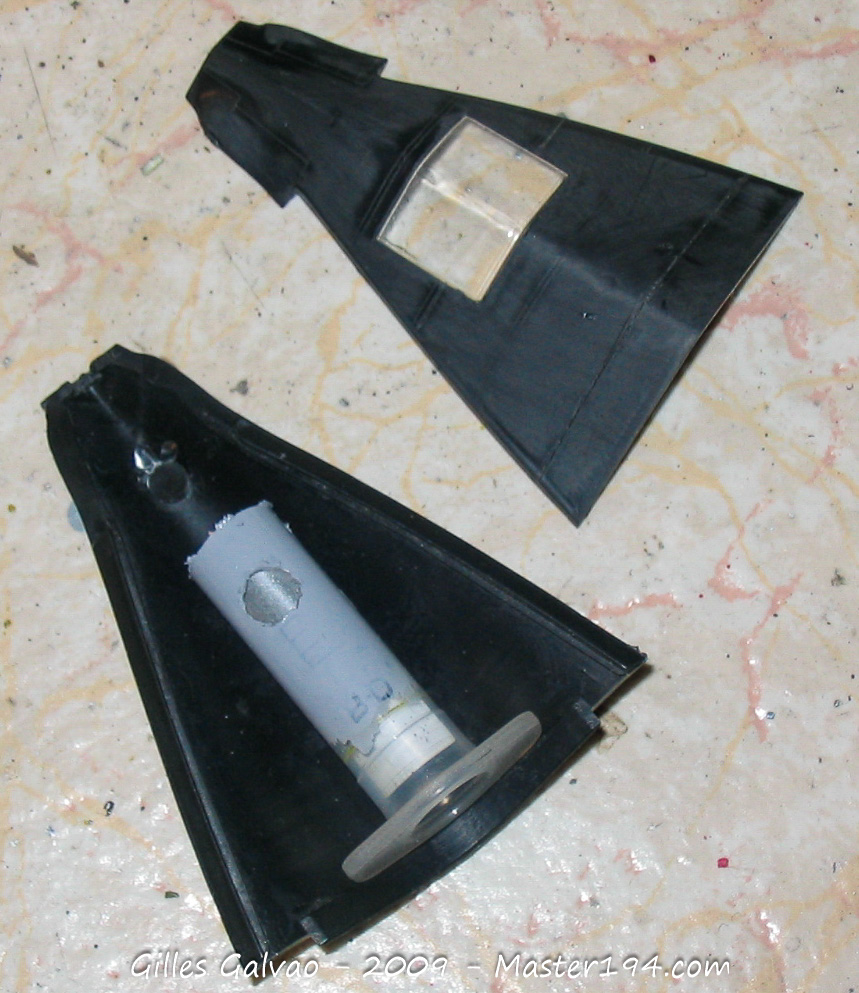
A piece of plastic card painted grey, four well-placed holes, and a bit of silver foil (recycled from a wine bottle!): glue it aluminum-side down and press with your finger to create a curved, recessed effect.
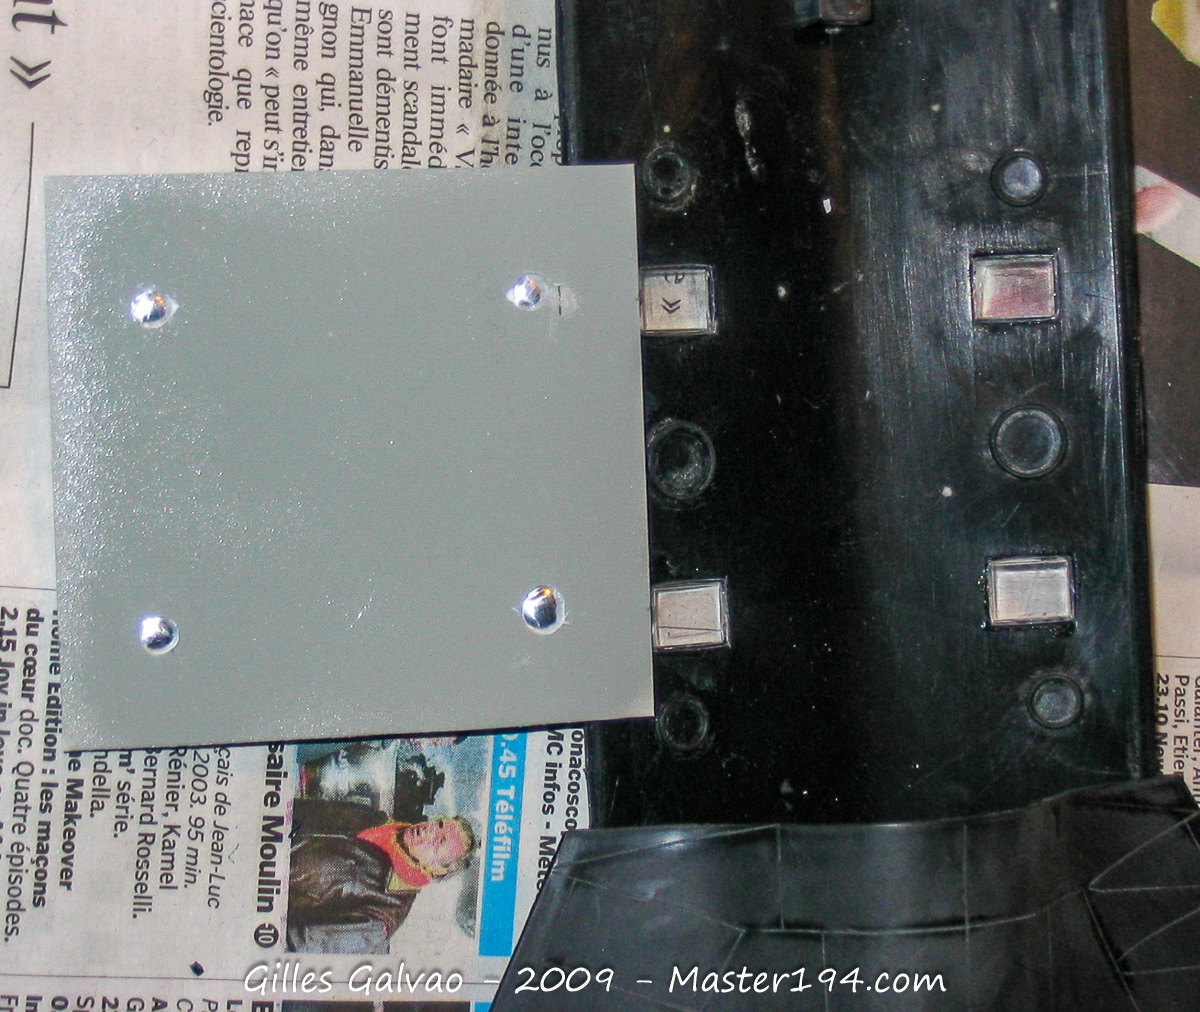
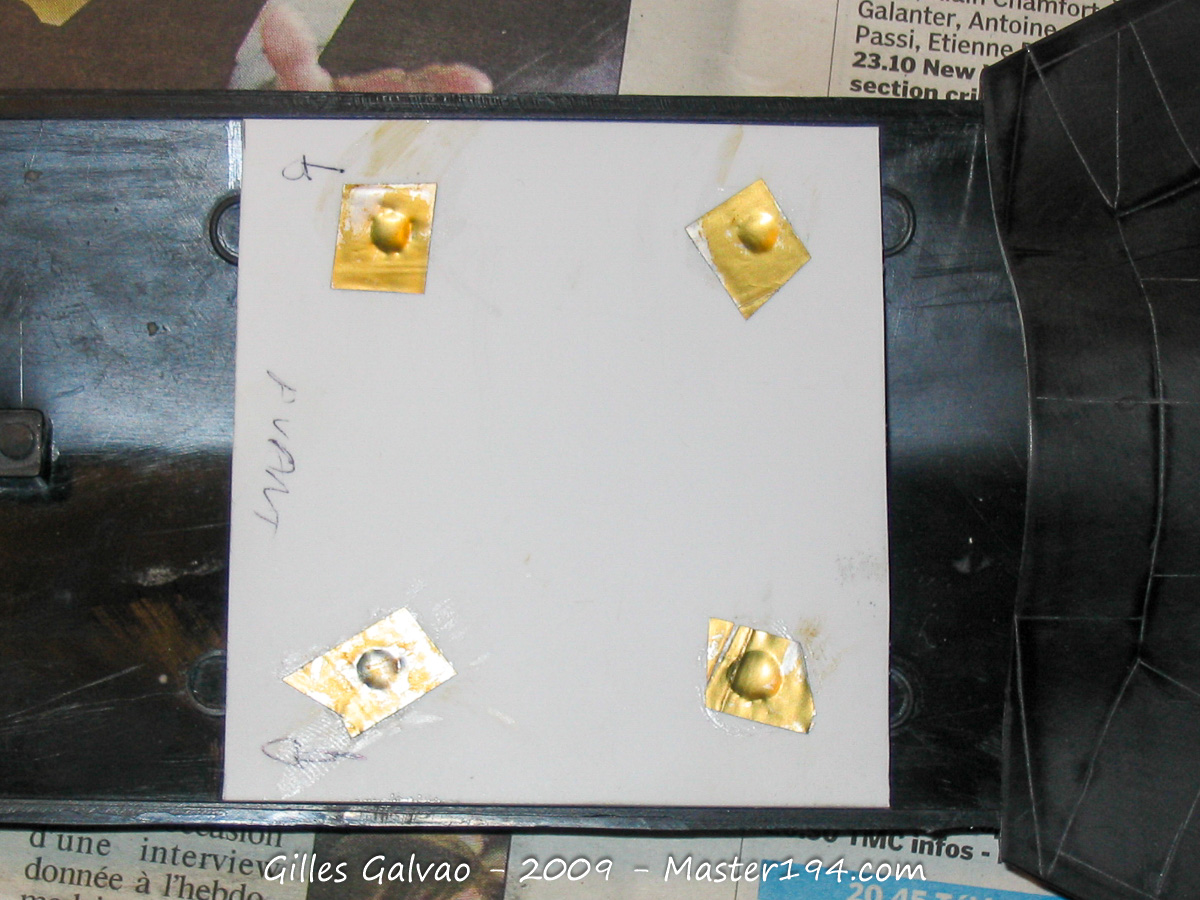
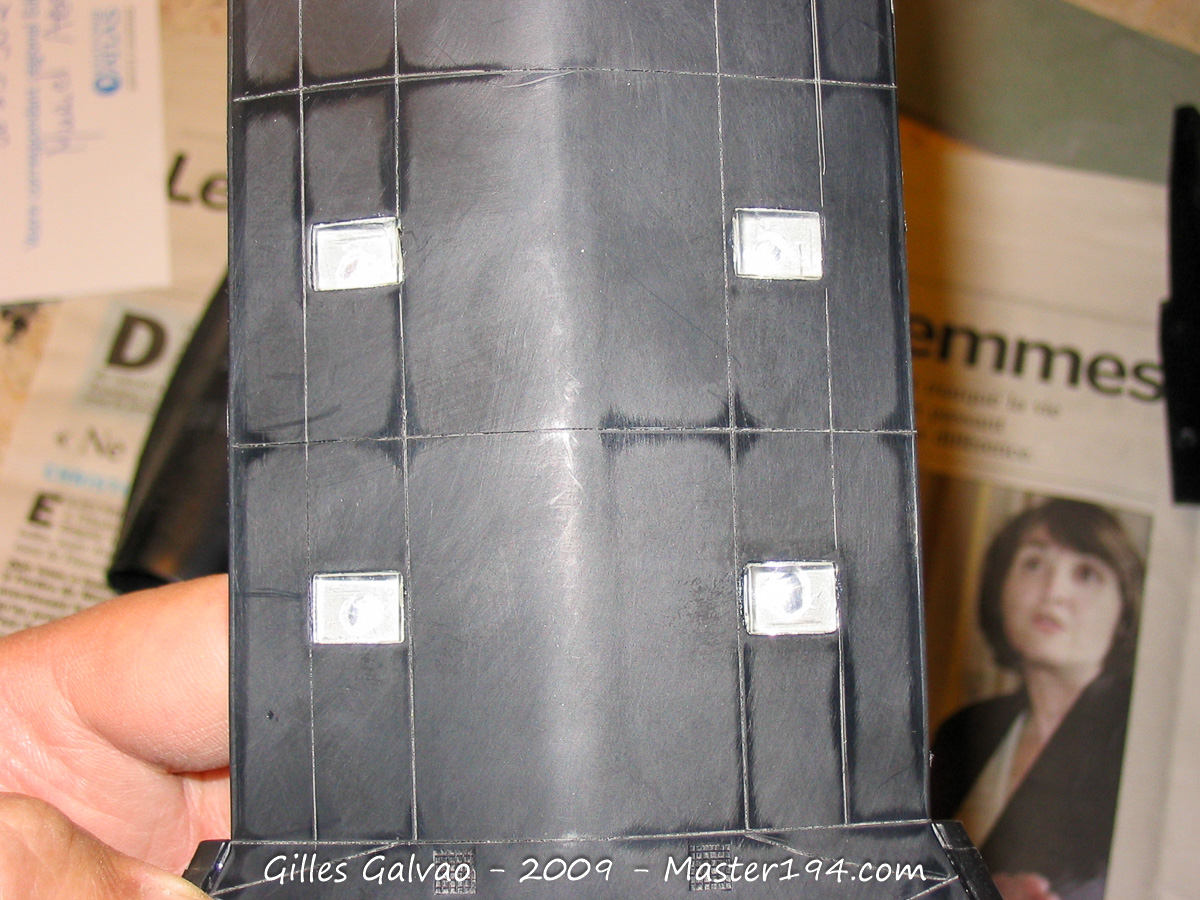
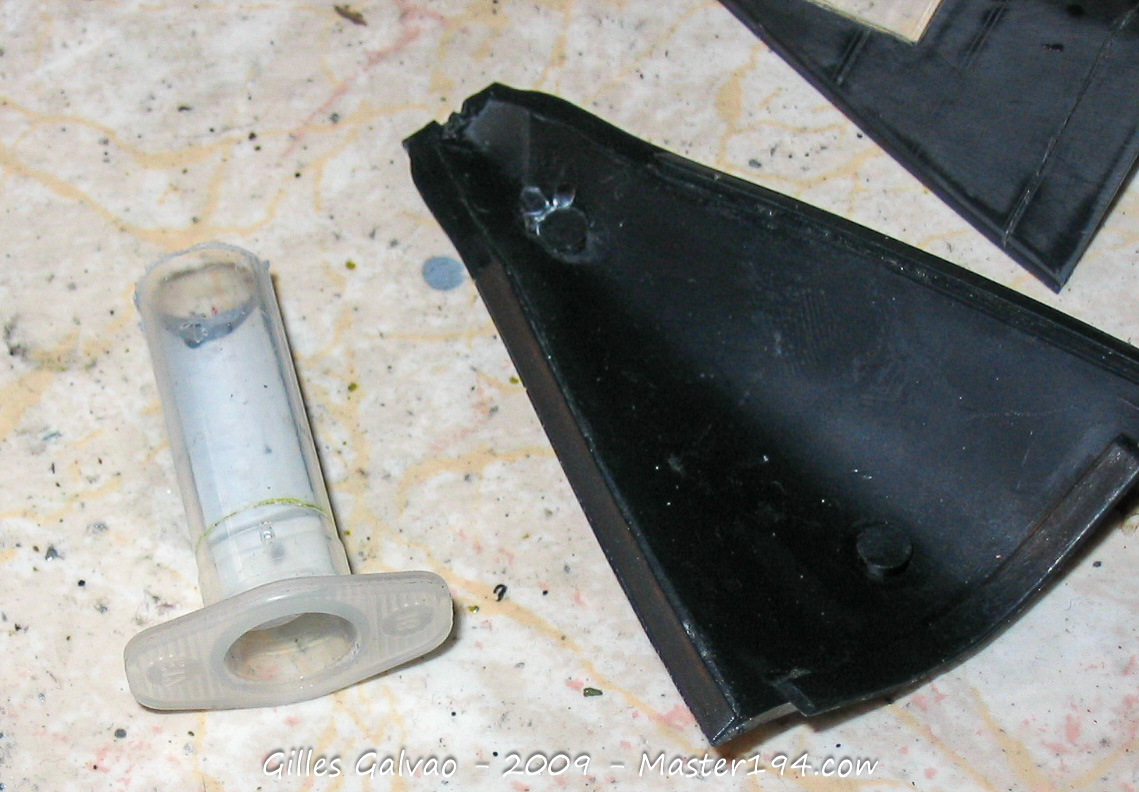
The nose camera is a bit more complex—or is it? After studying photos, the camera is clearly housed inside a cylinder. An old syringe, a piece of plastic card painted in a metallic finish slid inside, and voilà—the trick is done!
Other Details
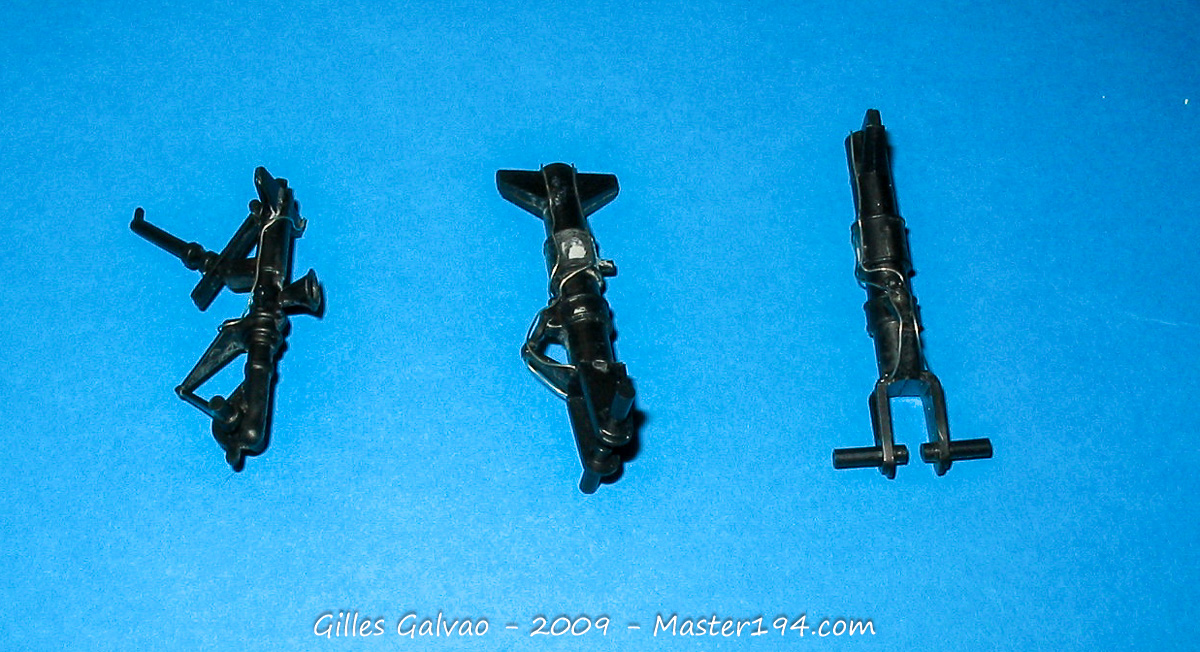
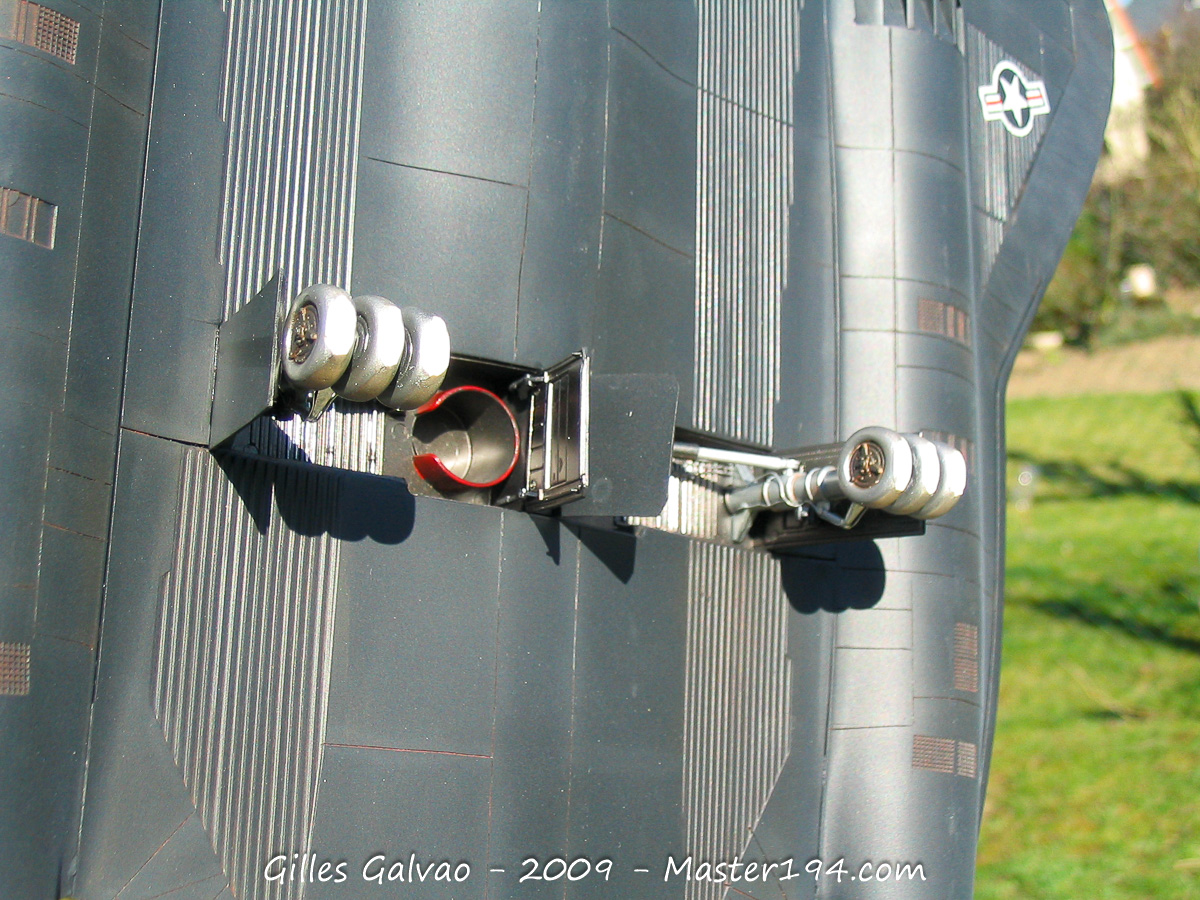
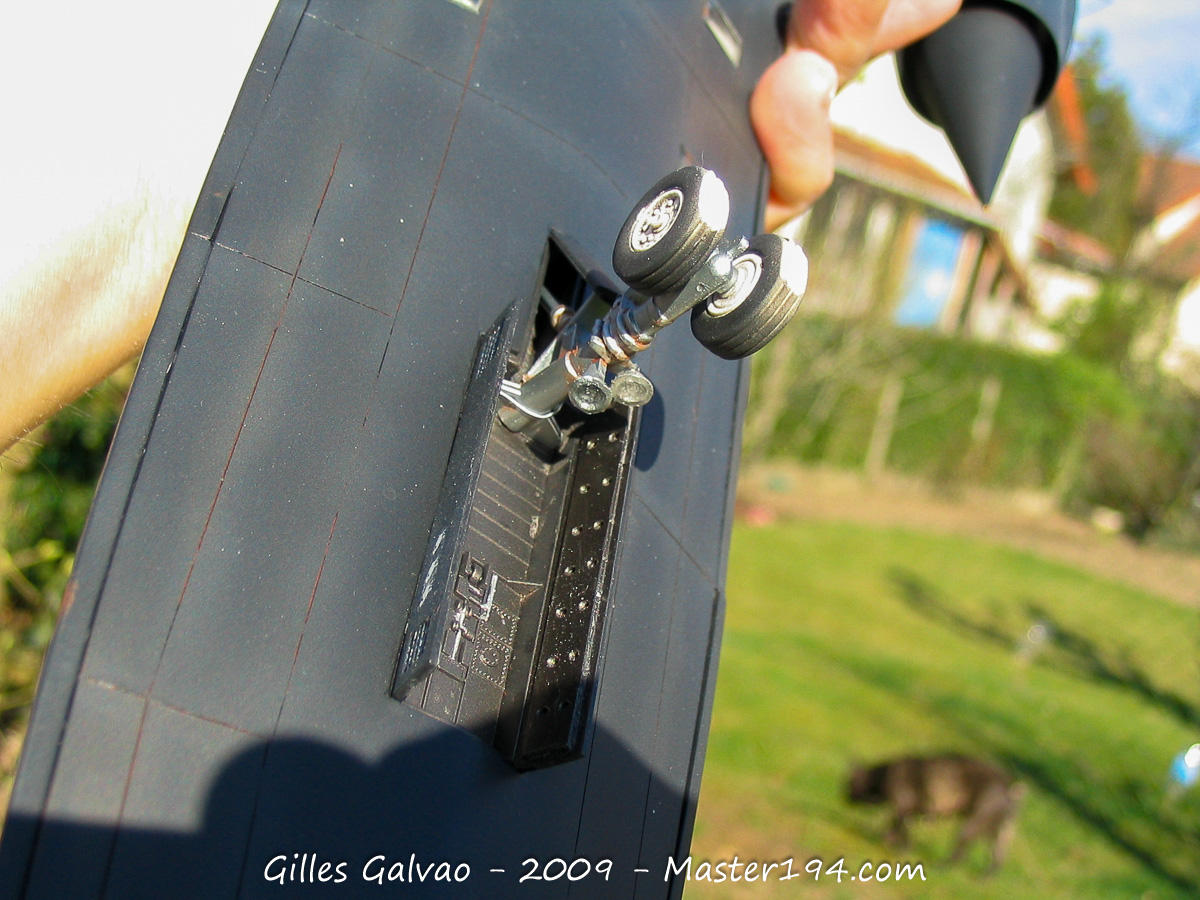
The landing gear requires a fair amount of work to achieve a smooth finish on the struts and to eliminate the ejector pin marks. After that, I used some very fine lead wire to recreate the main hydraulic lines.
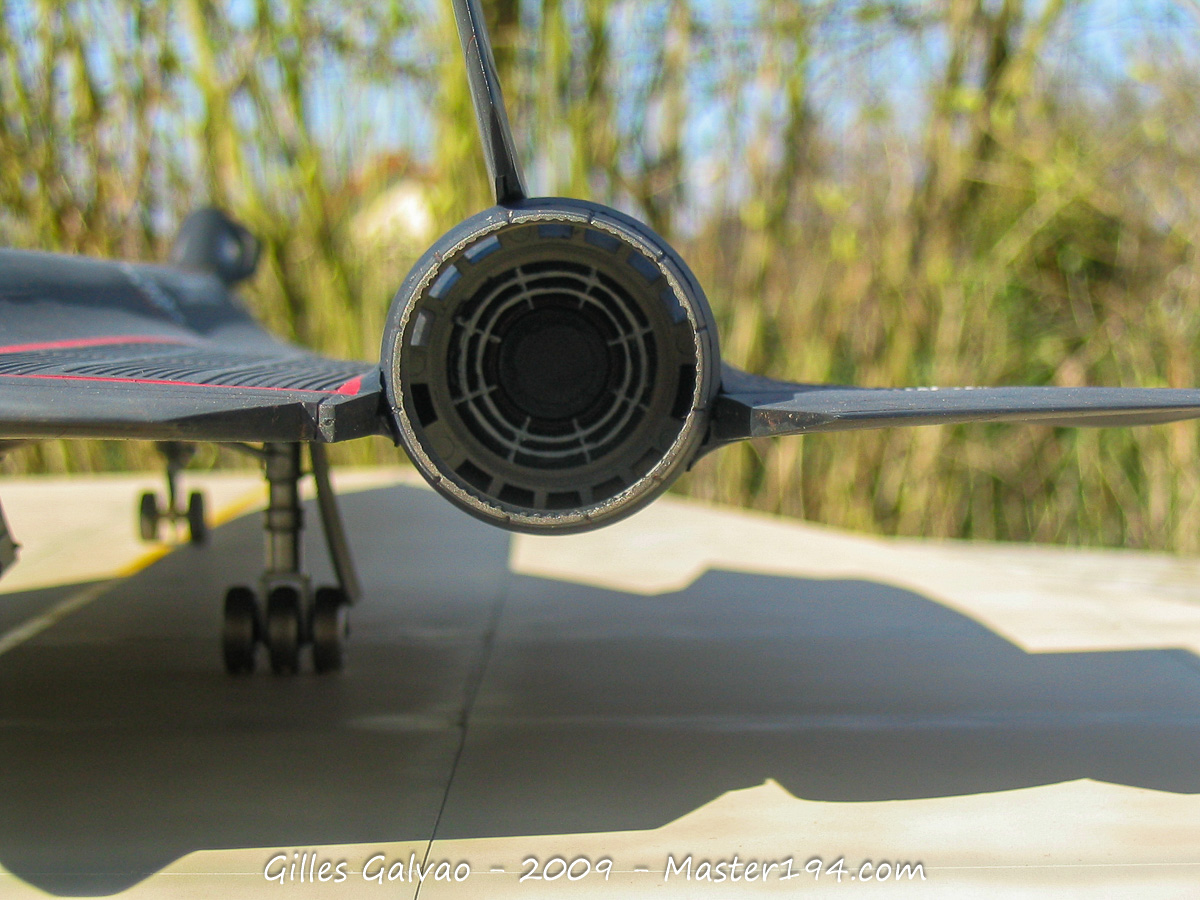
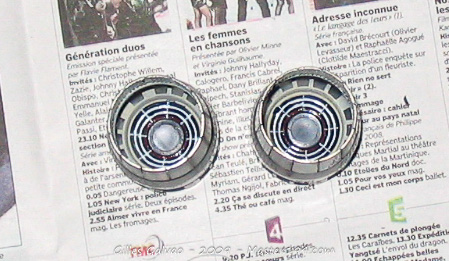
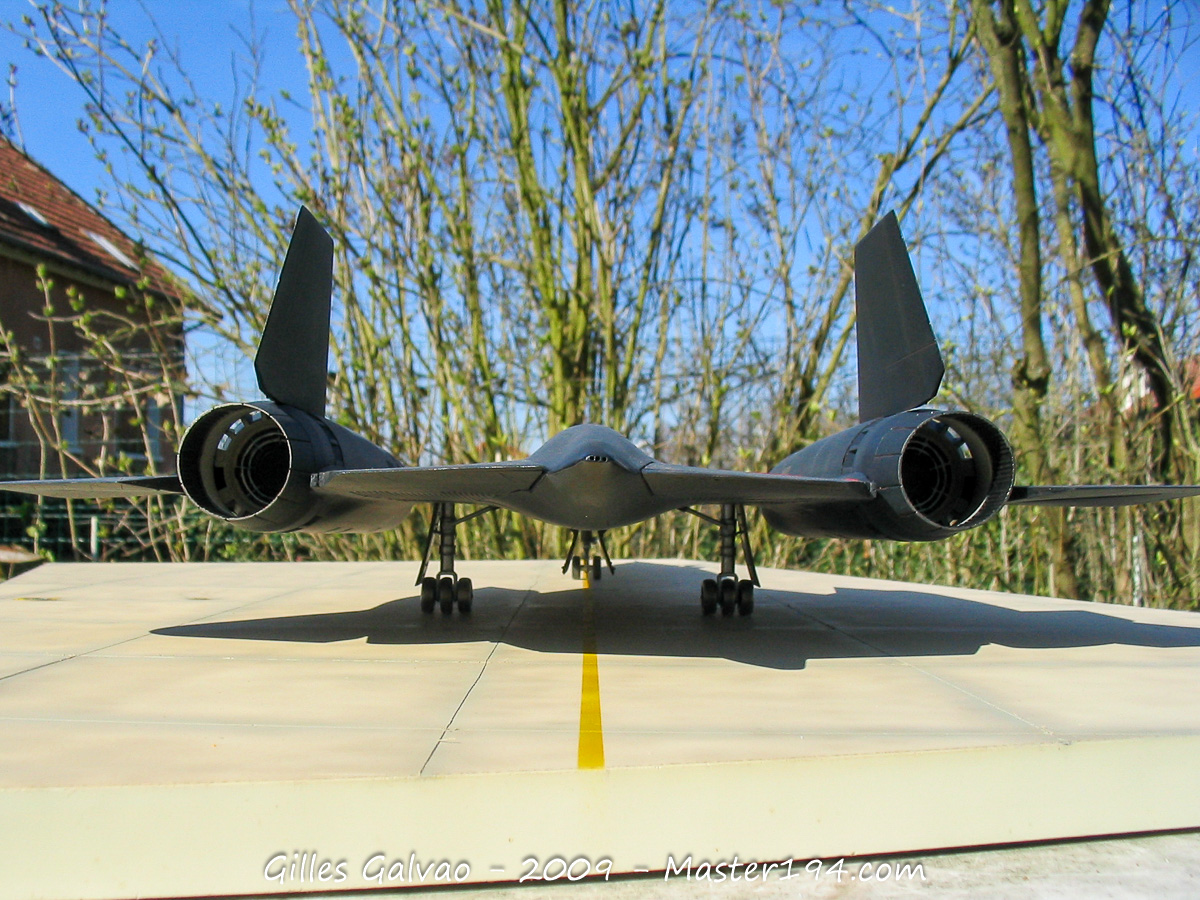
For the exhaust nozzles, you’ll need to remove the molding flashes that interfere with the look of the afterburner rings. Then, it’s a matter of brushes and patience: three white rings, one brick-red ring, with the deepest part finished in a beige tone. The nozzle petals are painted matte black on the exterior and burnt metal on the interior.
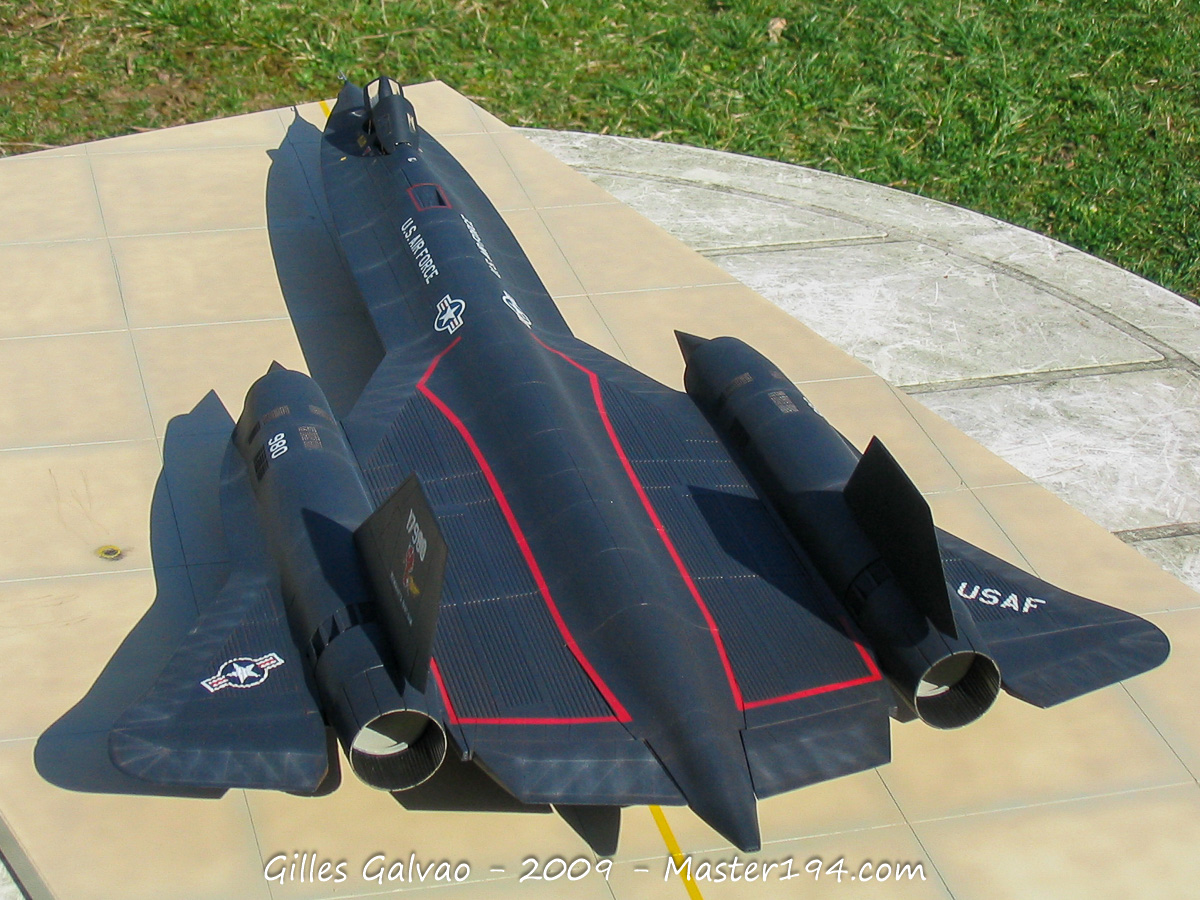
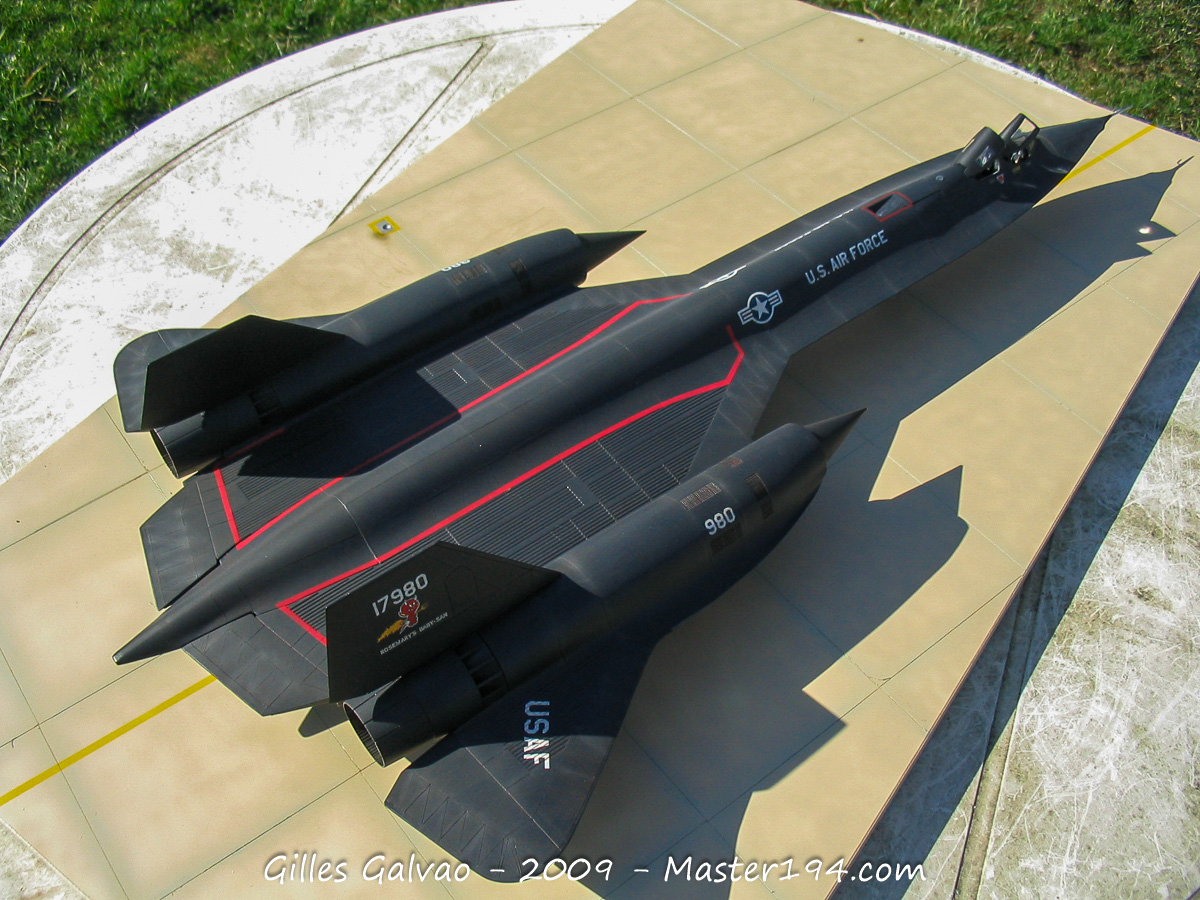
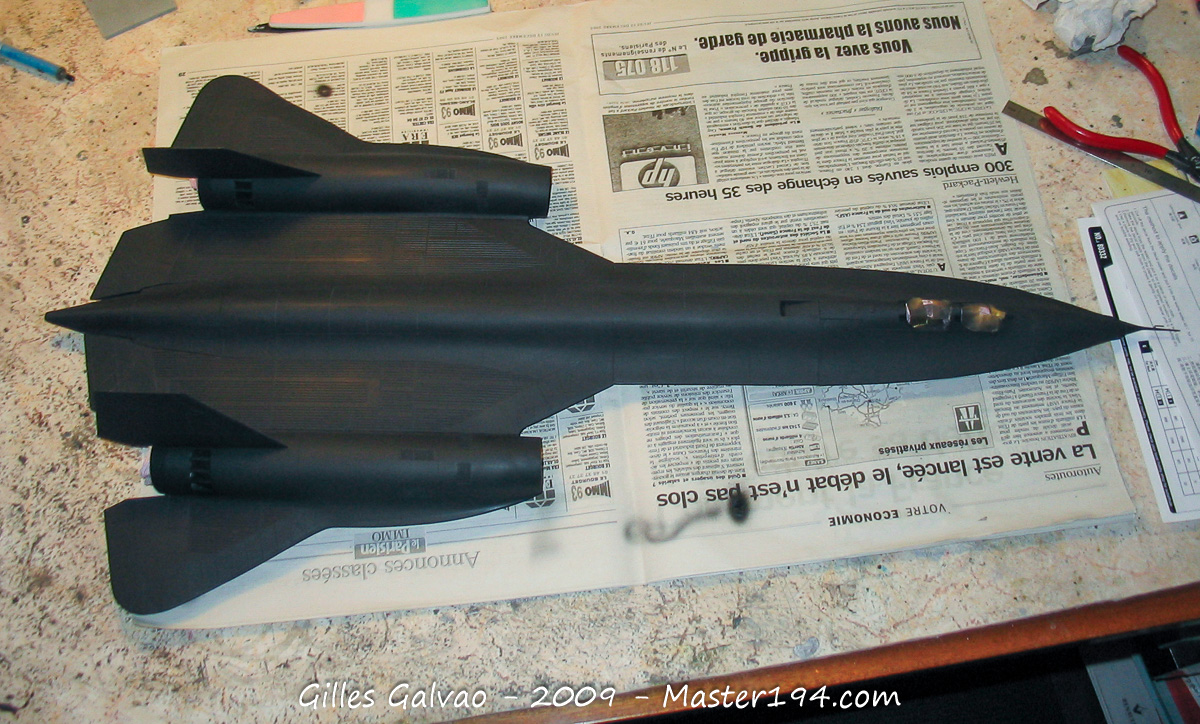
“Assembling the main fuselage, engine nacelles, and vertical stabilizers requires quite a bit of adjustment, filler, and sanding, as well as reworking the panel lines. Here it is, painted in Tire Black—a shade that, in my opinion, best captures the look of this aircraft.
Painting
Black is one of the most challenging colors to work with. I started by giving the entire aircraft a base coat of Gunze Tire Black (H077).
Next, I went over the panel lines using a highly thinned grey.

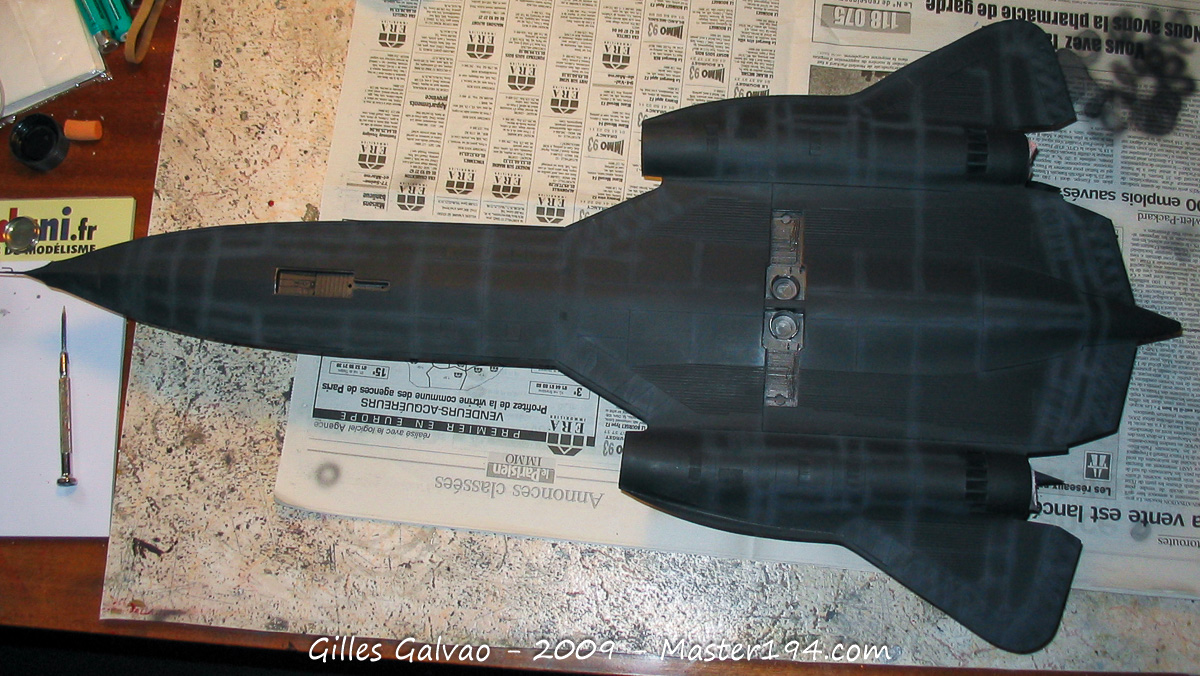
I then applied a thinned mist coat of Tire Black to blend and tone down the effects.
Decals
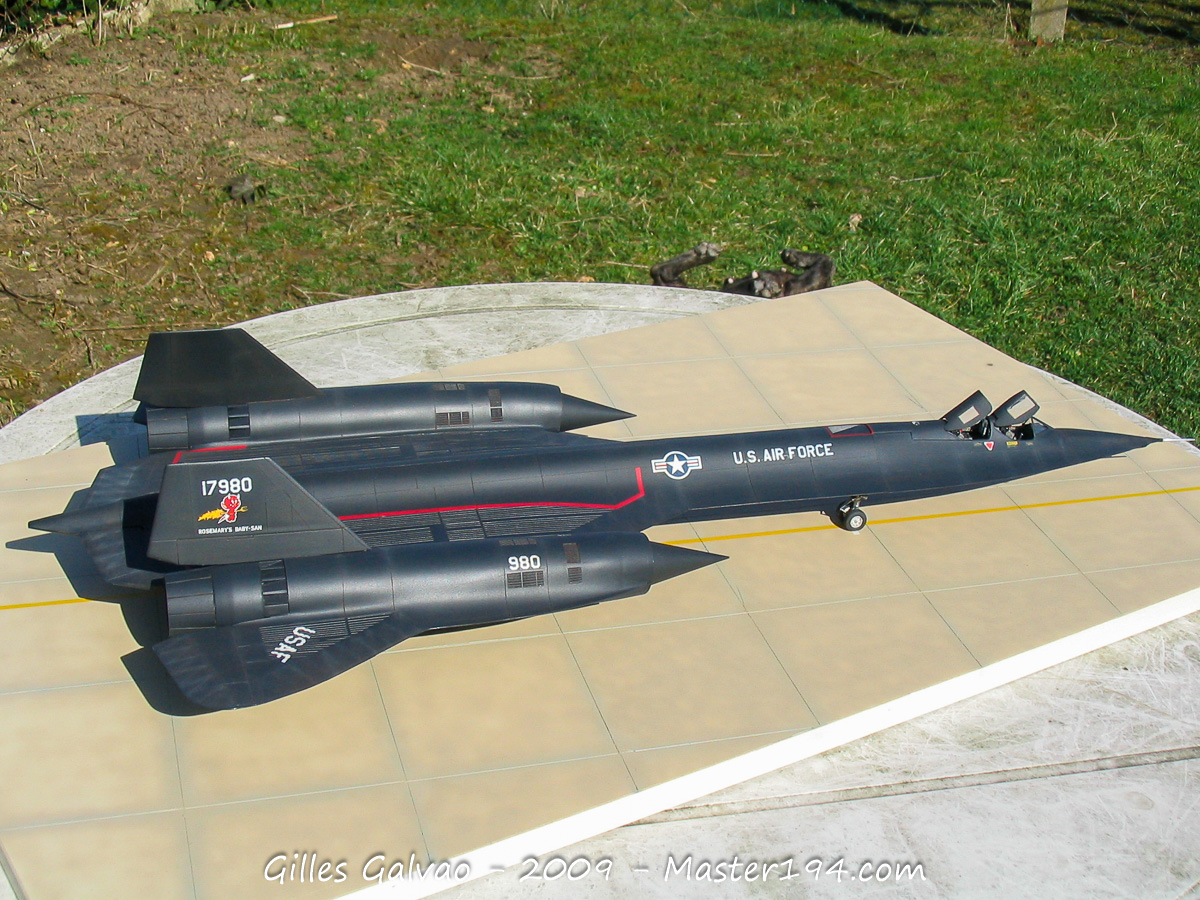
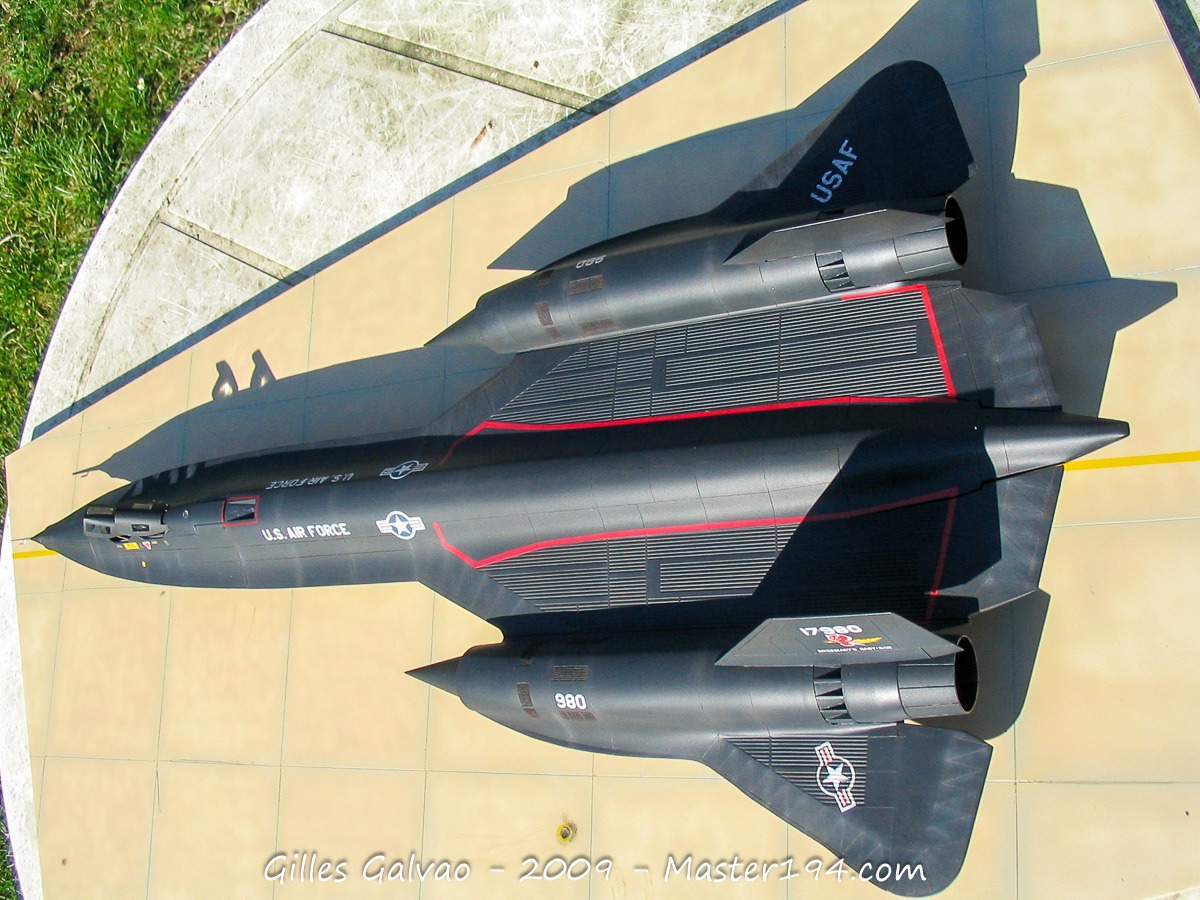
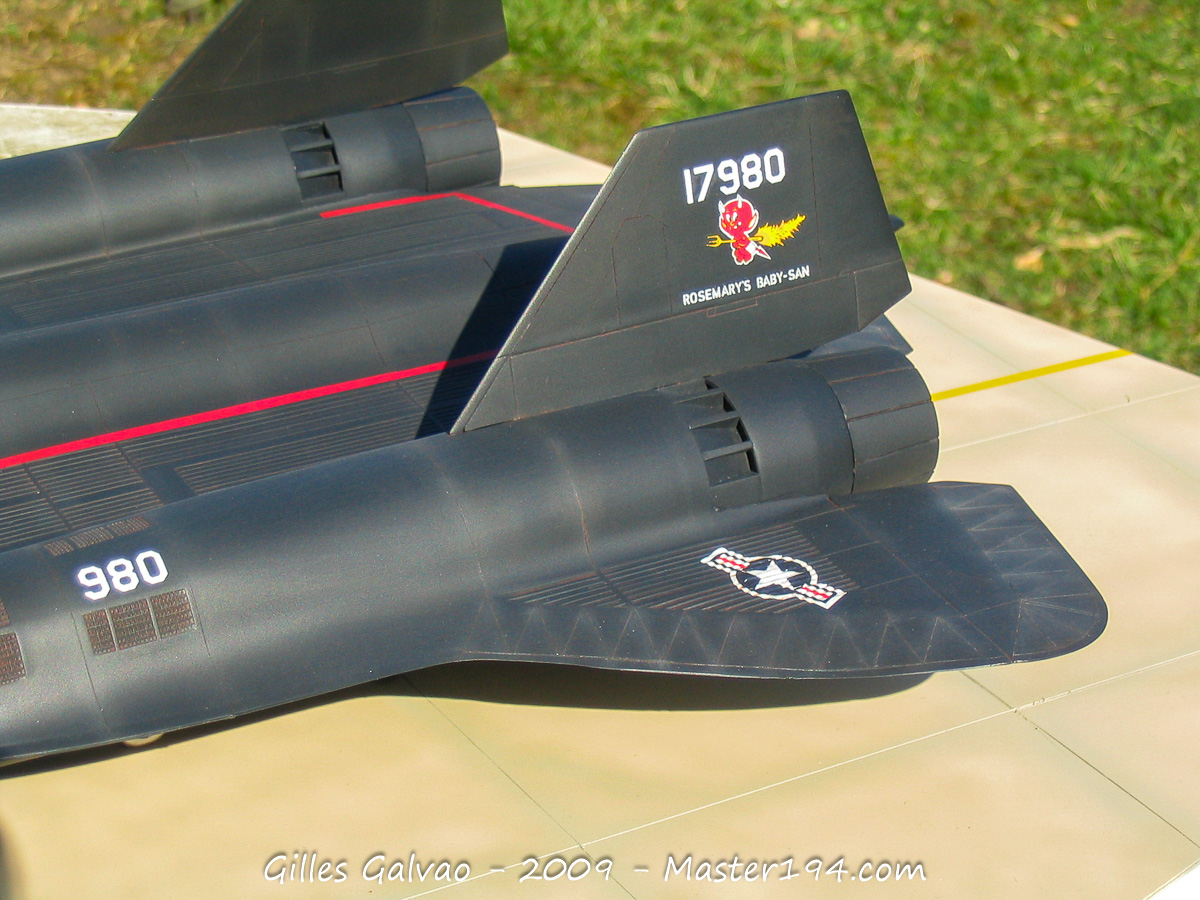
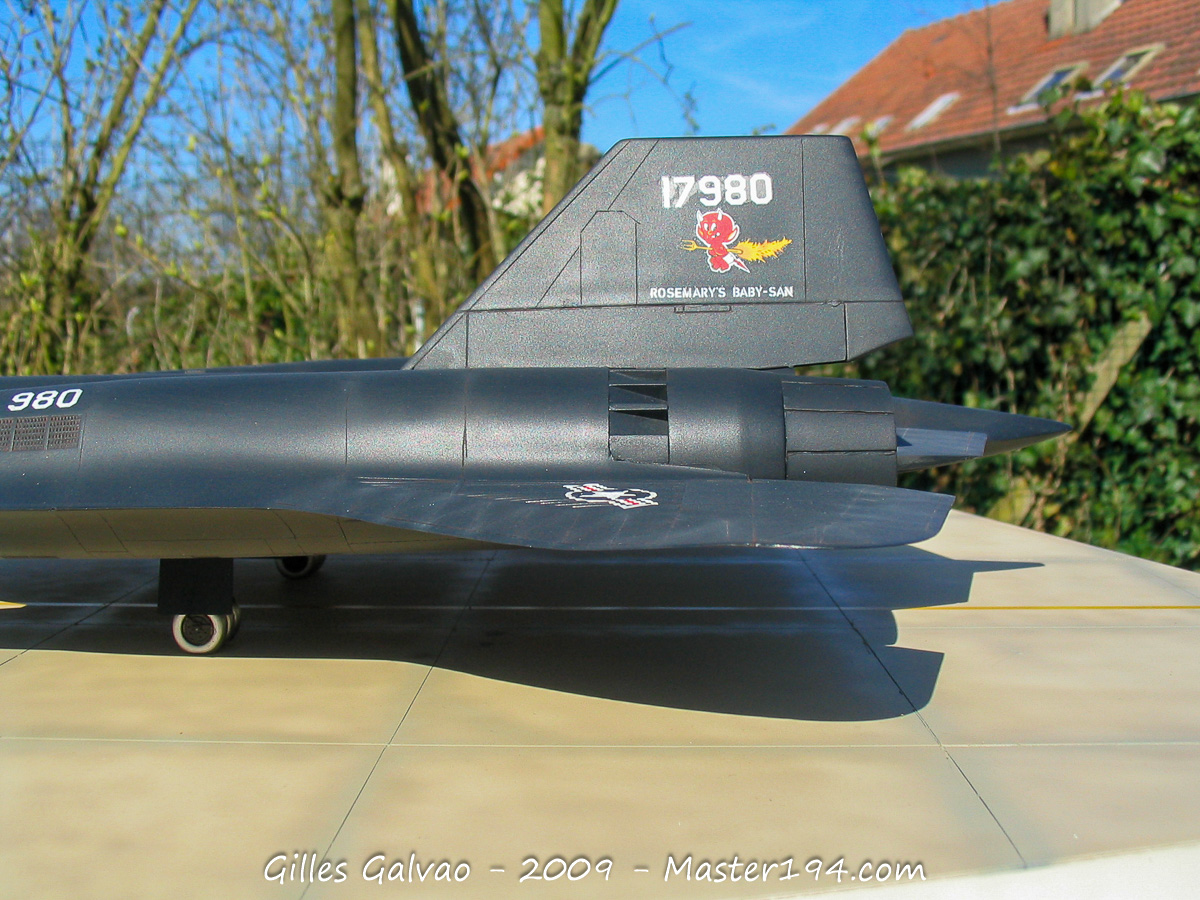
I decided to use the Cutting Edge decal sheet and chose the markings for 17980 ‘Rosemary’s Baby-san’.
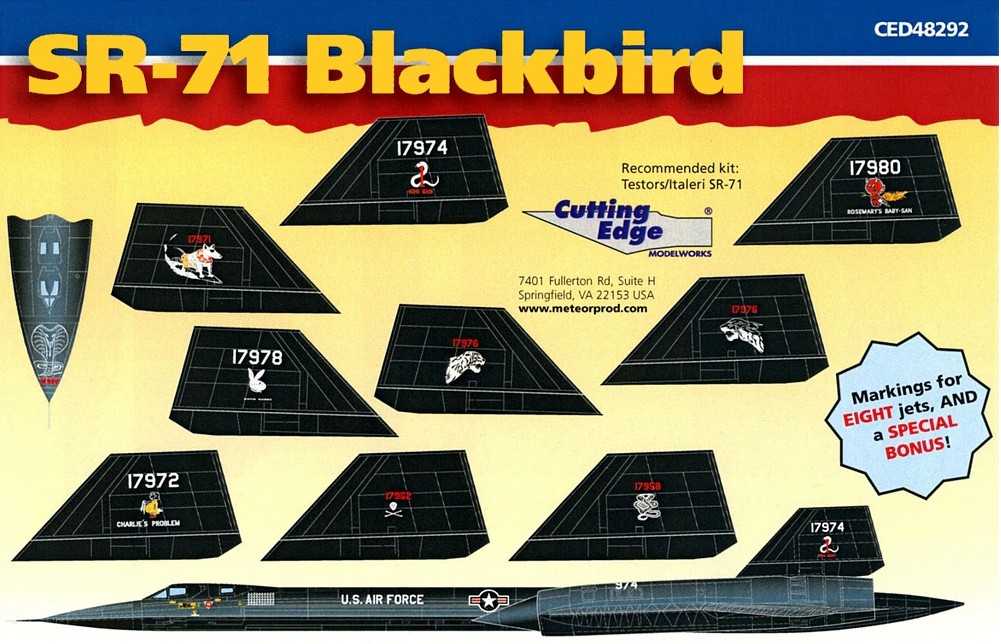
And that’s where things take a turn for the worse… The red walk-way decals aren’t included on the Cutting Edge sheet, and the original kit decals disintegrate in water. So, for these stripes, painting was the only way!
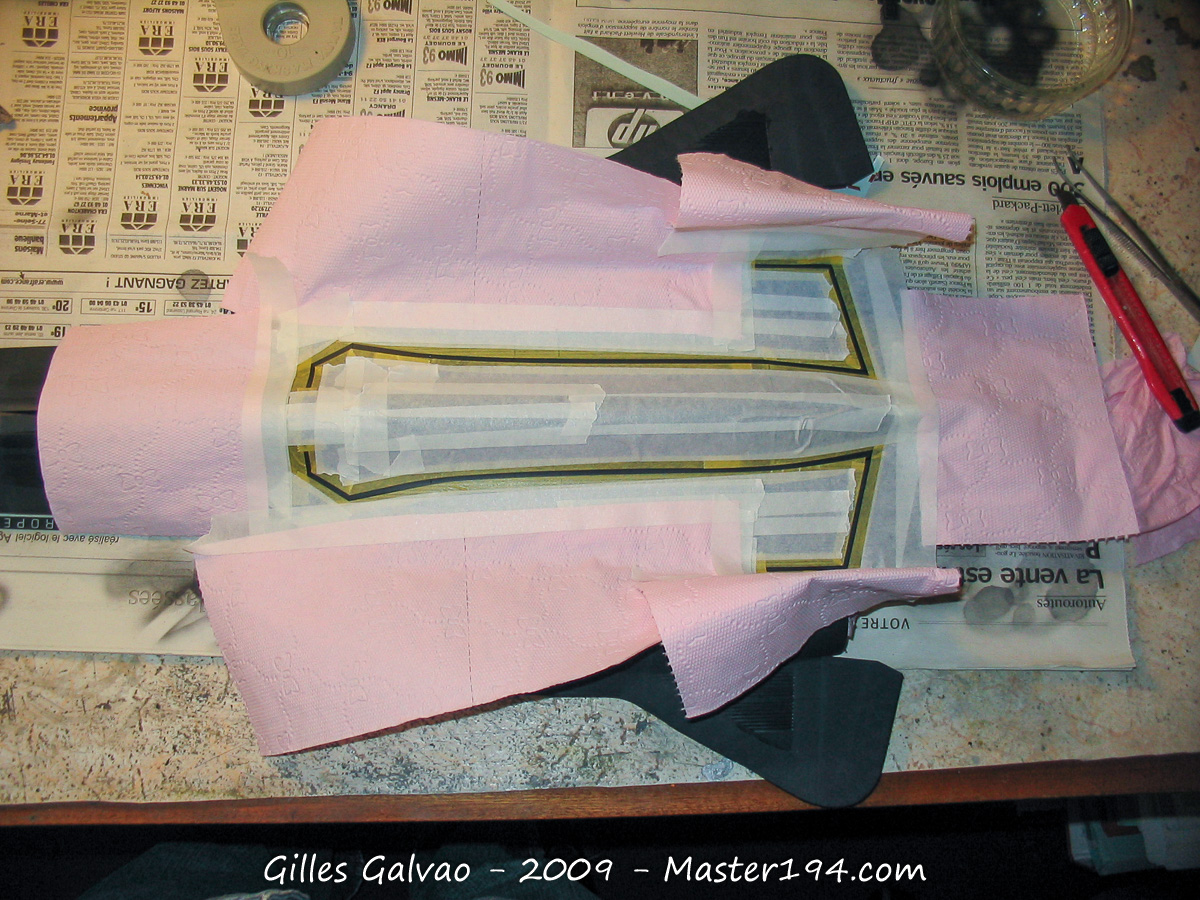
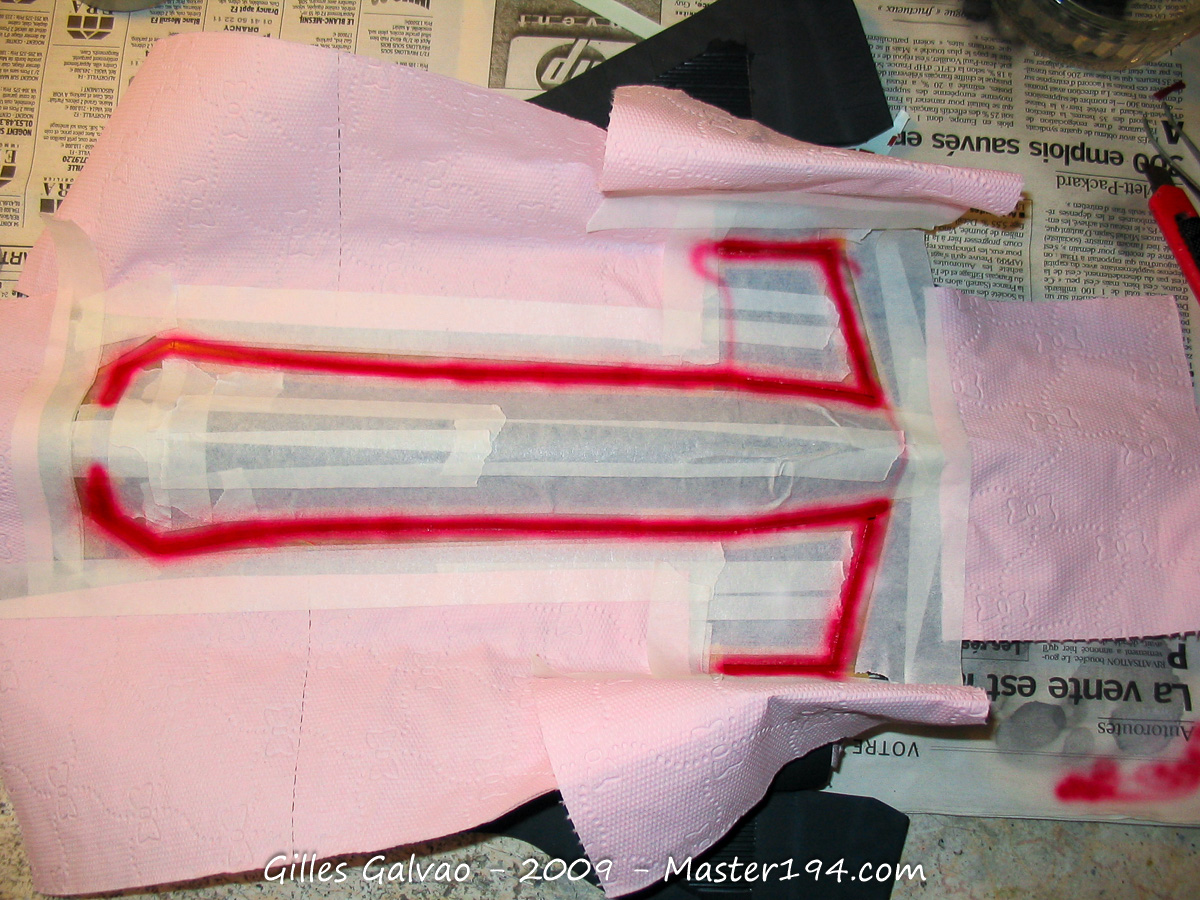
Applying the decals went smoothly, except for those positioned on the aircraft’s corrugated surfaces: a heavy dose of decal softener was definitely required!
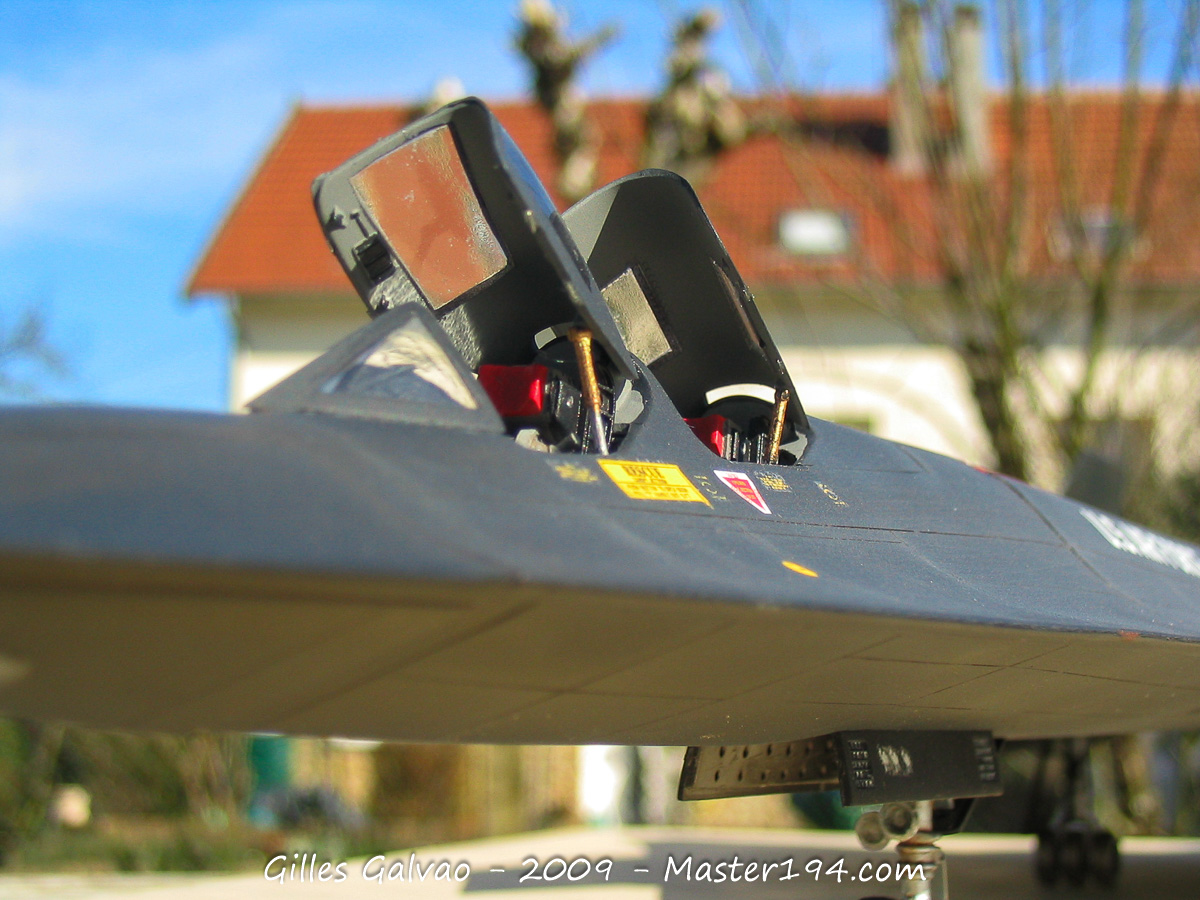
A matte clear coat followed, then the installation of the landing gear, gear doors, and the canopies in the open position. The ejection seat pull-handles were made using lead wire wrapped around a screwdriver of the appropriate diameter to shape them, then painted.
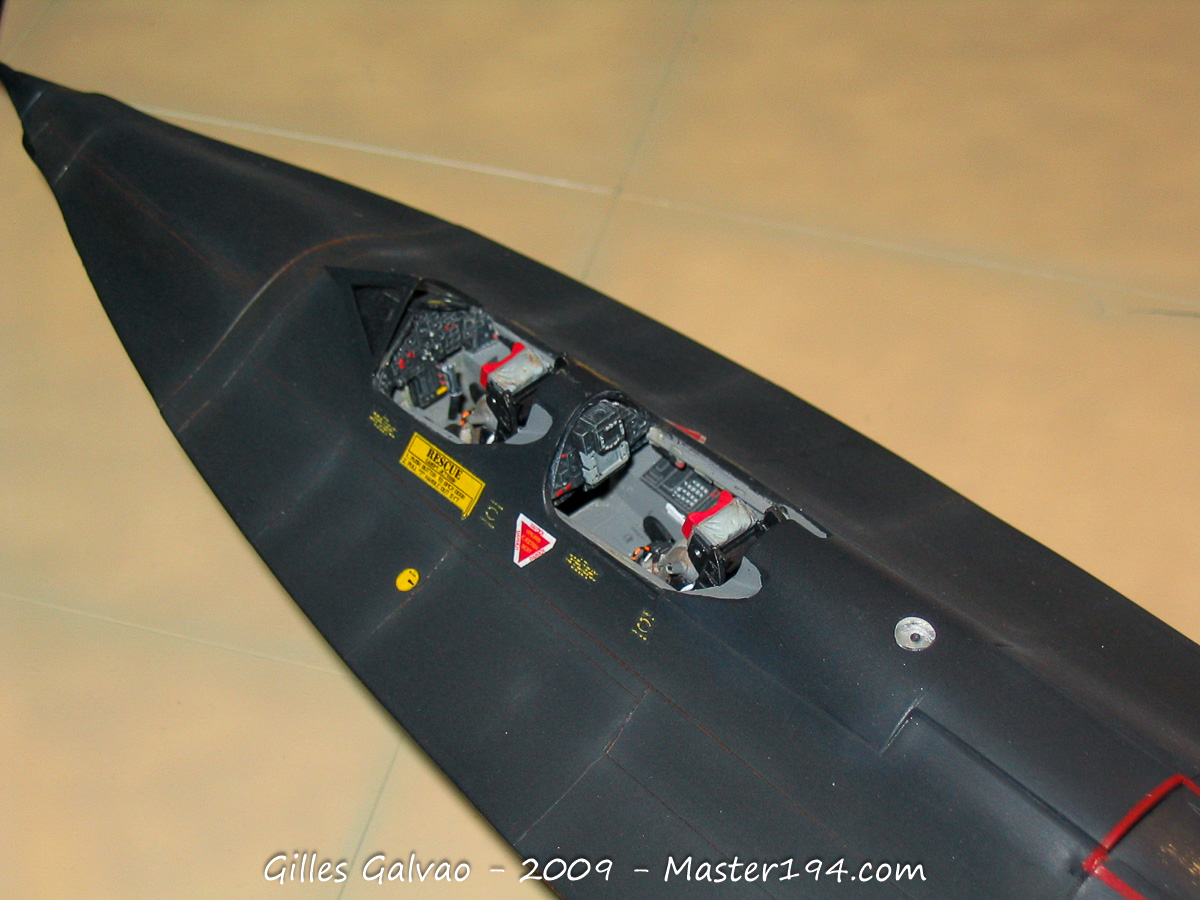
Regarding the weathering, grey pastels and raw sienna washes do a great job, in my opinion, of capturing the aircraft’s appearance as seen in certain photos
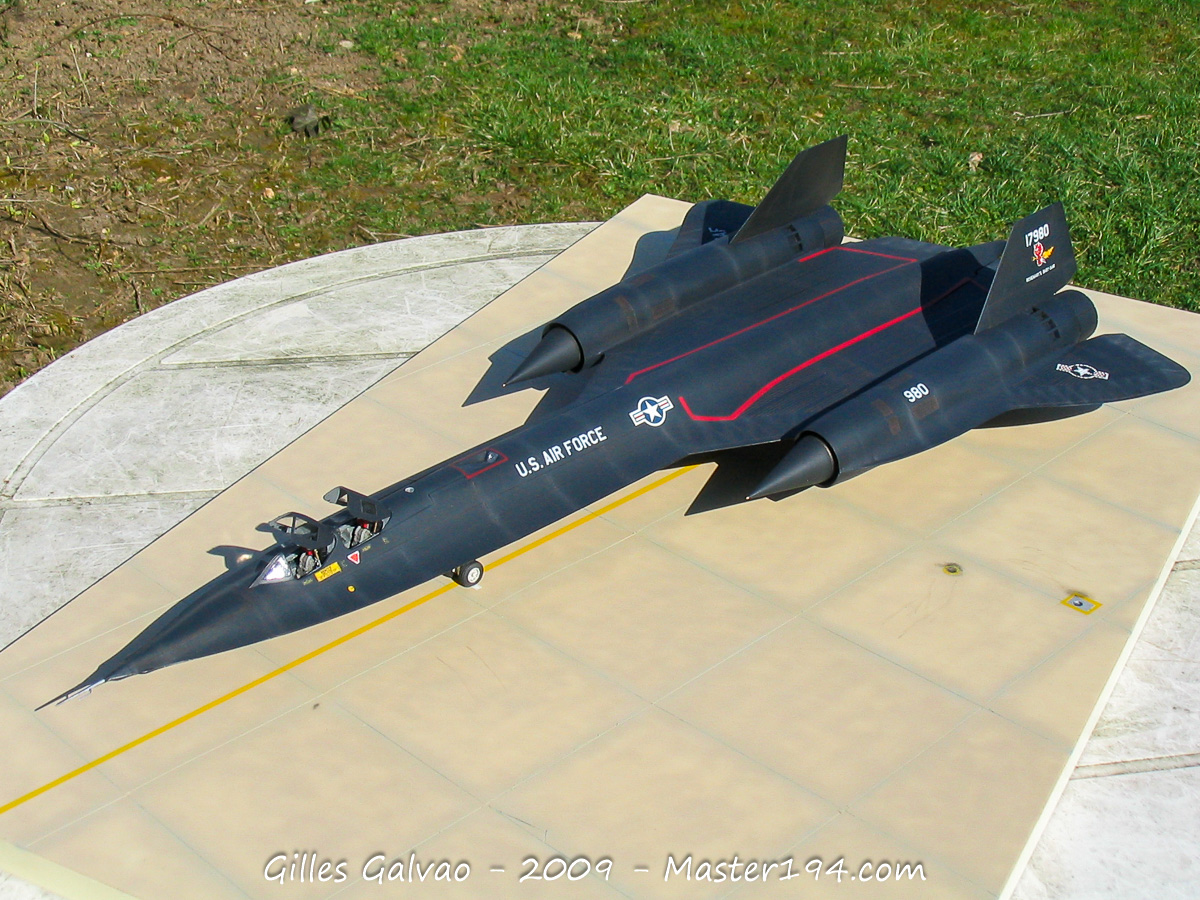
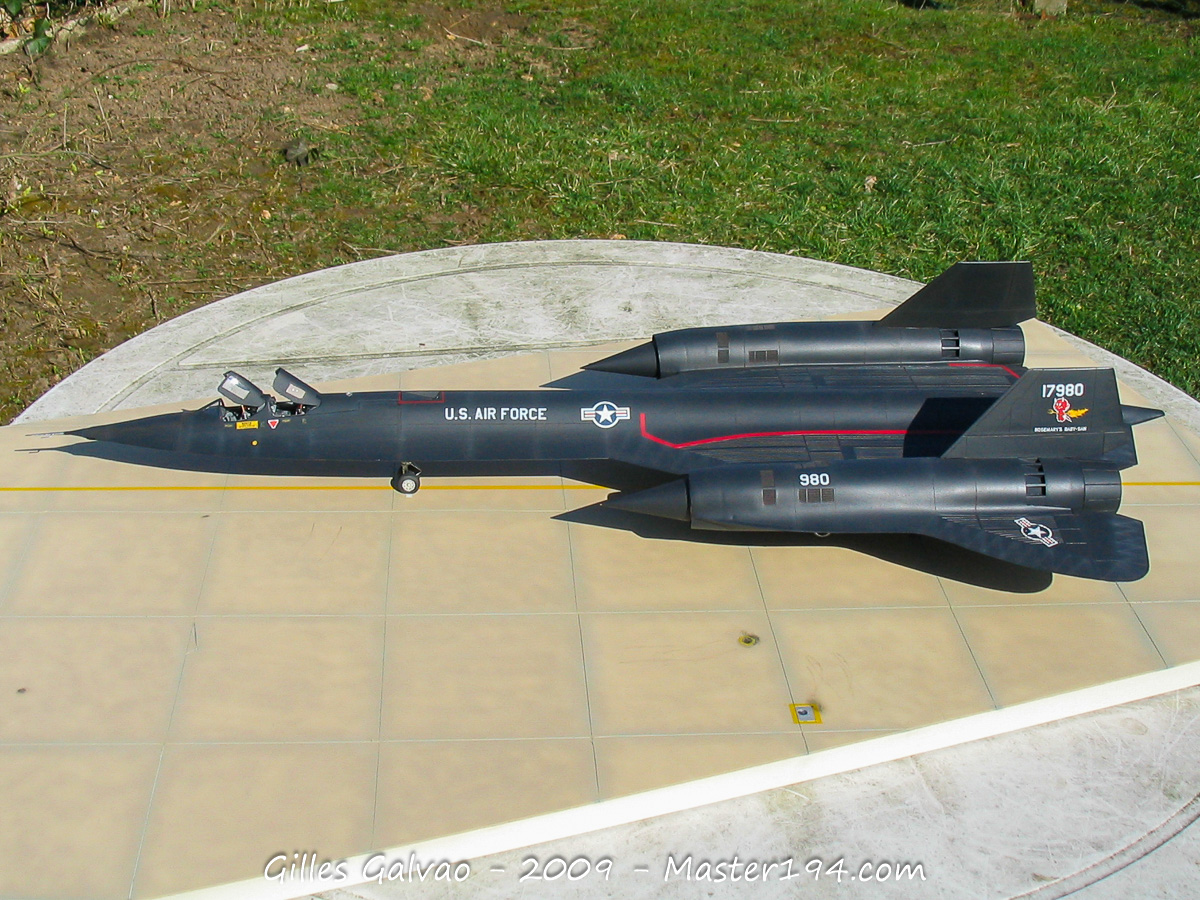
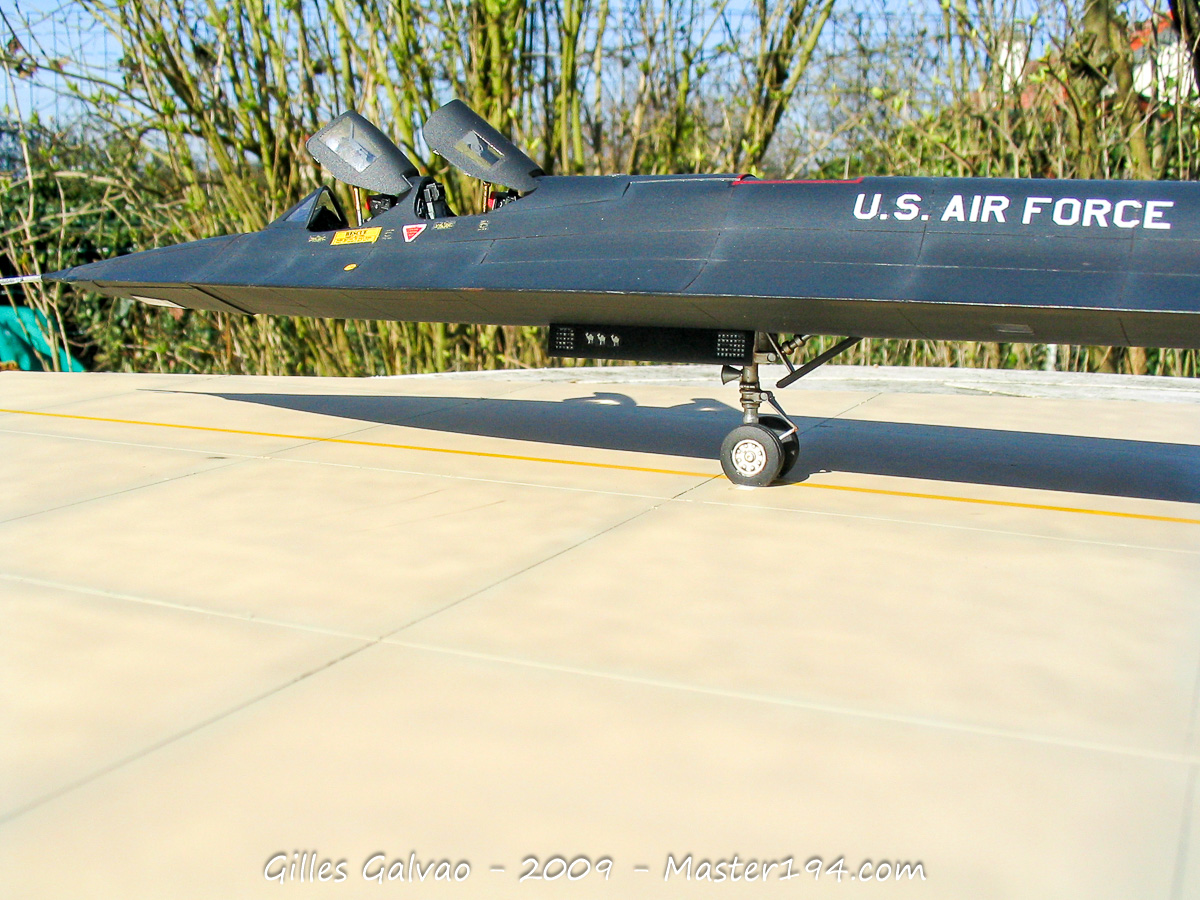
Choosing the interior color for the canopies was a bit tricky: some were black, while others were Gull Grey. It appears that starting with the SR-71A, they were painted in Gull Grey, unlike the A-12, which featured black interiors. The aerial refueling receptacle is almost always seen open on the ground; you can clearly see the scuff marks left by the boom on the door, which also serves as a guide.
Rosemary’s Baby-san, tail art applied around 1967/68 by Sgt. Art Lombardi. You can find many more examples of tail art and their history on this website: http://www.wvi.com/~sr71webmaster/tail001.html
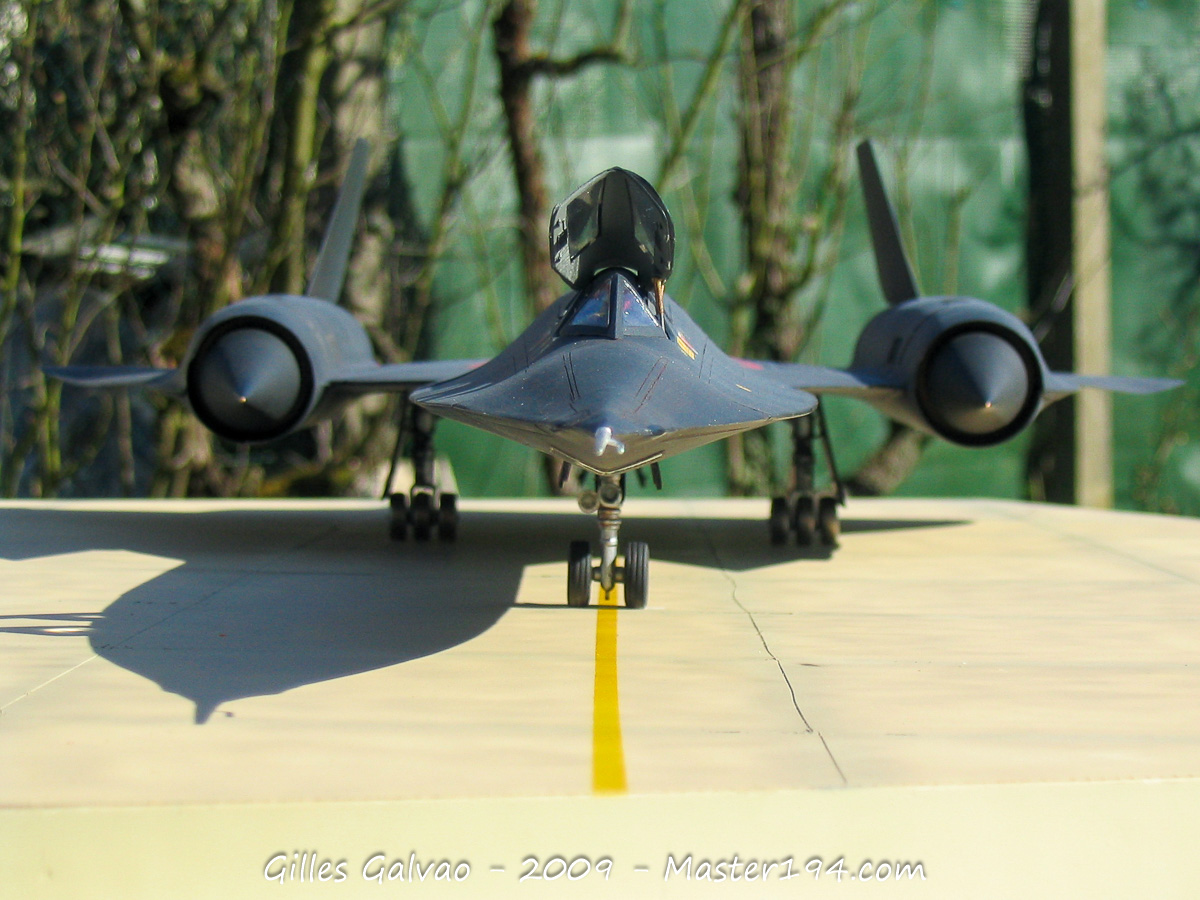
Installing the intake spikes (cones) requires some care: their tips are canted inward and downward. A precision ruler and shims are mandatory to ensure perfect symmetry.
I haven’t found any explanation for the presence of the camels on the nose gear door… if anyone knows the story behind them, I’m all ears!
The Cutting Edge decals showed some silvering despite a generous coat of gloss varnish applied before placement…
It’s worth noting the placement of the roundel relative to the red line: the Cutting Edge instructions are actually incorrect on this point!
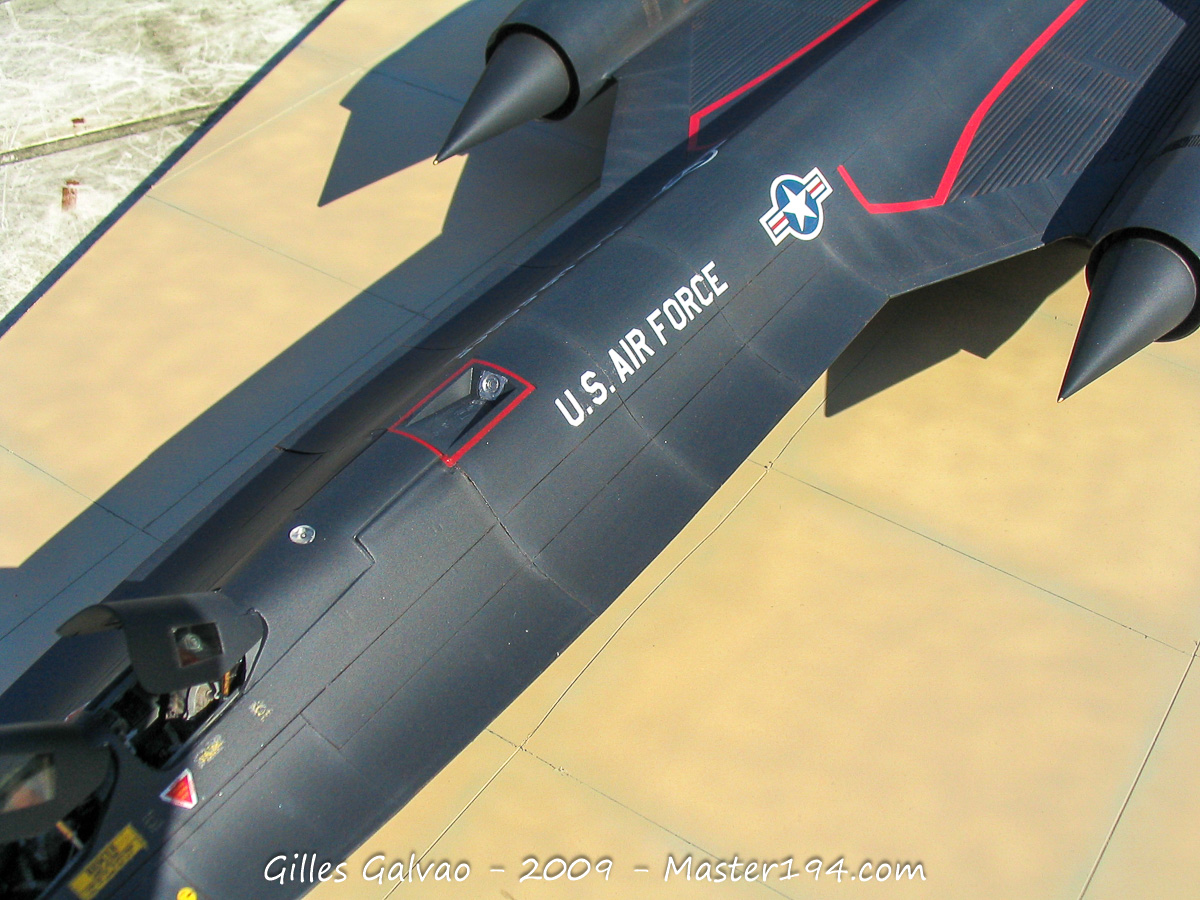
On many photos, the tips of the intake spikes appear in a bronze or gold hue.
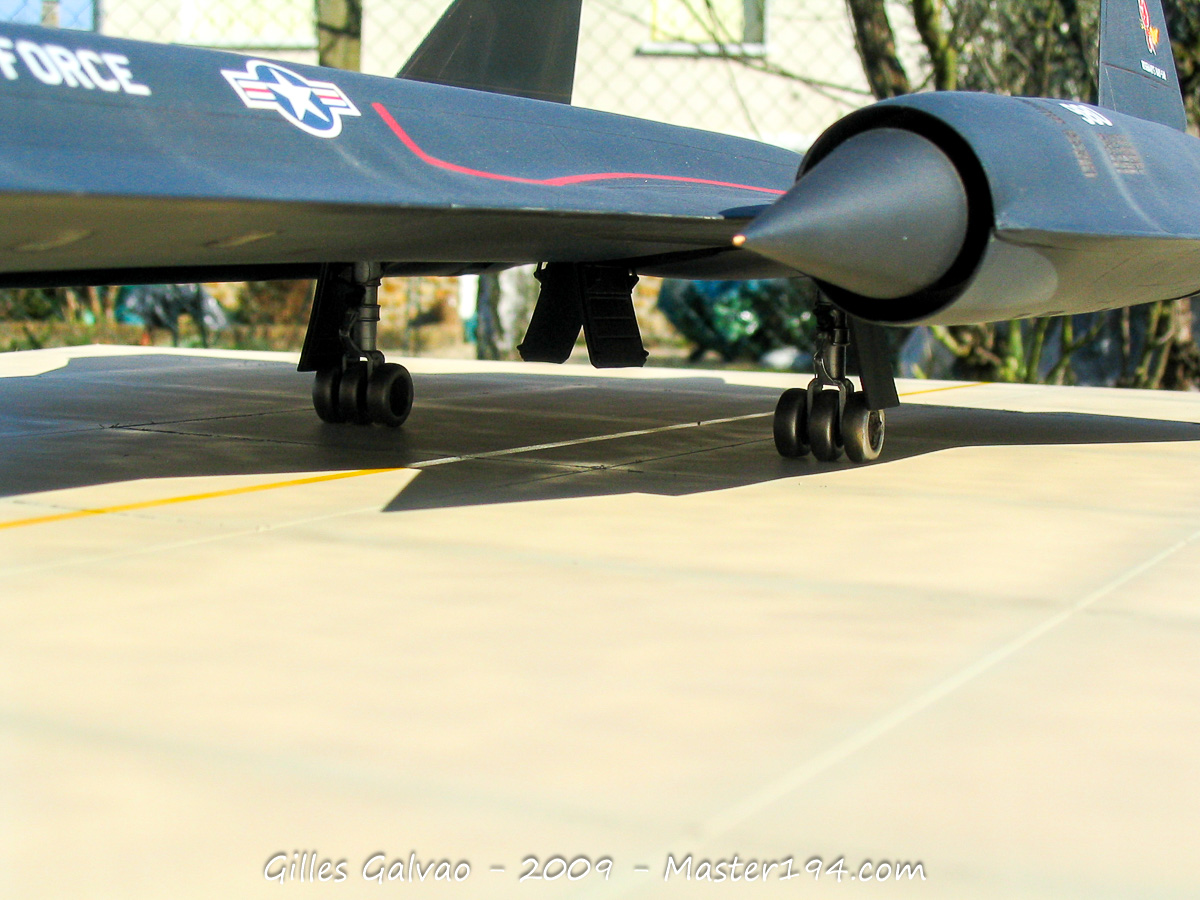
The tail cone features three small holes; this is a very simple modification to make to the original kit part.
The main landing gear wheels are painted silver, and the tread area is finished with a mix of silver and gold to achieve a yellowish metallic tint, just like on the real aircraft. Note also the red protective covers inside the gear bays.
The nose gear bay is quite inaccurate and lacks depth… I decided to live with it. As for the nose tires, they appeared standard in every photo I found (Tire Black). Regarding the rims: white, red, or black—I’ve seen them all!
Sensor windows
The nose camera… and then there are the ECM antennas on the forward fuselage, which are completely wrong. They are represented in relief, whereas this area is actually ‘recessed’ in reality.
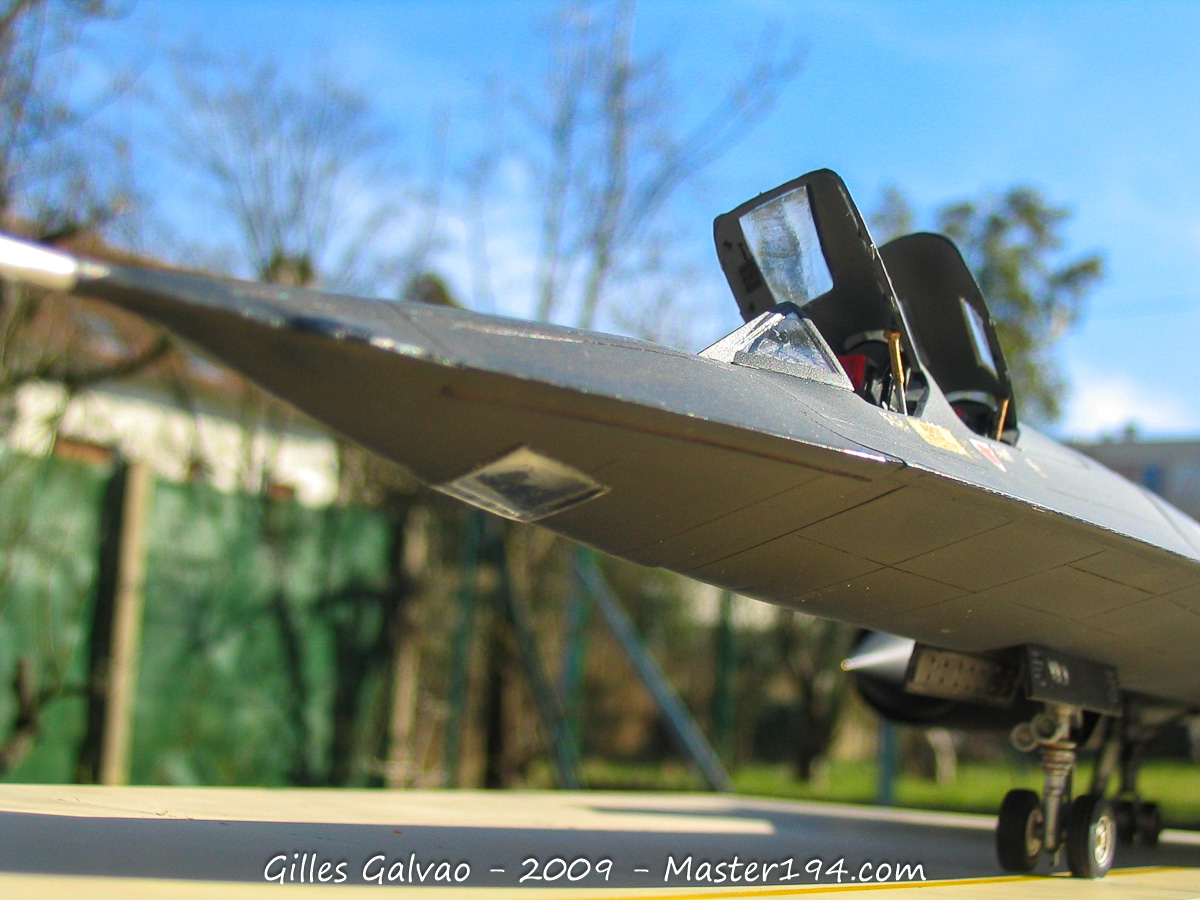
Conclusion
The build is not the easiest; the level of detail is quite basic, and the nose shape is inaccurate. However, with a little work, the Testors kit still makes quite an impact on a display table! We have to remember that this kit was designed back in the 80s.
Since then, many aftermarket manufacturers have offered sets to modify and correct the kit. I built this model over 15 years ago now, but I must admit the release of the Revell Blackbird makes me want to build another one: this machine is truly magnificent. That said, the sheer size of the kit does dampen one’s enthusiasm a bit…