 by
Dams301 has compiled a comprehensive review of the accuracy flaws in the 1/48 scale KittyHawk Dassault Mirage F1 kit. It is my pleasure to share his work here.
All photographs are sourced from my personal archives, Tomcat16’s F-1CR and F-1B build threads, and Dom’s walkaround gallery for Master194.com. The technical illustration is by Eclipse/Studio Sechen.
This listing is not exhaustive and may contain omissions. Should you notice any errors or missing details, please let me know so I can update the file accordingly.
Radar radome
When viewed in profile, the kit’s radar radome suffers from a shape inaccuracy. While it should be quasi-conical, its profile is closer to an ogival shape. From a top-down view, however, the shape is correct and poses no issue.
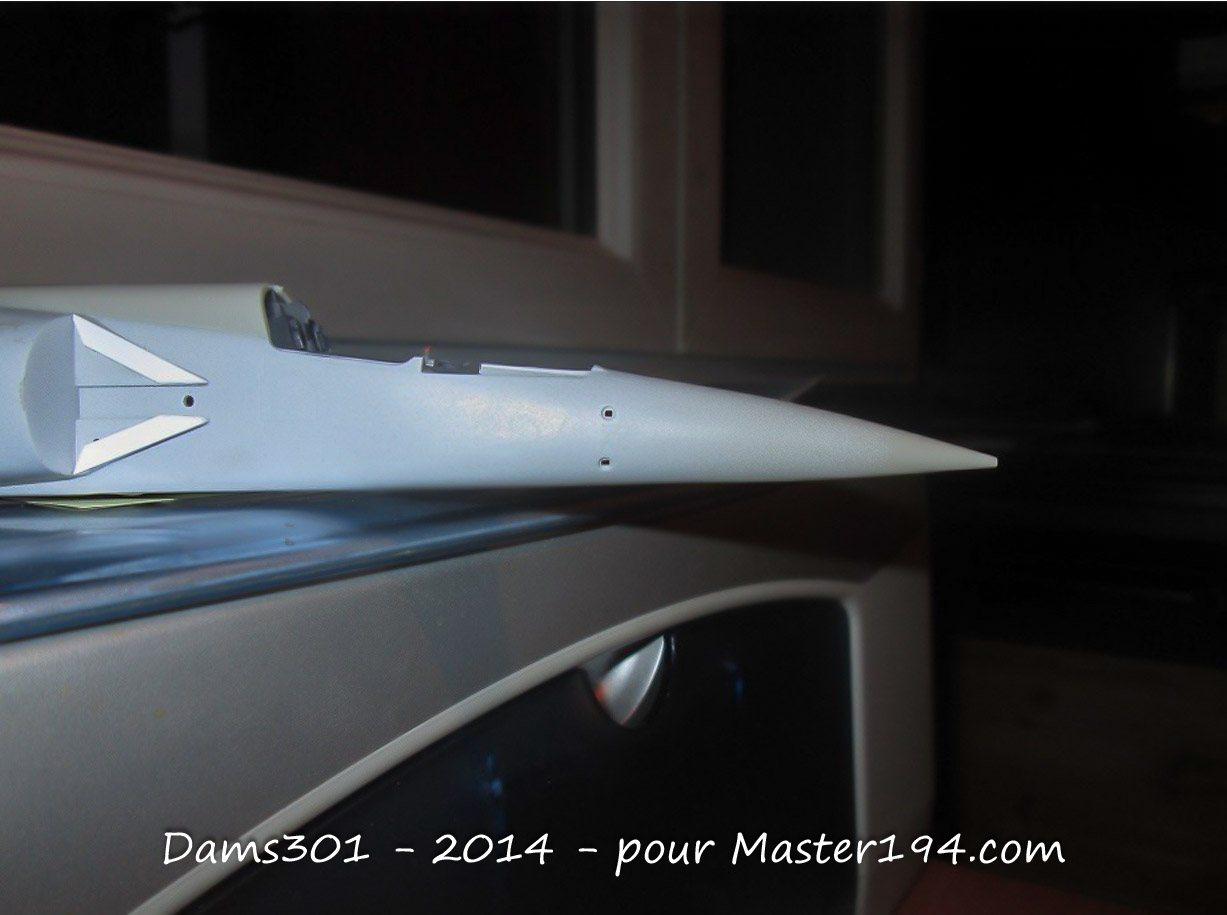
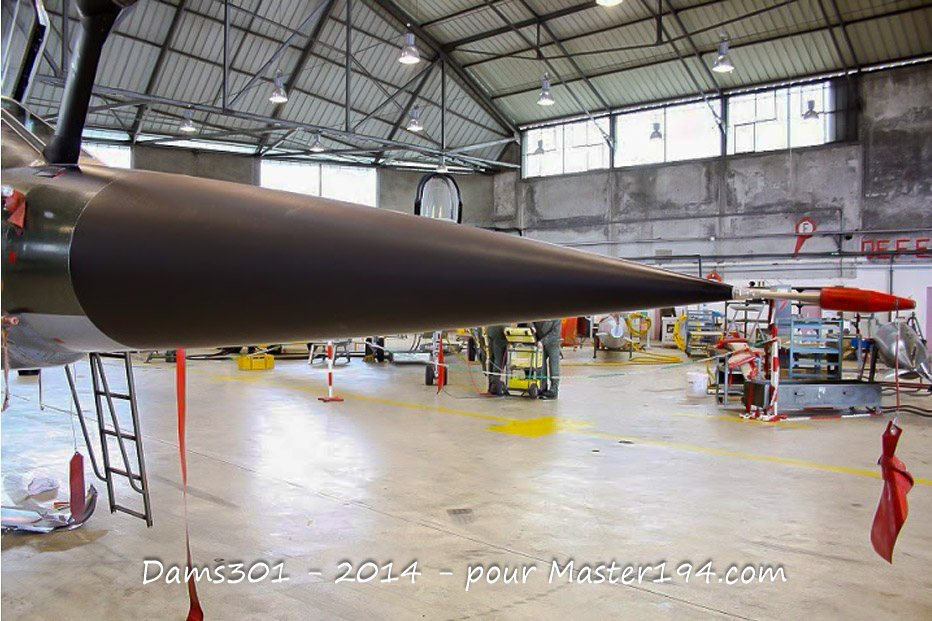
Solution: Sand down the upper section of the nose to restore the correct shape.
Main Landing Gear
Out of the box, the KittyHawk kit’s landing gear is too vertical, which spoils the aircraft’s correct stance once completed. In fact, the angle is closer to how it looks when the engine is removed.
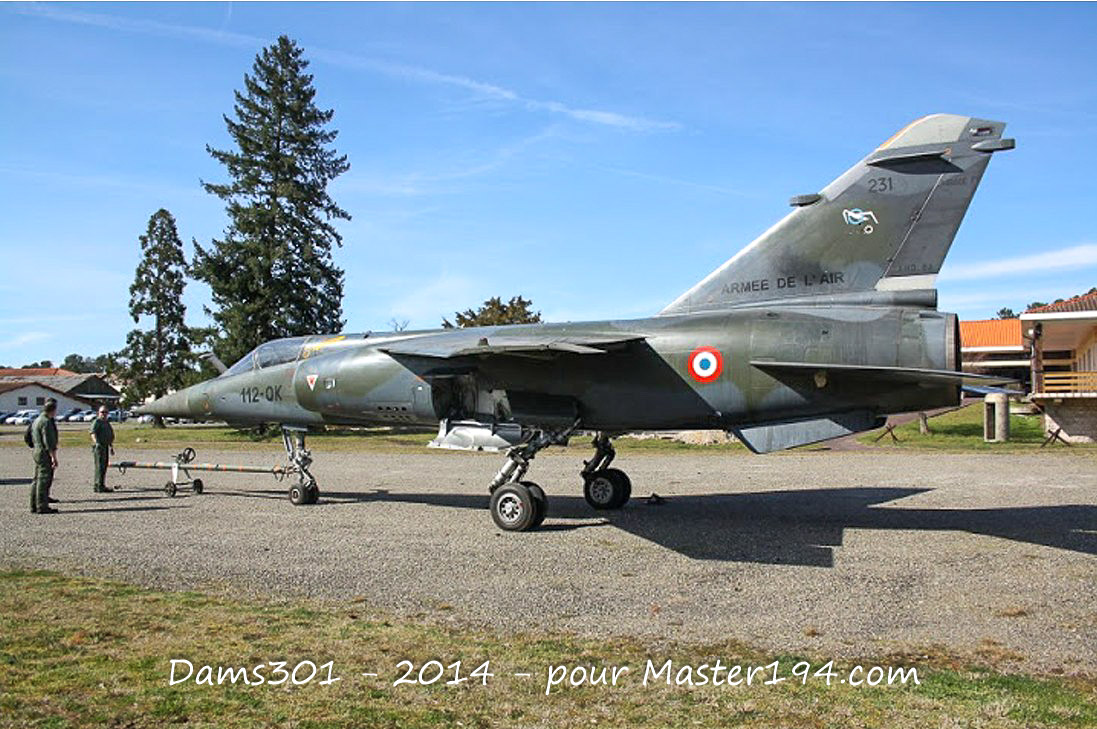
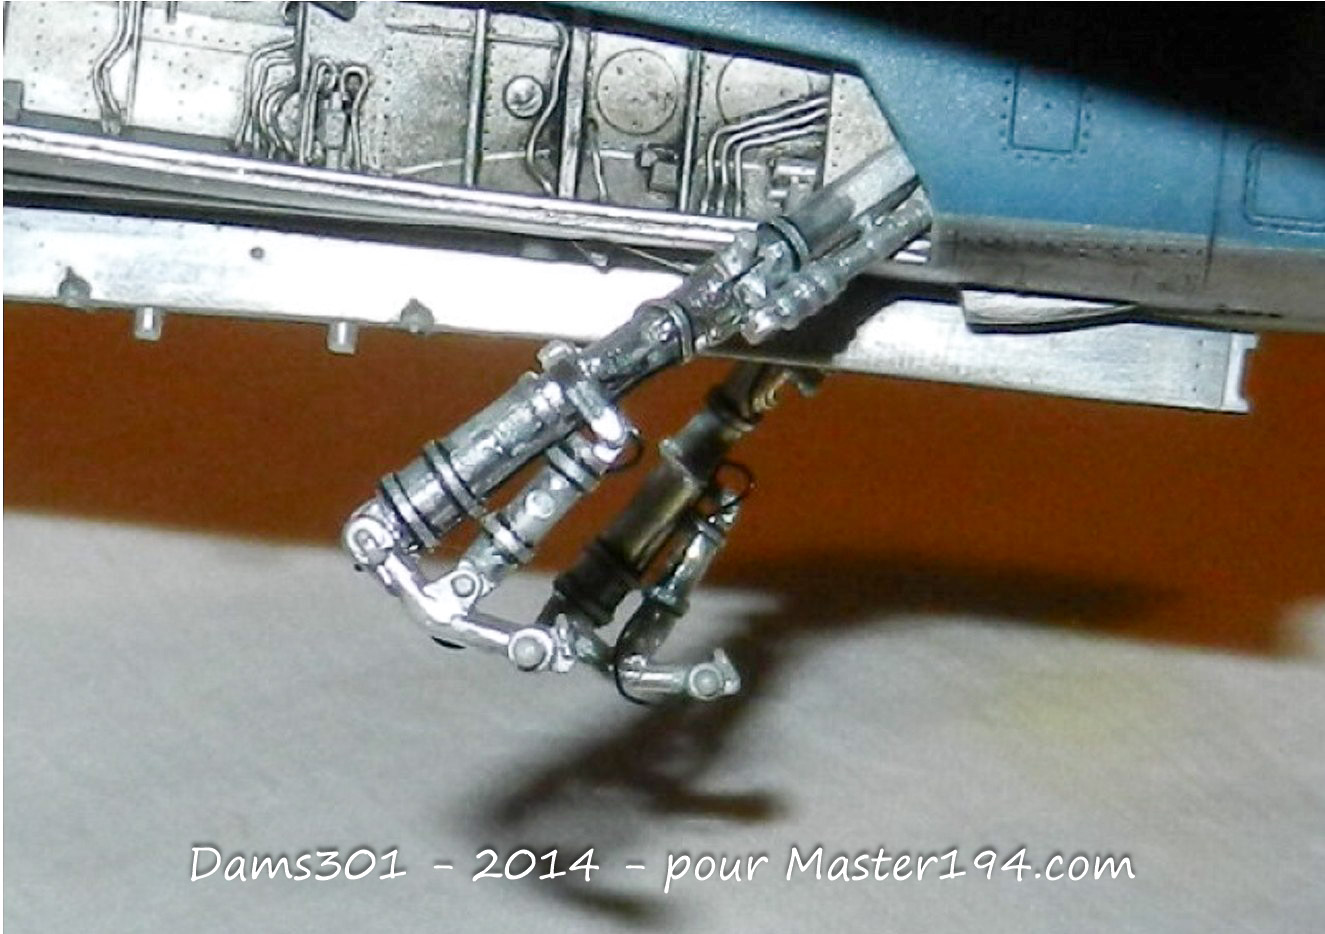
To fix this, you need to enlarge the half-moon slot where the part keys in to adjust its angle, and shorten the main actuator by 2mm:
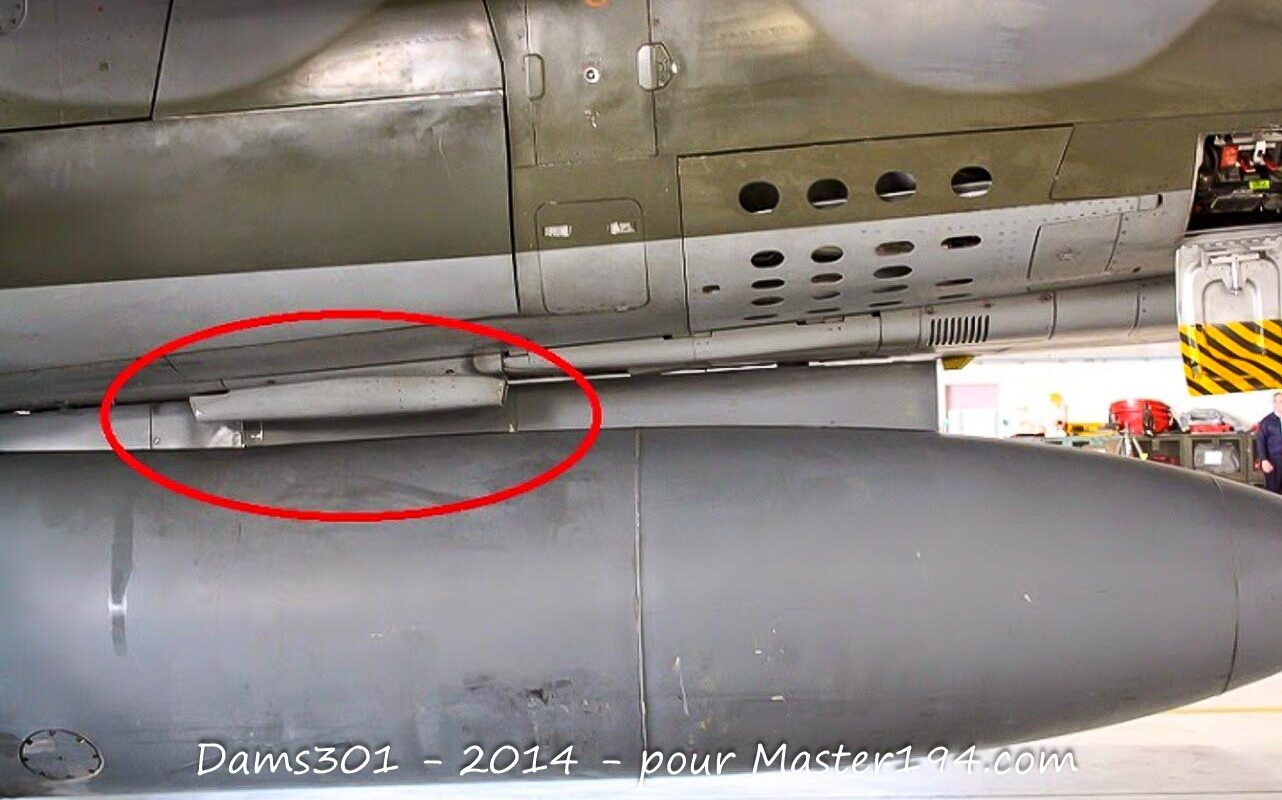
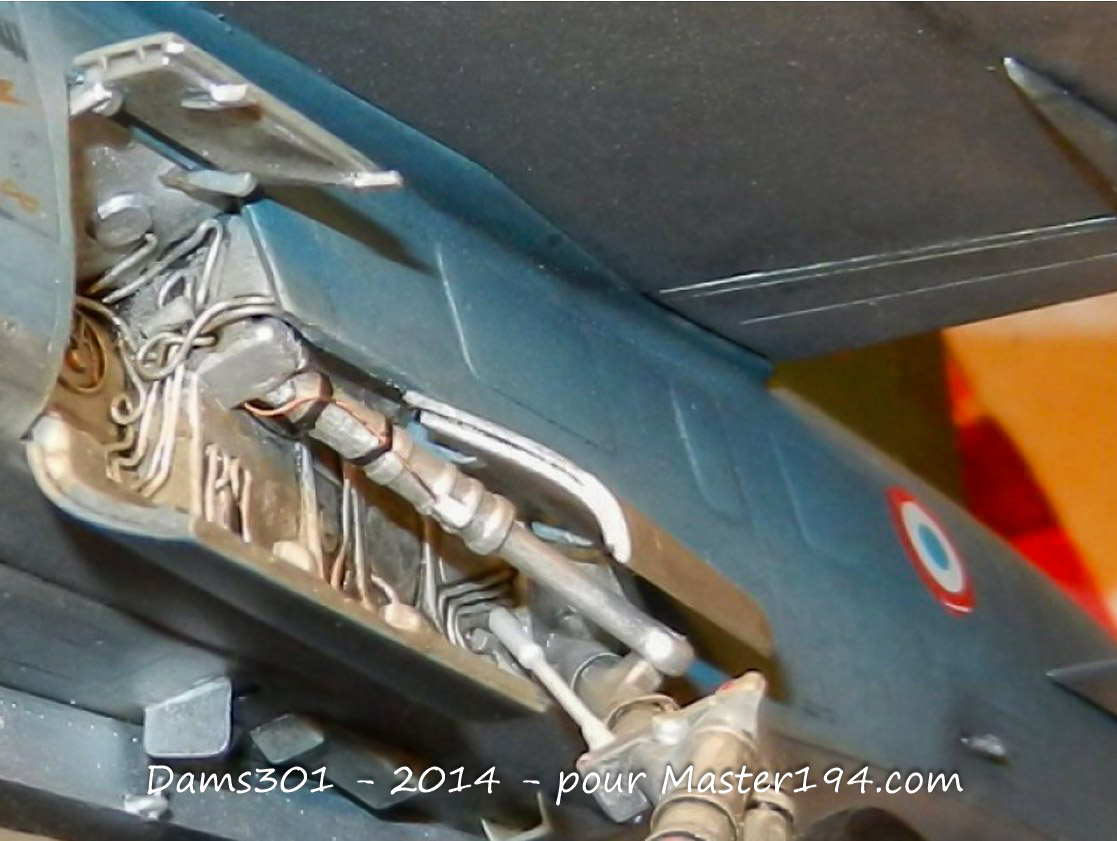
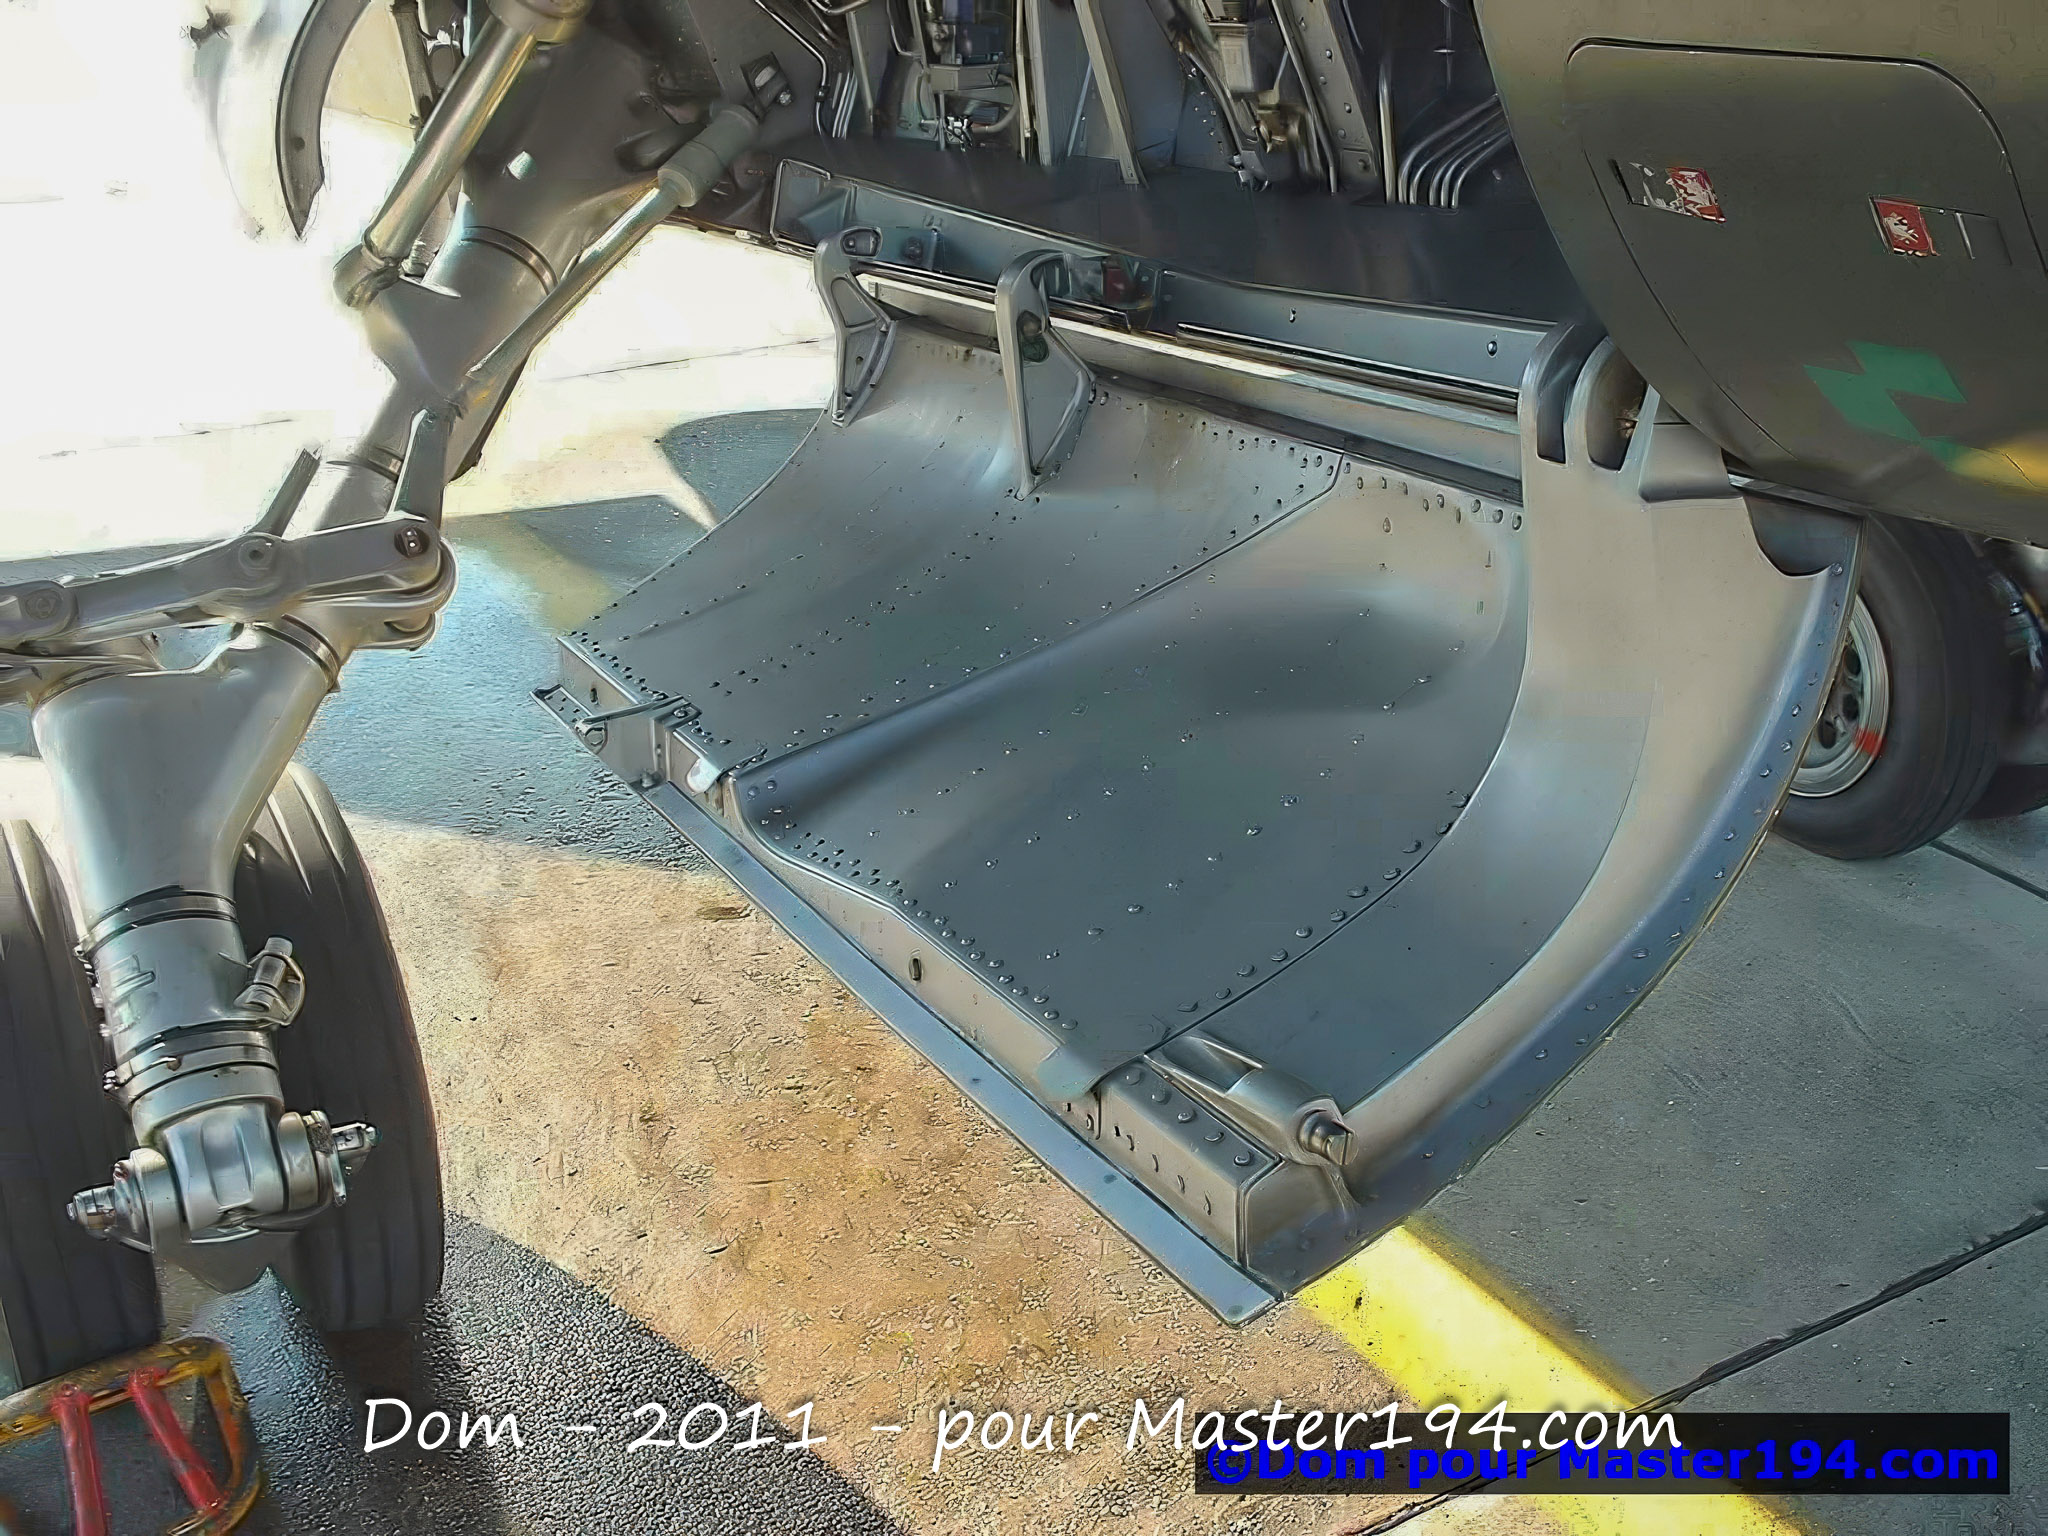
Note that a linkage from the gear retraction system is also missing, highlighted in white in the photo below:
It can be clearly seen here on the real aircraft:
Mirage F1B Nose Landing Gear (Two-seater version only)
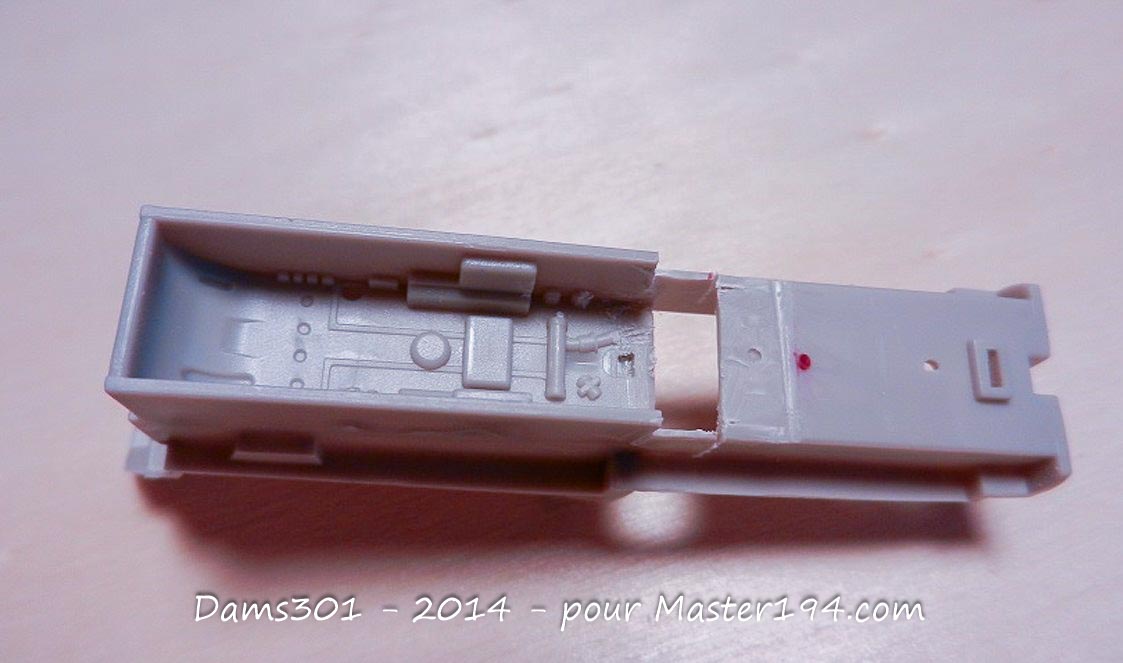
Another major flaw in KittyHawk’s initial Mirage F1 boxing (the two-seater kit) is that the nose landing gear is positioned too far aft. To correct this, it must be shifted forward so that it aligns vertically with the pilot’s seat (rather than sitting beneath the rear cockpit console). This adjustment requires a move of approximately 3.5mm.
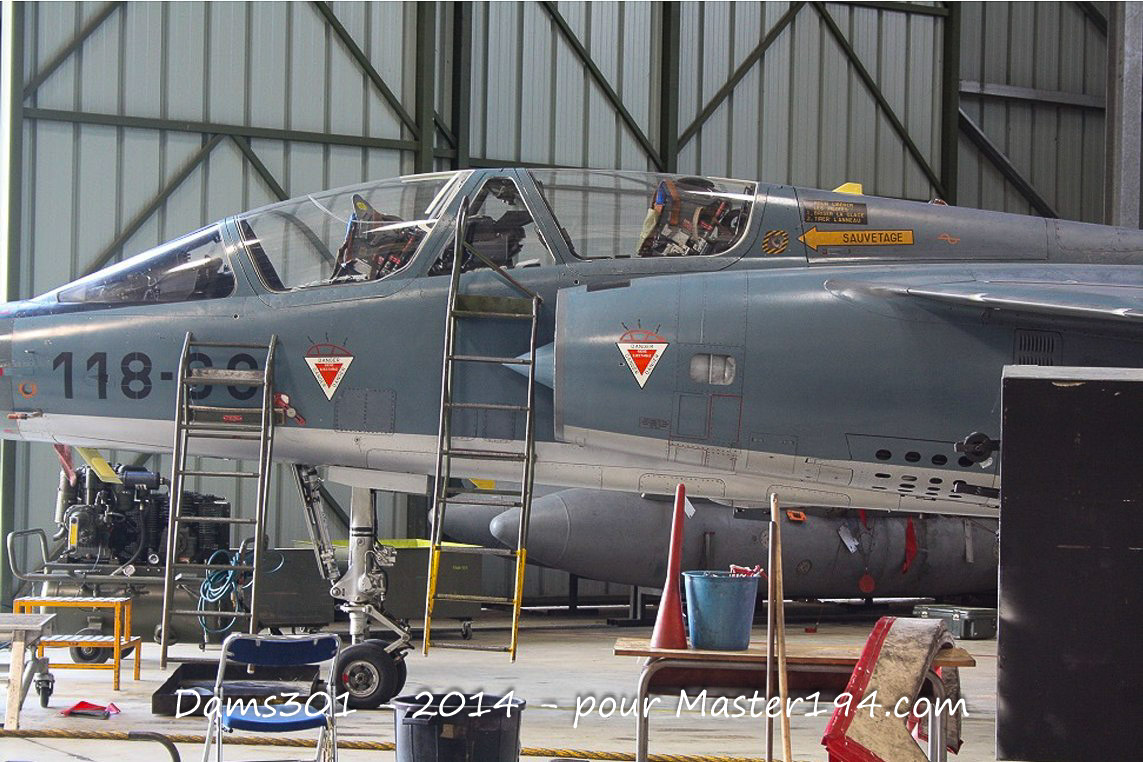
Here is the assembly as represented by KittyHawk, before correction:
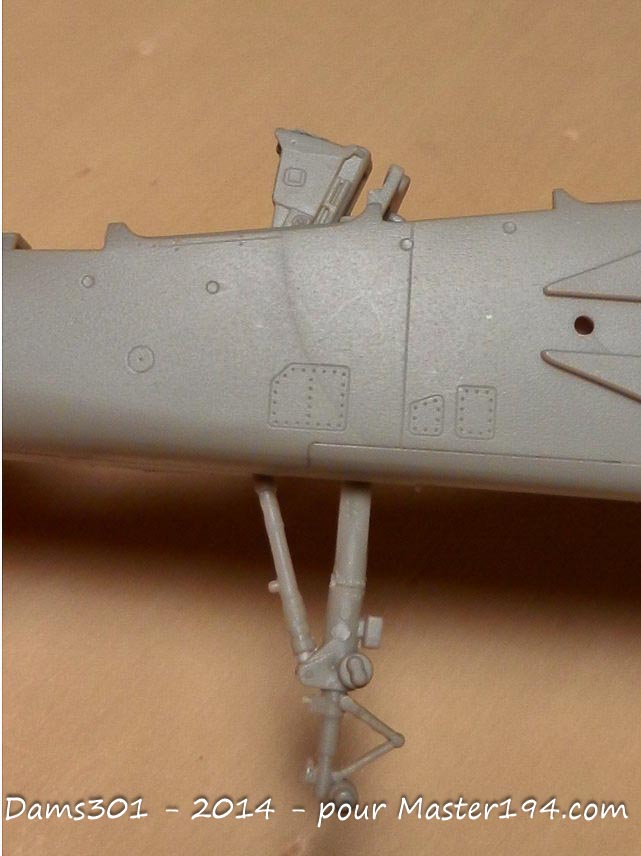
Here is a detailed, step-by-step correction method:
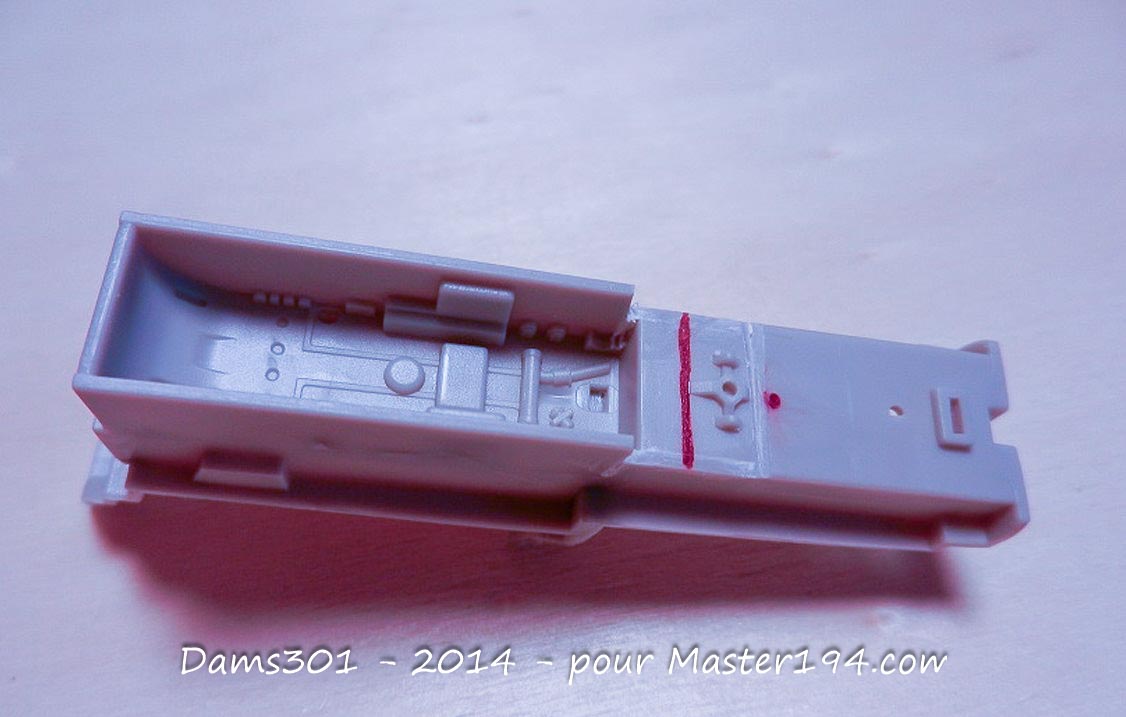
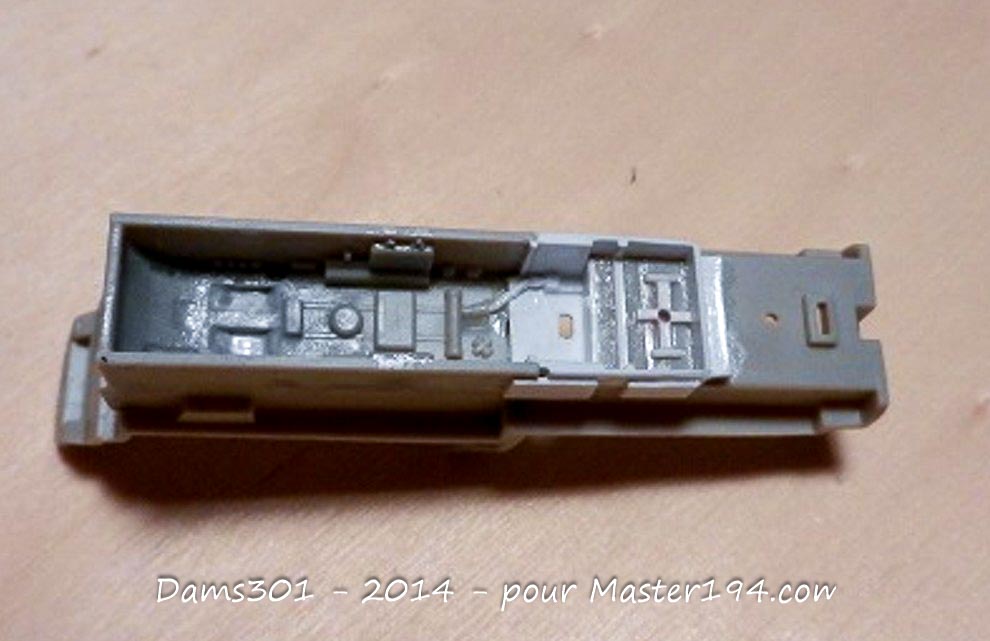
Nose gear position after modifying the wheel well:
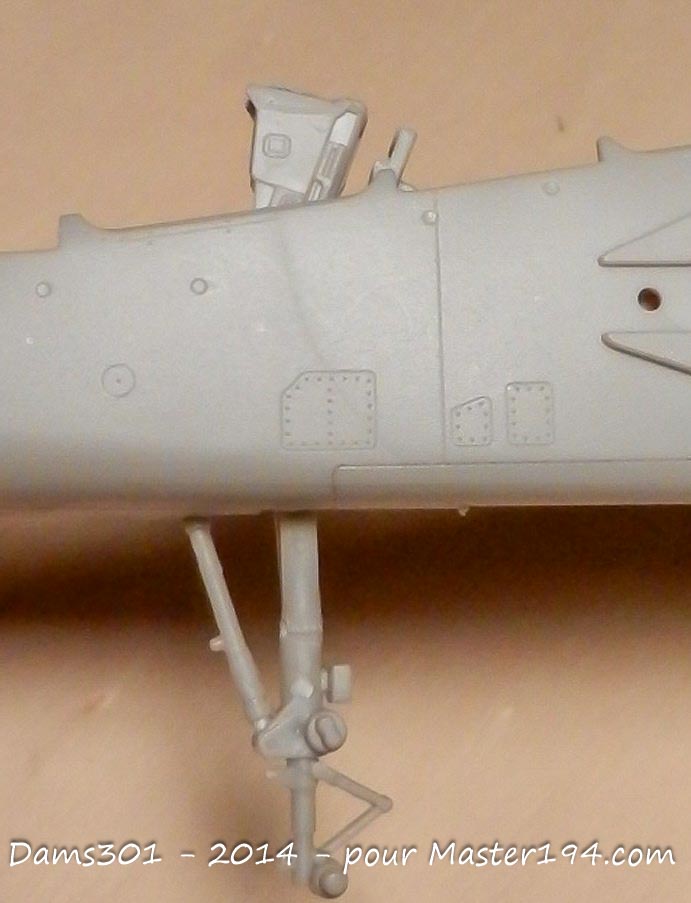
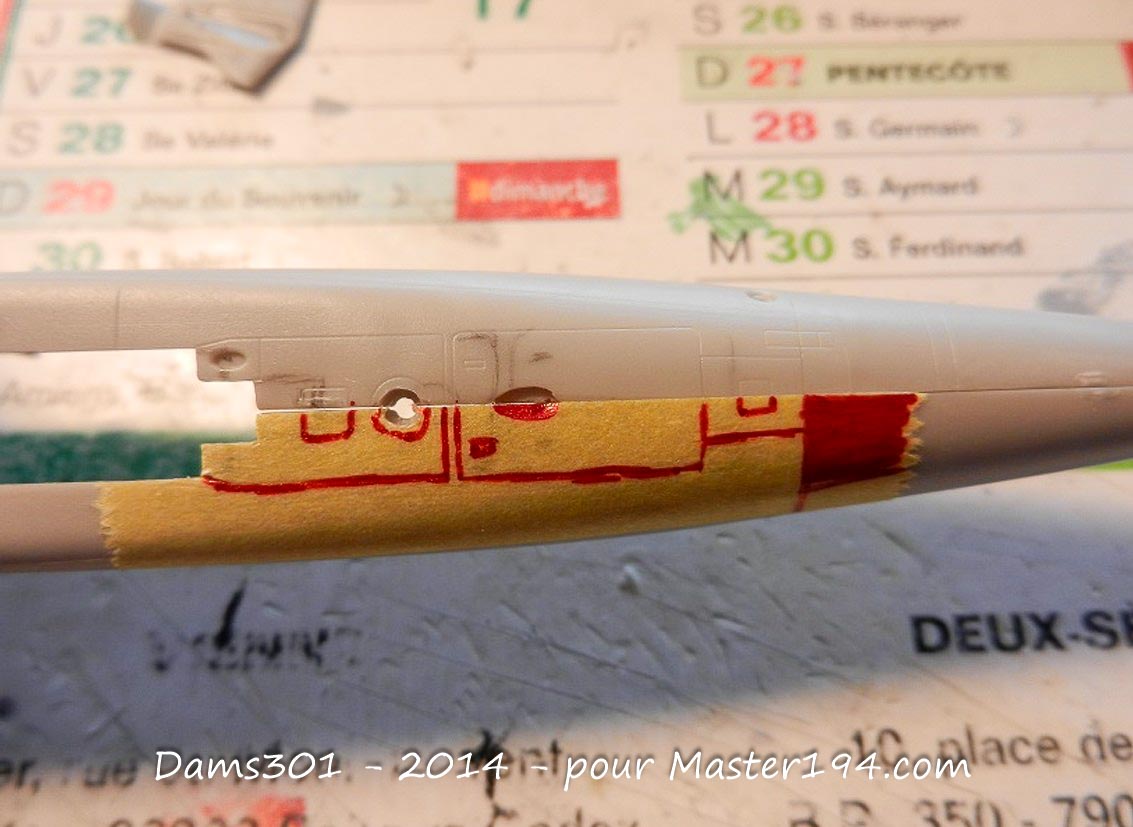
Naturally, you will also need to extend the gear bay opening forward by 3.5mm and rescribe the surrounding panel lines after transferring the original details using masking tape (for example).
Air Intakes
Their shapes are simply incorrect :
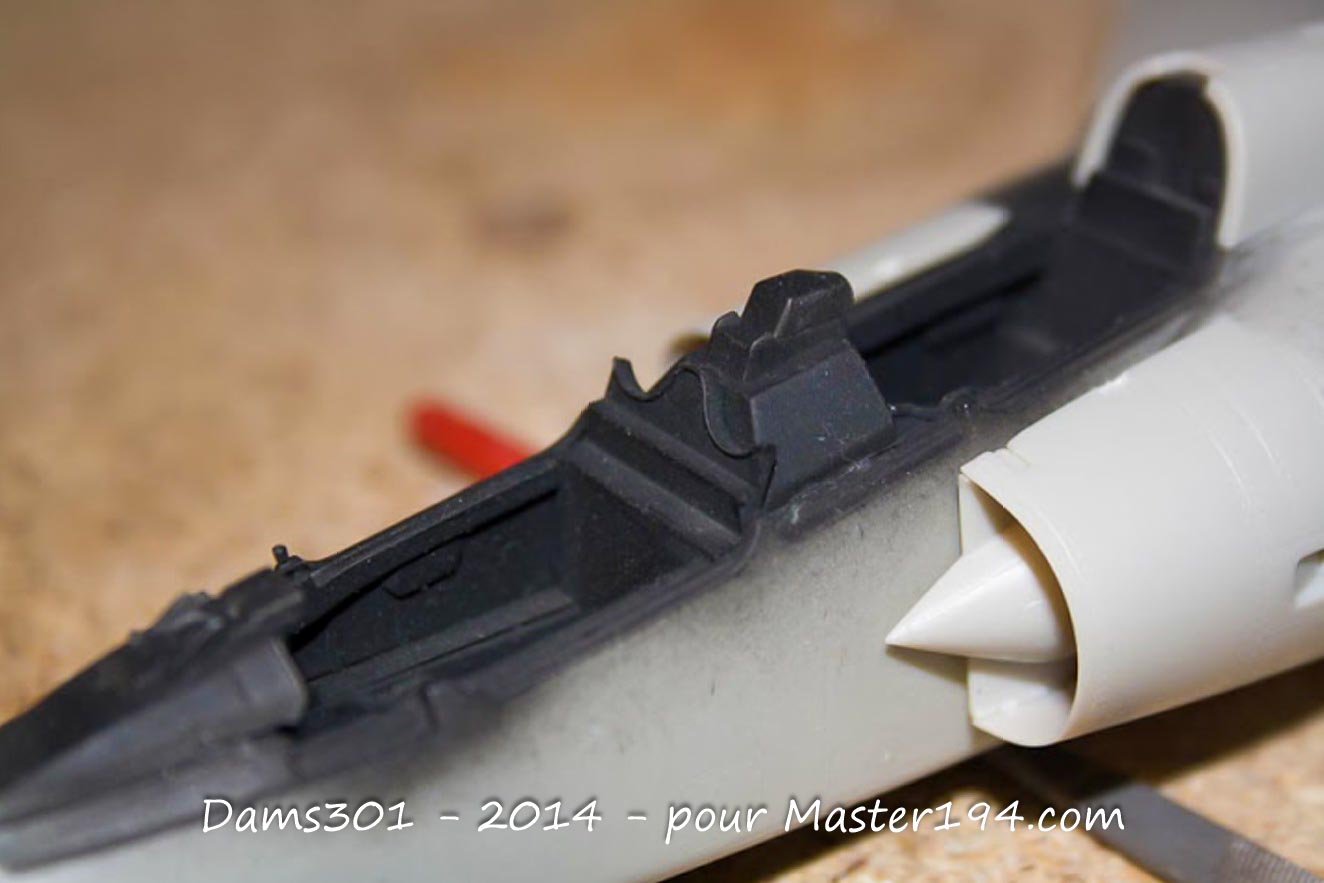
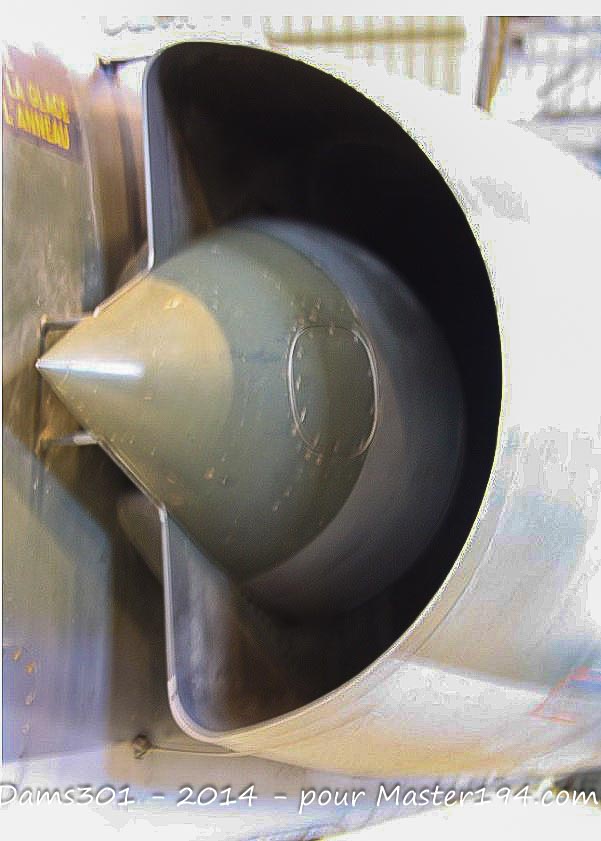
There are two possible solutions. The first is to use the aftermarket Pavla air intakes designed for the Esci/Italeri Mirage F1 kit. Installation is relatively trouble-free, provided you add a plastic card (plasticard) shim between the fuselage and the intake.
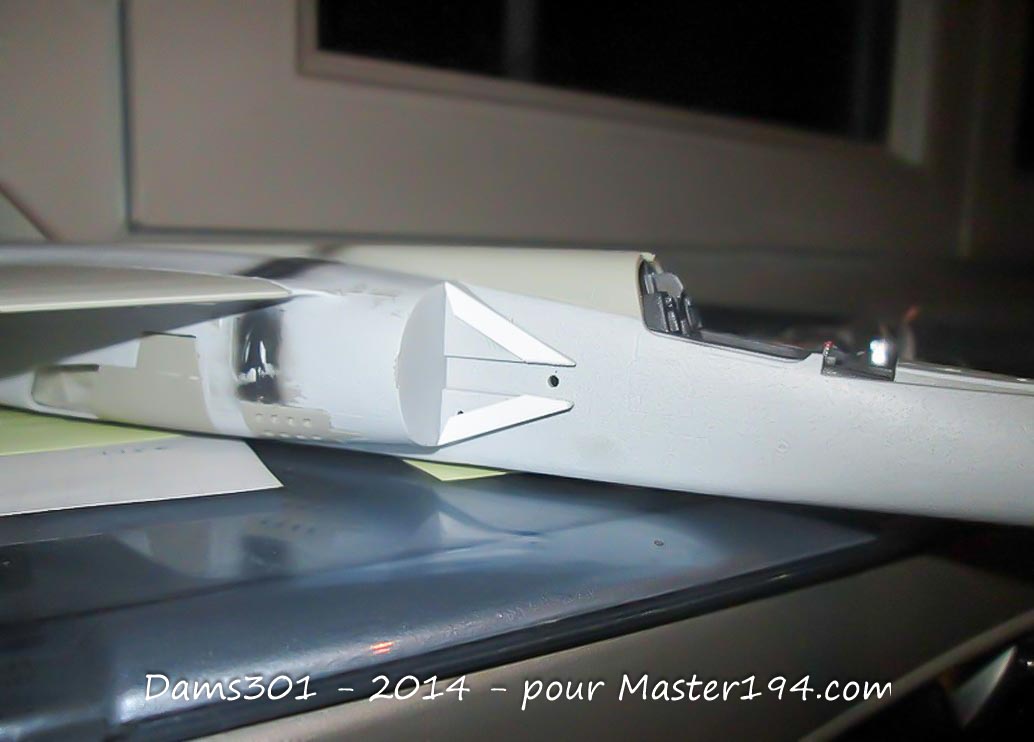
The alternative solution is to sand down the kit parts to try and correct the shape.
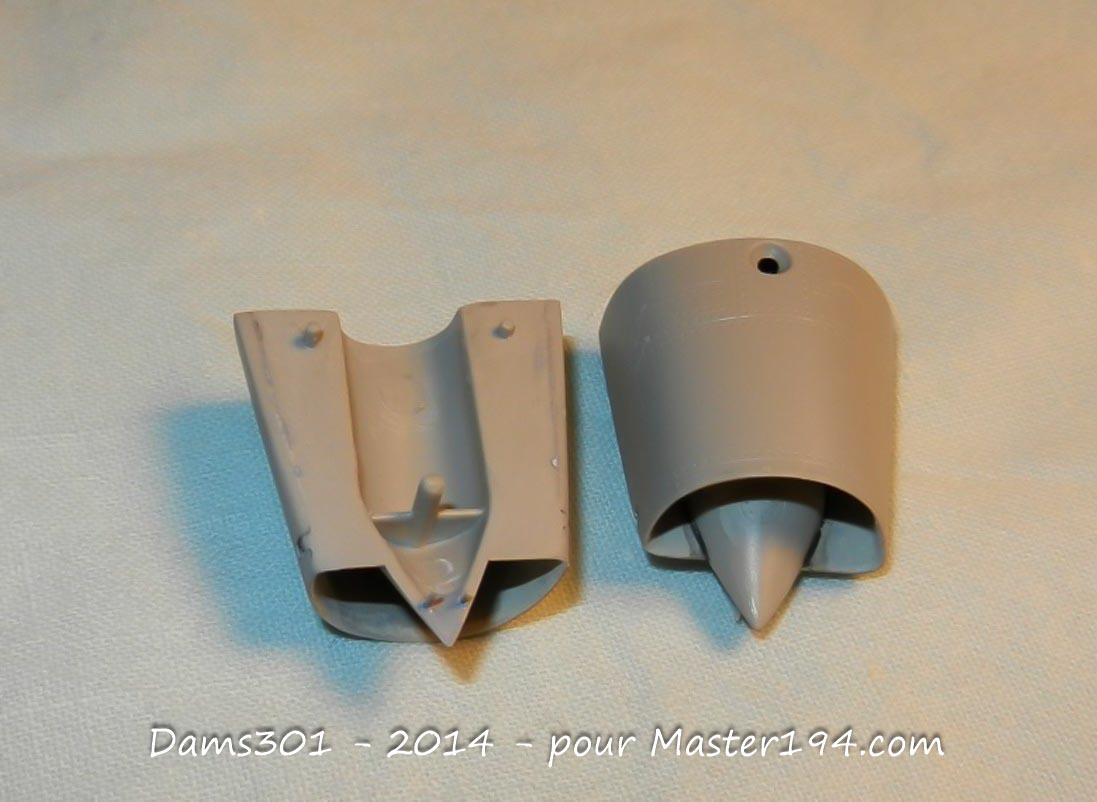
Mirage F1CR Recce Pod Fairing
To put it simply: it belongs in the bin! The bottom part is the one from the kit.
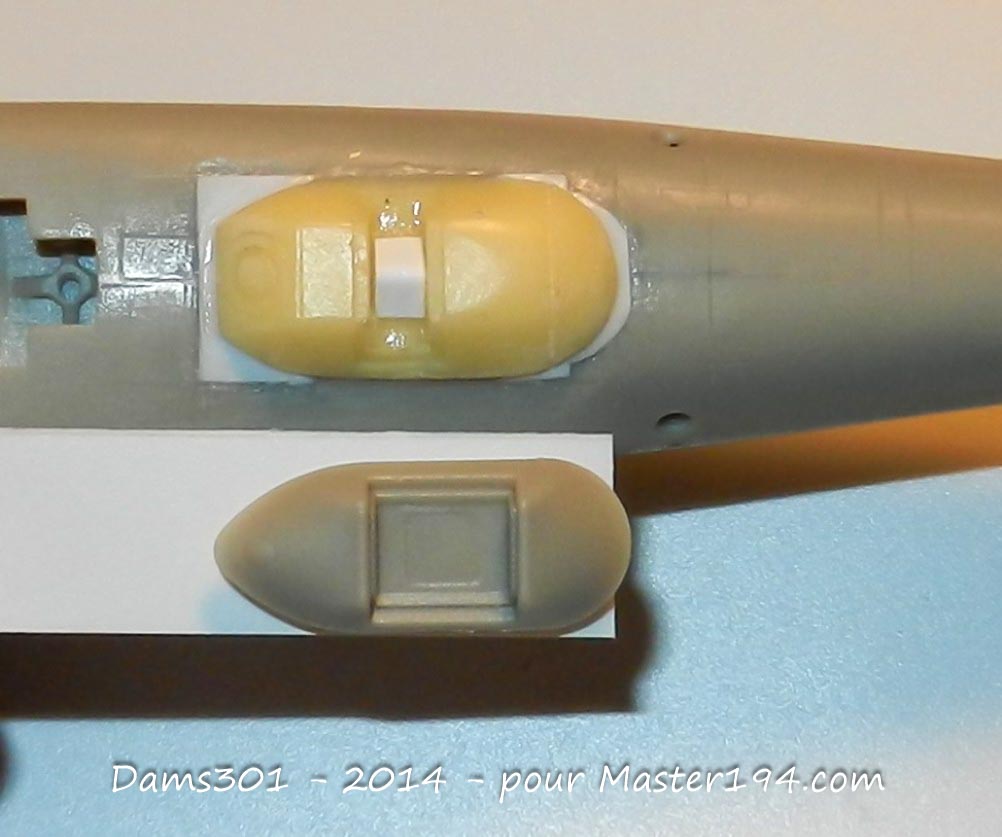
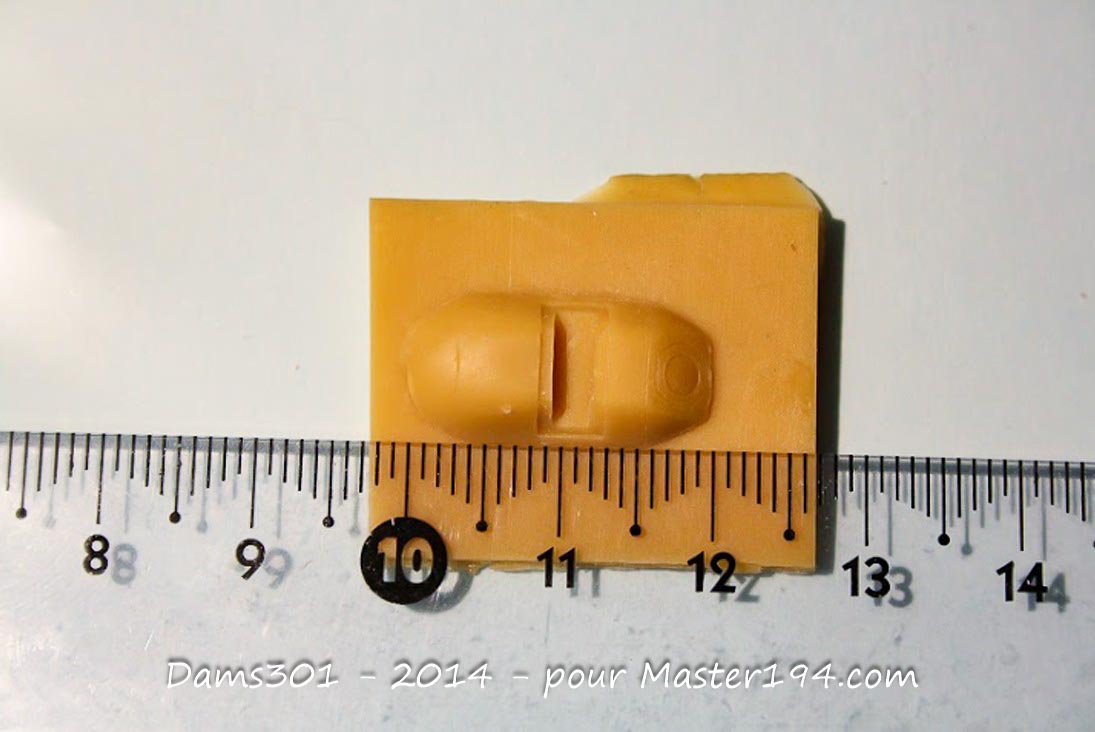
Comparison with an old resin set that is no longer available today. It can, however, serve as a template to scratch-build a new one:
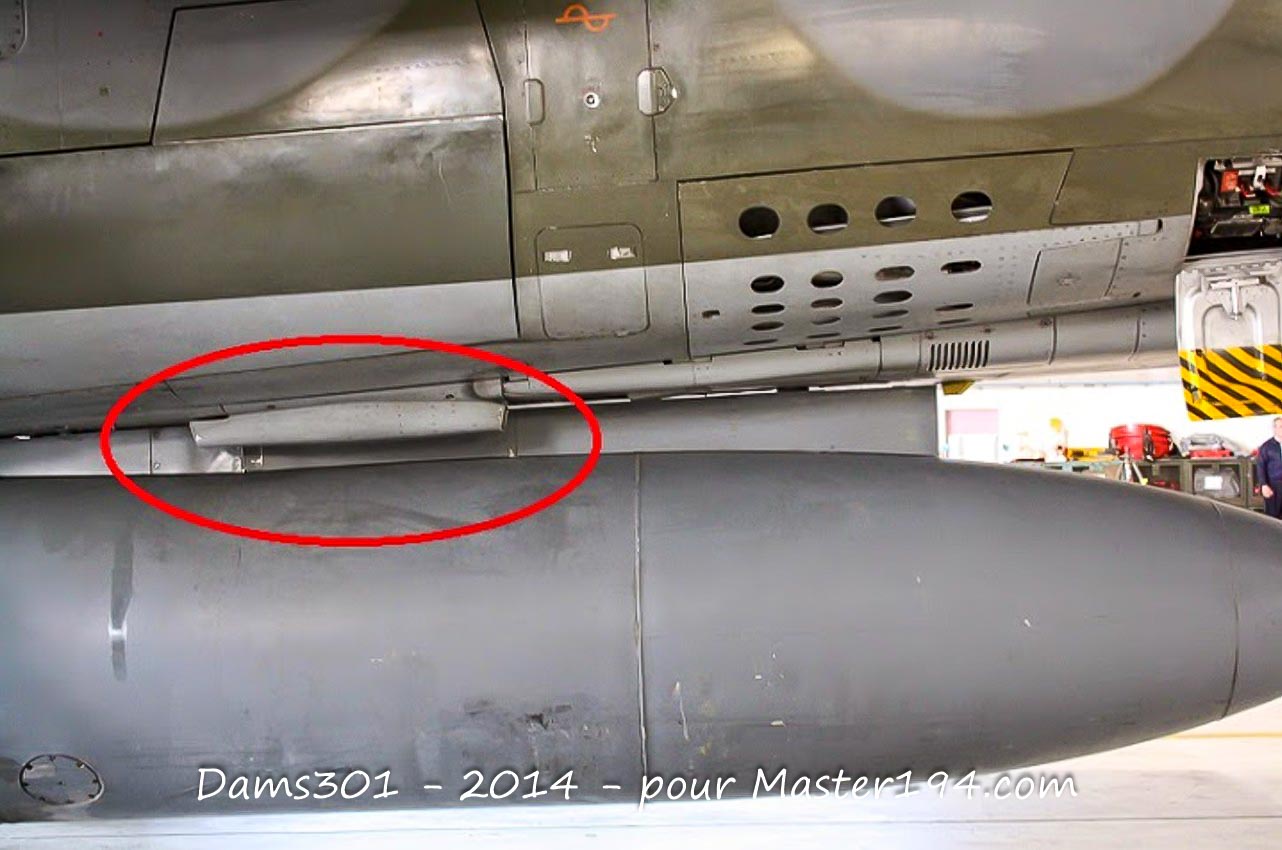
Super Cyclope Pod Air Intake (Mirage F1CR only)
If you want to build a Mirage F1CR variant, you will need to scratch-build this part, as KittyHawk completely omitted it:
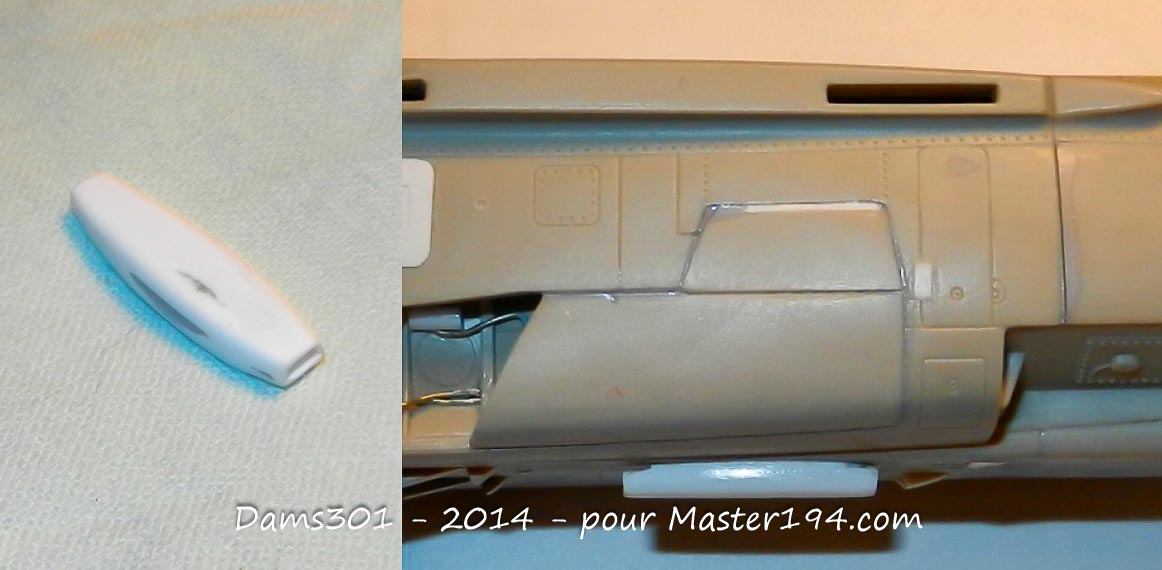
Aerial Refueling Probe
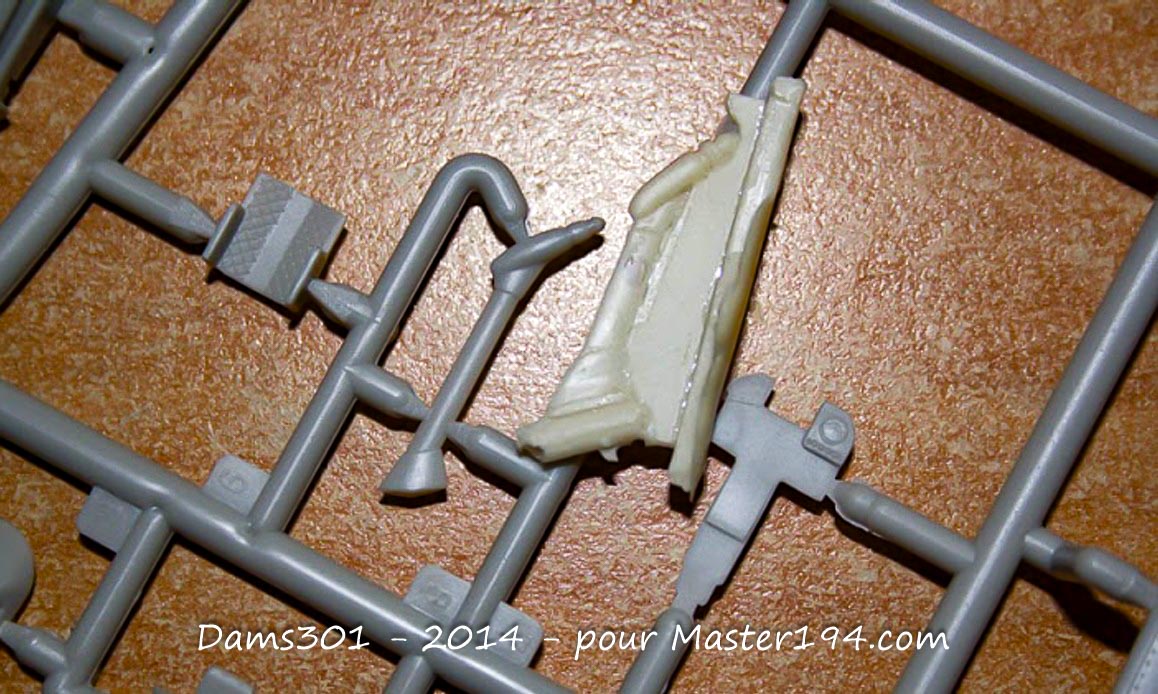
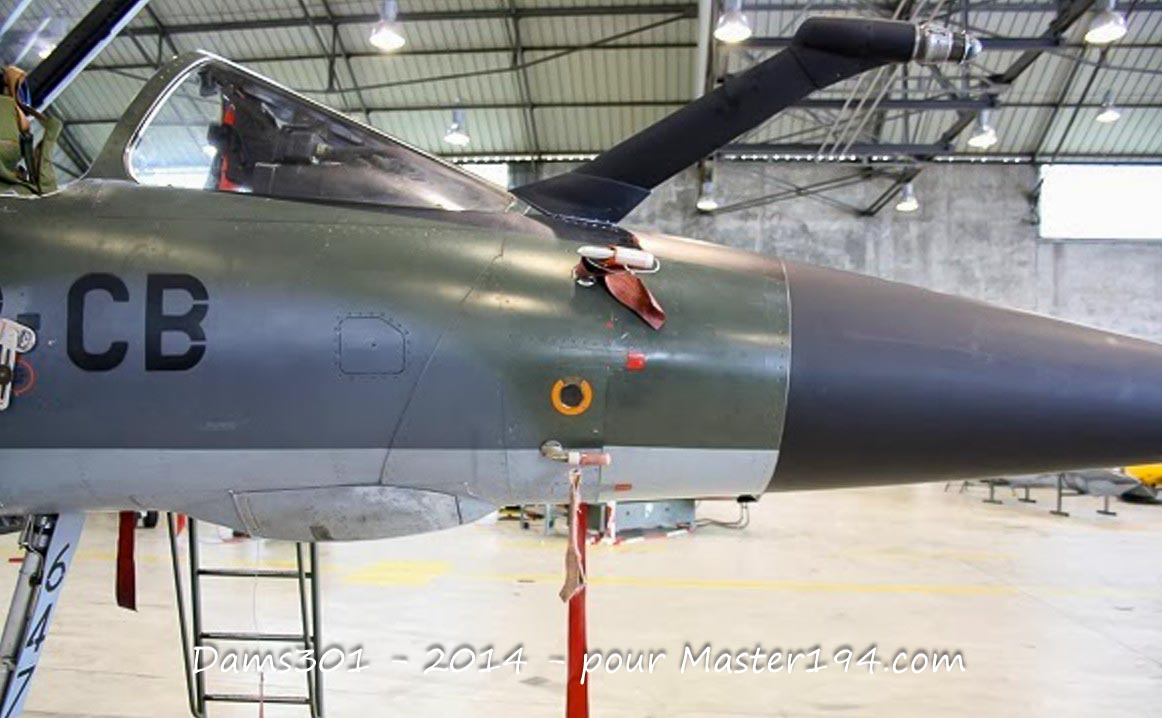
While the overall shape appears correct, a few modifications are still required. To put it simply, the central section needs to be shortened and widened. Here is a comparison with the Fonderie Miniature probe and the real aircraft:
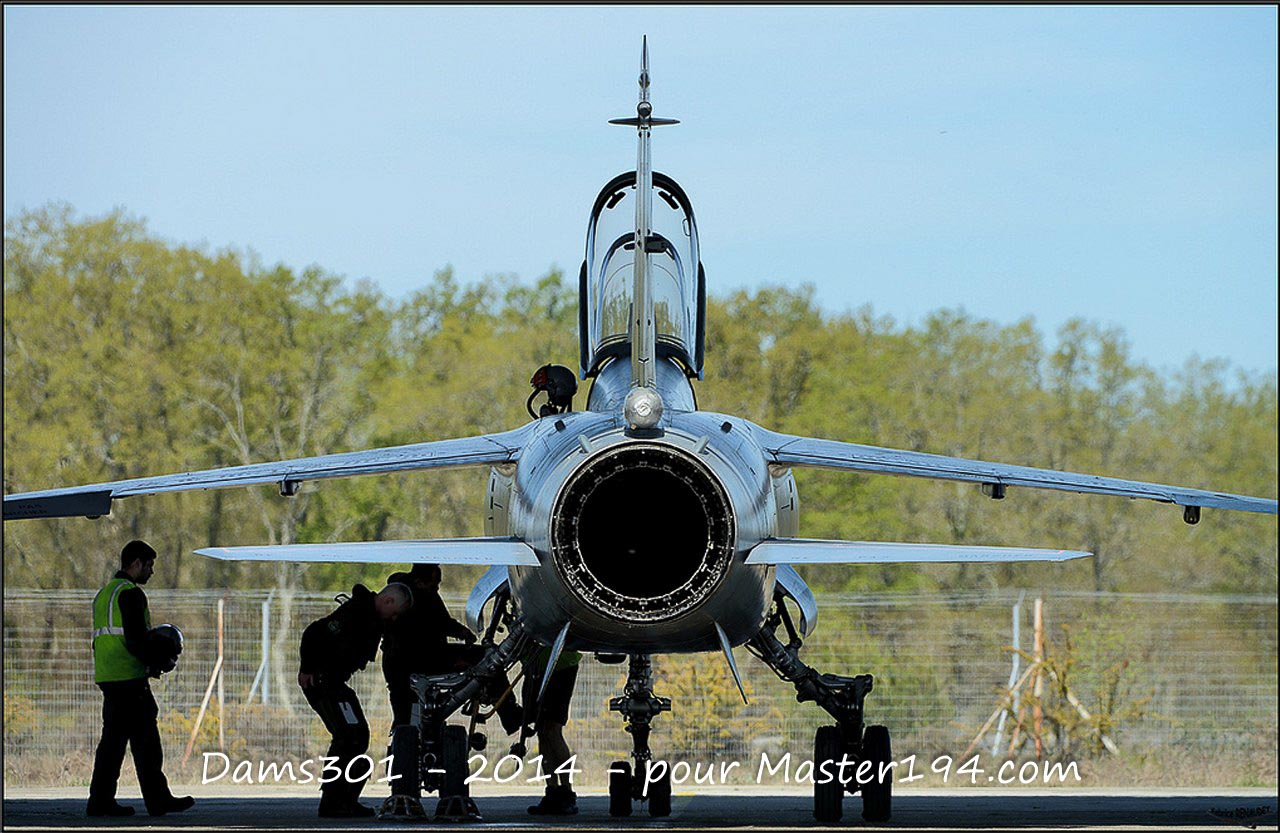
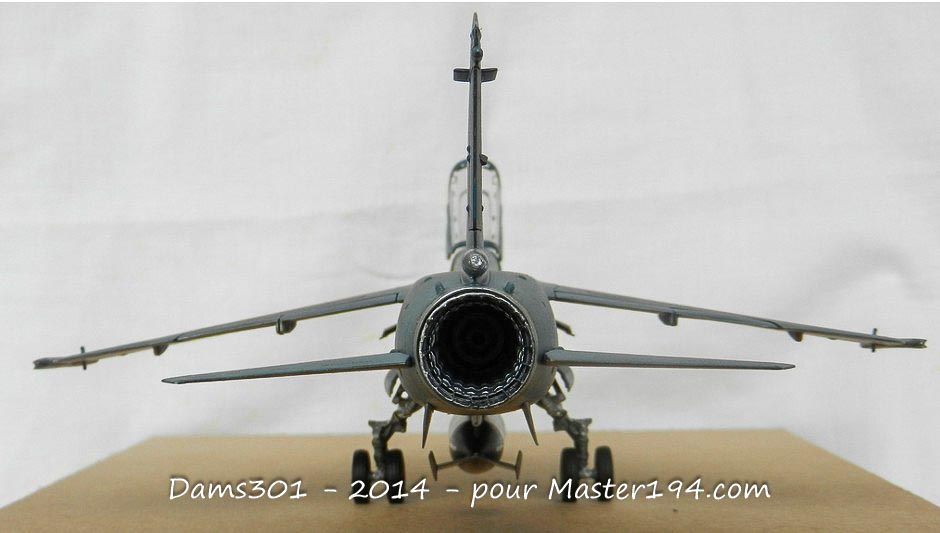
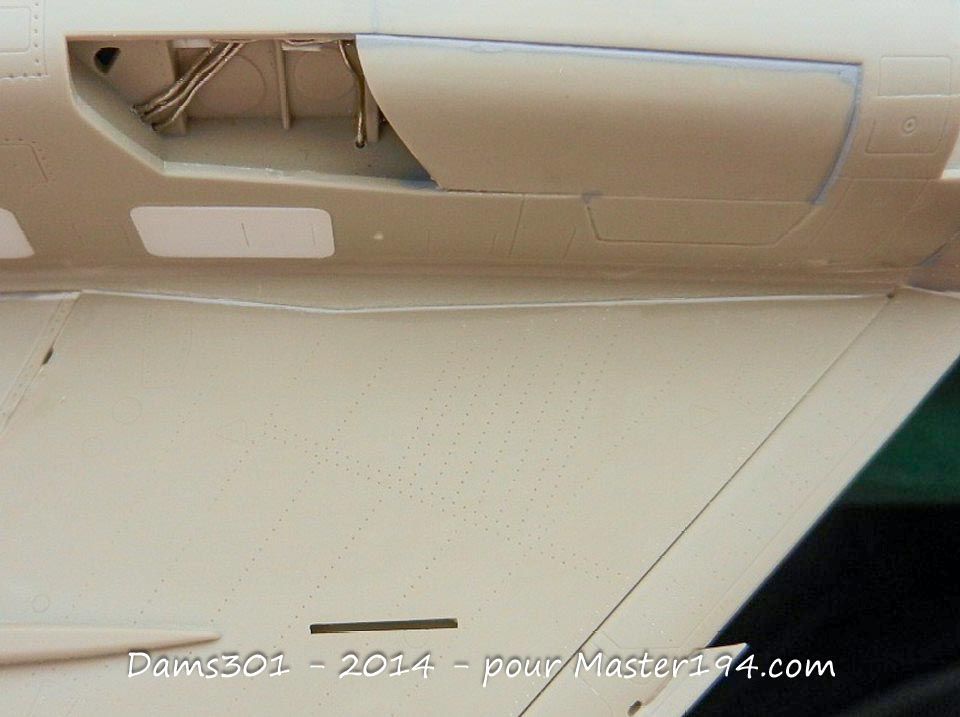
Wing Anhedral (Negative Dihedral)
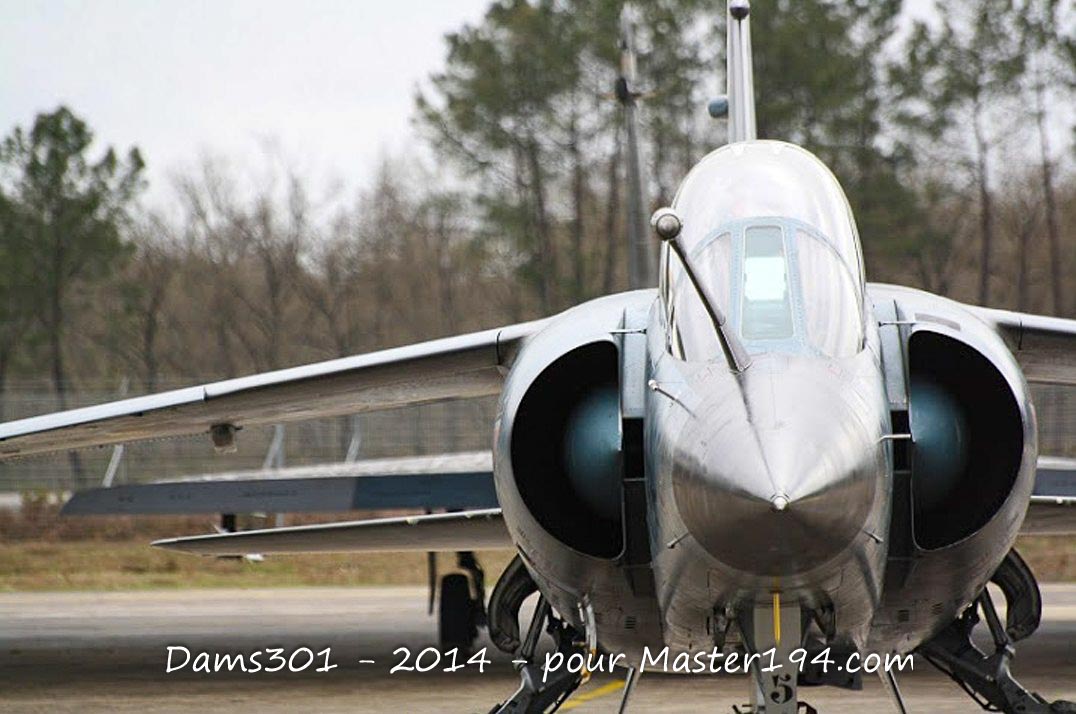
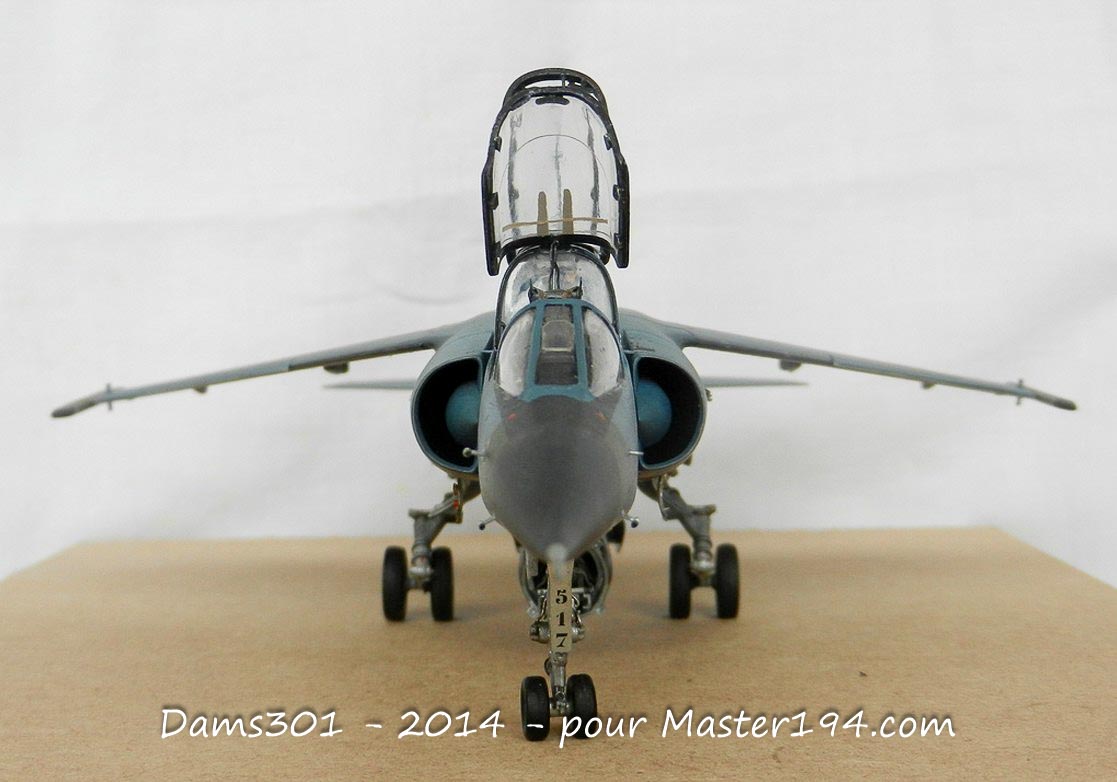
Surely one of the easiest flaws to correct. Out of the box, the anhedral angle is far too pronounced (closer to an Alpha Jet than a Mirage F1). Therefore, you need to add a small piece of plastic card (plasticard) to the lower surface (intrados) of the wing root to fix this.
Here are a few photos:
Instrument Panel Glare Shield
The glare shield provided by Kittyhawk shown here needs to be reworked:
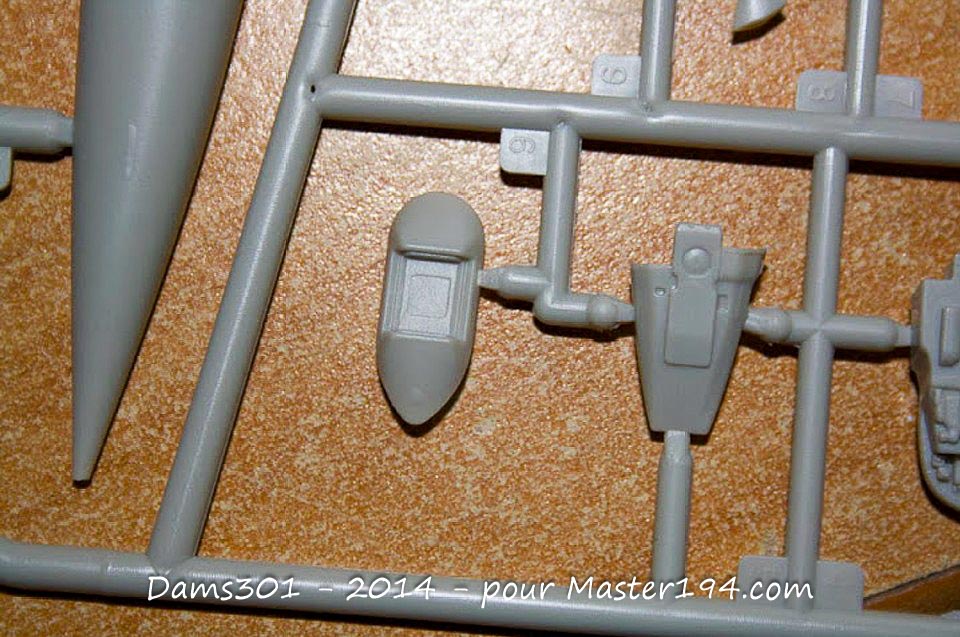
On the real Mirage F1:
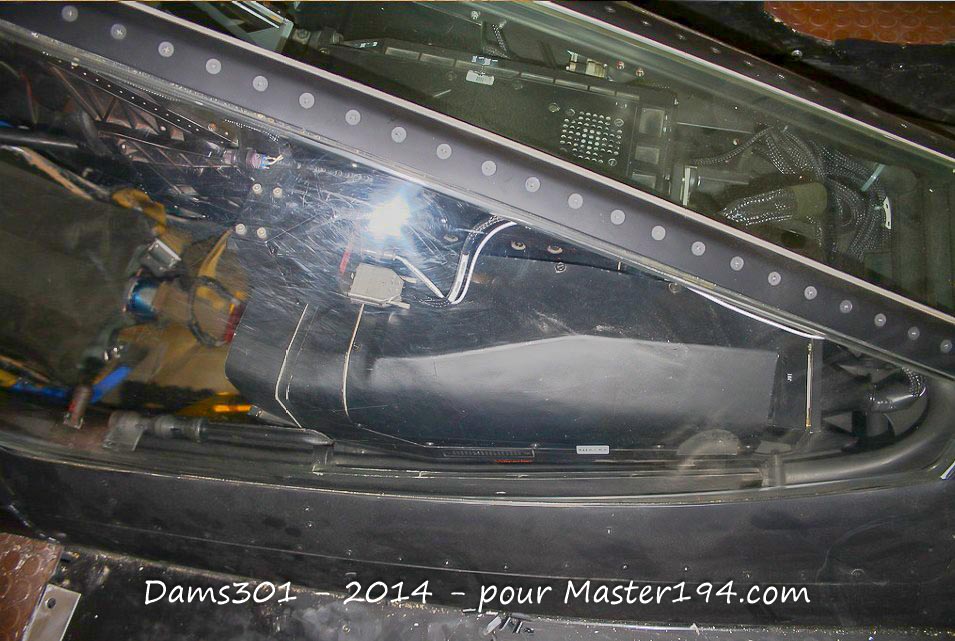
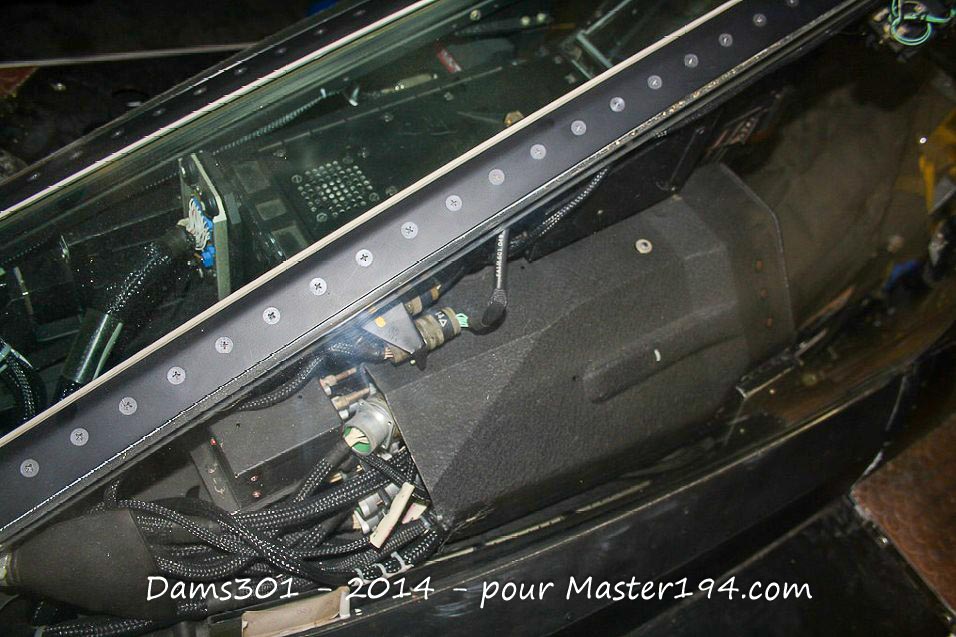
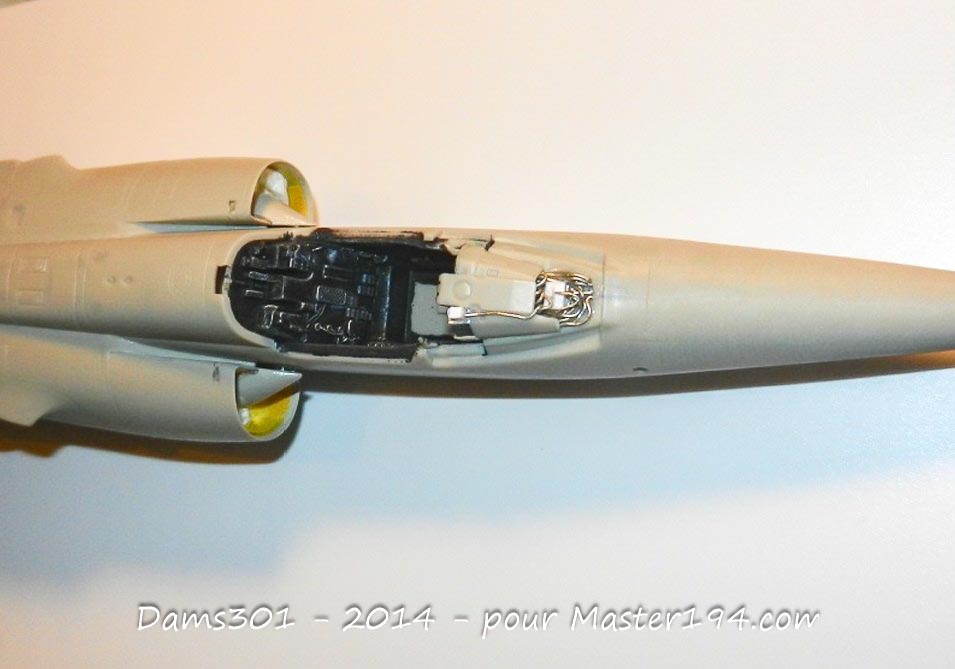
The corrected KittyHawk part.
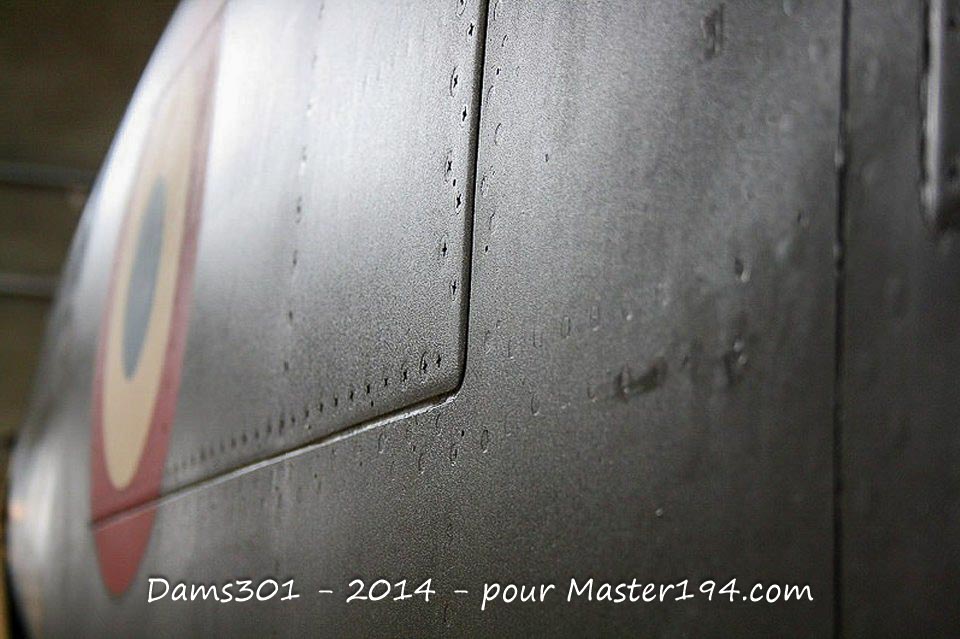
Raised Fuselage Panels
Represented simply by recessed panel lines and with mismatched heights, these plates at the rear of the fuselage should actually be slightly raised, equal in height, and properly aligned.
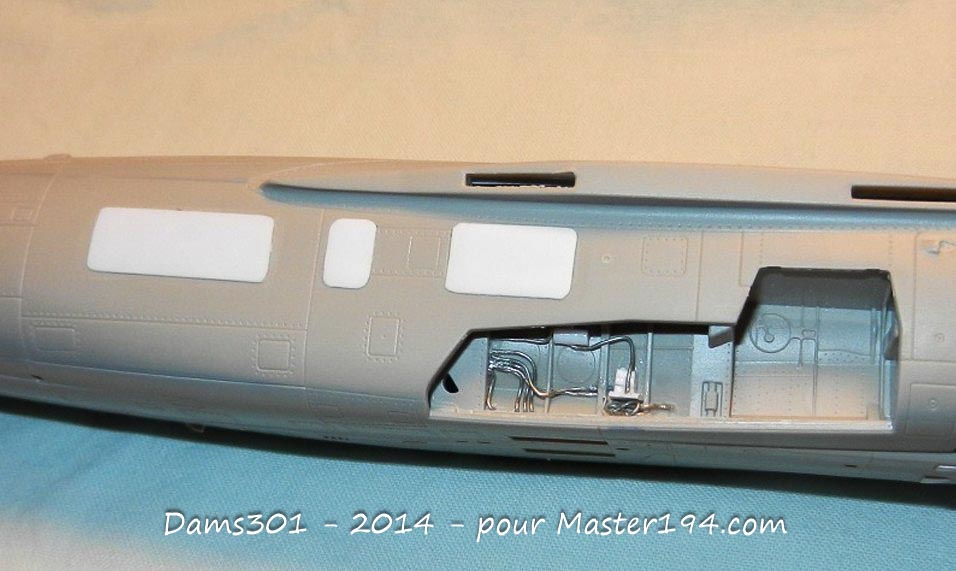
Exhaust Nozzle
If assembled as instructed in the manual, the exhaust nozzle protrudes too far from the fuselage compared to the real aircraft:
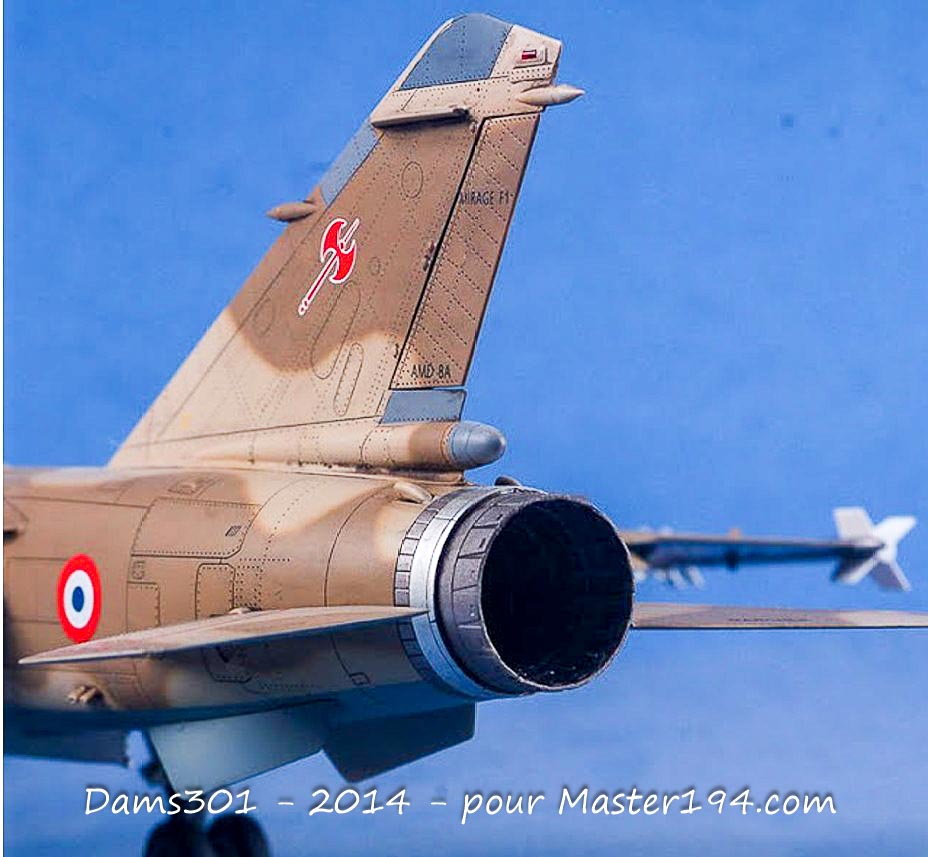
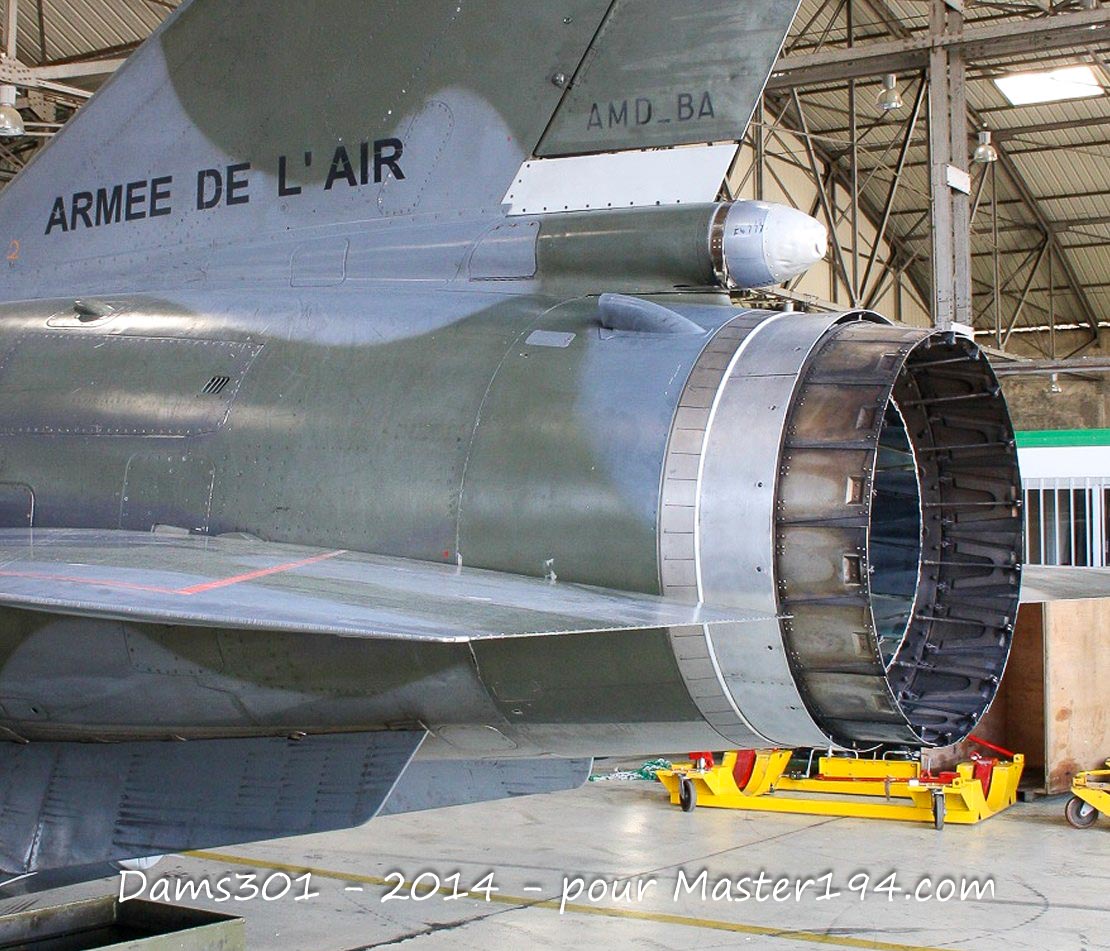
To correct this, simply cut the kit’s engine block right at the narrowing point upstream of the afterburner (AB) duct:
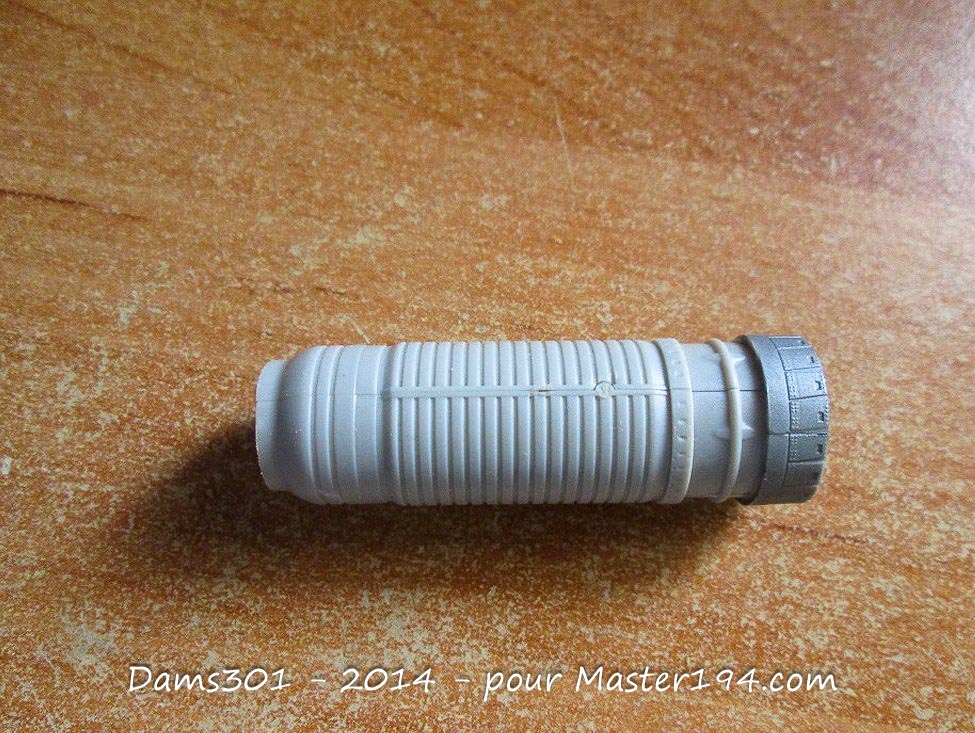
This resolves the issue, as you can then push the part slightly deeper into the fuselage:
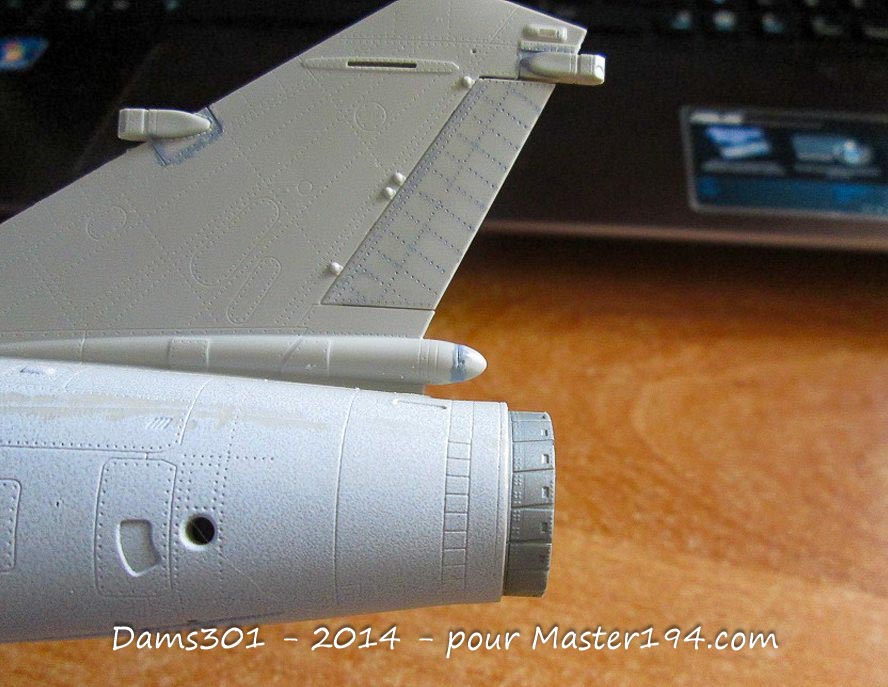
Other corrections or additions
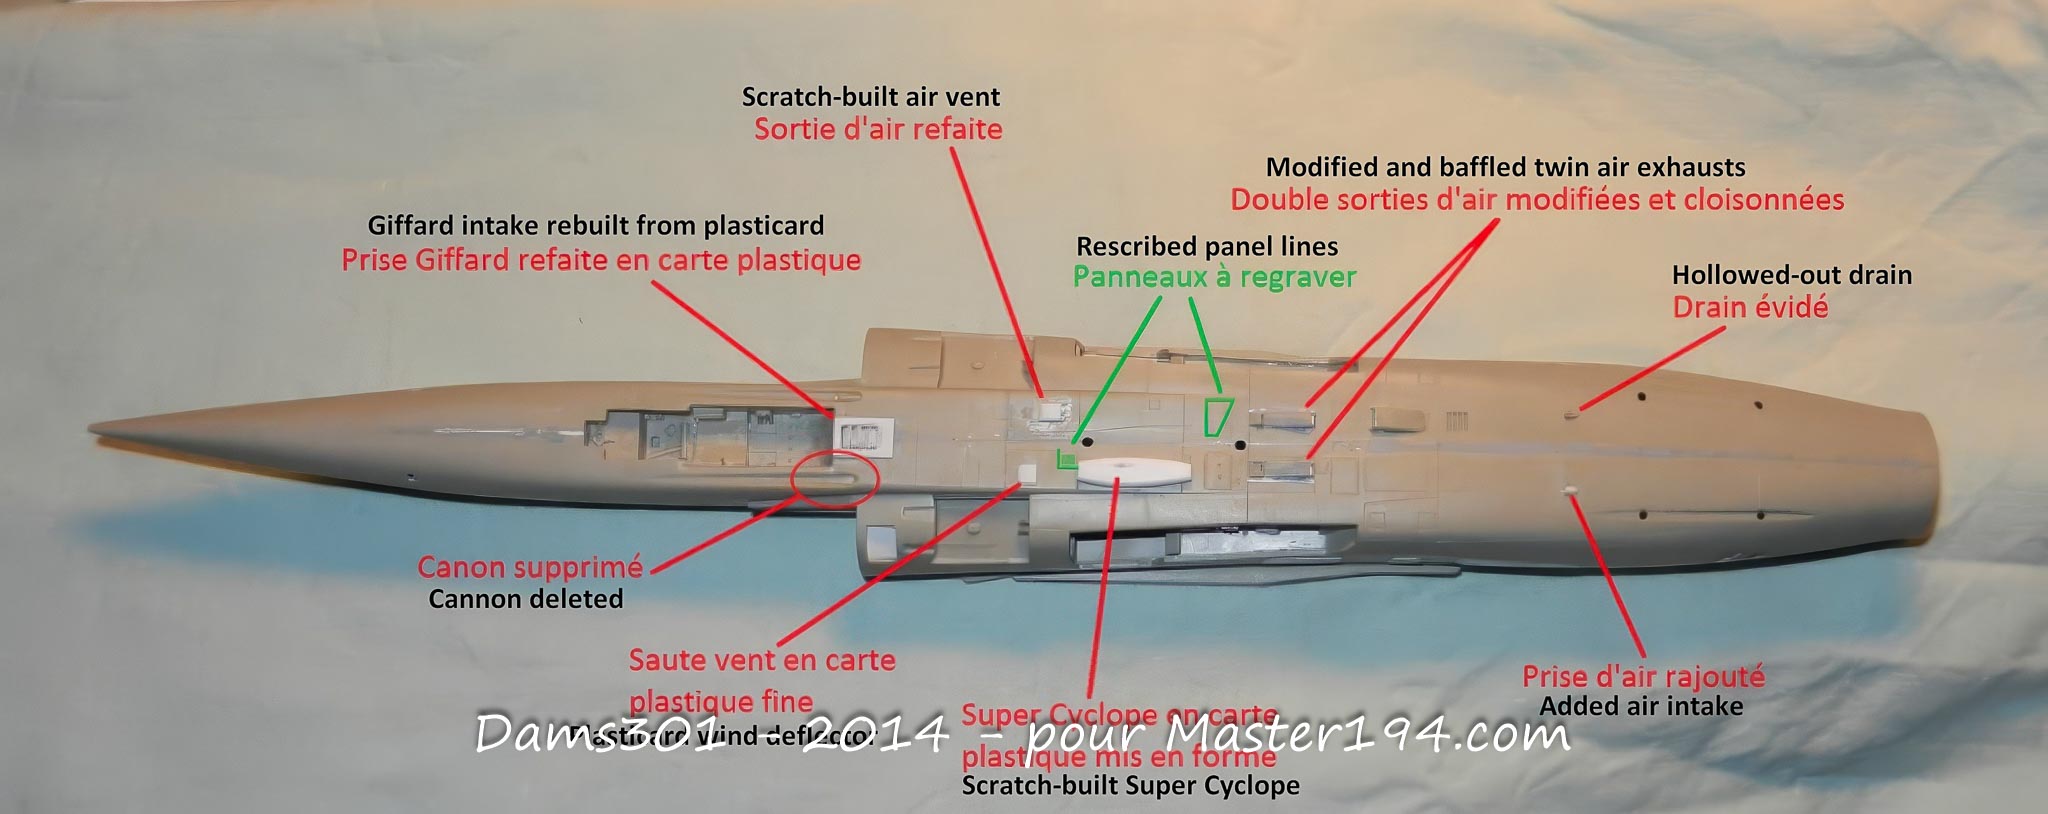
After listing the major corrections for the Mirage F-1 series (along with a few points specific to the CR), and apart from the twin-seater canopy for which I couldn’t find a solution (other than replacing it with an FM vacuform canopy), here is a list of minor points to fix and an overview of a corrected lower fuselage.
Aigle sensors (Mirage F-1CT/CR, post-2000)
The Aigle sensor needs to be moved to the top of its mount.
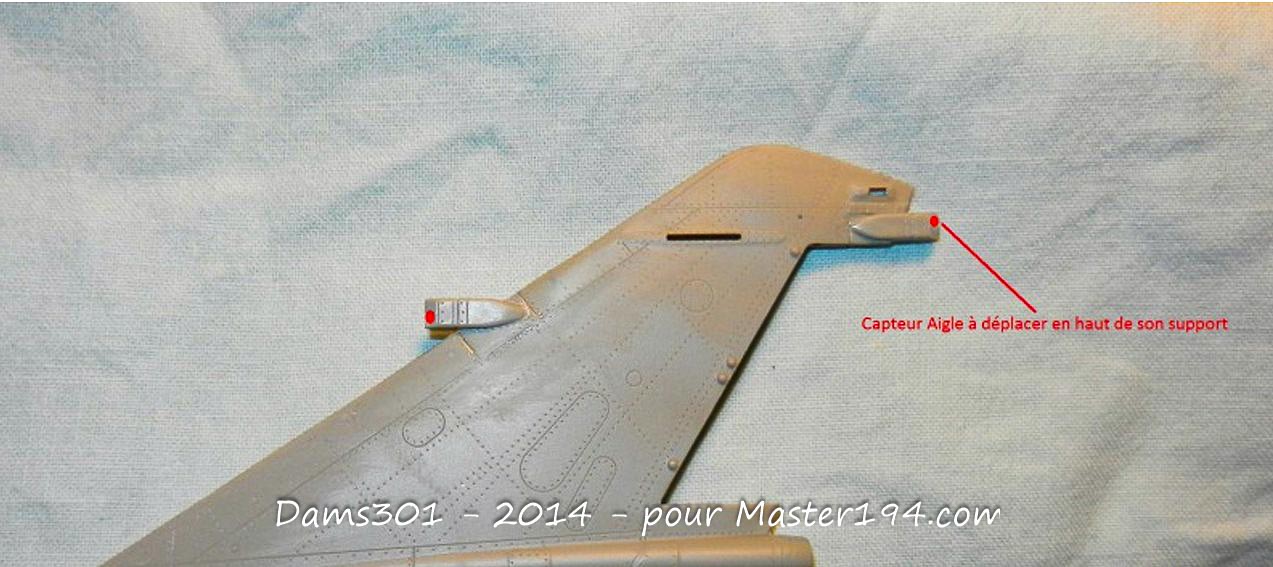
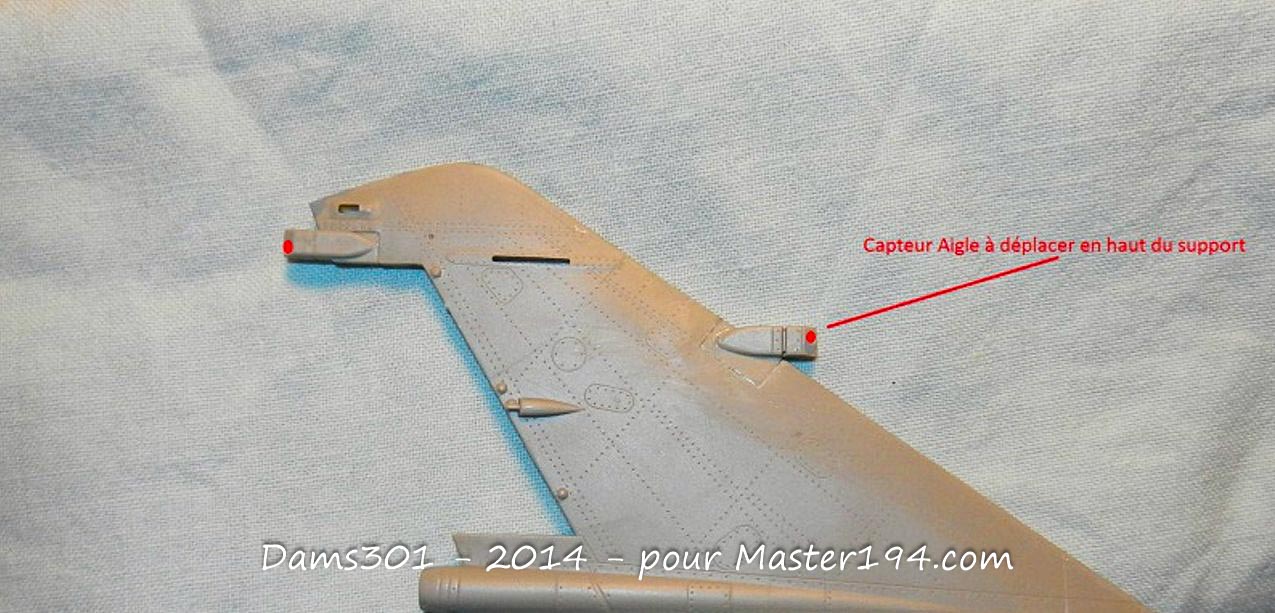
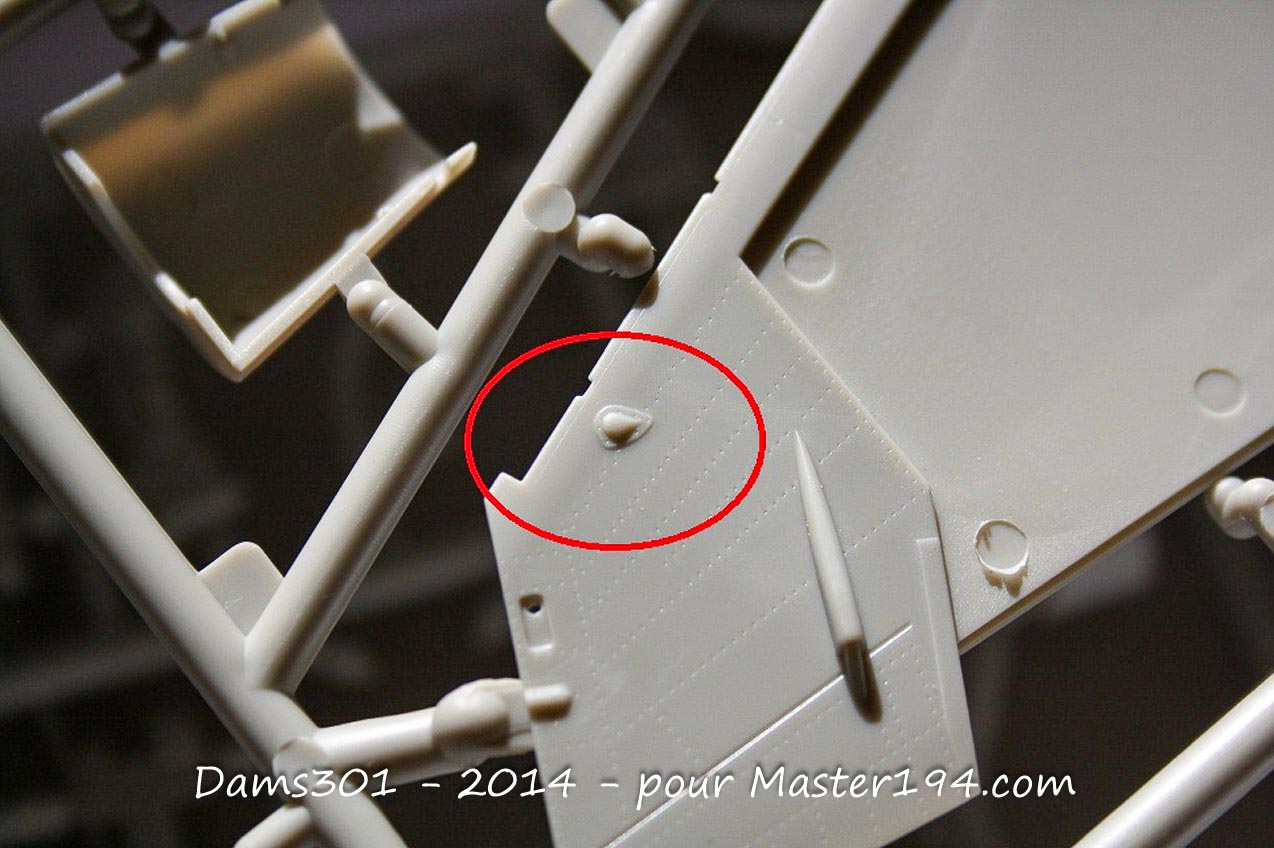
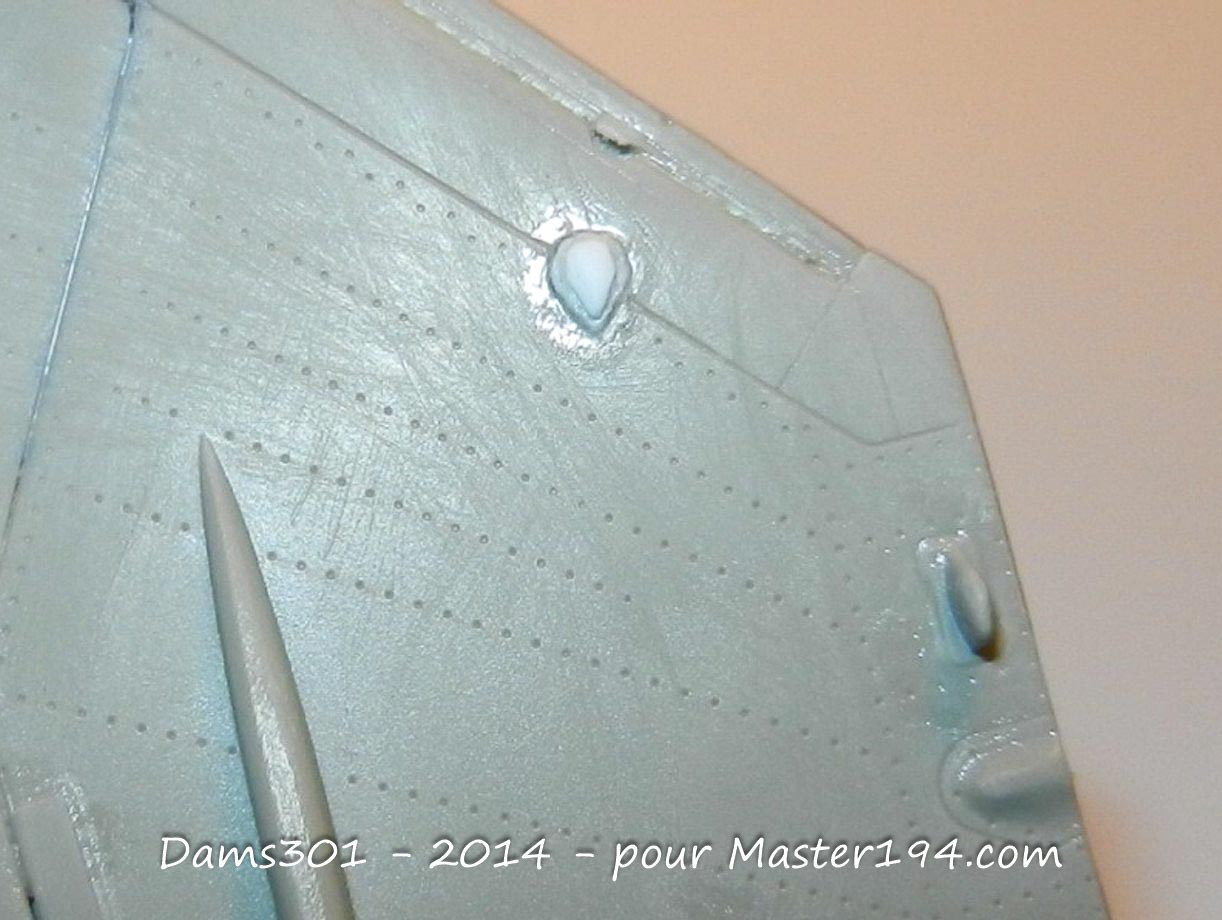
Protrusion to be rotated by 90° (one under each wing, all variants):
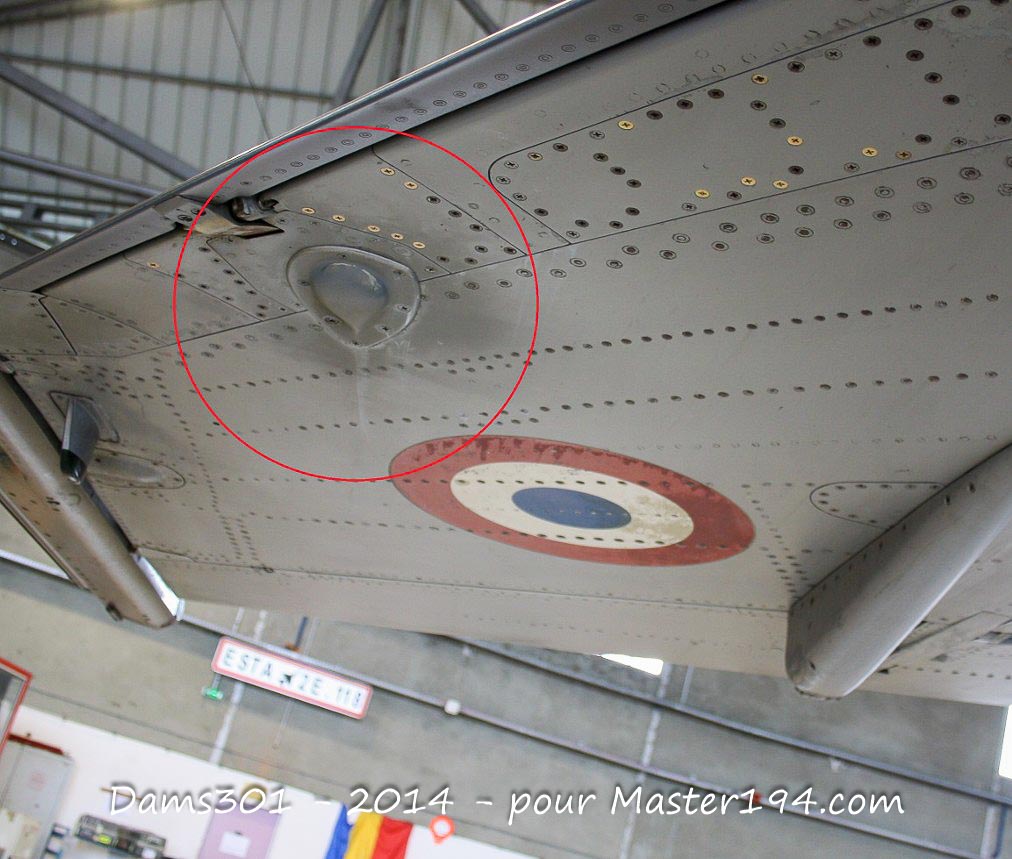
Before correction:
After correction :
Corrected lower fuselage of the Mirage F-1CR:
Version-specific details
Cannon on the left side only for the Mirage F1CR, but on the right side for the Mirage F1CT.
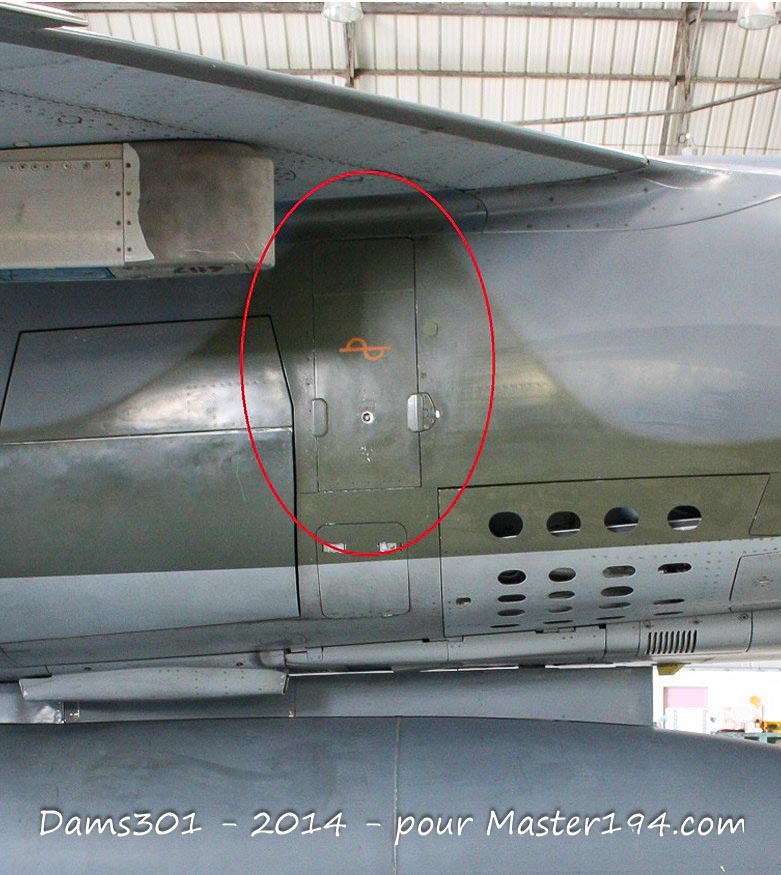
Right ammunition bay to modify for the CR (removal of the scoop and addition of a reinforcement plate):
Ammunition bay to modify on both sides for the B variant (grilles/louvers instead of scoops):
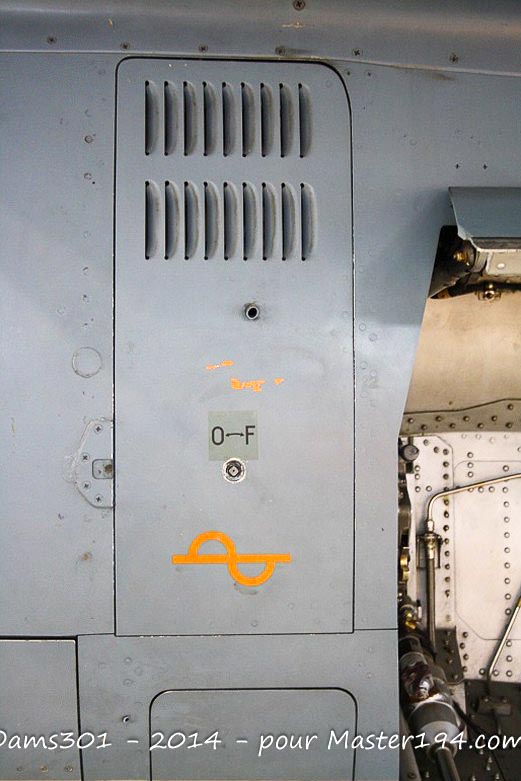
Drain to add in front of the right ventral fin (CR, simple hole on the B variant):
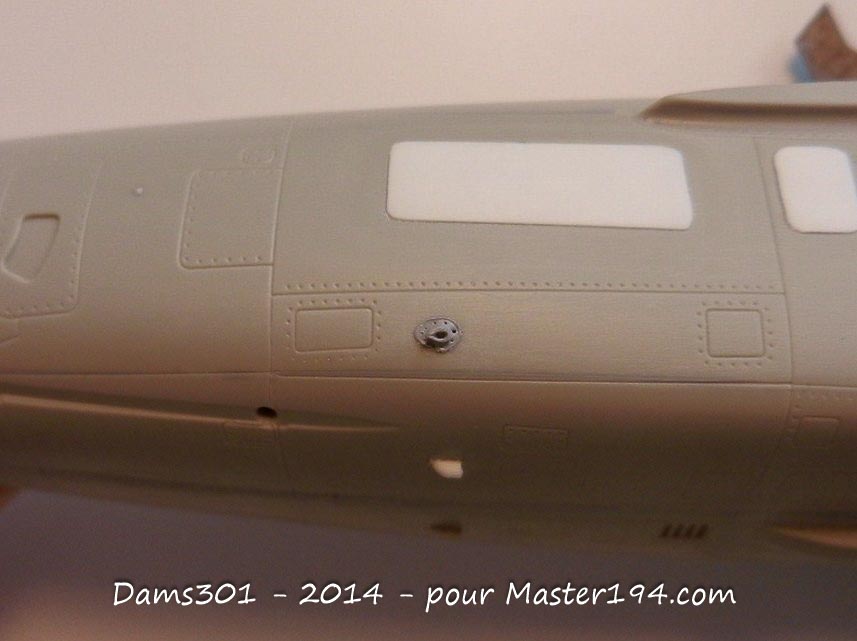
Rescribing the dorsal spine to add the second avionics bay (CR, and certain export variants like Iraq):
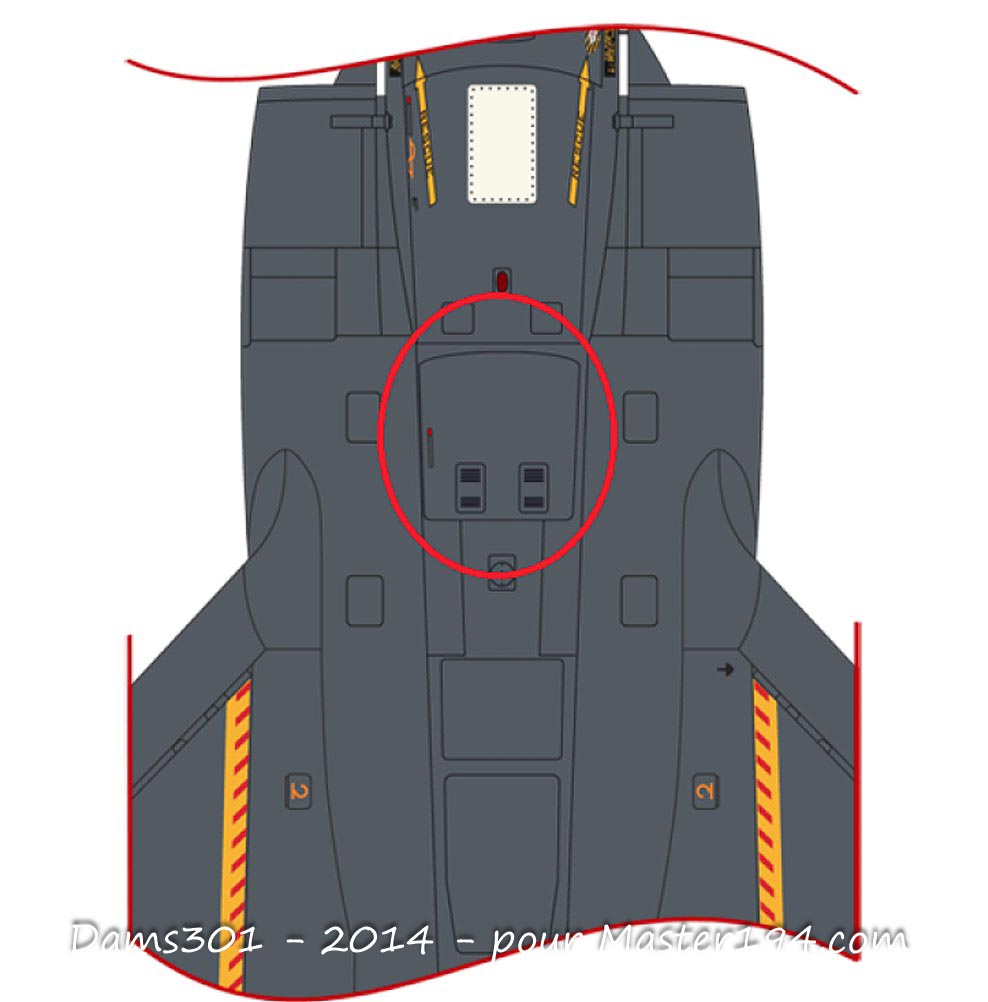
For their assistance in compiling this listing, special thanks to:
Philippe/Wildweasel
Benji from 2/33
Didier/Tomcat16
Dom
Eclipse/Studio Sechen
Alain/RENAUD.
Article written by Dams301.