

 by
Updated April 8, 2026 — making progress on the kit!
I’ve had the pleasure of seeing the U-2S fly several times, and I’d been waiting for HobbyBoss to release a kit dedicated to this specific version before starting work on this incredible aircraft.
I won’t go into measurements and shape accuracy — the kit looks like a U-2! But there are still a number of issues in the way the U-2S is represented…
You can find a usefull walkaround here :
https://master194.com/2023/12/06/lockheed-u-2s-photoscope/
AD
The cockpit
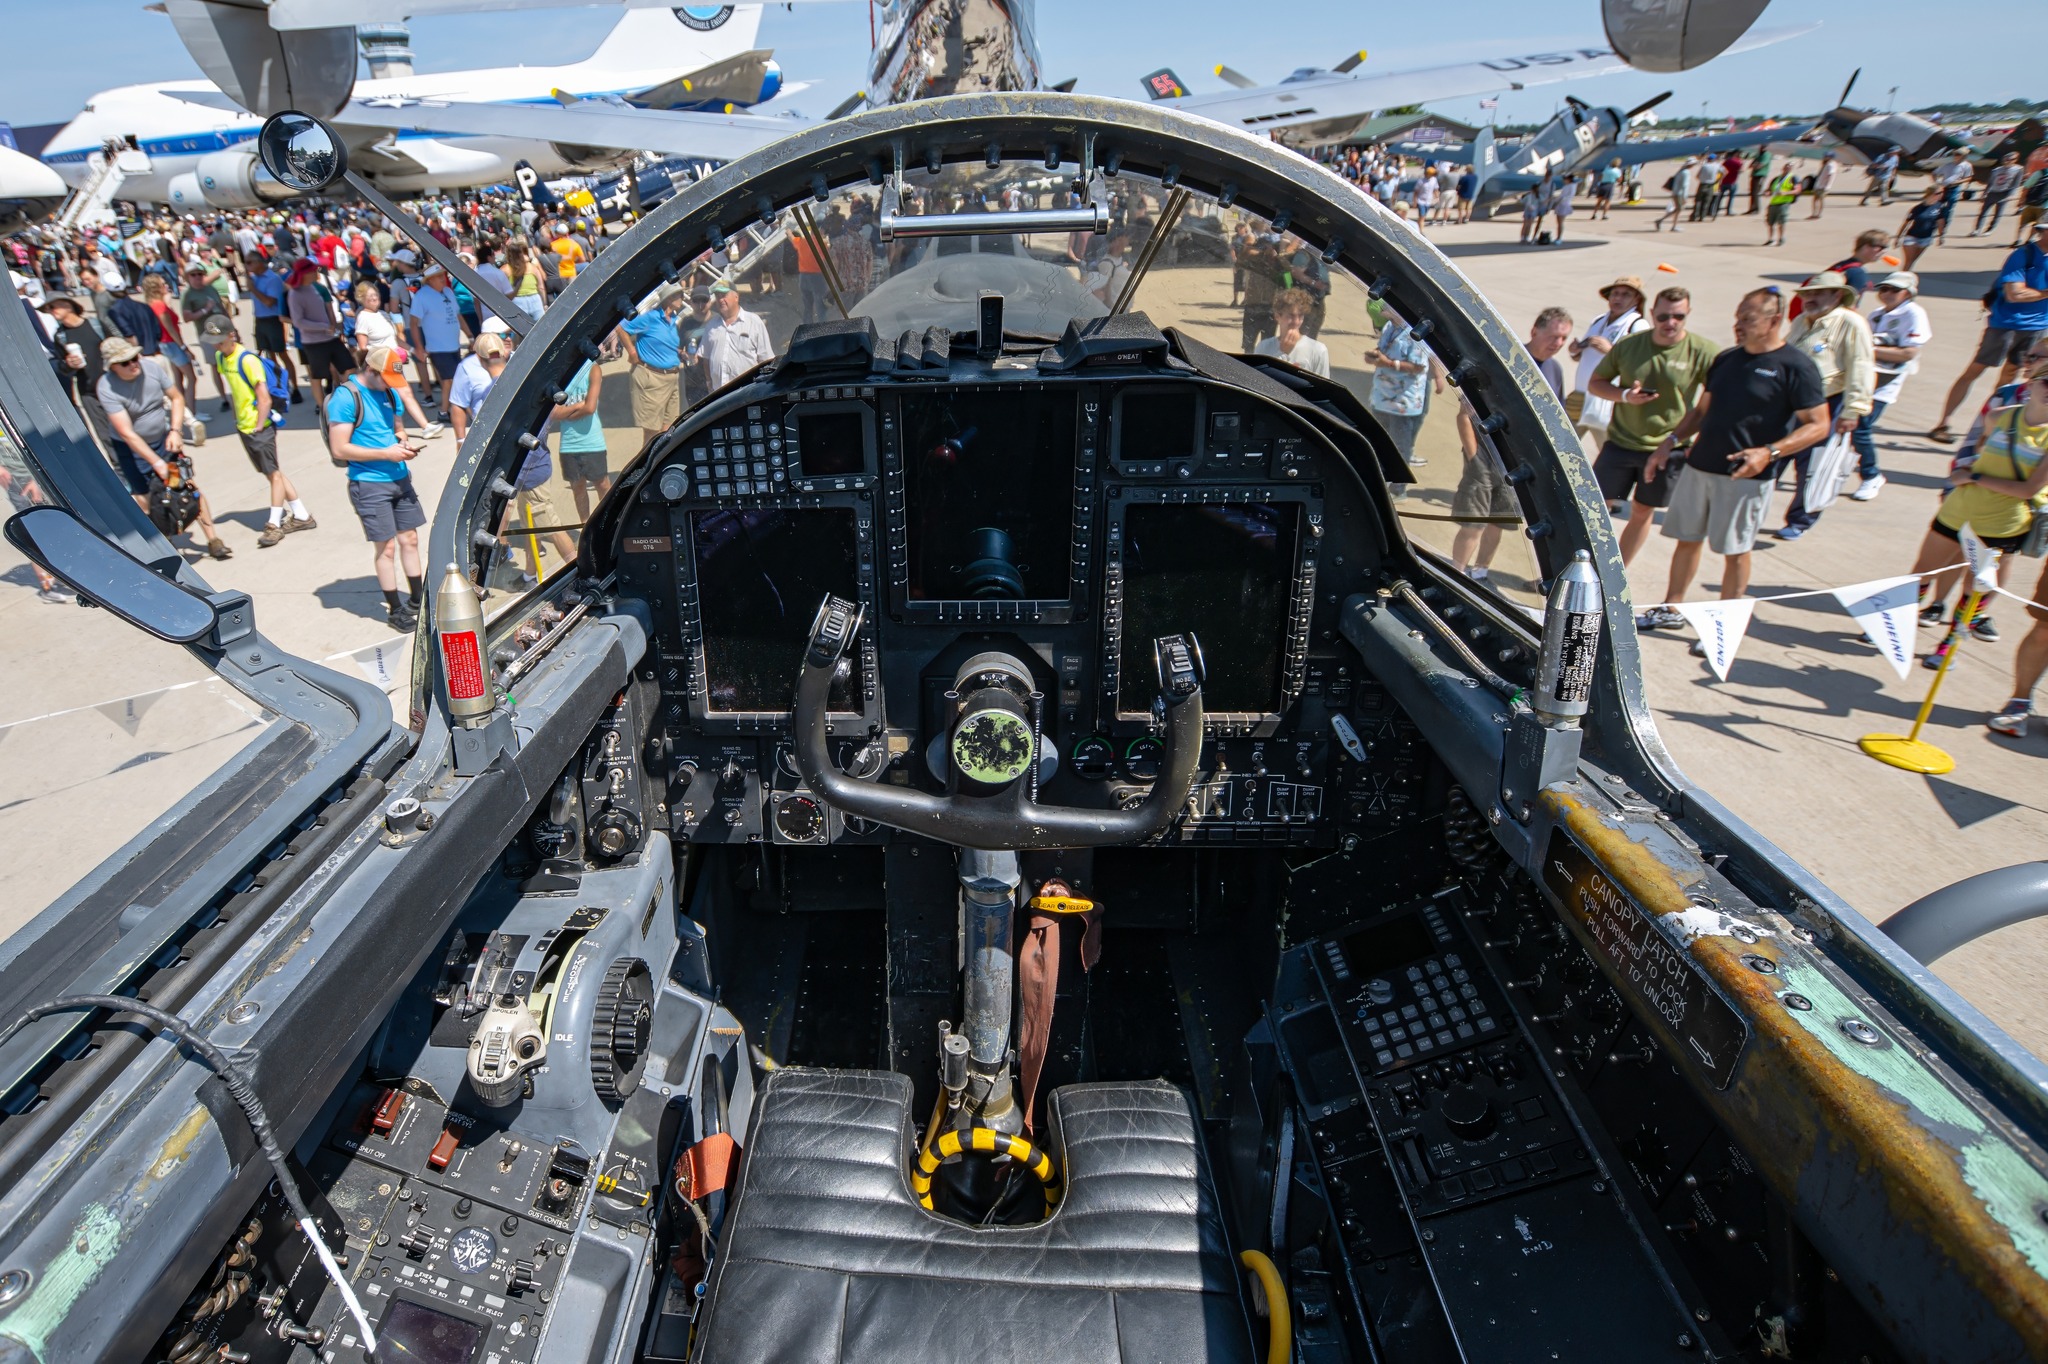
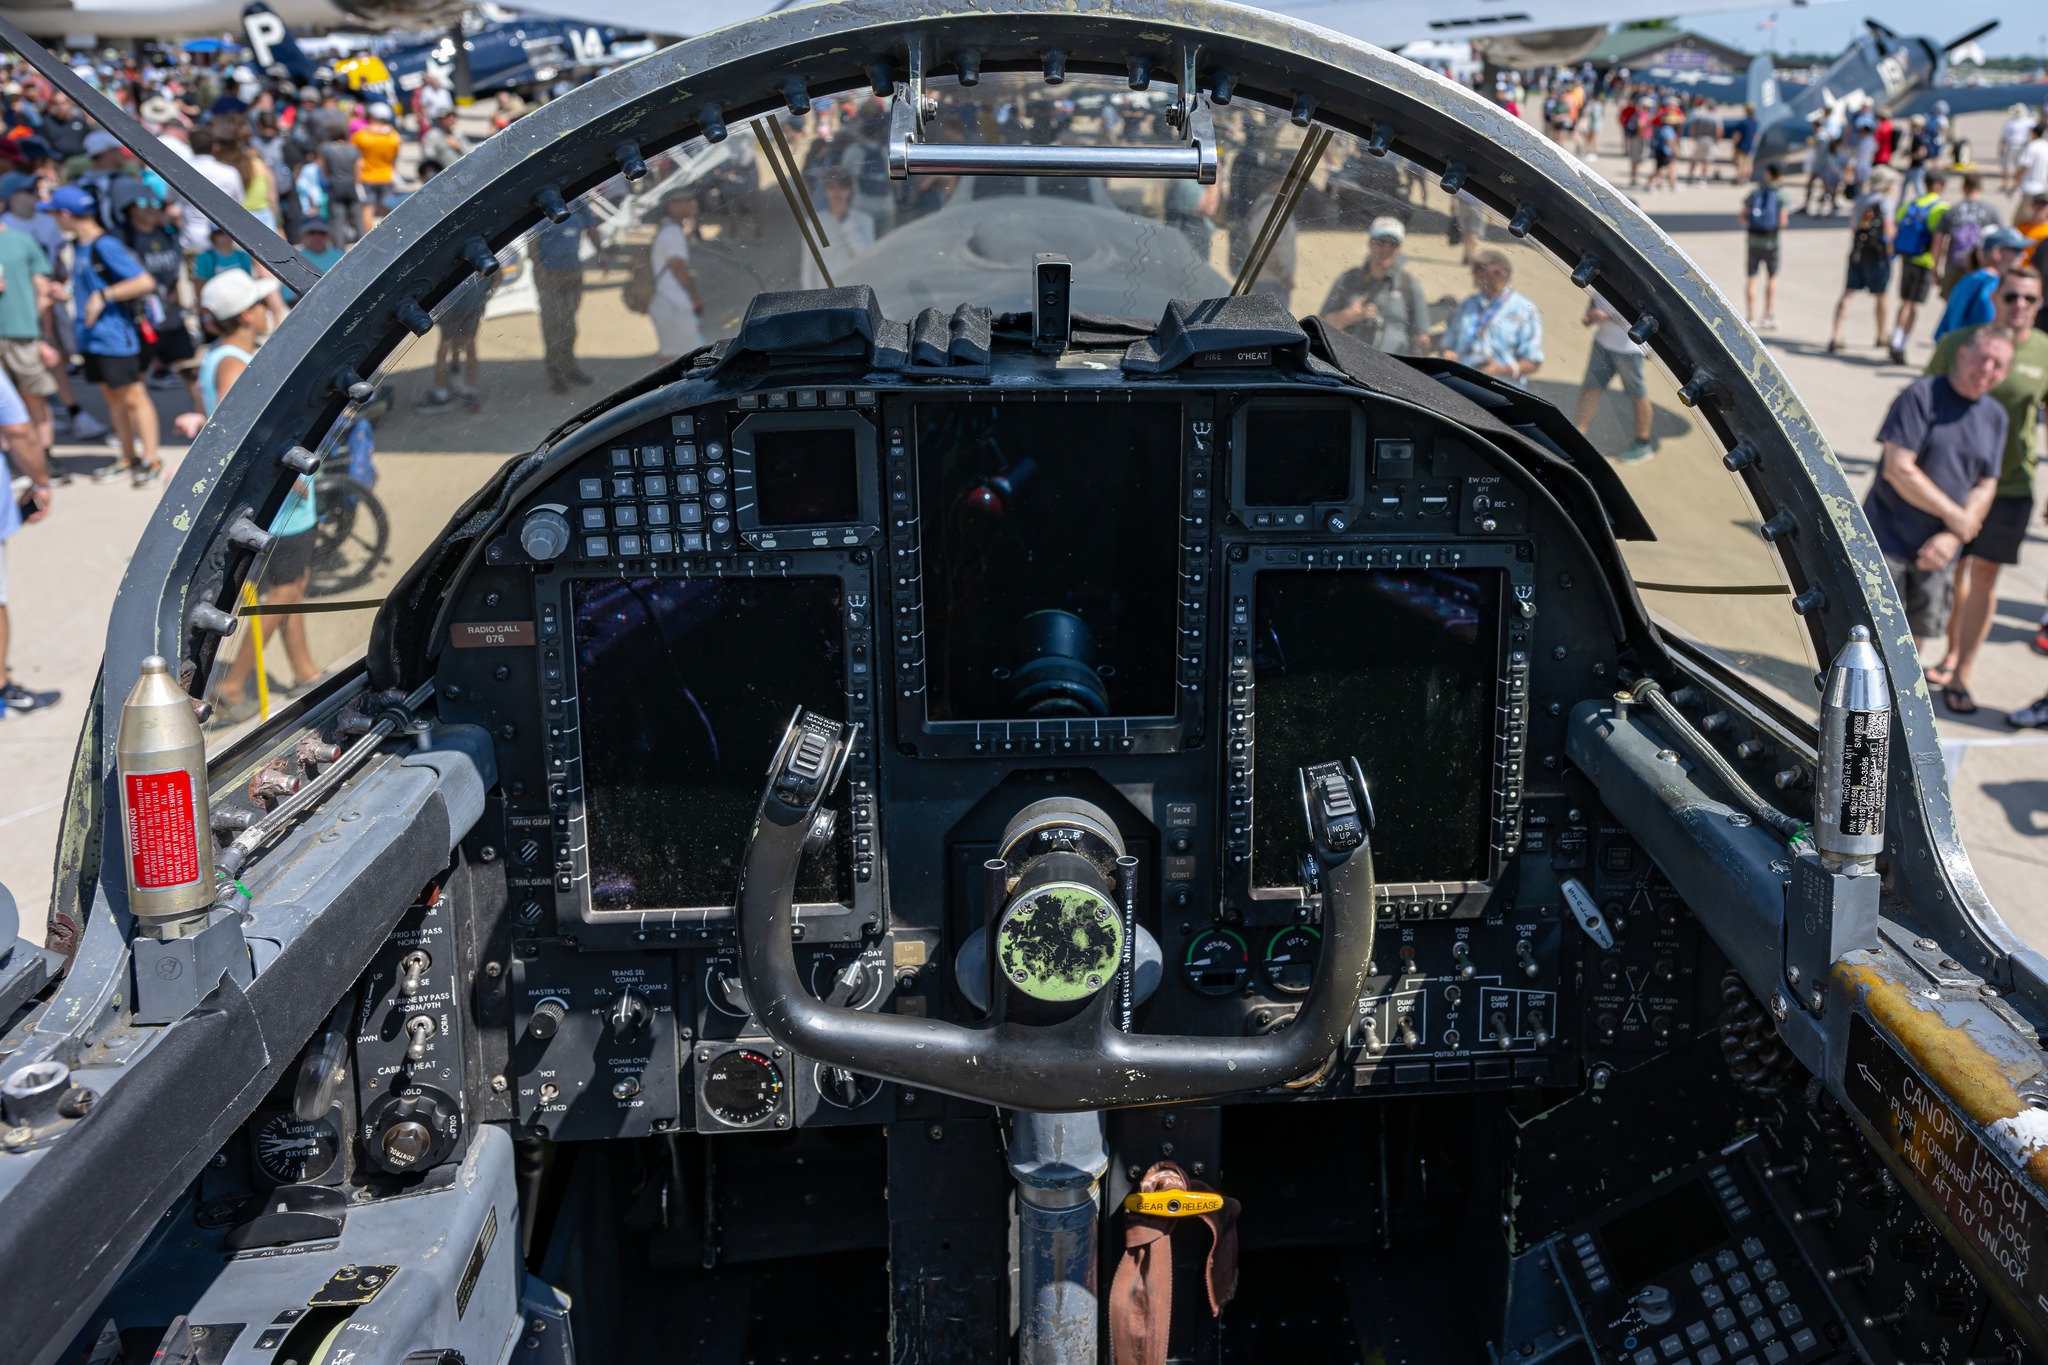
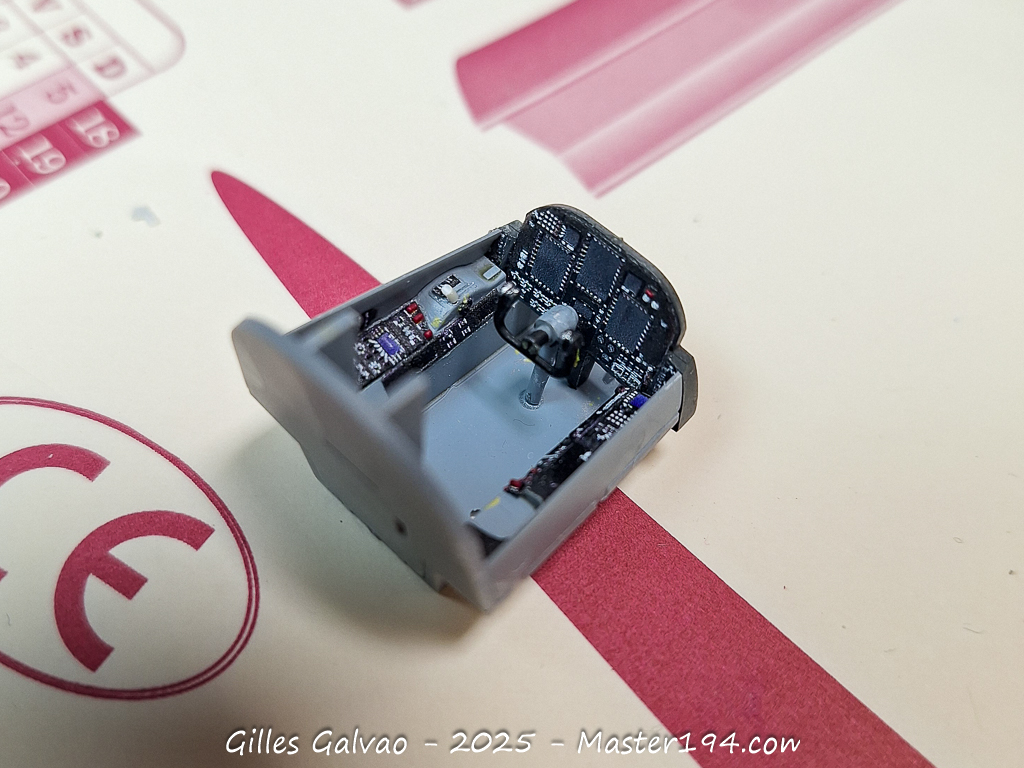
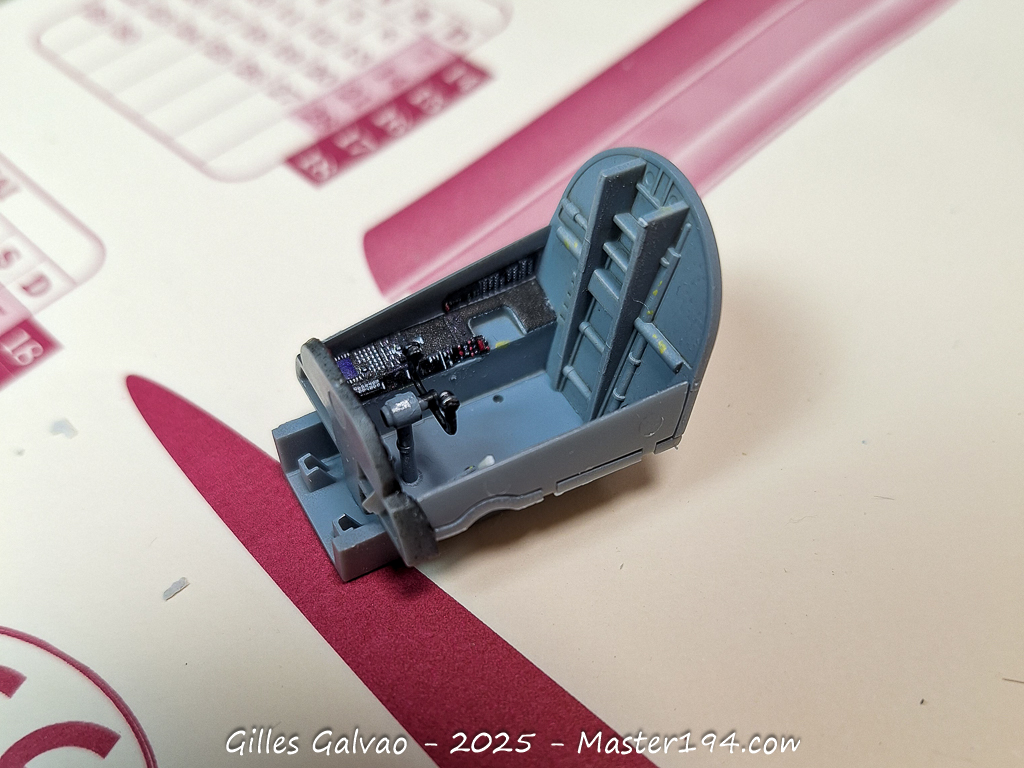
I used the Eduard 3DL48191 3D decal set (and not Quinta as initially stated—thanks to Antonis for pointing that out!), which really enhances the level of detail, even if the sides are still a bit lacking in accuracy.
Here are two photos of a U-2S cockpit taken by GDevore at Oshkosh in 2025. He kindly authorized me to use them for this article.
You can find his work here on Facebook https://www.facebook.com/people/GDevore-Photos/100067382666939/ and Instagram : https://www.instagram.com/gdevore1/
Control surfaces and movable parts
As for the wings, the real aircraft does show some ribbing, but nowhere near what HobbyBoss represented. In fact, a simple sanding to tone it down should be enough.
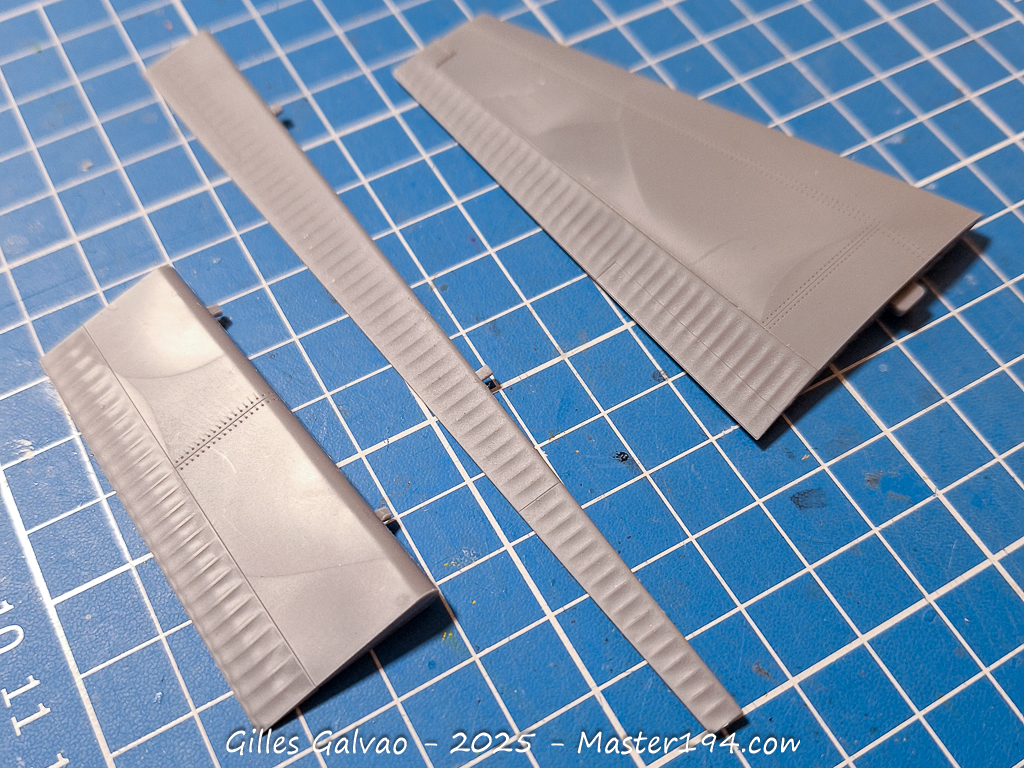
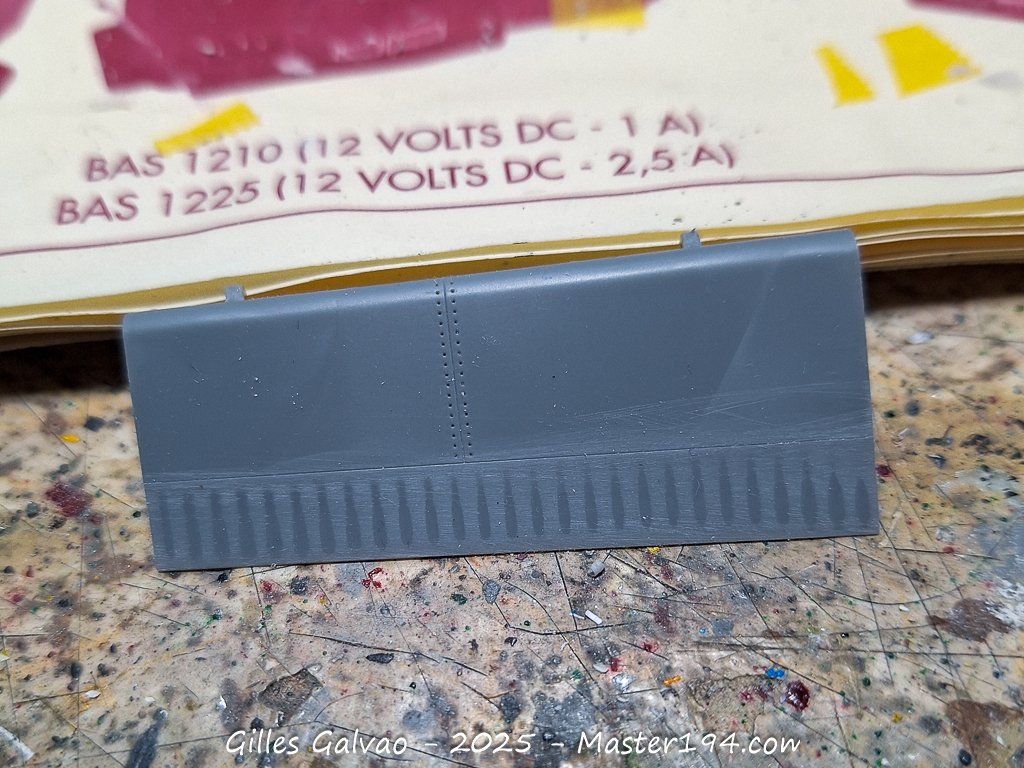
For the fin, it’s even worse — the real thing is perfectly smooth. You can also notice on the lower part of the movable rudder that it extends too far down and/or the fixed part sits too high on the HobbyBoss kit.

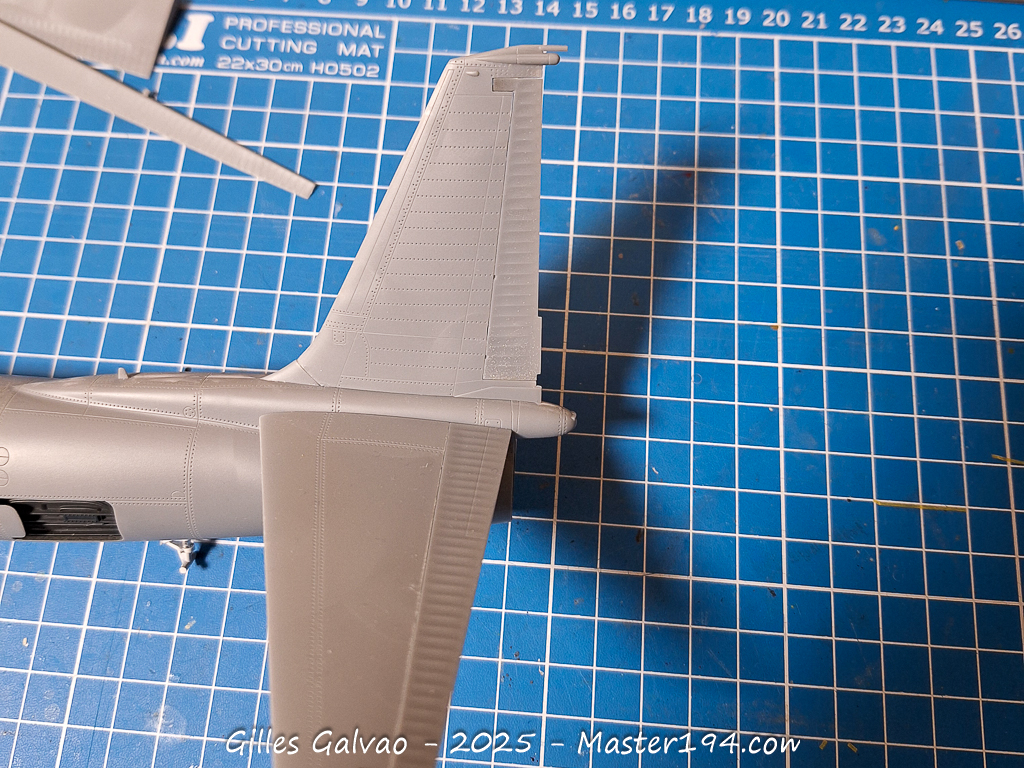
On the control surfaces, a plate is missing, but it’s very easy to make one out of plastic card.
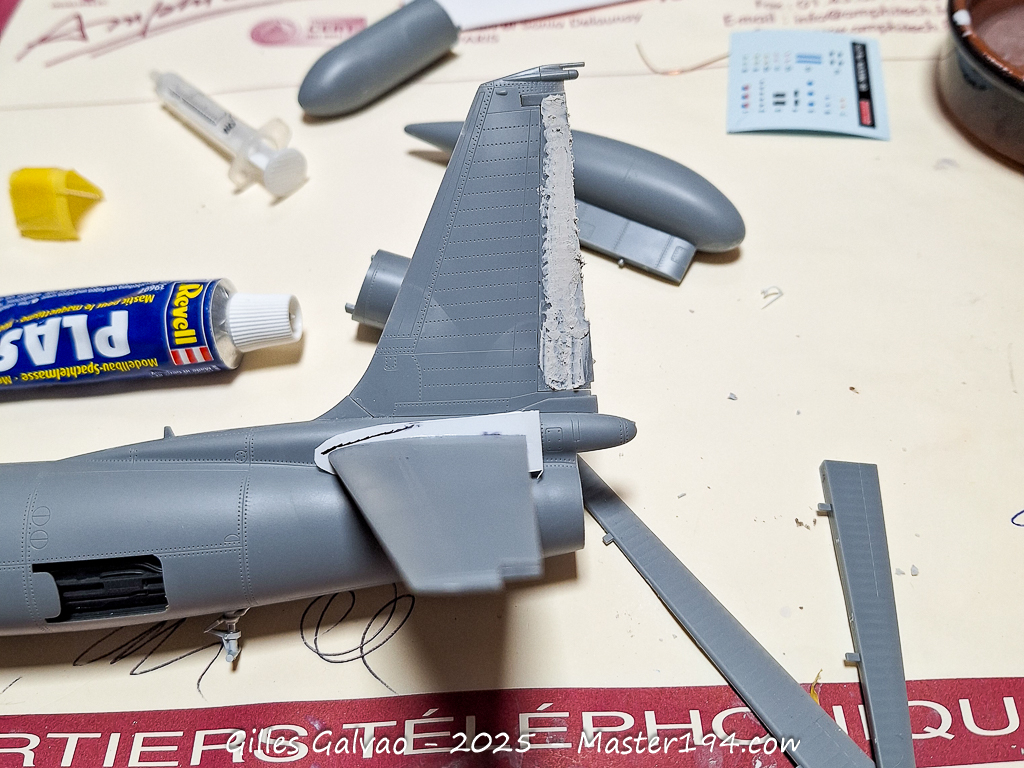
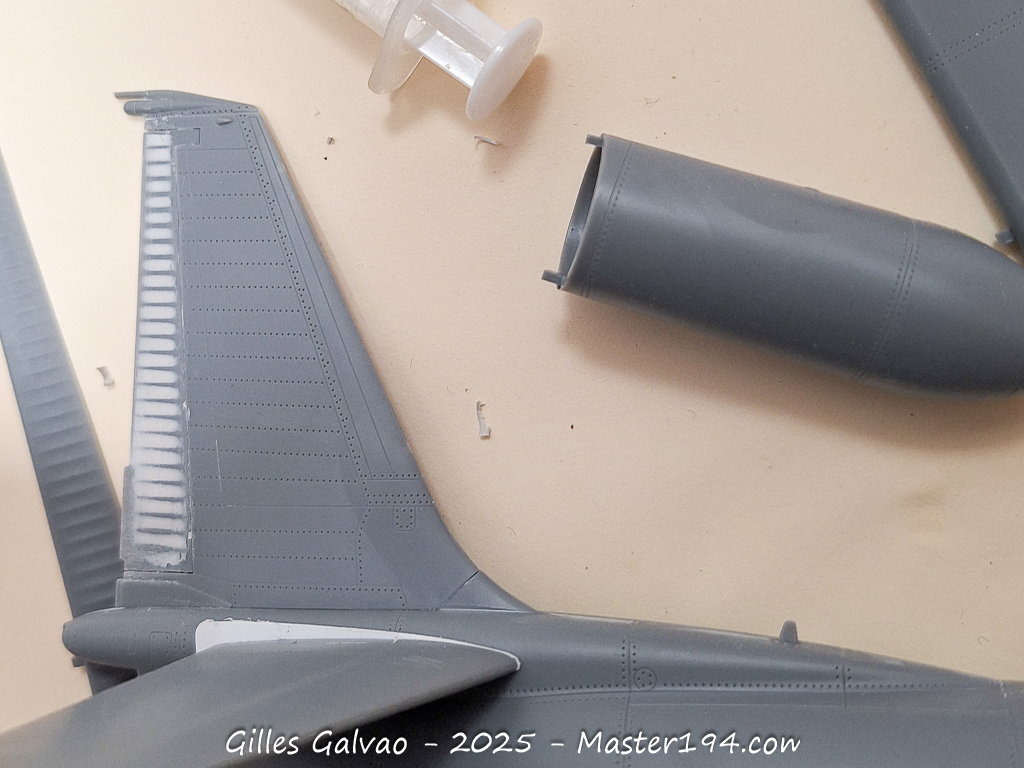
Regarding the horizontal stabilizers, note that there are two types: one smooth, as represented by HobbyBoss, and one with 12 ribs on top and 12 on the bottom, clearly visible in this photo. Make sure to verify which aircraft you want to reproduce
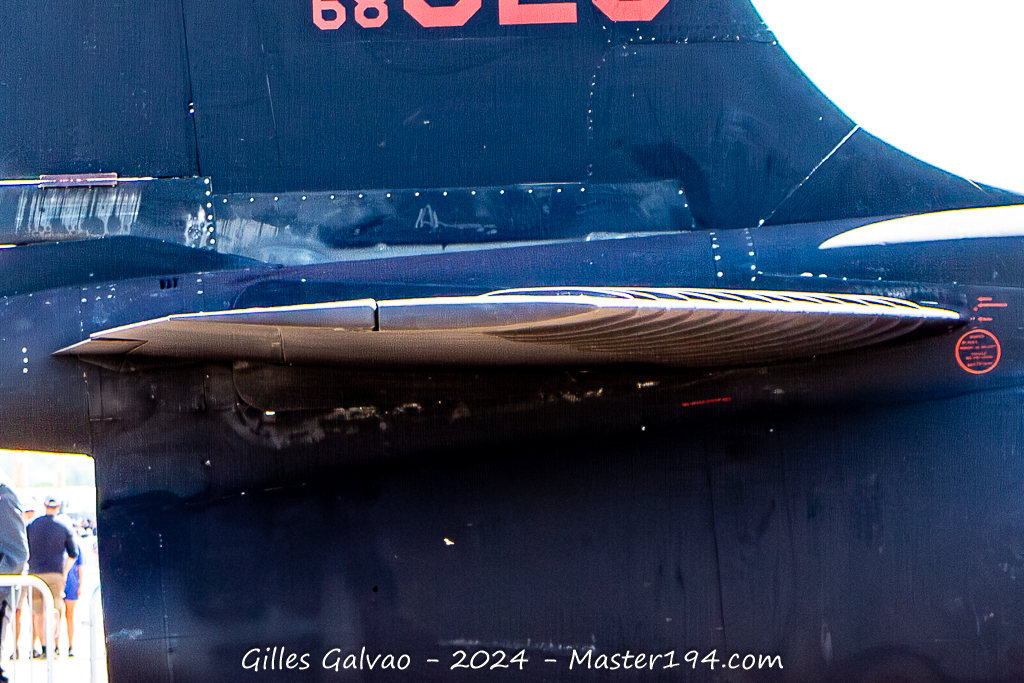
The Senior Span / Senior Spur pod
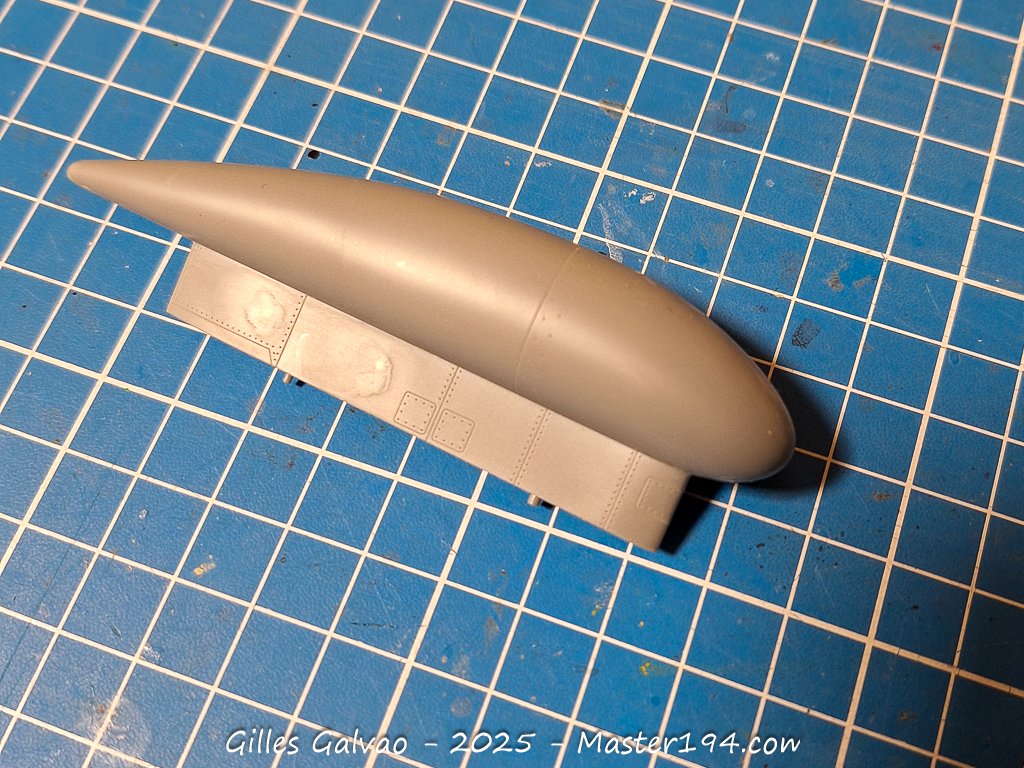
Contrary to what HobbyBoss provides, on several aircraft I’ve only seen the air intake on the left. So you’ll need to fill the holes on the other side.
Additionally, there is a flat air outlet at the rear, completely omitted by HobbyBoss, which must be added. Cut, add some plastic card — the shape is simple to make.
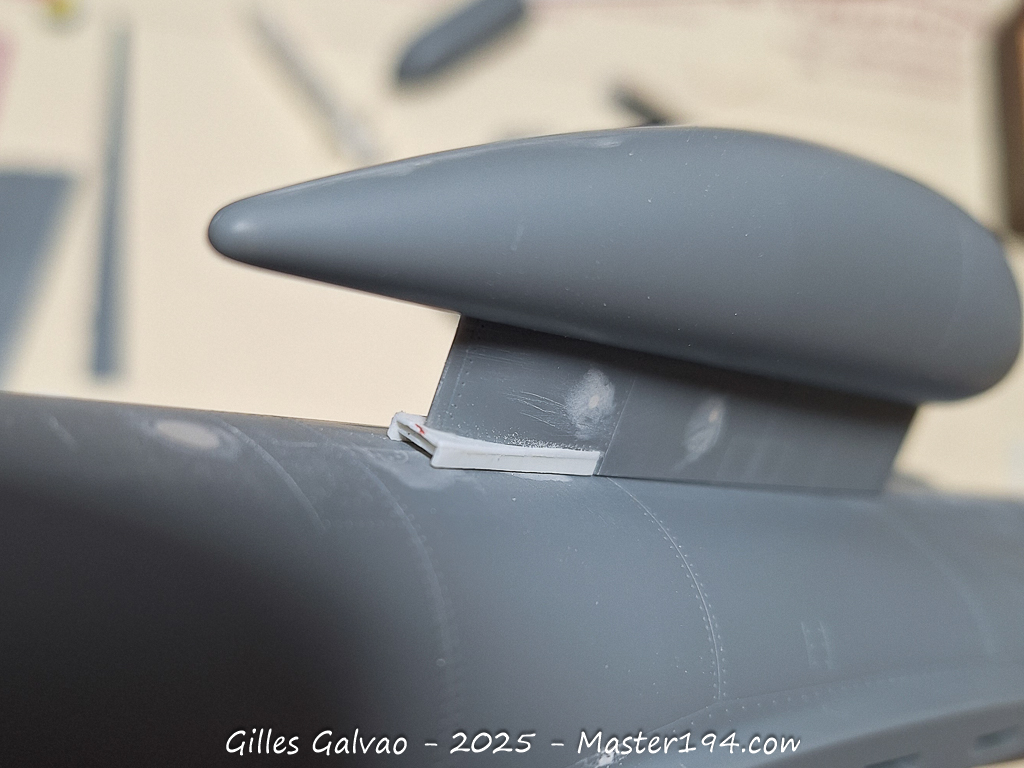

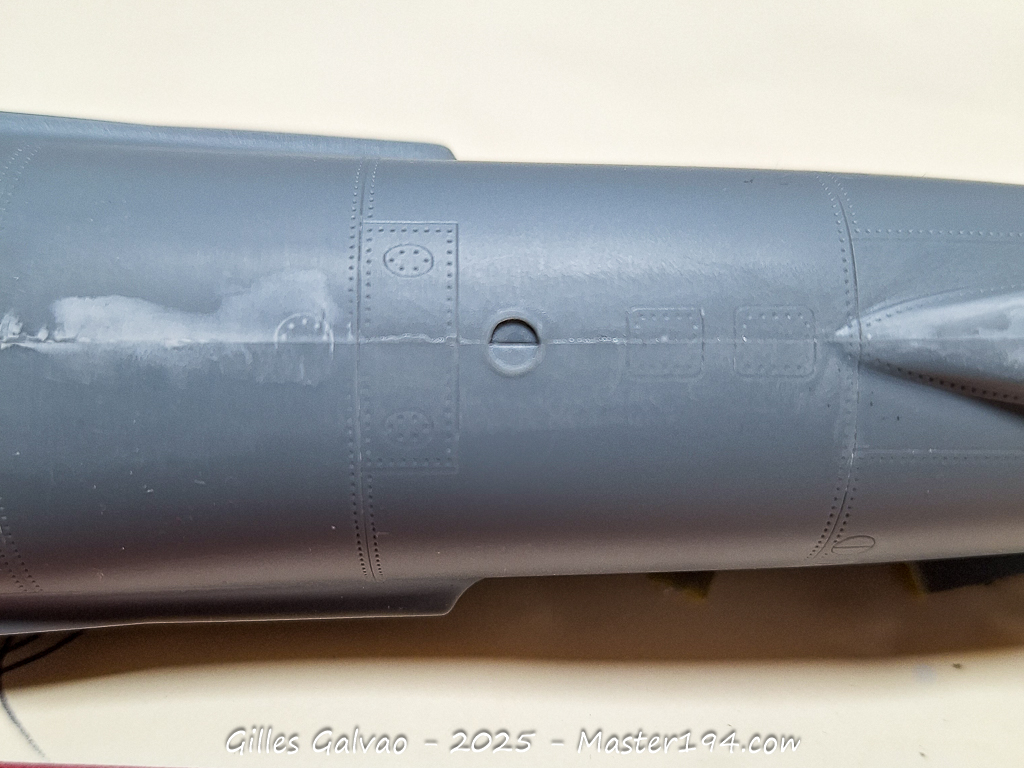
Navigation lights on top of the fuselage
As shown in the previous U-2S photo, HobbyBoss also got the navigation lights wrong. You’ll need to fill the provided mounting point and add two small rods instead.
The wings pods
Again, on recently seen U-2S aircraft, several details are missing. There is an air intake on the left pod only, and no antenna, whereas the right pod has an antenna underneath but no upper air intake.
Moreover, both pods have a lower intake each, on the side closest to the fuselage.

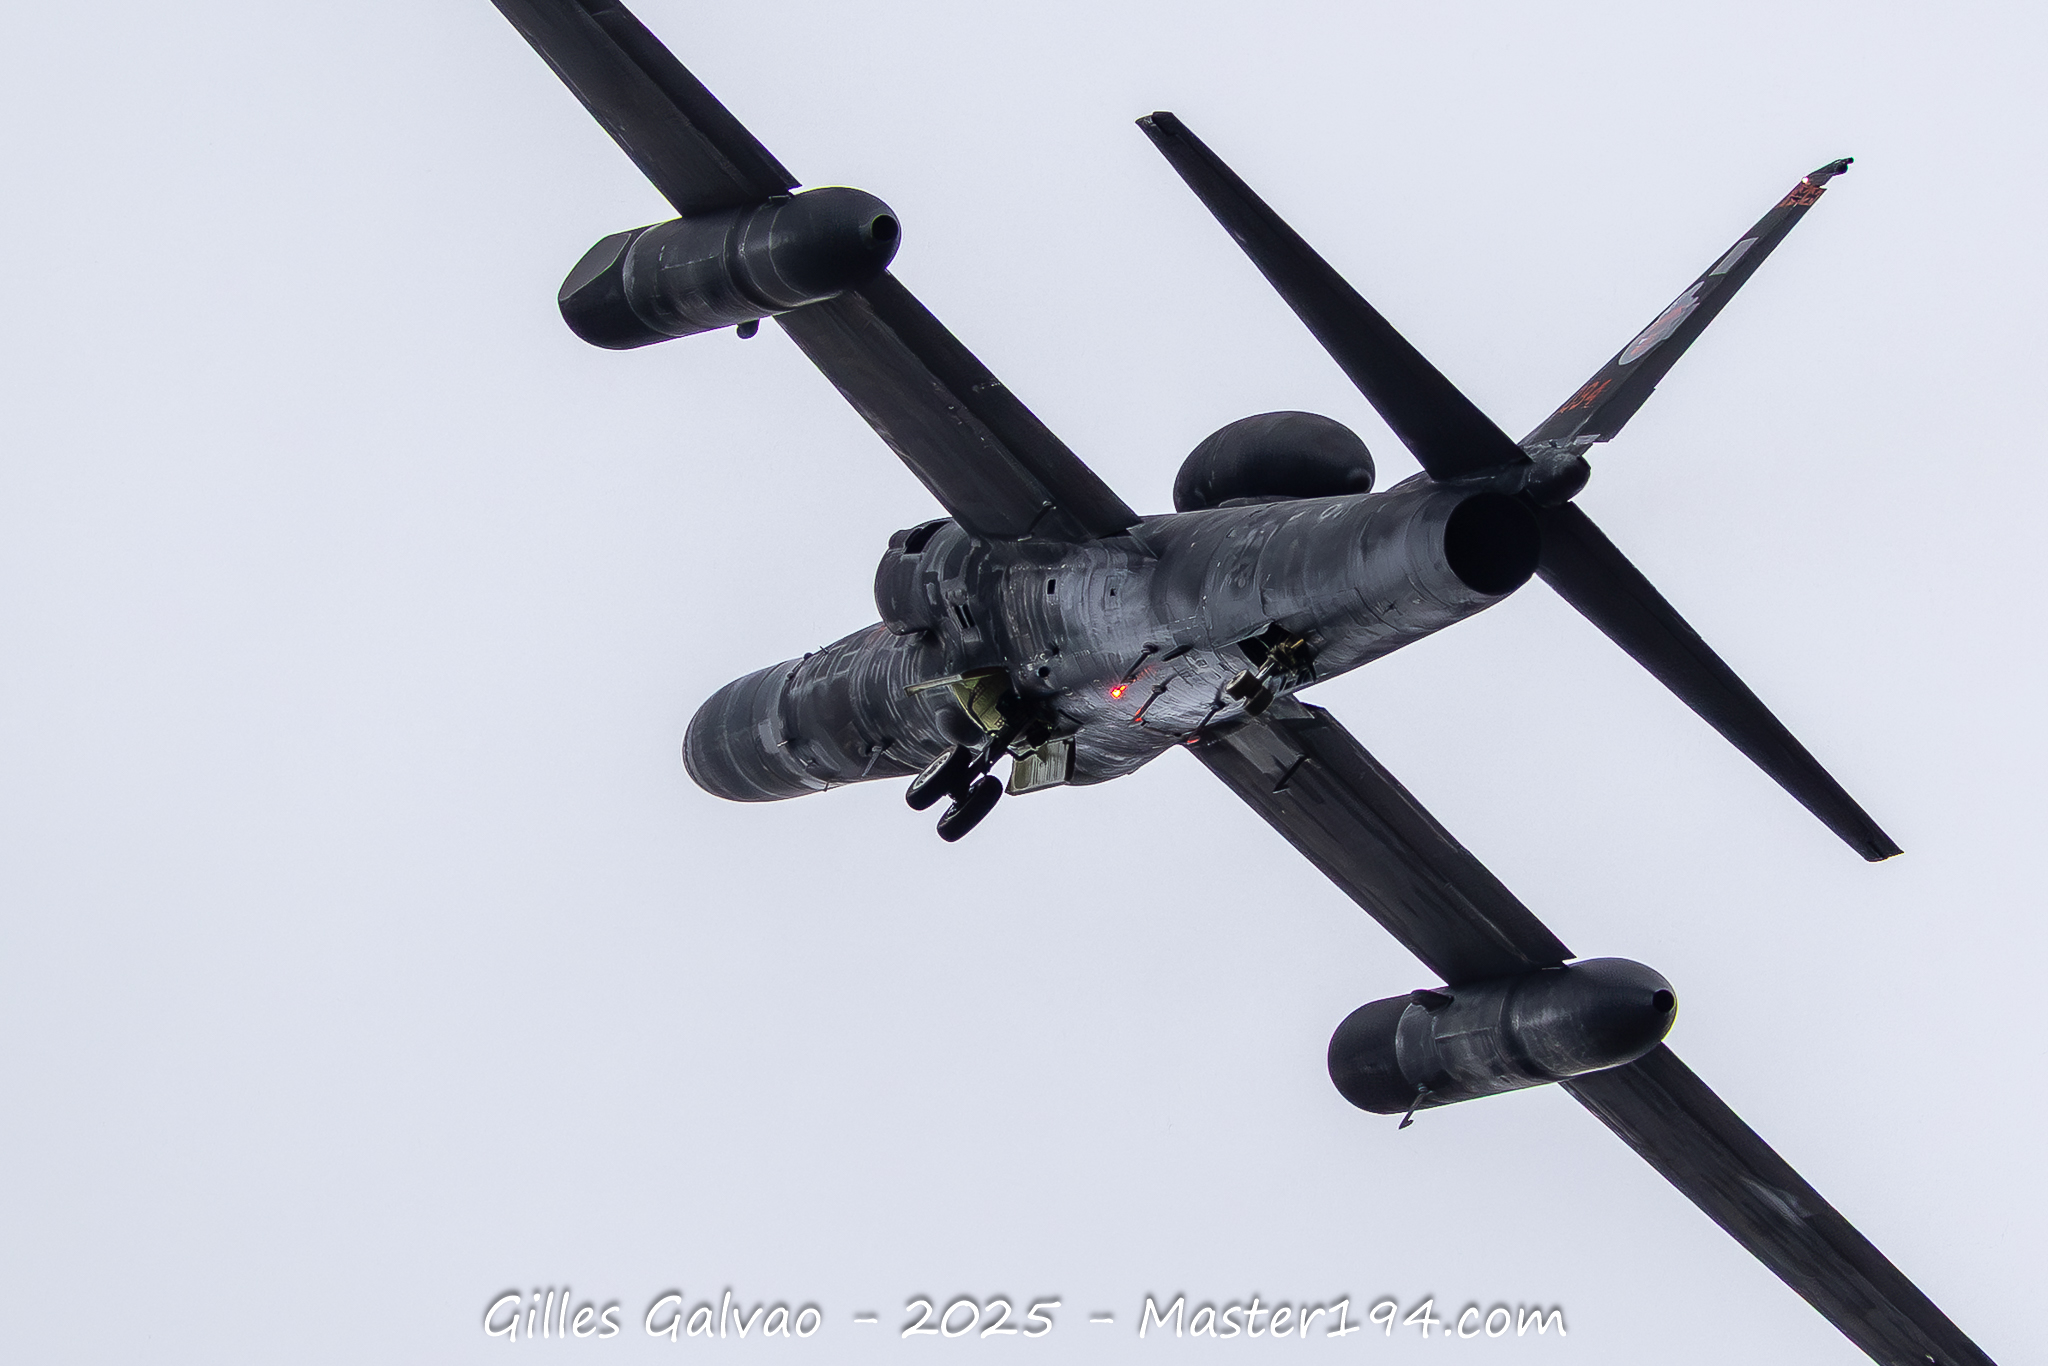
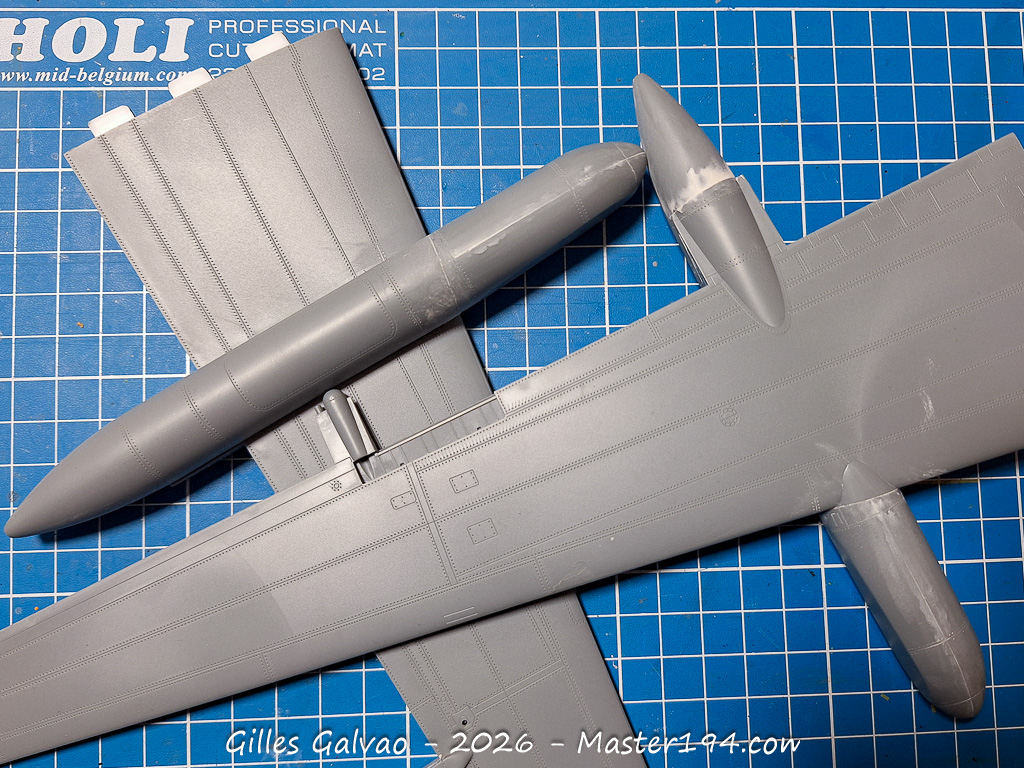
o be frank, assembling the ‘super pods’ will be the most demanding part in terms of fitting: expect to use plenty of filler and sandpaper to get it right.
Dorsal antennas
This is where things get complicated, because none of the three antennas located just behind the cockpit are included by HobbyBoss, and they’re beyond my skills to scratch-build.

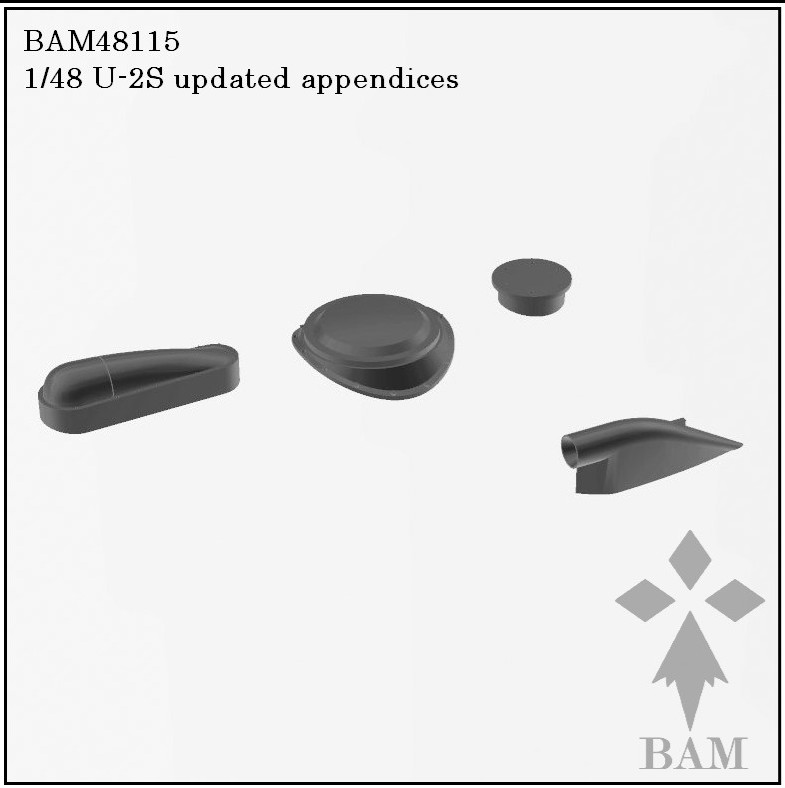
Fortunately, Arnaud from BAM Models had already released two of the three antennas under reference BAM48074.

I asked him whether he intended to add the new antenna and, while discussing it, I mentioned the wing pod details… His answer was yes — and to my surprise, one week later he released not just the missing antenna, but two new sets that will allow me to correct my model!
A huge thank you — I’m sure many people will be happy about this!
Available here:
https://bam-models.com/product/1-48-u-2s-updated-appendices/
https://bam-models.com/product/1-48-u-2r-s-pod-intakes/
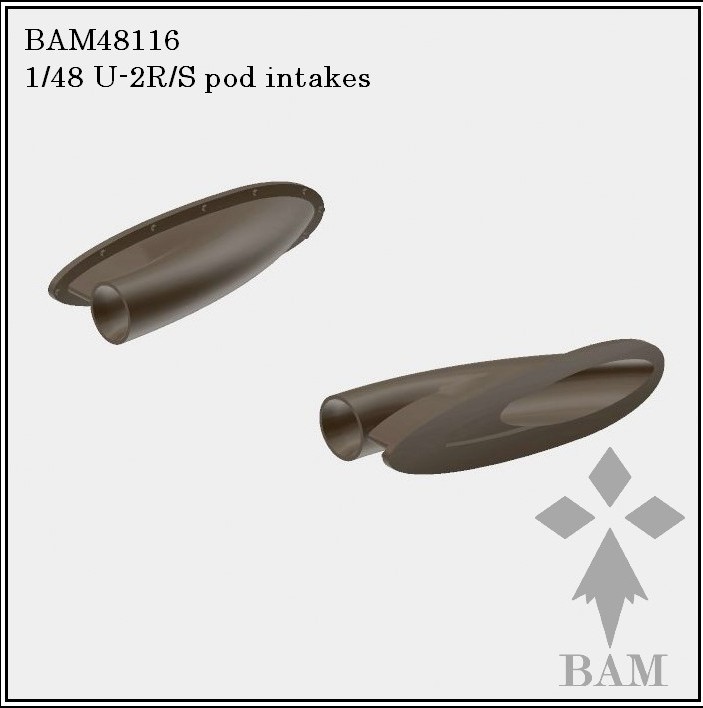
Click on the logo to visit the BAM Models website.

In conclusion, there is quite a bit of work involved, and above all, the aircraft’s configuration can vary from one mission to another — so choose a configuration before you start! Select the type of pod, the type of nose, etc.
Canopy
One detail I overlooked initially was the windscreen: the molded frames need to be sanded away!

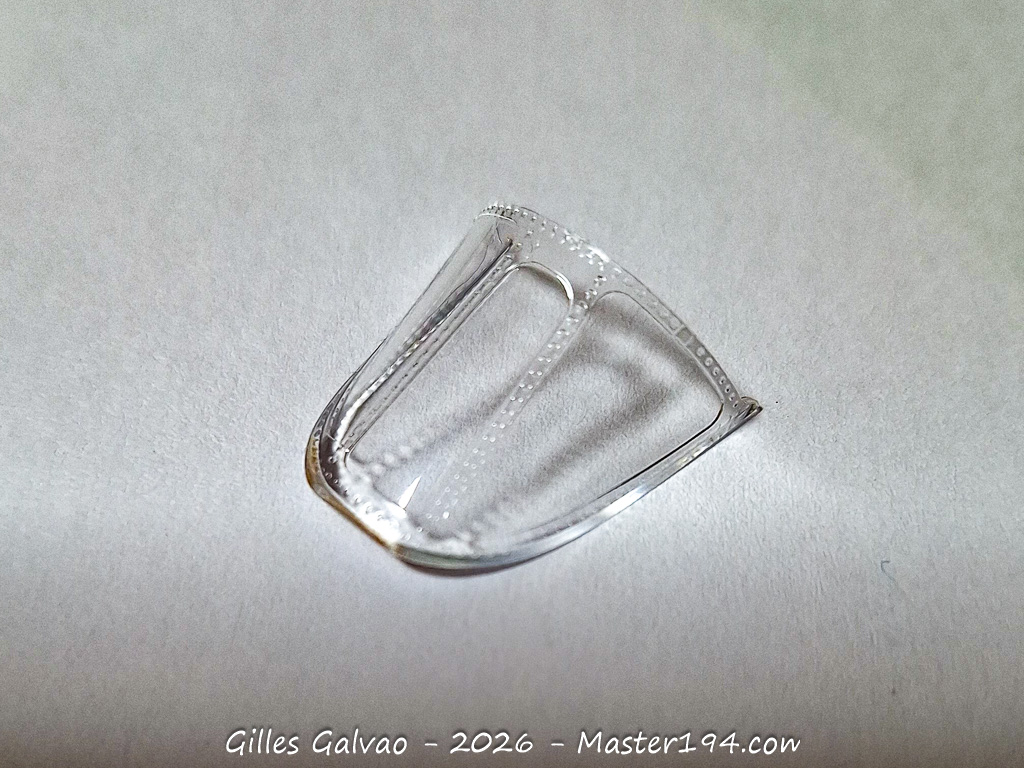
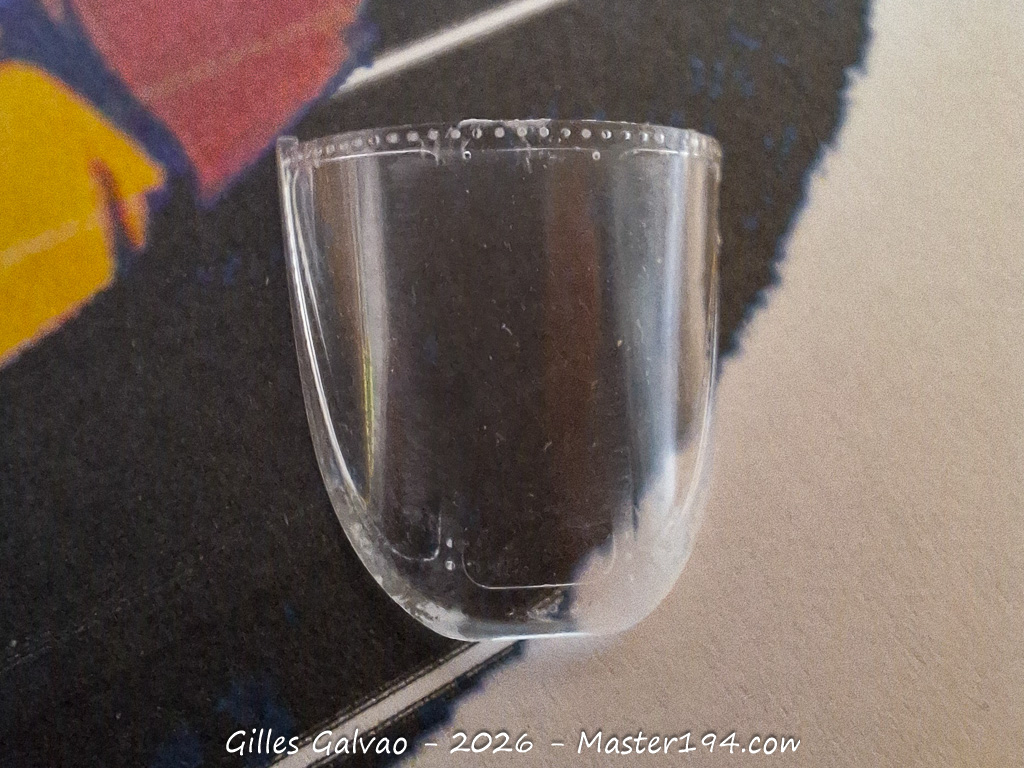
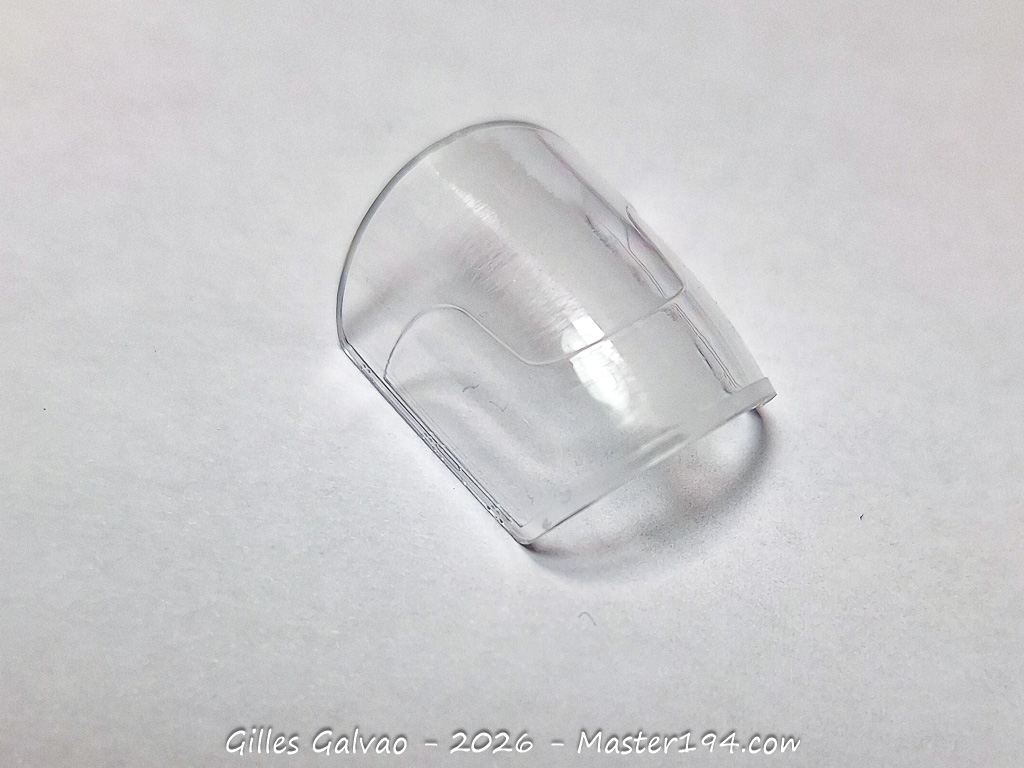
So, you’ve got to bite the bullet and remove those frames, and while you’re at it, get rid of that nasty mold line on the canopy: time for some abrasive pads, files, Micromesh, and polish!
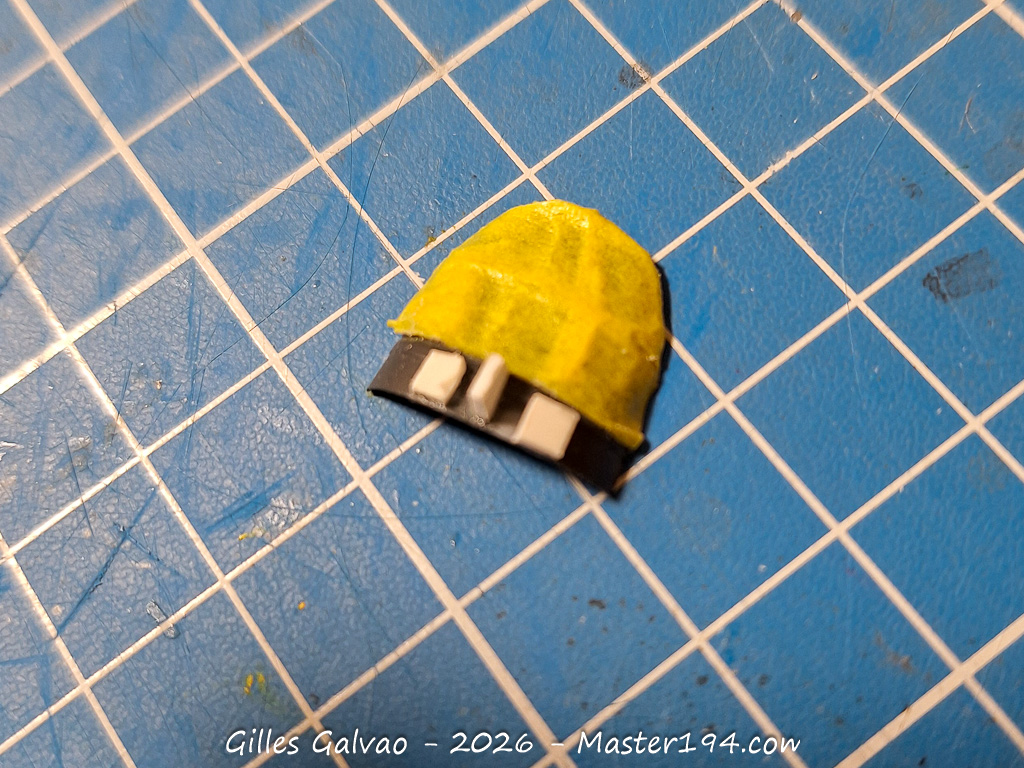
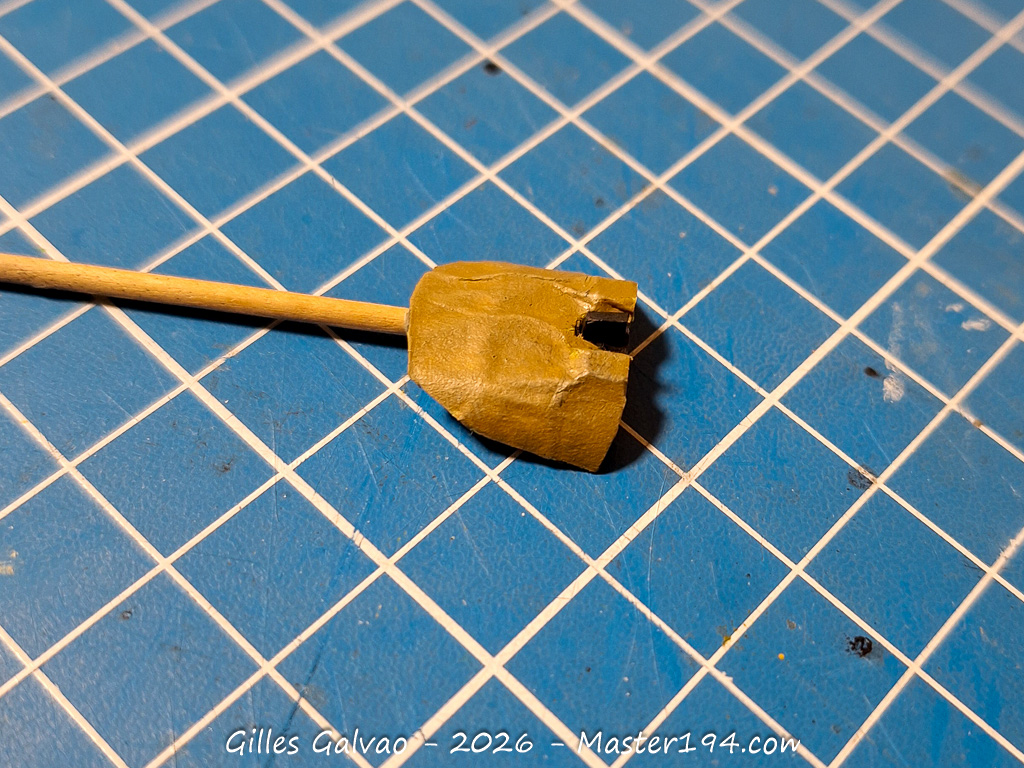
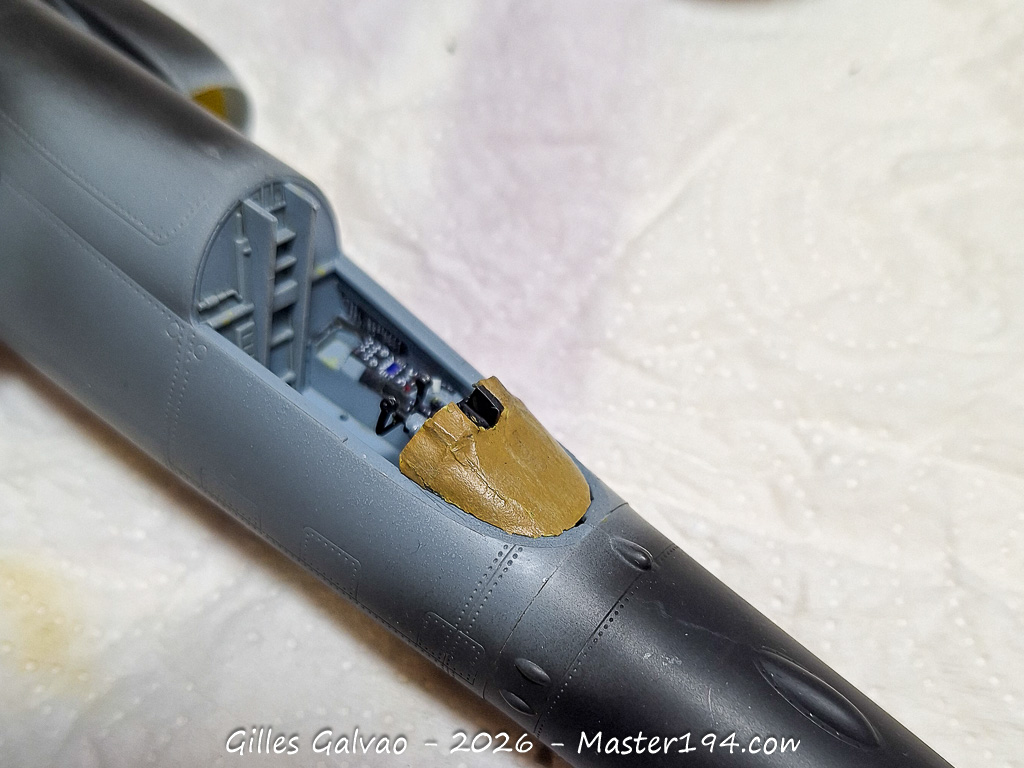
Next, the instrument panel coaming is nowhere near accurate… I’m adding the missing boxes and simulating the woven protective cover using masking tape.
Installing the Antennas
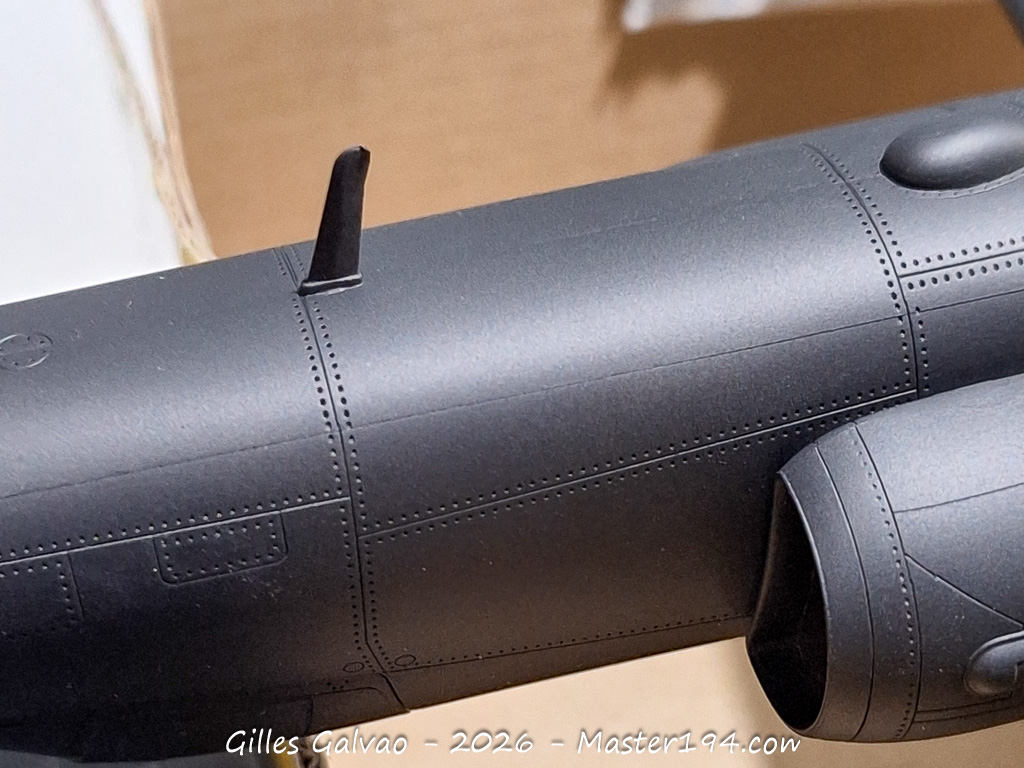
Once the assembly is complete, it’s time to set the antennas in place. As mentioned earlier, make sure to double-check the specific configuration you want to build. Then, completely ignore the HobbyBoss instructions—just grab the correct and appropriate antennas directly from the sprues.
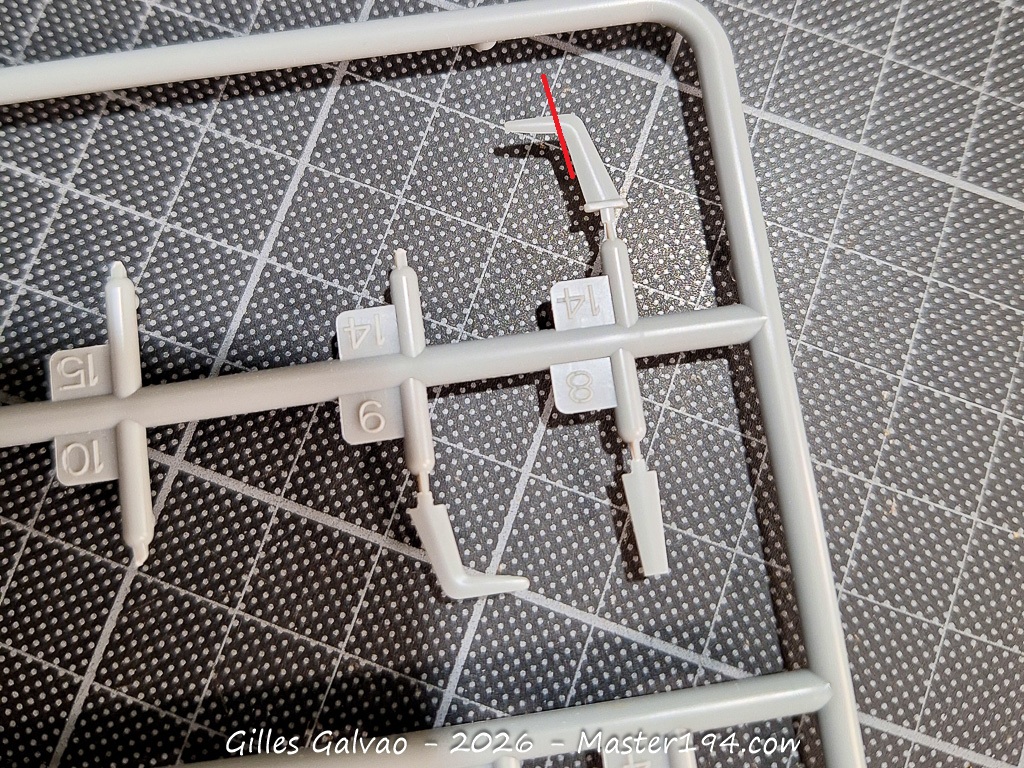
In fact, the one located under the cockpit is missing from the kit. No big deal, though—we’ll just modify one of the other antennas to fit.
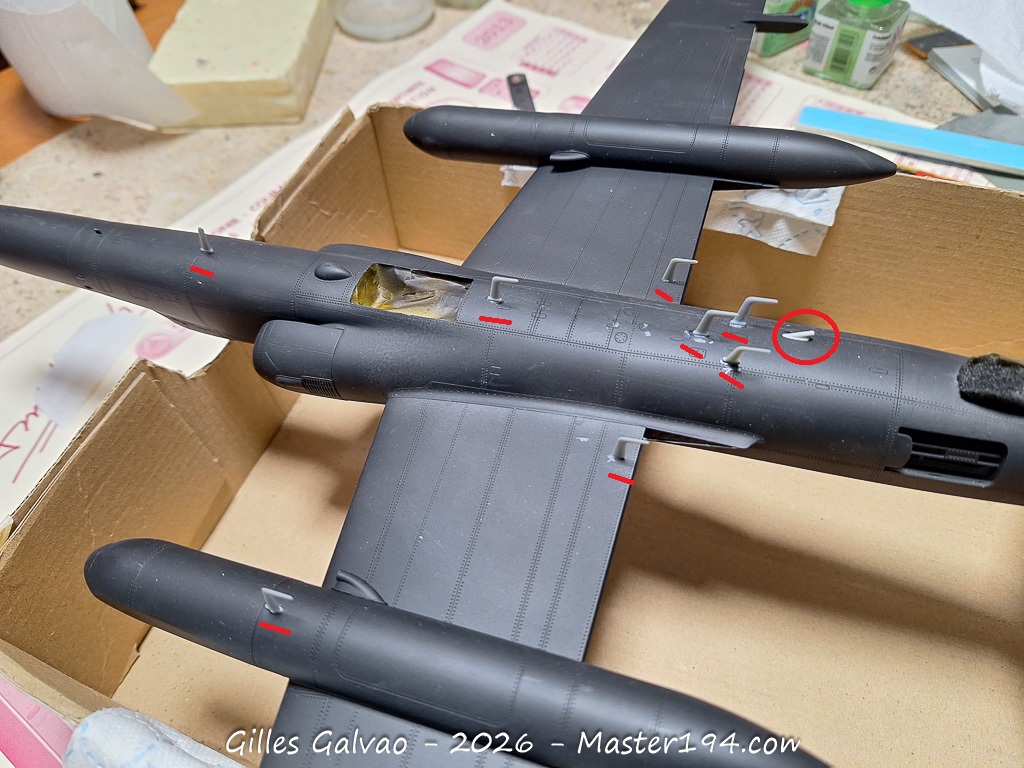
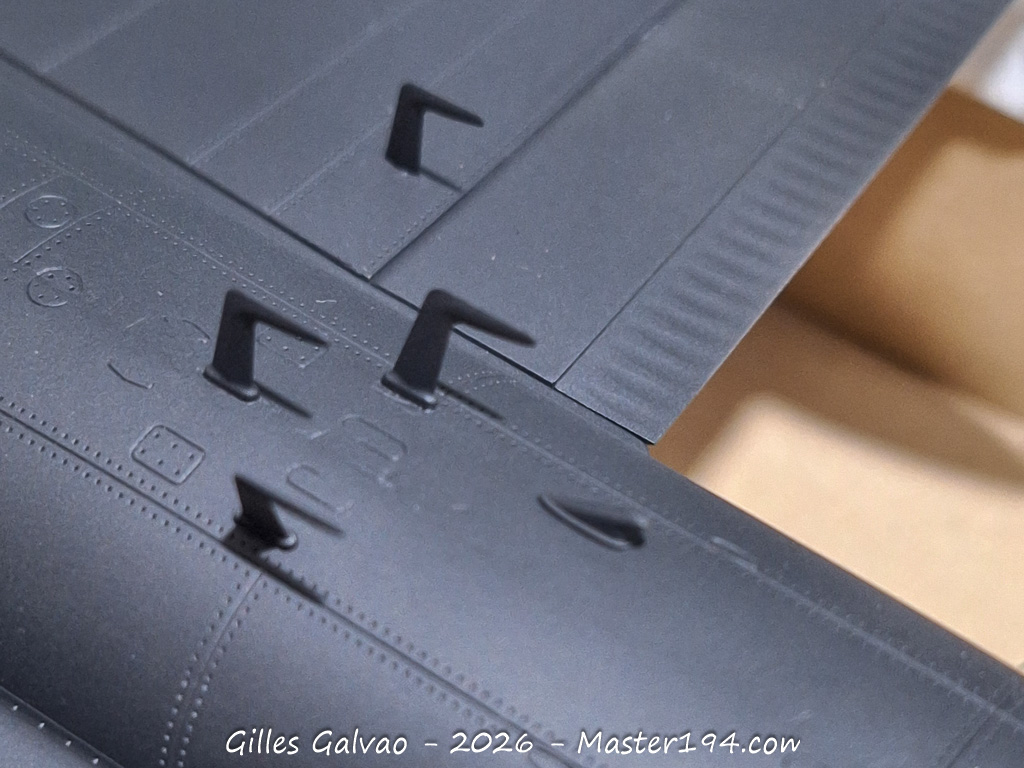
Actually, the one under the cockpit isn’t provided in the kit. Not a problem: we’ll just modify one of the spare antennas! Keep in mind, it’s not just a matter of cutting along the red line; you’ll also need to reshape it by sanding.
A suivre….


