by
Who doesn’t have an ‘old’ kit sleeping in their stash? We take it out regularly, itching to build it… The aircraft is great, the kit’s shape is accurate, but… it needs to be rescribed!
It’s intimidating, it’s long, it’s tedious… where do you start? Which tools should you use?
Let’s be honest: rescribing a model isn’t difficult! But it is time-consuming, requiring patience, a bit of method, and the right tools.
The necessary tools:
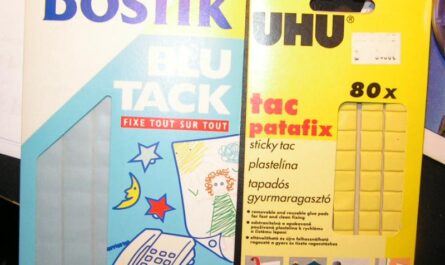
You don’t need much: plan for one or more tools to perform the actual scribing. Then, you need to guide the tip of the scribing tool: a steel ruler, Dymo tape (the old-fashioned thick plastic kind, as shown in the photo below), and templates.

Scribing: A Step-by-Step Guide
It’s one thing to have the gear, but now it’s time to get down to business!
Step 1 -To get started, there are two schools of thought: those who sand down all the raised lines before rescribing (don’t worry, they remain visible after sanding), and those who use the raised line as an extra guide while scribing, before sanding it away..
Step 2 – Sooner or later, your tool will probably slip… don’t panic! A drop of liquid cyano (CA glue) or some putty to fill the mistake, rescribe the line correctly next to it, and a quick sanding will make the slip-up disappear.

Step 3 – The tip must absolutely remove a plastic shaving. Otherwise, instead of carving into the kit, you will create unsightly ridges on either side of the line. While these can be fixed, it will cost you a long and heavy sanding session.

Step 5 – Apply a touch of extra-thin cement (like Tamiya Extra Thin ‘green cap’) into your lines: it will flow by capillary action throughout the groove and melt any small residues. This will leave you with a nearly perfect line!
Step 6 – Once your model is rescribed, it’s time for a general sanding to eliminate any raised edges and leave a perfectly smooth finish.

A guide for every shape:
I mentioned using a steel ruler and Dymo tape as guides for your scribing tool. It goes without saying that flat surfaces should be handled with the ruler. For curved surfaces, Dymo tape is an invaluable ally: adhesive, thick, and flexible, it is the perfect tool! It easily conforms to the shape of a fuselage, and since it can be reused several times, one roll will last you for many models!
Again, these are just tips: use whatever feels most suitable for you.

Scribing Templates:
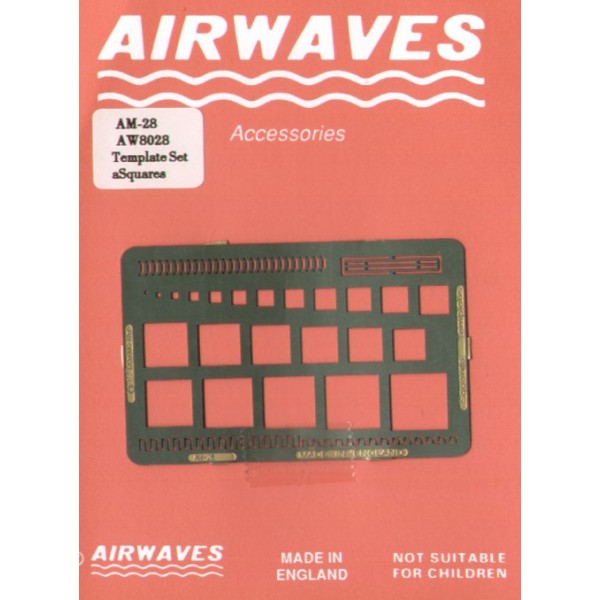
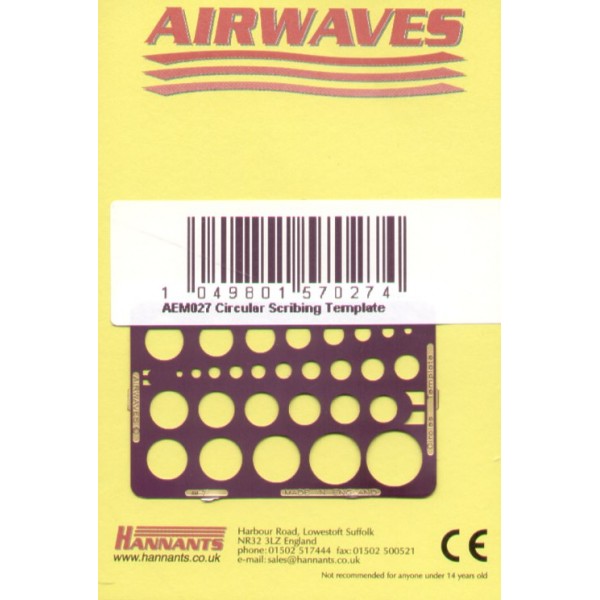
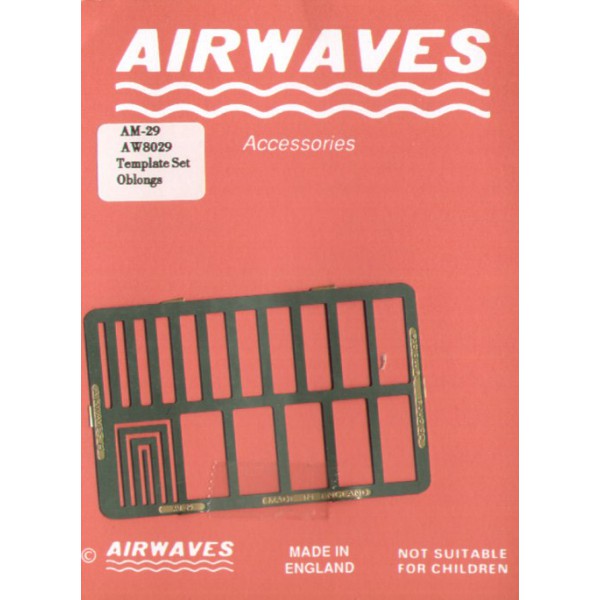
While a steel ruler and Dymo tape are great for rescribing panel lines, an aircraft also consists of numerous hatches and panels: rectangular, round, square, or oval. Again, no worries here. Manufacturers such as Eduard or Airwaves, for instance, have designed sets of templates. Below are a few examples:
Scribing Tools:
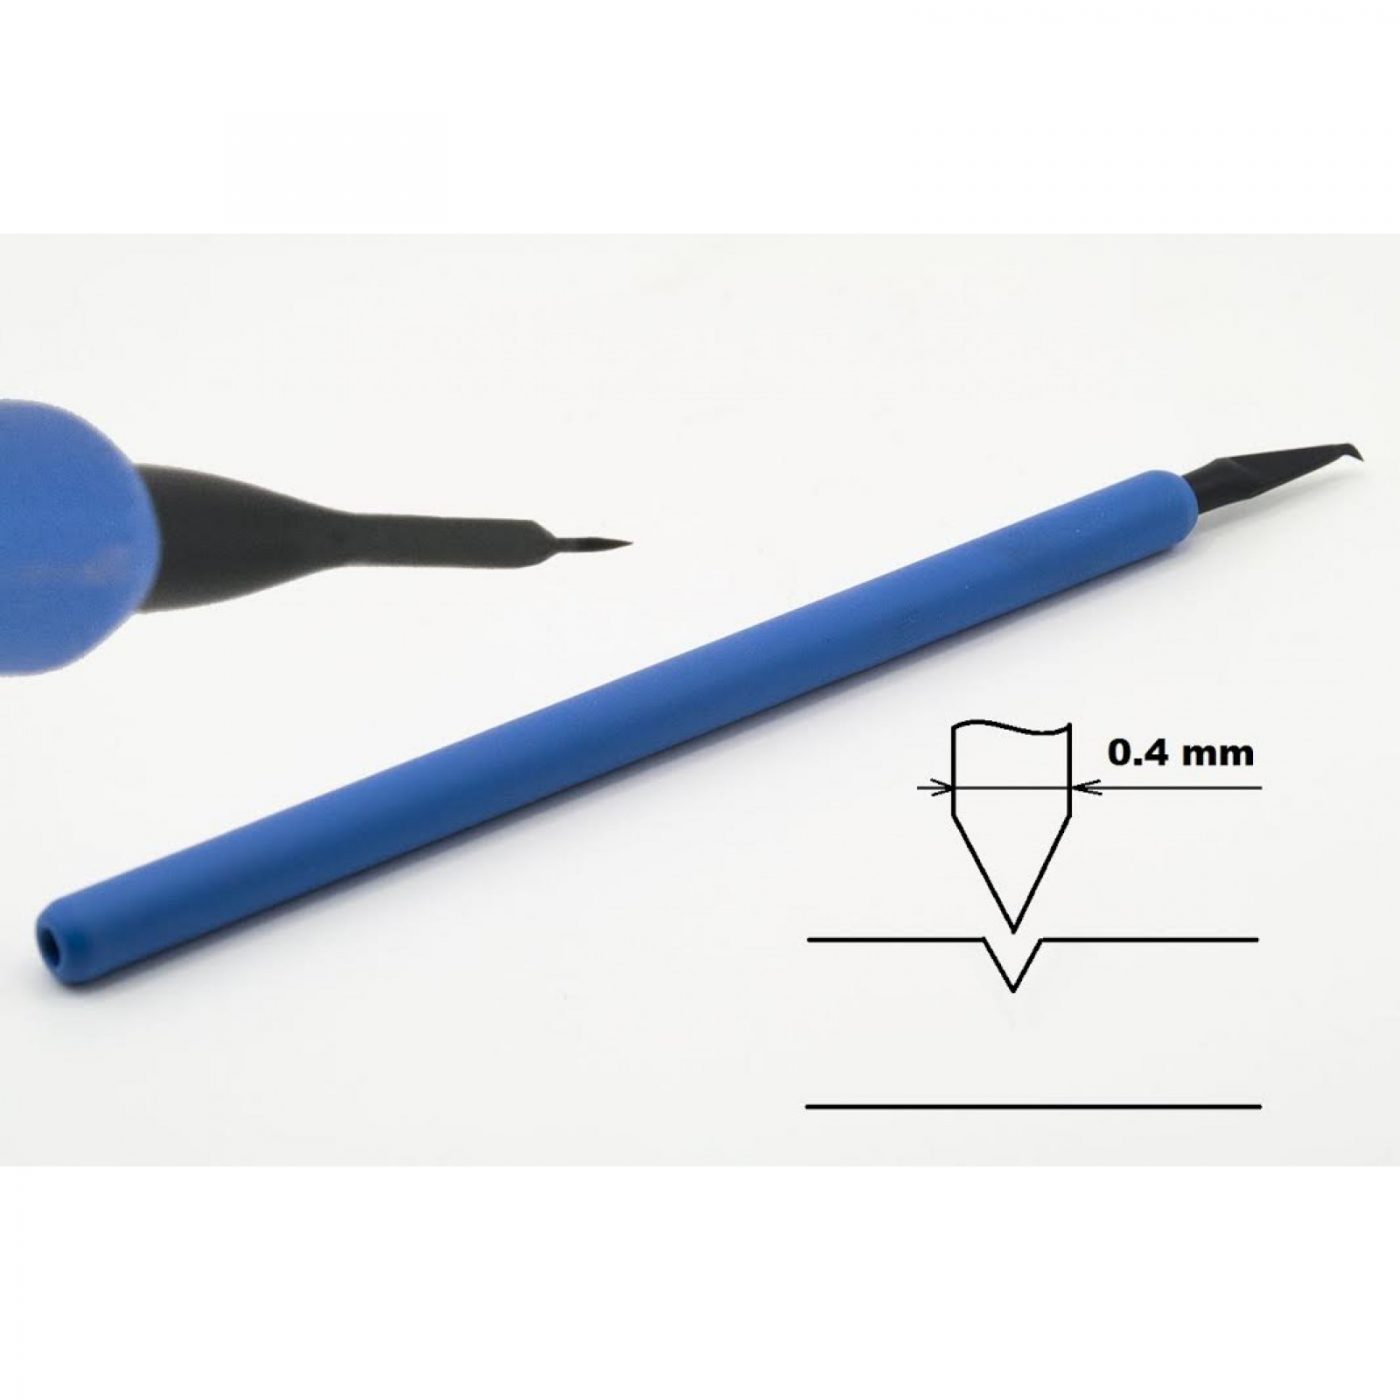
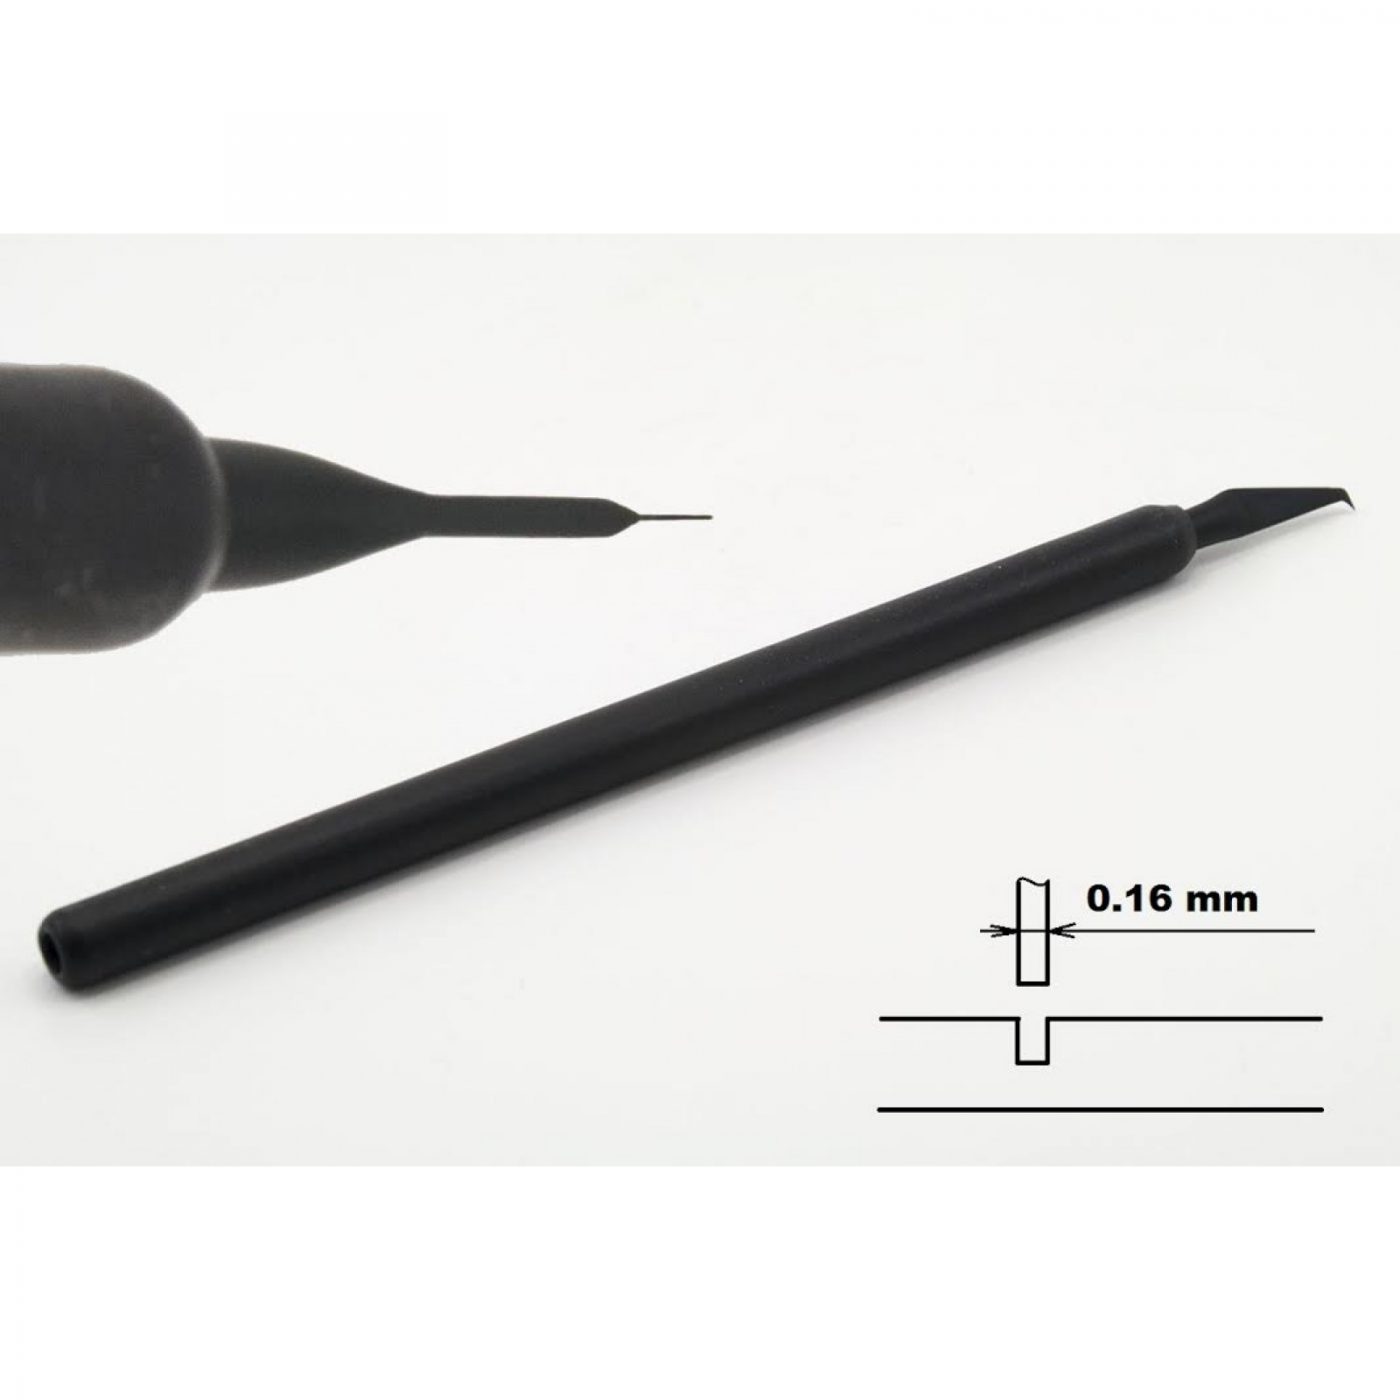
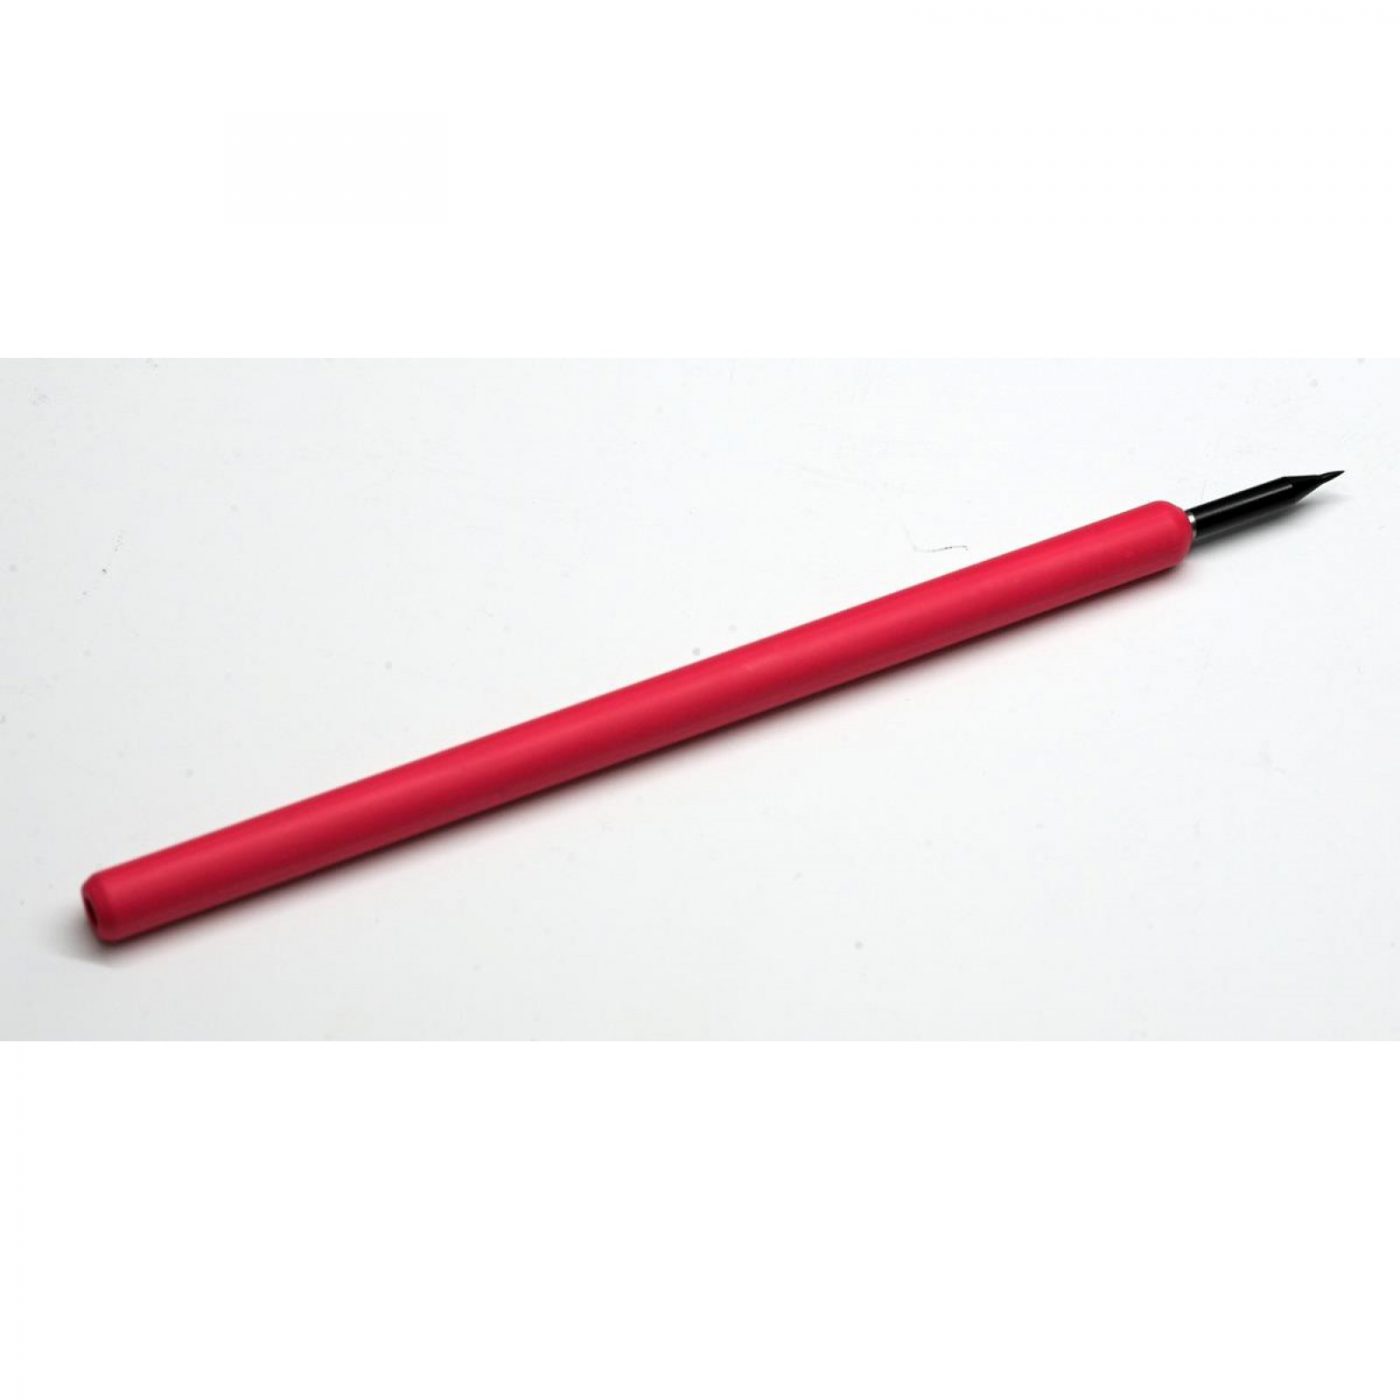
There are many manufacturers such as Tamiya, Bare Metal, Squadron, Mr Paint, and more… But most importantly, there are different types of ‘tips’: for straight lines, the triangular (hook-shaped) scriber is the most common and widely used. However, when using a template, a round needle-point tool remains the best choice.
The paint manufacturer Mr Paint has released three complementary tools: triangular, rectangular, and needle-point.
A few final tips
- First and foremost, practice on an old scrap model or a piece of plastic card to get used to handling the tools and the various guides.
- Every plastic has a different level of hardness and reacts differently: do a quick test on an inconspicuous area to see how the material behaves.
- This is a long and tedious process—take it one part at a time. Don’t set impossible challenges for yourself: you won’t rescribe today and finish the kit tomorrow!
- For lines that wrap around a fuselage or bridge two halves, dry-fit the parts with tape before scribing. This ensures your lines will align perfectly when it’s time for the final assembly.