 by
Applying a “wash” is a technique used to darken an aircraft’s recessed panel lines or the corners of parts to accentuate relief and simulate wear and tear. How do you do it? It couldn’t be simpler.
Prerequisites: Your model must have a gloss varnish base.
Next, you must choose the type of paint: acrylic or oil? It all depends on the base layer you are working on.
- If your base is acrylic, you must use an oil-based wash.
- If your base is enamel (oil-based), you must use an acrylic-wash.
Why? Simply to avoid damaging the underlying layer of paint or varnish with the thinner used for the wash.
Once you’ve chosen your paint type (and the appropriate thinner), select a dark shade such as black, dark grey, or dark brown. Mix a tiny amount of paint with a lot of thinner to create a very diluted, watery mixture.
Step-by-Step in Images:
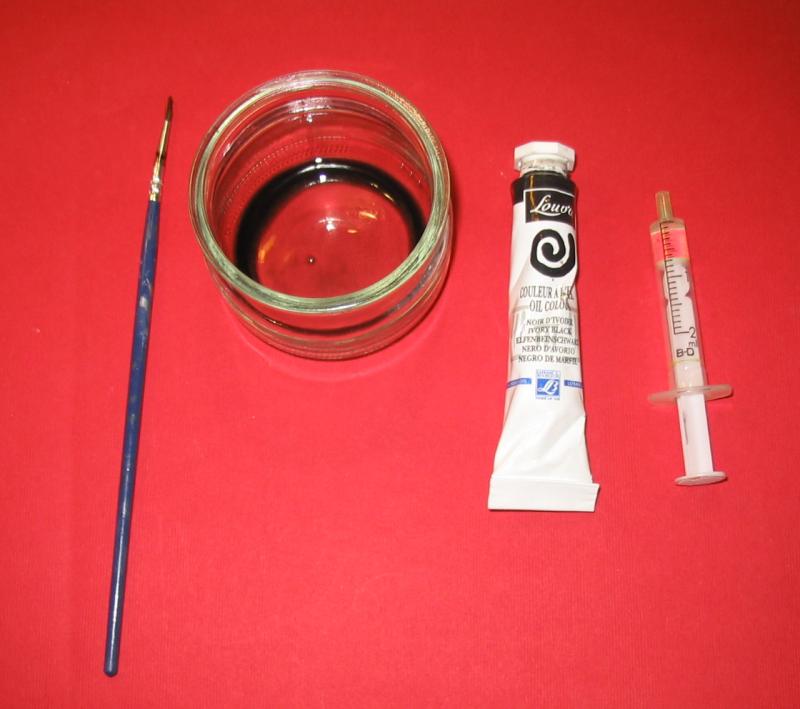
The Essentials: Oil paint (in my case), lighter fluid (Essence F) as a thinner, a small jar to mix the wash, and a brush for application. You can also use some products ready to use like Panel Line Wash from Mig Ammo.

Preparation: A clean wing with recessed panel lines (some may notice lines already filled in the bottom right—this was due to some run-off from the upper wing surface).
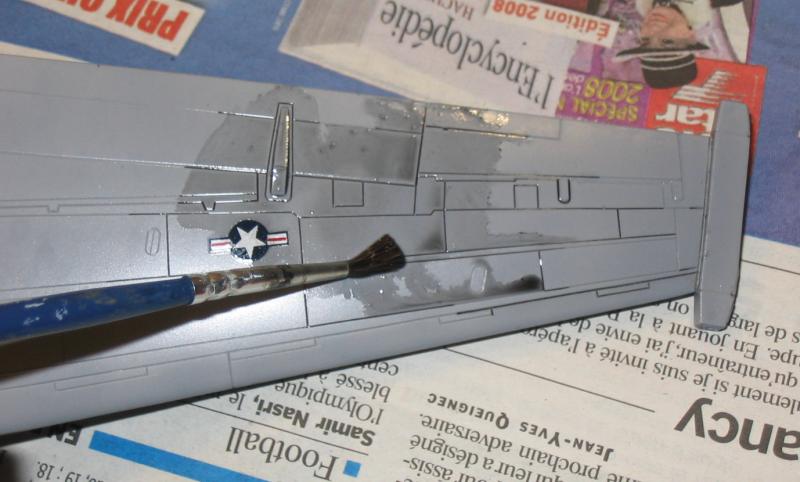
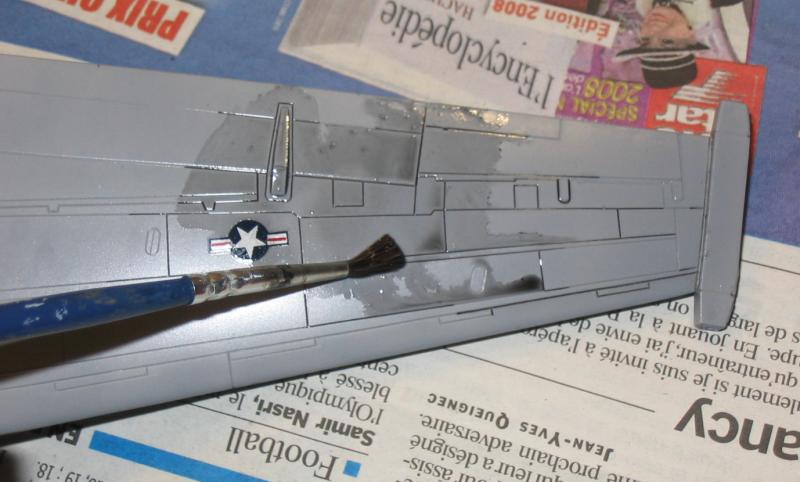
Application: Apply the wash using the brush.

Drying: Once a section of the wing is done, you can safely let it rest for 10 minutes.
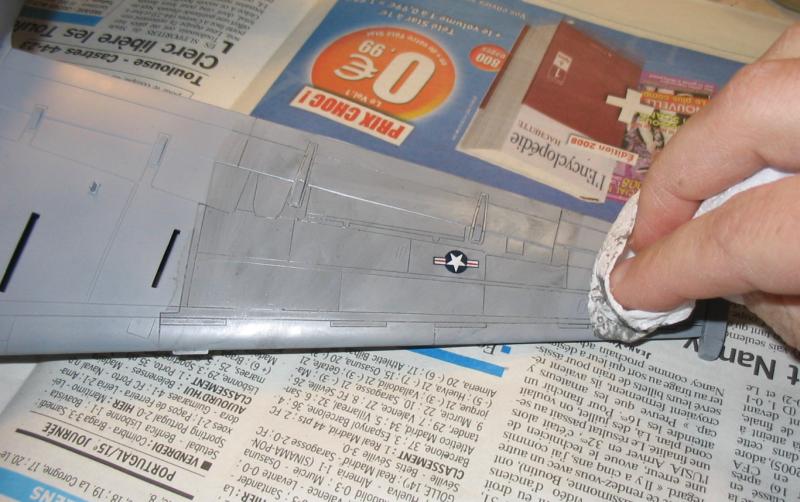
Wiping: Wipe away the excess with a cloth or paper towel, moving in the direction of the airflow. For more streaking effects, wipe less. For a cleaner look, wipe more. If needed, slightly dampen the cloth with lighter fluid.
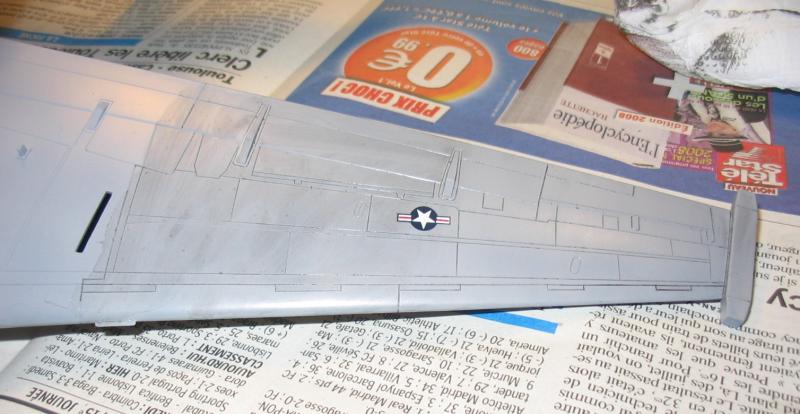
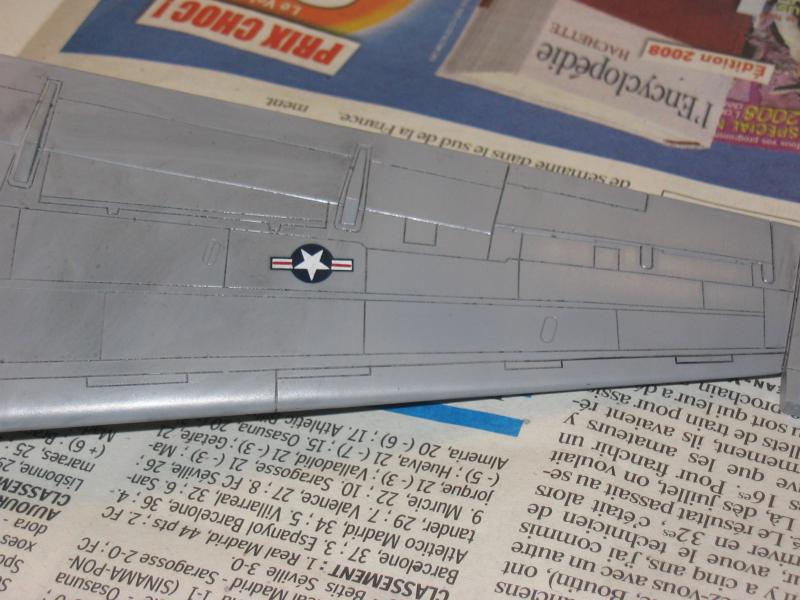
Symmetry: Repeat the same process on the other wing.
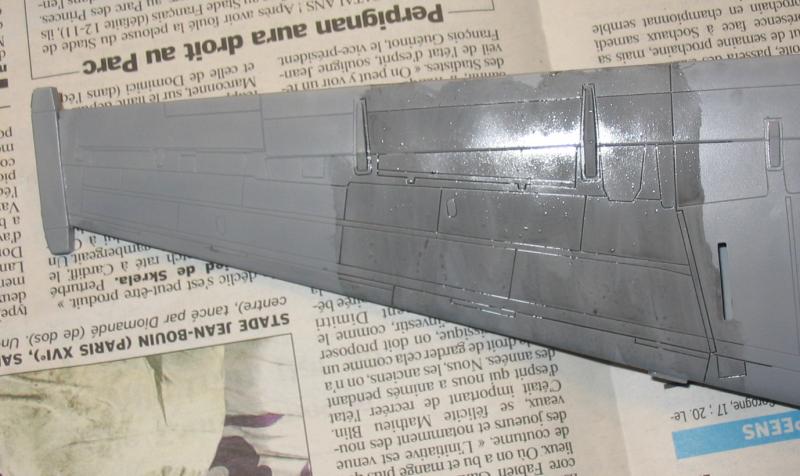
Before & After: Notice the difference between the section with the wash and the one without. Note: I was aiming for a subtle, light weathering effect here.
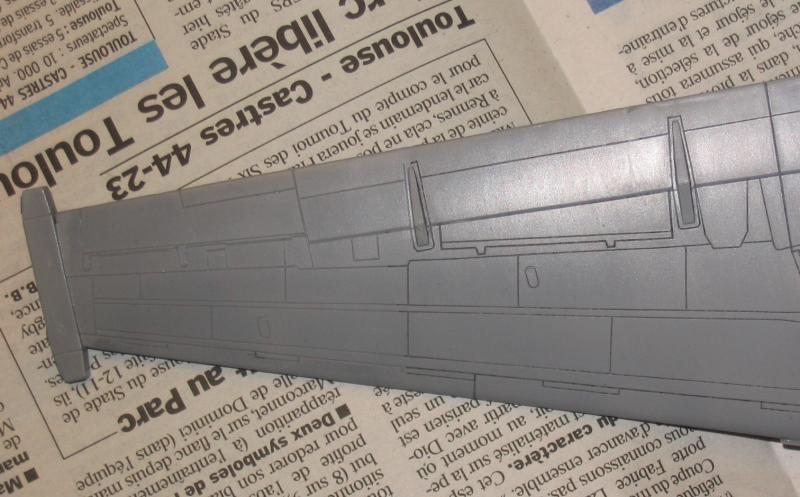
Above the wheel well, no wash has been applied; below, the wash has been added.