 by
Kit review
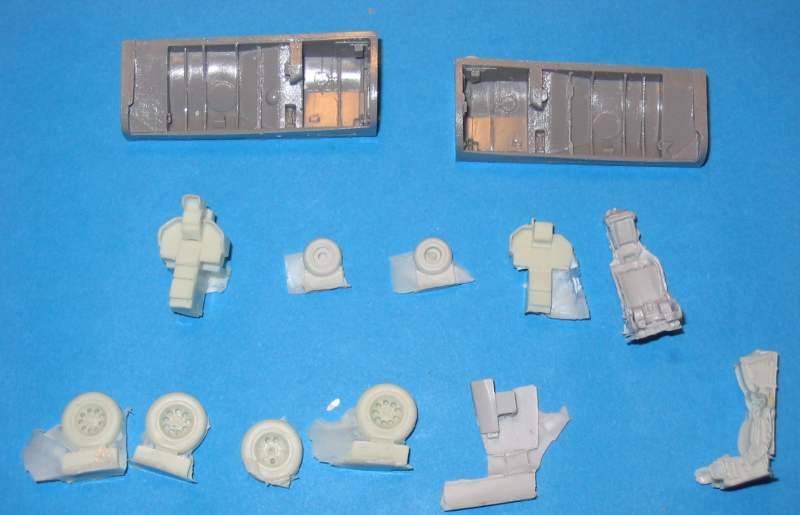
FM delivers here a well-packed box filled with injected plastic, resin, metal, and photo-etched parts.
In injected plastic, you will find the two fuselage halves, cockpit floors, sidewalls, wings, horizontal stabilizers, and various small accessories.
🇫🇷 Français :
🌍 Cet article est désormais disponible en deux langues ! Pour la version française, suivez ce lien :
https://master194.com/2025/04/10/mirage-f1b-fonderie-miniatures-1-48/
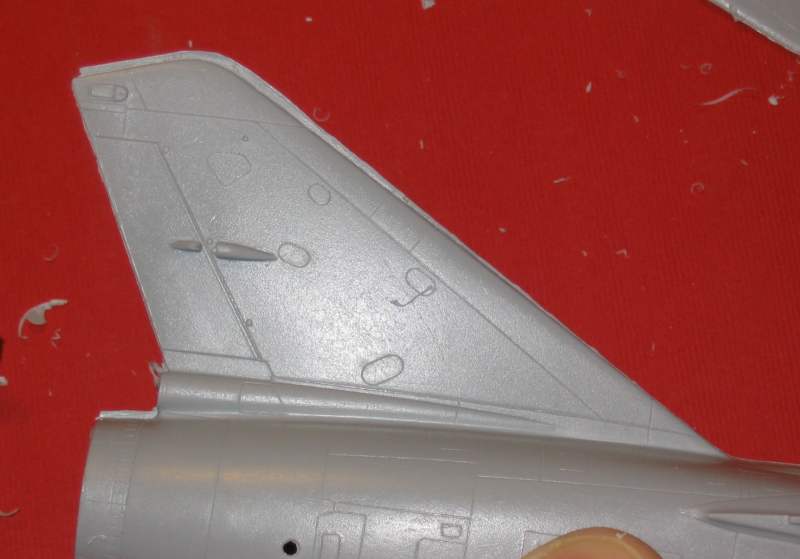
The panel lines will need to be reworked in places, especially on the underside of the fuselage. Long preparation sessions will be required to eliminate molding defects.
Plan on sanding all painted surfaces to remove the grainy texture of the plastic, and using filler to correct sink marks.
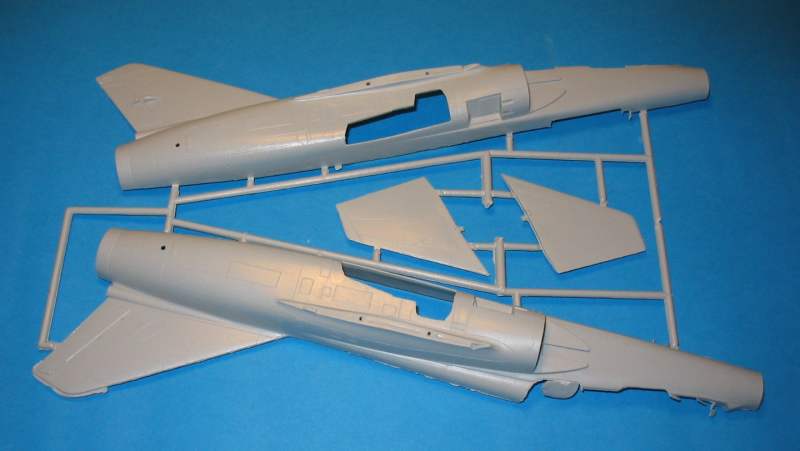
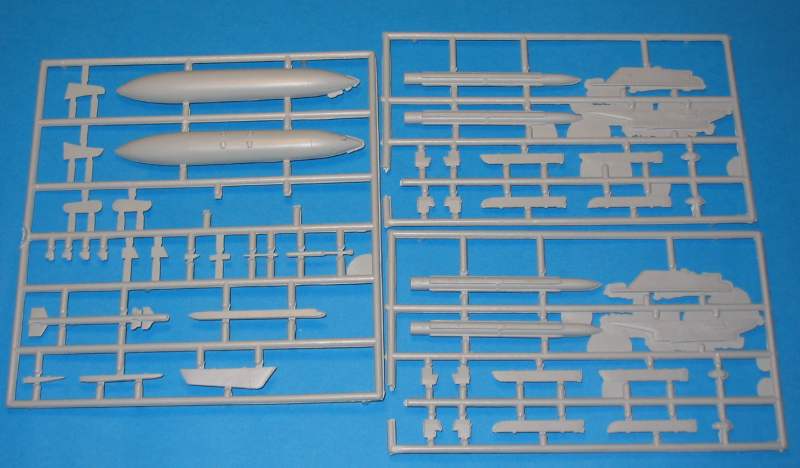
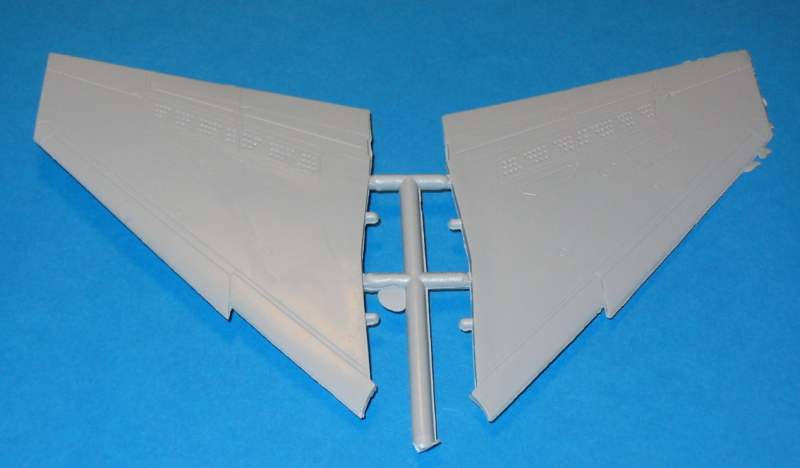
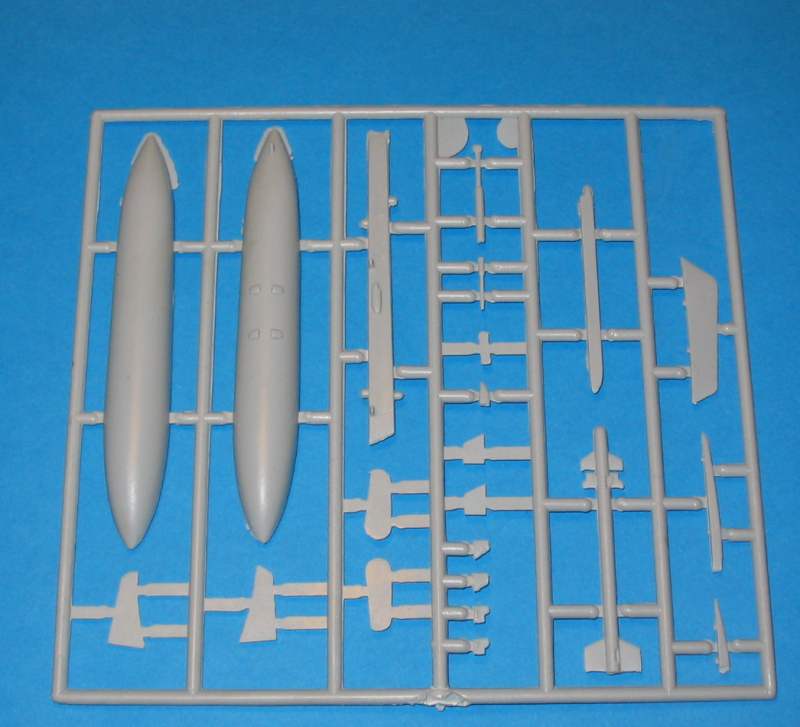
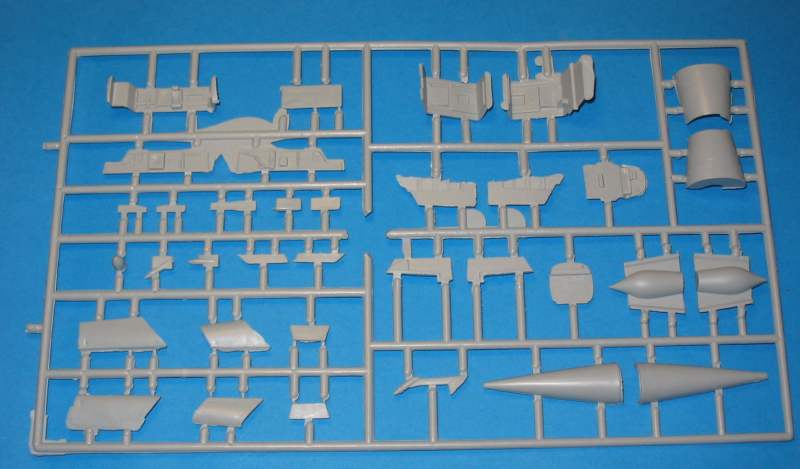
As for assembly, no surprises — it’s going to require some work…
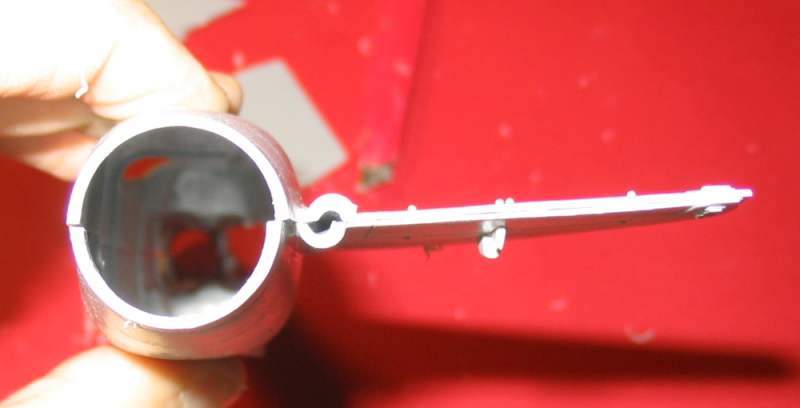
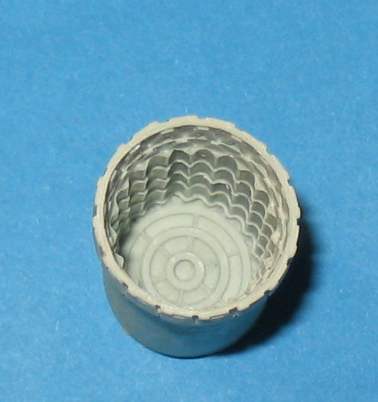
In resin, FM provides the seats, instrument panels, wheels, dashboard coaming, exhaust nozzle, and main landing gear wells. The resin contains a few air bubbles, but nothing serious — they are only visible when held up to the light.
On my example, only one wheel shows a real molding defect (difficult to correct), as well as the instrument panel (though it does not really cause any issues).
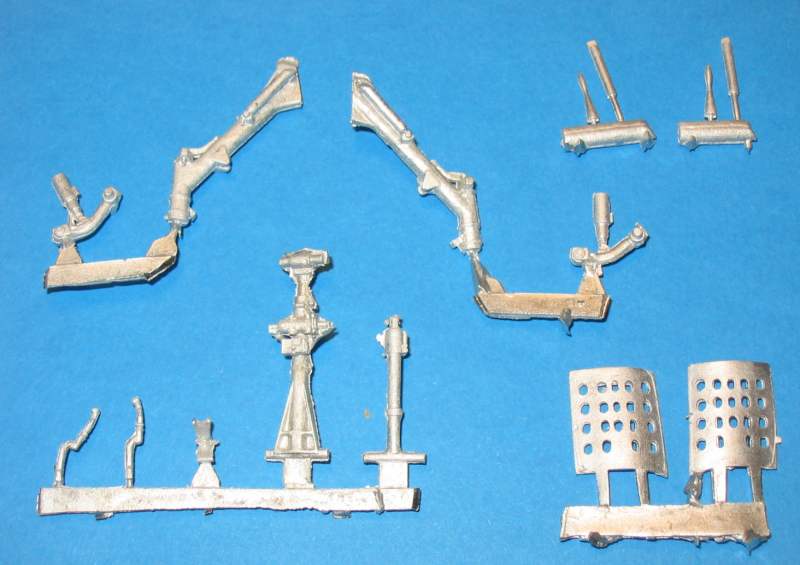
As for the metal parts, you will get the landing gear legs, airbrakes, and control sticks.
Right away, you’ll notice that the two airbrake panels are slightly different… which likely means you’ll need to bend them properly (the metal is quite soft) — or possibly even remake them.
Overall, expect a lot of preparation work before being able to use these parts.
The photo-etched fret does provide enough parts to properly enhance the instrument panels, sidewalls, and seats.
As for the seats, aside from the upper section, no instructions are given regarding the use of the photo-etched parts in the assembly guide.
Two pitot tubes are also included.
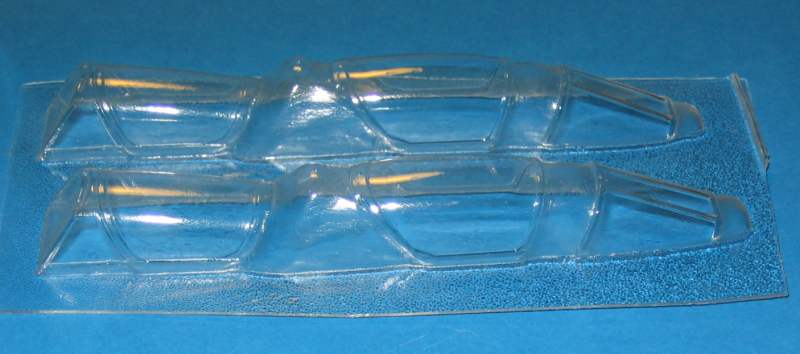
Two sets of vac-formed canopies are supplied: they are quite thick and, above all, appear to have been molded over masters polished with 80-grit sandpaper…
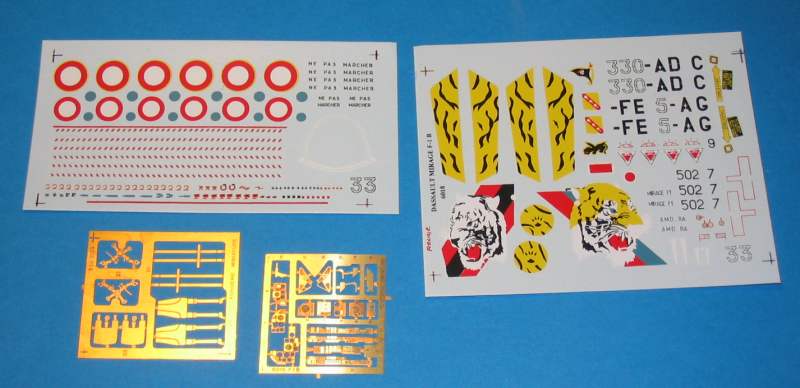
The decal sheet is well printed and allows you to build seven different aircraft. As for the instructions, they are clear enough for all stages (assembly, painting, and markings).
Here is an original kit, relatively well detailed for a short-run production from 2003, but it will require a great deal of preparation work. Judging from a few dry fits, you should be ready with patience, filler, and sandpaper. While the entire kit demands quite a bit of preparation — though nothing insurmountable — it is nevertheless extremely unpleasant to have such a canopy.
Building the 1/48 Mirage F1B Fonderie Miniatures
That’s not all — it still has to be assembled!
Personally, I started by removing all the injected parts from the sprues and giving them a thorough sanding to eliminate the grainy texture of the plastic. Then came the filler to correct all the sink marks… Only after that could the actual assembly begin.
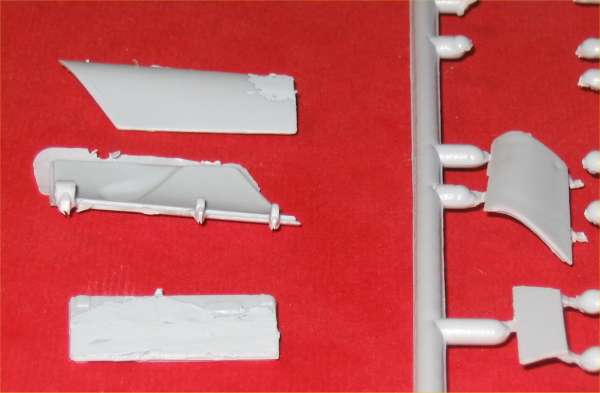
Let’s continue with the cockpit.
First, the injected parts (the cockpit tub and sidewalls) need to be prepared, and test fits carried out to ensure proper assembly and correct positioning inside the fuselage. It’s a long — very long — process, as you quickly realize that the fuselage won’t close unless everything is thinned down sufficiently and the locating tabs of the cockpit tubs are reworked.
Once this stage is completed, the photo-etched parts simulating the instruments can be glued in place.
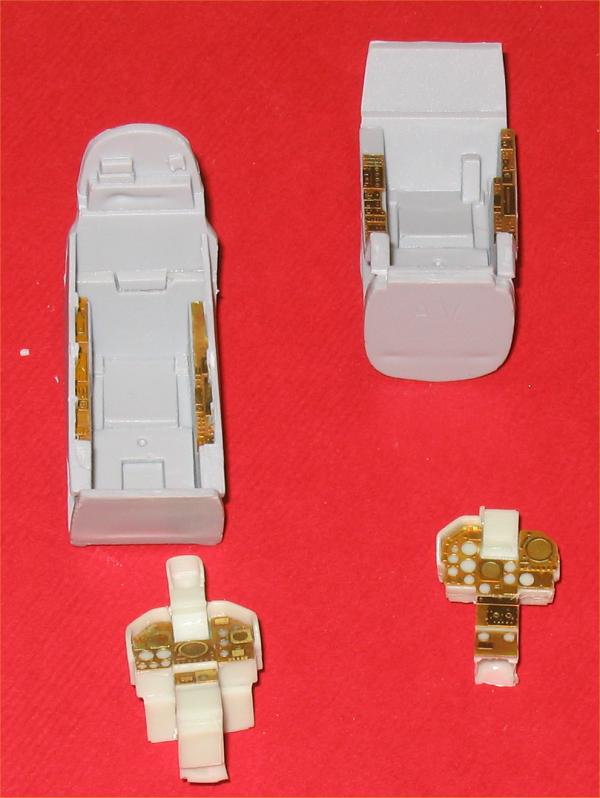
The resin instrument panels will require less fitting work (less… but they will still need some). Once again, dry fitting is essential to check whether the fuselage will close properly once everything is in place. When the adjustments are satisfactory, the photo-etched parts can be glued on.
A few additions of stretched sprue for cables and levers, and the whole assembly then receives a coat of tire black (which I prefer to pure black). A dry brushing, painting the various buttons (according to reference photos), and the job is done.
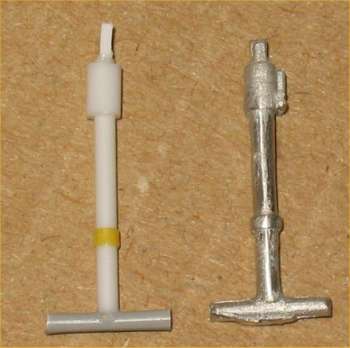
Next come the control sticks and the seats. The control sticks need some preparation (they are made of white metal… so the surface is not very smooth) before painting.
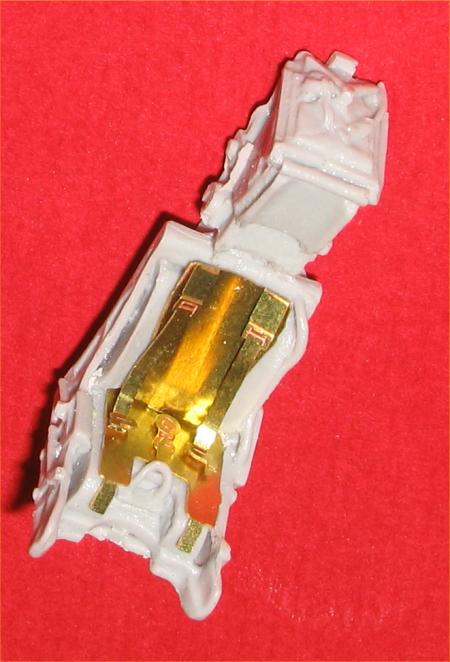
As for the seats, they are very nicely detailed and accurate. All that remains is to add the photo-etched harnesses. The process itself is not complicated, but the lack of instructions and guidance on the subject — combined with the complexity of the harnesses — means you will spend quite a bit of time achieving something that truly matches reality.
A box not provided by FM will need to be scratch-built on the front panel (at the base of the gunsight). I added several missing elements to the panel and the coaming (wires, boxes).
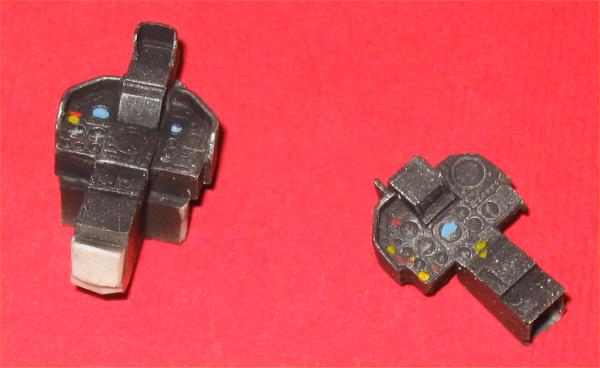
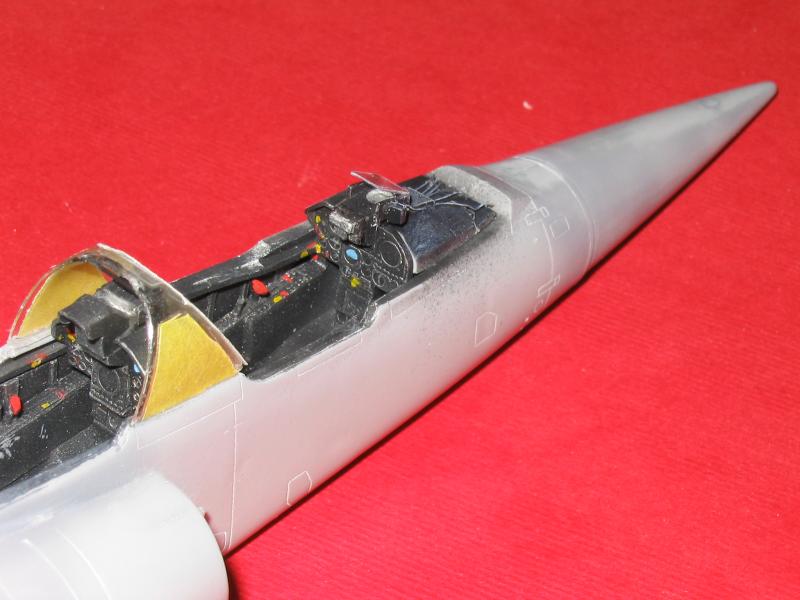
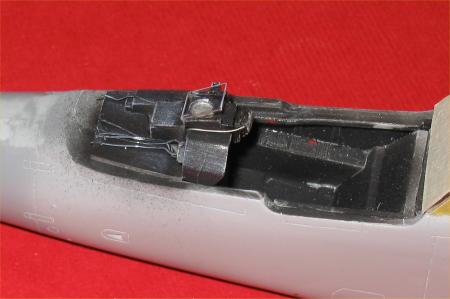
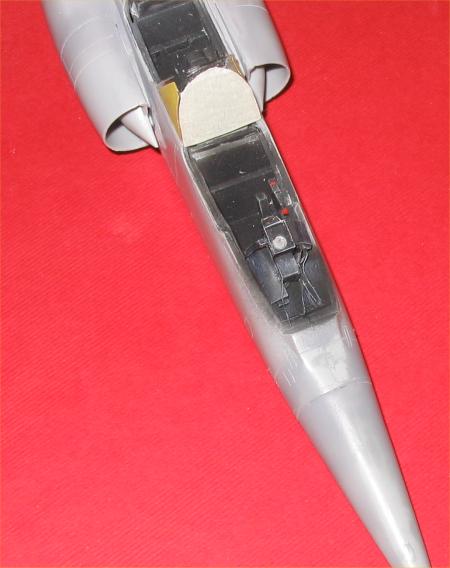
With the cockpit finished, it’s time to focus on installing the wheel bays. For the nose gear, no particular issues. For the main wells, however, things get ugly. Start by grabbing some 50-grit sandpaper, a basin of water, and a lot of patience. Why? Try holding them together with some tape. Done? Now, try closing the fuselage… Right. No use complaining now—it’s time to sand, scrape, and file.
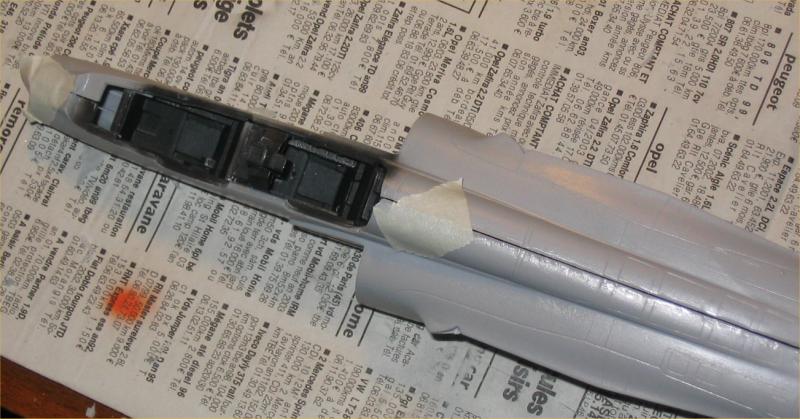
Two hours and a few swear words later… you should finally be able to close the fuselage. Phew! Now, on to the filler. You can really go to town on this one…
The fuselage is closed, glued, and prepped. Next up: the air intakes. Not too complicated this time, but make sure to set aside some time and plenty of putty.
Then come the wings. Now, that’s a different story… prepare for some serious thinning of the locating pins, half a kilo of filler, several sheets of sandpaper, and the appropriate swearing to match. Seriously, it’s a massive pain—especially during gluing, where any misalignment will ruin all your hard work. So, patience is key: take it step by step, and you’ll get there.
It’s a shame the police light is so poorly represented… I realized it too late to do anything better than a quick dab of silver paint just to “look the part.”
The tail fin: you have to cut out (whose idea was that?!) the antenna slots and add separate parts… it’s tedious and time-consuming to get the shape right again, plus you have to thin down the antennas themselves (see below). The rudder is moved by a small rod that should be scratch-built from stretched sprue (it’s easy to do, so why miss out?).
The nose—which you will have carefully weighted (just in case)—is then glued and puttied (the entire surface in my case, due to some nasty sink marks), then sanded. The white metal tip will be fitted as late as possible to avoid breaking it.
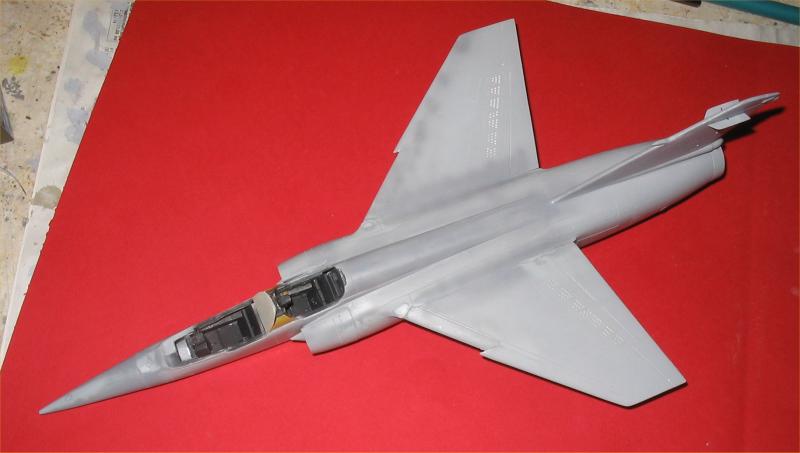
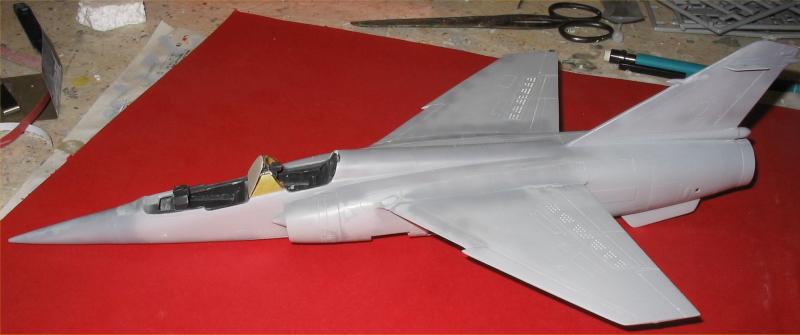
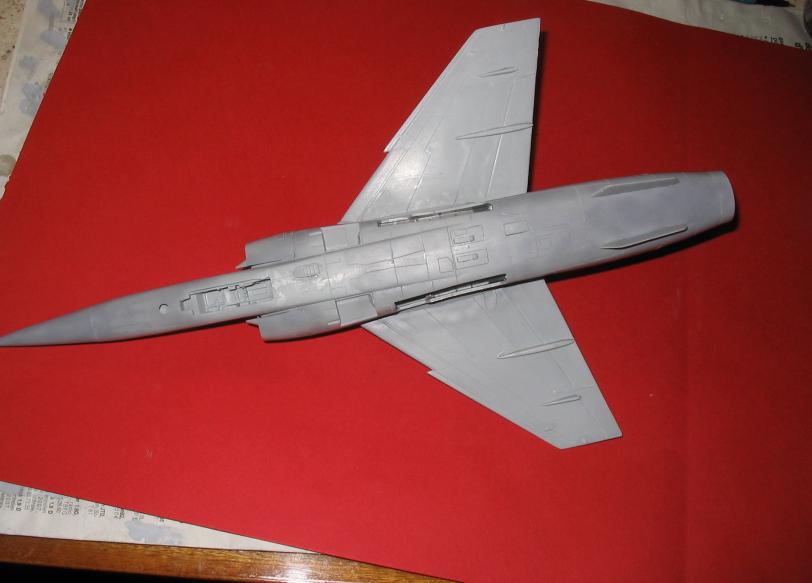
Note: the vent to be added to the forward-most section of the underside is the wrong shape… you’ll need to round off the front edge.
The Canopies:
As mentioned earlier, the quality leaves much to be desired. Do not try using polishing compounds on them… they turn cloudy and permanently lose their “clarity” (thankfully, the kit includes two sets!). A dip in Klear (Future), followed by drying, will limit the damage and yield an acceptable result.
We’re now tackling what is (in my opinion) a truly complex part of the kit. If you test-fit the canopy parts according to the instructions (3 pieces: windshield, open front canopy, rear section), nothing lines up. I eventually opted for a full cut-out to achieve a “both cockpits open” configuration. The windshield requires the most work. The shape is wrong: it doesn’t sit low enough, and the profile is incorrect—not to mention the massive gaps that will need to be filled with plenty of putty and CA glue.
The center section, being a simple shape, poses no problems.
The moving parts won’t be too problematic since they’ll be in the open position. You’ll just need to add small triangles to simulate the mounting brackets, as seen on the real aircraft, and above all, ensure a sufficient gluing surface for our scale… these will be installed at the very end. I added the various rearview mirrors, made from plastic card (which would have been a welcome addition in photo-etch form in the box), as well as a very visible handle on the front canopy.
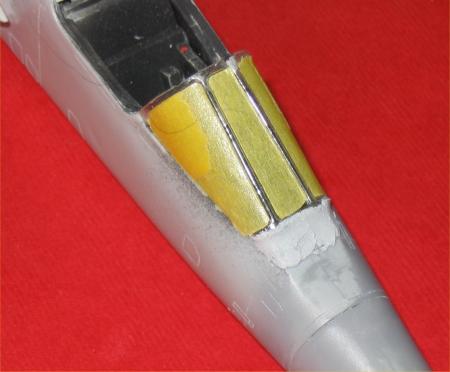
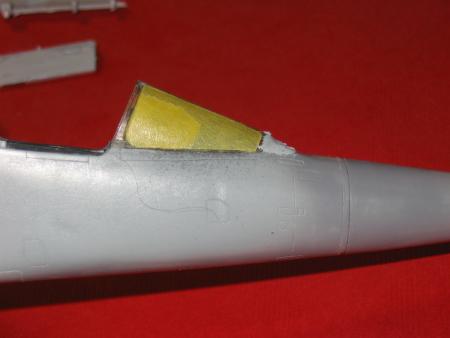
Before painting, I still need to restore all the panel lines that vanished during the various filling and sanding stages…
The landing light in front of the nose gear door must be hollowed out (this will be filled at the end of the paint job with Kristal Clear).
It’s time to tackle the painting… a coat of neutral grey primer helps spot any remaining flaws… Well, if you’ve worked “as well as I have,” you can break out the putty and sandpaper/micromesh again… I can see plenty of new defects.
Once the surface finish looks clean enough (I can’t use the word “perfect” since the plastic was so riddled with flaws to begin with…), you can start at the rear near the nozzle with the appropriate metallic shades. Then, it’s time for the blue. Finding the right blue can be tricky… if you look at photos, the hue changes significantly depending on the weather conditions and the aircraft’s wear and tear.
I opted for a simple Gunze “Intermediate Blue.” After a base coat, I reworked it by lightening or darkening certain areas of the airframe. I added more blue to the base shade to accentuate the color, finishing with a light mist coat.
For the underside, I used non-buffing Model Master Aluminum.
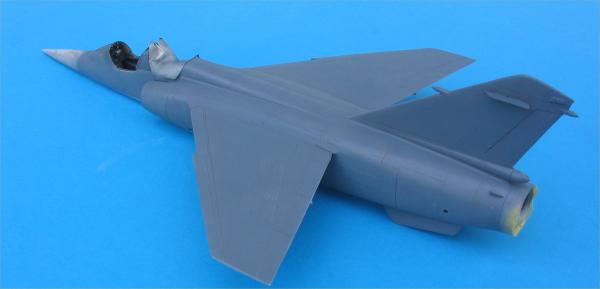
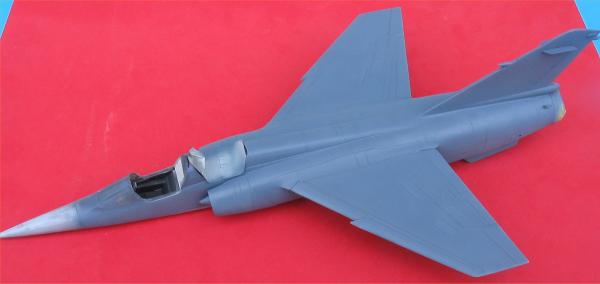
Warning: depending on the aircraft and the period chosen, the parachute cone is painted differently, and the demarcation line between the blue and the aluminum varies. At the end of the build, I also noticed that because of the wingtip rails, the two position lights—originally on the leading edge—were relocated to four small fairings (one on the underside and one on the upper side of each wing).
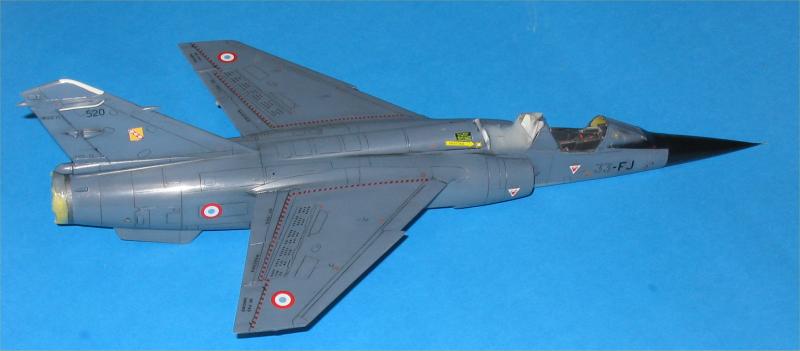
Once the painting was done and the gloss coat applied (I’ll skip over the various greys for the antennas, the black on the nose, etc.), it was time for the decals. I chose to represent aircraft No. 520, used by the “Voltige Victor” display team, coded 33-FJ. I had to scavenge codes from various spare sheets to recreate the specific aircraft I wanted. Then came the stencils… and that was quite a challenge.
After ruining a good portion of the FM decal sheet (the decals were tearing and had a nasty tendency to “silver” despite a very glossy and smooth surface), I turned to some Carpéna decals—which, for some sheets, weren’t much better. Finally, I managed to get everything in place, more or less.
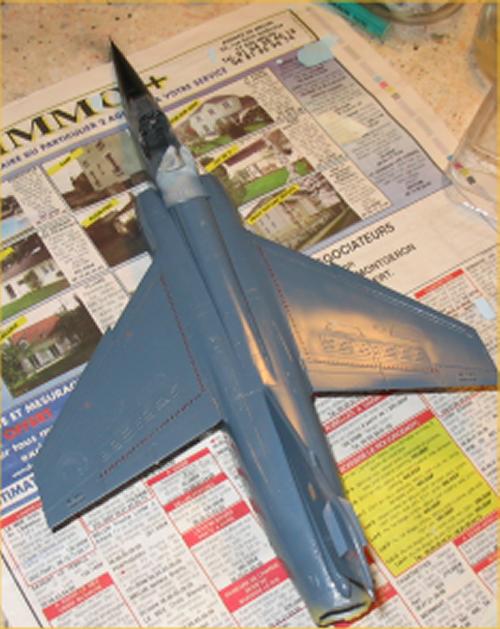
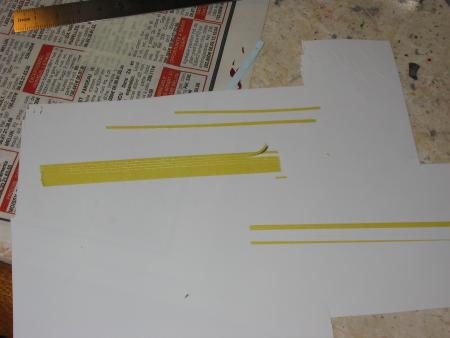
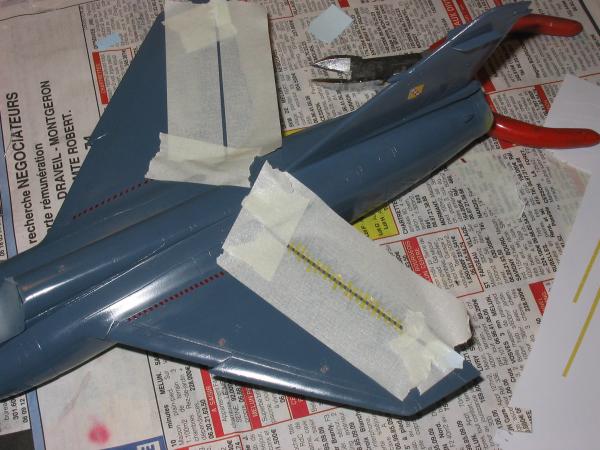
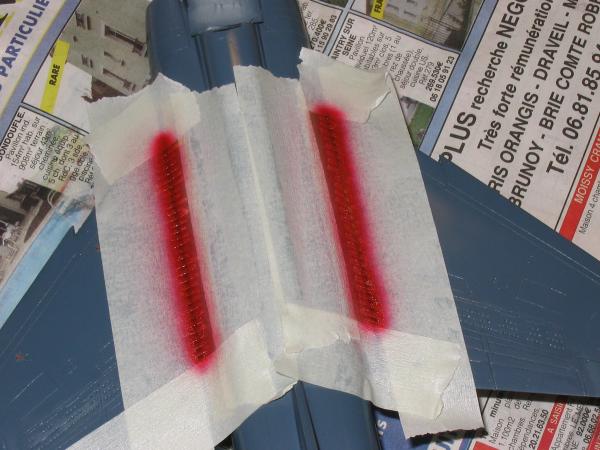
The biggest challenge was those red lines… using decals was a complete disaster. After several attempts with a brush, I eventually gave up and decided to use masking tape and an airbrush. The result is quite decent—much more satisfying than the decals—but it’s a very time-consuming process.
My first try with a brush was ‘meh’ (check the first photo; after that, it looks spot on).
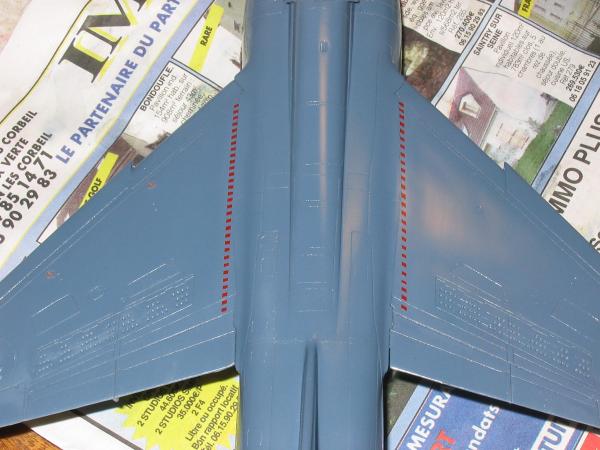
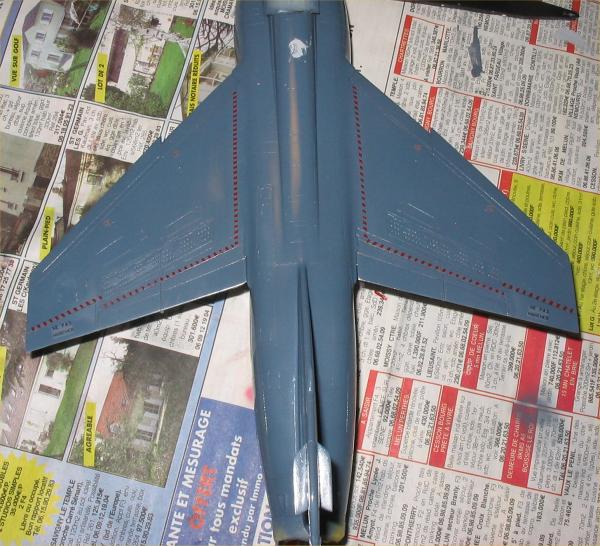
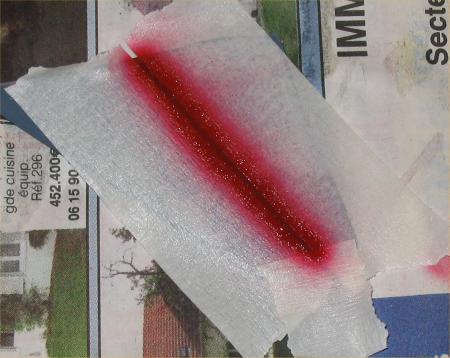
Once all that was finished, I moved on to weathering (a dark wash in the panel lines and some pastel streaks). Then, it was time for the final touches.
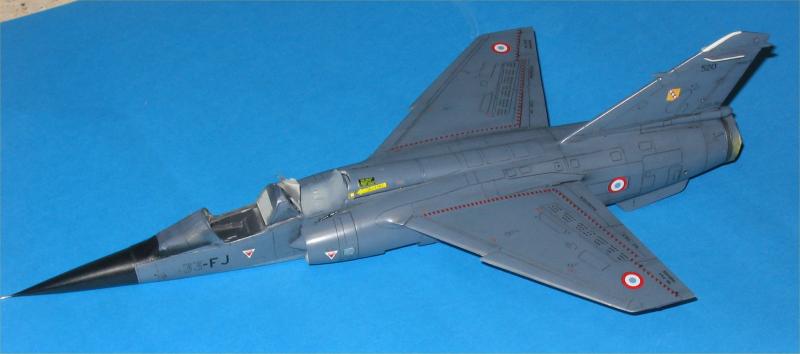
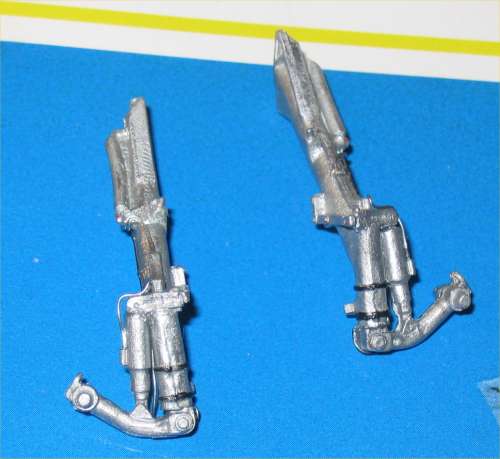
Landing gear and doors: a moment of high stress… and, I must admit, pure frustration. The white metal gear struts are really not pretty. Some parts are so warped that any attempt to straighten them seems doomed to failure. So, I scratch-built several sections using plastic card. The whole assembly had to be sanded, filed, and cleaned up. I also added the numerous hydraulic lines that run along the struts.
Then comes the assembly of the parts themselves… the shape of the Mirage F1’s main landing gear and the wheel layout (two per strut) makes it quite complex, especially with parts that have molding flaws. I added as many hydraulic lines as possible.
I had to cheat a bit to get everything symmetrical and, more importantly, to ensure the “beast” sits correctly (drilling off-center holes in some wheels to adjust the axle alignment).
Above all, stay vigilant. While everything up to this point was tedious but not overly difficult, this is—in my opinion—one of the two truly complicated stages of this kit.
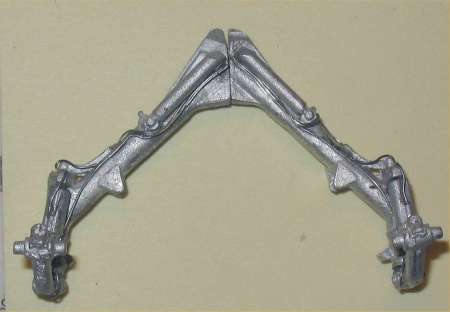
Next, the gear doors must be installed… three doors per main gear. On the ground, the configuration is usually with only one door open. While this is theoretically possible on the model, in practice, I frankly gave up because the fit was so laborious.
The exhaust nozzle can be worked on as a completely separate sub-assembly and installed at the very end. I painted the interior in burnt iron, followed by a dry-brushing of the less visible elements in aluminum. Then, a few light mists of brown with the airbrush helped achieve the desired weathered effect. Be prepared to sand down the diameter of the nozzle slightly so it can actually fit into the fuselage.
The airbrakes… representing them closed is a challenge. It’s difficult to correct the shape of the parts; while you can “easily” trim them down to fit the slots, trying to give them the correct curvature to match the fuselage will undoubtedly lead to breakage. I had to use a coarse file to thin down the two sections where they join the fuselage.
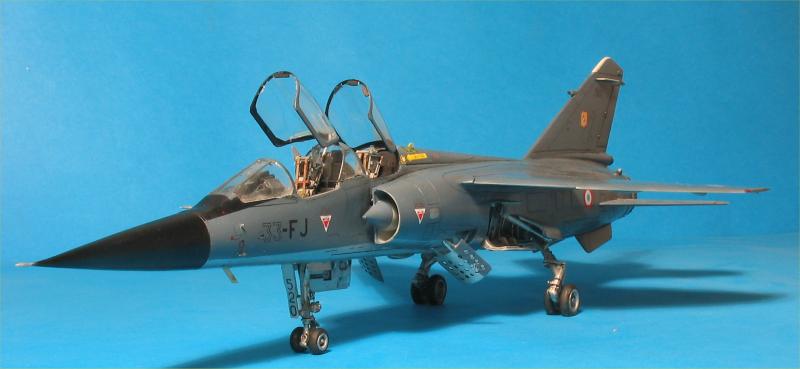
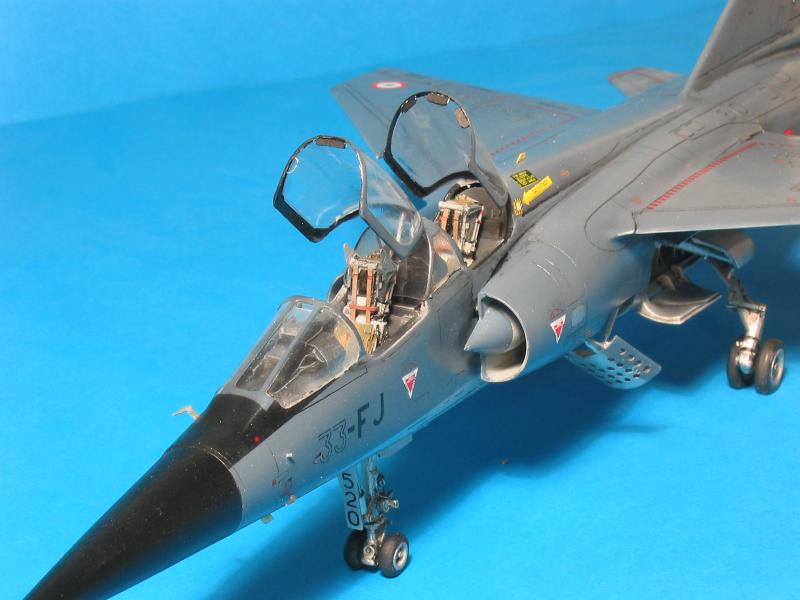
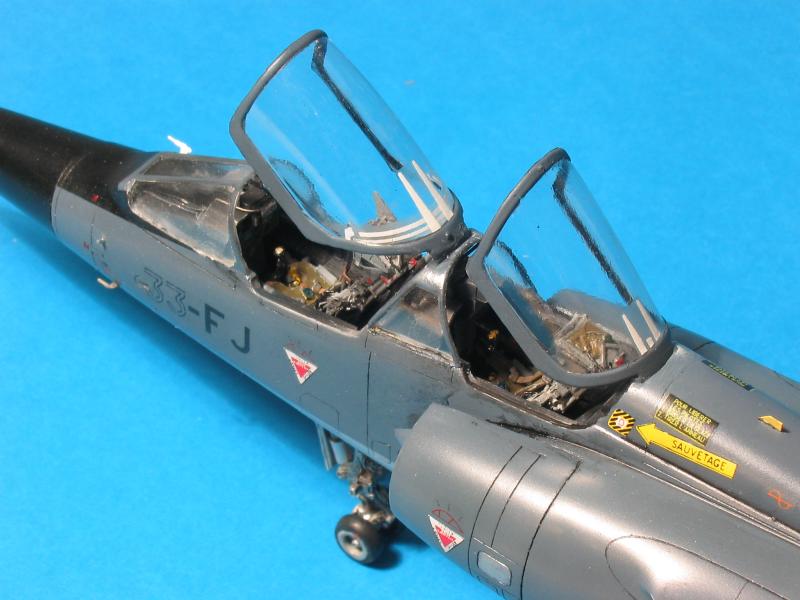
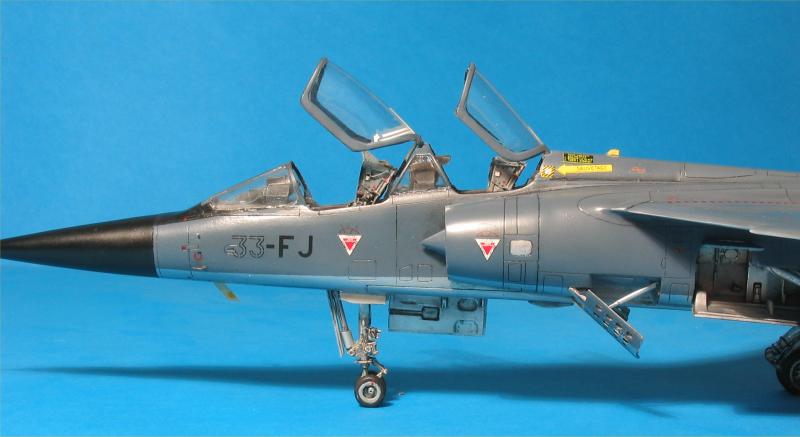
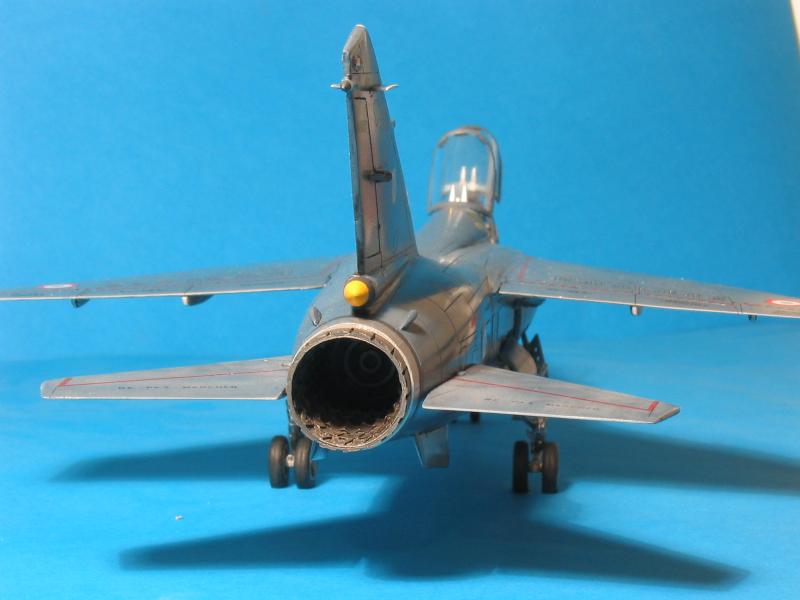
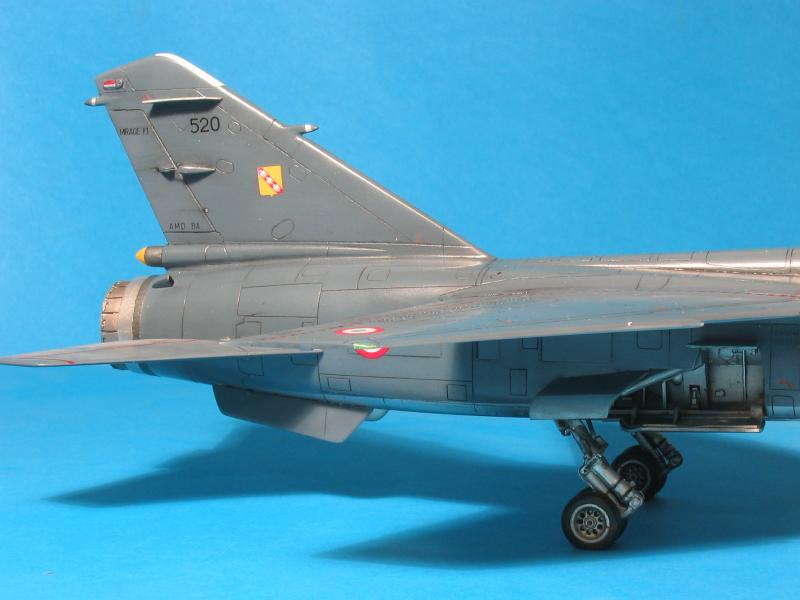
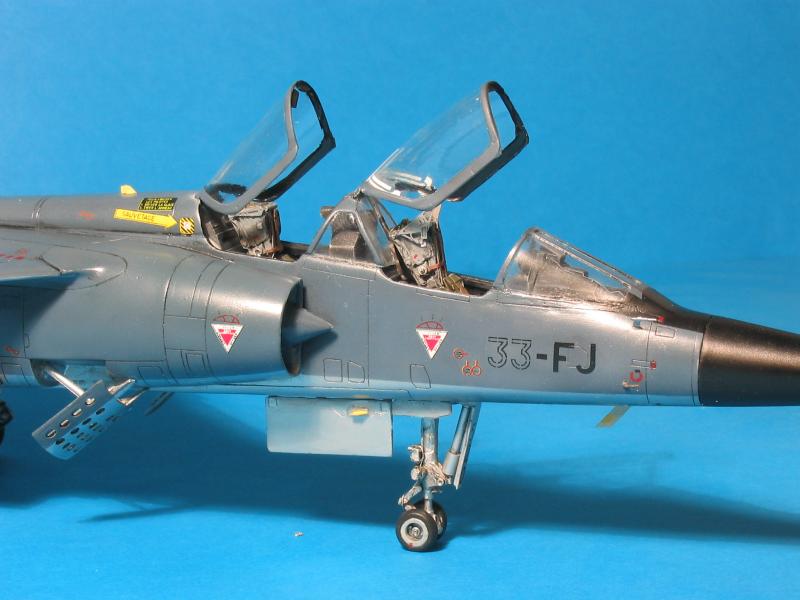
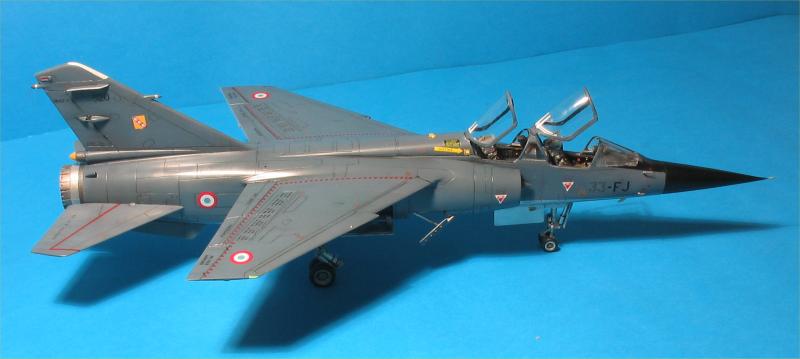
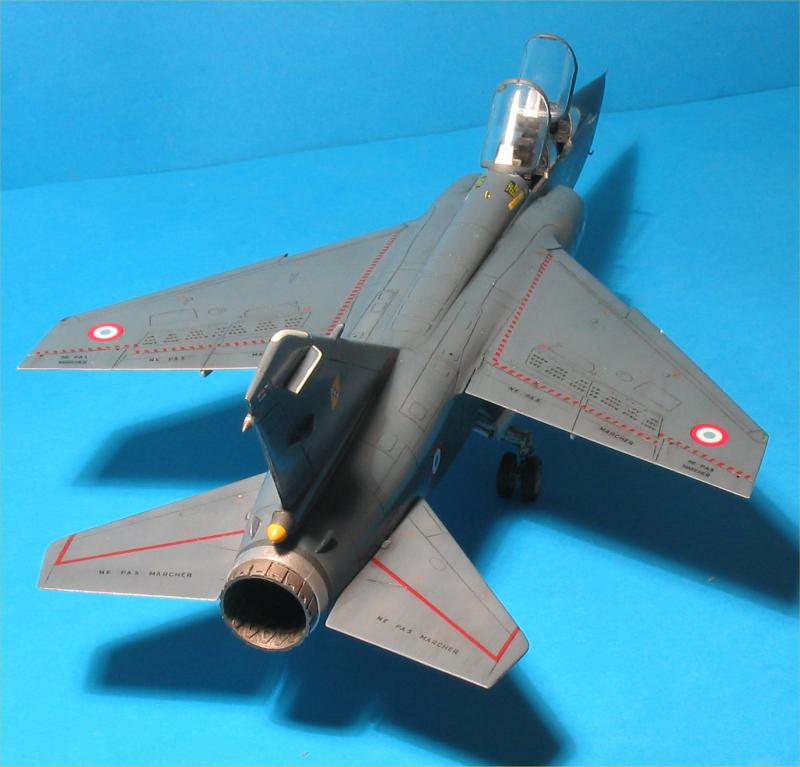
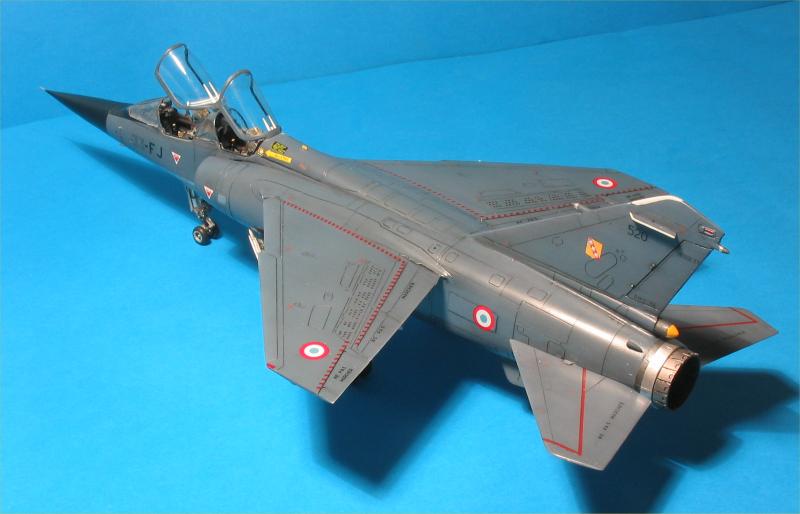
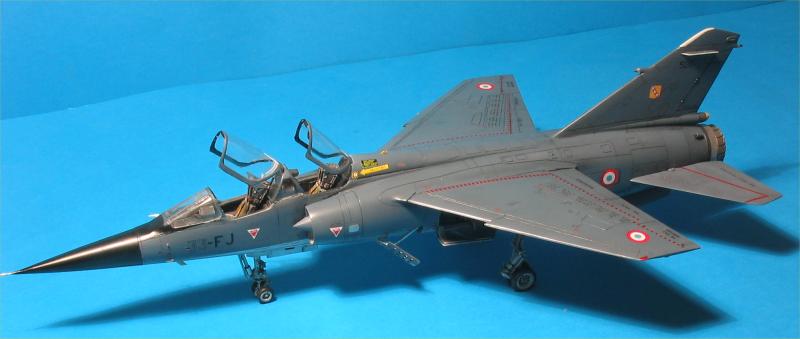
In the end, what can be said about this model? It is difficult and quite treacherous: if you don’t anticipate the hurdles, it’s easy to make an irreparable mistake (canopy, landing gear). When you start this kit, you must accept the idea that it will require hard work and patience, along with a massive amount of parts prep and dry-fitting. Aside from the windshield-to-fuselage join—which is incorrect and impossible to fix without molding a brand-new windshield from scratch—the kit is fundamentally sound, and you can achieve a beautiful result without heavy modifications.
My main grievance is actually the value for the money. I understand that this is what we call “short-run,” but in my opinion, the price remains prohibitive given the sheer amount of work required. Personally, I’m a big fan of the Mirage F1, but if I hadn’t bought this one second-hand at half price, I would never have touched it. If the price were a bit lower, or the quality of the parts a bit higher, I think we would see many more of them on display tables.