by
Usually, I start my reviews with a phrase like “the first thing you notice when you open the box…” This time, I’d say what you notice first happens before you even open it: the sheer size.
The B-1B (affectionately nicknamed the “Bone”) is an aircraft I’m particularly fond of. I’ve had the immense pleasure of seeing—and hearing—it take off and fly on several occasions.
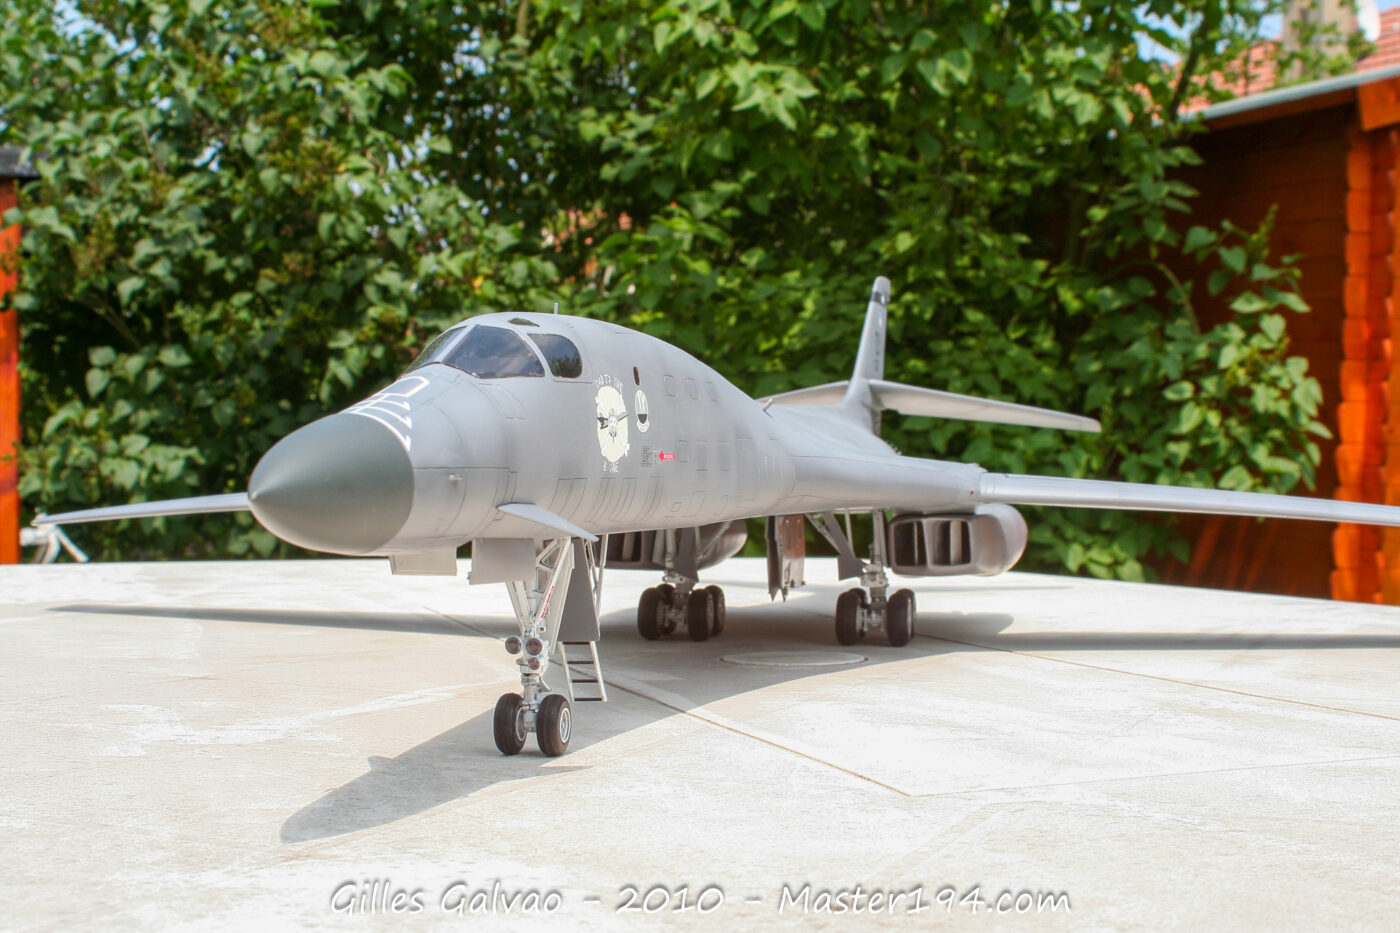
We’re talking about a 1/48 scale B-1B Lancer. To put it simply, the box measures 51 cm by 76 cm with a height of 12 cm. Once assembled, the model will be approximately 90 cm by 90 cm (with wings swept forward, as it features variable-sweep geometry). So, if you’re tempted to pull the trigger on this kit like I was, keep one thing in mind: are you ready to lose one square meter of living space in your apartment or house? Yes?
Then let’s go—let’s open the box.
Inside the Box
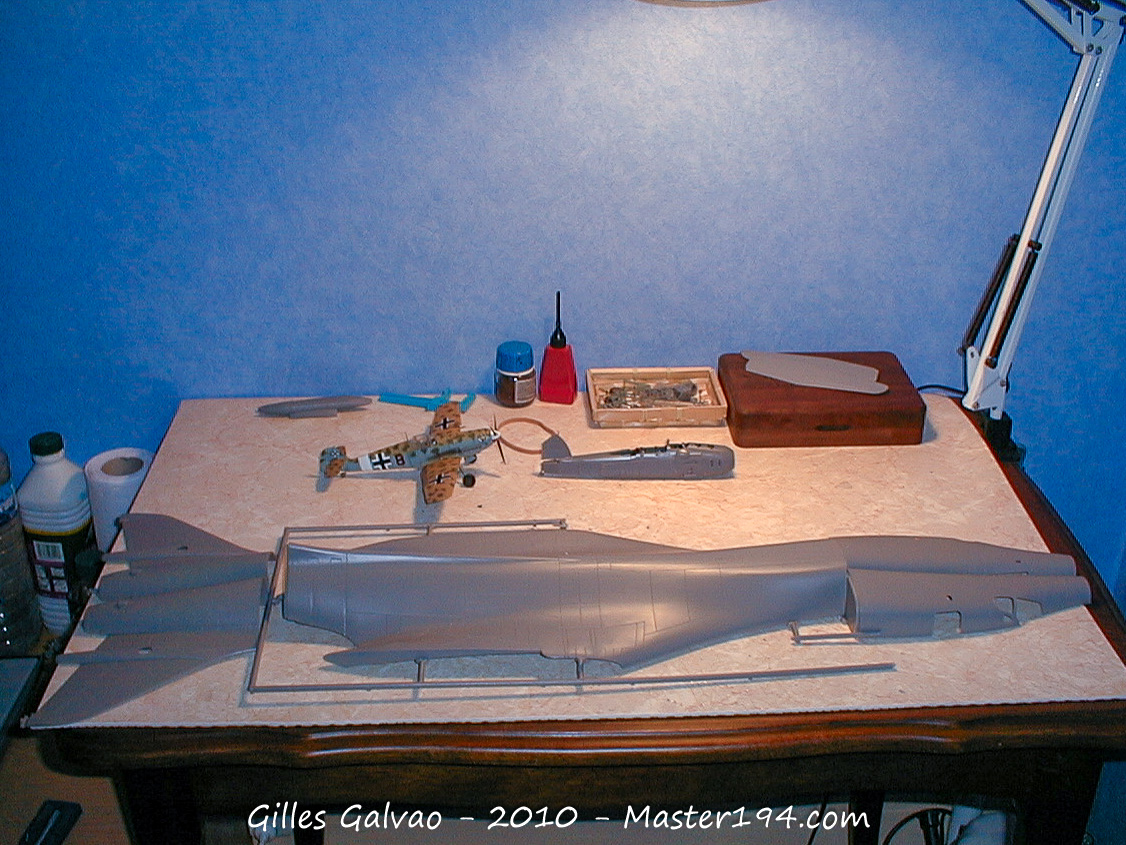
Once opened, the box reveals a massive number of parts… but it’s not just the quantity that’s impressive; the sheer scale is imposing. The fuselage is split into three large sections. The wings are enormous, and the vertical stabilizer alone measures 14 cm long by 10 cm high! It’s simply monstrous.
The level of detail is decent, especially considering the age of the kit. It’s worth noting that this Revell B-1B is nothing more than a re-release of the original Monogram tooling.
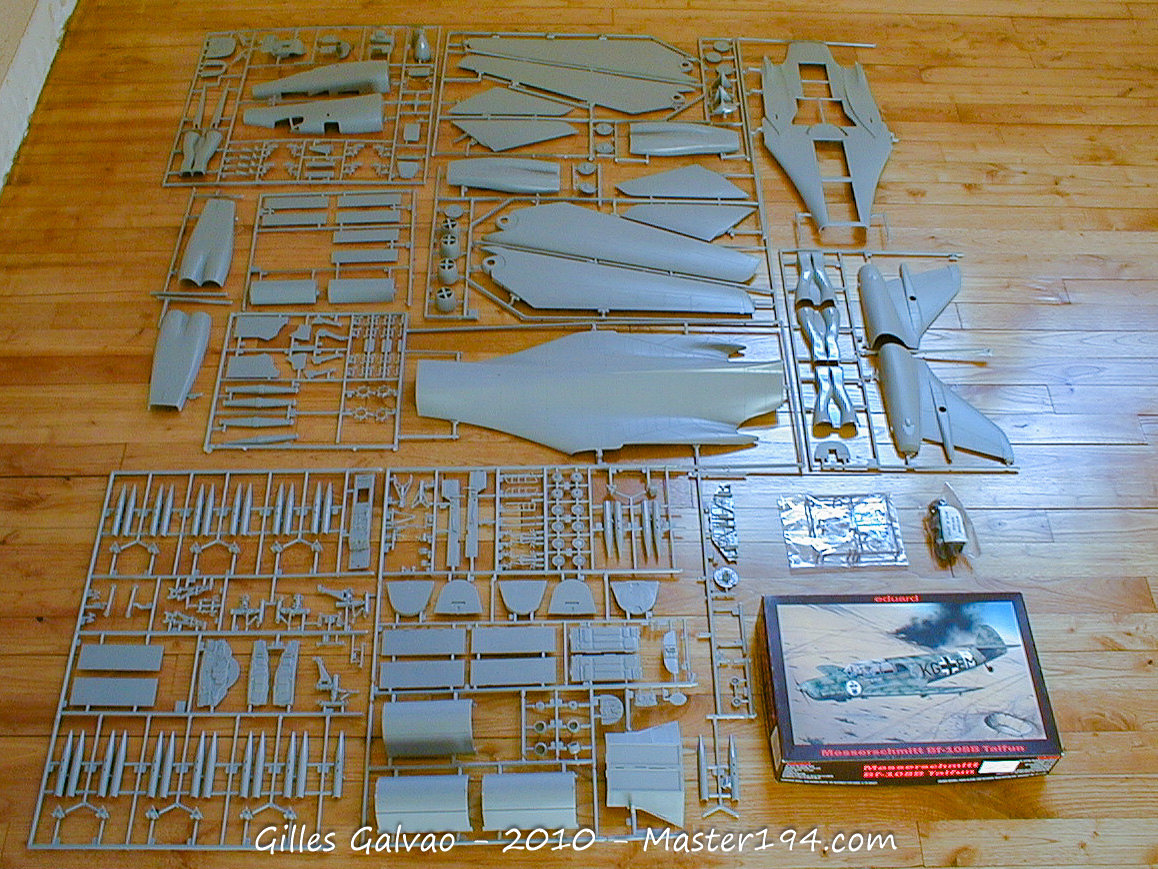
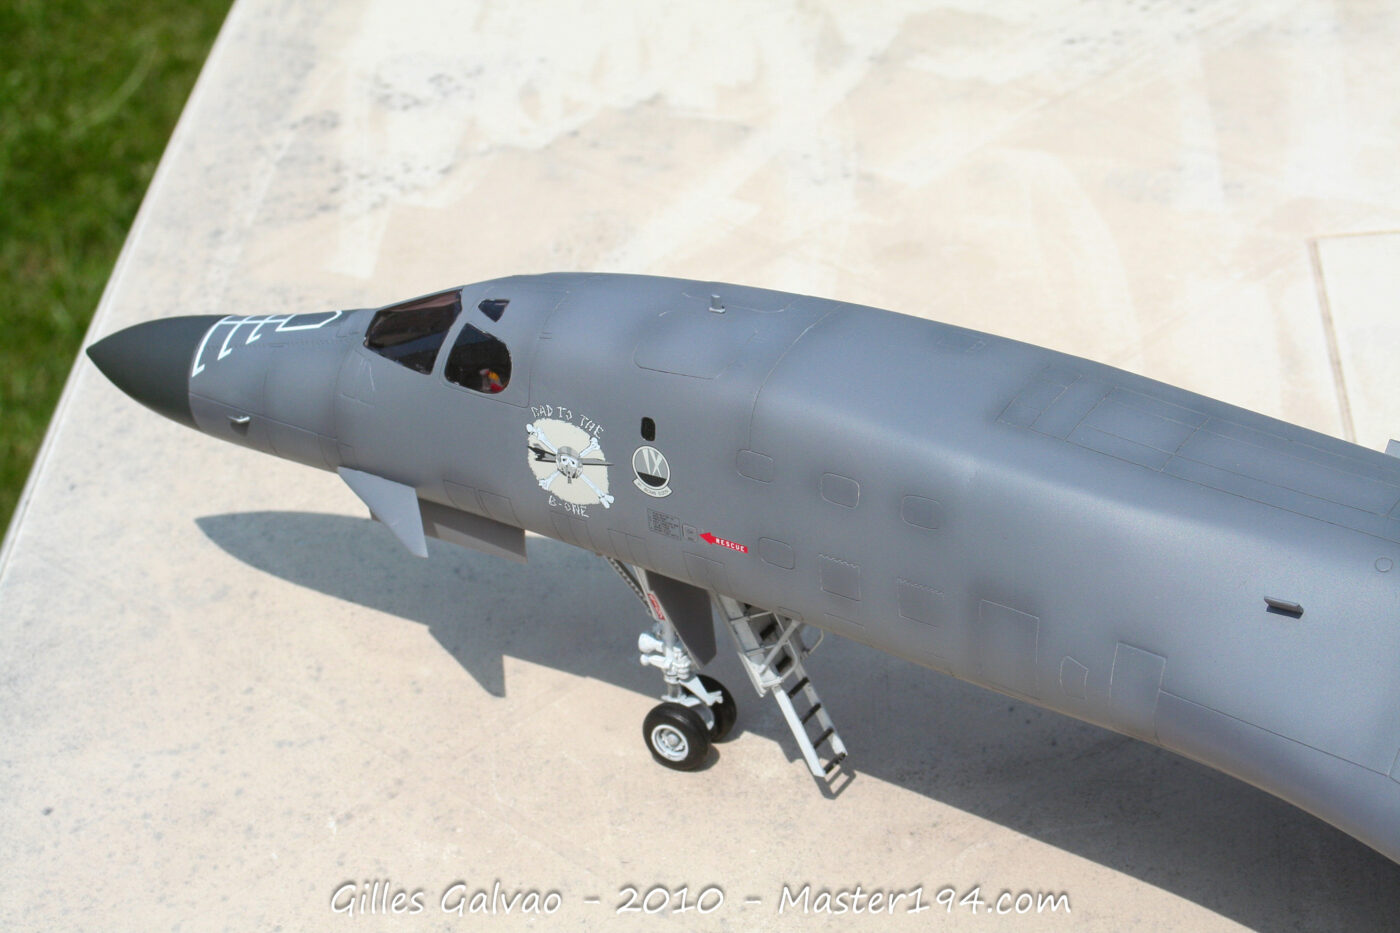
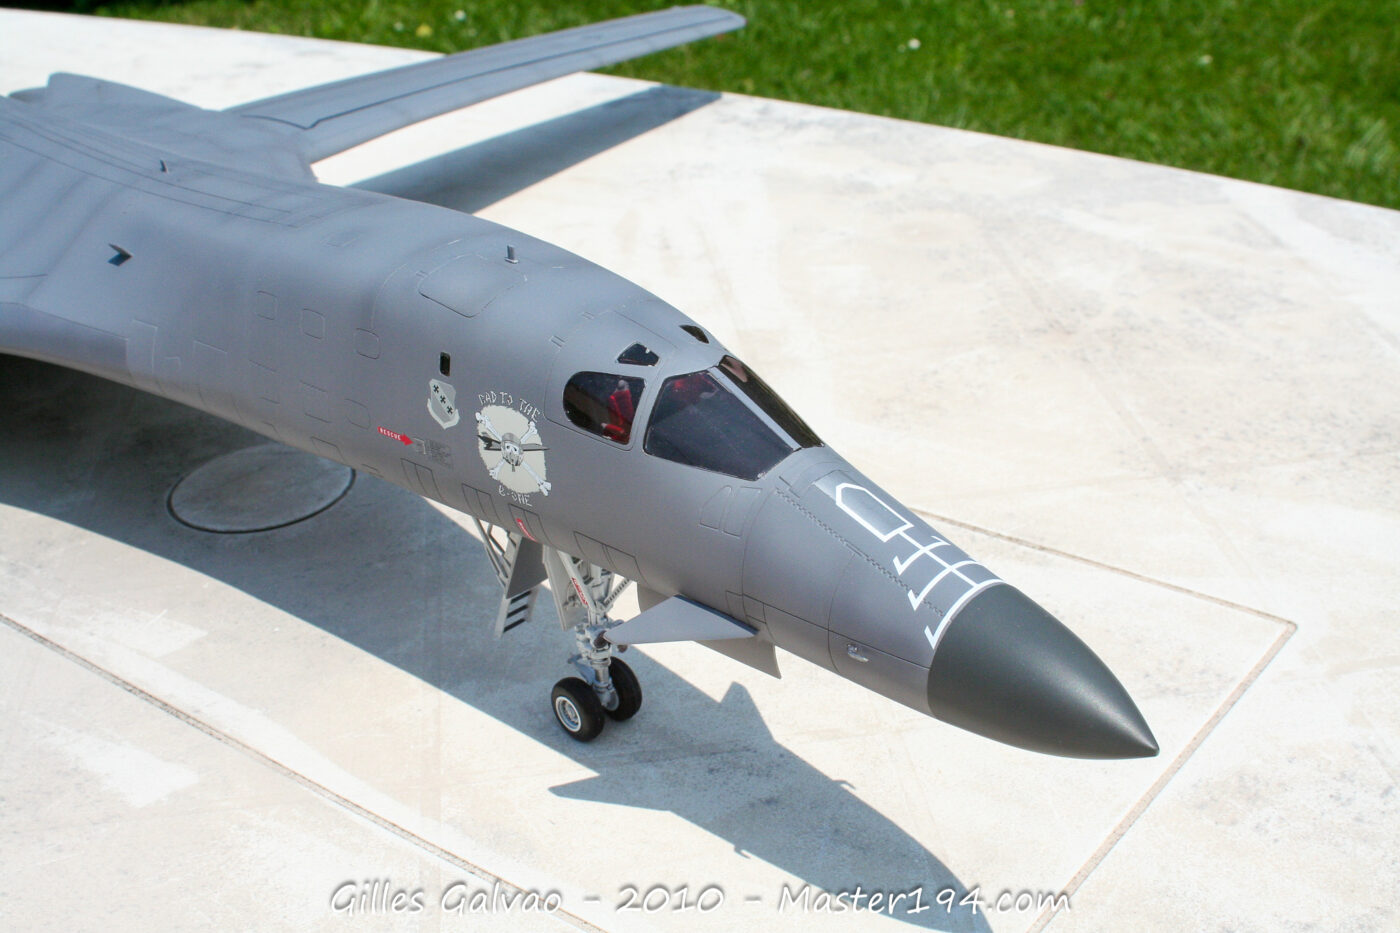
The cockpit is fairly complete, but there’s no need to go overboard with detailing. Unless you leave the escape hatches open—which, in my opinion, ruins the B-1’s sleek silhouette—you won’t see a thing inside.
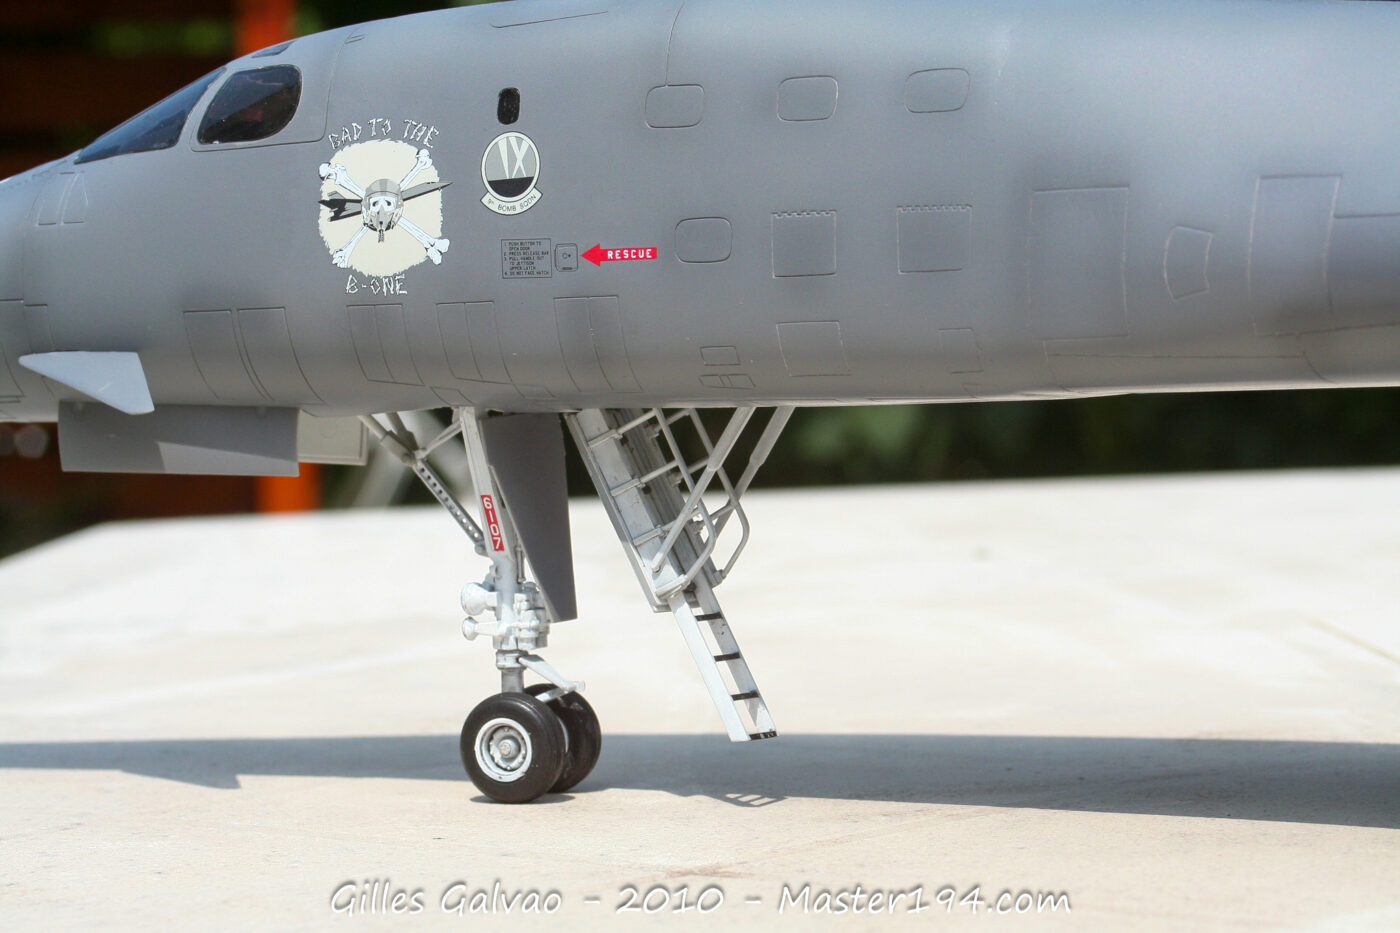
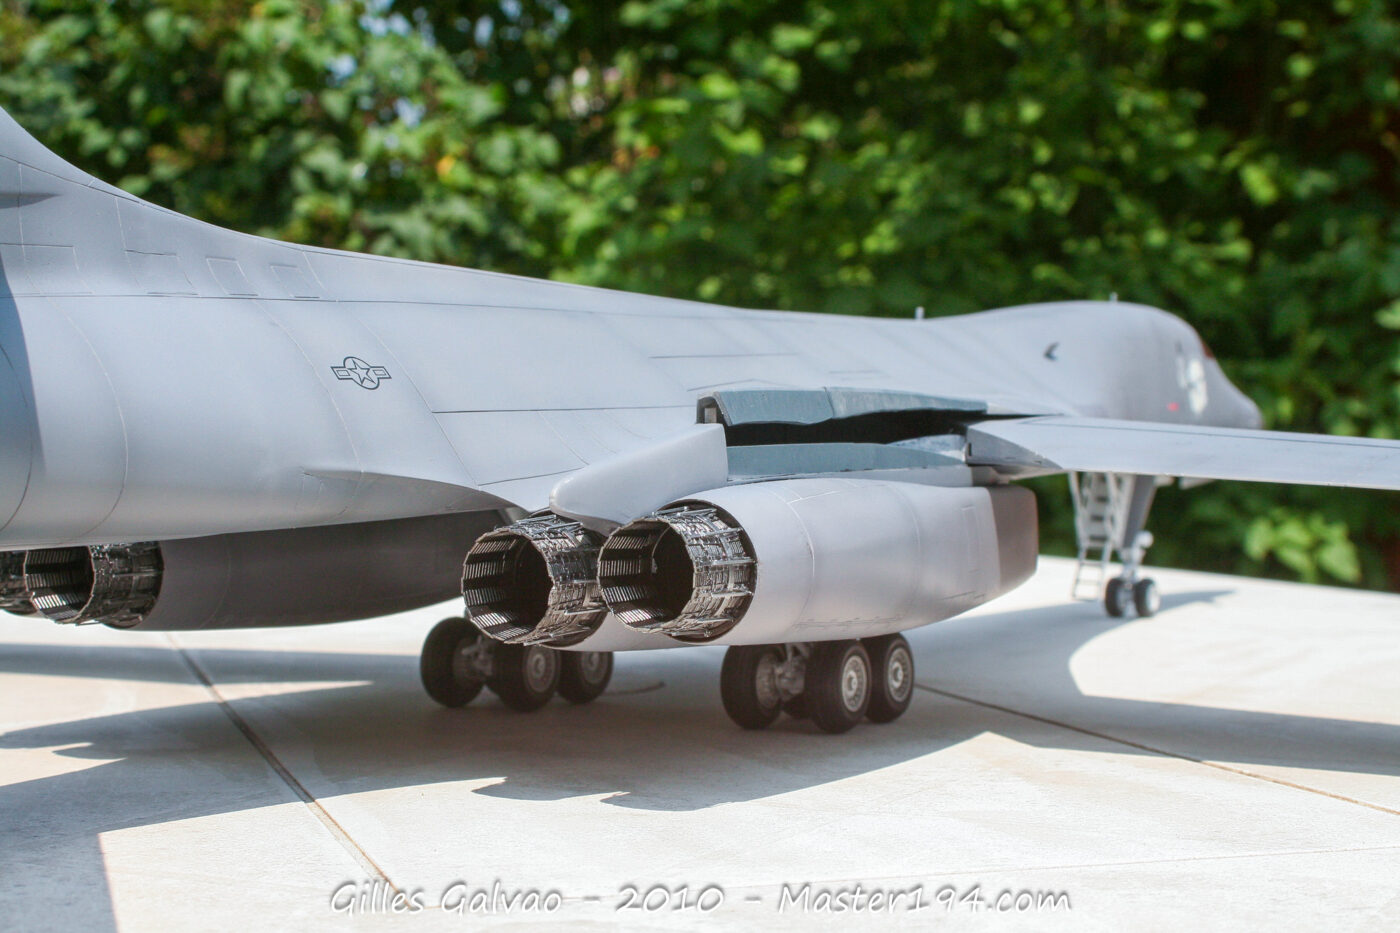
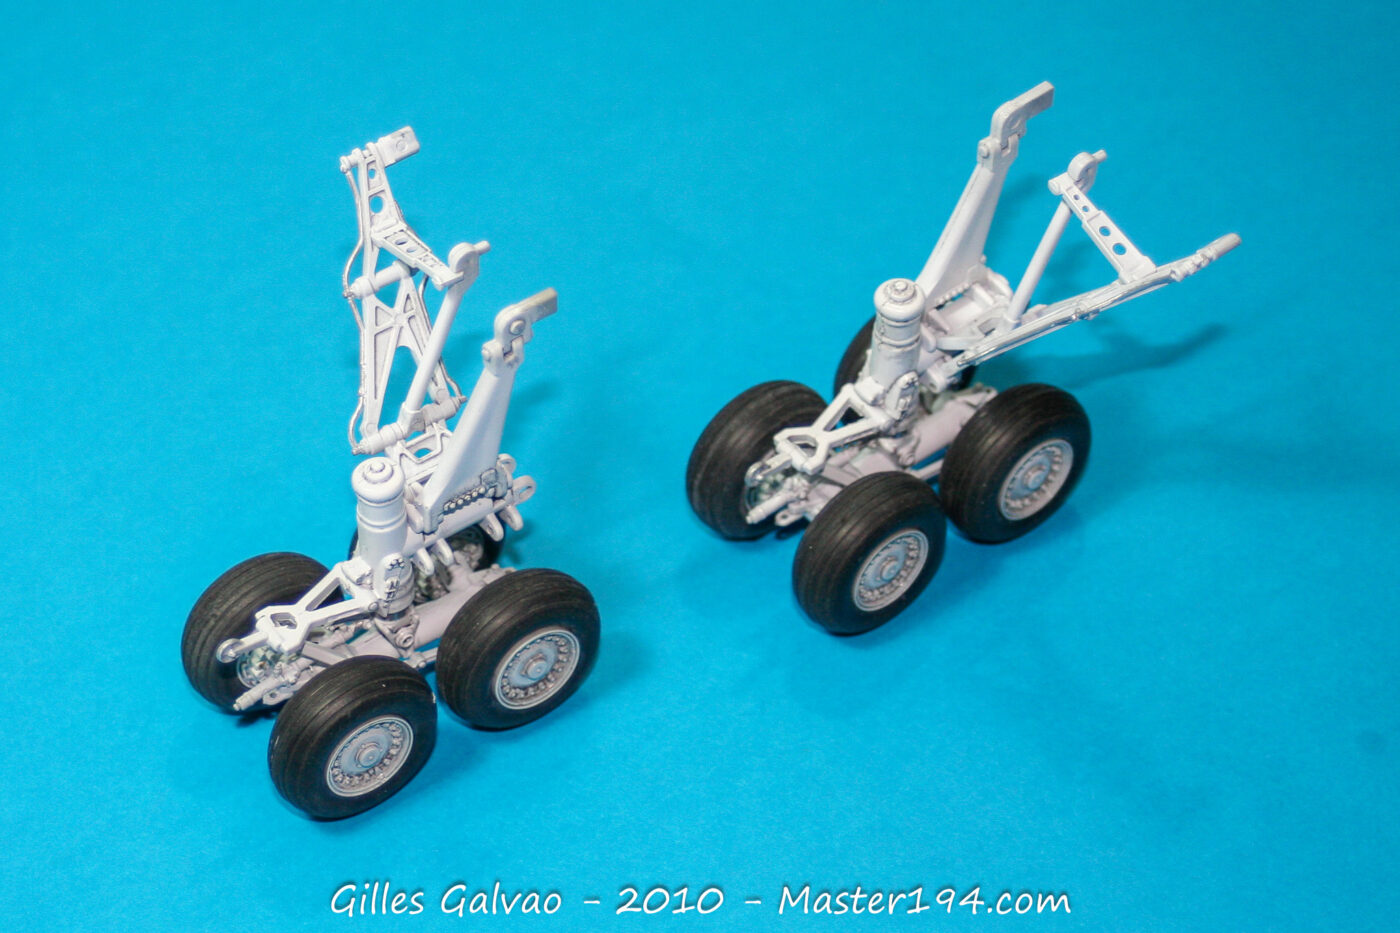
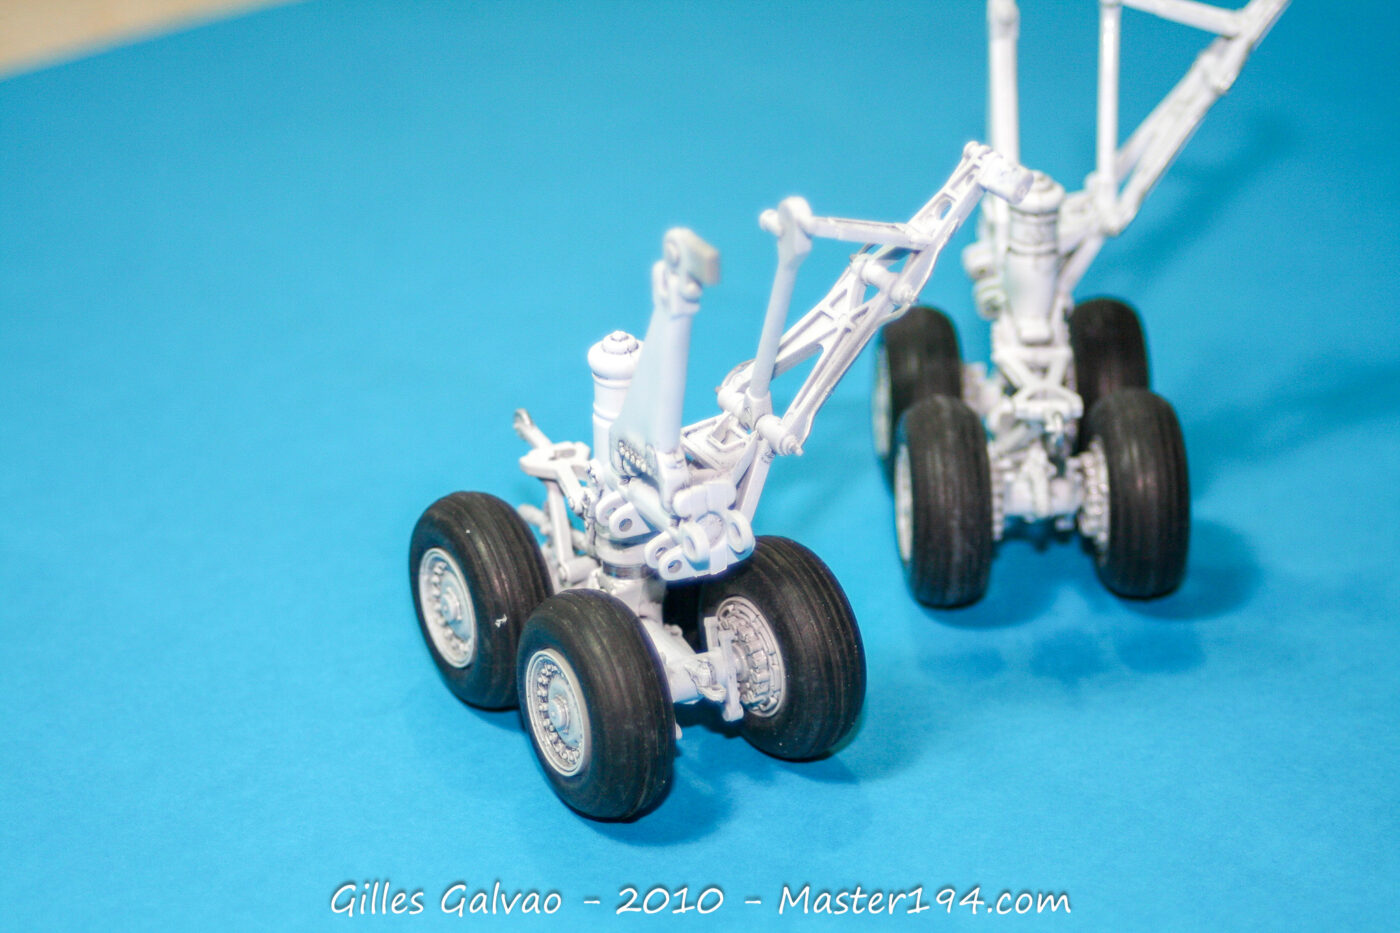
The panel lines are recessed and of decent quality, though they are a bit heavy-handed. The bomb bay is highly detailed, but just like the cockpit, once the model is sitting on its wheels, you can’t see much of it… which is a shame. The landing gear and struts are well-detailed and very imposing. The tires are provided in rubber and are acceptable.
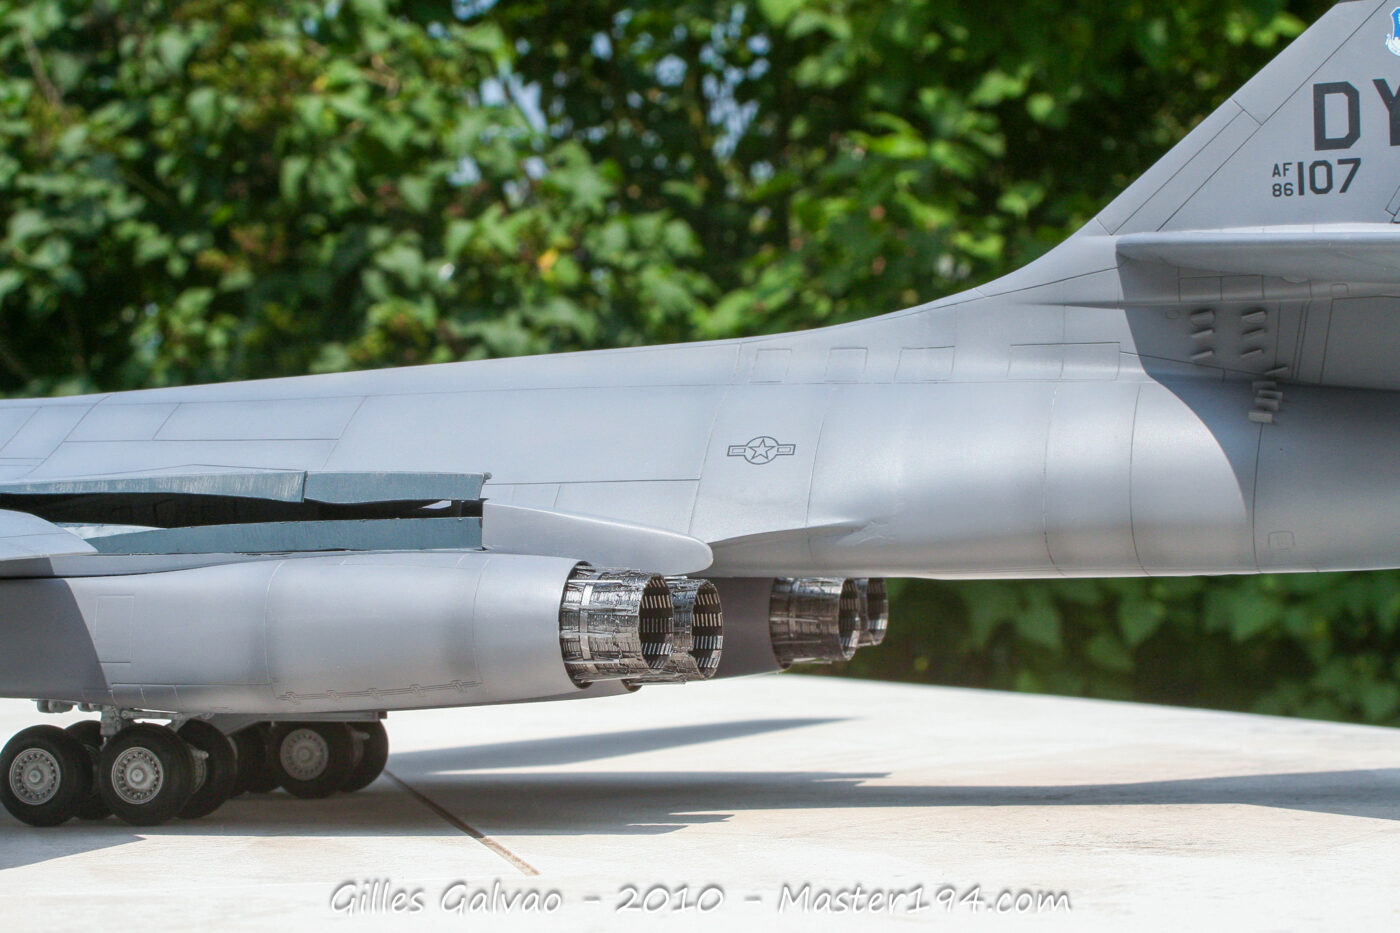
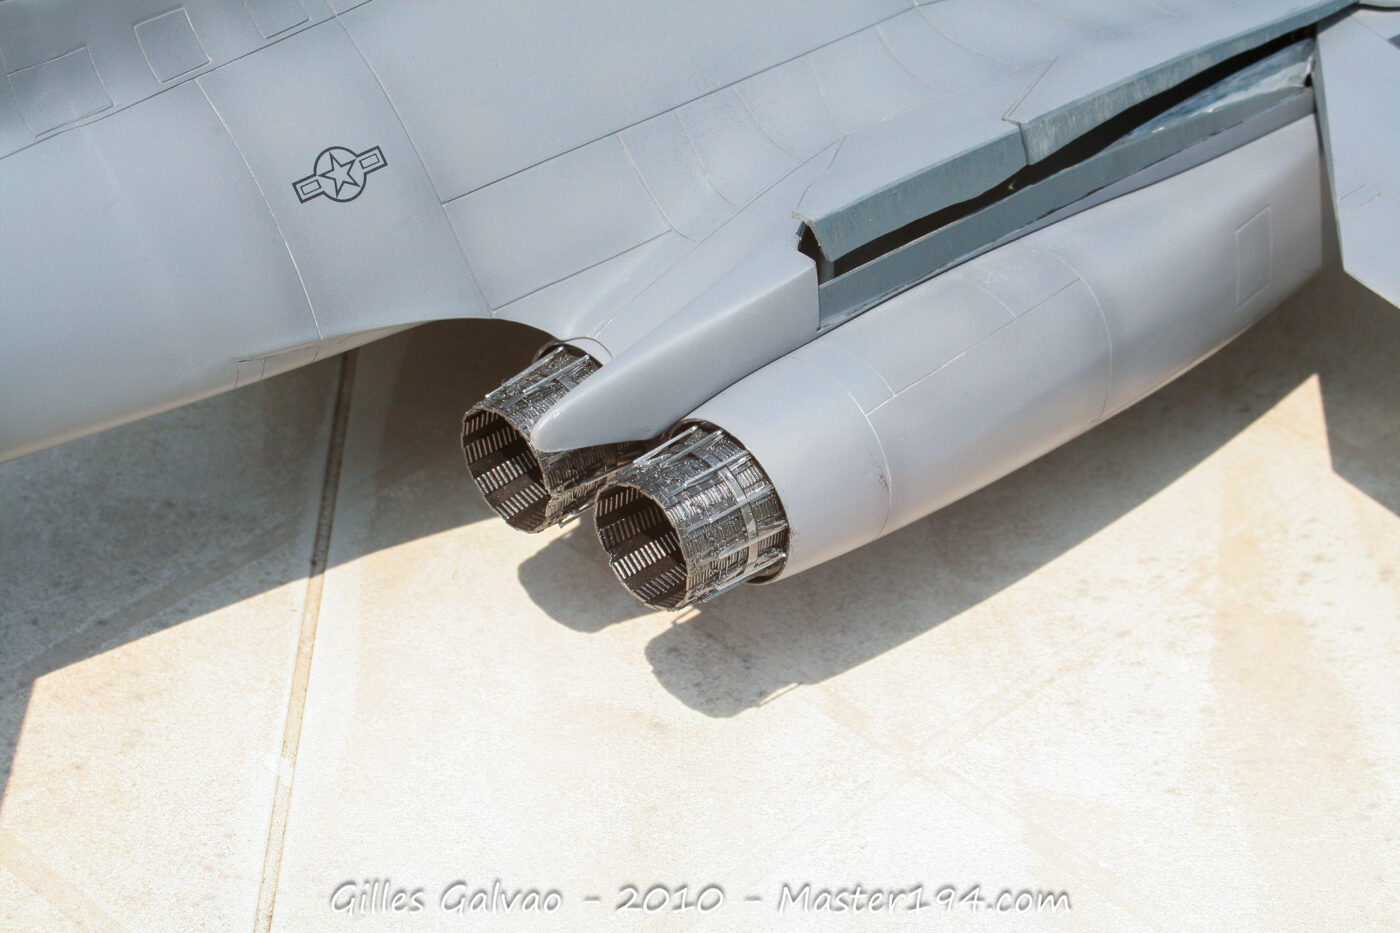
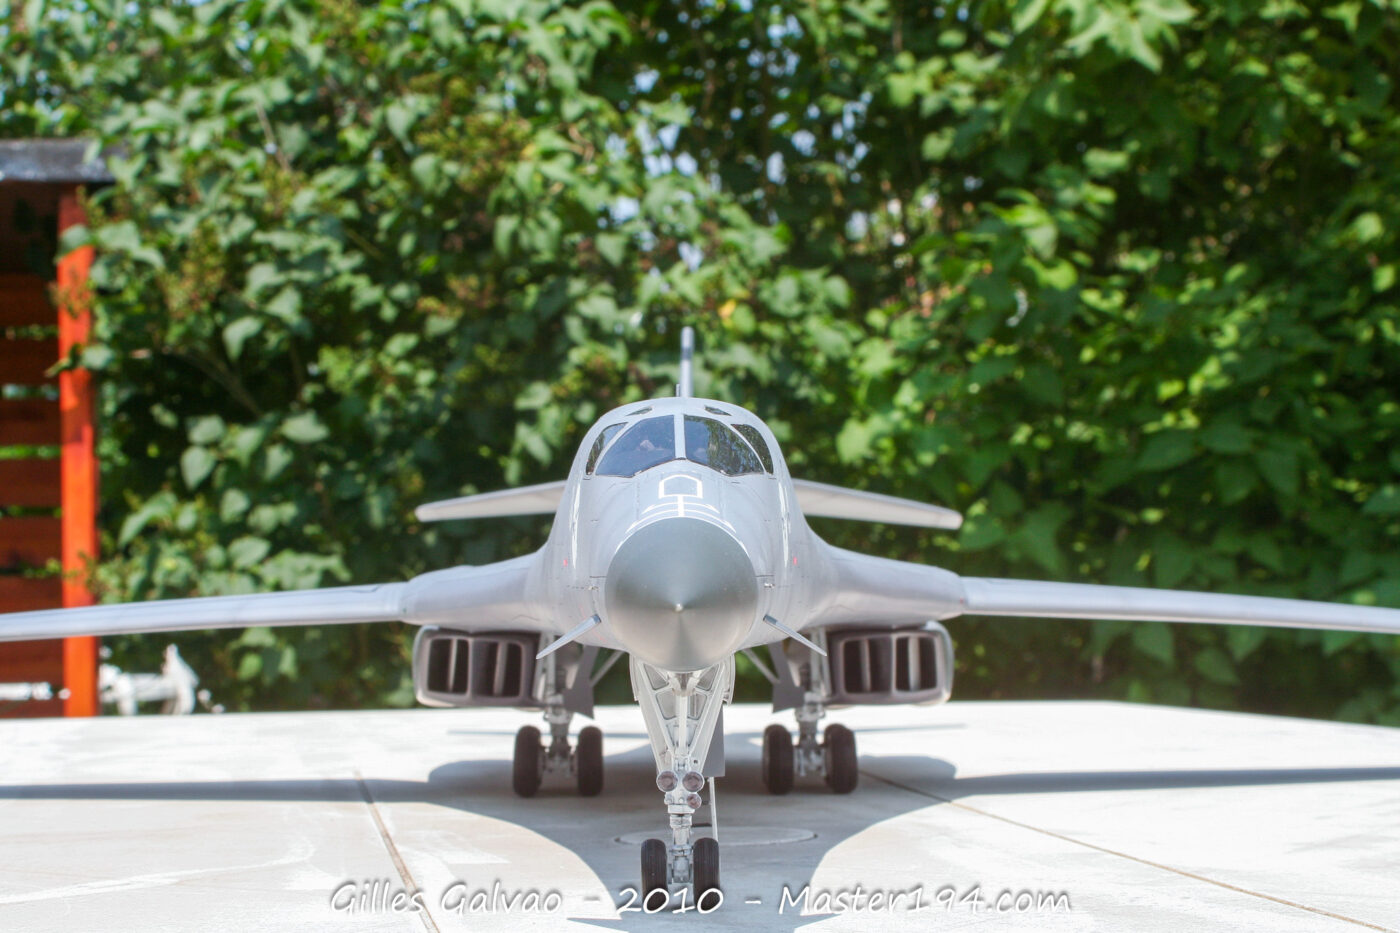
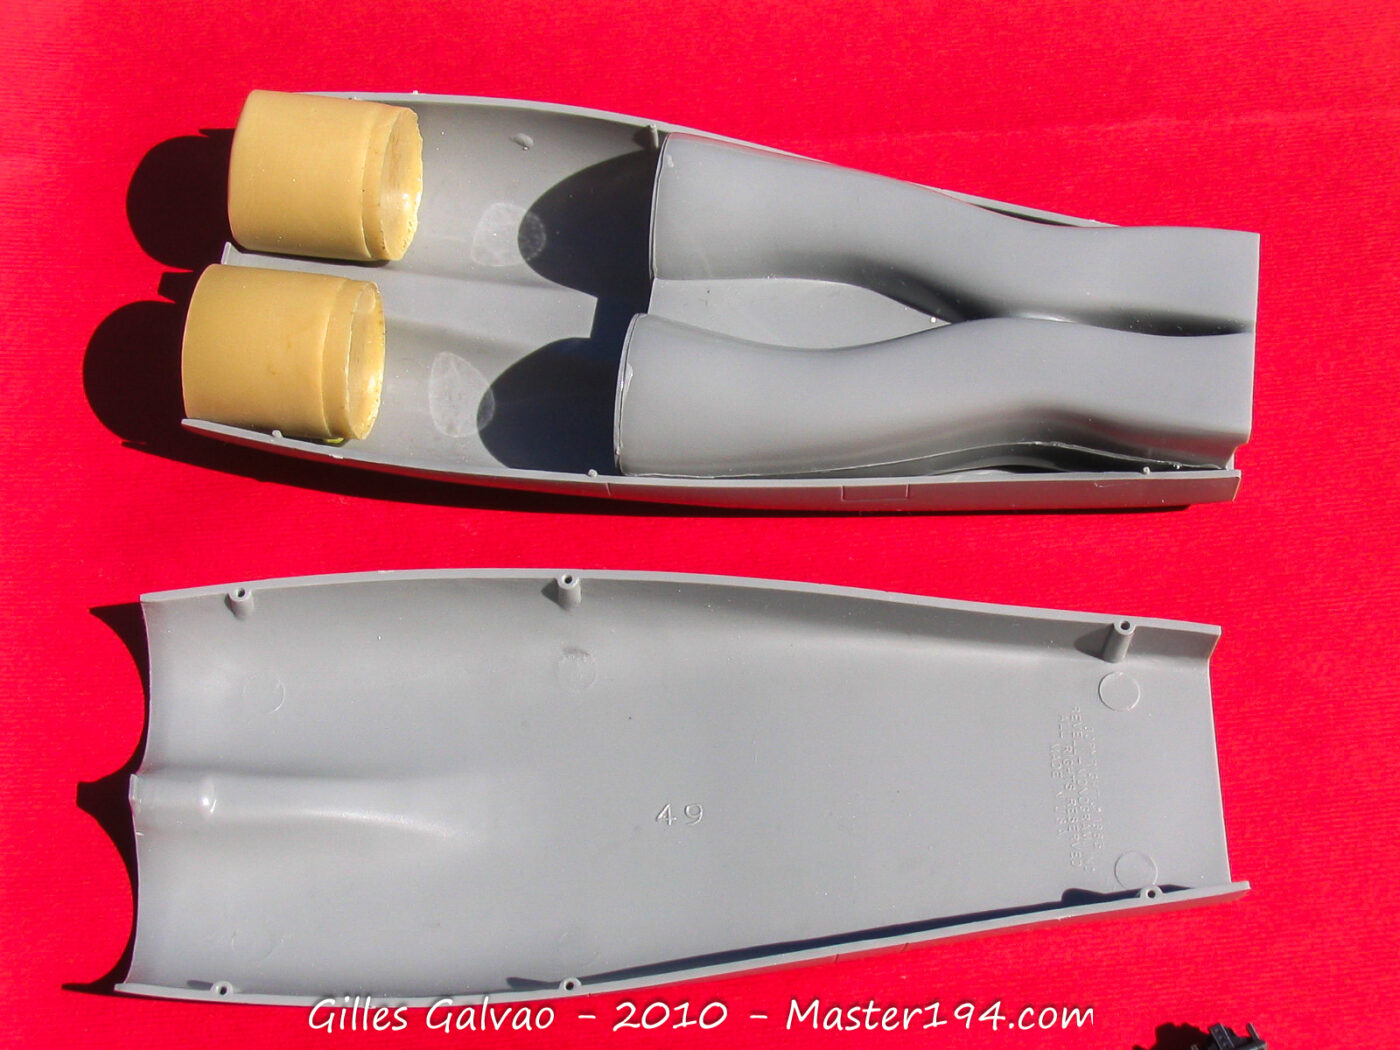
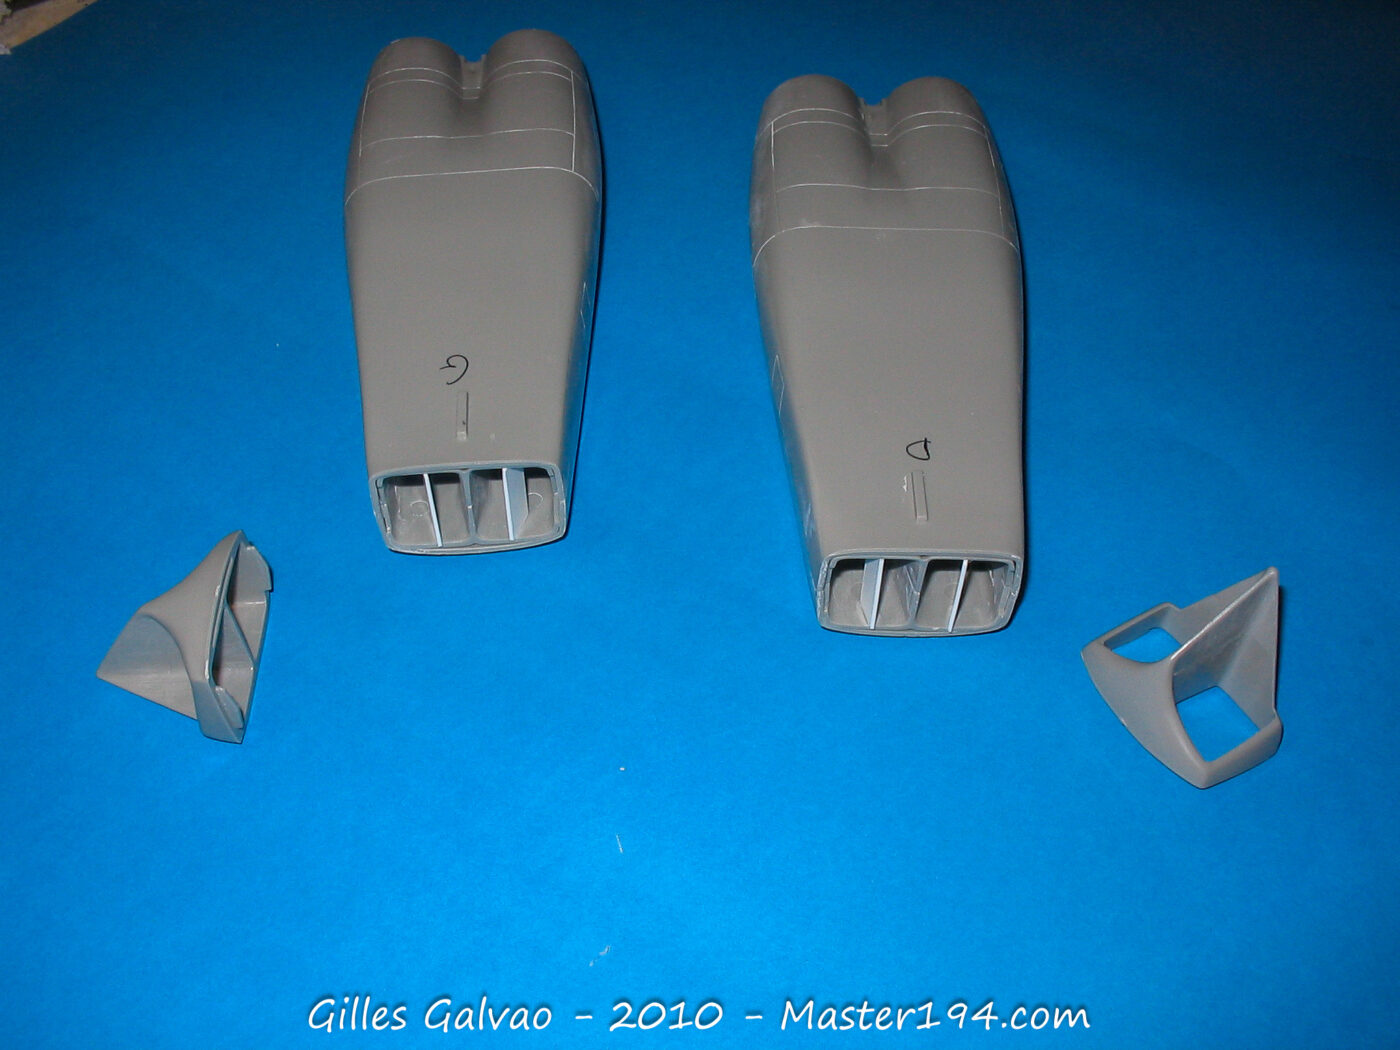
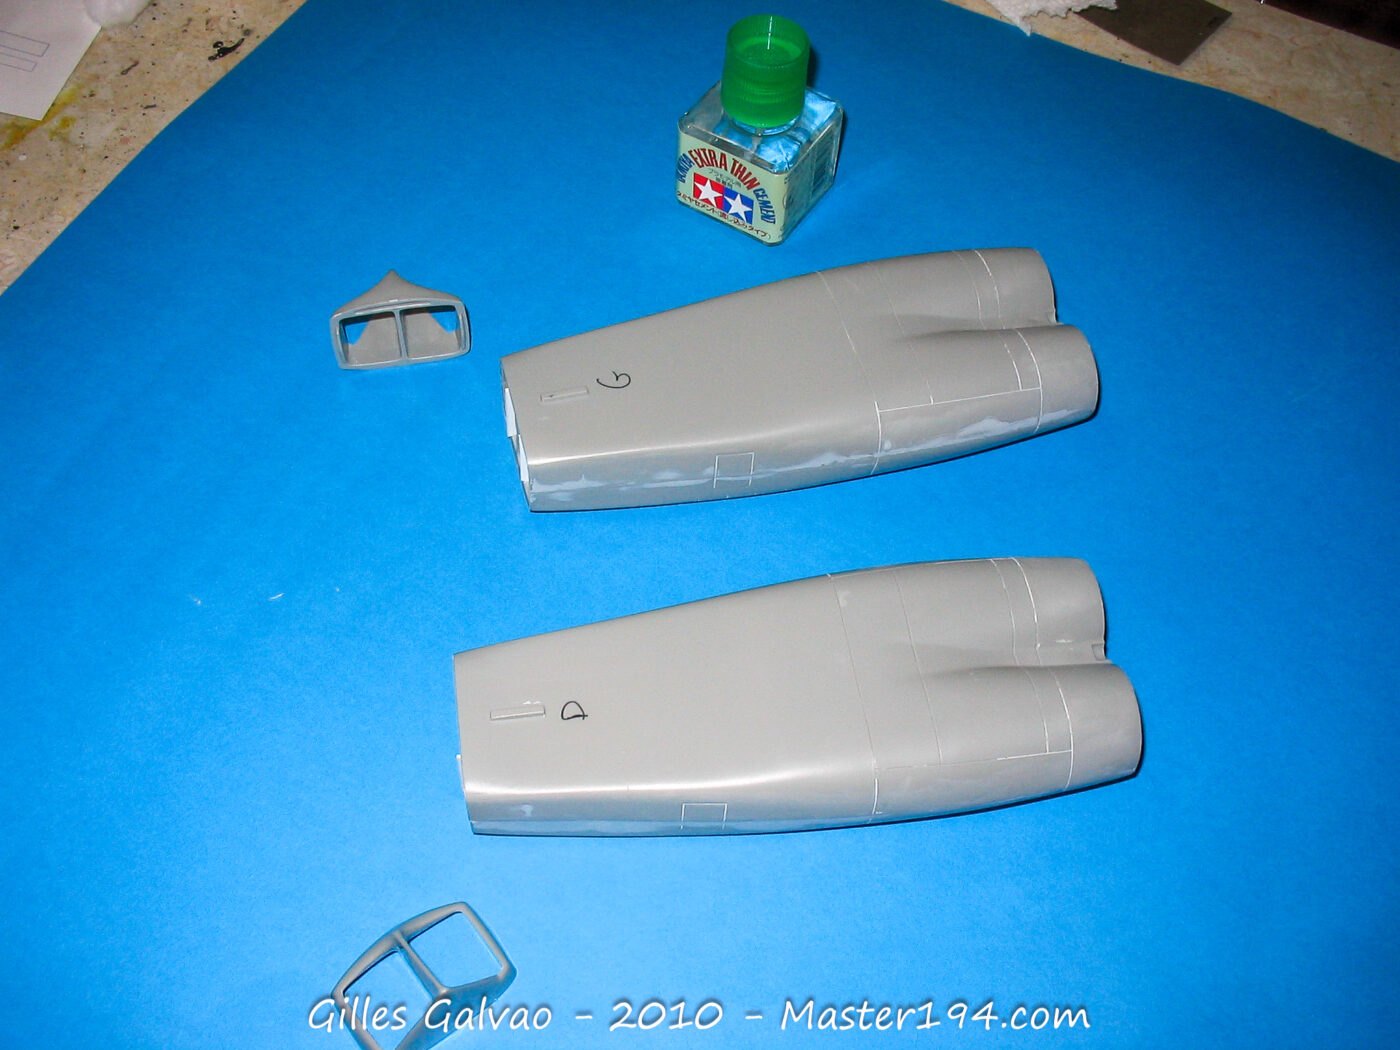
Things get trickier when you look at the engine nacelles. They have all the characteristics of a B-1A, not a B-1B! My initial dry-fitting was somewhat reassuring regarding the fit, but the size of some parts is so massive that there’s a real risk of warping during assembly… expect to use heaps of putty.
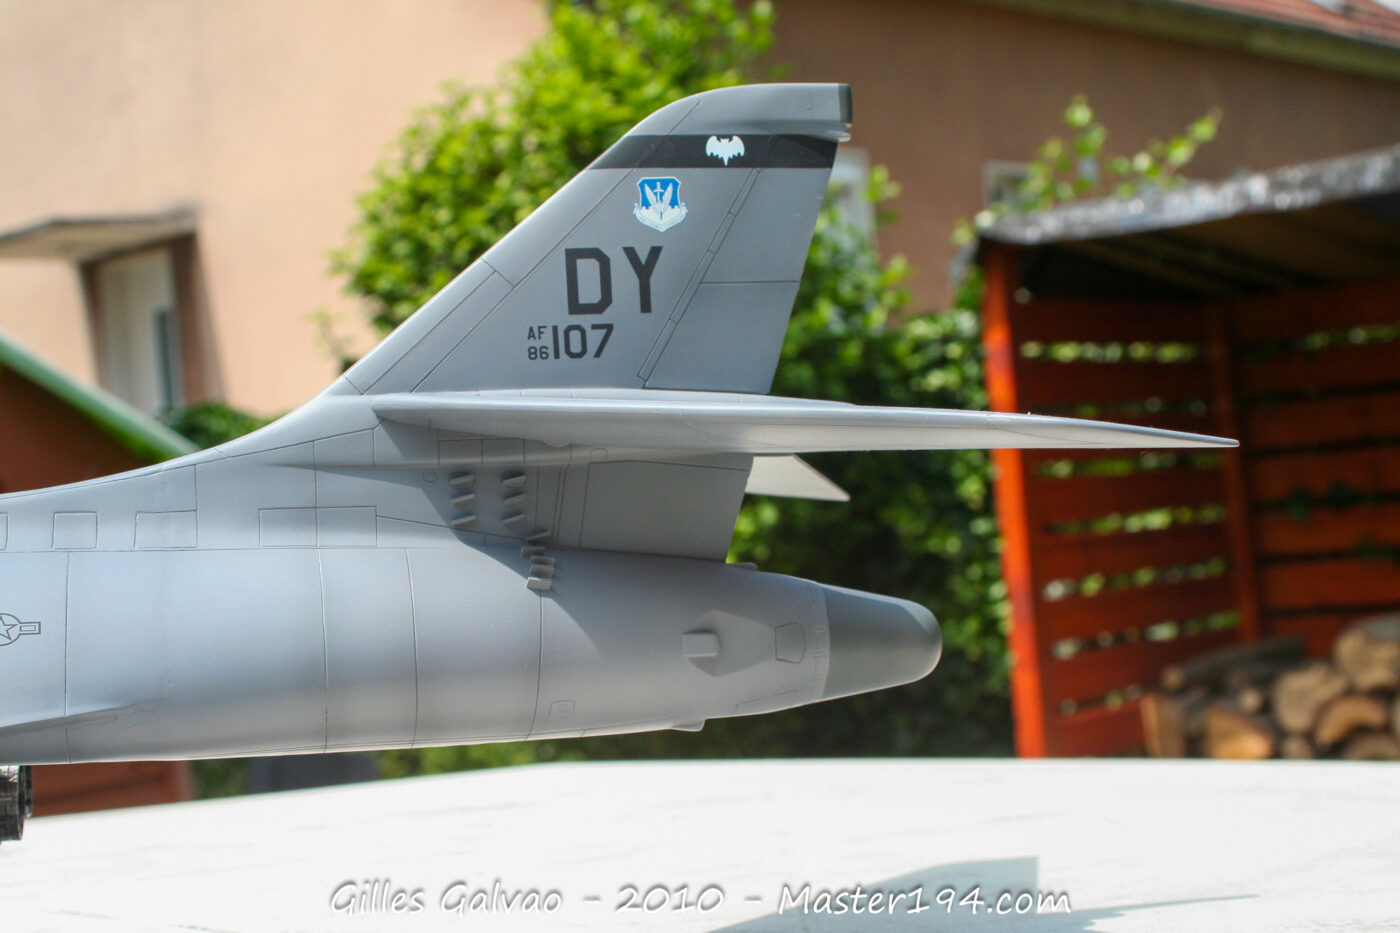
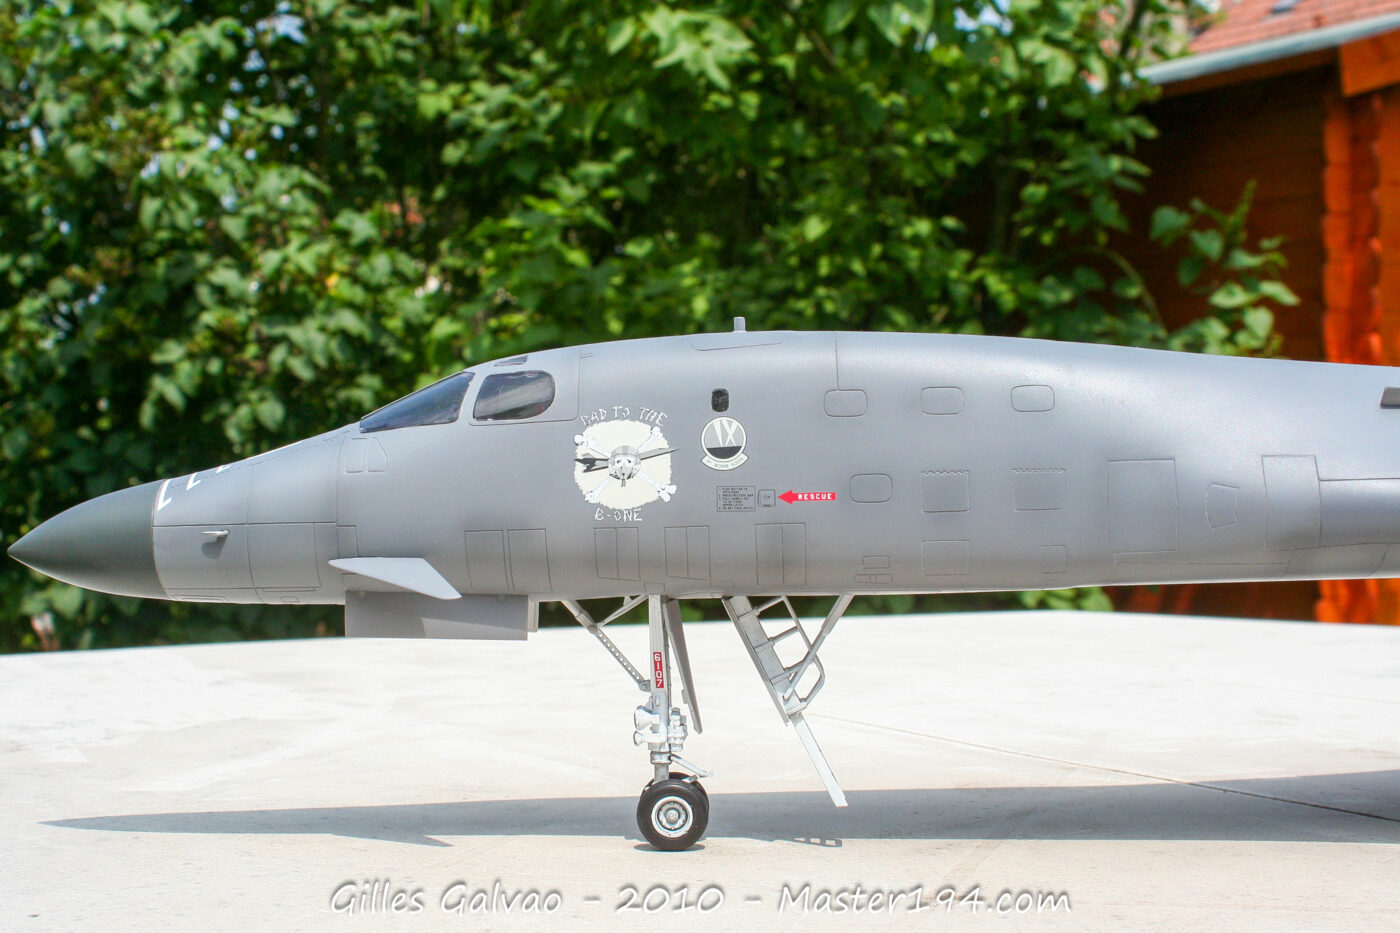
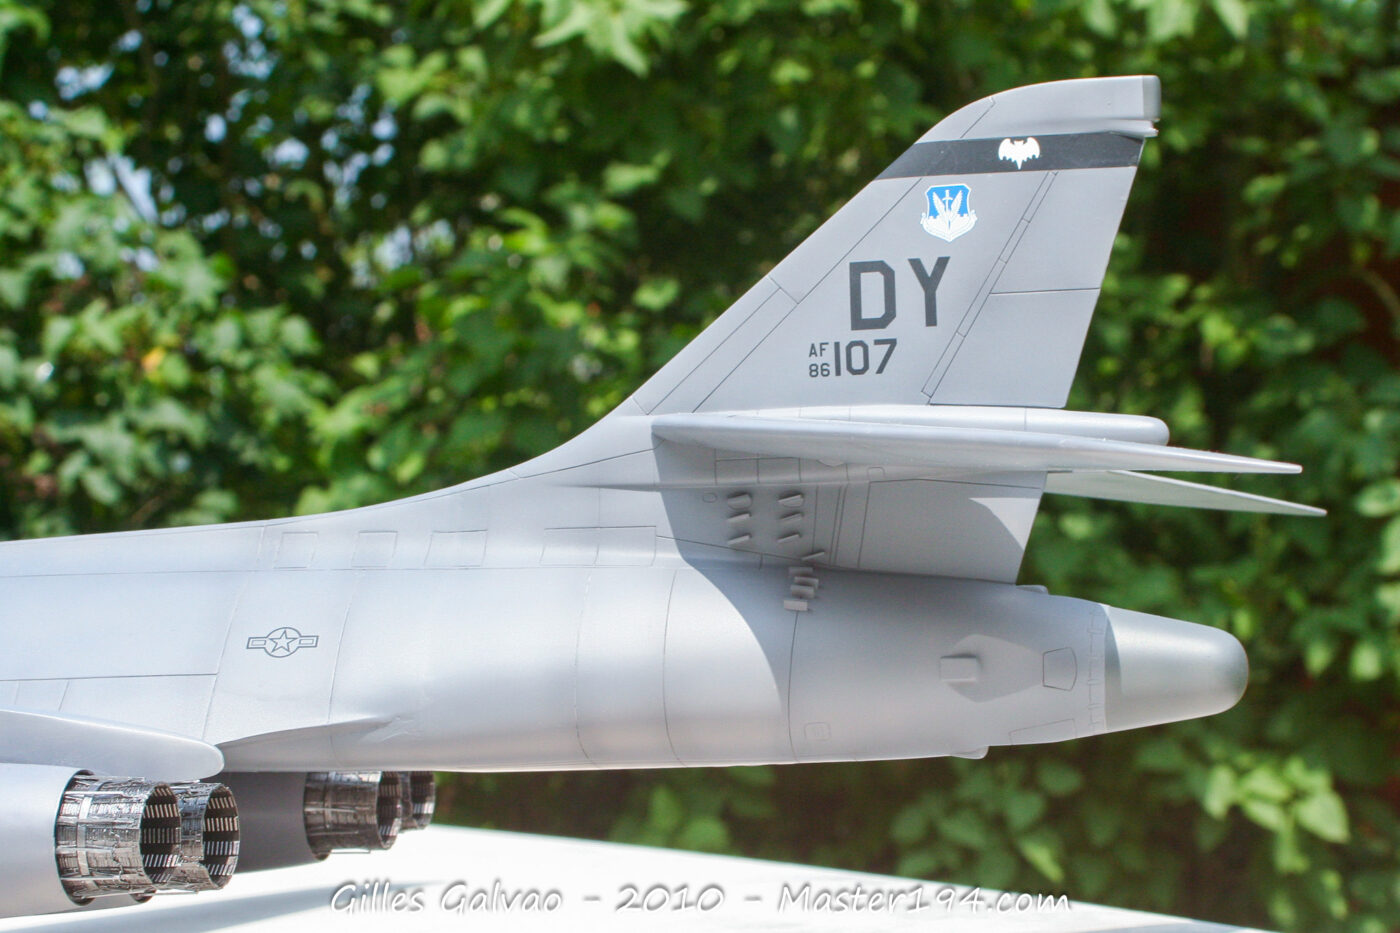
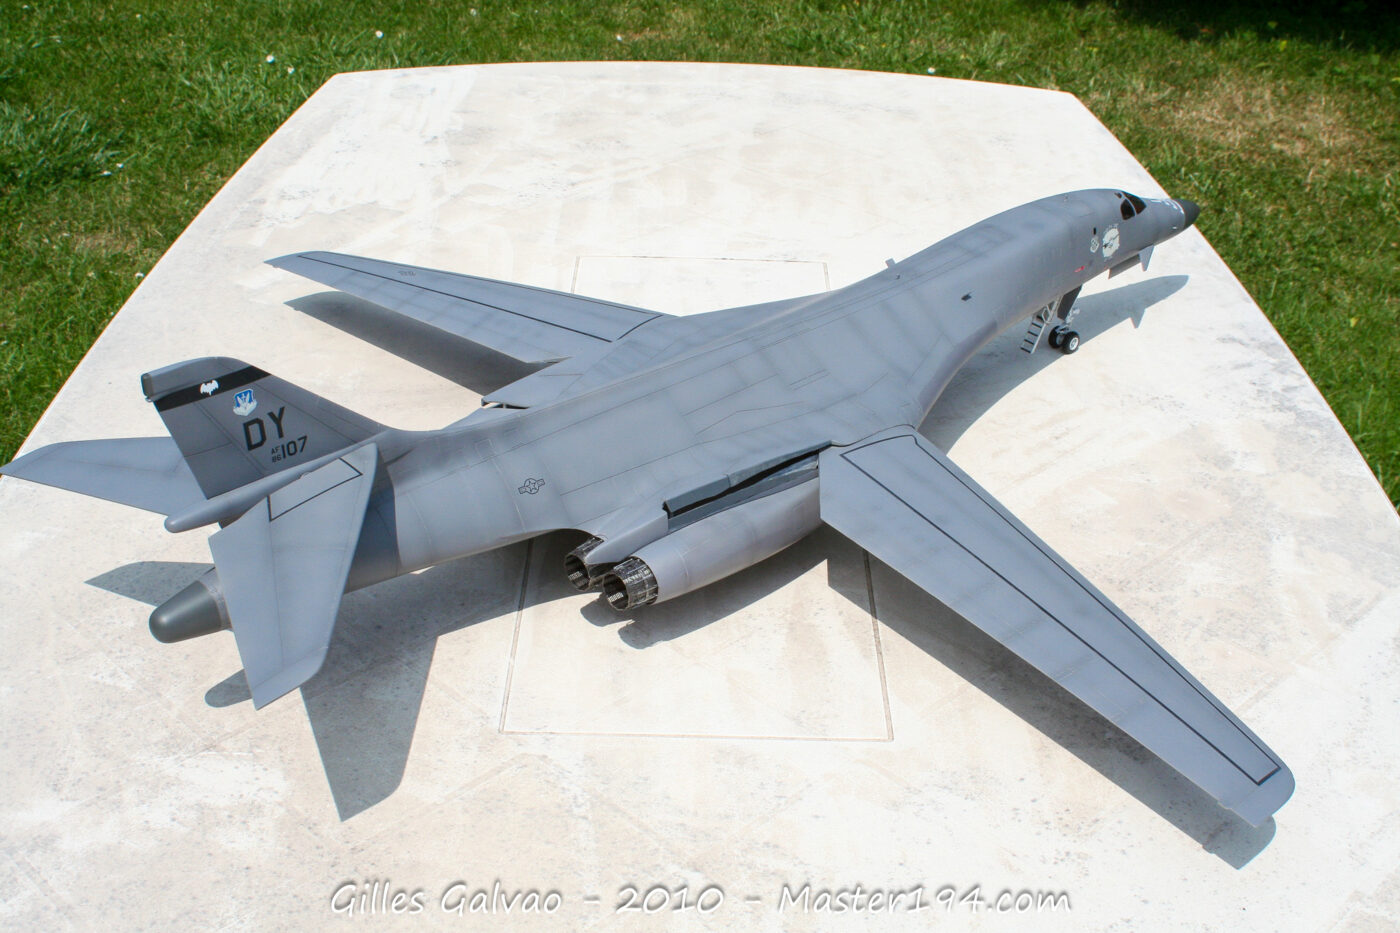
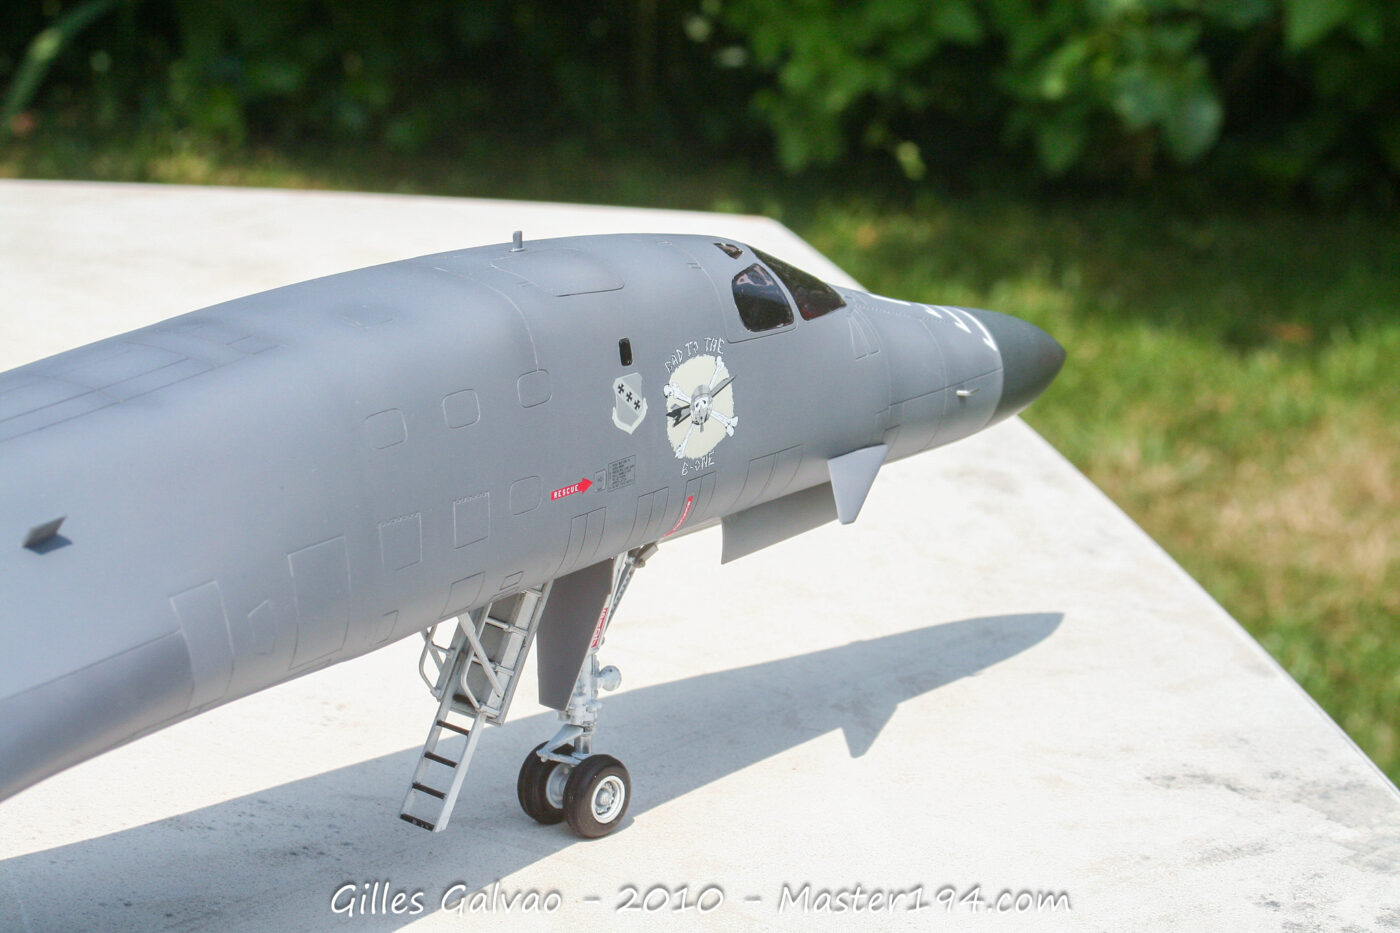
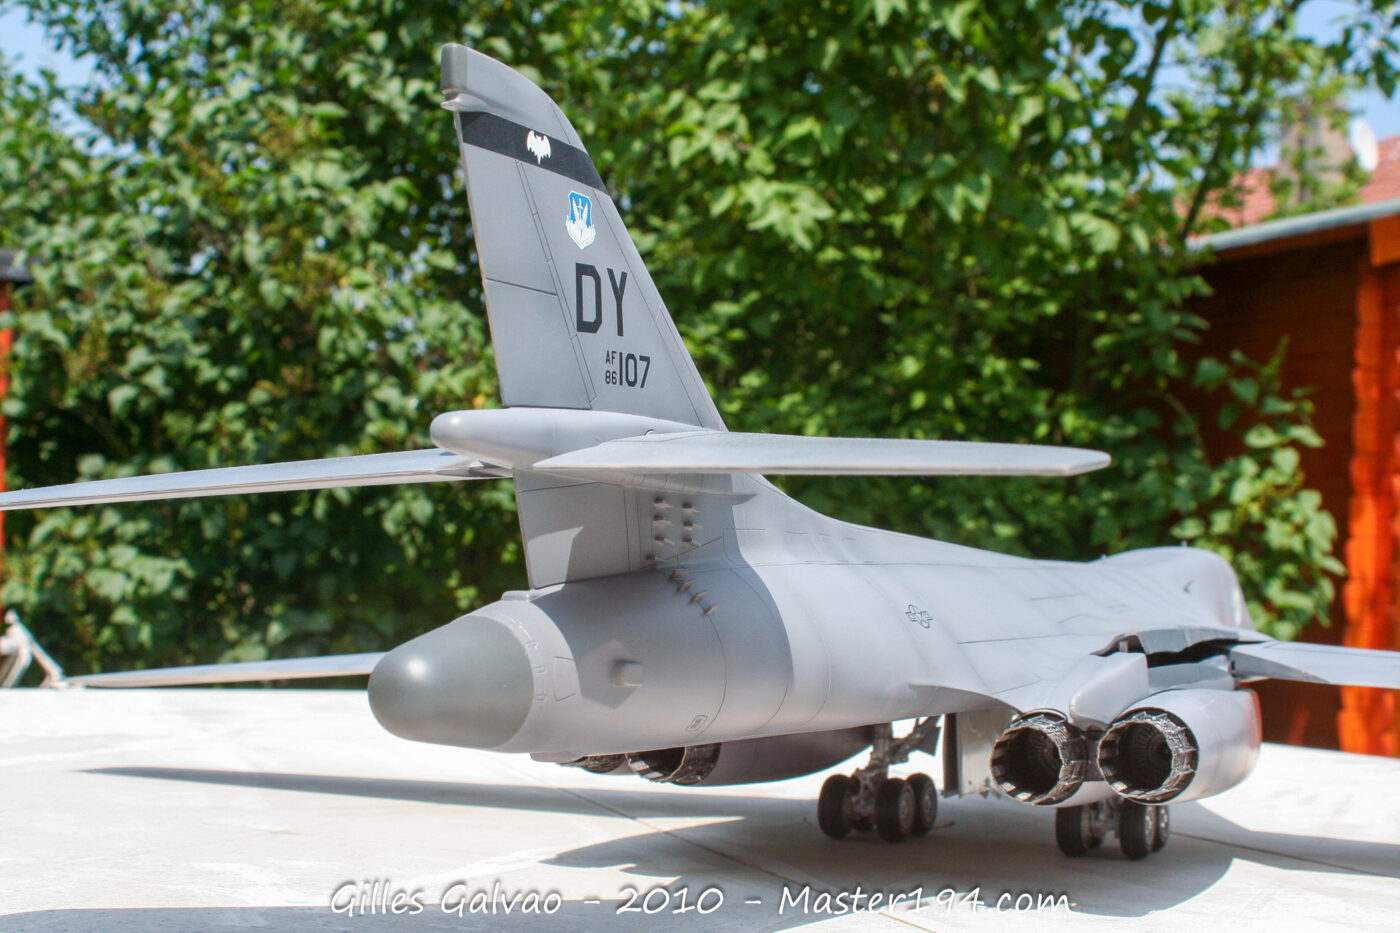
As for markings, you can build a Lancer from the 96th BW based at Dyess in September 1993, in a three-tone green and gray scheme. The other option is an all-gray aircraft, also from Dyess (August 1998, 7th BW). Speaking of paint, make sure to stock up on several jars of each color! The decals themselves appear to be of good quality.
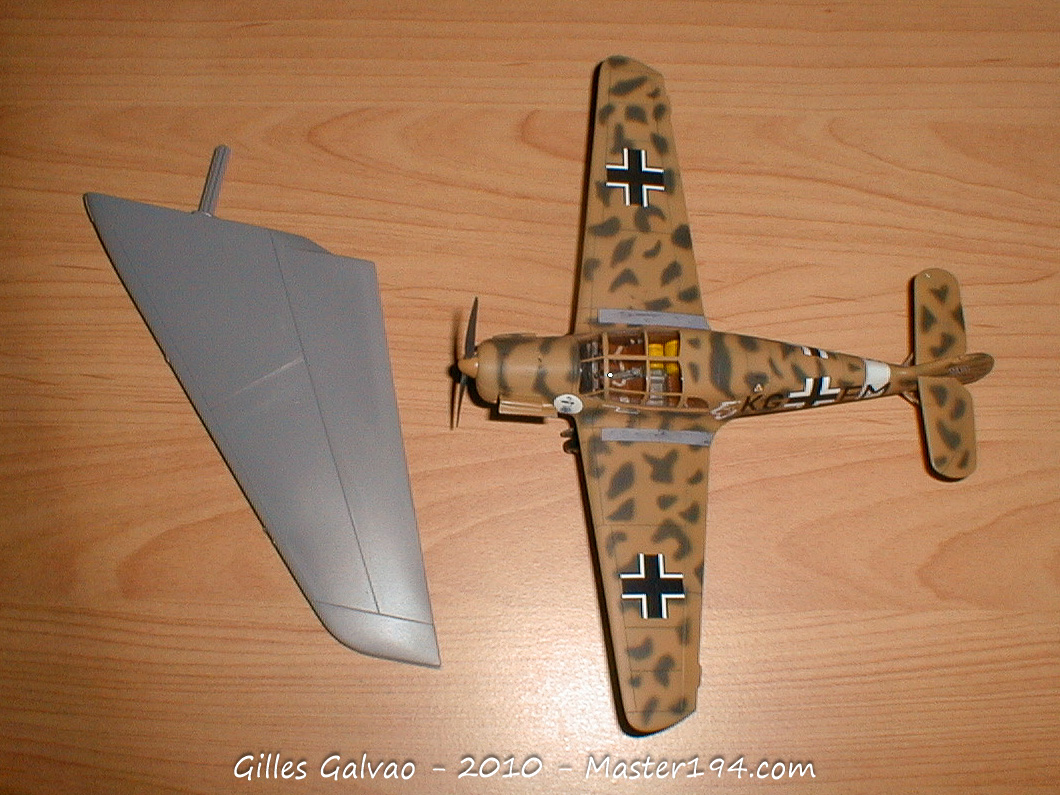
Finally, the Revell instructions are typical Revell: all paint references are given in Revell codes, with only the camouflage tones listed in Federal Standard (FS). The assembly steps are complicated and lack clarity. As for the camouflage diagram, thankfully it’s not as intricate as a Bf 109, because you’d need a keen eye to distinguish the tones—each color is represented by dots of varying density.
Despite all that, the kit is beautiful and the aircraft is a marvel… what more could you ask for?
Assembly
This build dates back to 2010. Since then, many aftermarket manufacturers—including Reskit—have taken an interest in this kit. There’s enough out there now to turn it into a real contest-winner… but be prepared for a significant budget! At the time, I settled for some basic scratch-building, resin nozzles, and a Cutting Edge decal sheet.
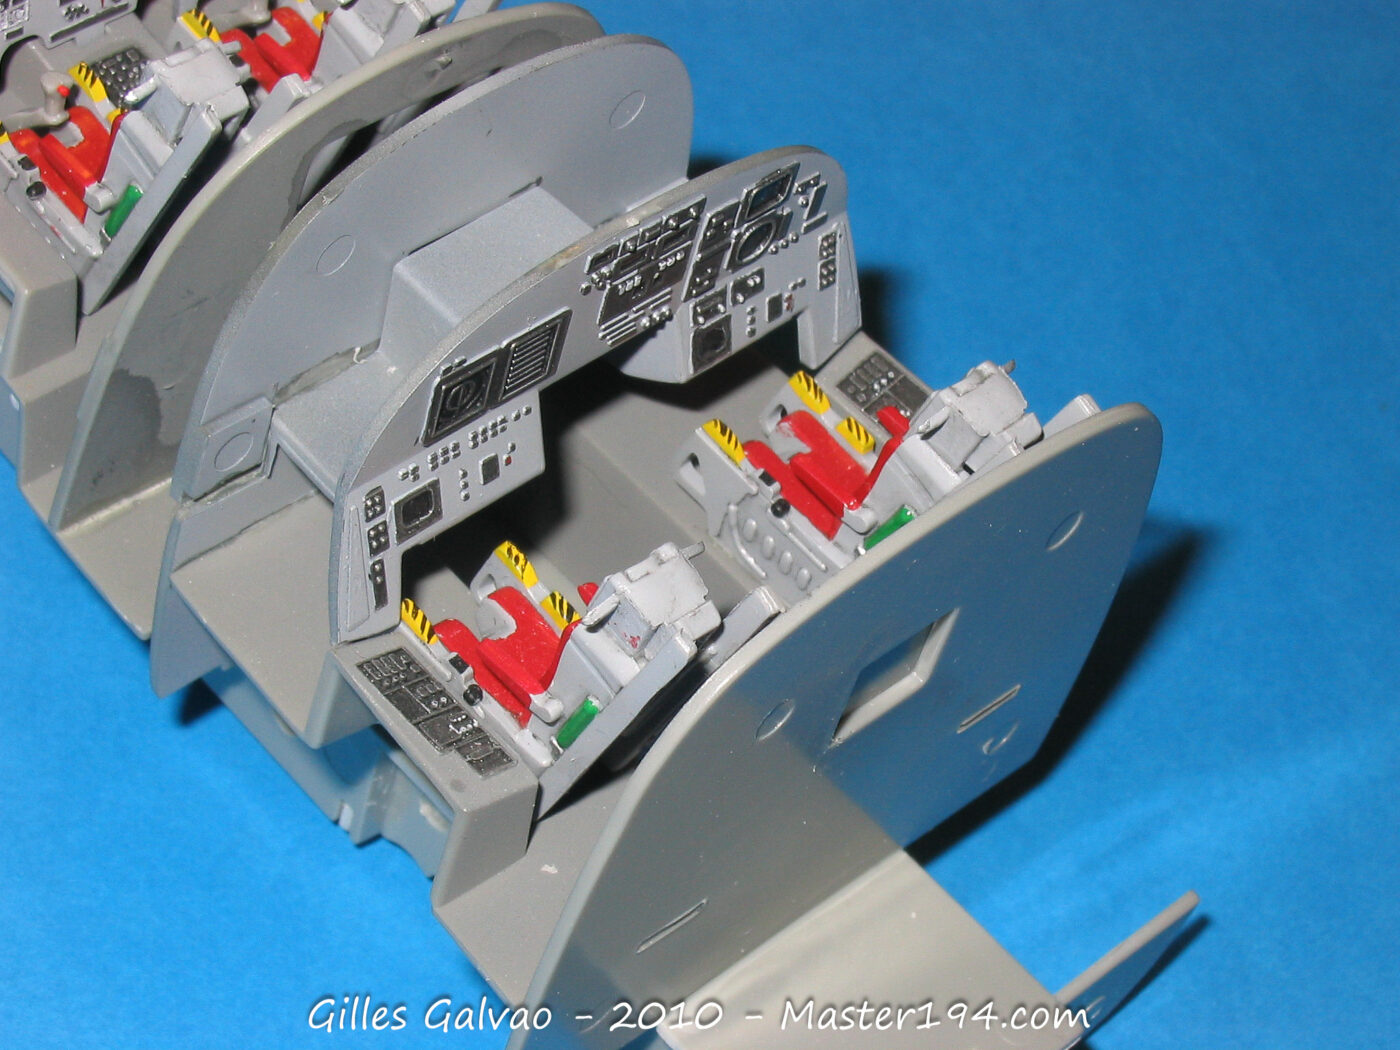
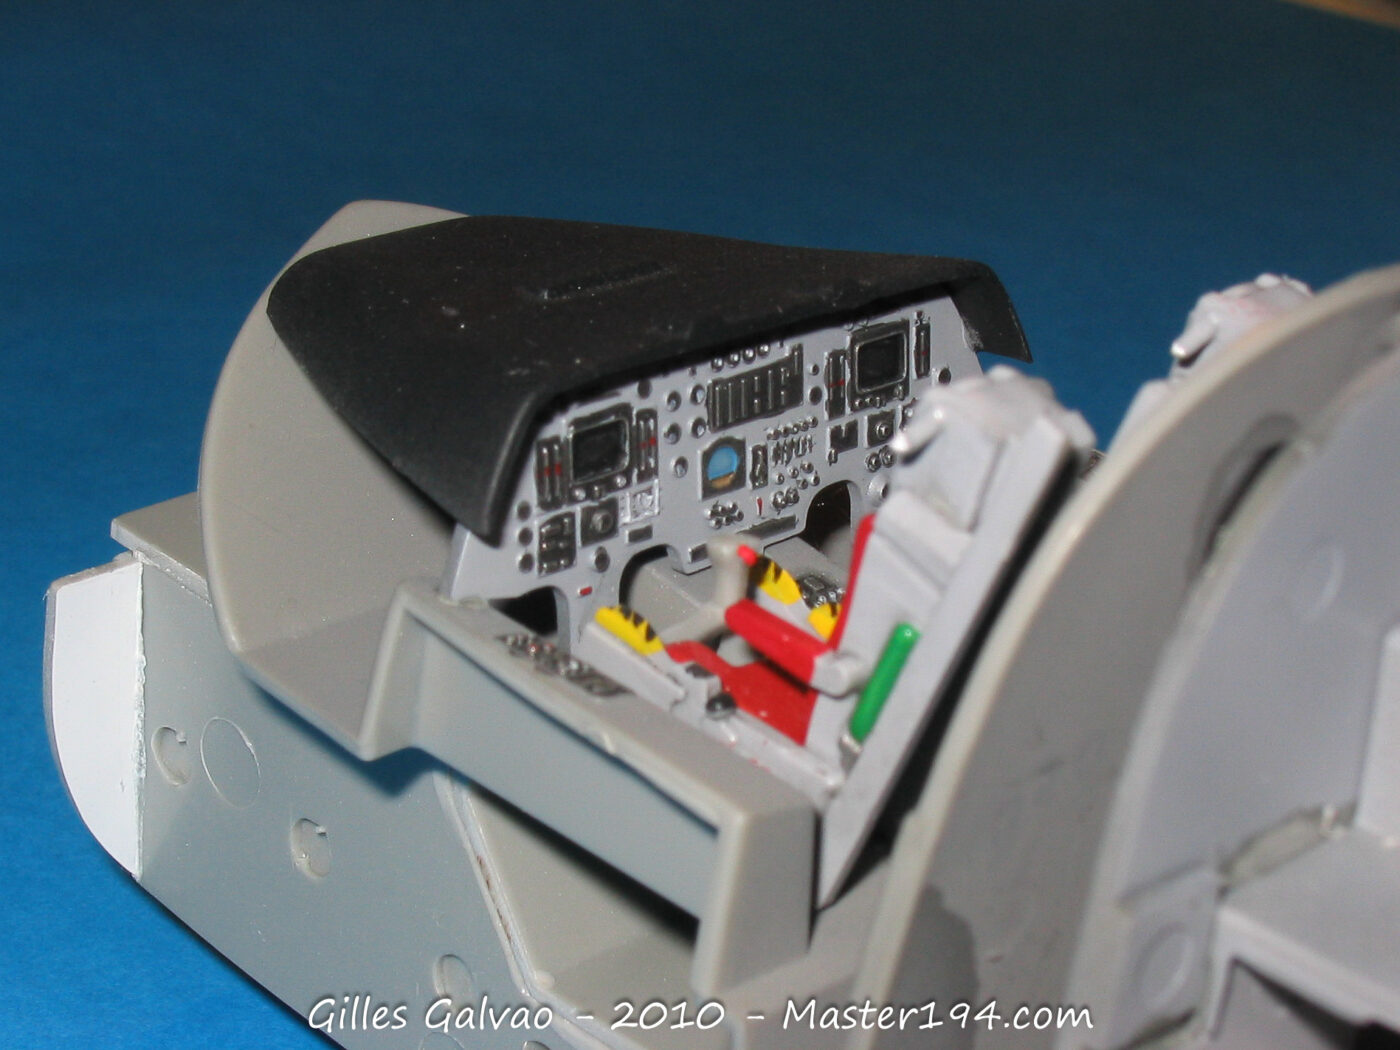
The Cockpit
The cockpit is a small model in its own right. However, if you’re the type of modeler who likes to detail every single thing, fair warning: once the fuselage is closed, you can barely see the rear seats!
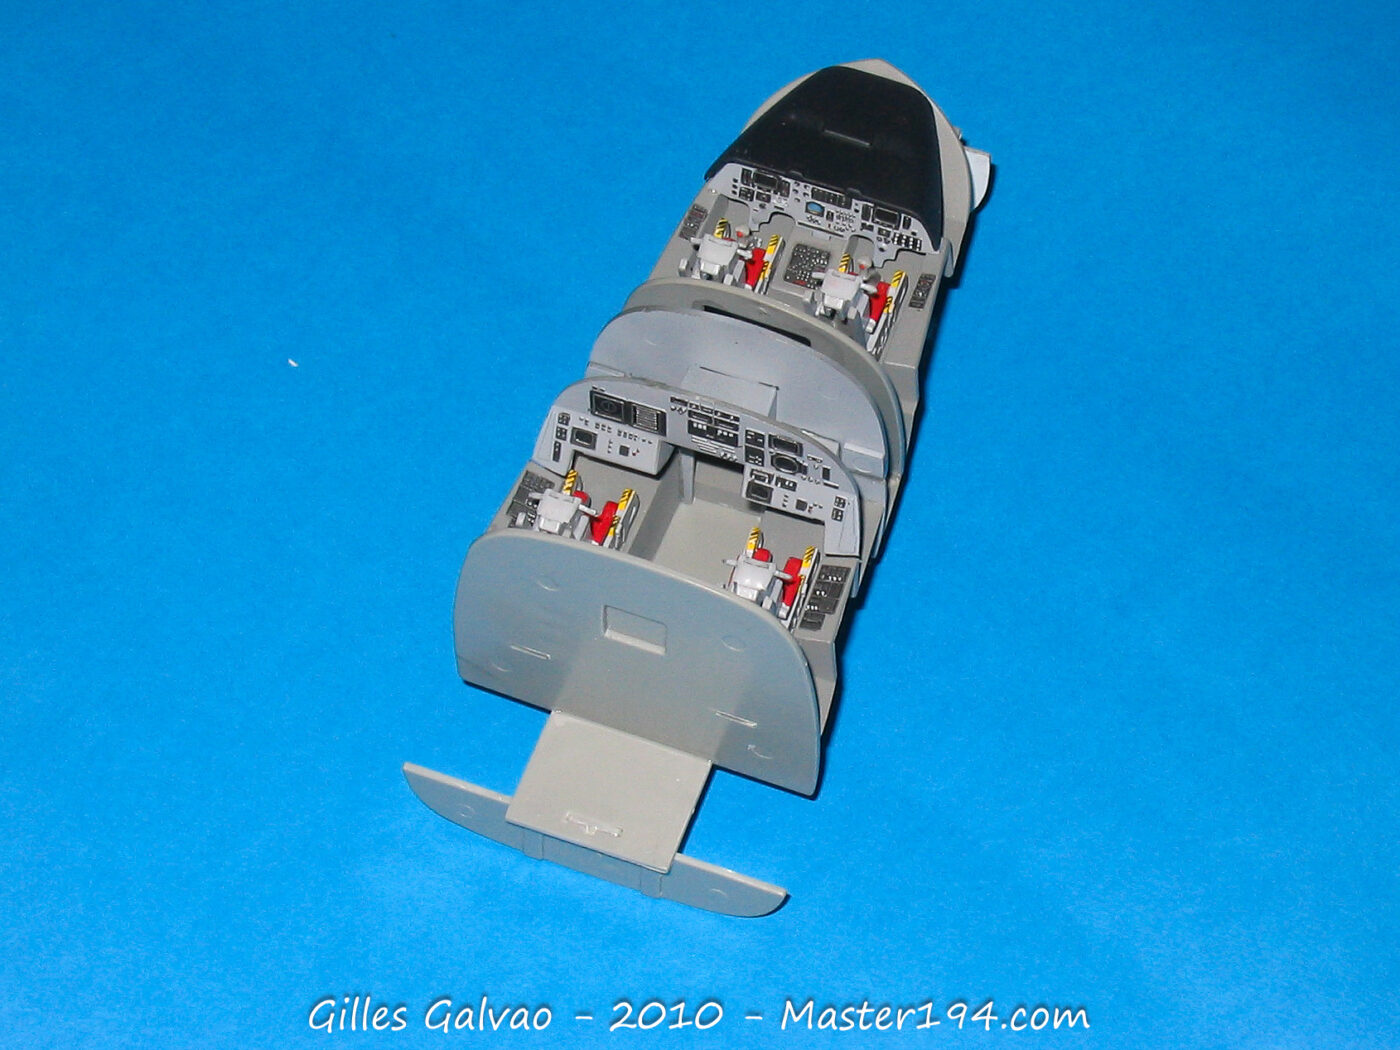
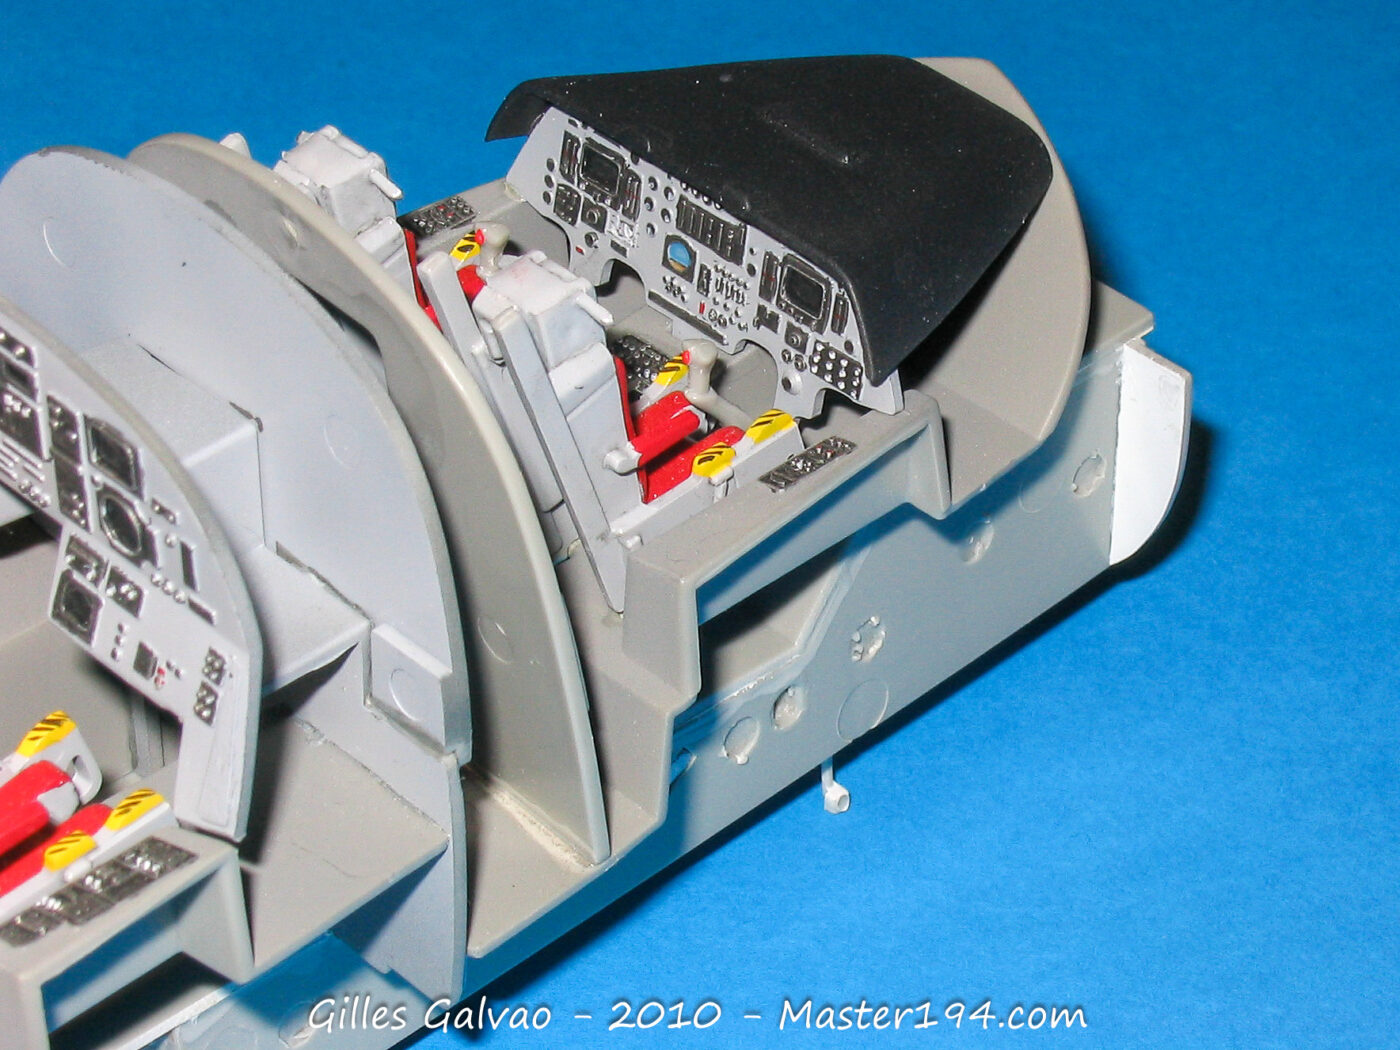
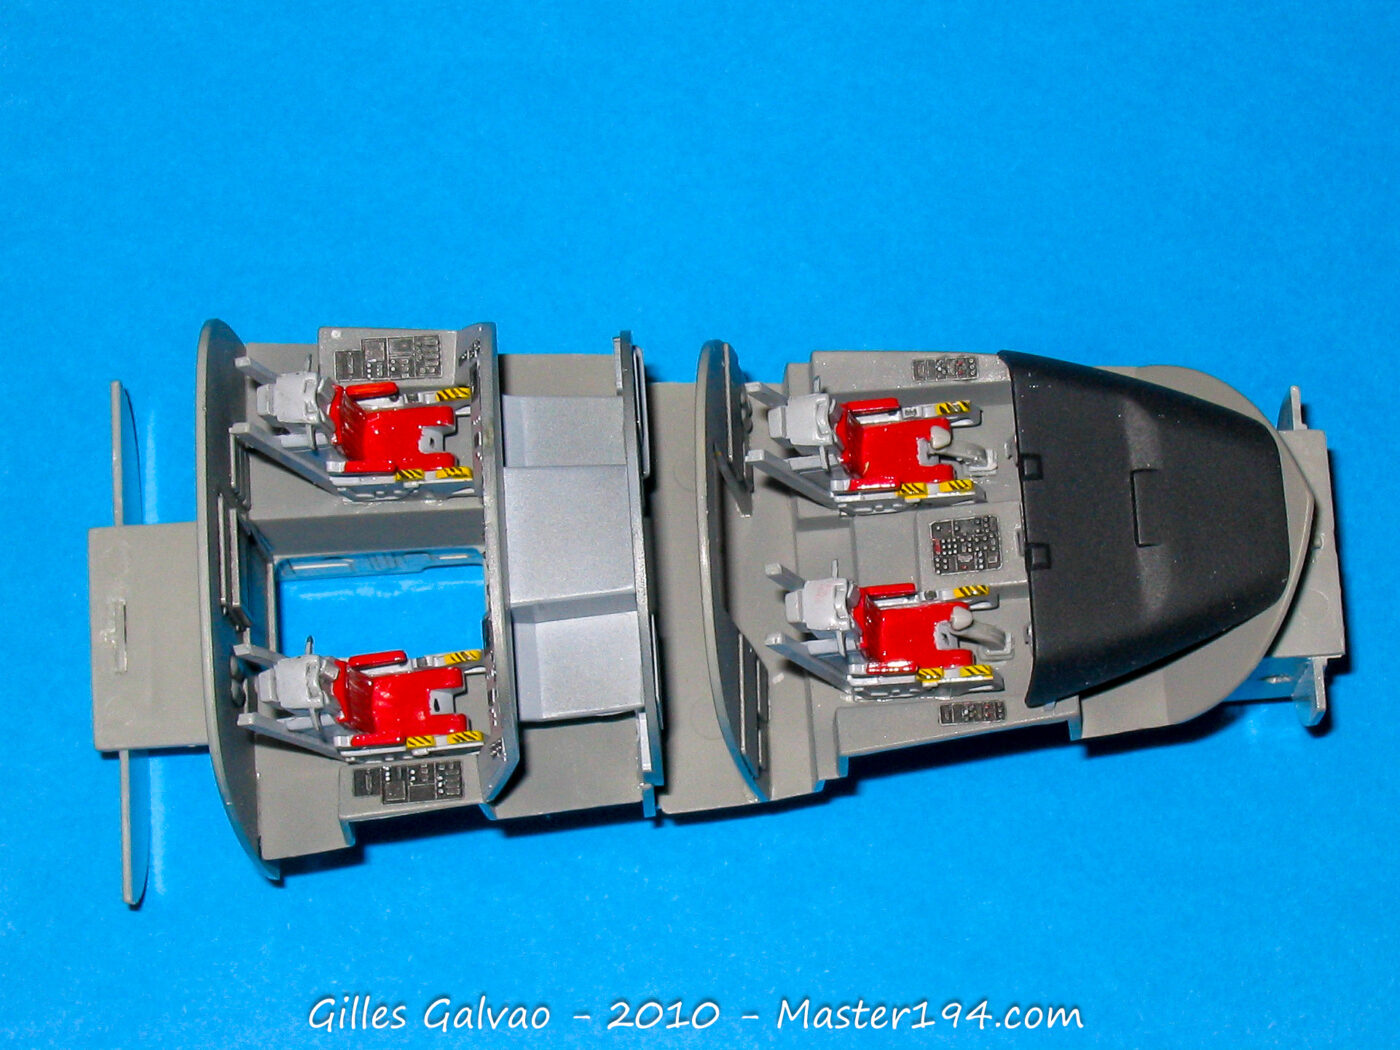
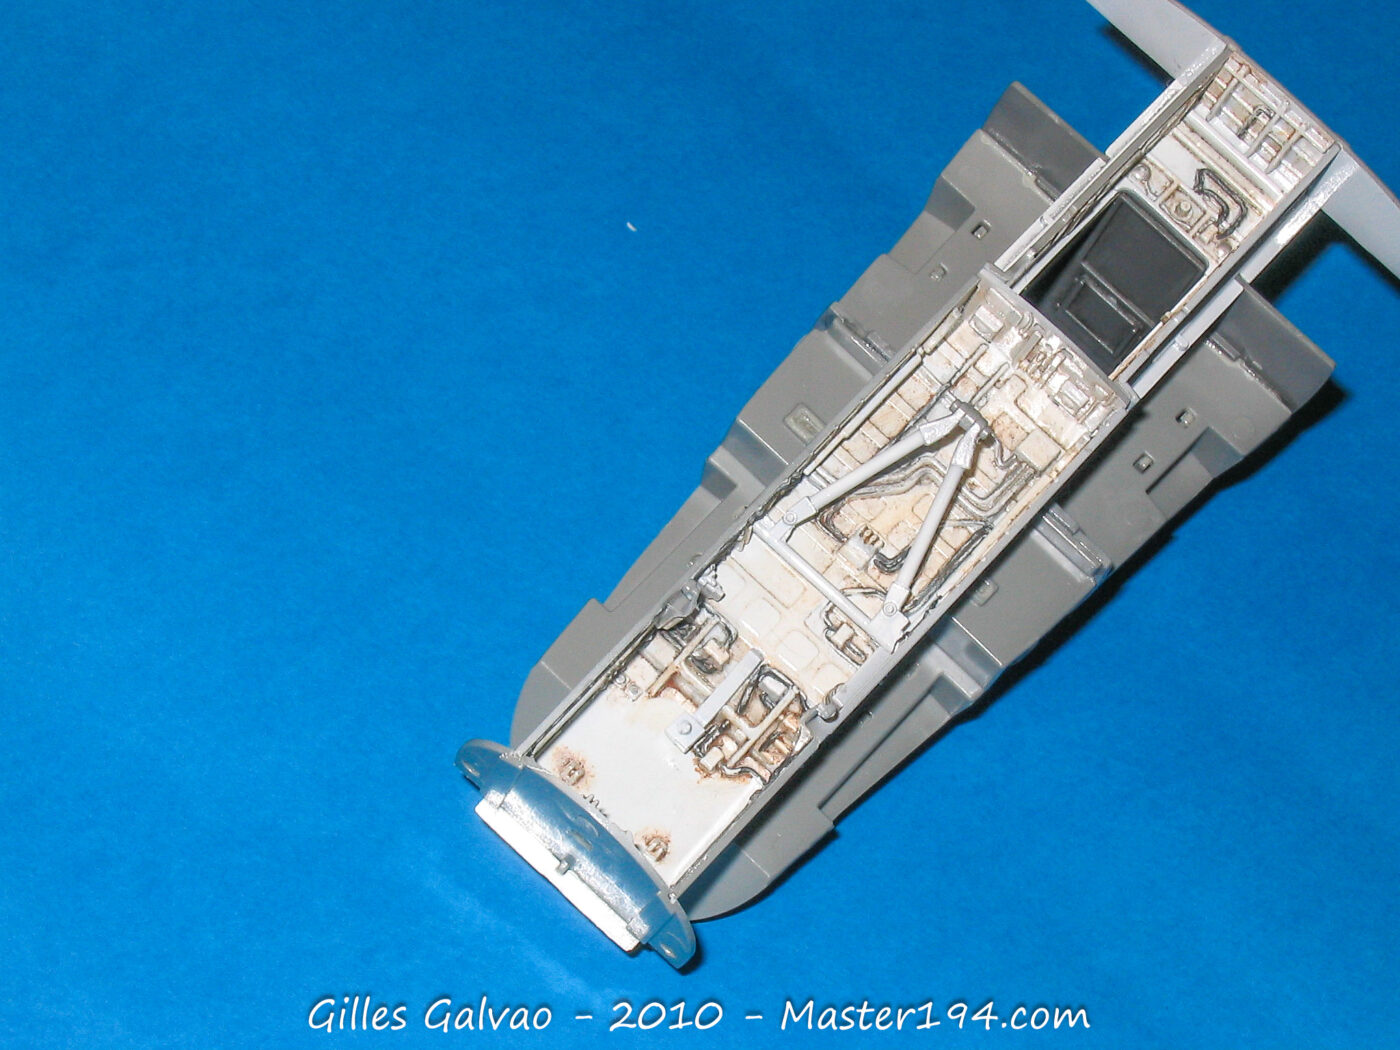
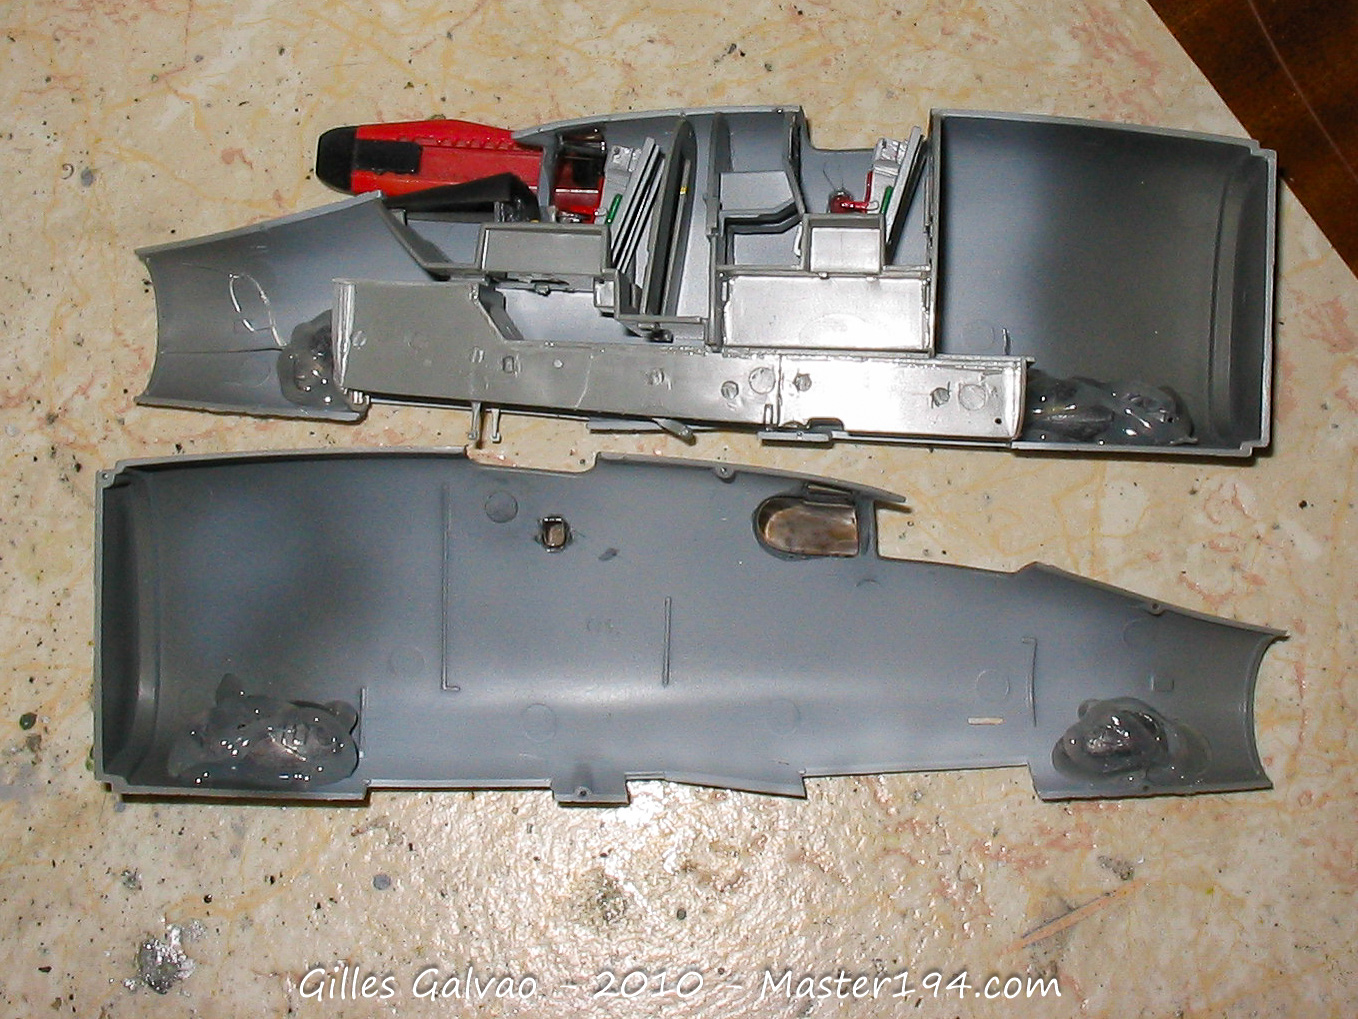
Front Landing Gear Well and Nose Section Closure
The entire front landing gear well must be painted and assembled to the massive cockpit tub. Be warned: before closing the fuselage, you must add a significant amount of weight to the nose…
As we’ll see throughout the assembly, the fit and alignment are certainly not the strong points of this kit.
Wings and Horizontal Stabilizers
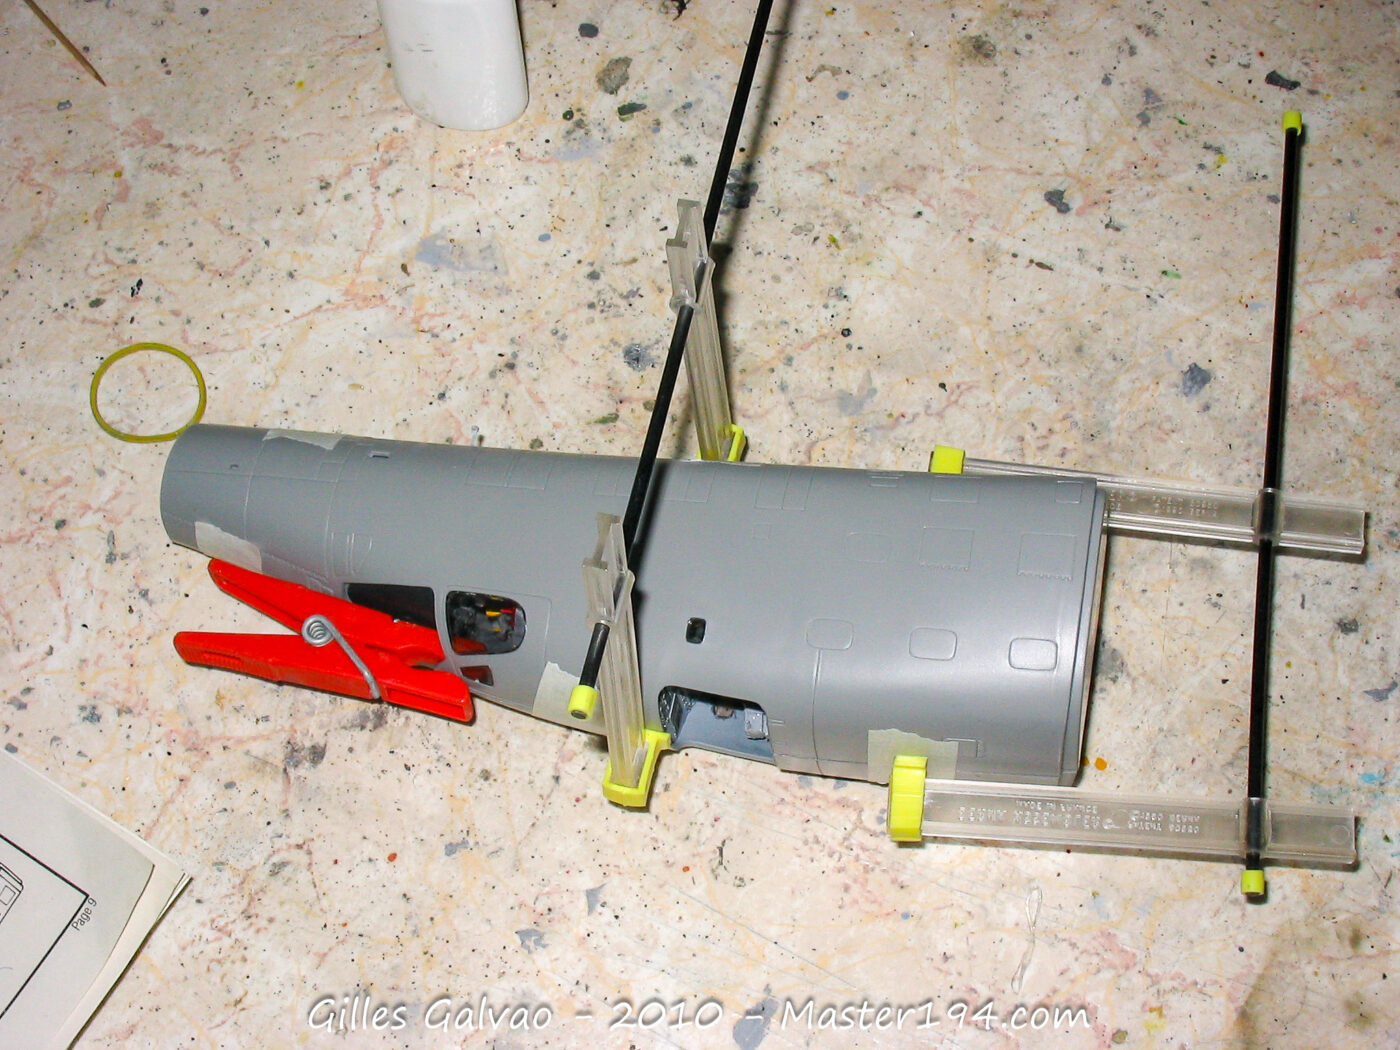
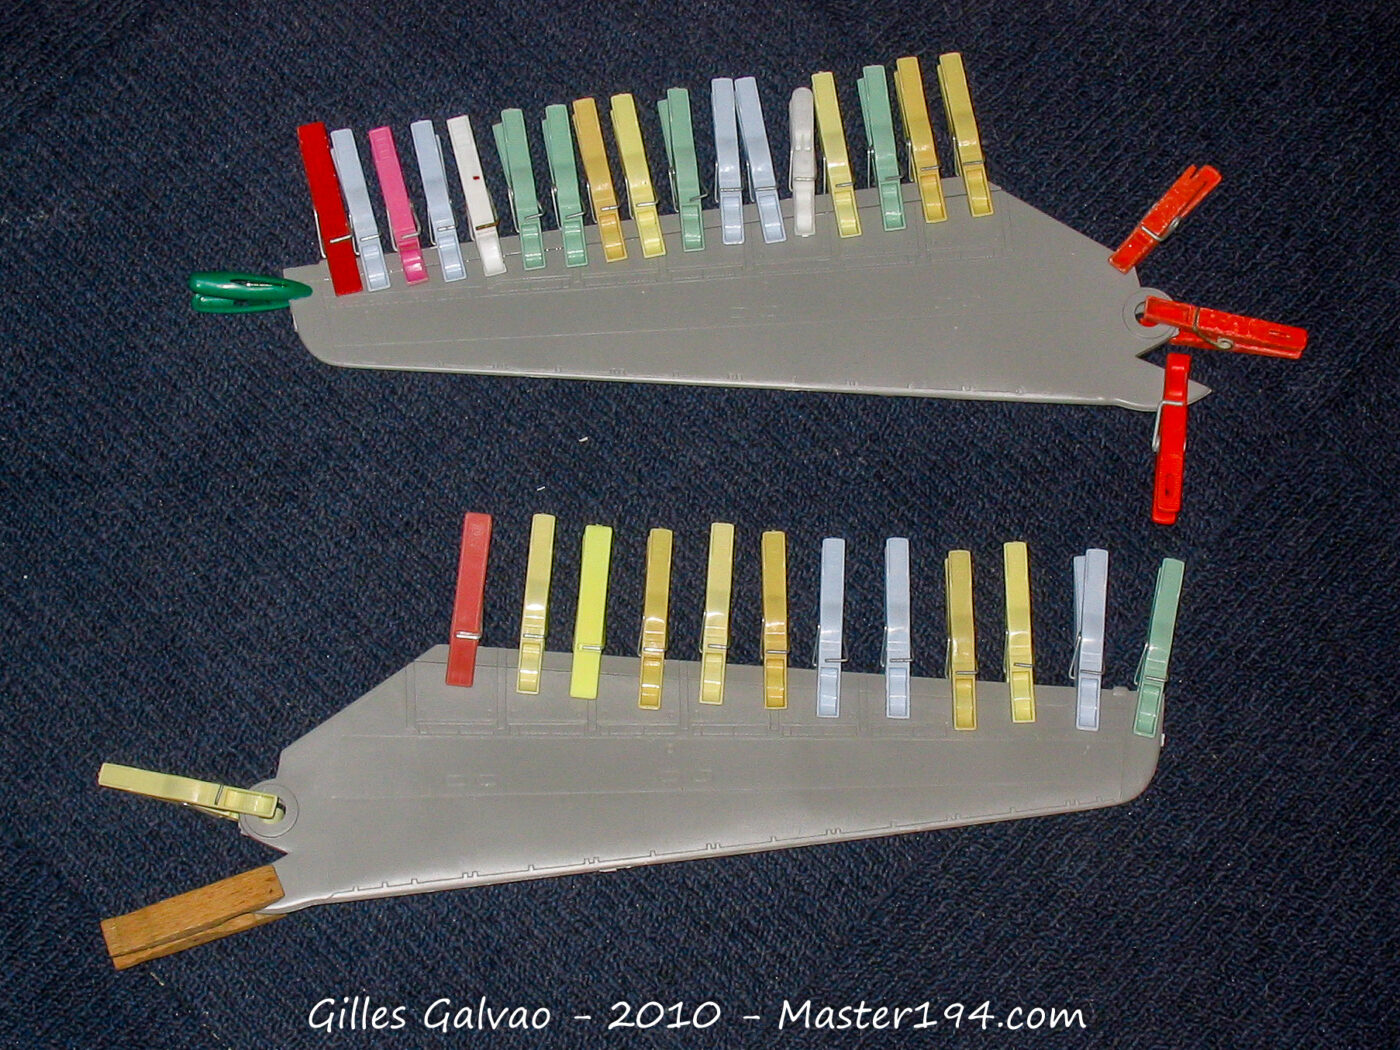
Given the massive size of the wing, make sure you have clamps or jigs ready to hold everything in place while the glue sets—two hands simply aren’t enough!
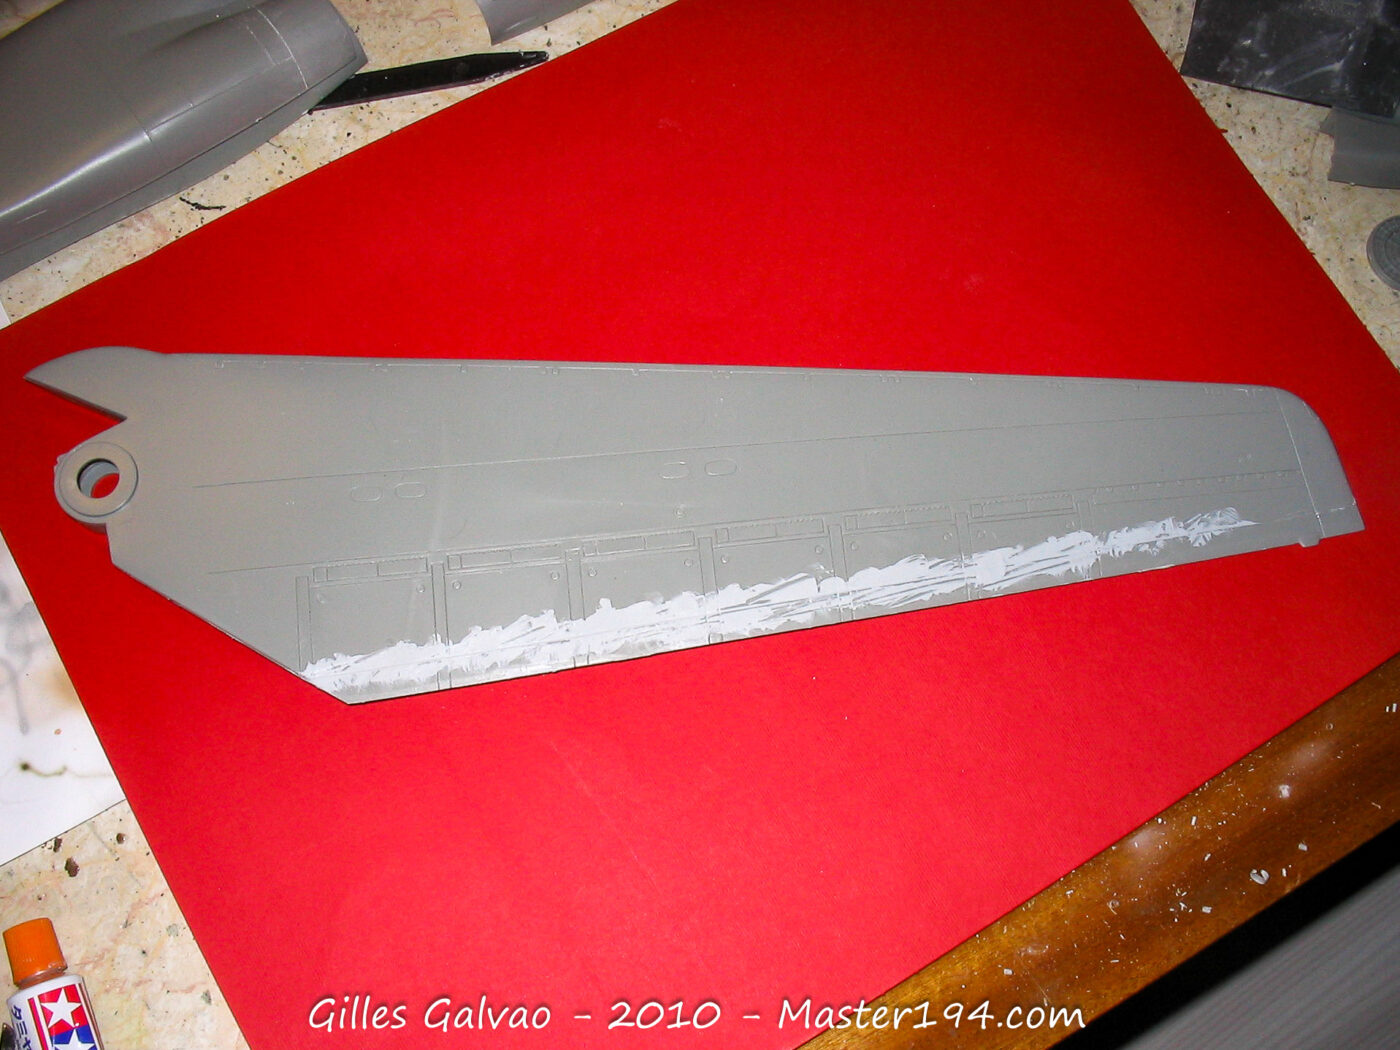
There were no major assembly issues here, though there is one very poorly placed seam line that needs to be sanded away completely.
The Bomb Bays
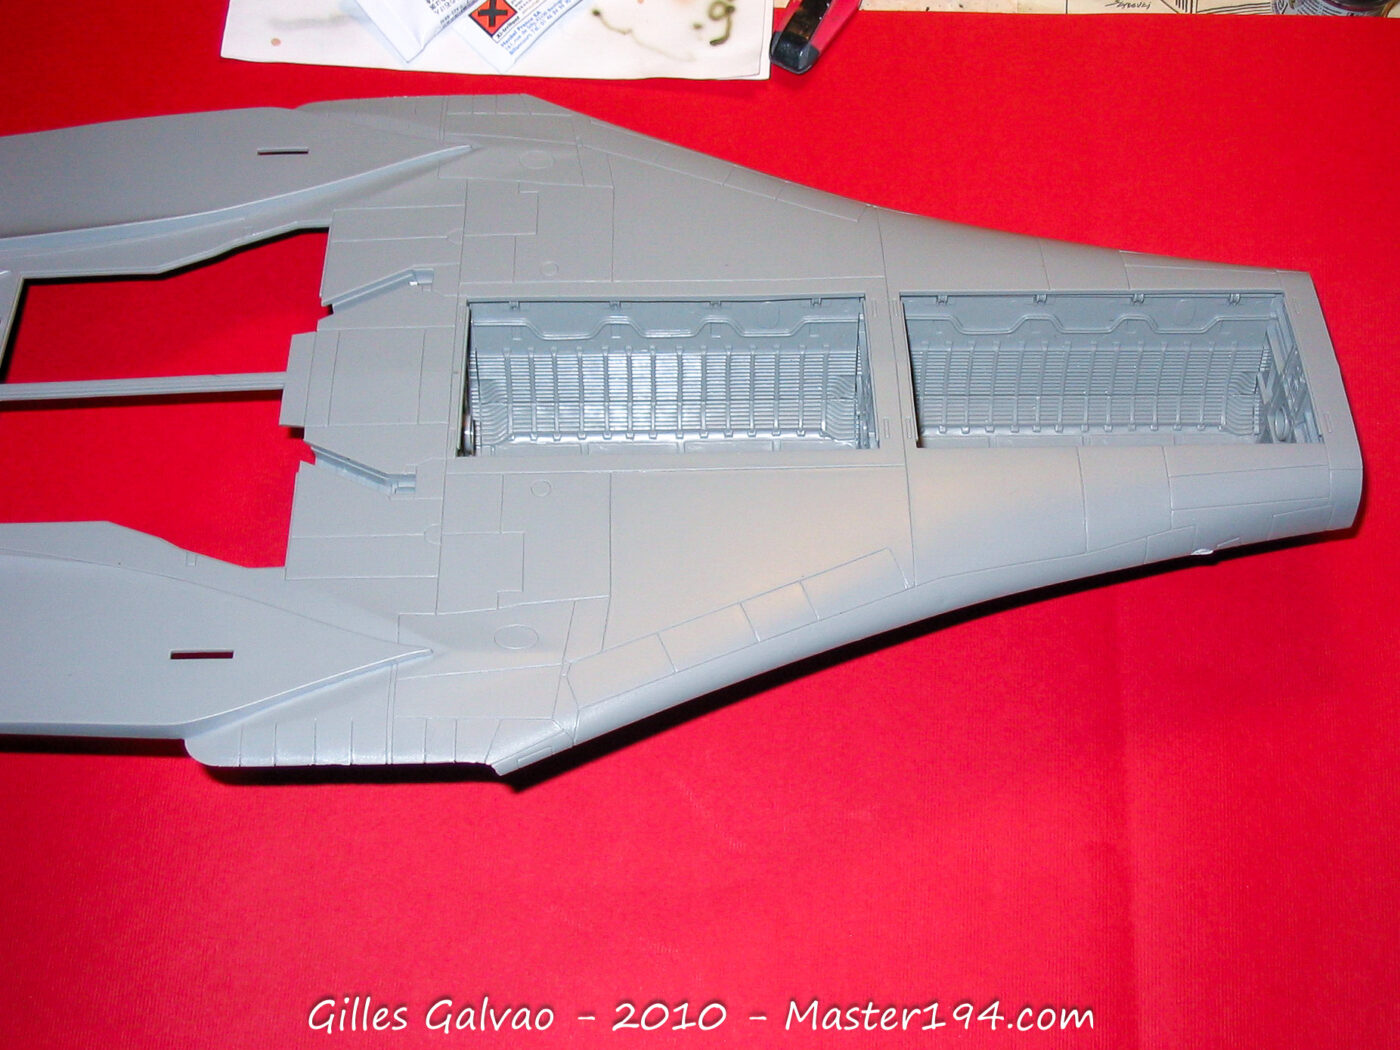
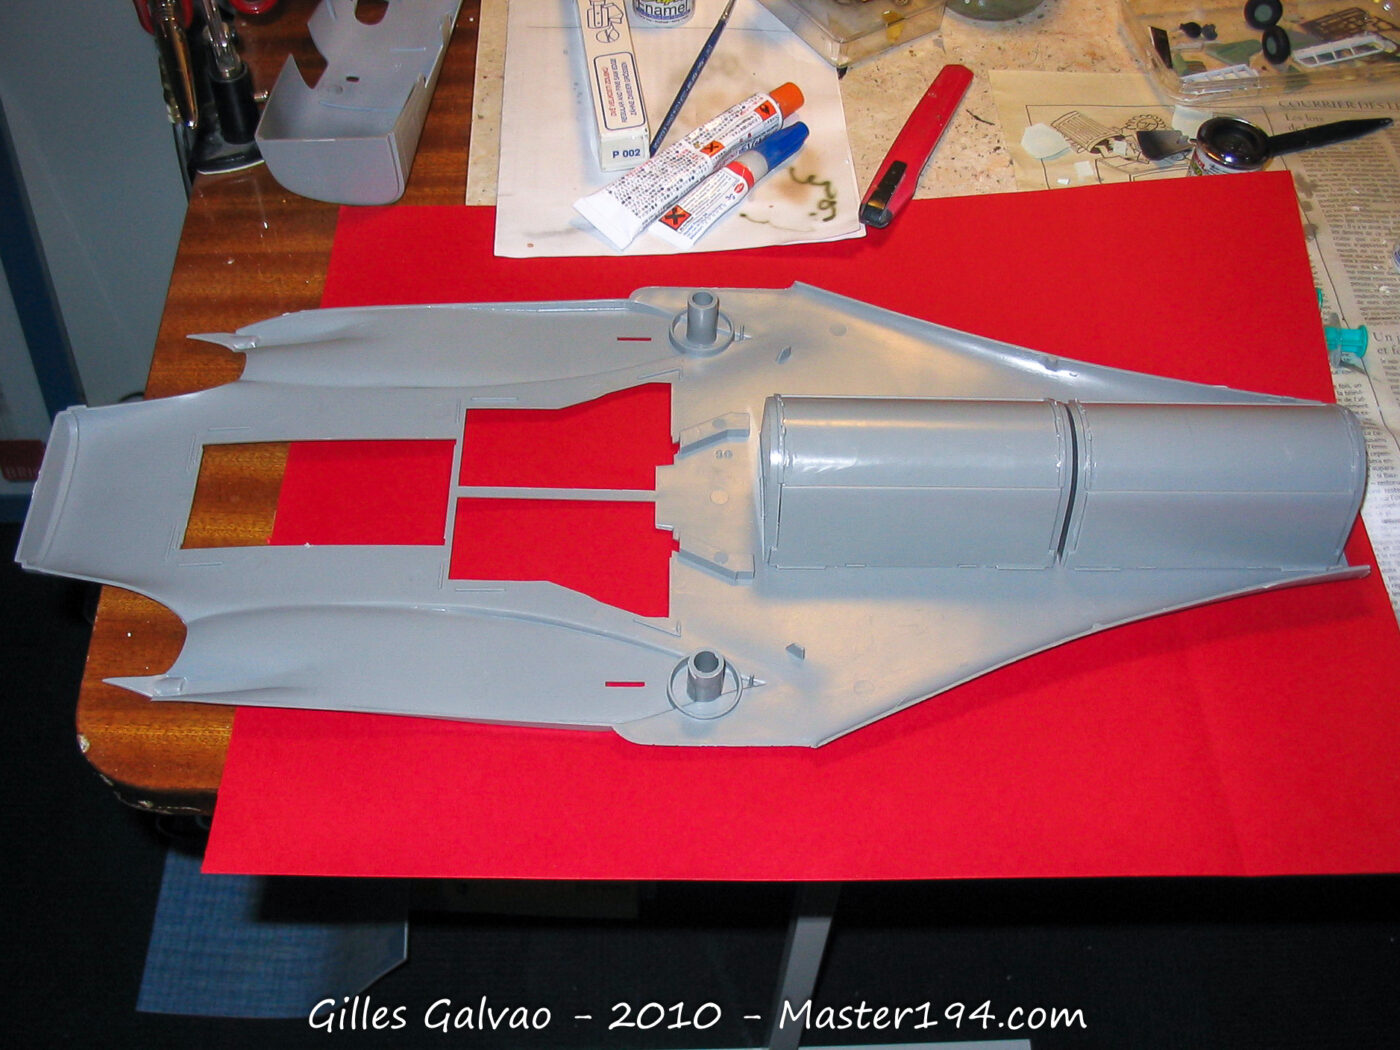
I opted to show them closed. However, I still assembled the internal structures to help stiffen and reinforce the entire fuselage.
Wing Roots and Wing Installation
From the start, I decided to display the model with the wings fully swept forward—the classic position for the aircraft on the ground. Given the wings’ massive size and weight, and the necessary modifications to the “over-wing” fairings (the openings where the wings retract), I preferred to glue them solidly to the fuselage. This obviously means sacrificing the variable-sweep feature.
A few very simple modifications are required on the kit: cutting out the moving seals and adding the missing sections using plastic card.
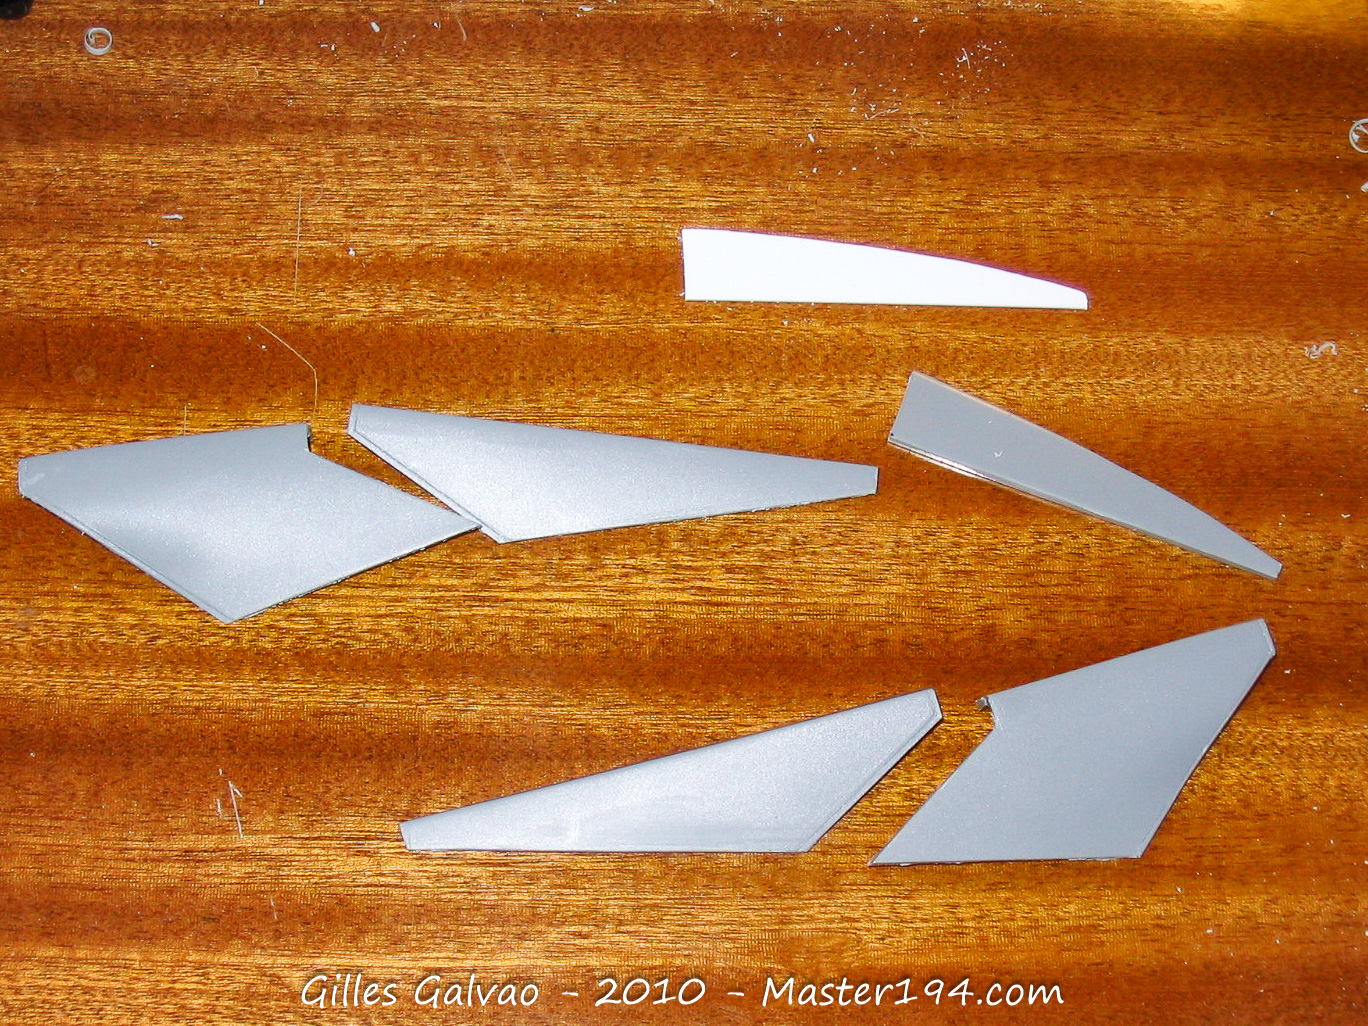
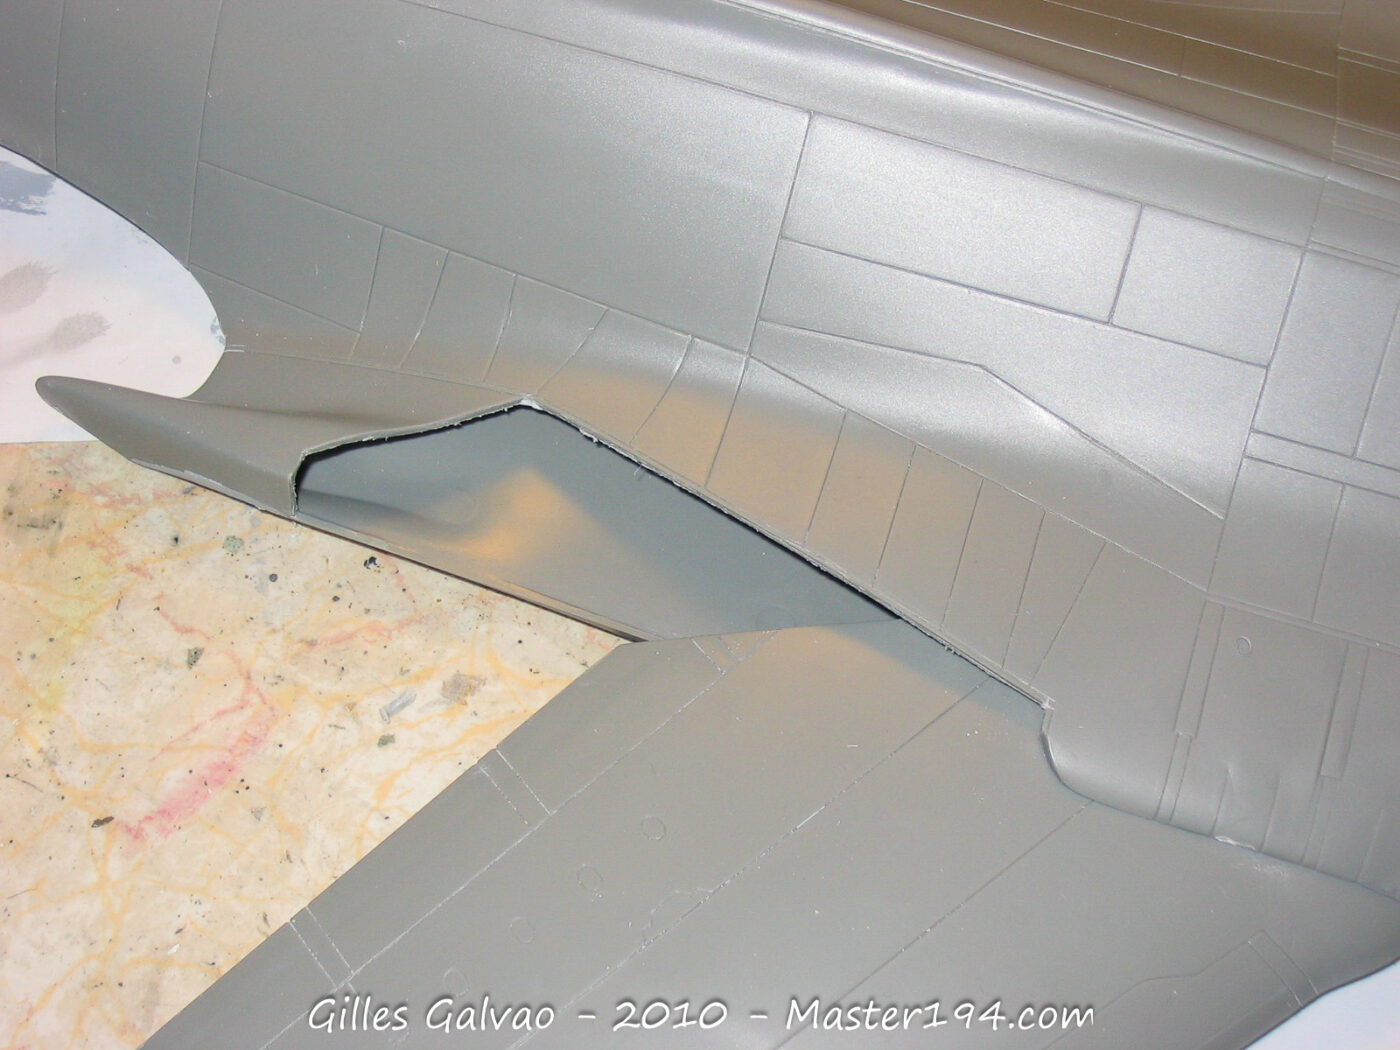
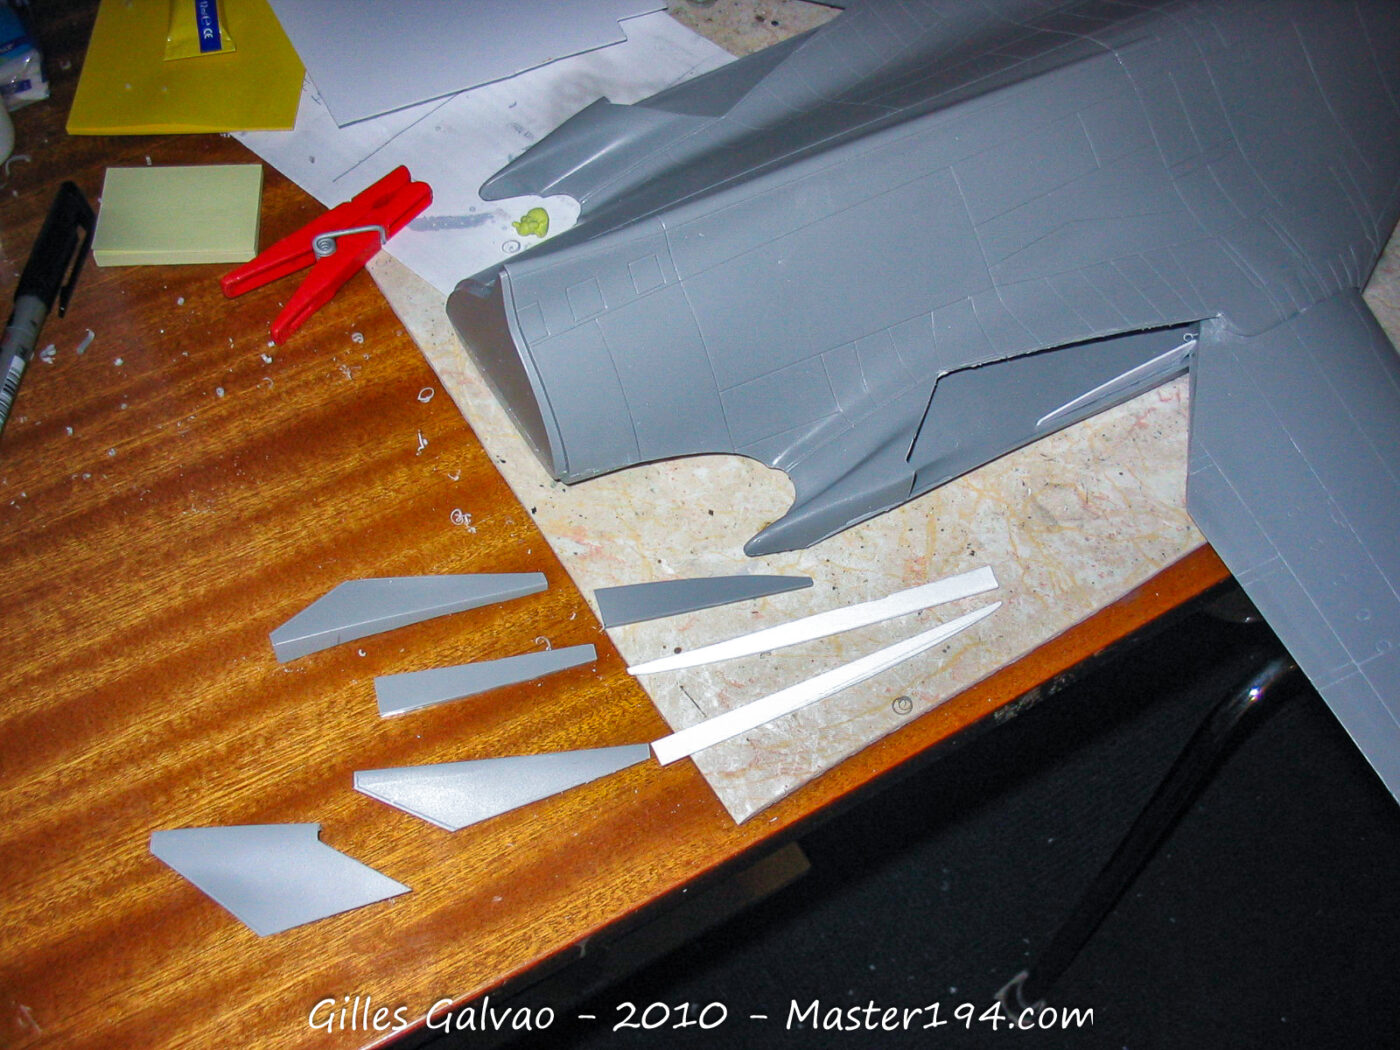
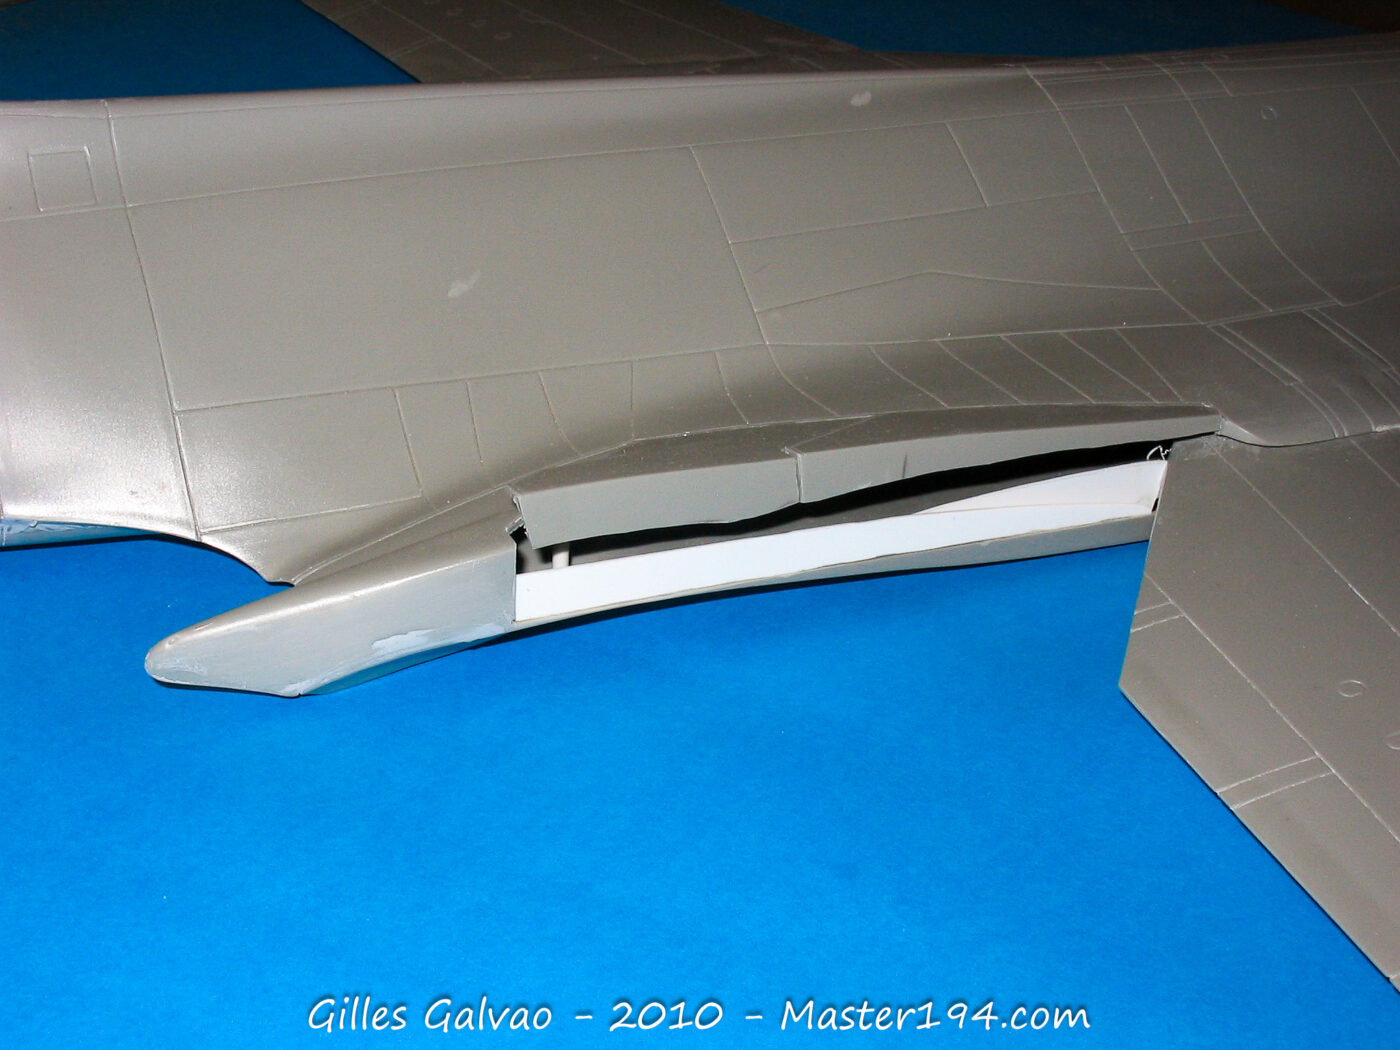
At this stage of the build, the model is already becoming quite imposing… and, above all, incredibly difficult to handle!
Fuselage Section Assembly
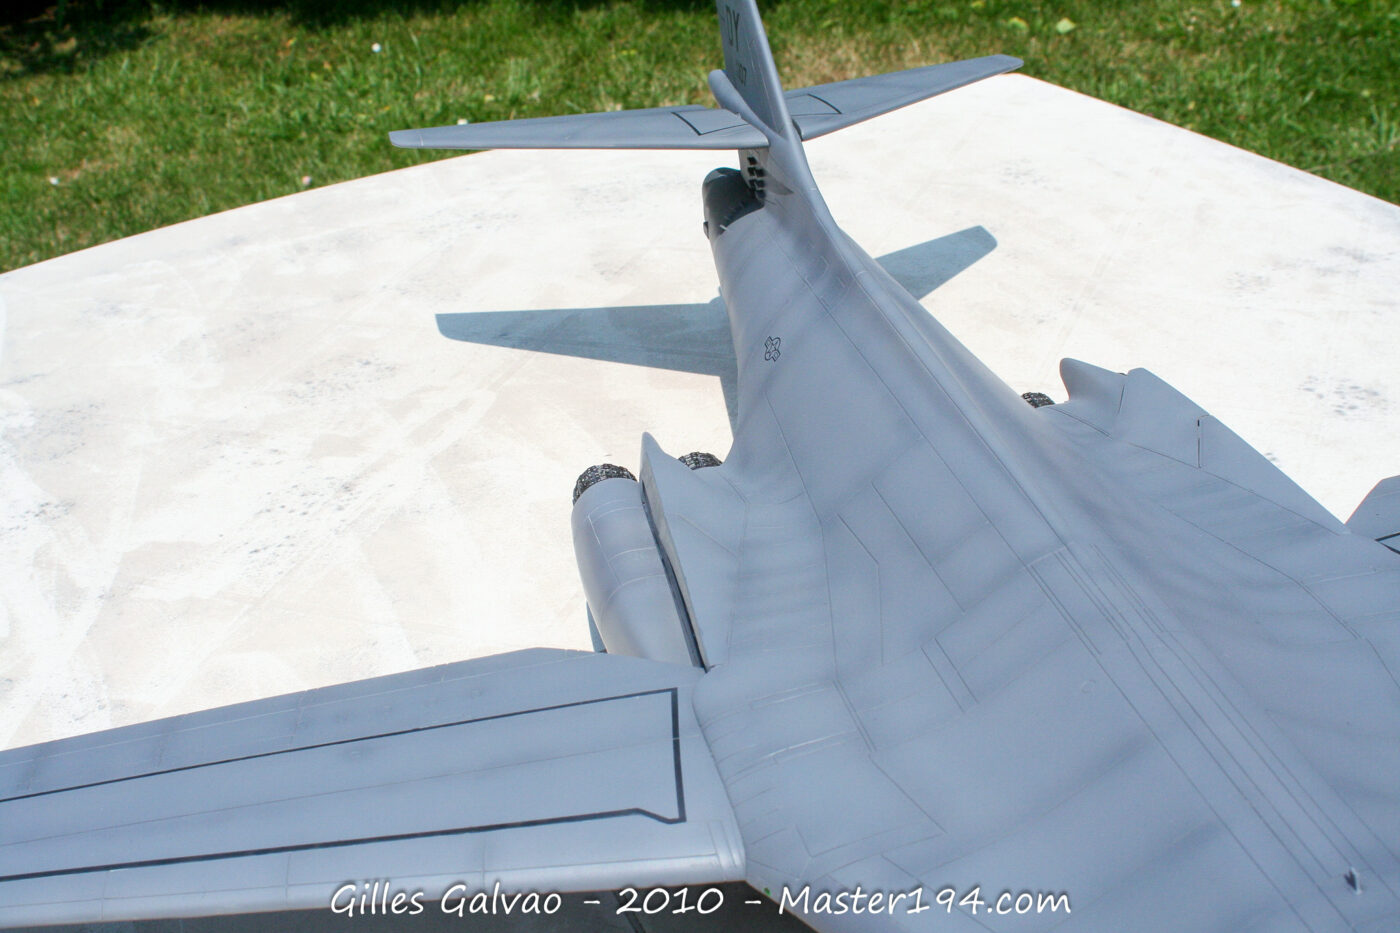
Here, the bulk of the work involves getting clean joints between the fuselage sections. Likely due to poor anticipation on my part, I ended up with a step of nearly 2 mm between the tail section and the main block, and it wasn’t much better at the front. This required a massive amount of putty and sandpaper.
You’ll also notice that all the vortex generators are missing from the rear fuselage; these will have to be scratch-built one by one using plastic card.
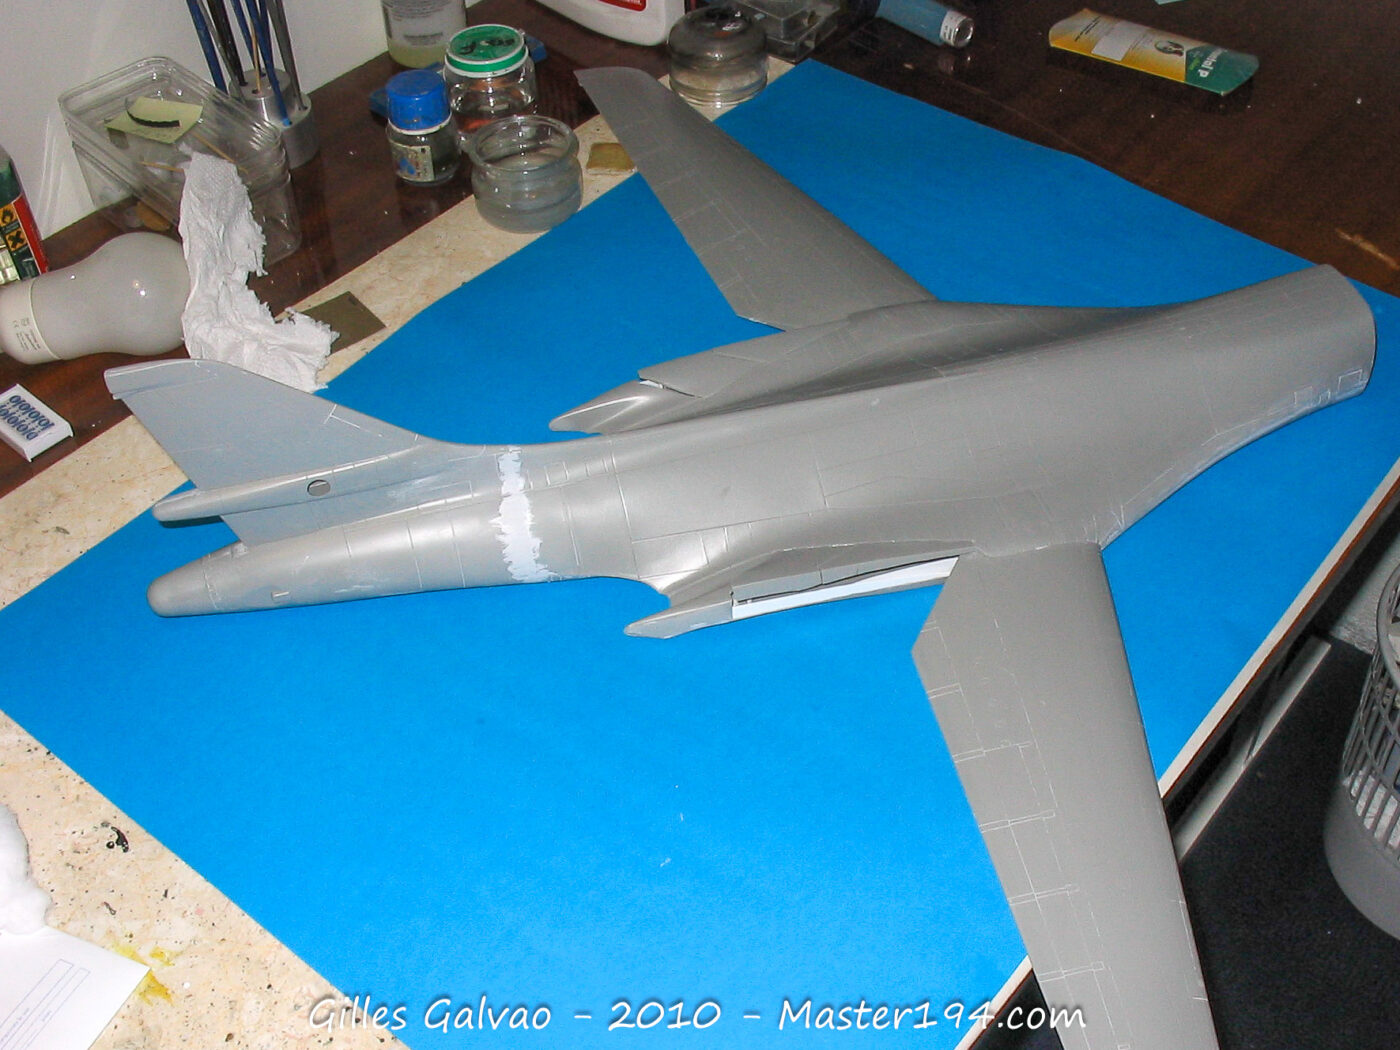
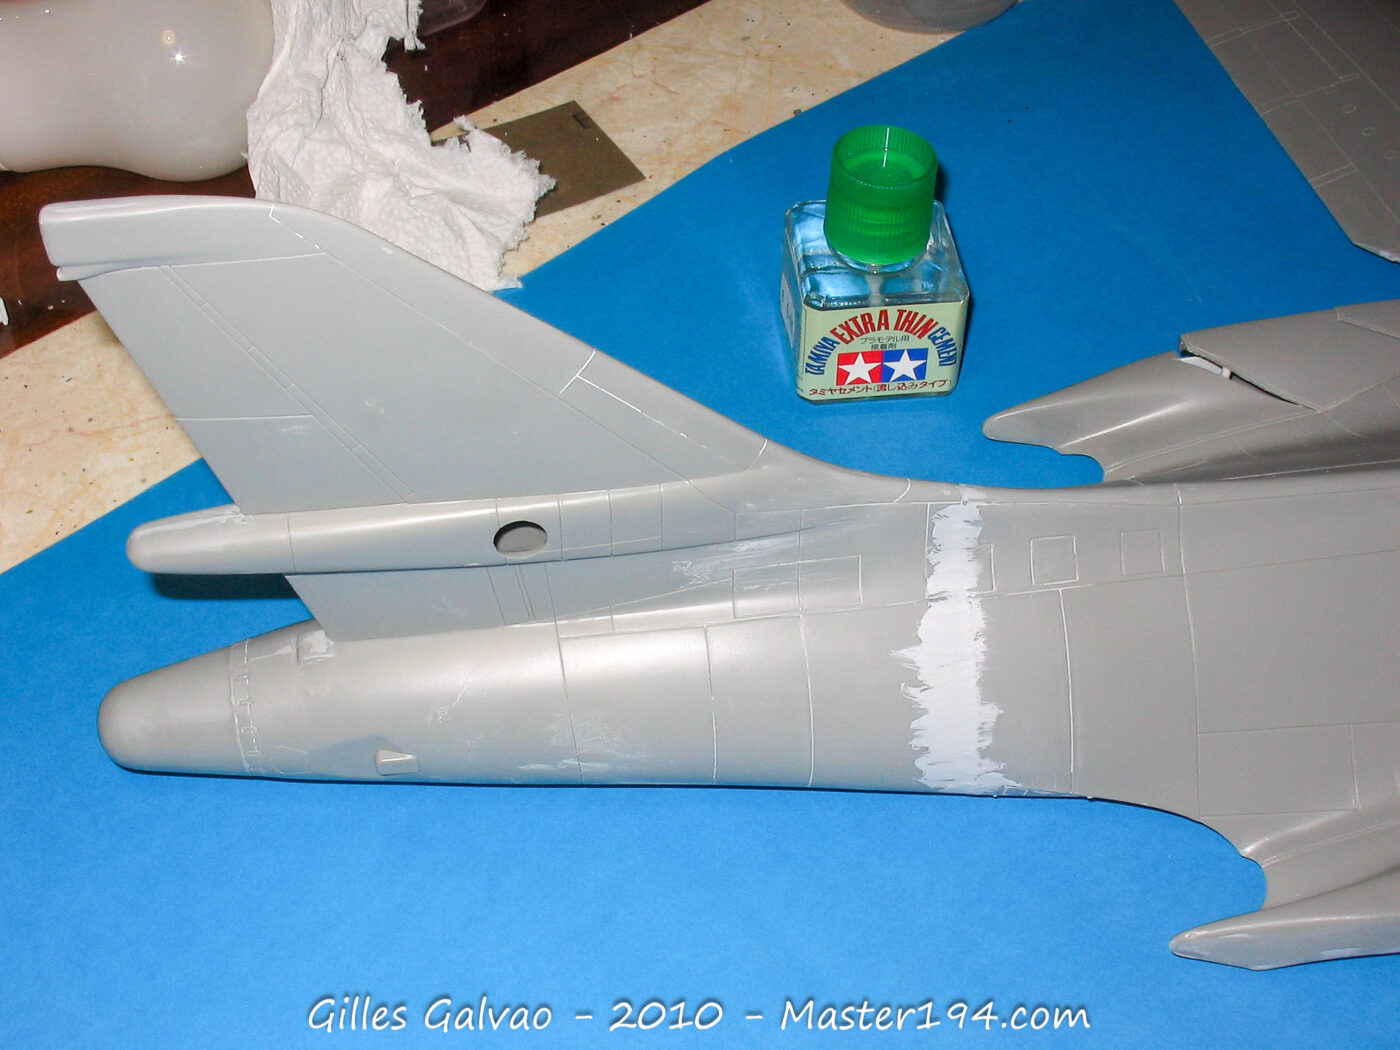
Engine Nacelles
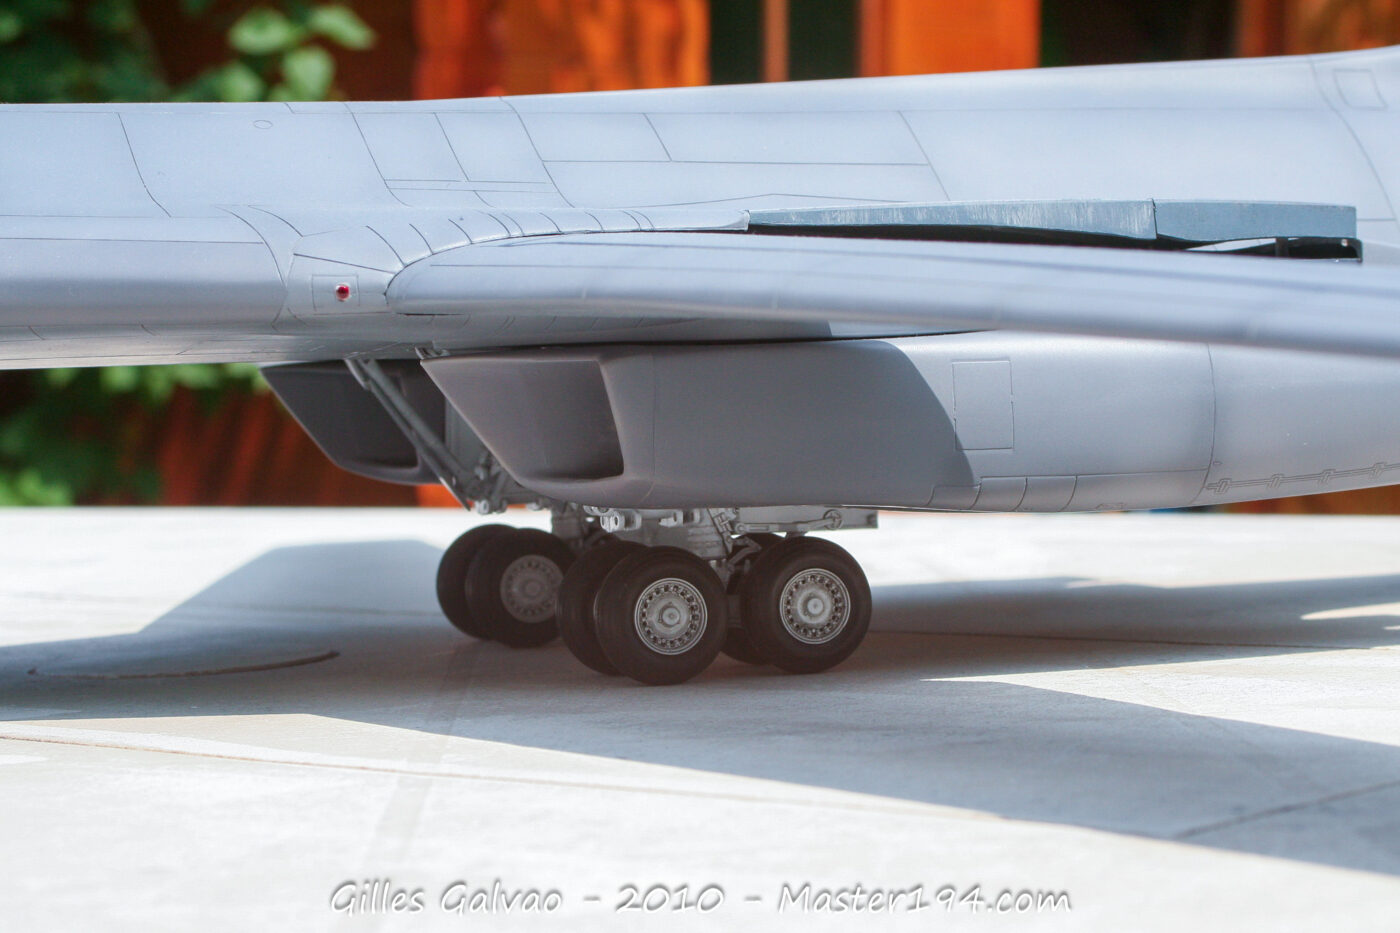
As mentioned earlier, there’s plenty of work to do on the nacelles: the external bumps (bossages) need to be removed, and the simplified air intakes require a complete overhaul. Specifically, the internal baffles are missing. These serve a dual purpose: they hide the engine faces from radar waves (reducing the radar cross-section) and help channel the airflow into the engines.
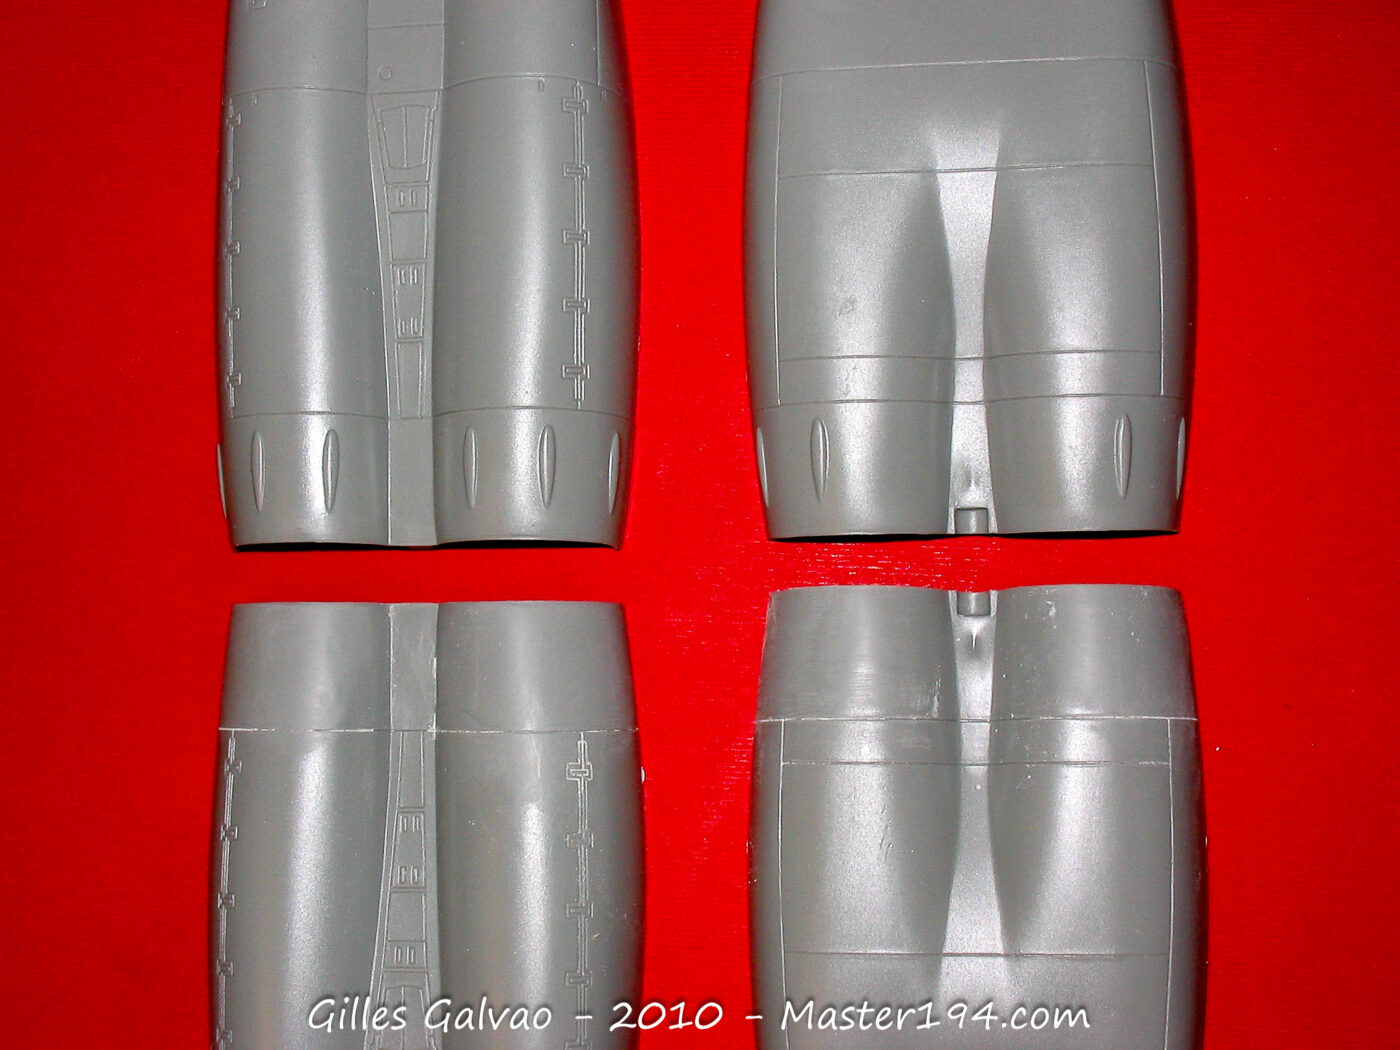
Main landing gear
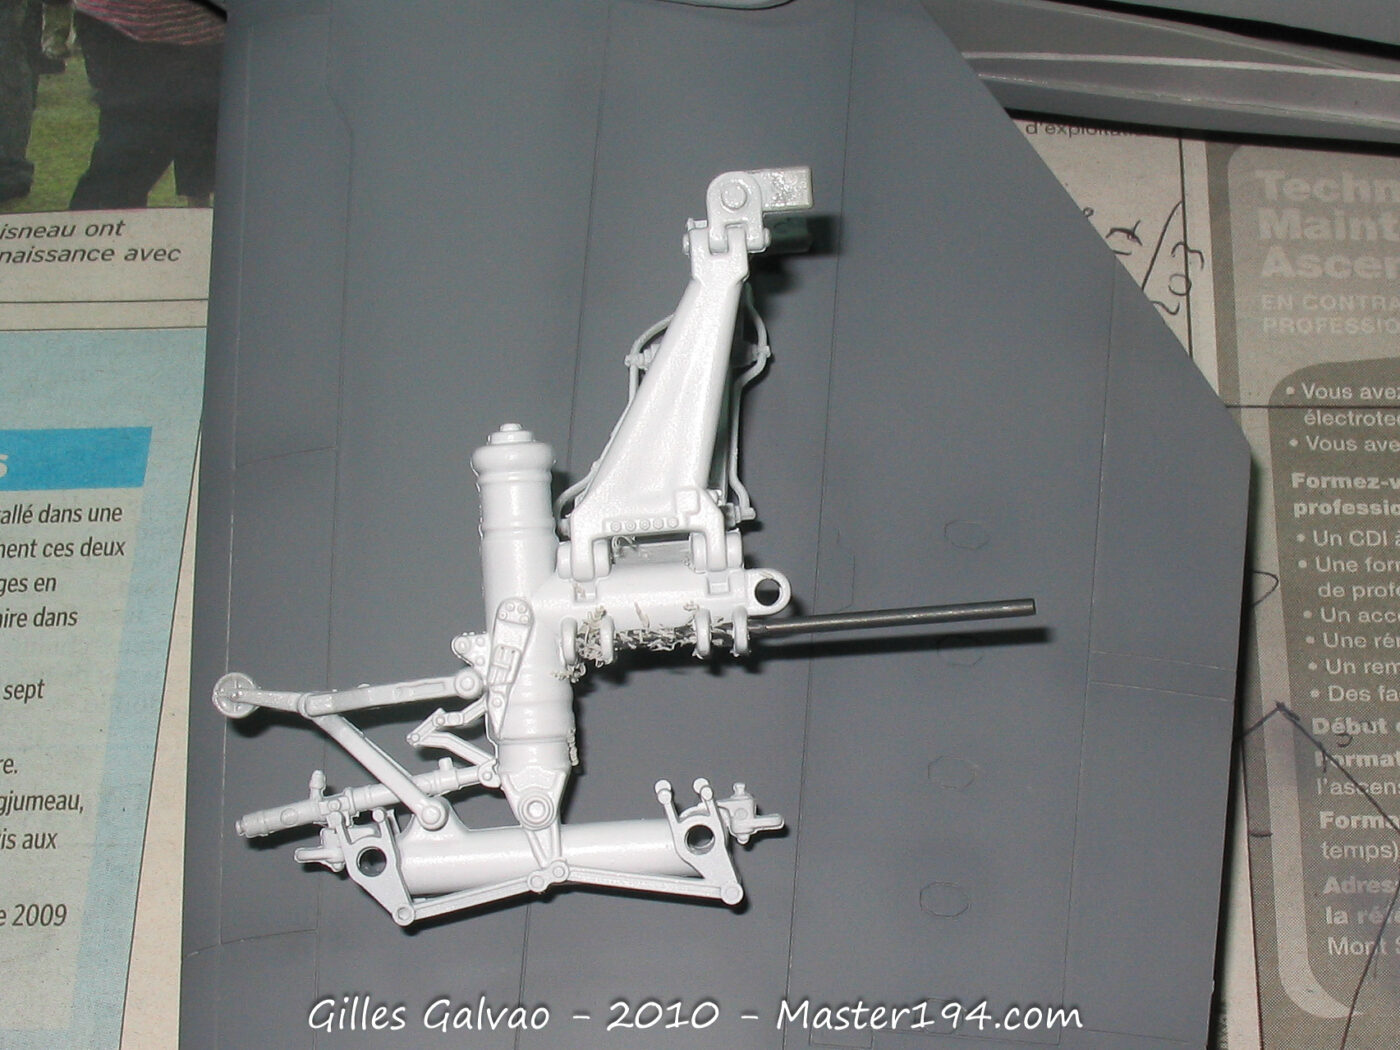
Not much work required here, aside from a bit of drilling; they are quite faithful to the real thing.
Painting
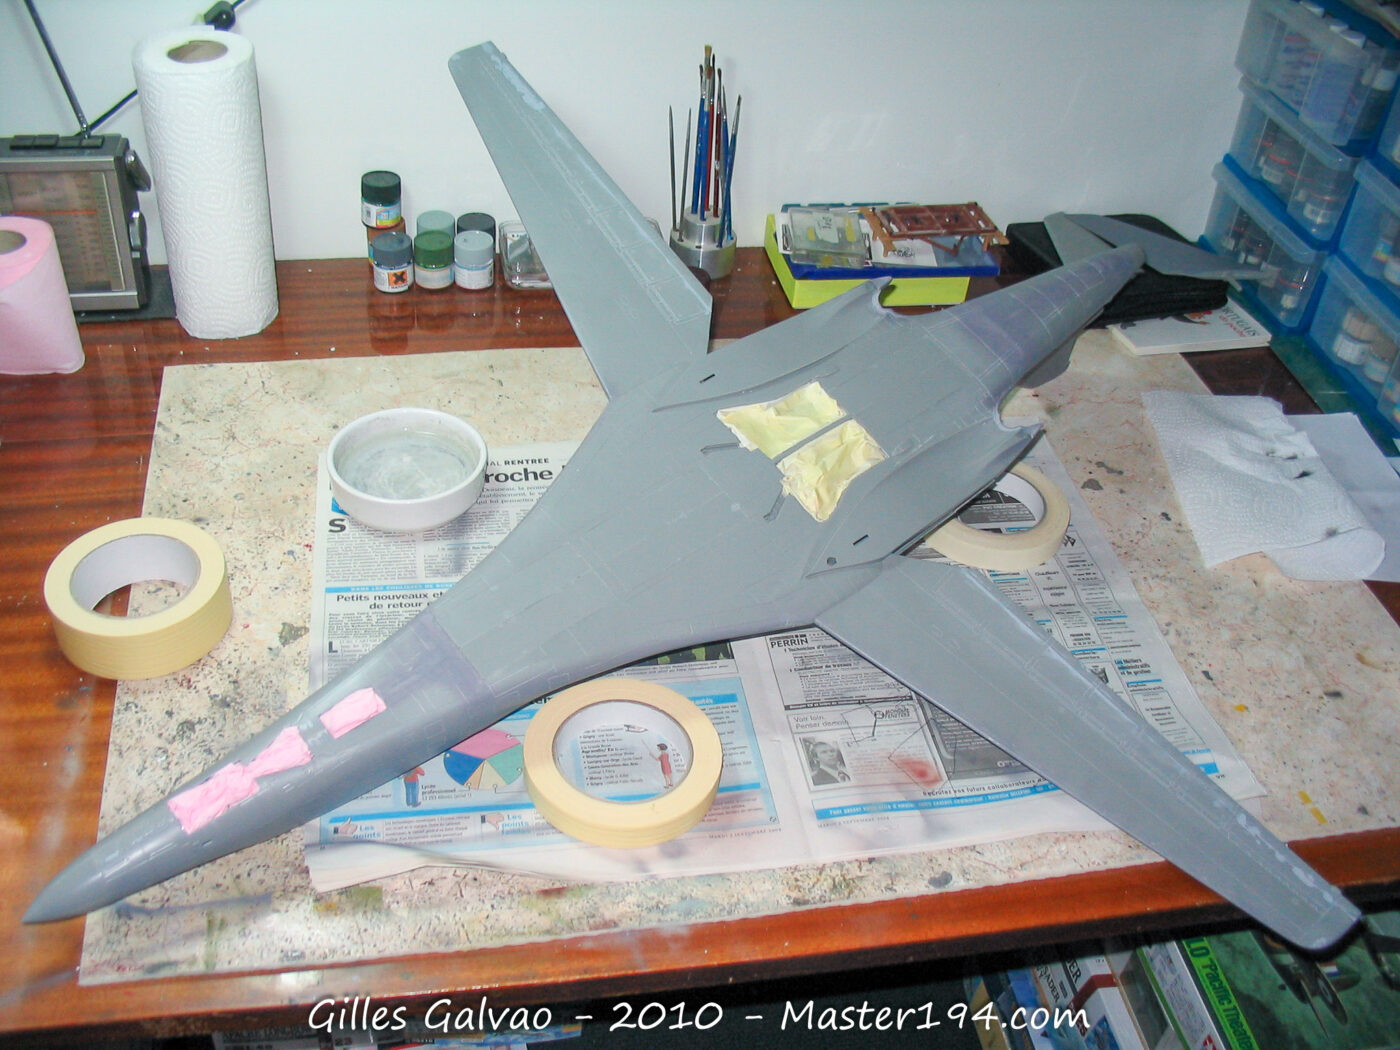
Before starting the main paint job, I went over all the seams with a coat of gray (Gunze H53) to ensure the surface preparation was perfect. At the time, I wasn’t using a dedicated “primer” yet.
As for the color scheme, it’s very straightforward: all gray! I used Gunze H305. For the nose and tail cone, I used Gunze H337.
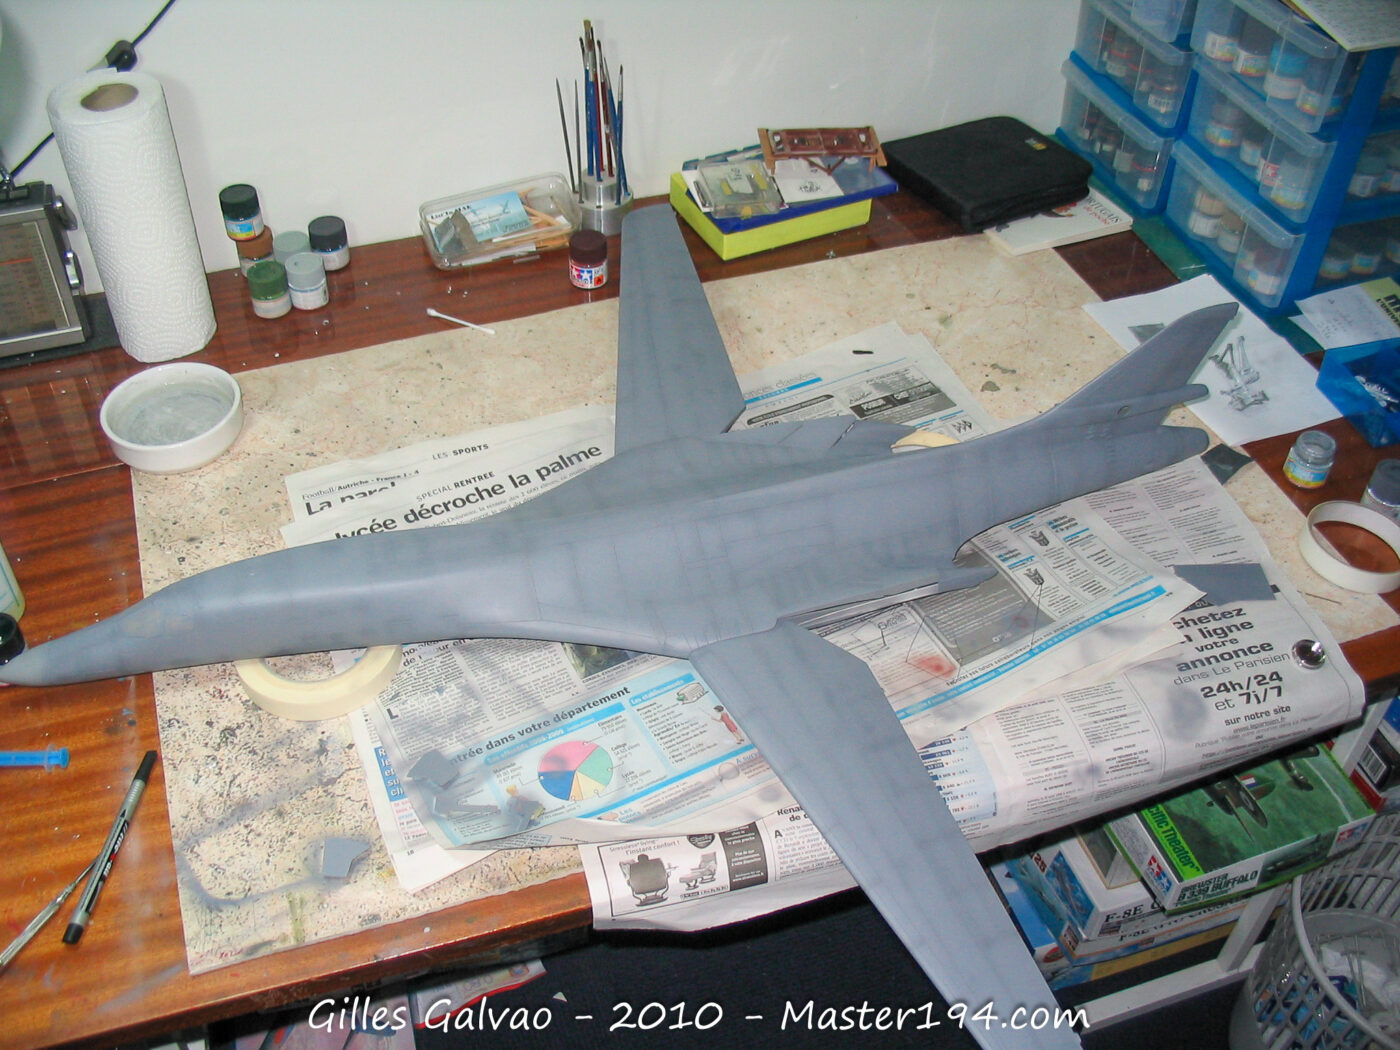
Next came the gloss coat, decals, another layer of varnish, and the weathering. Finally, the sub-assemblies were attached—nothing out of the ordinary for these steps.
The result