 by
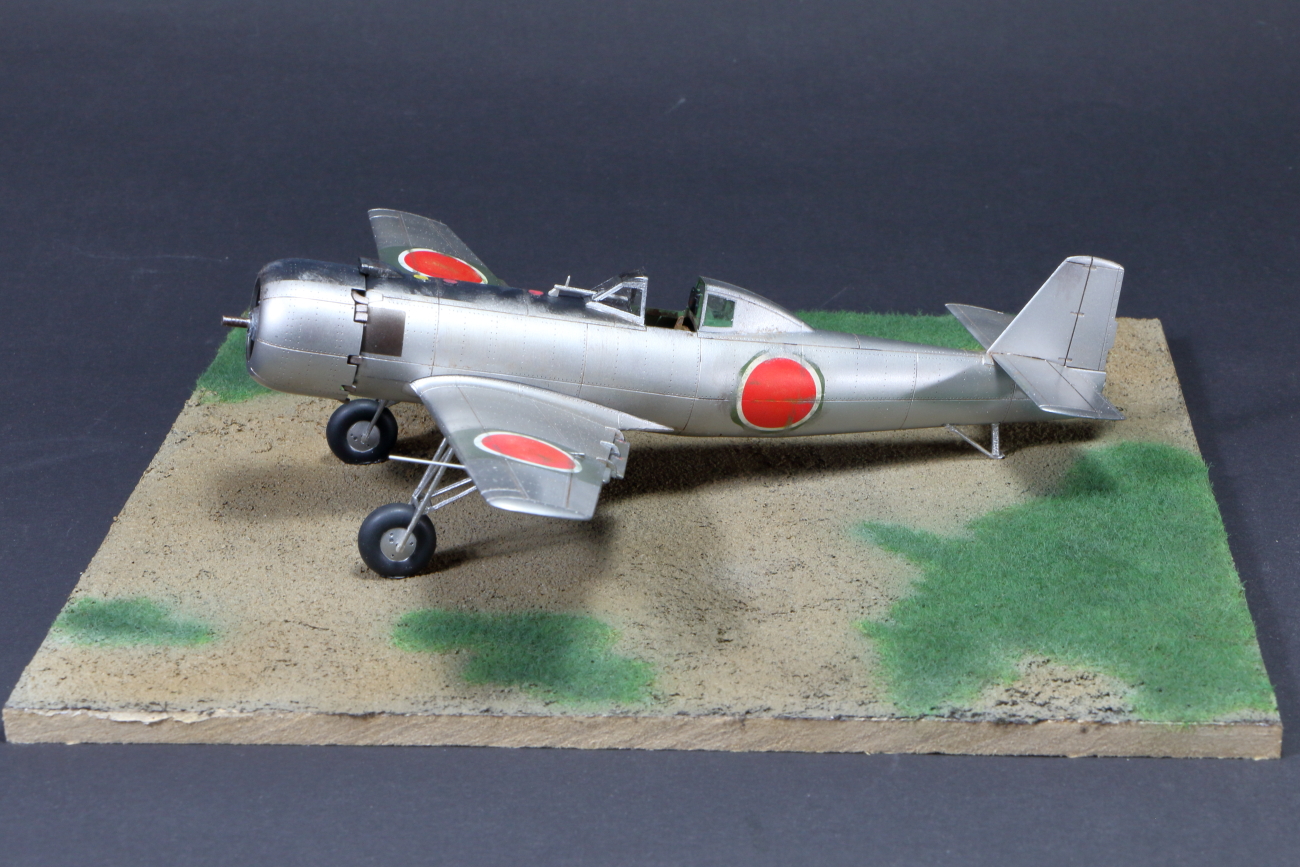
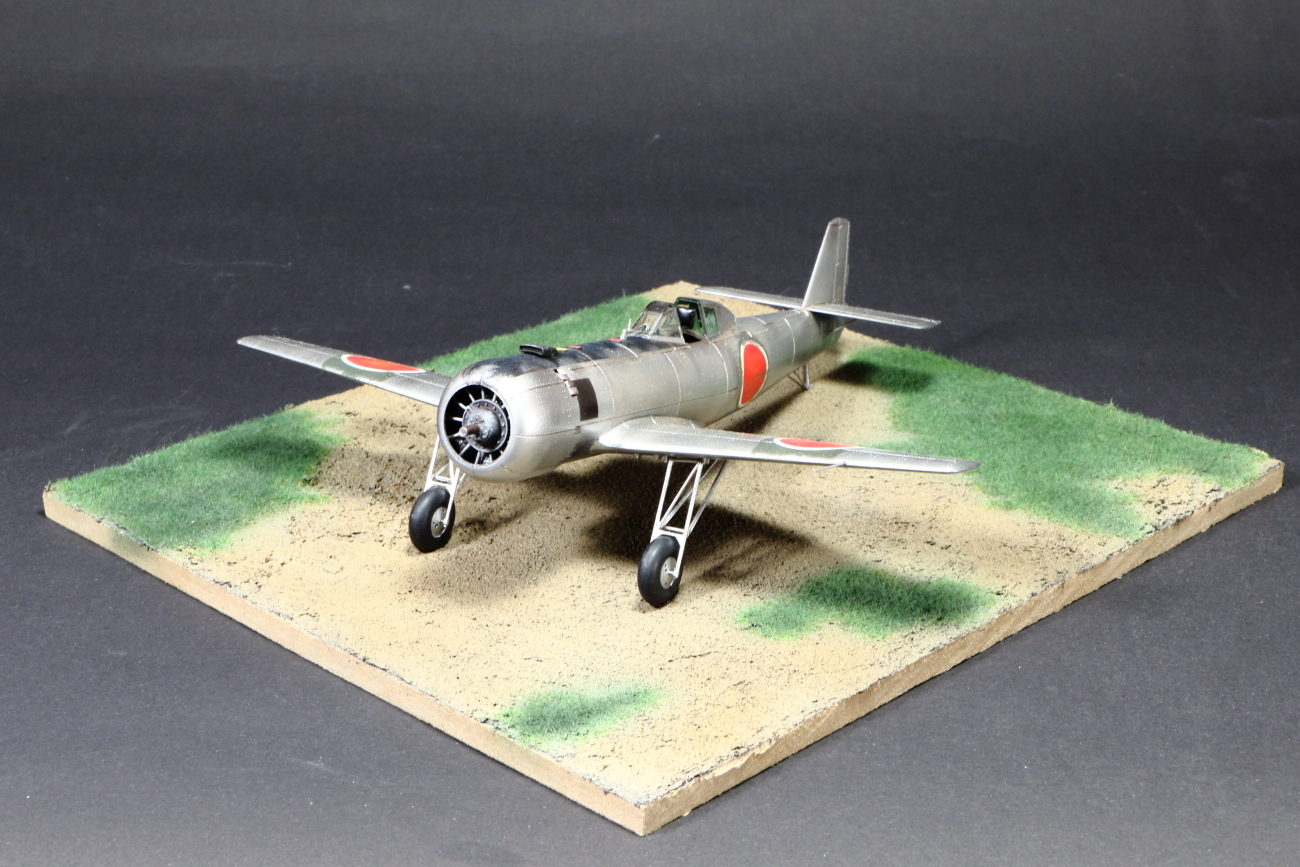
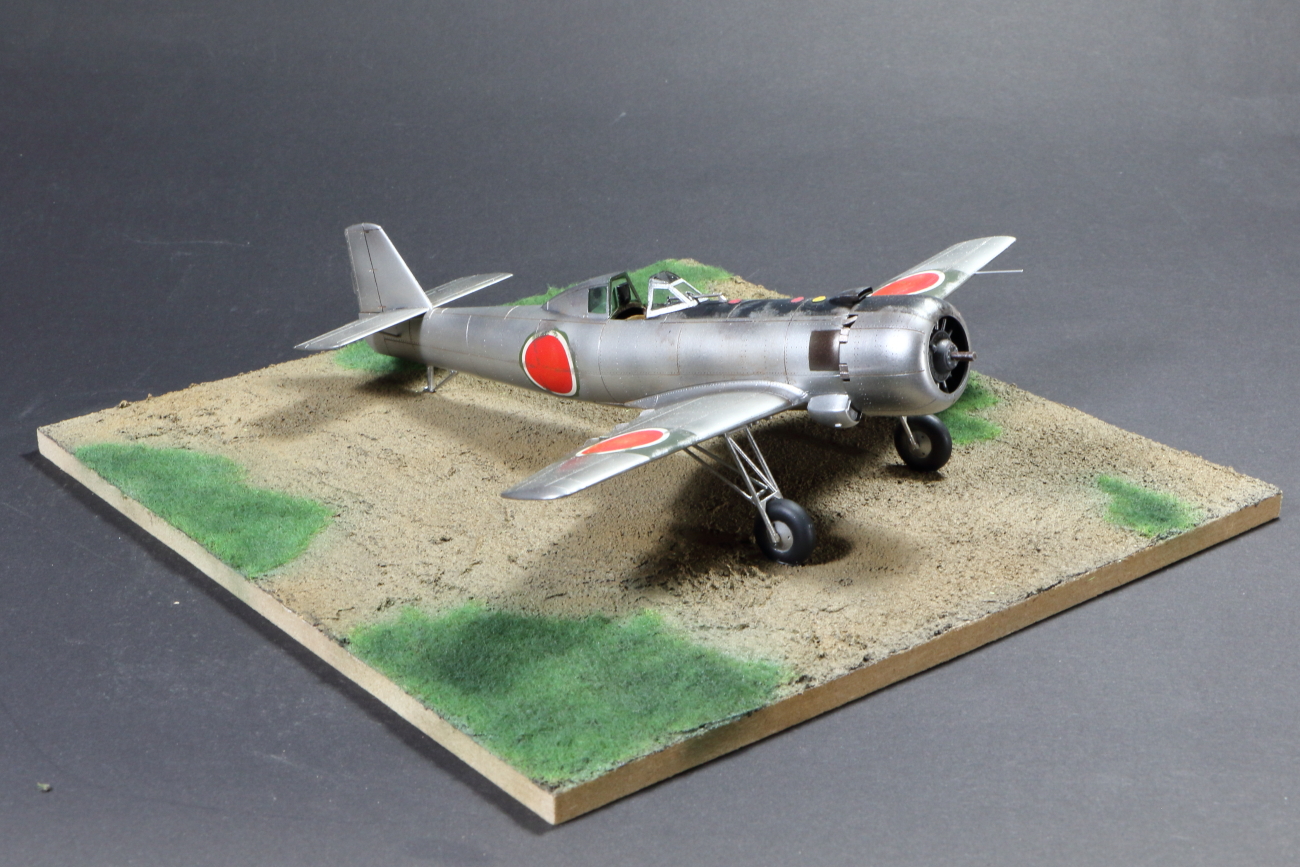
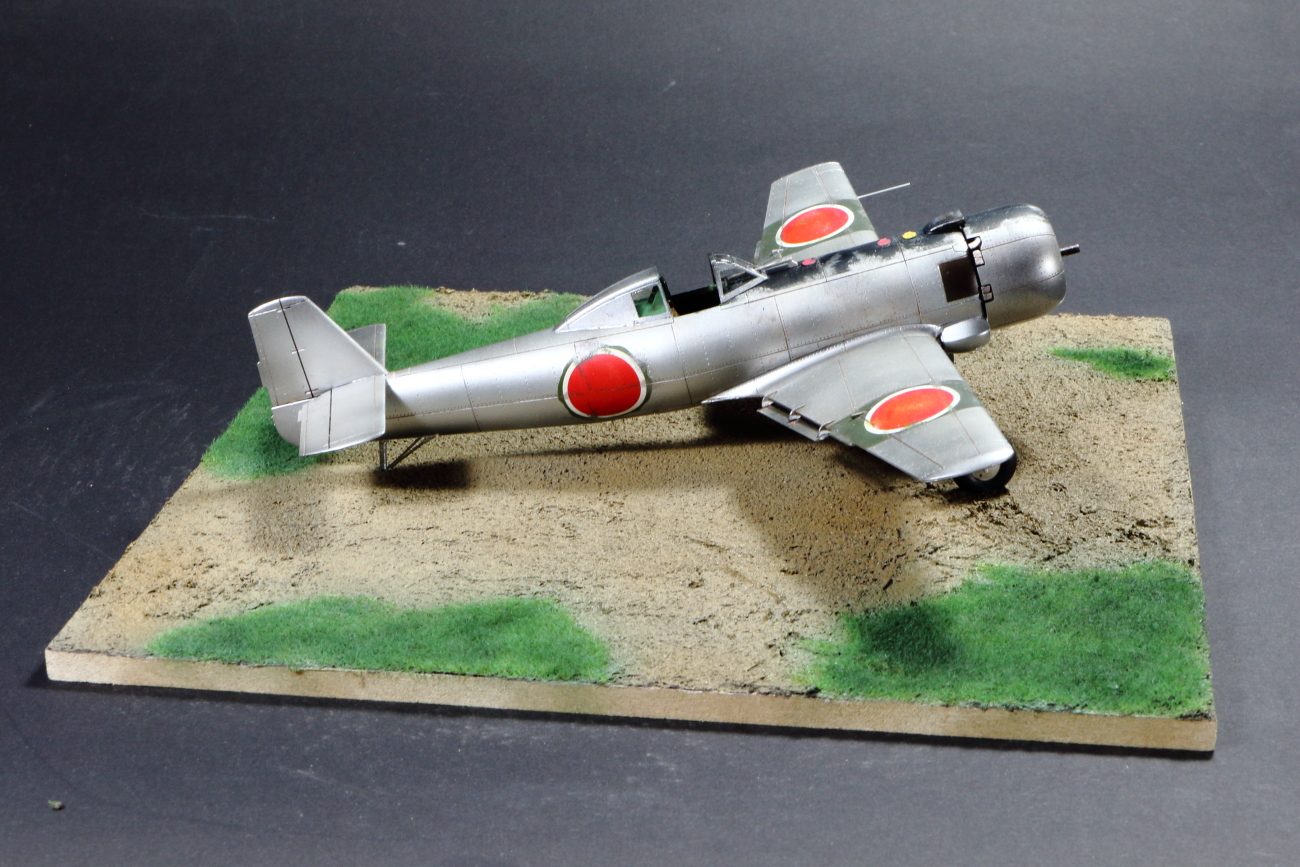
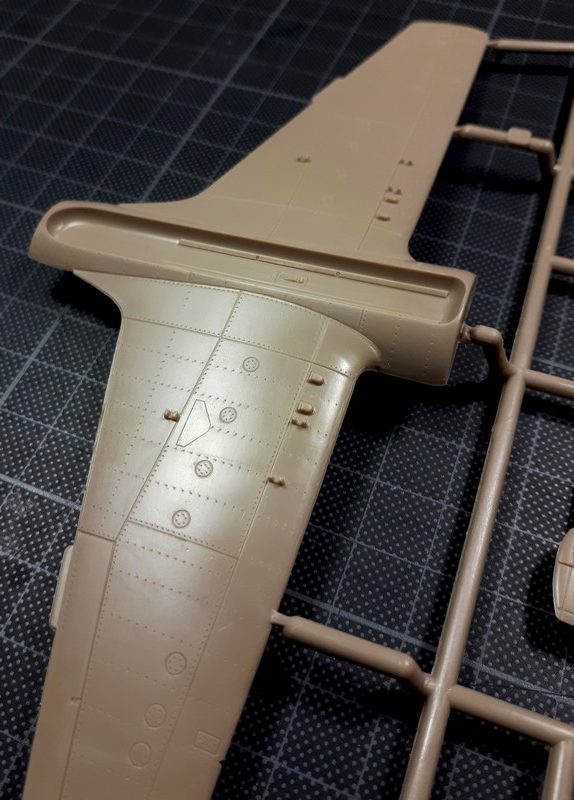
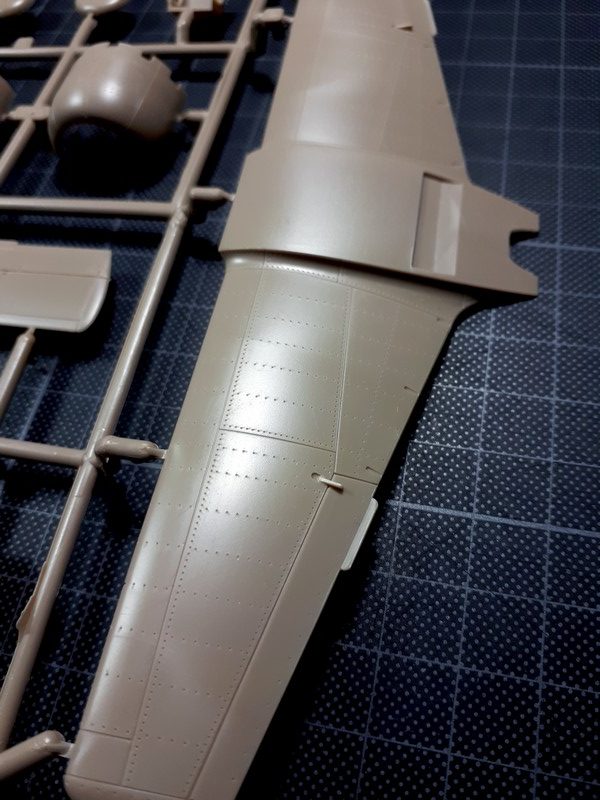
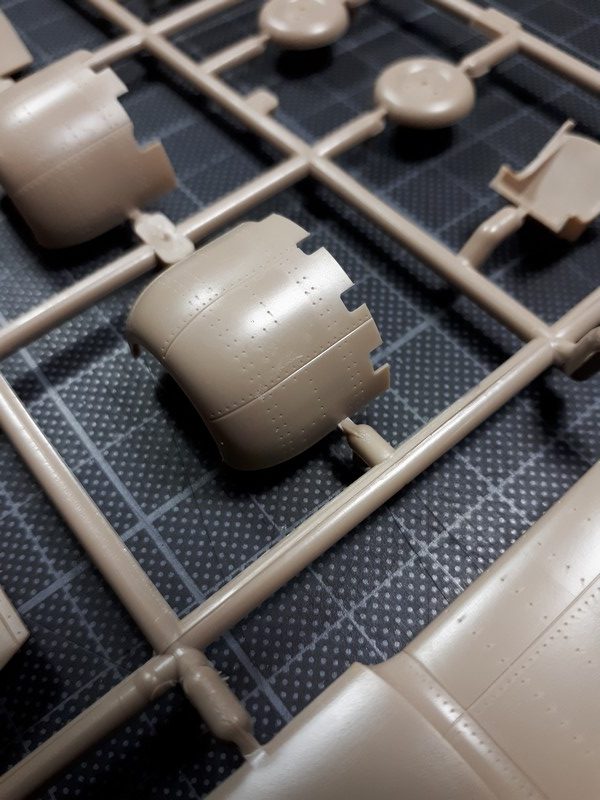
Here is my first build of 2021 (although started a few months ago): the 1/48 Eduard Ki-115 Tsurugi, kit number 8088.
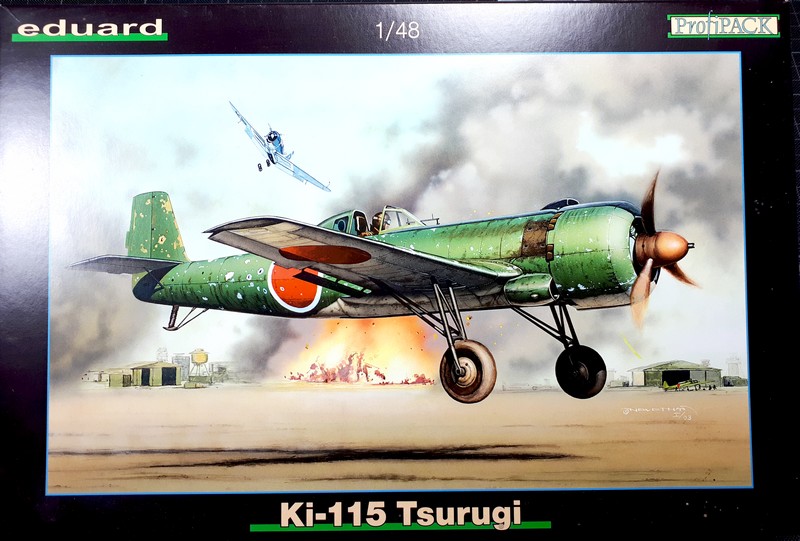
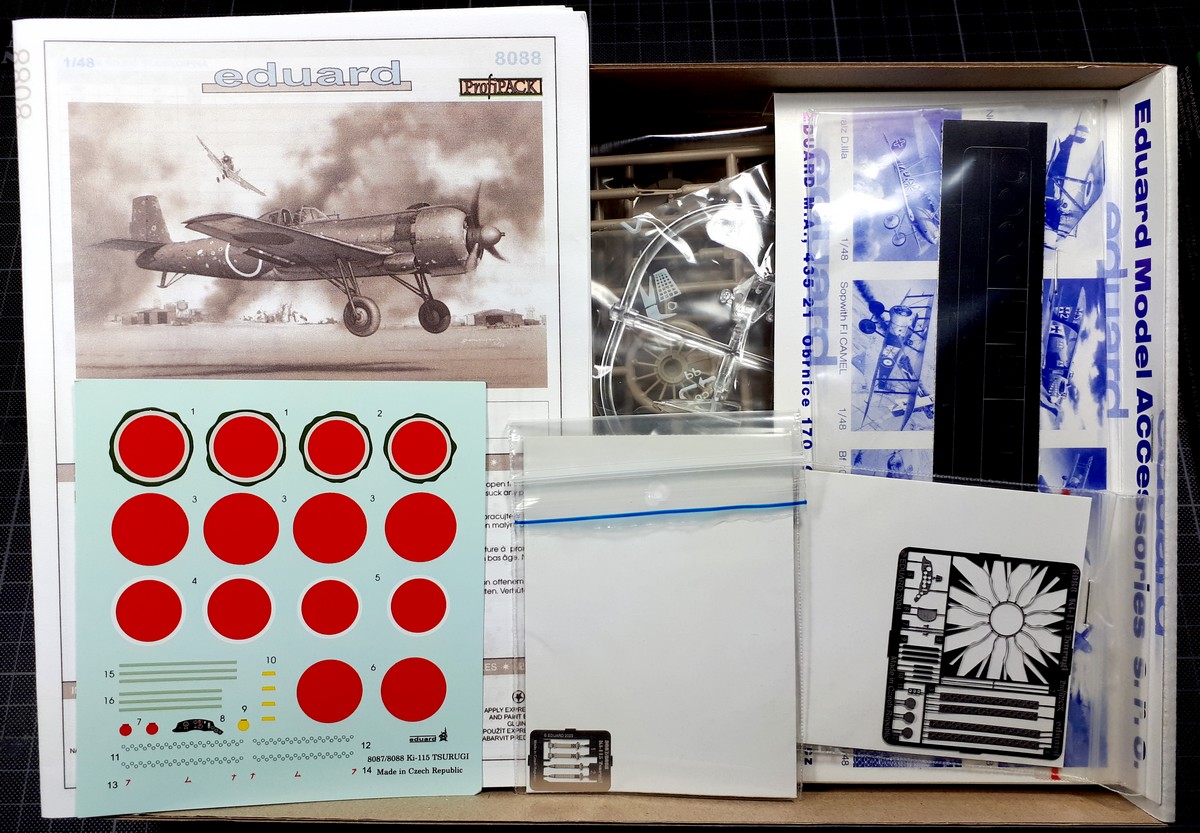
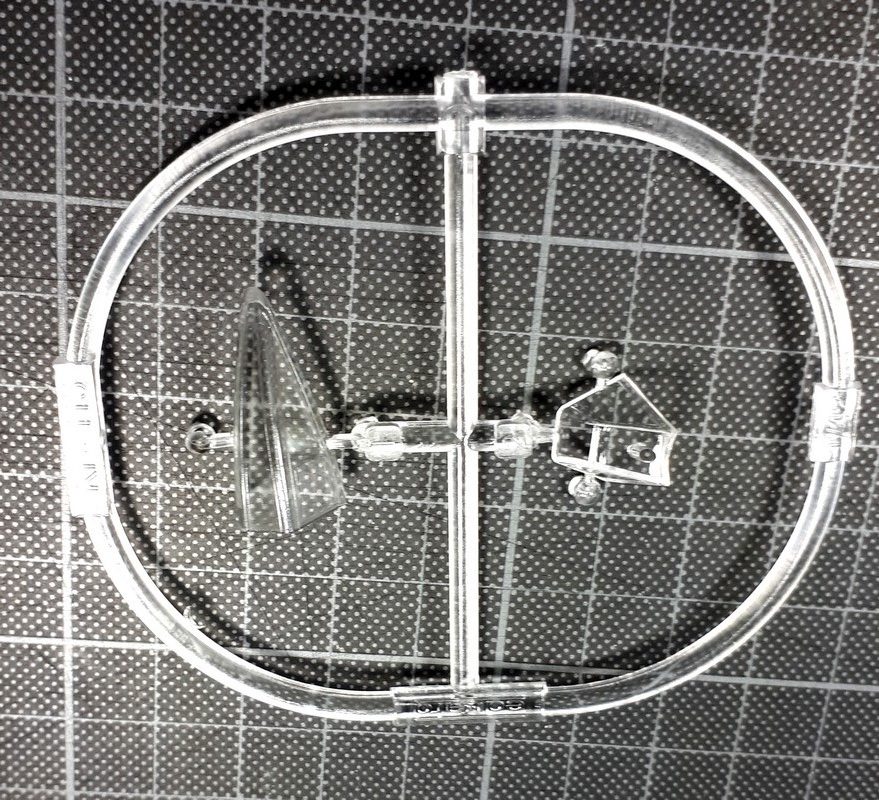
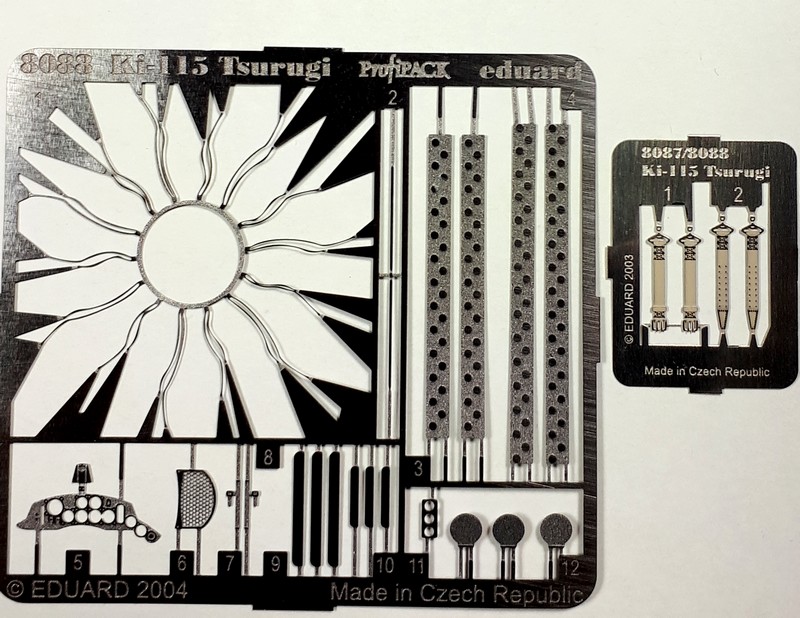
This is a ‘Profipack’ edition (reference 8087 being the standard version), which includes several extras in addition to the sprues and decals (the bare minimum to build the kit). In this case, we have:
- A set of masks (older generation)
- A photo-etched detailing fret
- A set of pre-colored photo-etched seatbelts
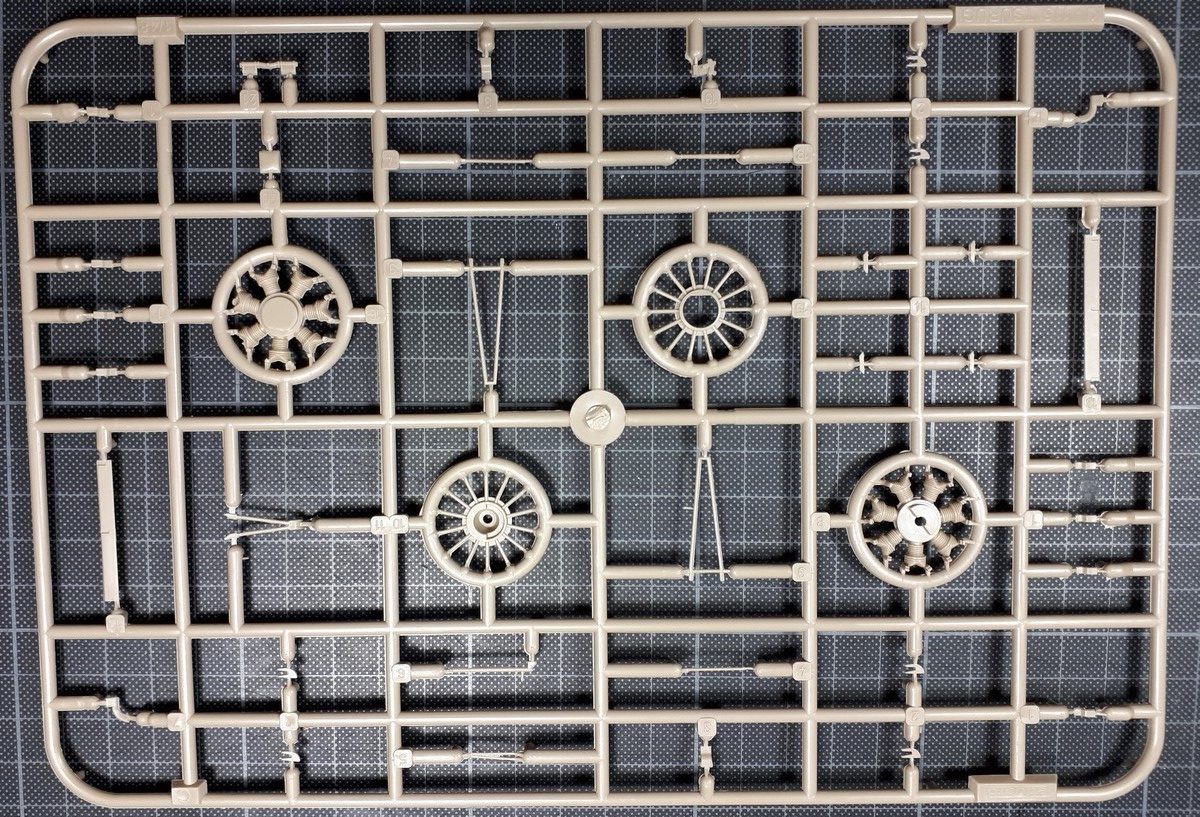
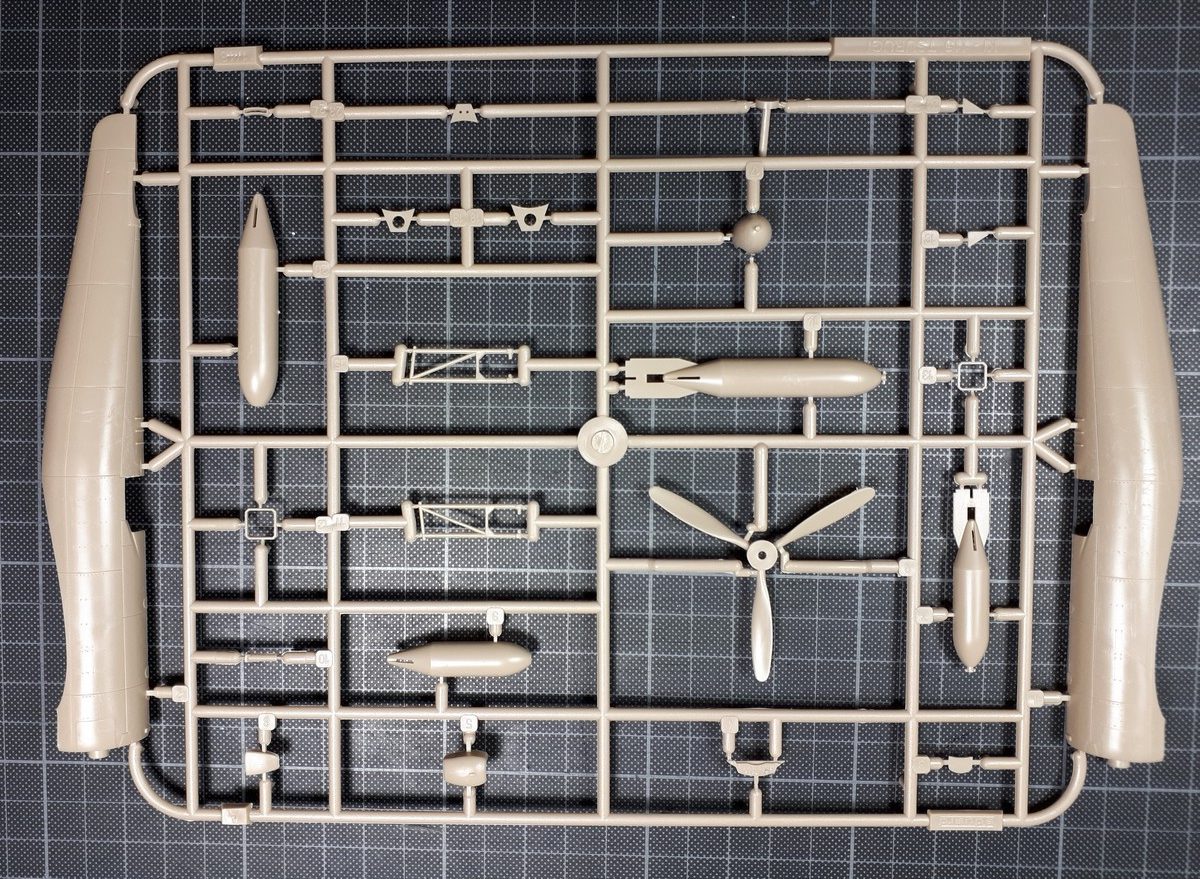
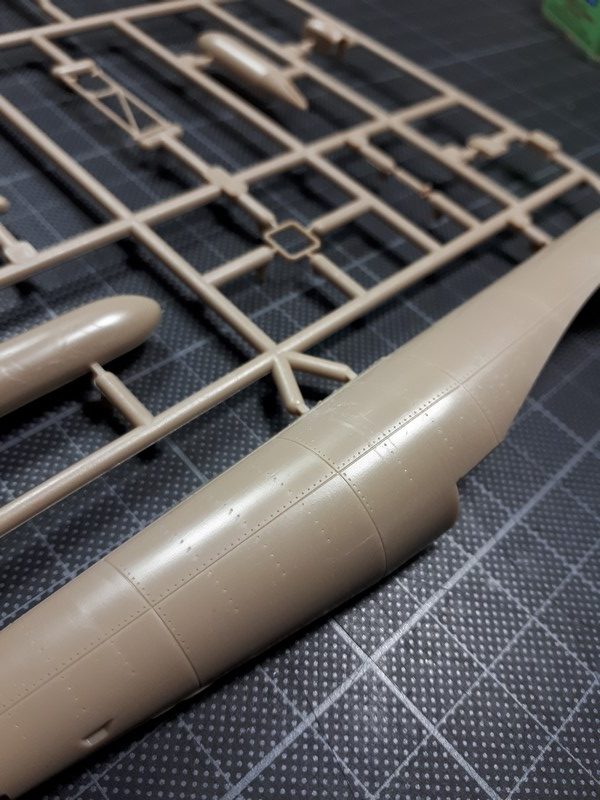
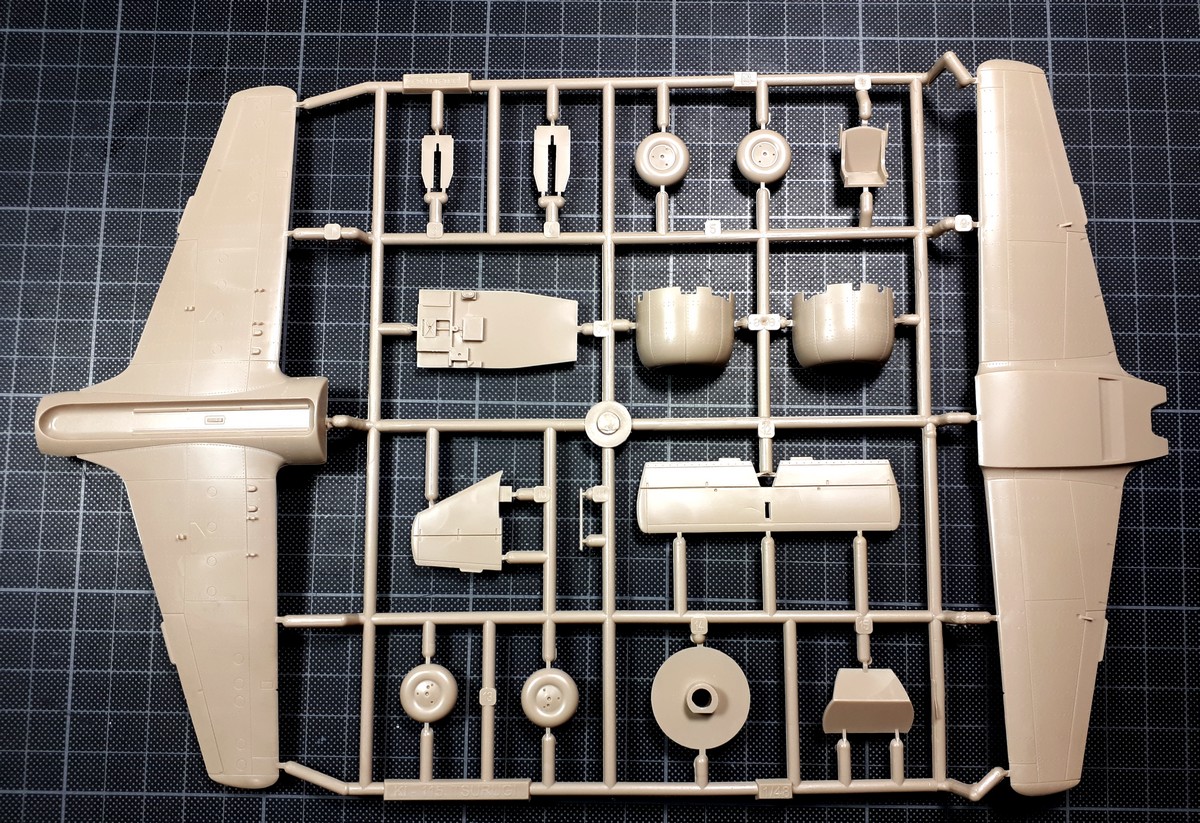
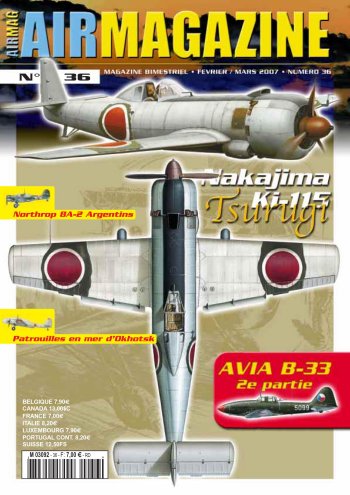
Regarding documentation, I used Air Magazine No. 36, which featured a photo that served as the primary inspiration for this build…
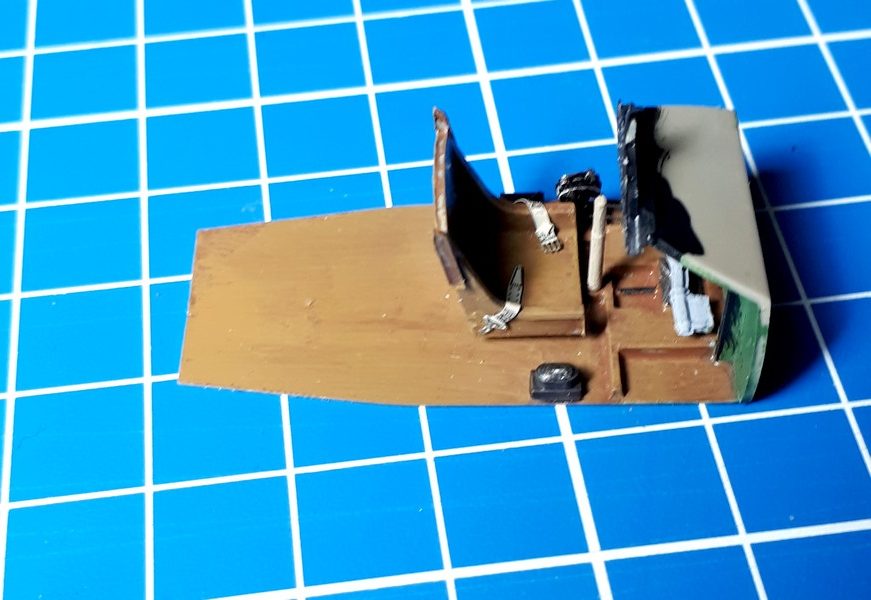
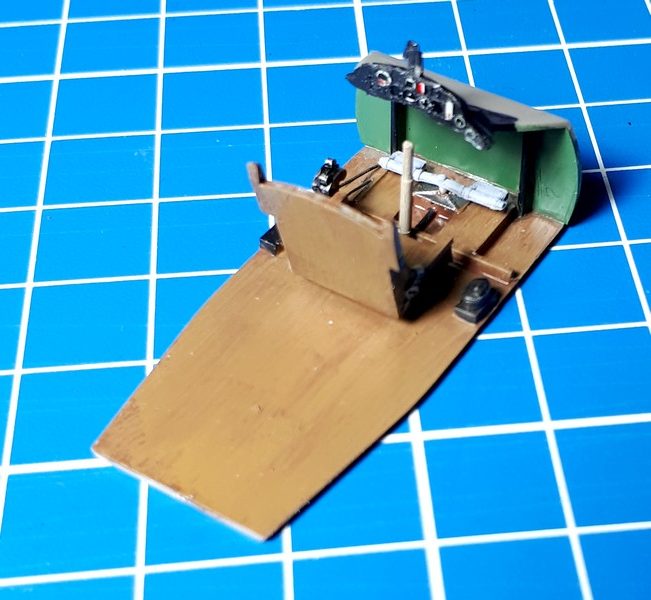
The build starts with the cockpit. The only real challenge here is the wood effect, which I simulated using a dark brown base coat with the airbrush, followed by a light brown applied with a flat brush.
The cockpit assembly has one tricky spot: the front section and the instrument panel. You have to find the exact gluing position to ensure it fits into the fuselage correctly, as there are no effective alignment pins or guides to help seat it in the right place.
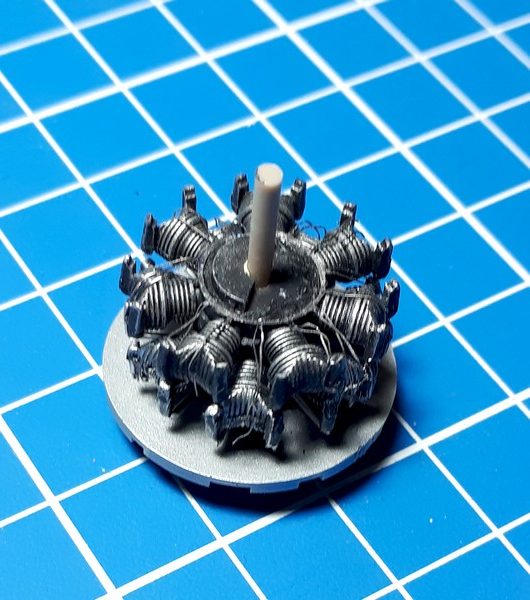
Closing the fuselage didn’t present any particular problems. The wing-to-fuselage assembly was the only part that required removing some material to ensure a proper fit.
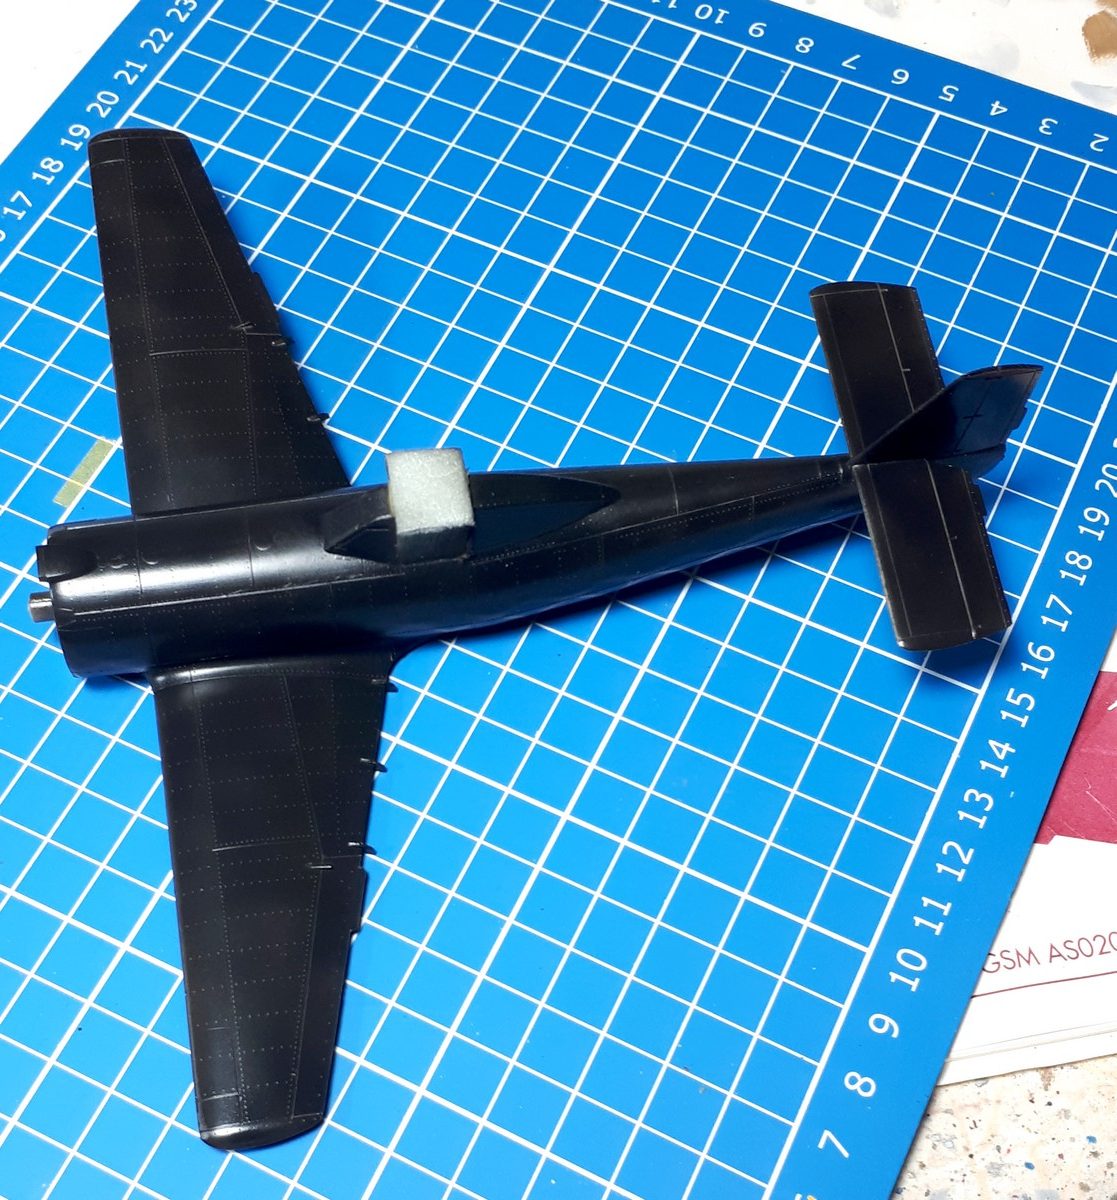
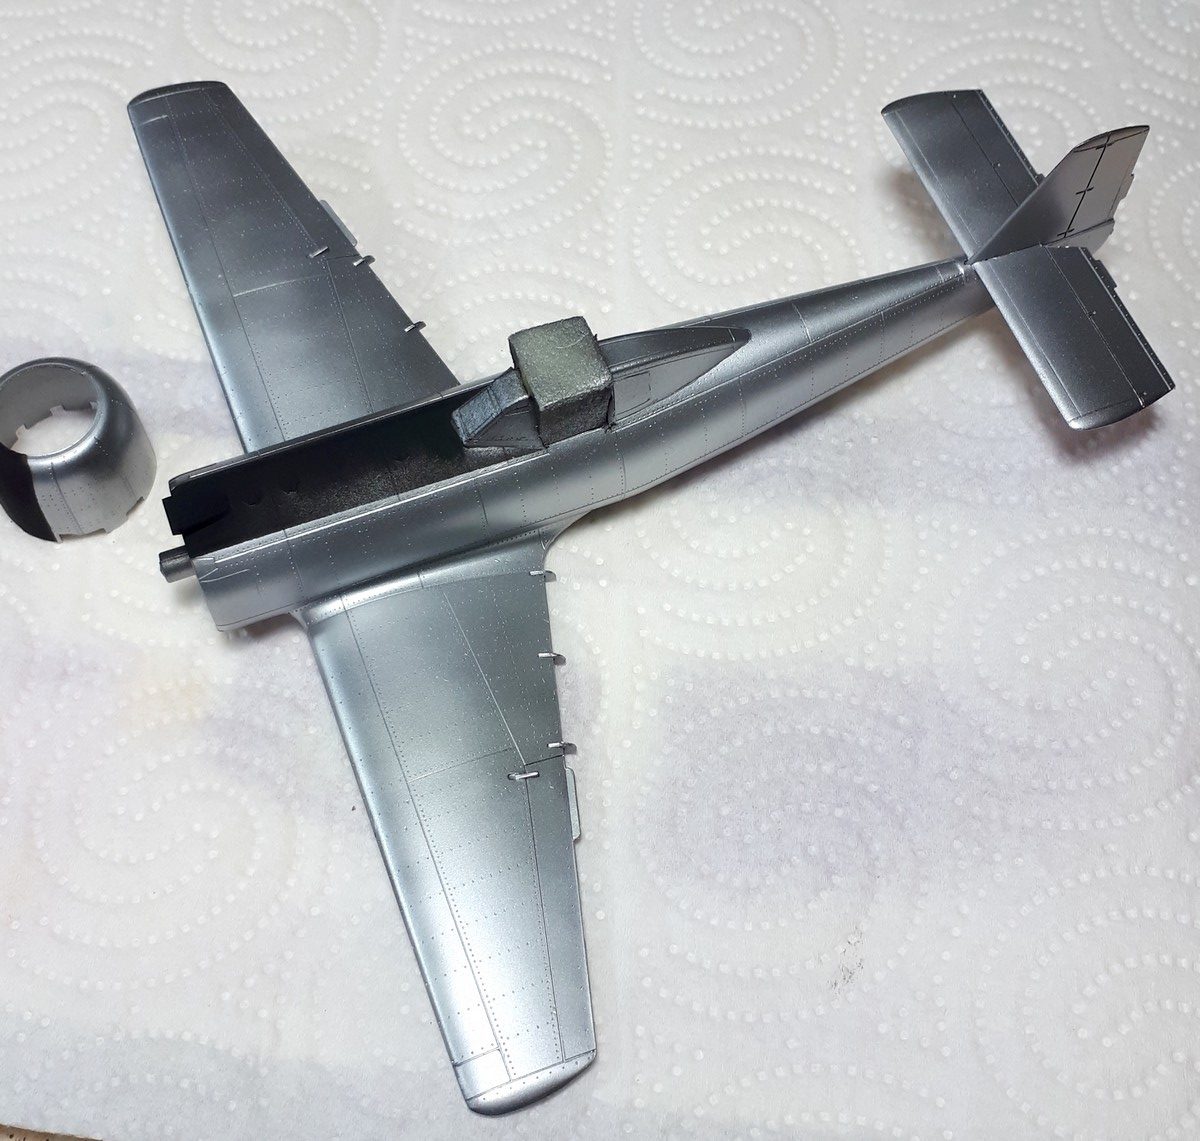
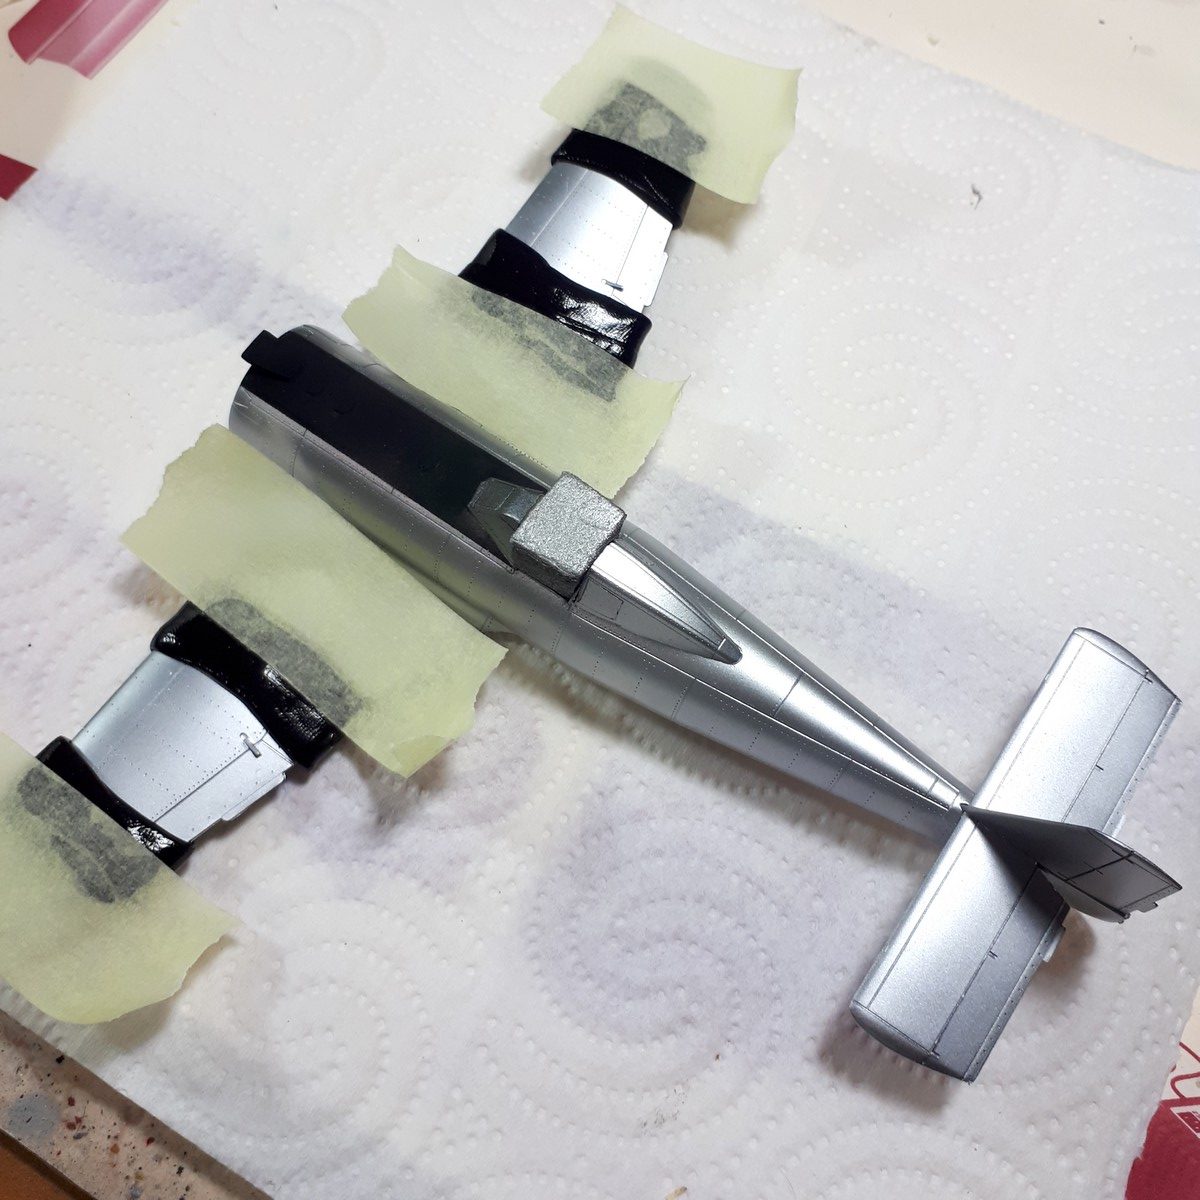
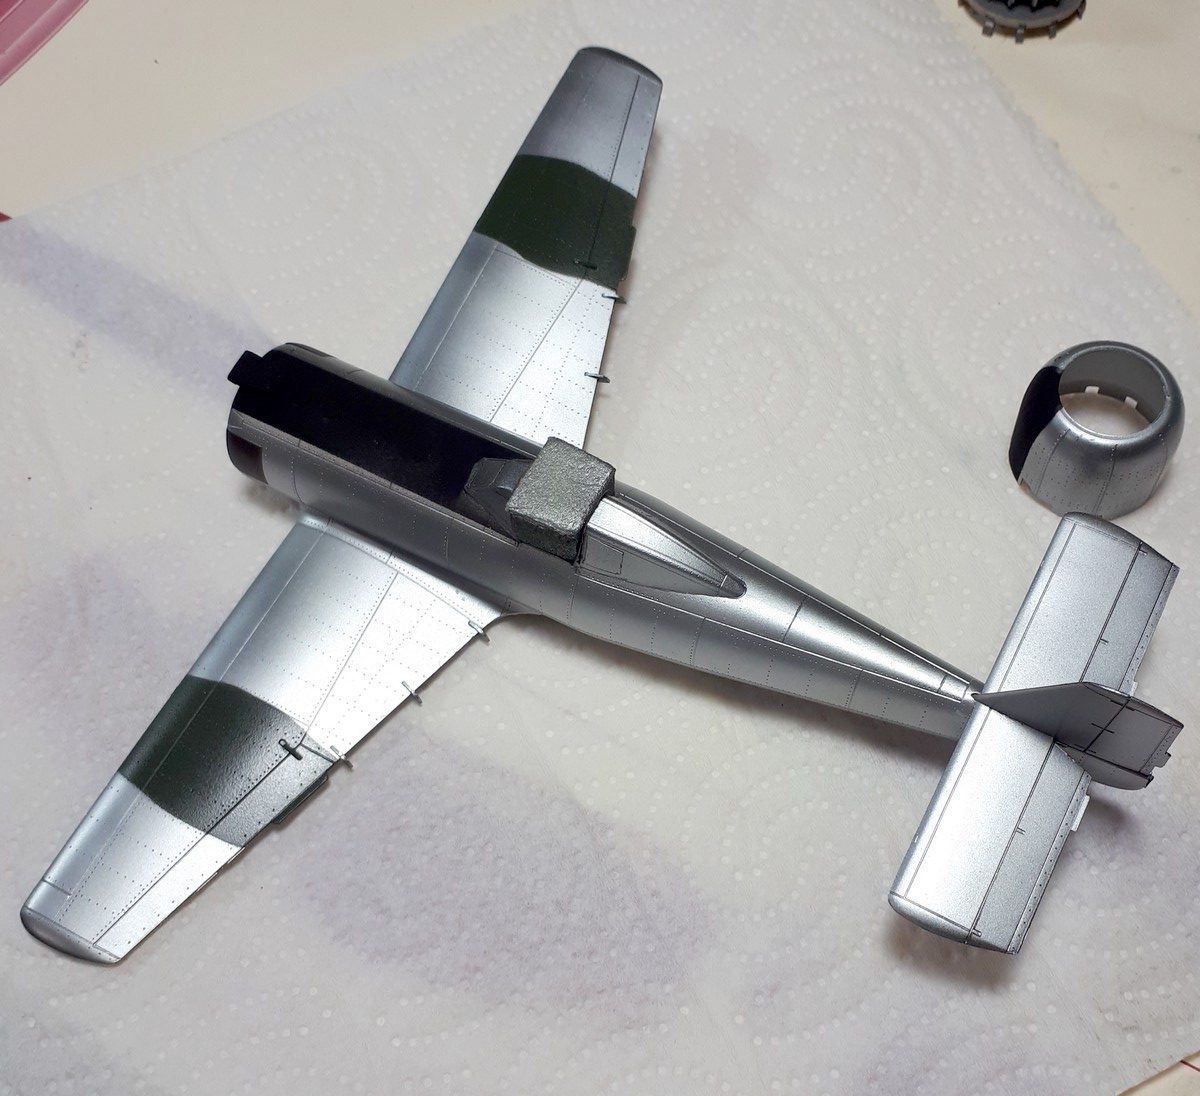
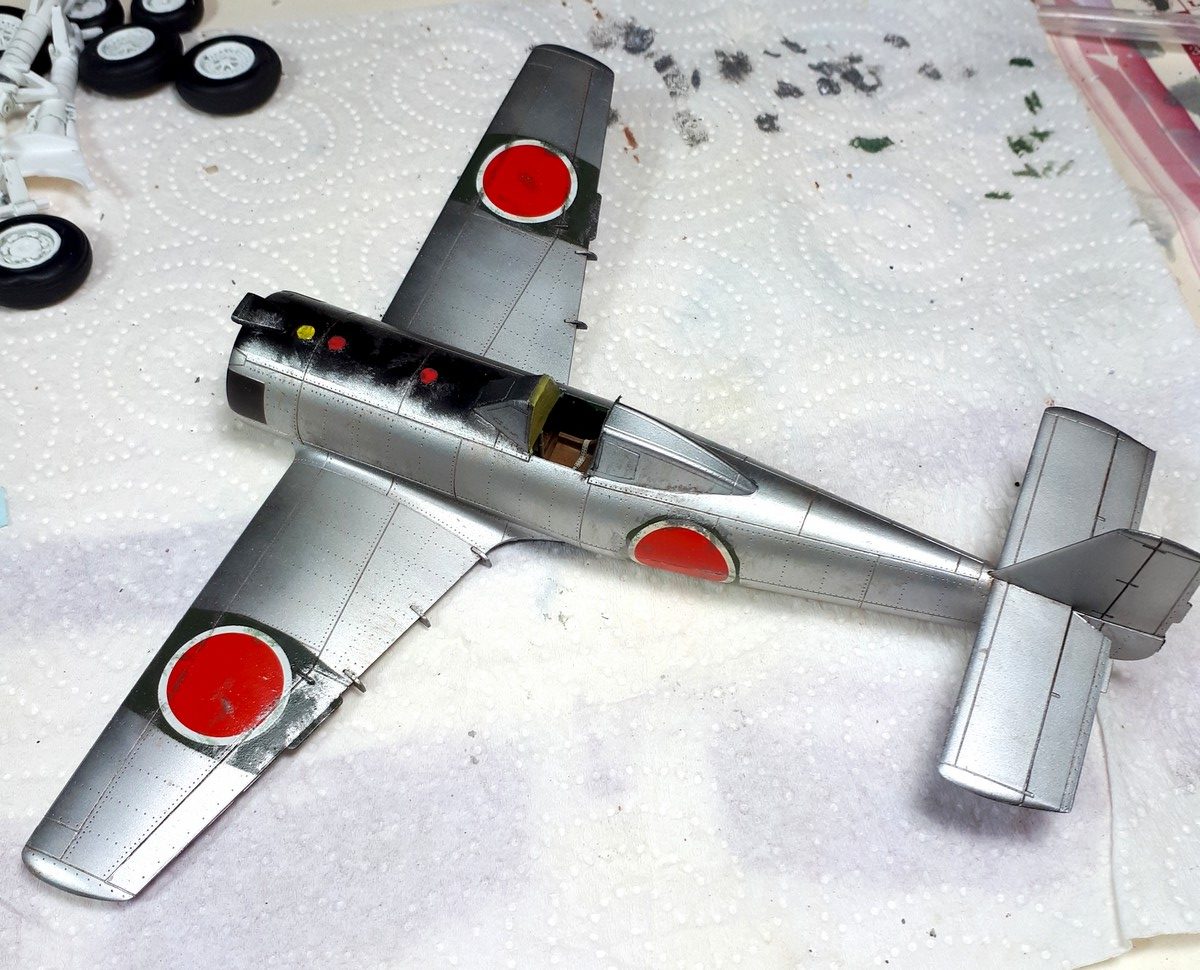
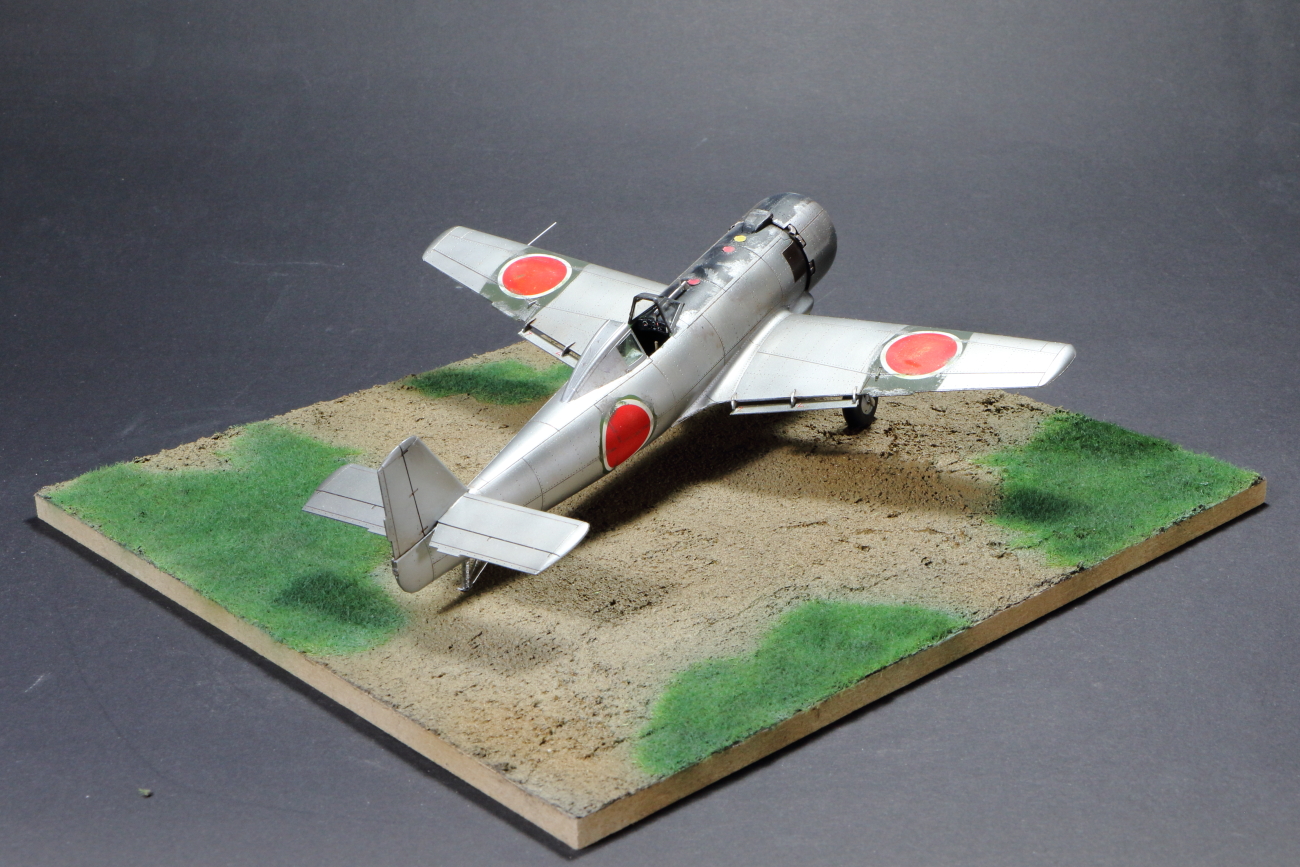
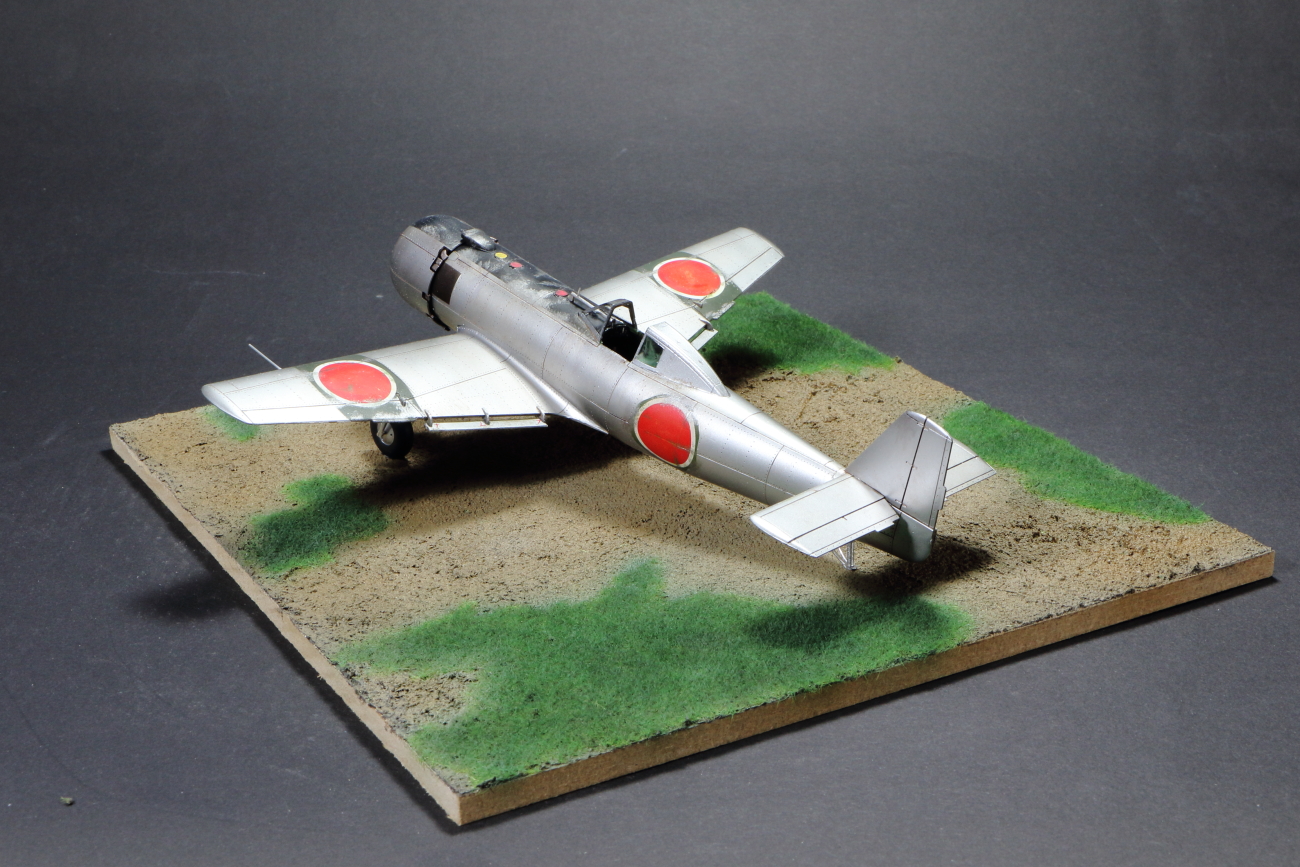
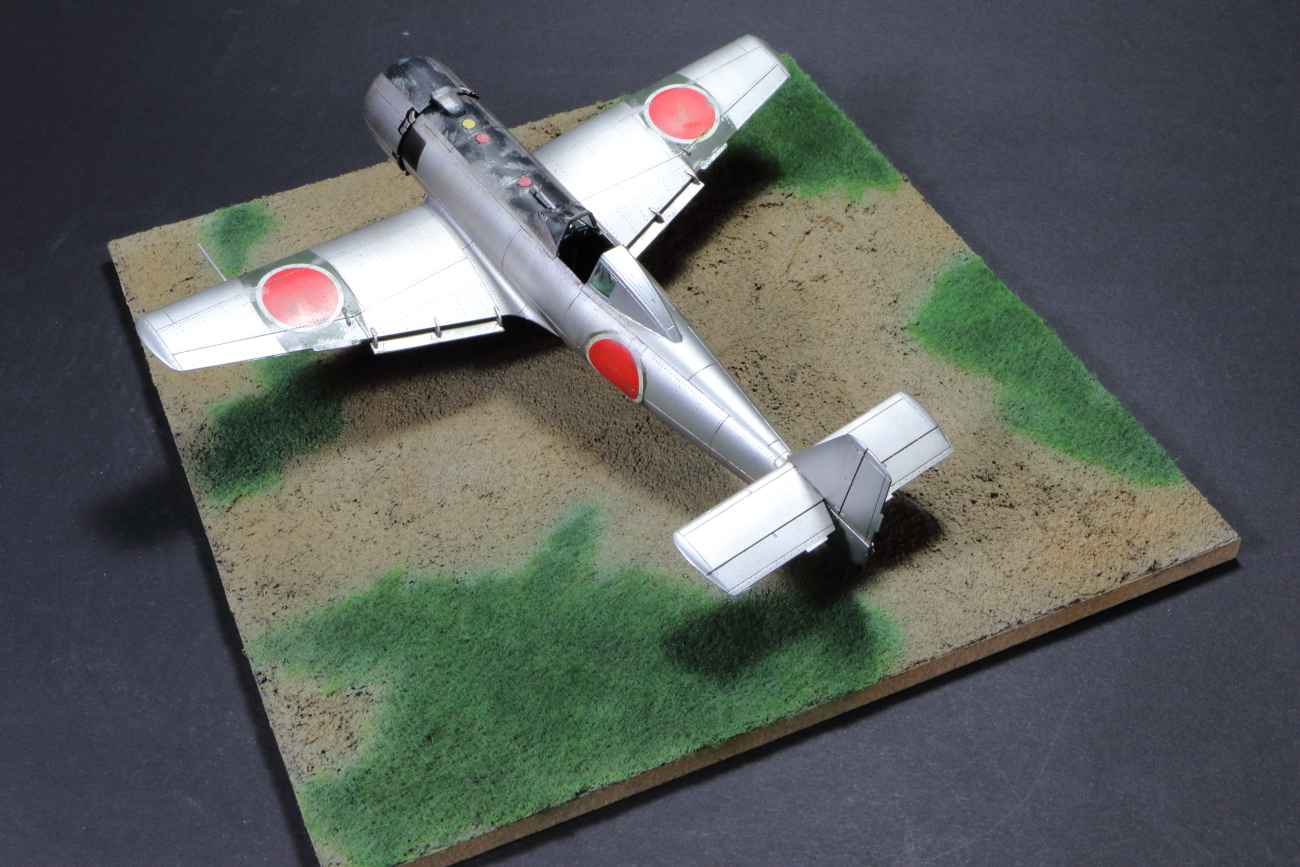
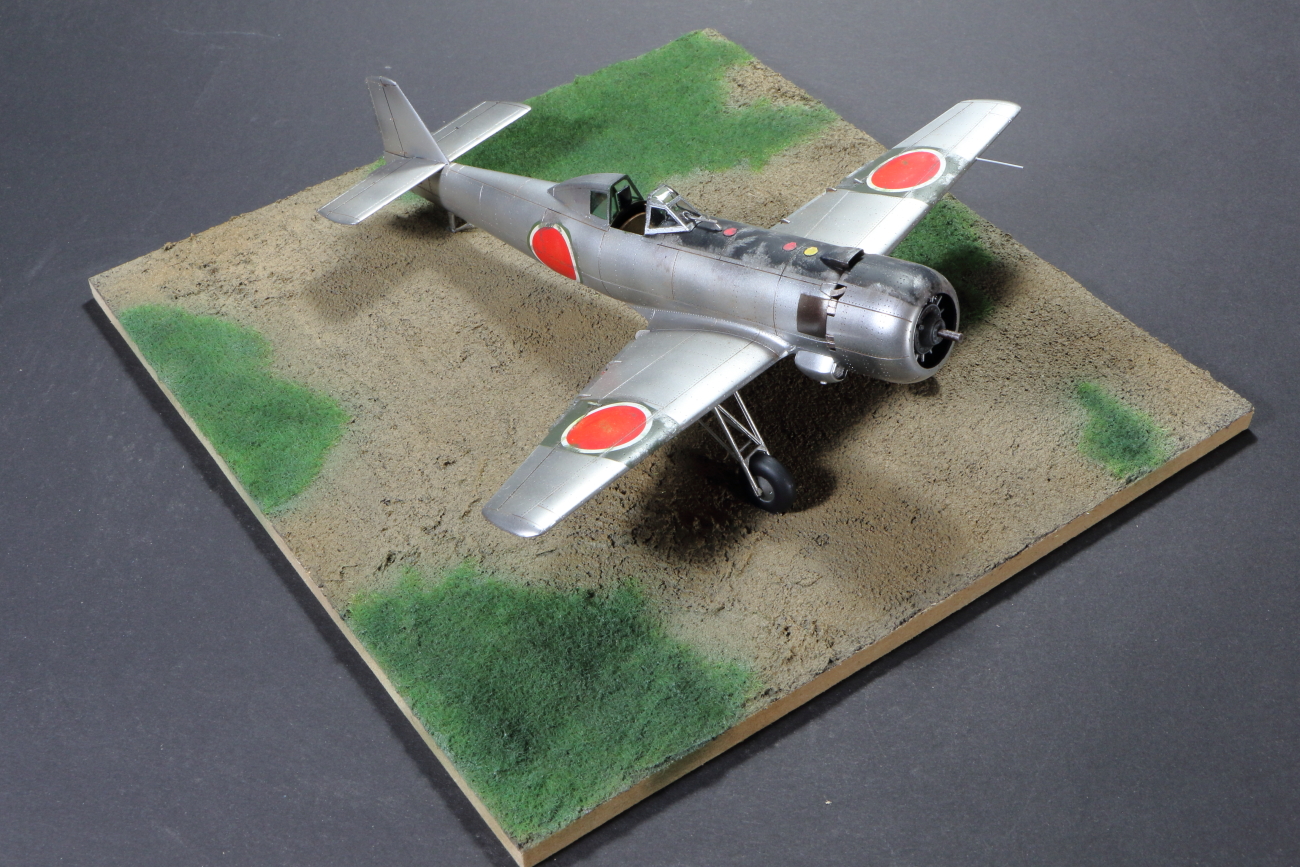
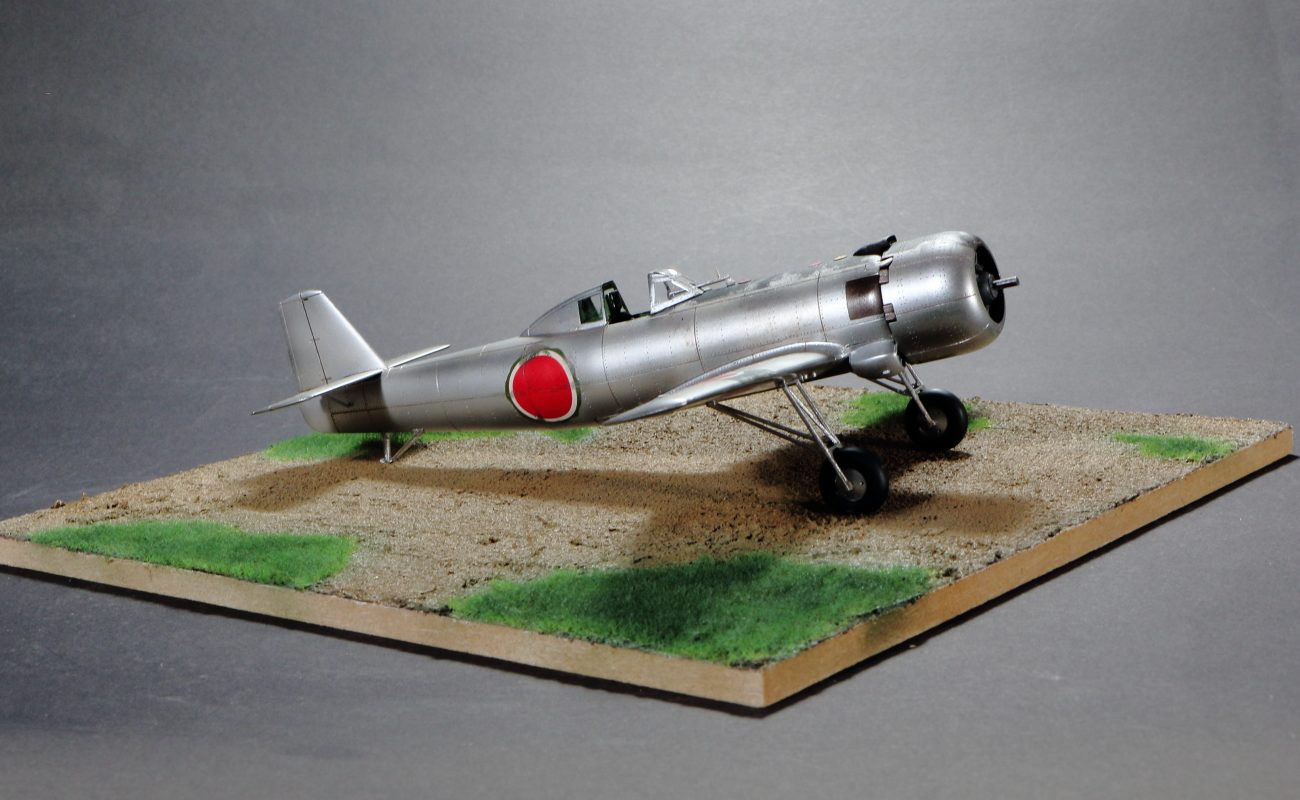
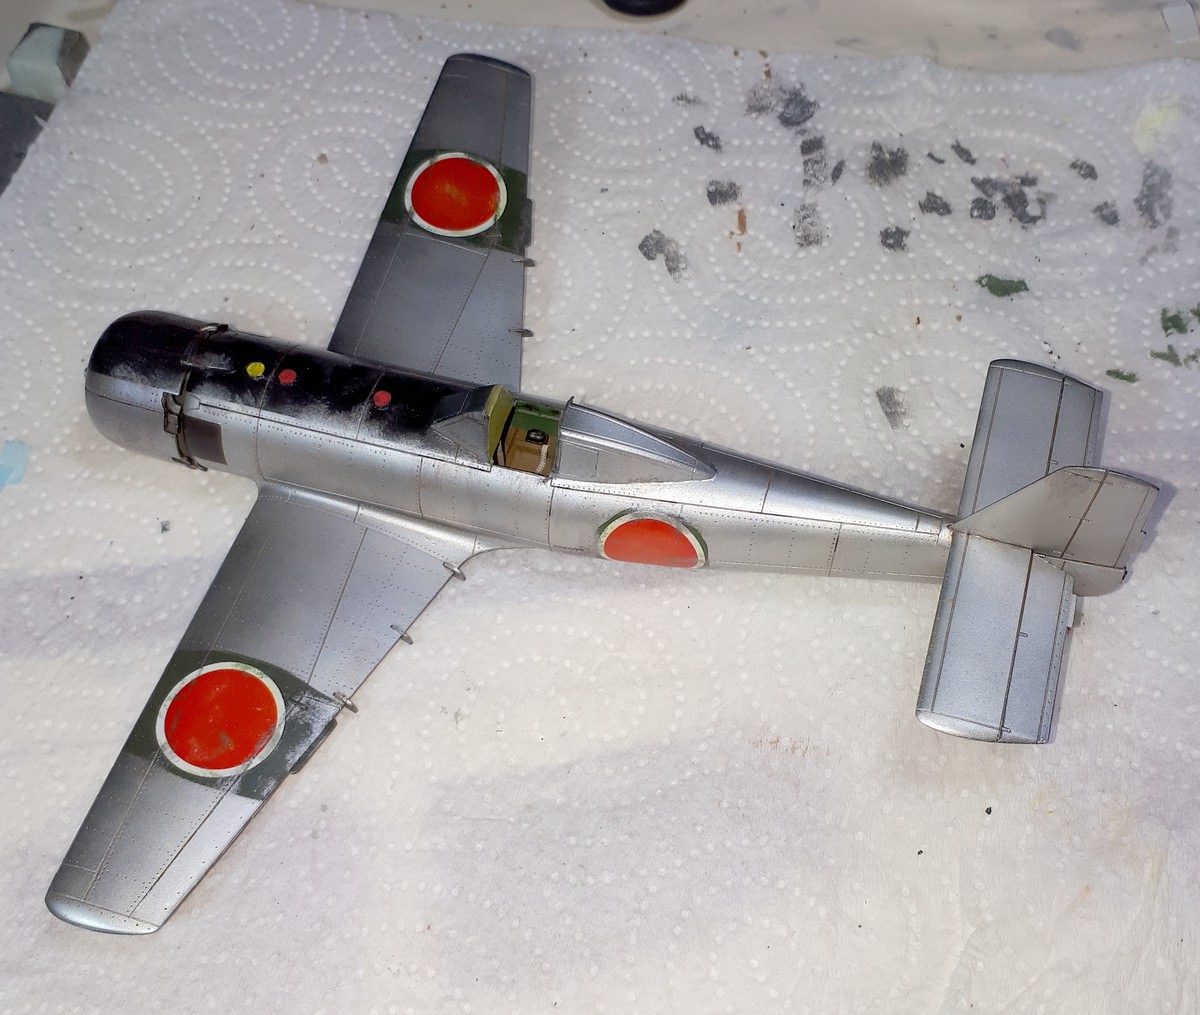
I decided to depict the aircraft as abandoned right out of the factory, without its propeller, inspired by a photo showing it with a flat tire and partially mired in mud. I simulated the wear on the green camouflage and the black anti-glare panel using a flat brush and aluminum paint to reveal the metal underneath. The Hinomarus were also weathered to show the green or even the bare metal in some spots. Finally, I tarnished the entire metallic finish with a dark brown wash and added very subtle rust streaks.
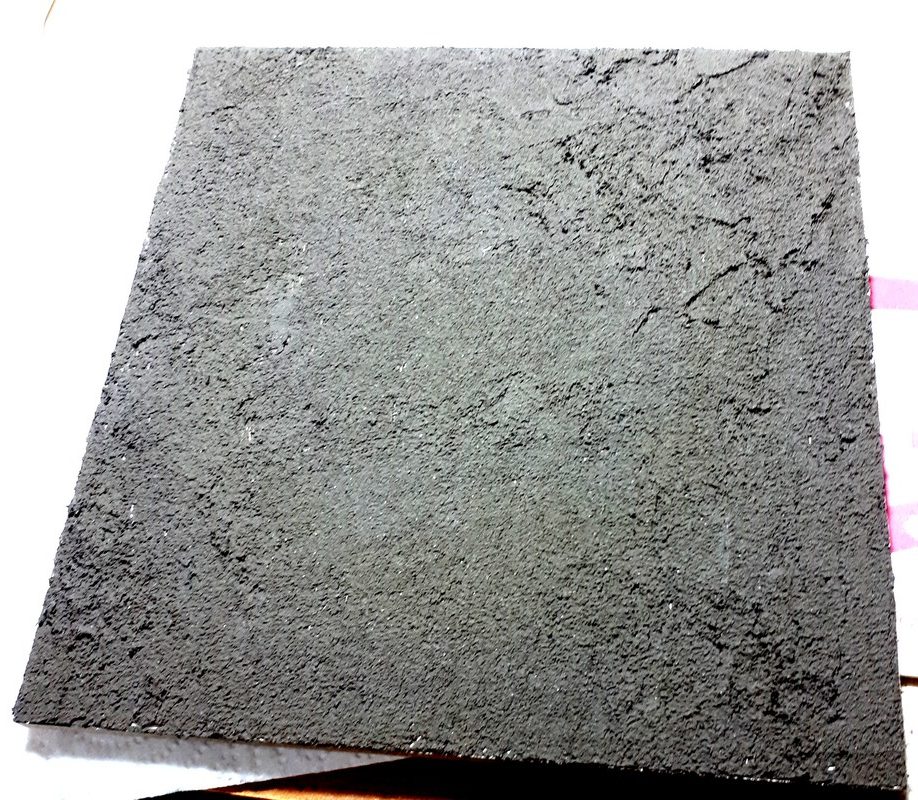
Since I’m currently working on a fairly ‘ambitious’ diorama project for my ACH-47 Chinook (considering my current skill level), I decided to create a small base for the Ki-115. I used an MDF board coated with a layer of AK8018 Dark Earth texture. Interestingly, the bottom of the jar had cracked during transport to an exhibition via ‘La Boutique’… but to my surprise, it held up perfectly for several years without drying out!
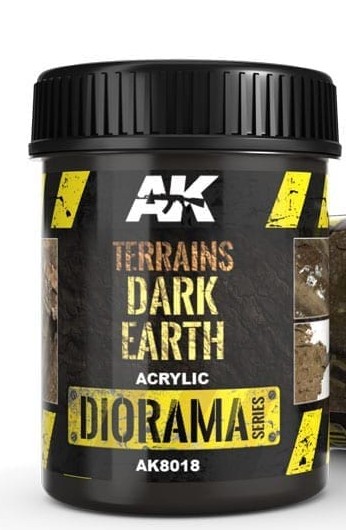
I applied the texture using a small spatula. While the Dark Earth shade is a bit too dark for my specific project, the texture grain looks perfect for 1/48 scale. It just needs to be painted and some static grass added…
And here is the final result! It’s very difficult to capture the metallic effects in photos… This is where you realize the importance of good indirect lighting. I hope to have the chance to show it at a future exhibition!