
 by
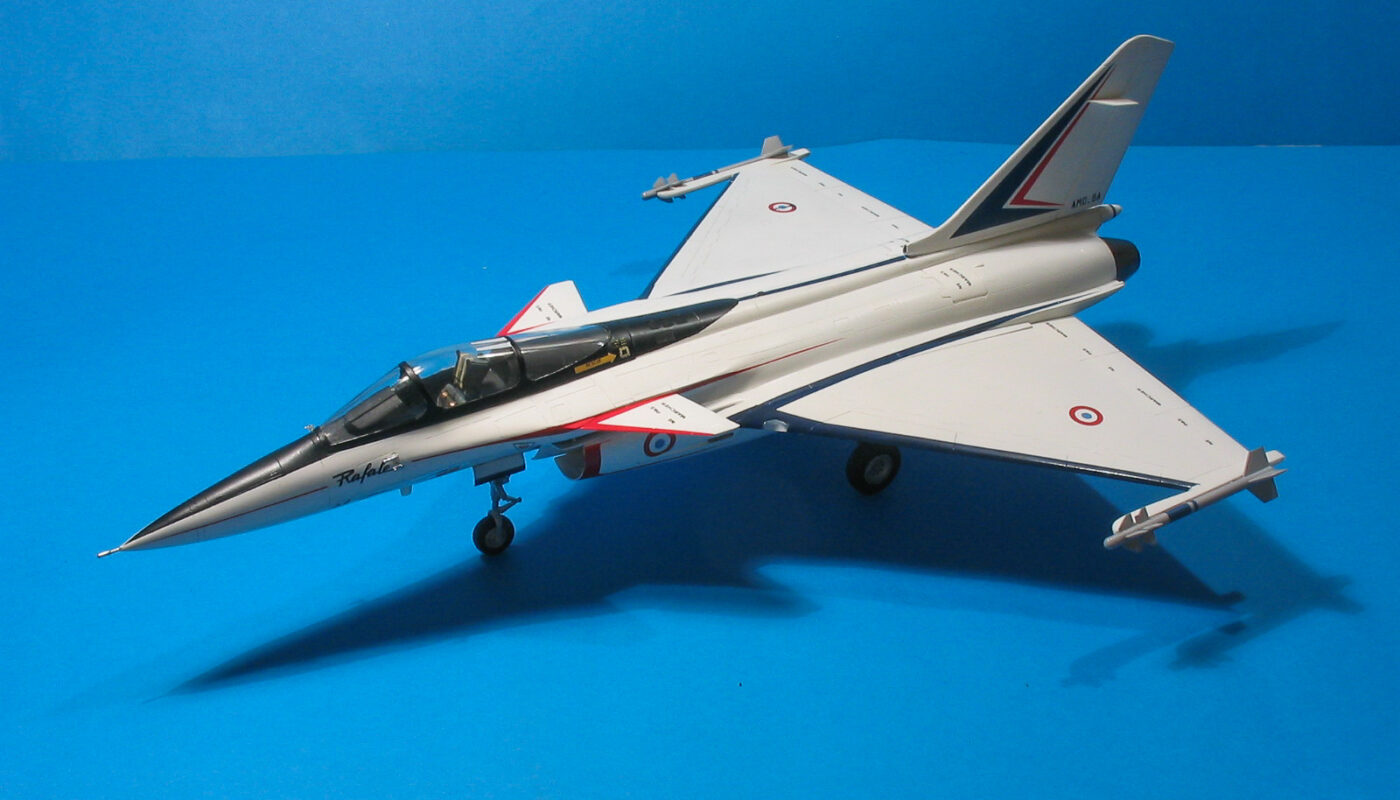
This build was completed back in 2006, long before the influx of modern resin accessories and photo-etched detail sets available today. Two decades later, taking a fresh look at this unique 1/48 scale representation of the Dassault Rafale A technology demonstrator remains a valuable exercise—especially when identifying modern detailing techniques to elevate this classic kit.
In-Box Kit Review
Heller’s release remains the sole injection-molded kit of the Rafale A demonstrator in quarter scale.
The sprues are molded in white styrene. The kit suffers from noticeable sink marks requiring thorough filling, alongside heavy mold seam lines across several components due to aging tooling technology. Fortunately for modelers, the airframe features finely recessed panel lines,
The surface of the plastic is very clean (I have some memories of the same brand’s Jaguar, which required extensive sanding to remove a rough texture): this will make painting (gloss white) easier and save a lot of time and sandpaper!
The cockpit contains a seat that needs to be detailed or replaced, an instrument panel with raised instruments (very, very light relief!), side consoles again with raised instruments, the throttle, as well as the side-stick controller (innovative in the Dassault lineup). It is not luxury, but it is consistent with the standards of the era and sufficient for my taste.
As for stores: 2 drop tanks, 2 Magic, and 4 Mica missiles. Personally, it will just be the 2 Magics on the wingtips!
The landing gear: a bit crude, but it looks the part… Some work to be expected.
Regarding the decal sheet, we will talk about it later…al decal sheet, its age and printing quality warrant a closer look…
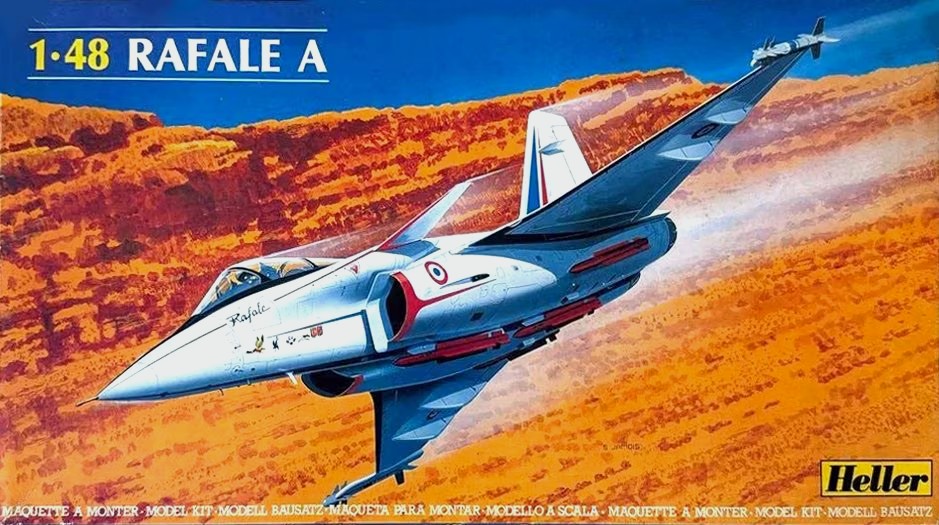
If you still have this kit in your stash waiting to be built, you did well to wait! BAM Models has released nozzle sets allowing you to depict either the mixed M-88 and F404 configuration, or two F404s. Also worthy of note are intake sets that I would qualify as essential—the original kit parts lack ducting altogether, and these will hopefully fit much better than the Heller pieces.
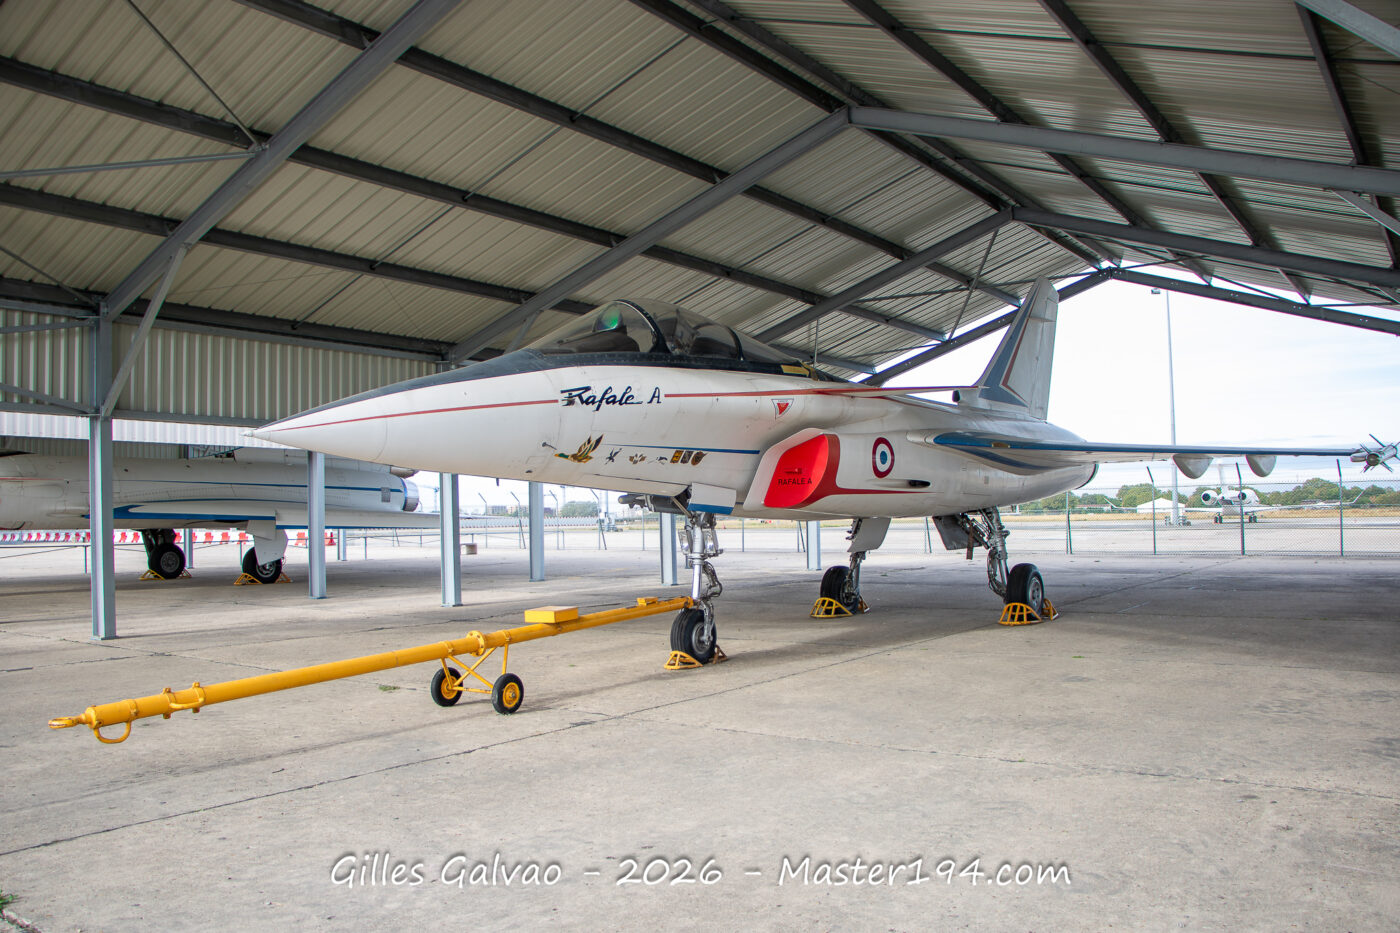
You can find a walkaround of the Rafale A here :
Assembly
Assembly begins with the cockpit. You assemble the seat, cut harness straps from aluminum foil or masking tape, add a few touches of color based on available photos, and the illusion is passable. Otherwise, turn to a resin Mk.10 seat.
We set the seat aside until the end of the build. The tub receives a coat of tire black, over which a light drybrushing of light gray brings out the instruments. The same goes for the instrument panel, on which nasty sink marks had to be filled—which looked truly ugly before sanding and painting…
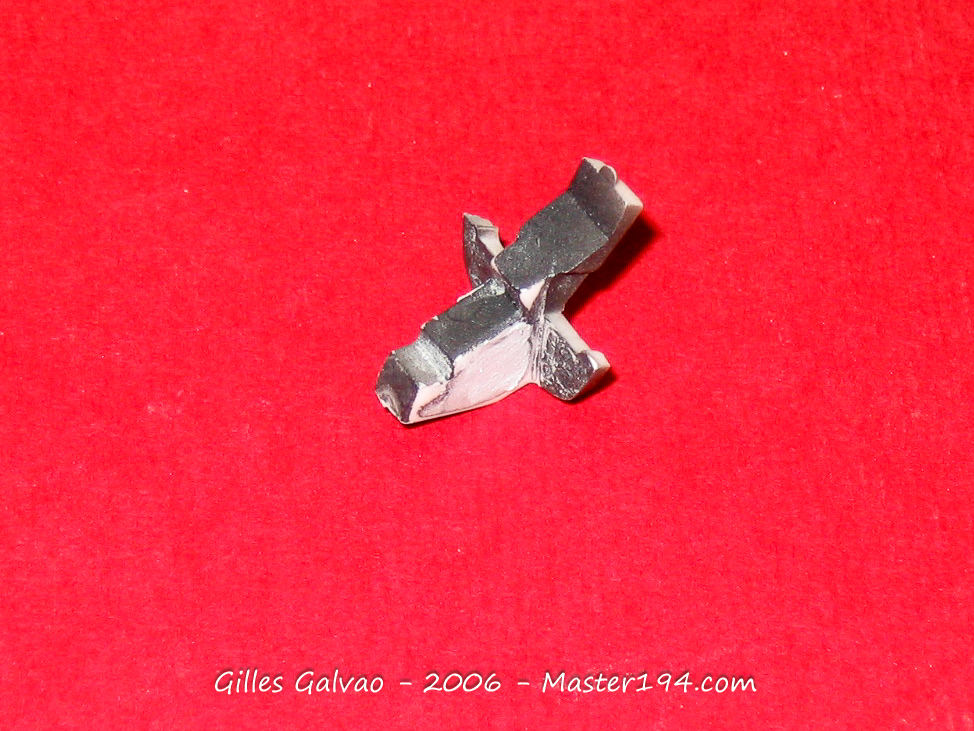
We put the tub in place: no difficulty. Next, you have to decide whether or not to install external stores and drill the holes accordingly. As for me, it will be clean. You need to prepare the engine nozzle ducts, and I preferred to separate the two canard foreplanes so they can be installed at the very end of the build…
And as you will see, it was a very good idea!
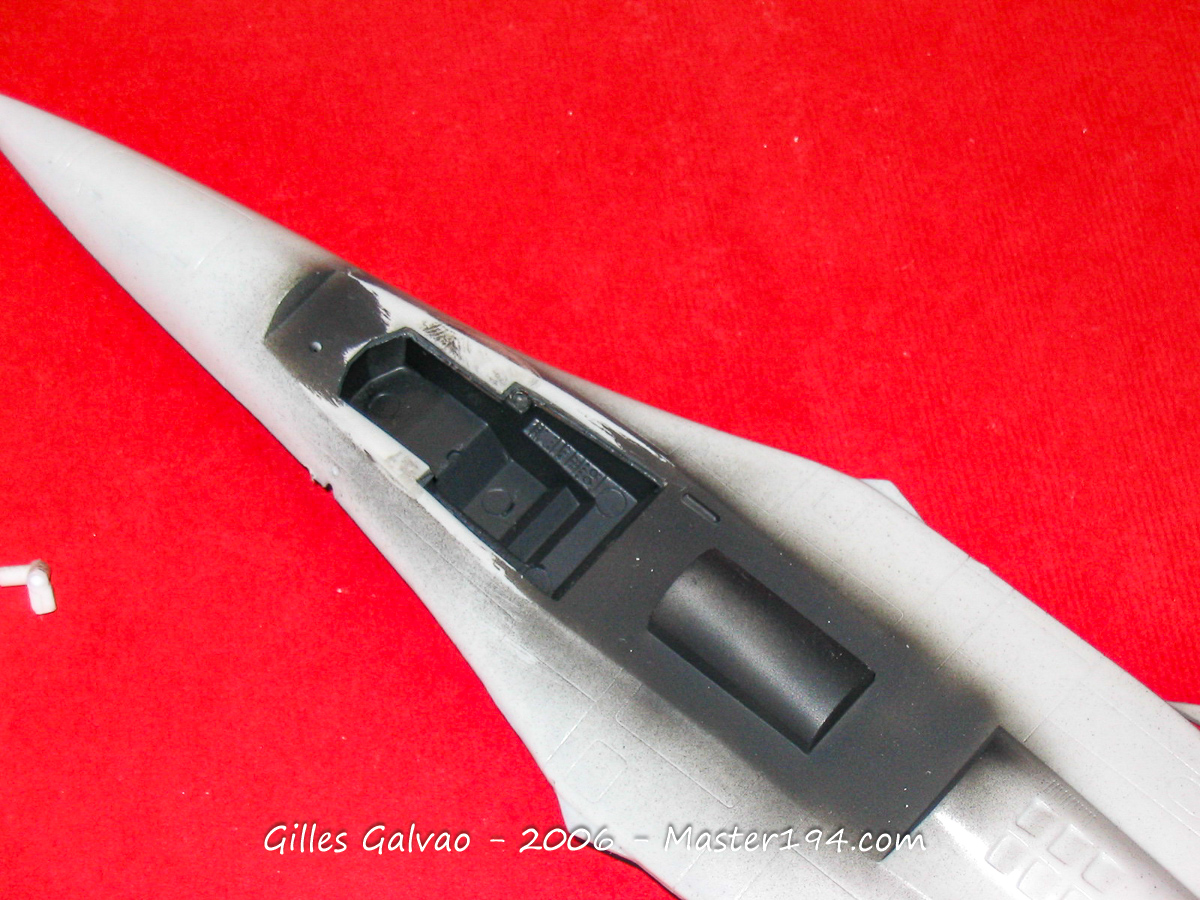
The assembly of the fuselage presents no major fitting difficulties. Where things get complicated, however, is fitting the engine intakes. You dry-fit the parts, and the first thing you ask yourself is whether you are actually using the correct pieces. So you check the instruction sheet to confirm there is no mistake. You even question the instructions themselves, but no, that is indeed how it goes, and there is going to be some serious work ahead!
Out come the file and coarse-grit sandpaper (forget 500 grit, attack it with 120 or you will be at it all year!) as you try to sand down the heavy steps between each part. This is the main tricky area of the build regarding fit.
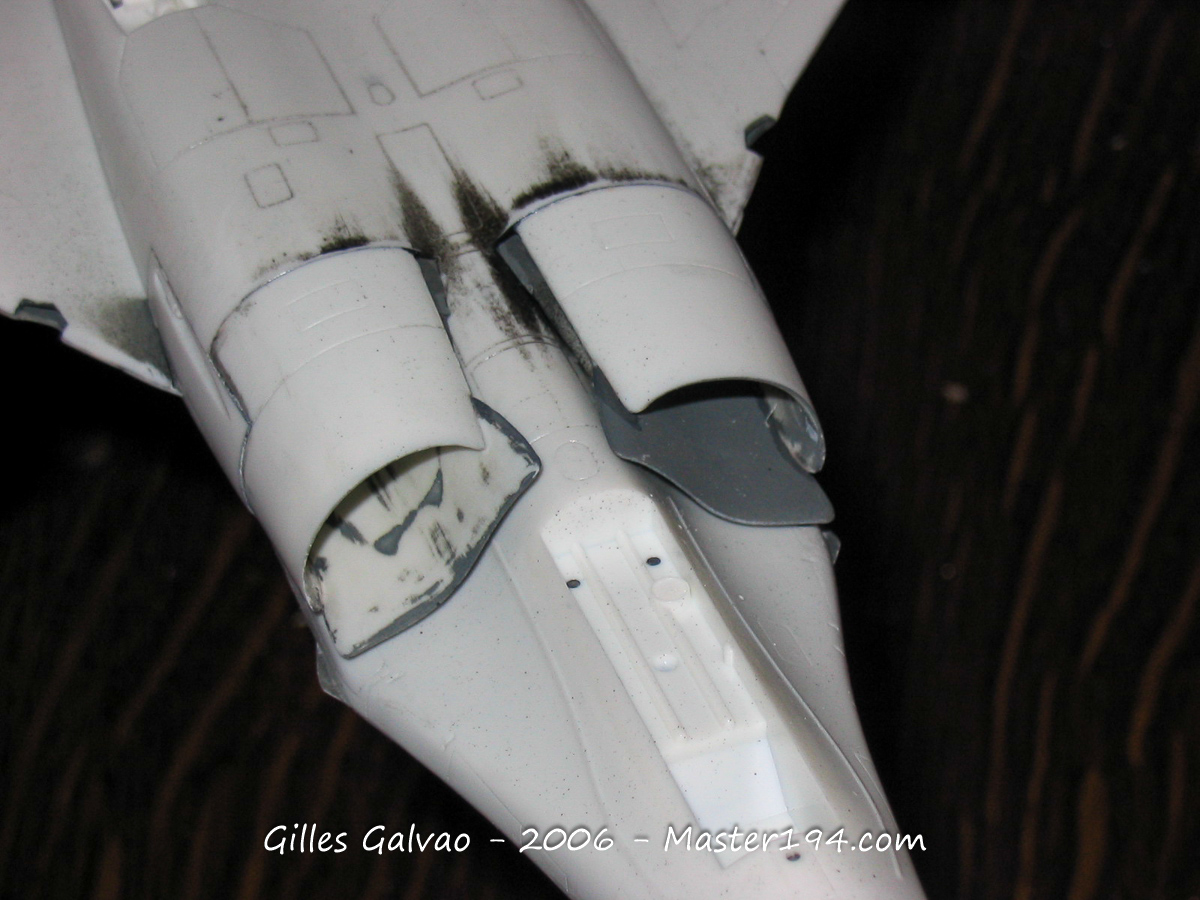
Past this point, the airbrakes can be depicted extended, as the hydraulic actuators are even included. However, I preferred to model them retracted (more realistic). Here again, the fit is really poor, as the airbrake doors are somewhat thick.
Next, we can attach the two upper wing halves—no major issues with this part.
By the way, Heller had the strange idea of molding the nose cone tip directly onto the fuselage… Did you break yours off too? Nothing serious, as long as you don’t lose it. It will glue back on very easily at the end.
So, as I was saying: fuselage, engine intakes, airbrakes, wings… all that’s missing is the vertical stabilizer: I preferred to cut off the tail cone section, which makes fitting much easier and also frees up the rudder control surface (much better this way!).
In passing, the main landing gear oleo struts were cut and rebuilt to achieve a more realistic appearance.
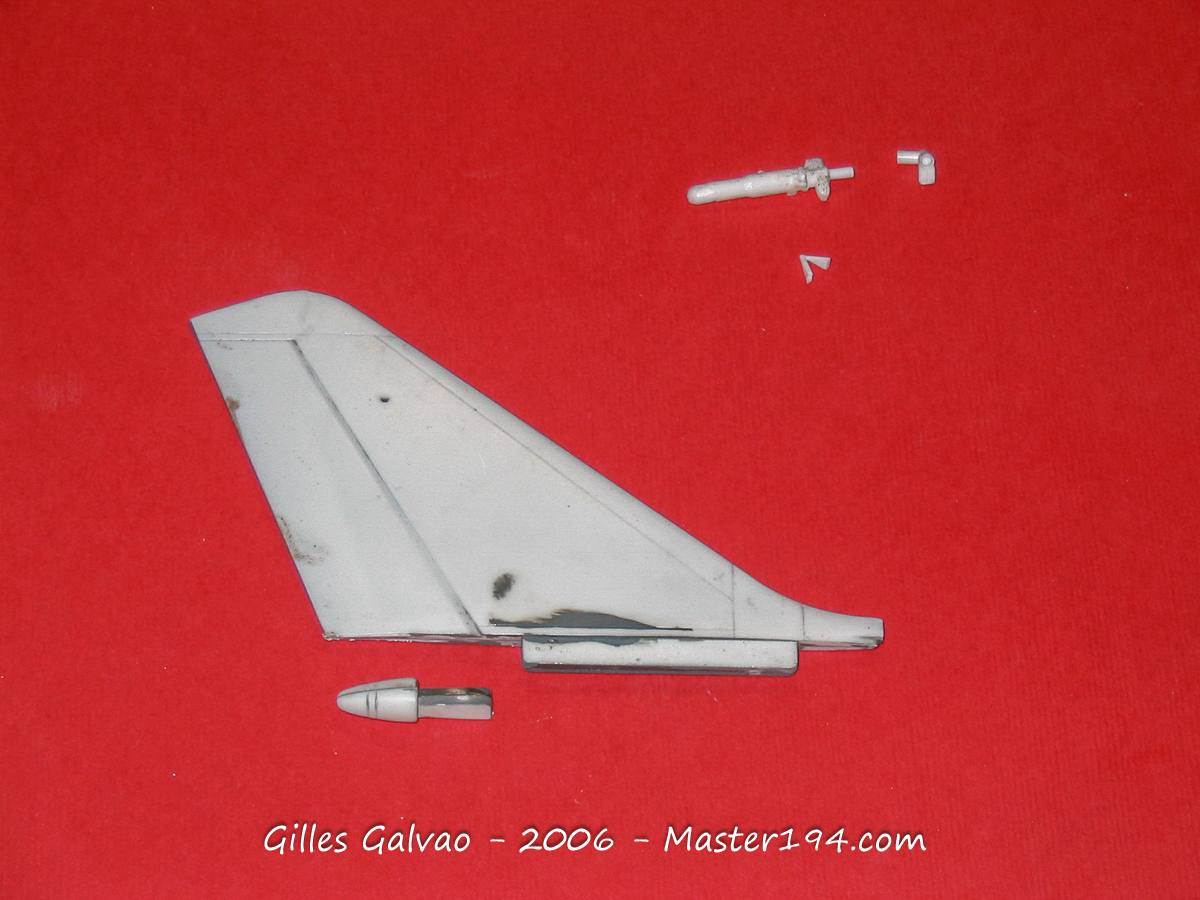
Both antennas will be saved for the very end of the build.
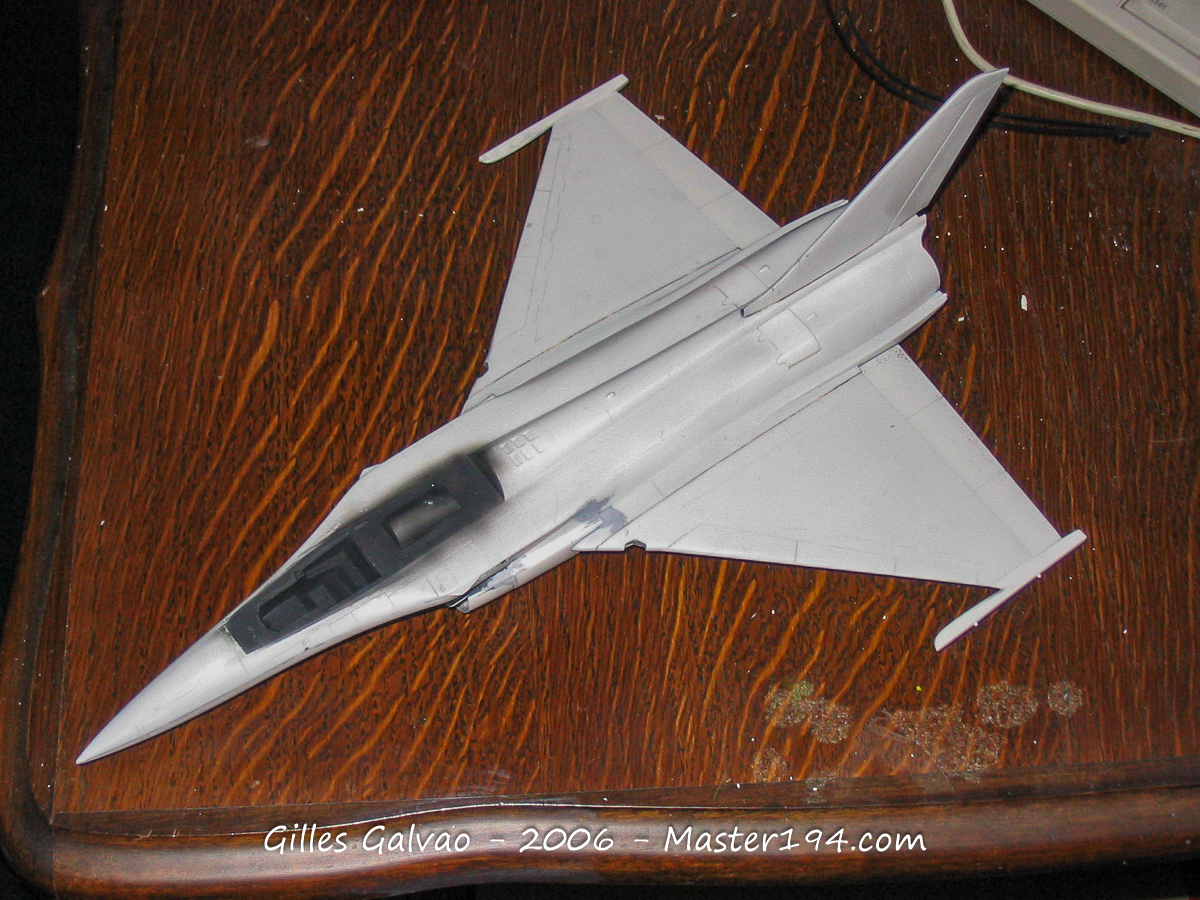
Now, it is time to move on to painting: once everything is thoroughly filled, sanded, and buffed, apply several thin coats of gloss white (Tamiya in my case). If it isn’t glossy enough, two coats of Future/Klir floor polish will do the trick!
This is where things get tricky… let’s look at the decals: all the blue and red cheatlines are supplied as decals. Unfortunately, the blue is not perfect (small lighter spots), and the same goes for the red. I think this is due to the age of the sheet rather than a manufacturing defect. On a side note, the roundels are better centered than usual. I said better, but still not perfectly centered! A recurring issue with this brand.
I opted to create custom masks to paint all the trim: it takes time, but it is relatively easy given the simple geometric shapes.
The only difficulty encountered was the curvature around the engine intakes: simply make a photocopy of the decal sheet, cut out the decal from the photocopy, and use it as a template to cut your masking tape.
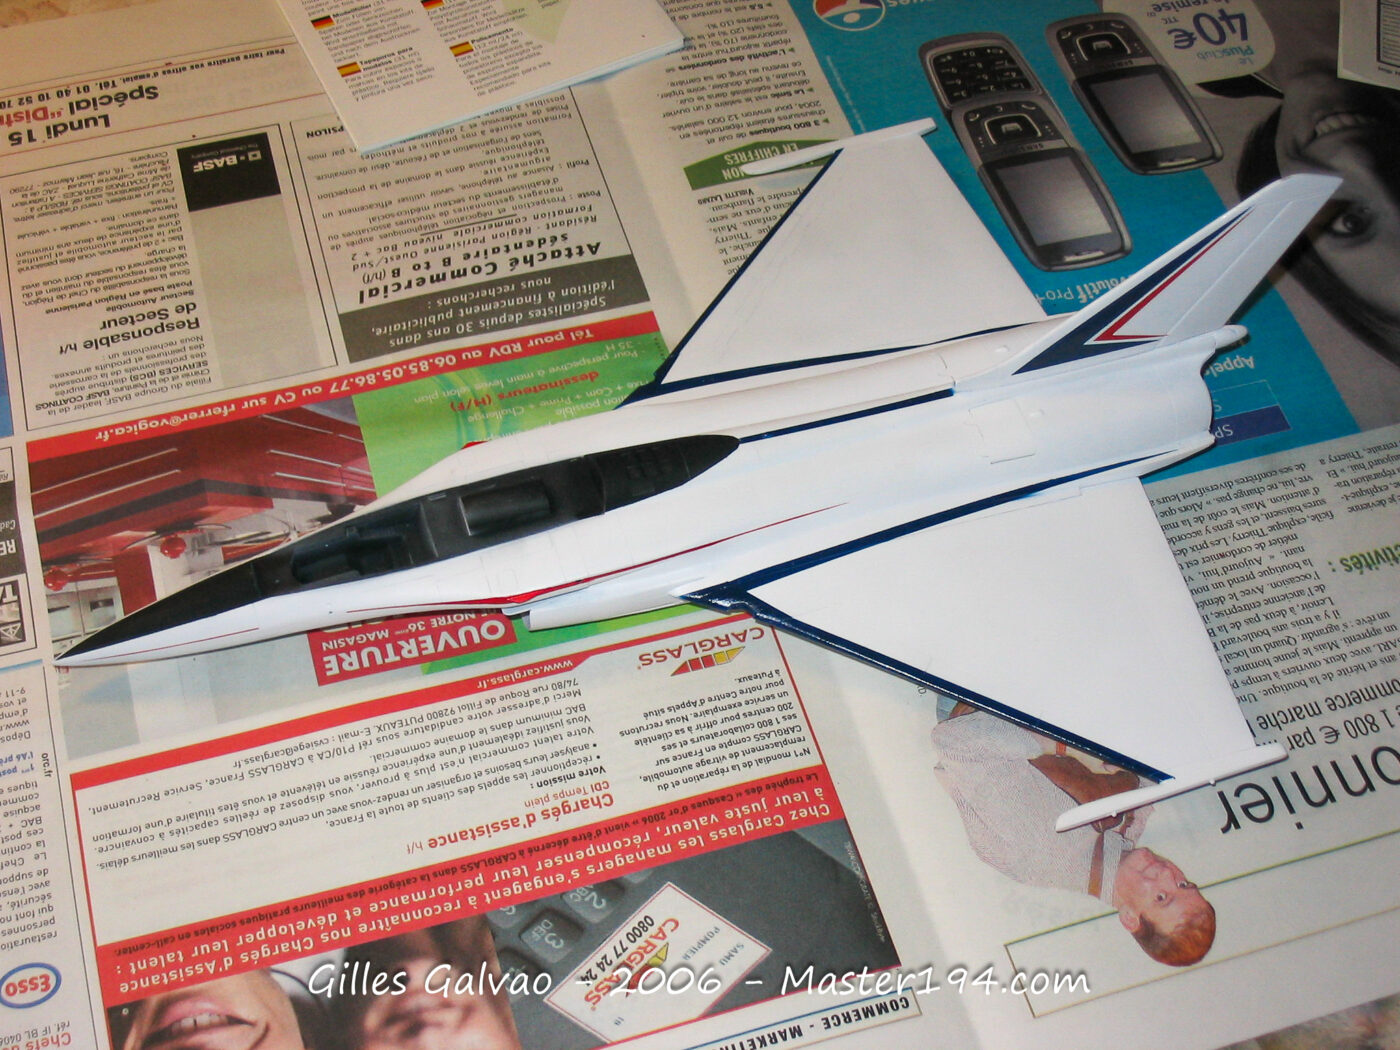
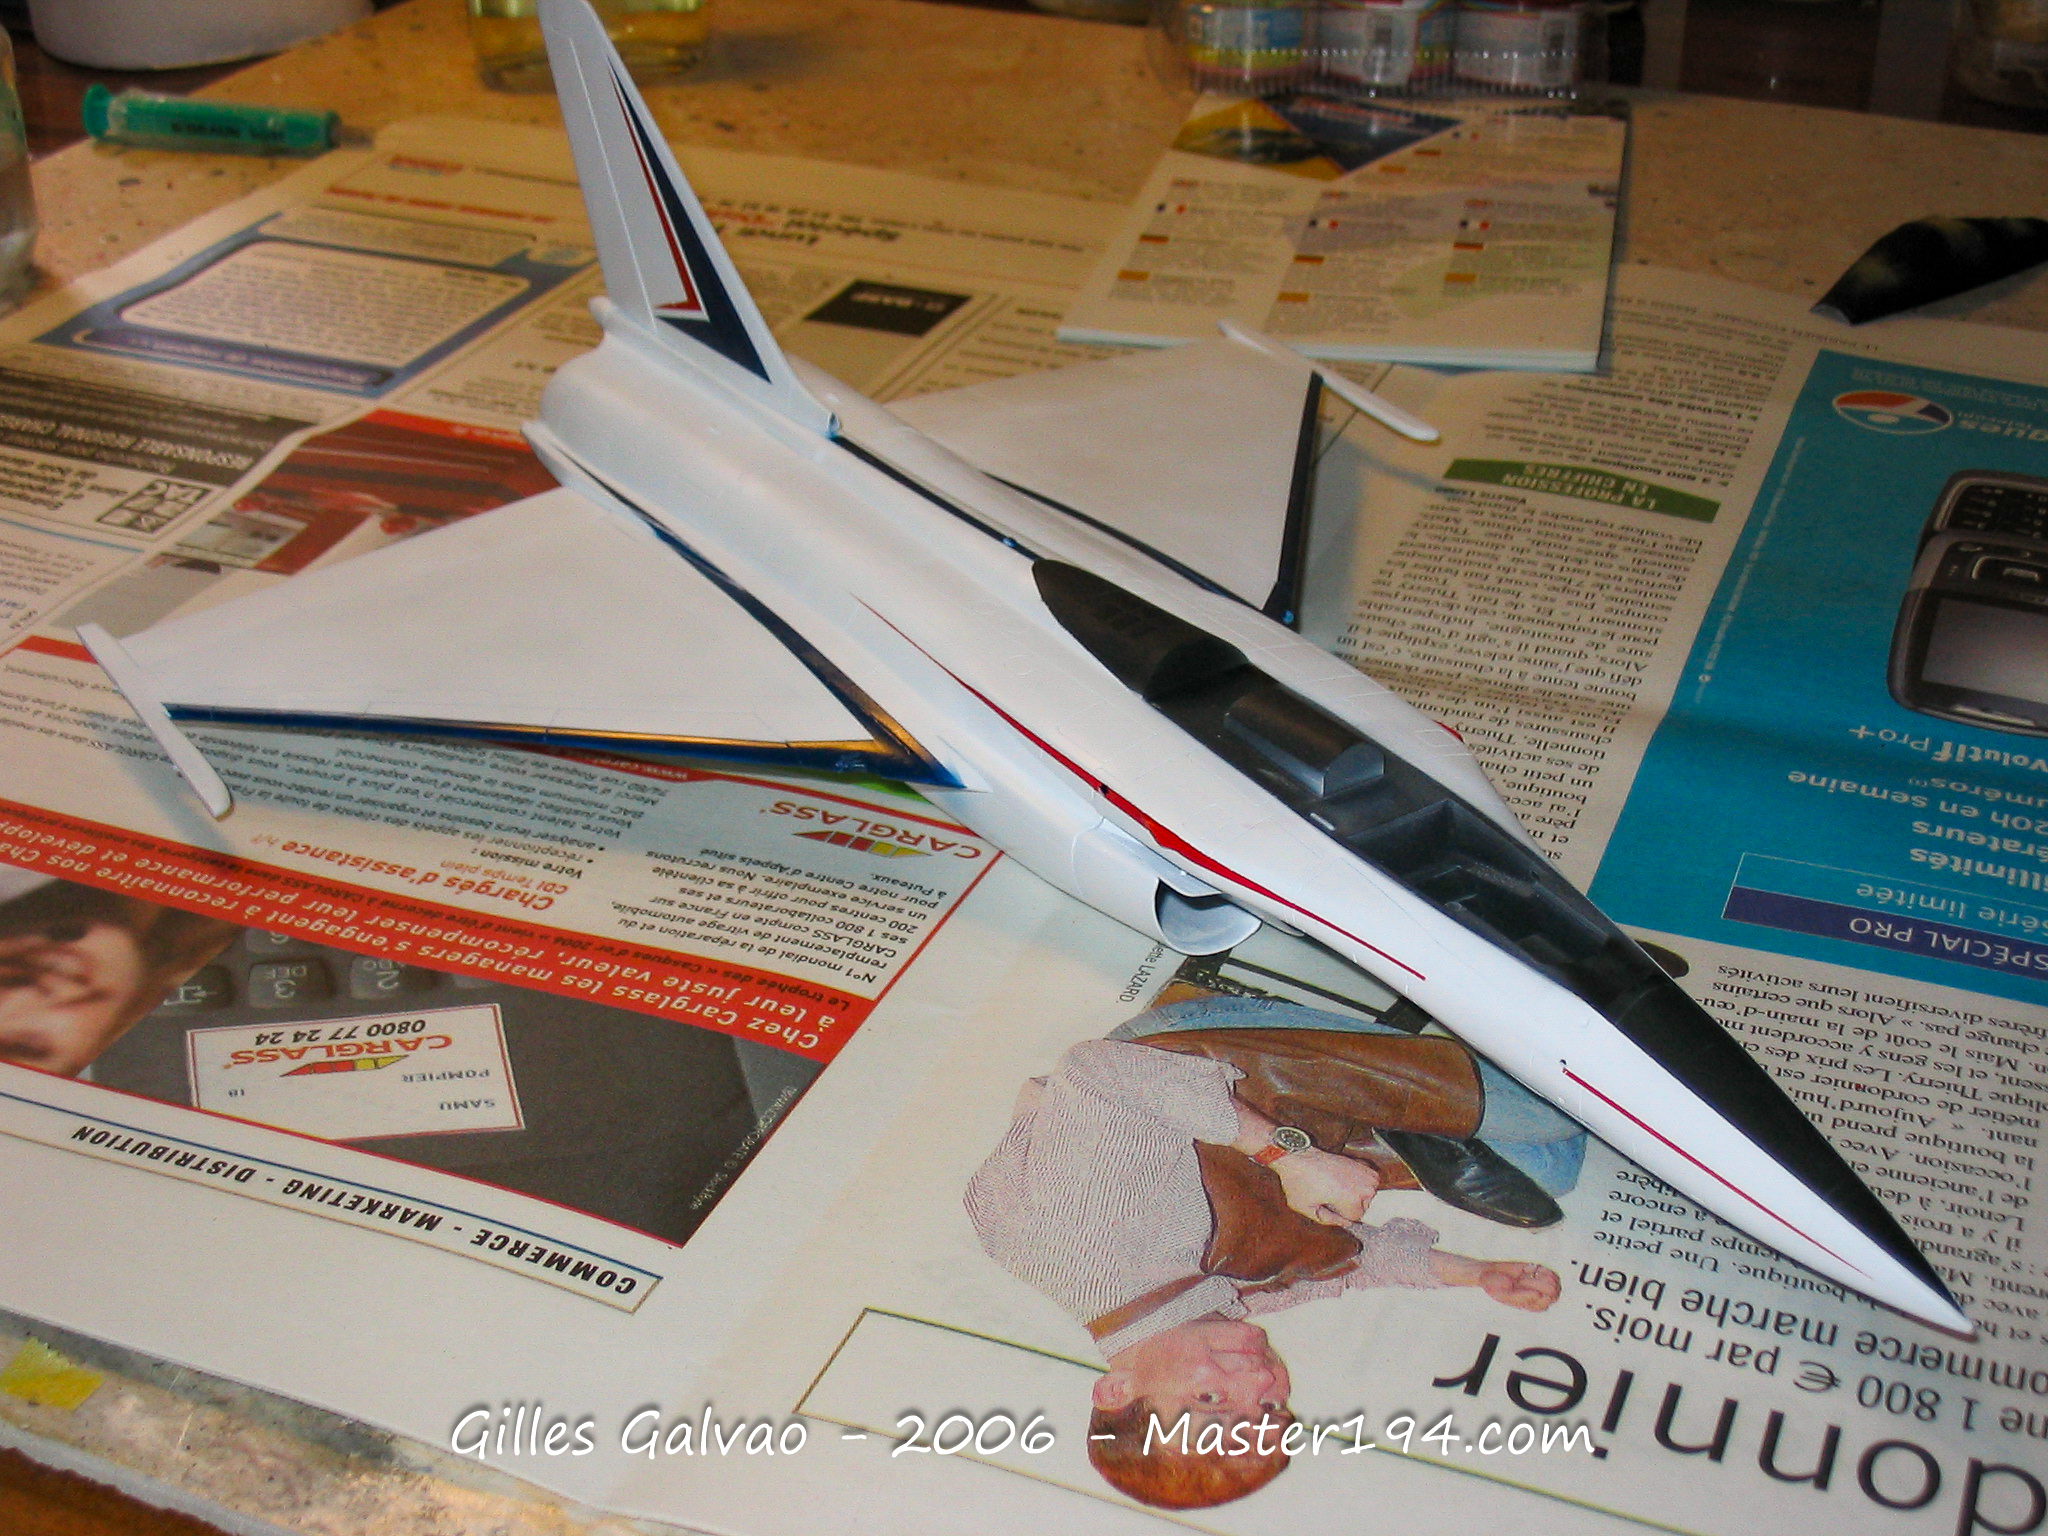
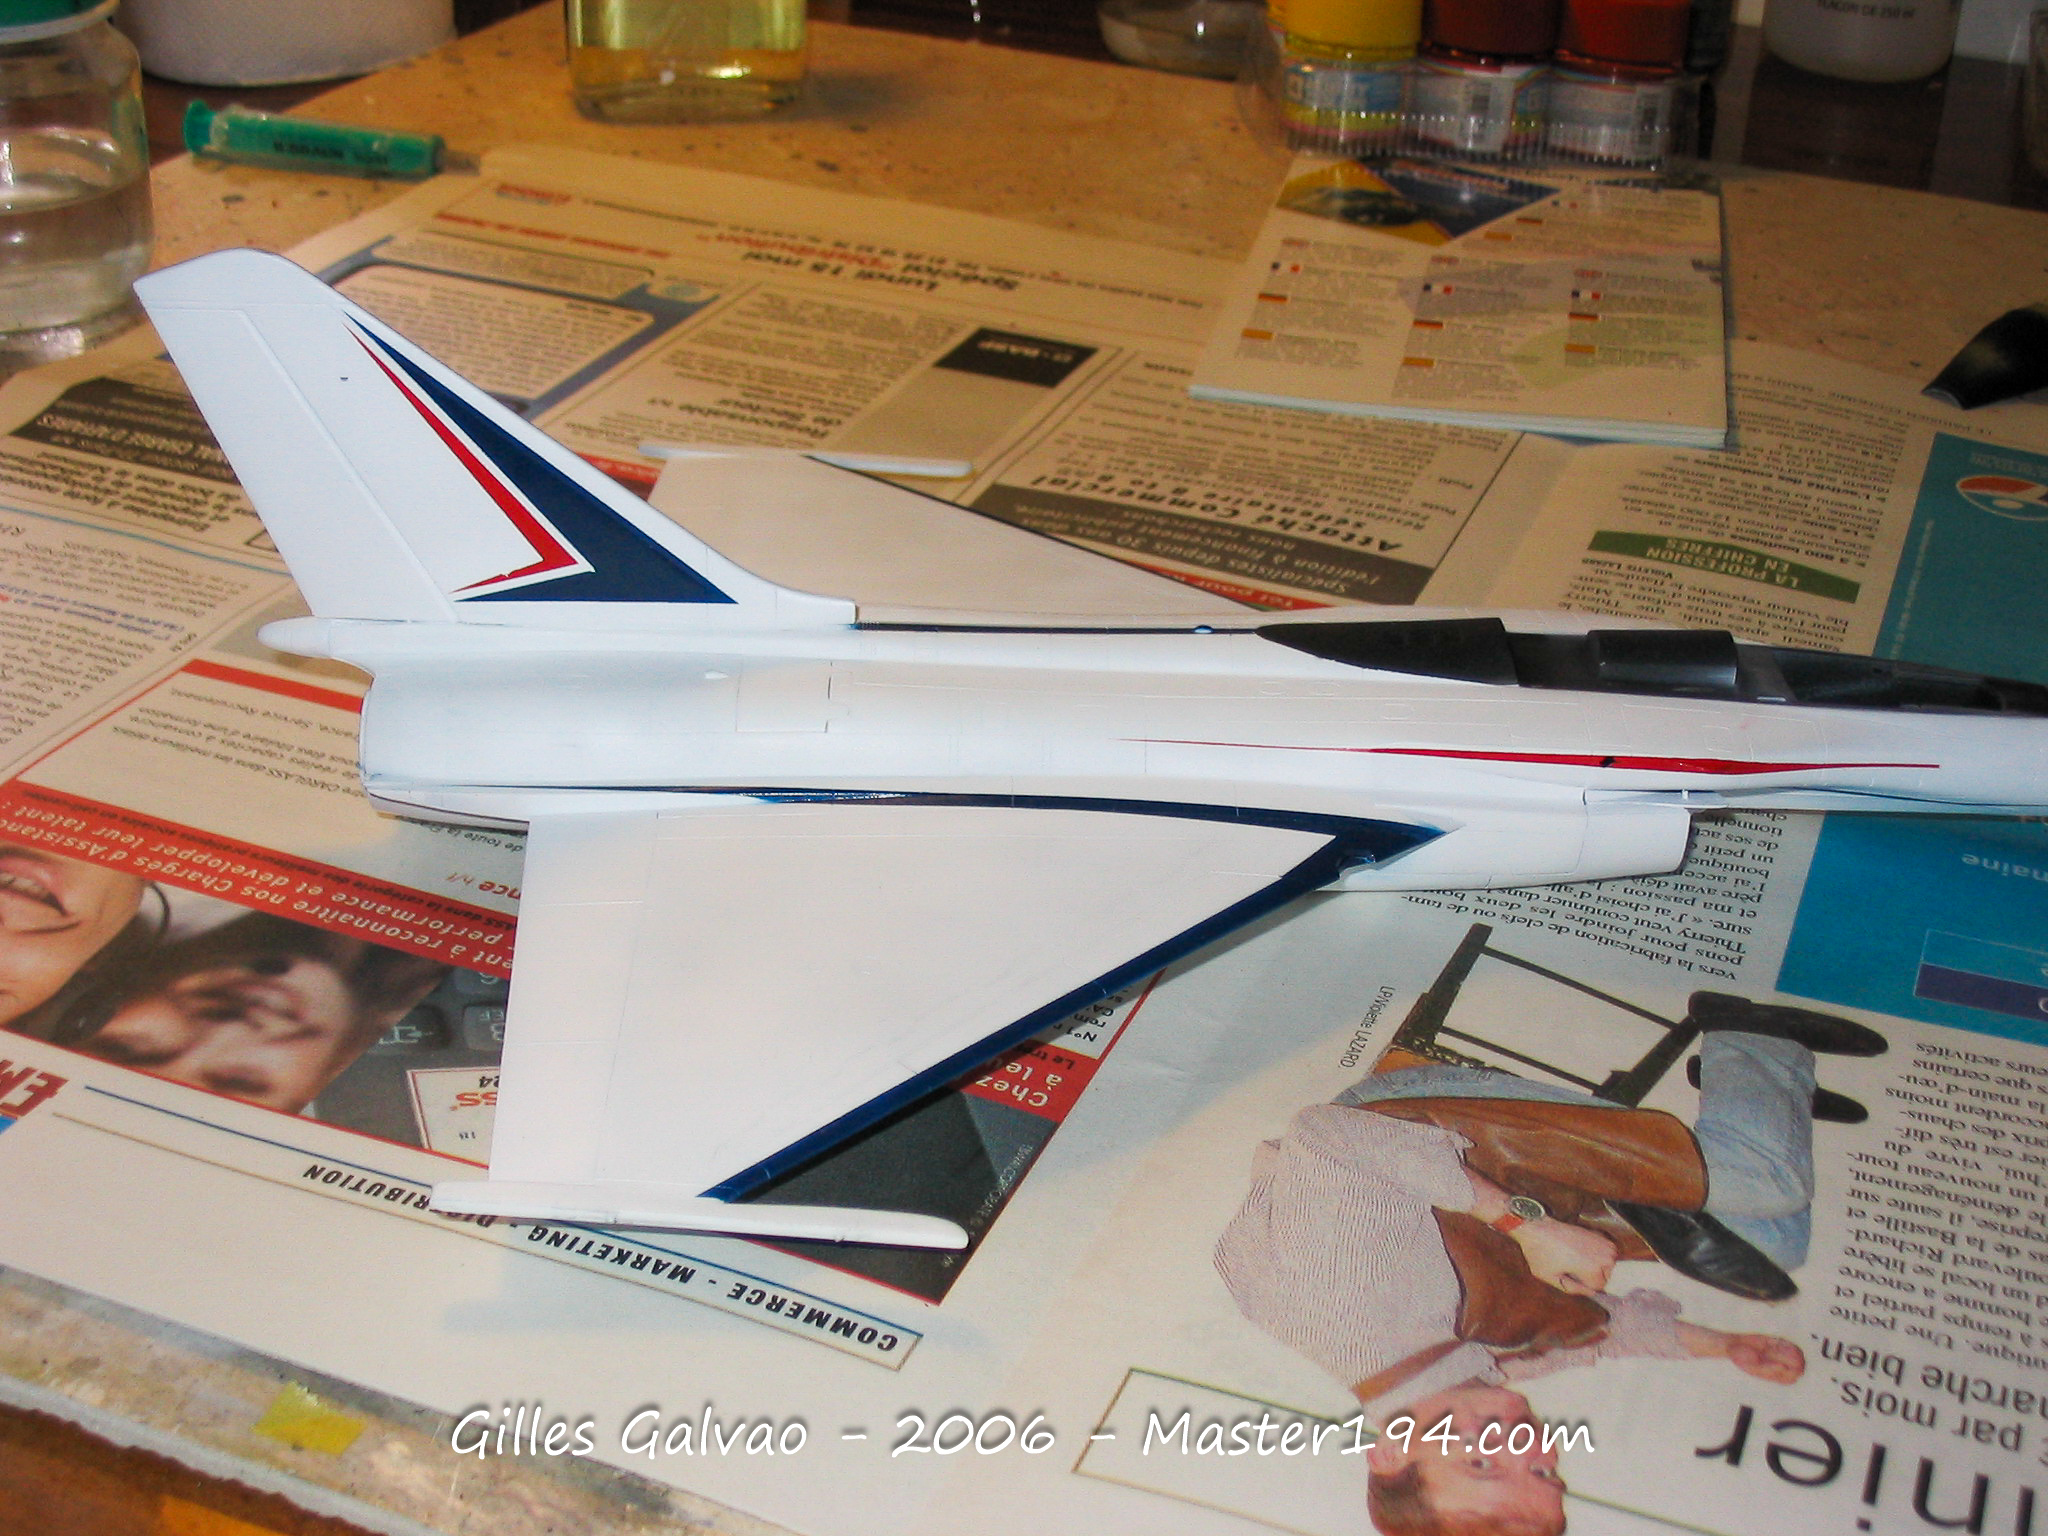
Once this is done, we apply the remaining decals (the word “Rafale”, the unit crests/coats of arms, etc.) and that’s it!
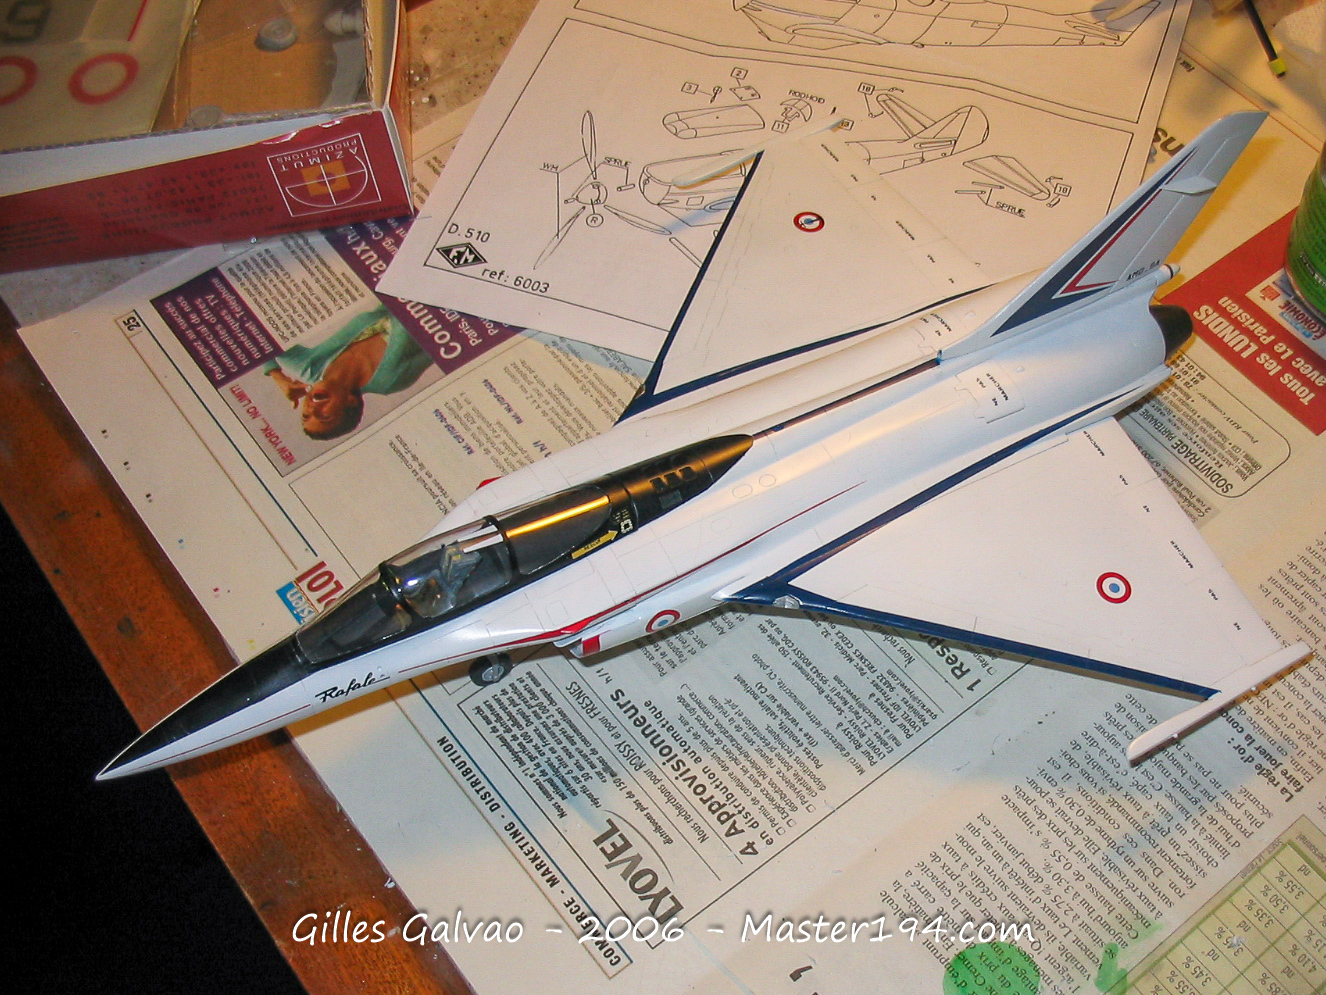
We finish with the landing gear, the antennas on either side of the vertical stabilizer (nearly impossible to mask had they been glued in place), seat, canopy, gear doors, engine nozzles, and Magic missiles.
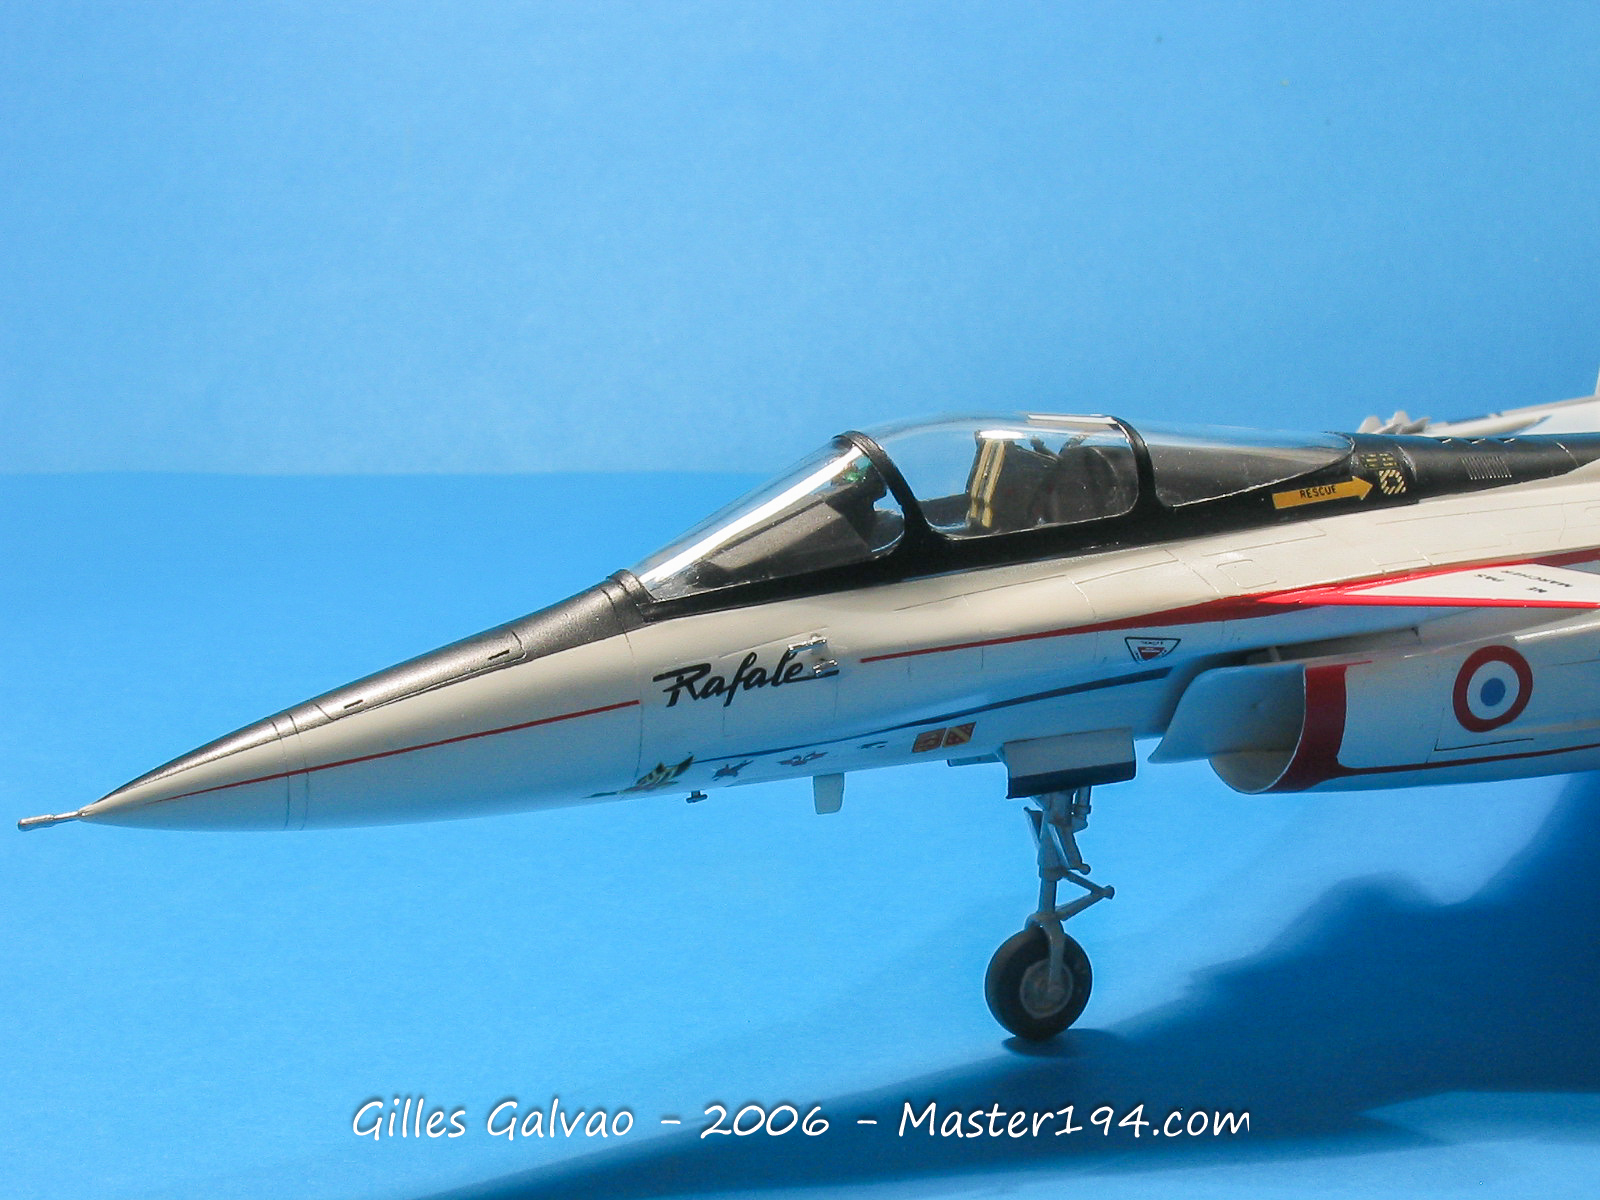
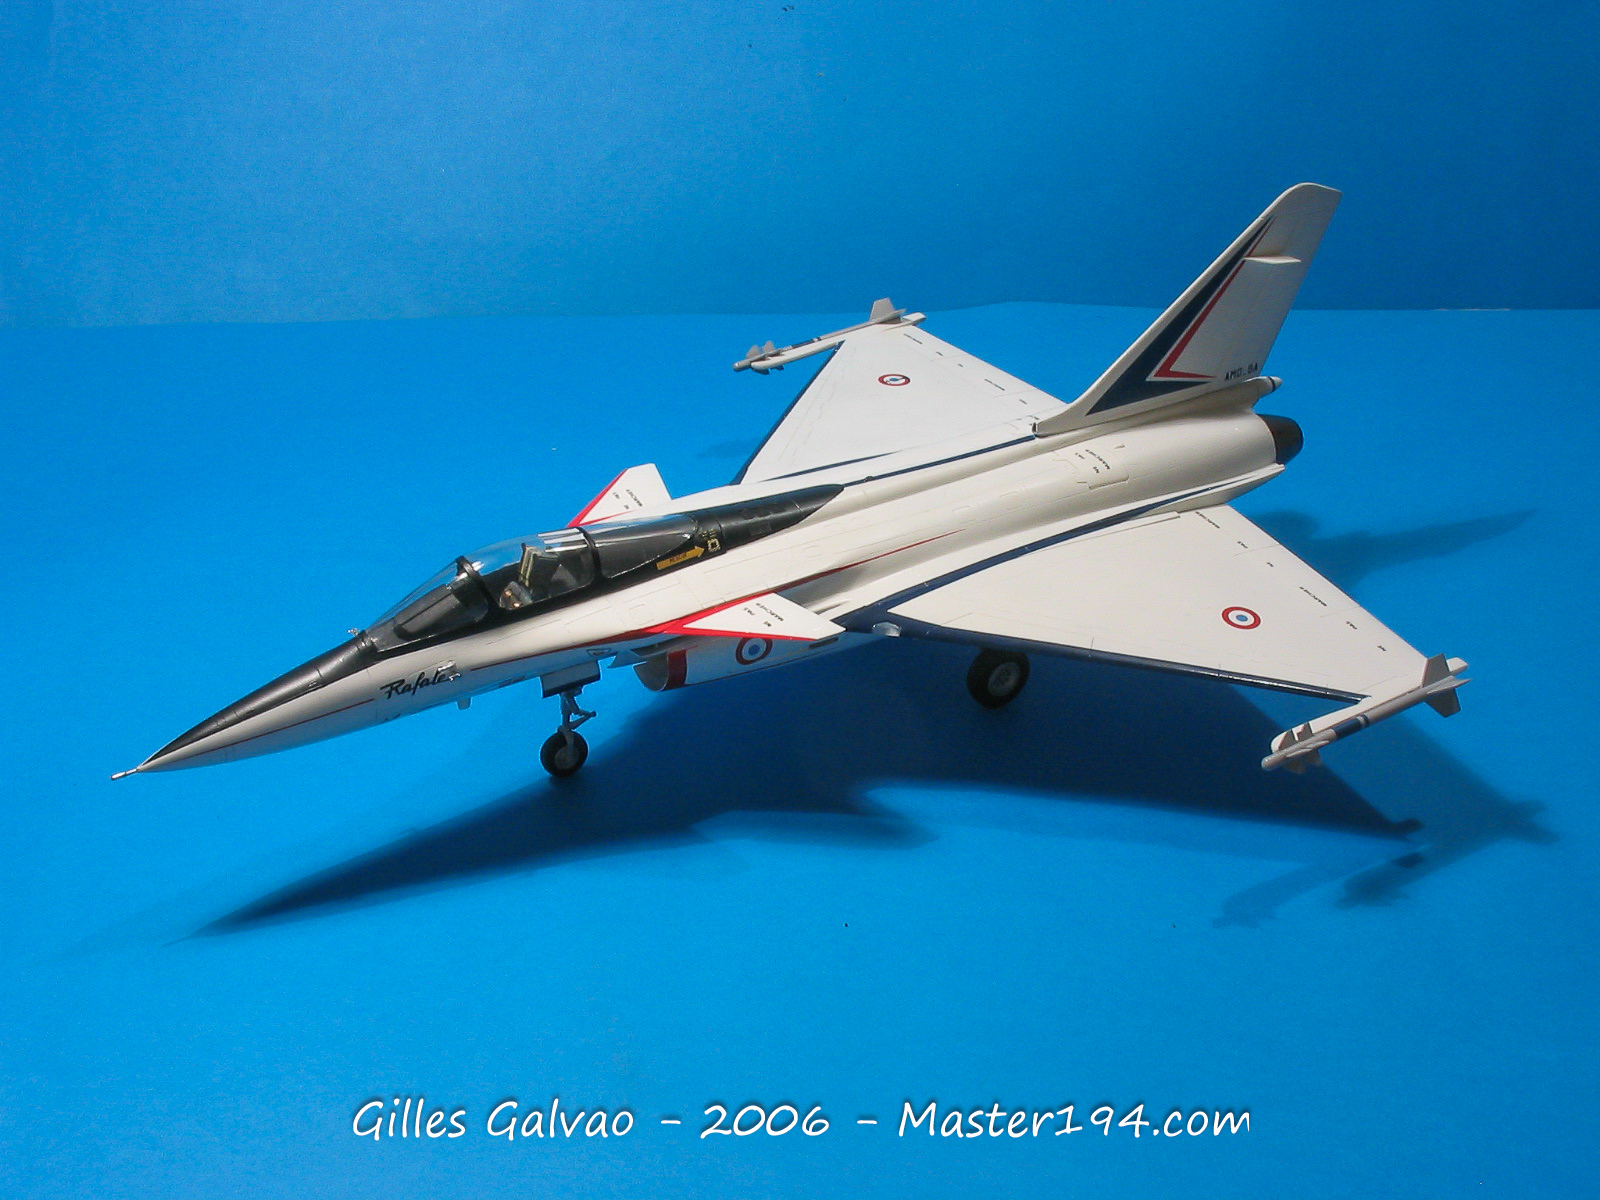
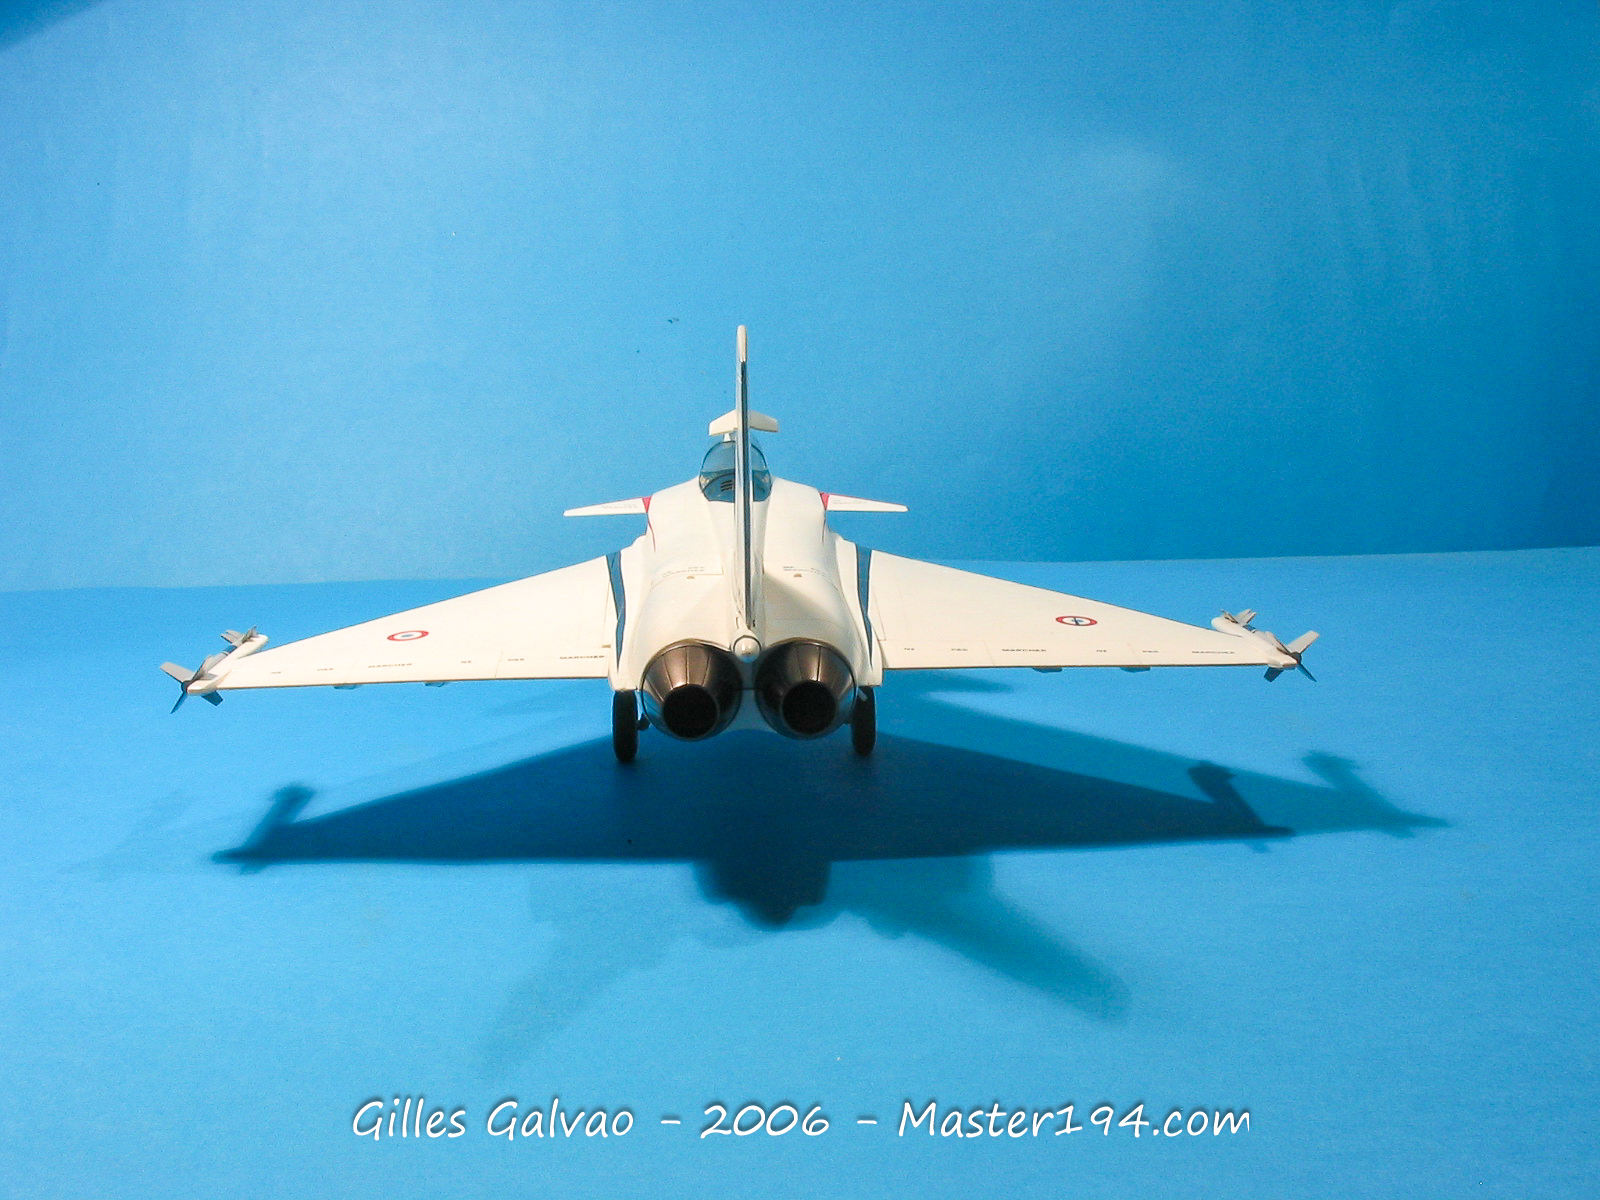
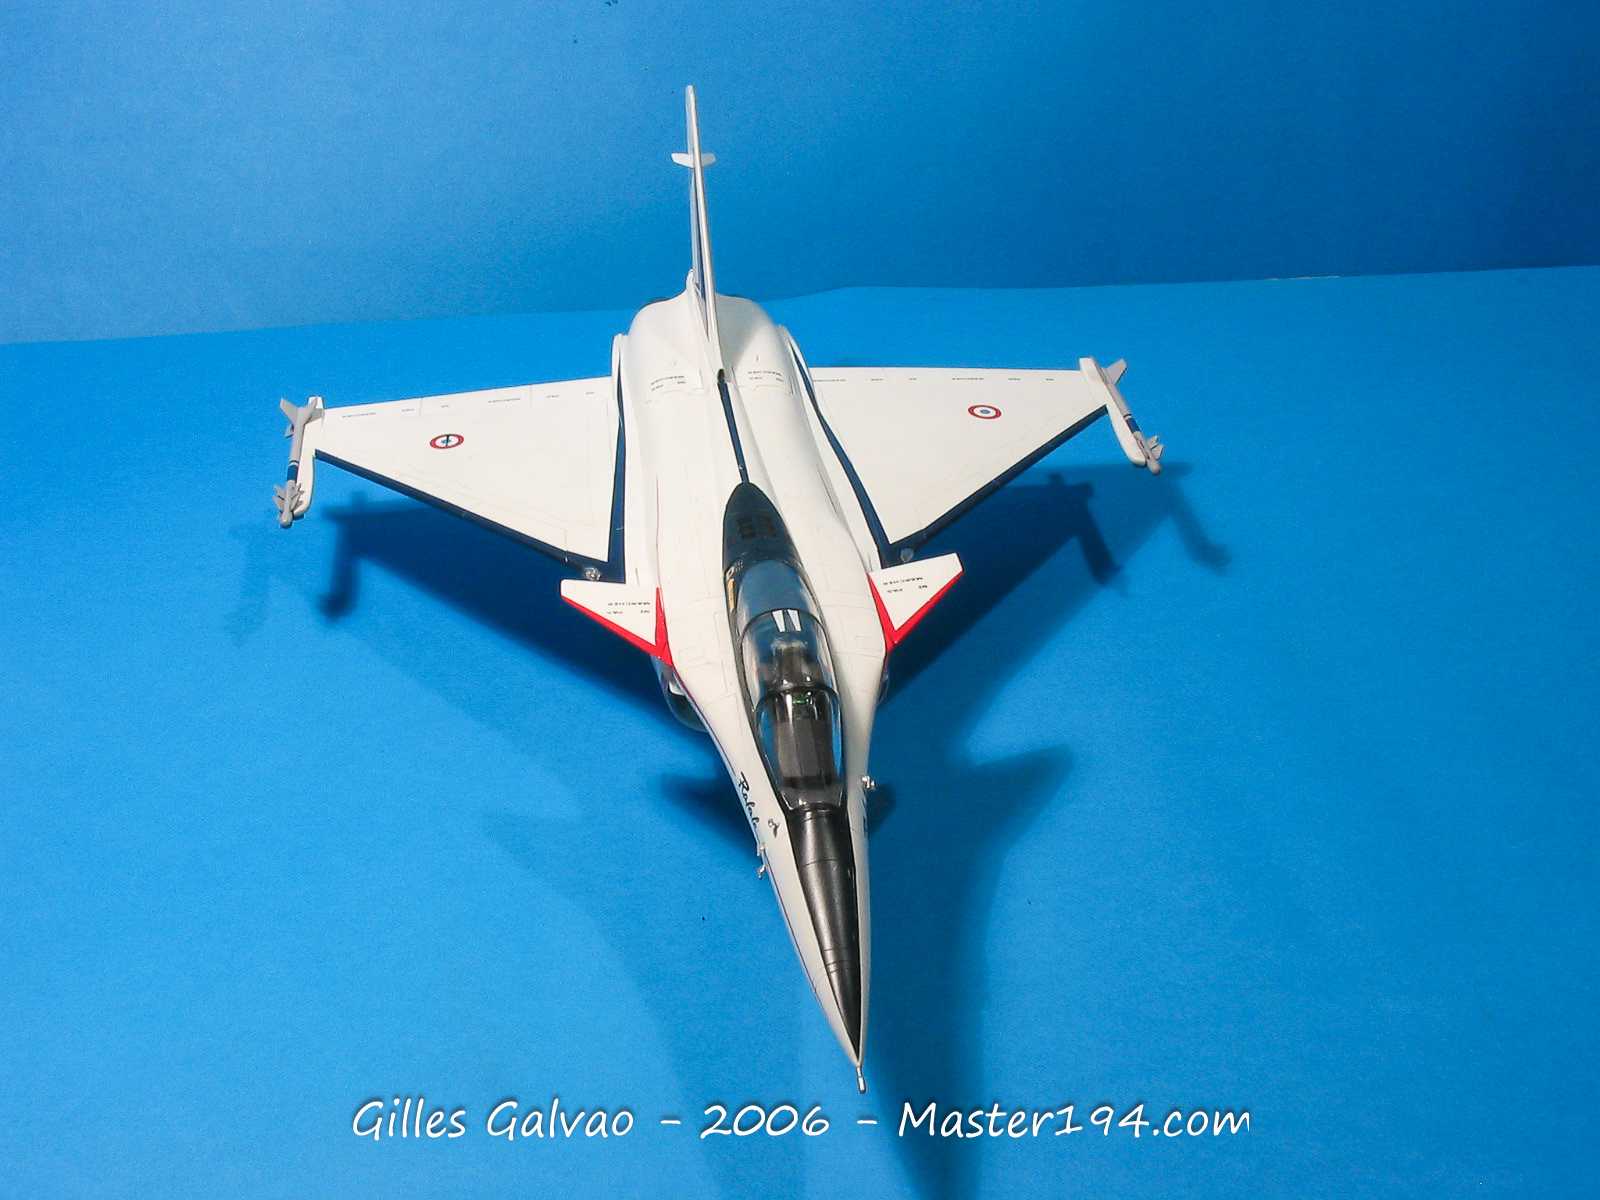
Note that Heller supplies a boarding ladder that I did not use, and the canopy can be displayed in the open position, Heller having provided the necessary parts.
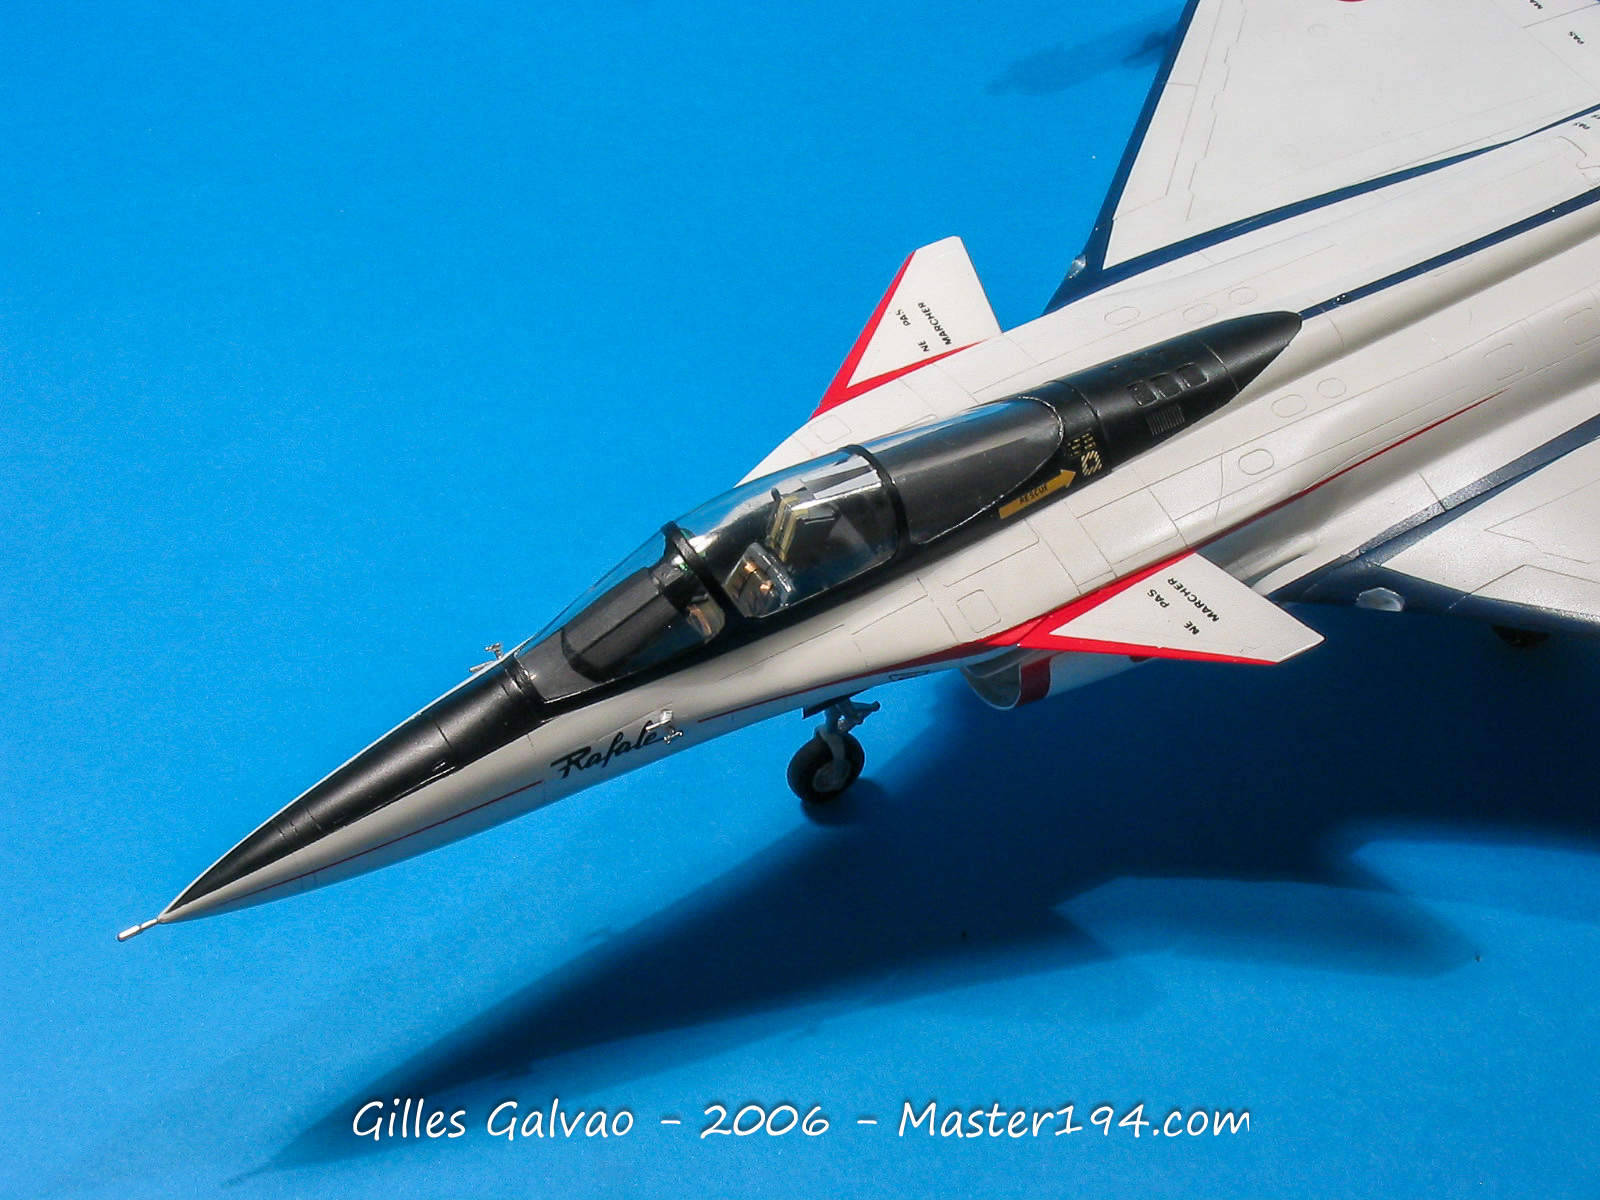
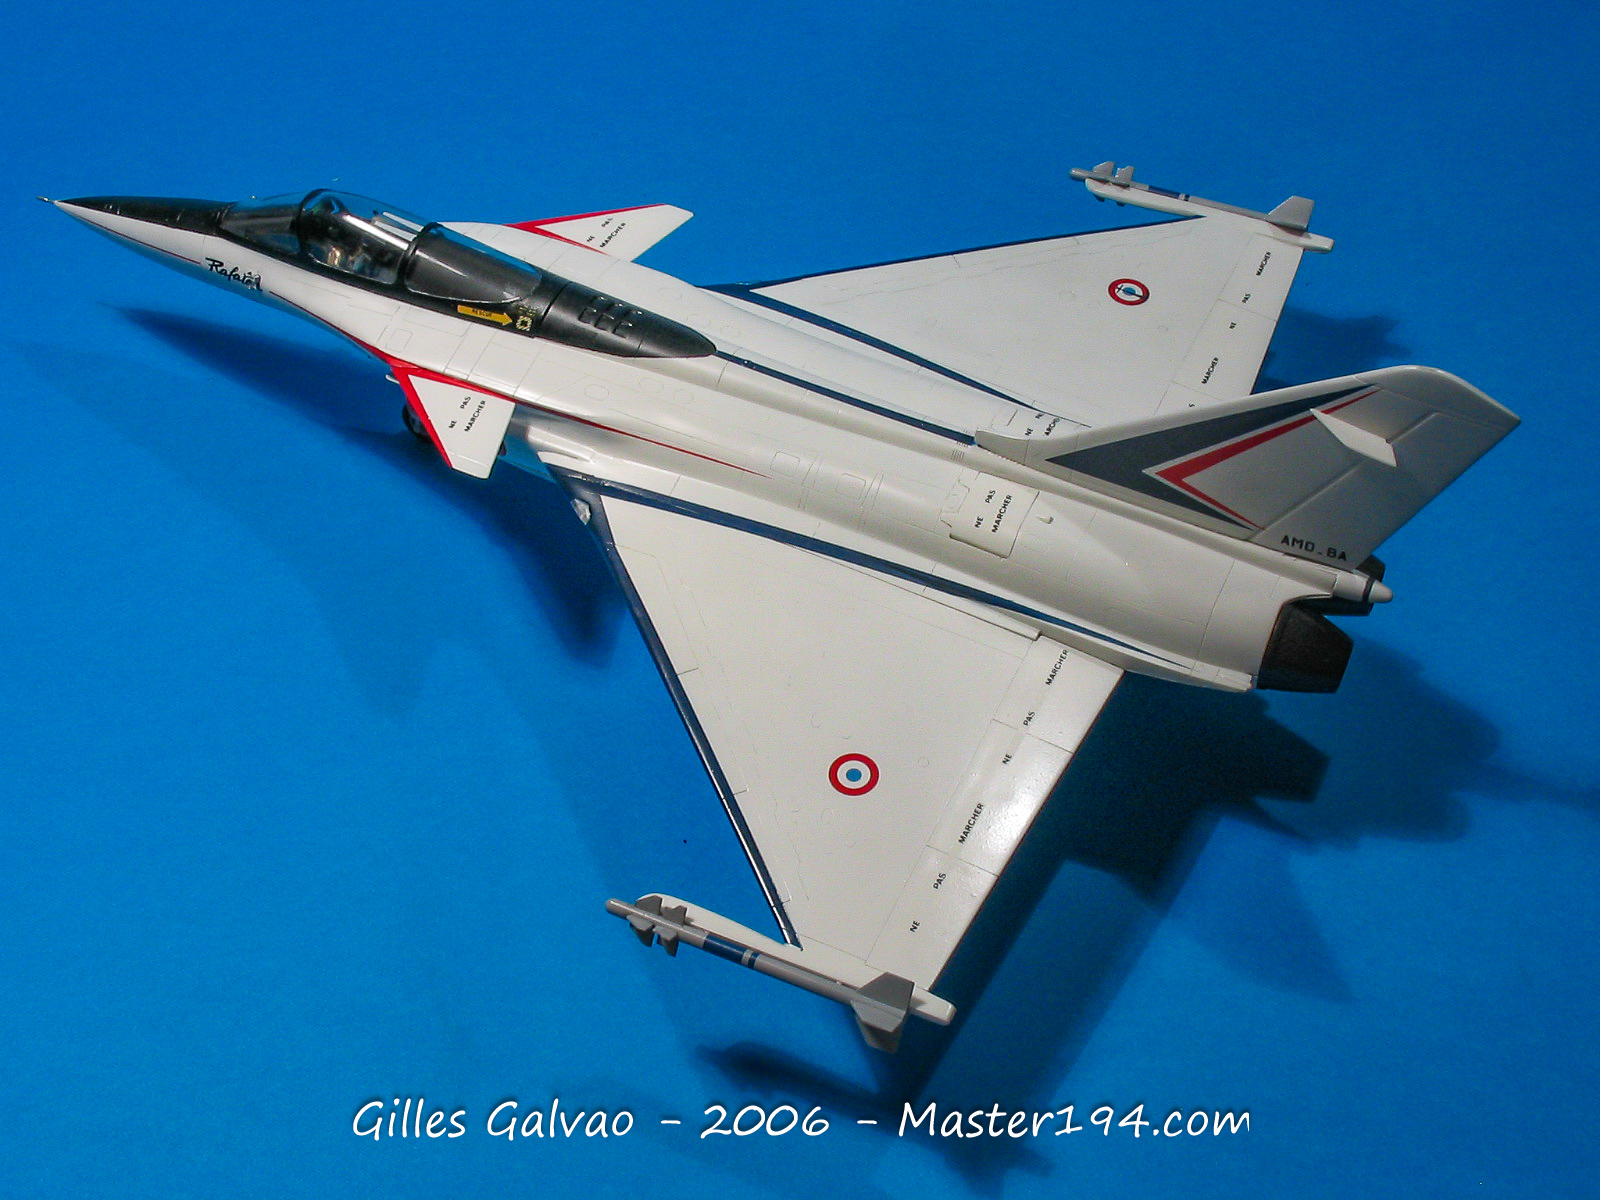
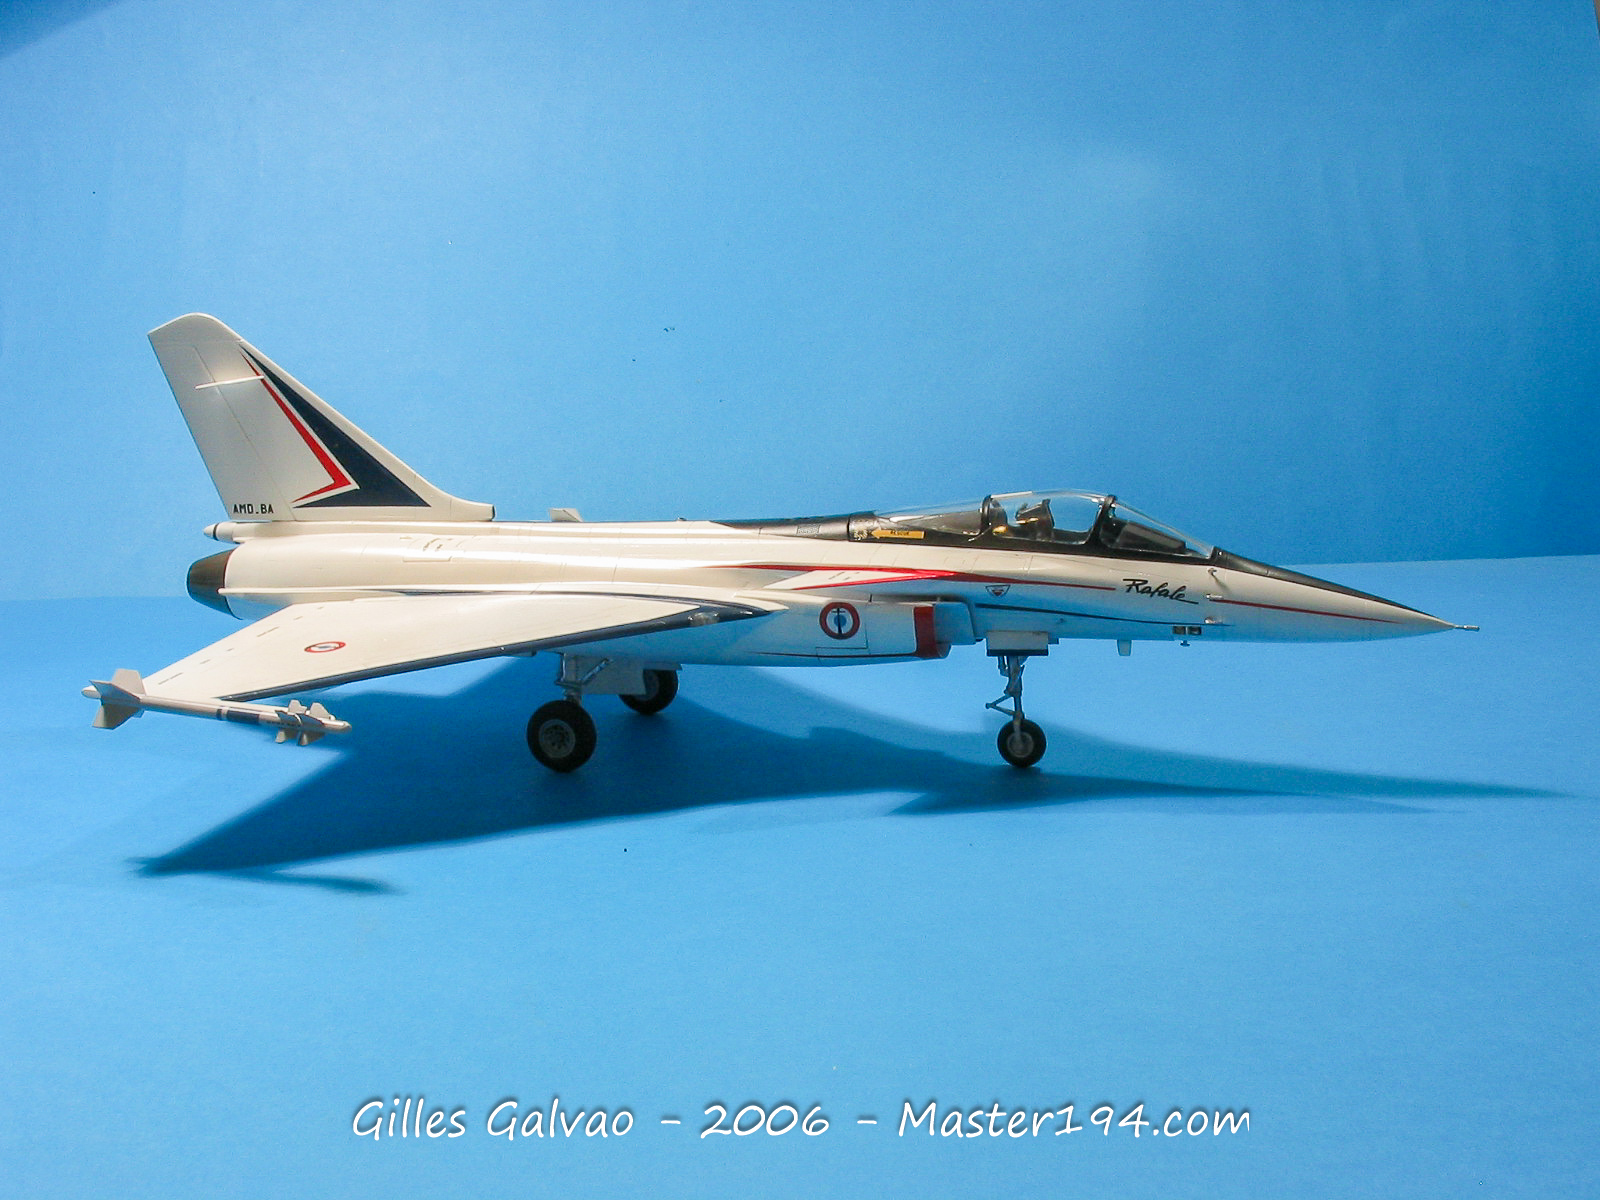
The kit is certainly open to criticism, but what a pleasure, thanks to Heller, to display a Rafale A alongside my HobbyBoss Rafale C01!


