by
TSR.2 History: A Tragic British Legend
The TSR.2 was an aircraft I barely knew until a visit to the RAF Museum Duxford, where the XR222 is on display. The story of this plane is a brief one: the successful flight of the first prototype, XR219, which was the culmination of a promising study, followed by the sudden and brutal cancellation of the project. At that time, other prototypes were in various stages of completion.
While our British neighbors are generally very protective of their aeronautical heritage, strangely only two airframes escaped the scrap heap: XR220, a complete aircraft exhibited at the RAF Museum Cosford, and XR222 at Duxford, which was still being assembled at the time of the cancellation. Everything else, including the only flying example, XR219, was destroyed. XR219, XR221 (fully assembled), and XR223 (partially assembled) were tragically used as ground targets for weapons testing.
For a deep dive into its history, I highly recommend the excellent site: https://www.thunder-and-lightnings.co.uk/
The Airfix Kit

The 1/48 Airfix TSR.2 comes in thick white plastic with somewhat heavy panel lines… and it is a massive aircraft!

Many aftermarket manufacturers have jumped on this kit: Pavla released a cockpit and wheel wells (an incredibly detailed and huge resin block!), QuickBoost offers air intakes, Master provides the metal pitot tube, CMK has nozzles, electronics bays, and MasterCaster provides resin wheels.
For my build, I decided to upgrade the cockpit with Pavla, use the Master metal pitot, and the QuickBoost intakes, which are far more refined than the original kit parts.


Note: If you are looking for reference photos, check out our “Walkaround“ section right here on Master194 for detailed shots of the real airframes.
I will skip the sprue shots and parts breakdown, as this TSR.2 kit has already been the subject of numerous in-depth reviews and analyses.
Useful Documentation
- Le Fana de l’Aviation issues 421 and 424.
- Wings of Fame Volume 4.
- SAM Publications dedicated to the TSR.2.
- Encyclopedia of Aviation issue 96.
- Walkarounds available here: [TSR.2 XR220 Walkaround] / [TSR.2 XR222 Walkaround].


The Build Process
The assembly starts with the Pavla resin cockpit. It fits into the fuselage without major issues. The level of detail is excellent and matches the few available interior photos. I used Gunze H331 for the base color.


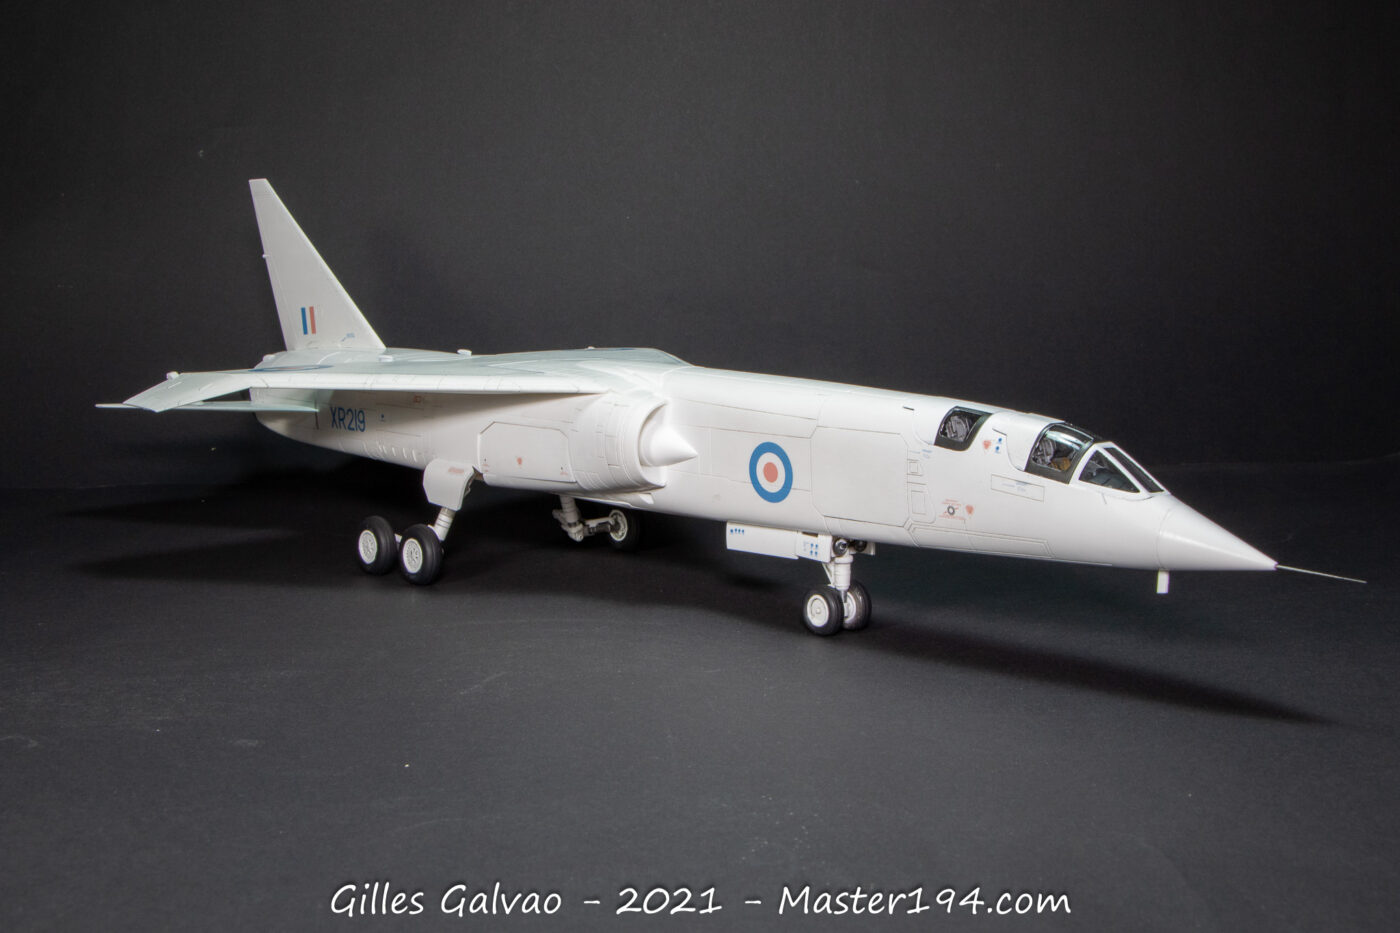
Step 7 Warning: The instructions ask you to choose parts 4F and 5F for the air intakes. Since I wanted to represent XR219 (the first prototype), these parts should not be used. These two small glass bumps specific to XR220 were intended to house cameras for stores separation testing. Removing them leaves a hole that would take too much putty (and risk shrinkage), so I filled it with plastic card and finished it with a light coat of filler.

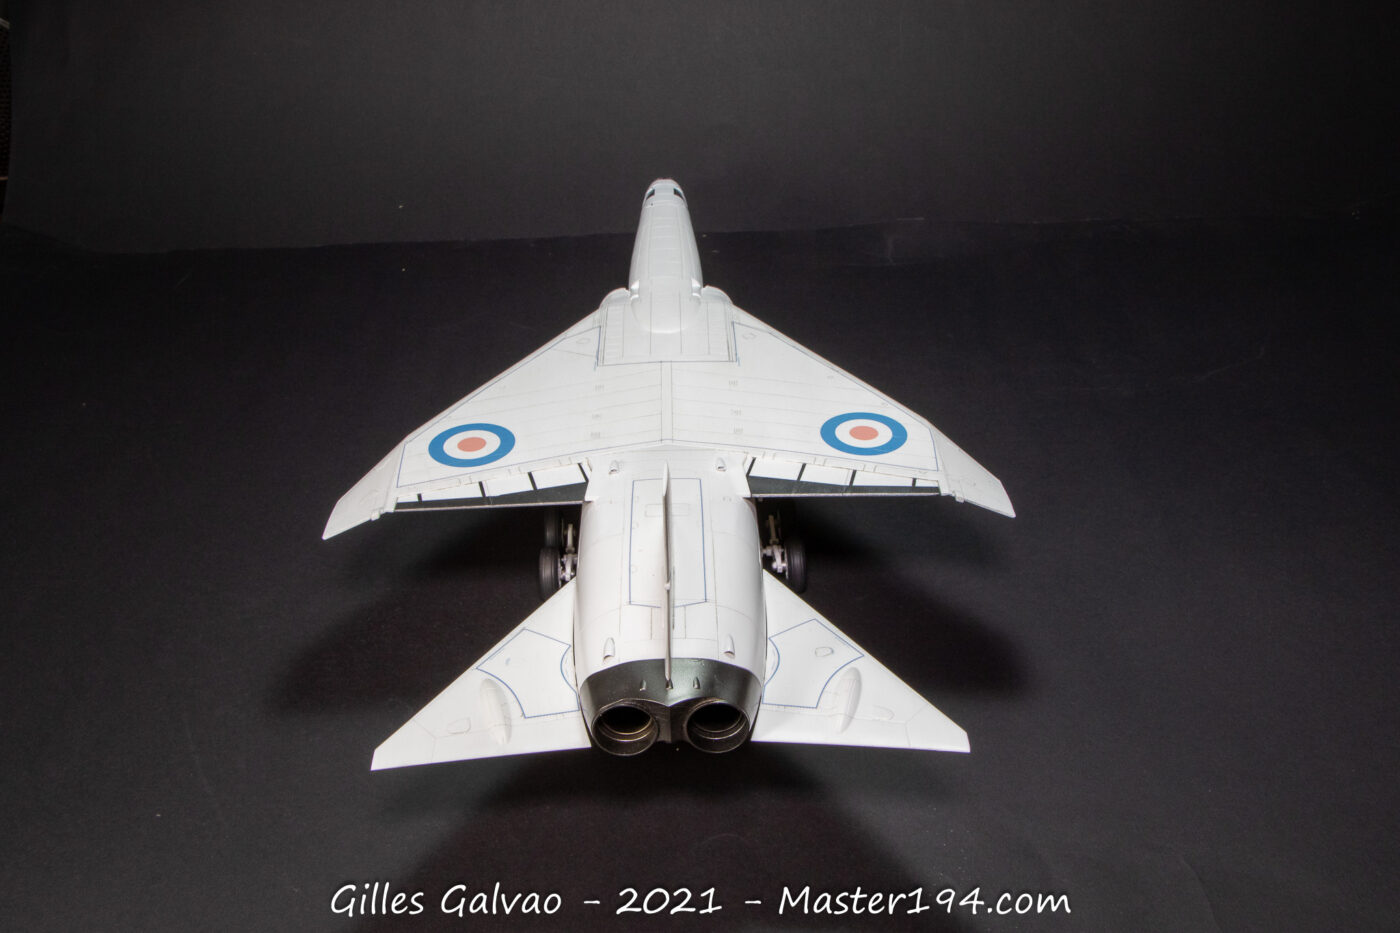
The following steps are straightforward. However, there is significant painting work required on the ailerons. I strongly advise against gluing them before painting. Note that the instructions state they should be white, which is an error.
No problem with fuselage assembly.


Landing Gear Alert (Steps 24 & 25): I usually prefer installing landing gear at the very end to avoid damage during painting. However, if you glue part 27B without the gear in place, you will have a nightmare trying to fit them later. I managed to do it by removing some material and dangerously bending the plastic… Follow the instructions for this specific step!
The rest of the assembly is disconcertingly easy and rather well-engineered.
Painting and Weathering
This is where things get tricky. Painting a large aircraft in white is never easy. I started with a primer coat of Mig Ammo One Shot White to hide the grey putty and create a uniform surface.
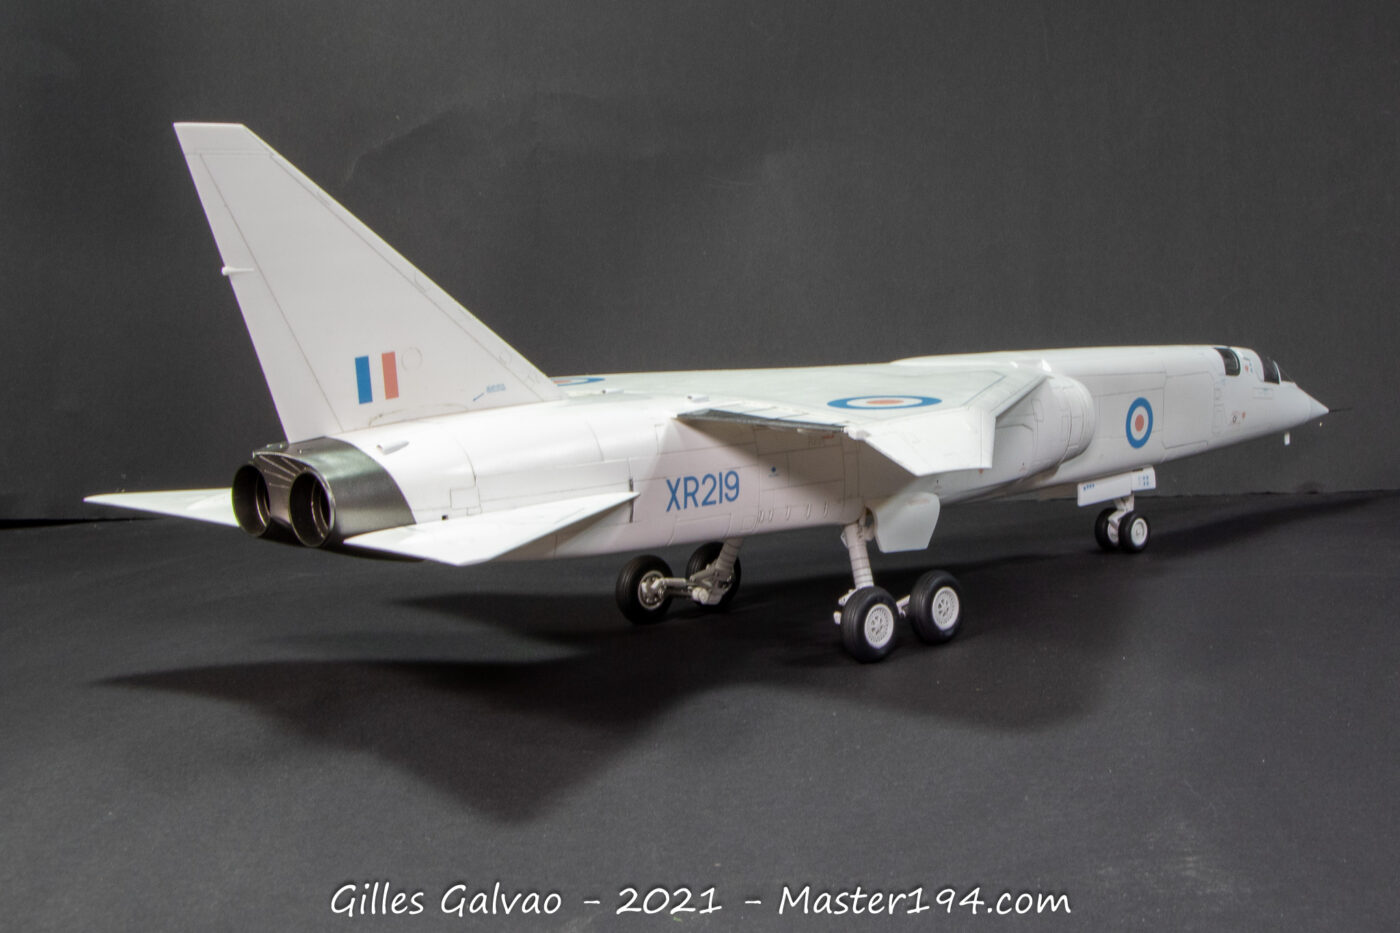
I then applied Tamiya X-2 Gloss White. The rear sections were treated with Alclad metallic paints.
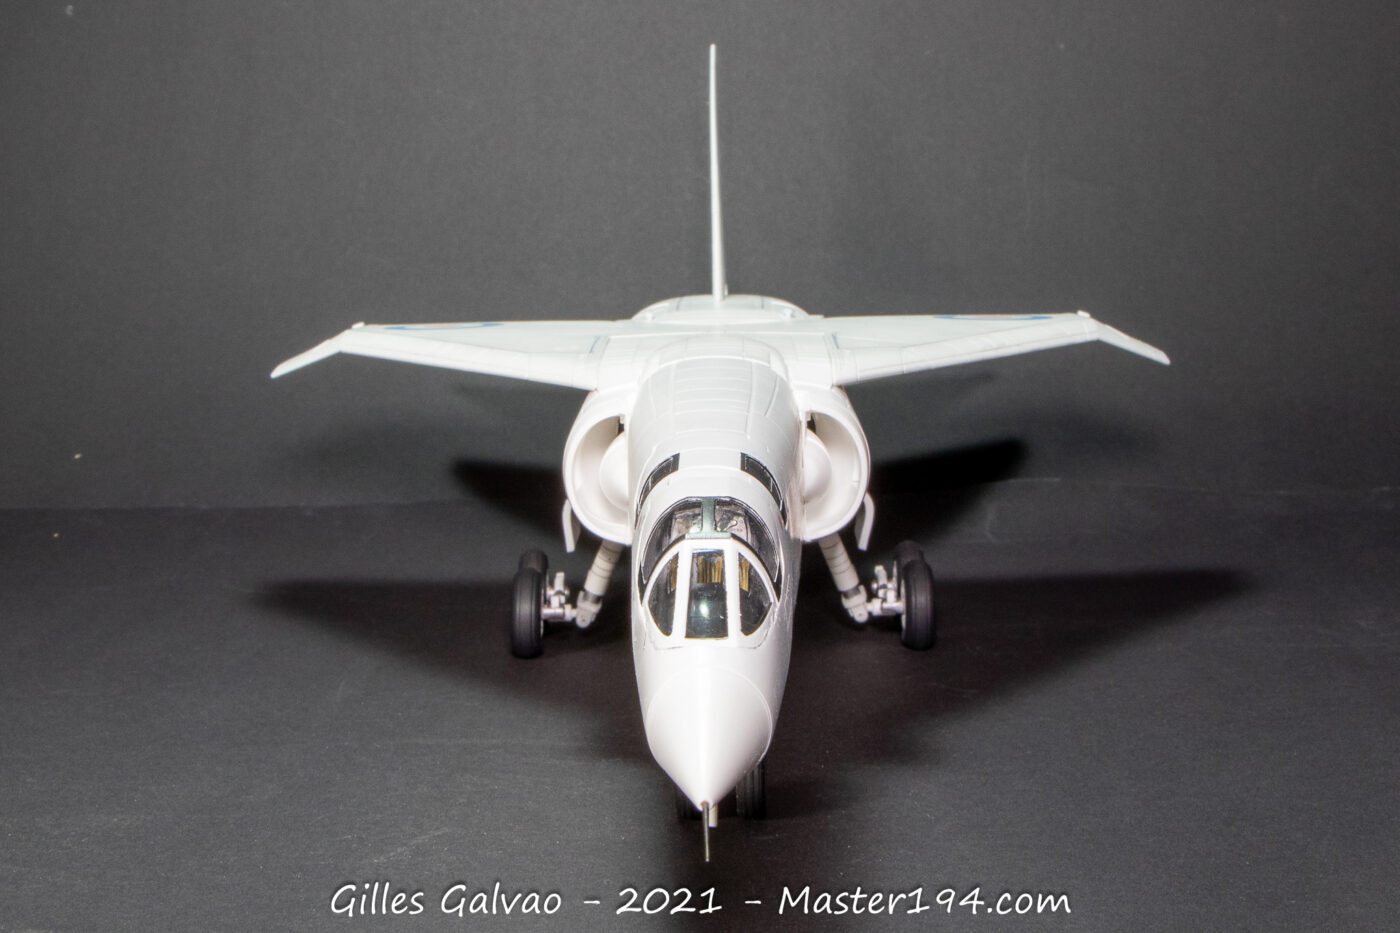
Two important details Airfix misses regarding painting instructions: the canopies and the ailerons. While canopy photos are clear, the ailerons are harder to interpret; I’ve provided my interpretation in the photos.


After painting, I applied a gloss varnish (Gunze H030) before decaling. Honestly, I’m not a fan of Airfix decals: they are thick and have a grainy matte finish. They react well to MicroSol but remain stiff and somewhat brittle. The “Walkways” are quite a task to apply!

For weathering, remember this was a prototype with limited flight hours.
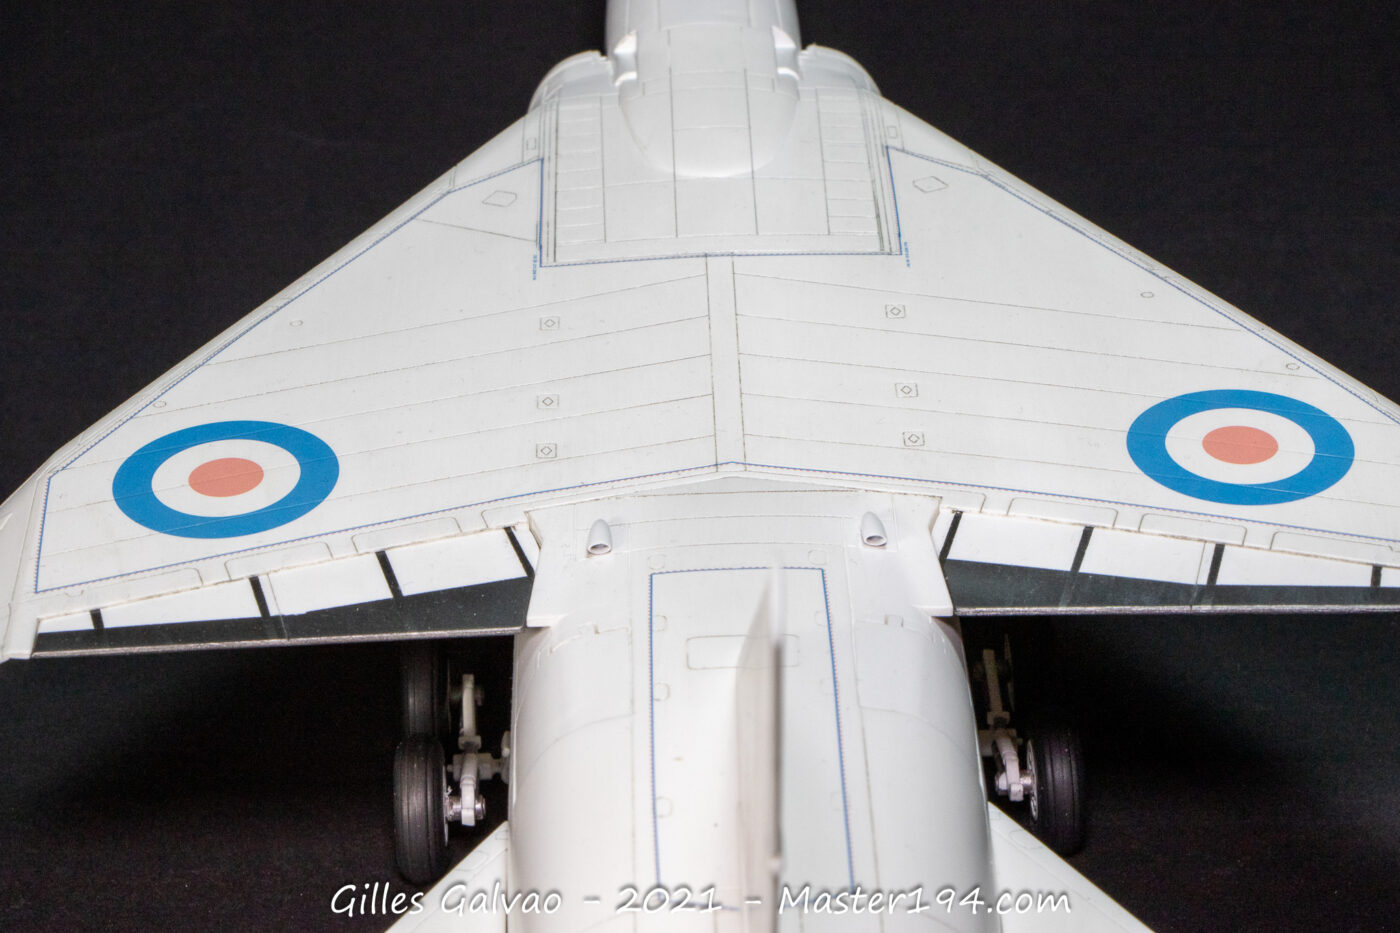
However, photos show the white finish got quite dirty in specific areas. I kept it subtle with a light grey wash to define the panel lines.
Final Result


The finished model is an imposing piece. Despite the heavy engraving, once the model is finished, the sheer size of the “Ghost” makes it look right. My only regret is the front windscreen fit; I spent a lot of time on it, but I wish I had achieved a cleaner result.
The Pavla cockpit is beautiful but only really visible if you leave the canopies open. The resin seats, however, are a must-have upgrade regardless of the canopy position.