 by
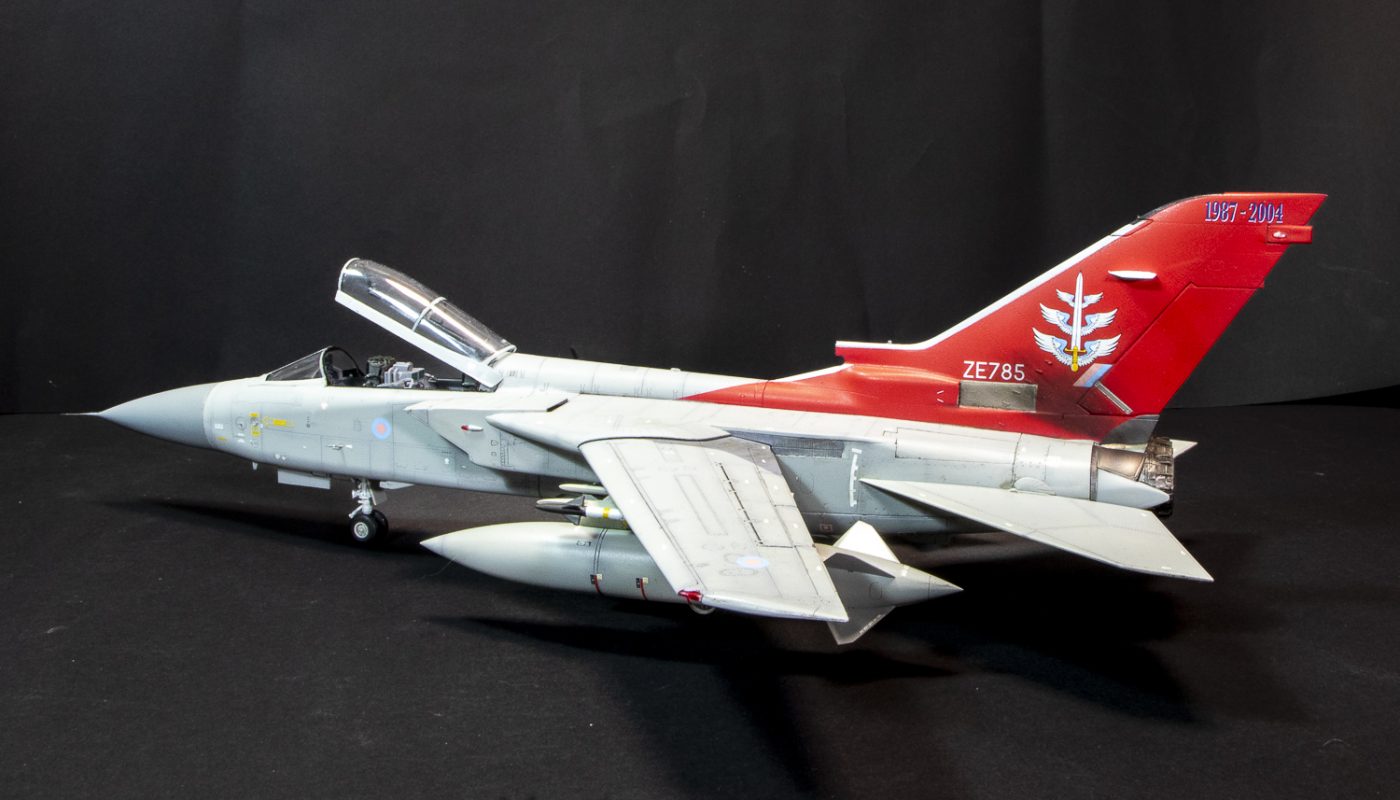
As part of one of the 2023 Group Builds, I started working on my 1/48 Revell Tornado F3 ADV.
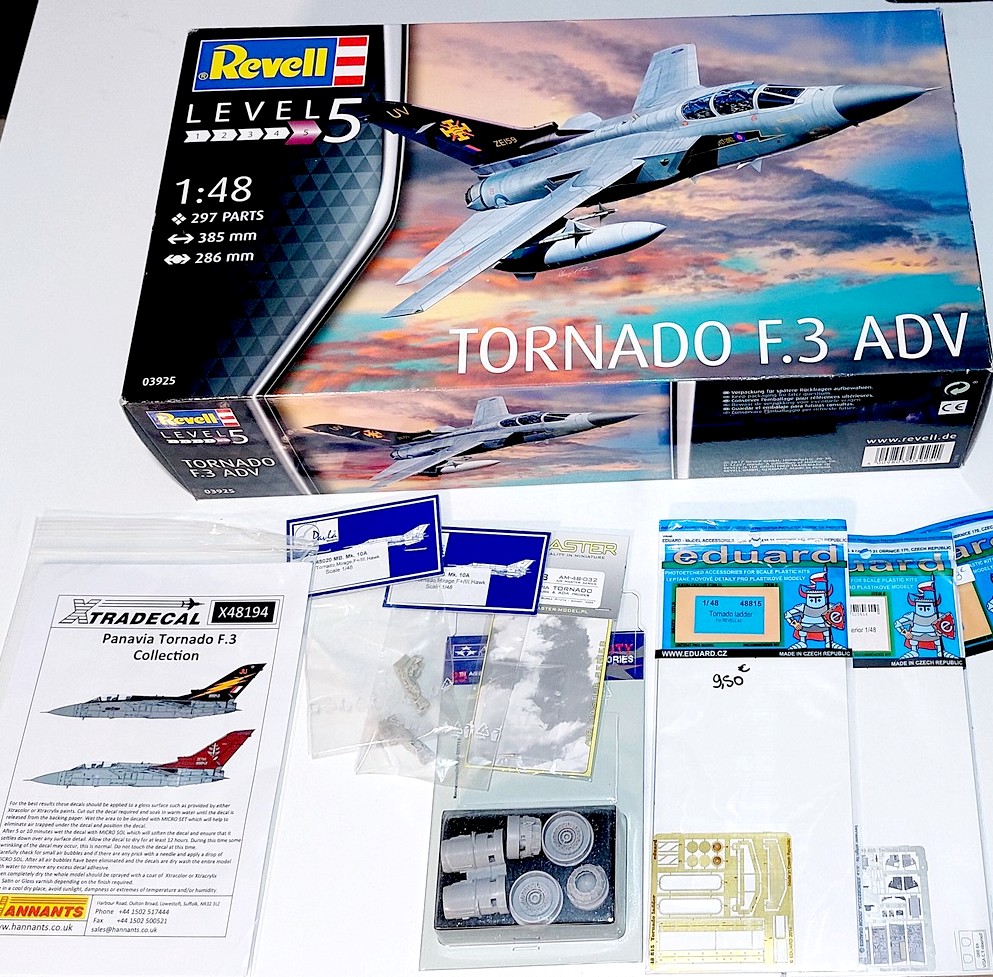
Once again, I chose to set aside the Revell decal sheet, as their decals often lack adhesion and have an annoying tendency to silver. Instead, I used an Xtradecal sheet, whose quality has never let me down. For upgrades, I added Aires resin nozzles, two Pavla seats, a Master metal pitot tube, and Eduard photo-etch for the interior
I’m starting with the cockpit, adding the photo-etched parts.
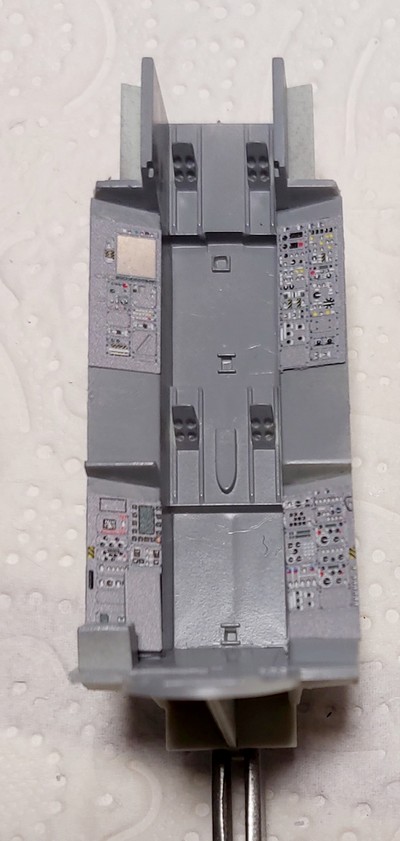
Next, I’m preparing the first sub-assemblies. Following the advice of Thud—a true Tornado ‘breeder’ and assembly expert—I’m deviating from the instructions to avoid major fit issues. The alternative approach is as follows: glue the intake ducts, the wing sweep mechanism, and the air intakes themselves directly onto the lower fuselage (intrados). Then, I’ll slide the forward section into place, and only after that will I glue the forward part of the upper fuselage (extrados).
A crucial pitfall to avoid with this method during Step 4: the nose gear well must be glued directly to the cockpit tub, and absolutely NOT to the lower fuselage (intrados). Otherwise, it will be impossible to fit everything together using this alternative assembly sequence.
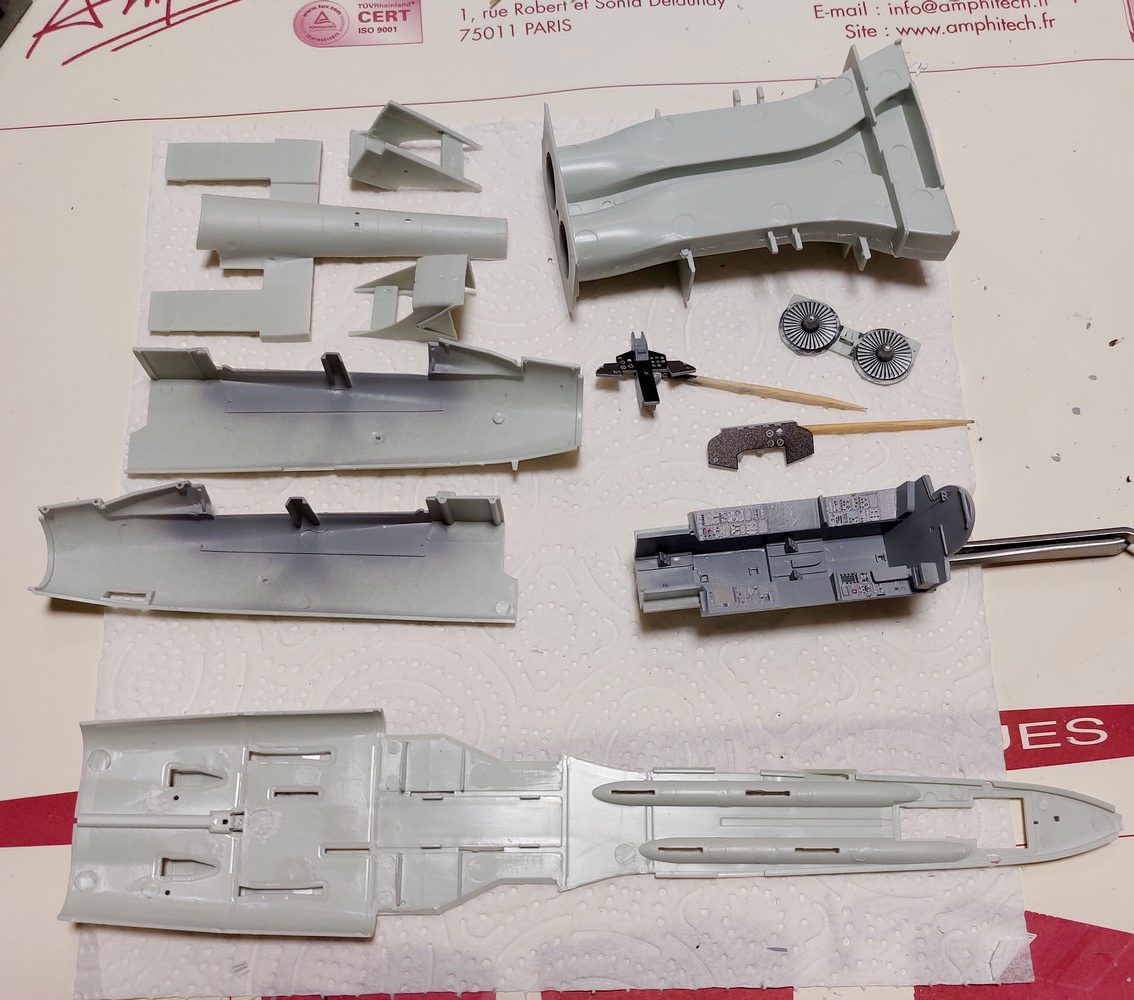
Note that the upper part of the rear instrument panel doesn’t match the reference photos I’ve seen of the F3 version. However, I decided to stick with what Revell provided anyway.
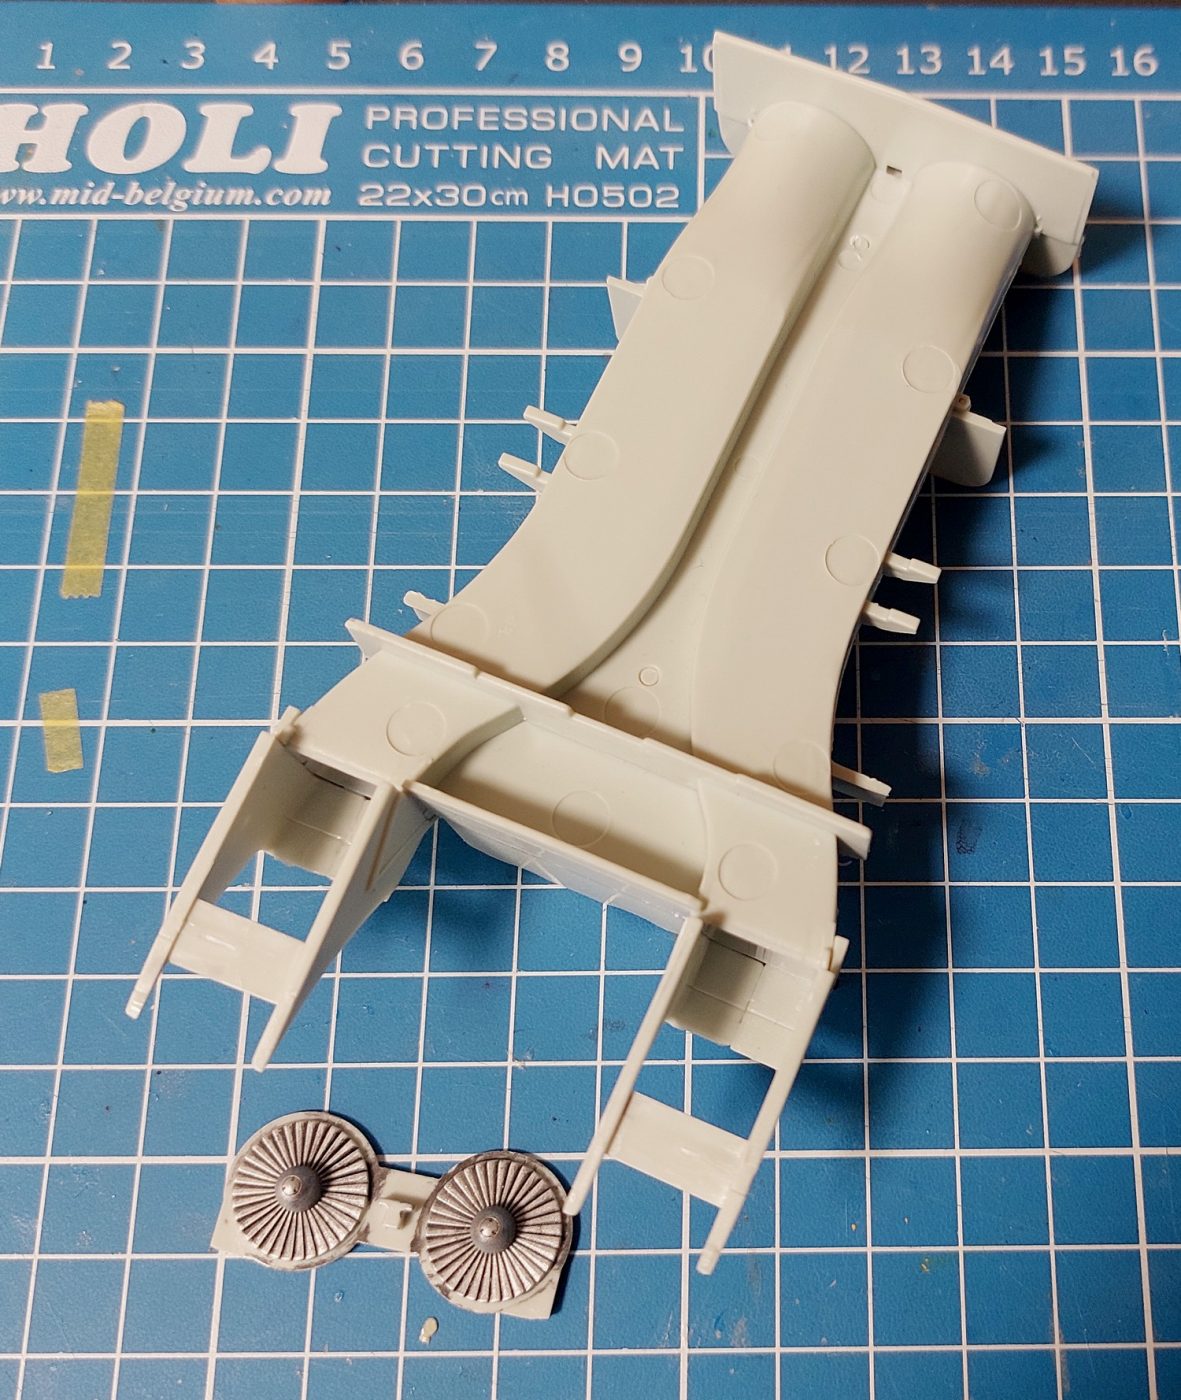
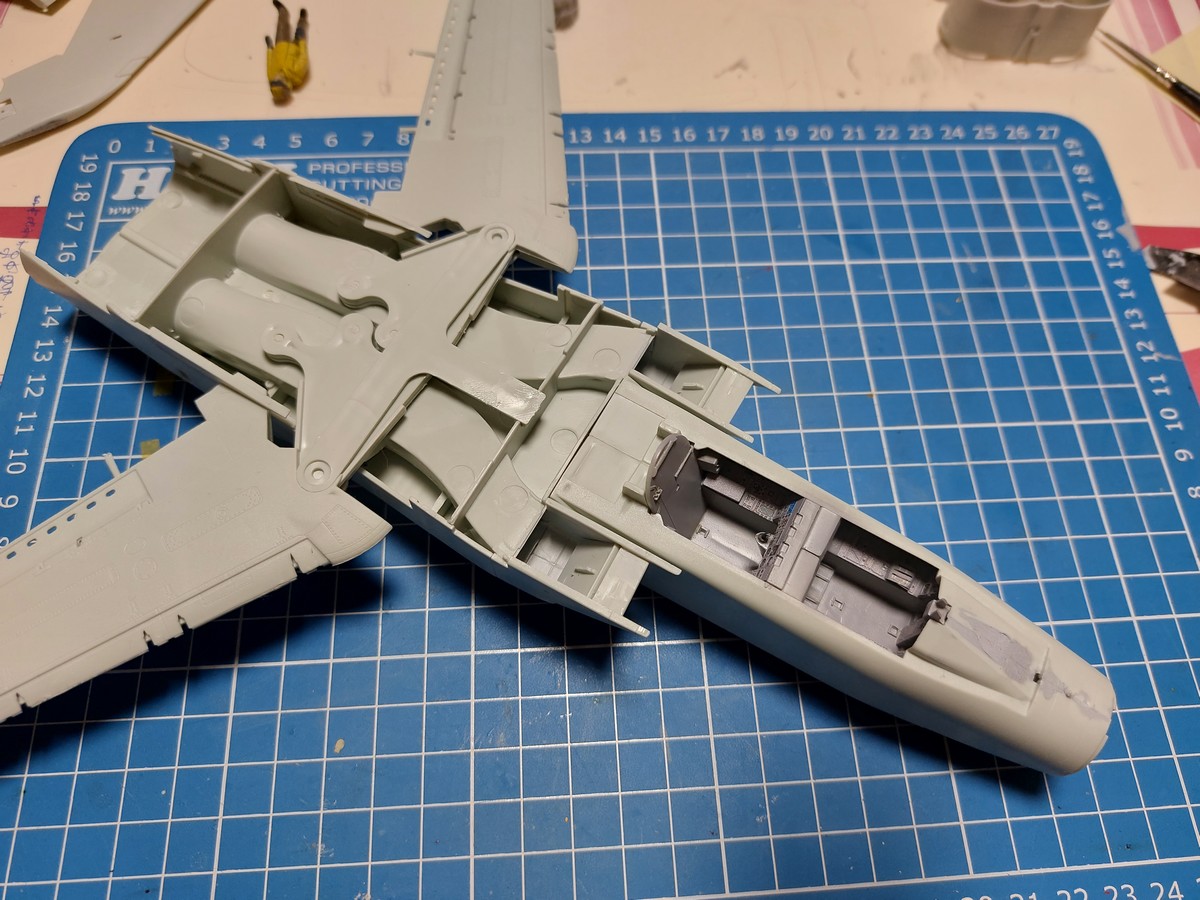
Once you’ve reached this stage, the hardest part of the build is behind you!
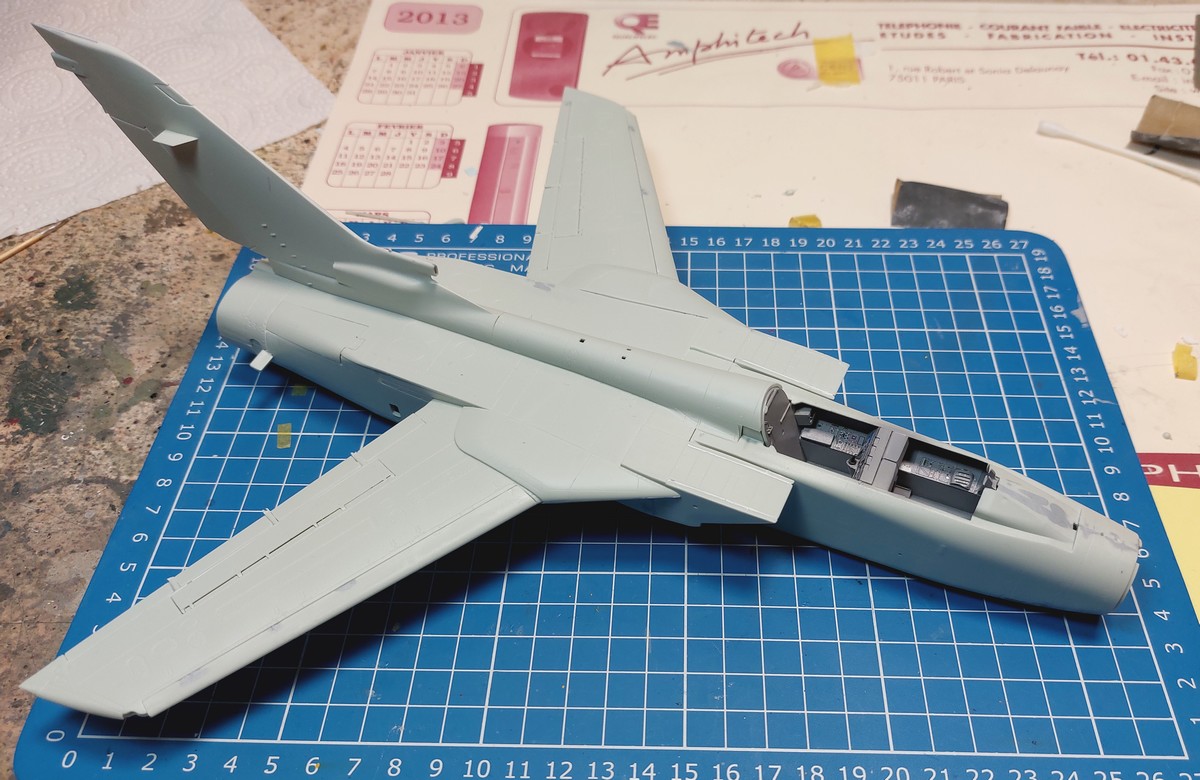
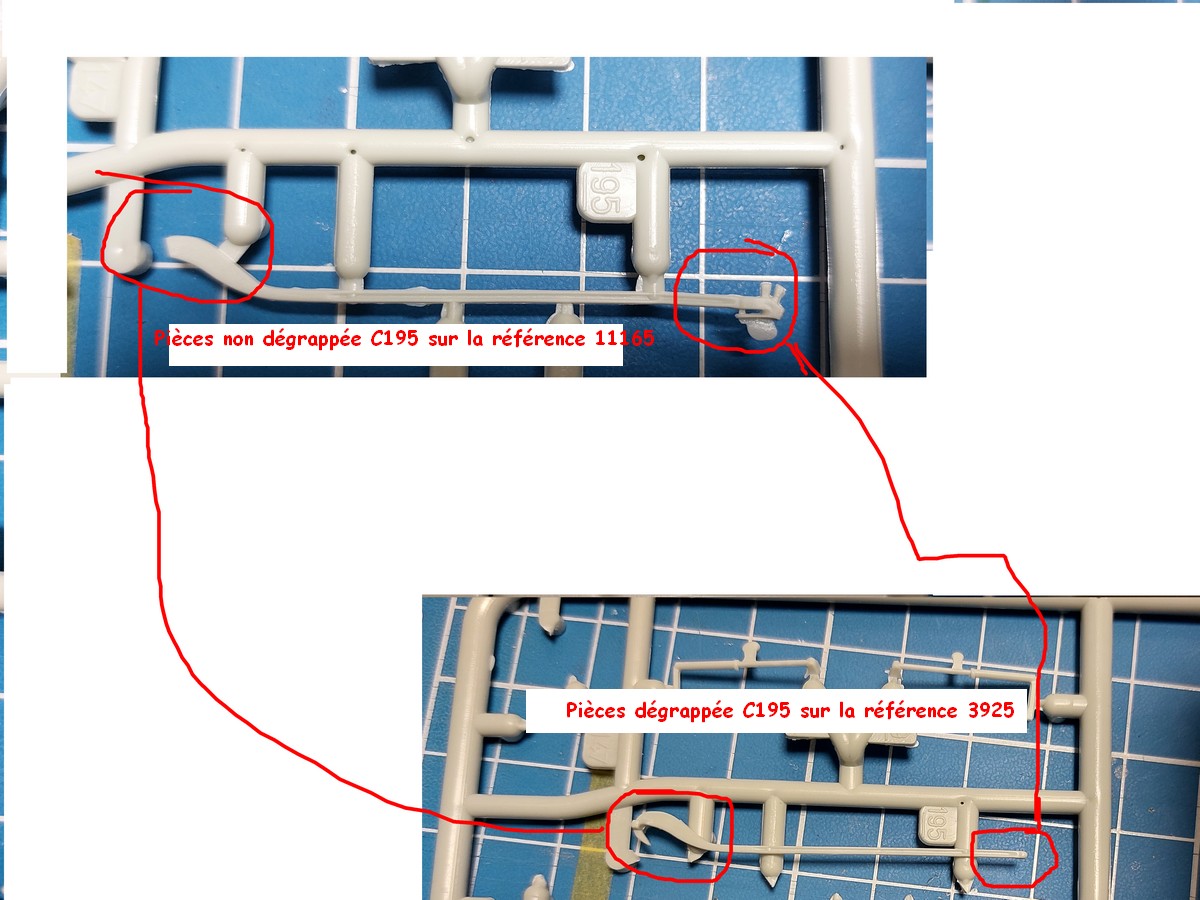
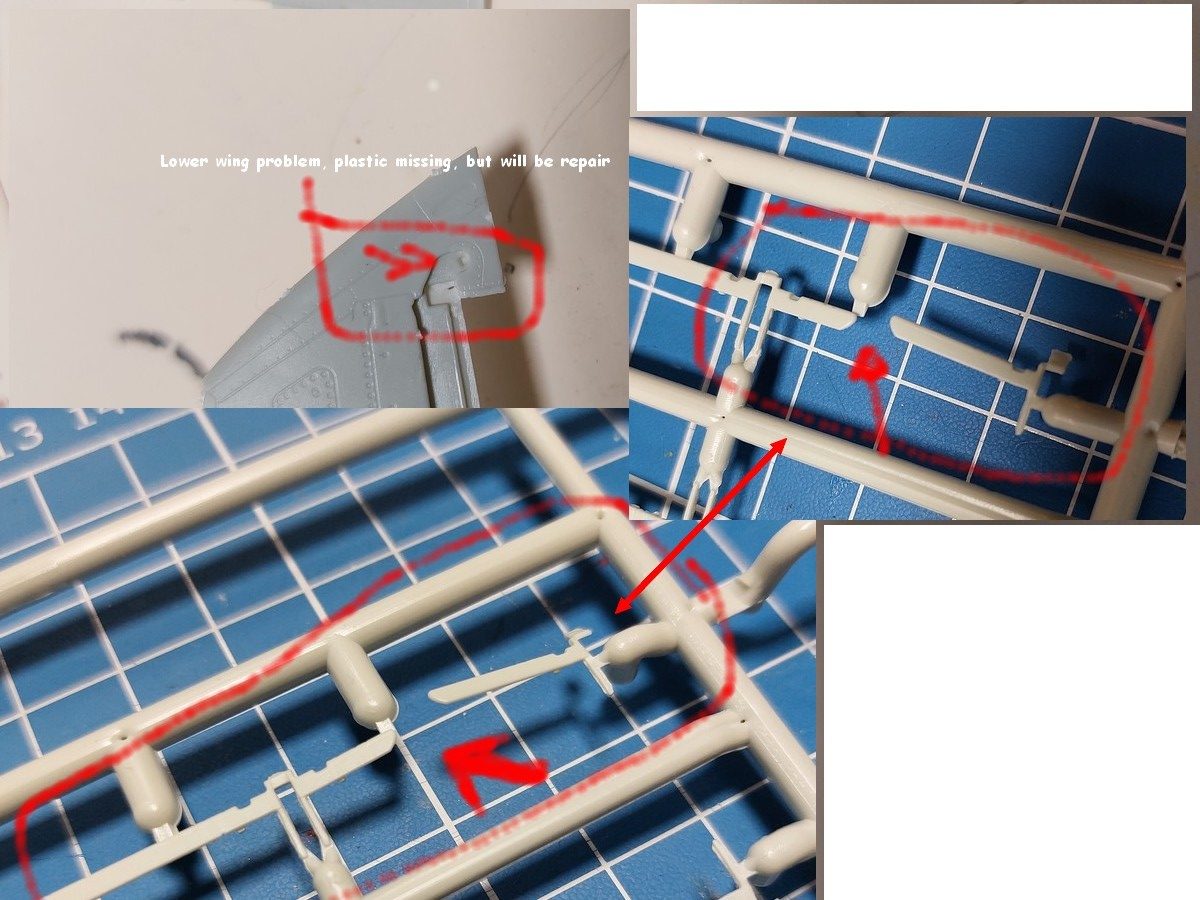
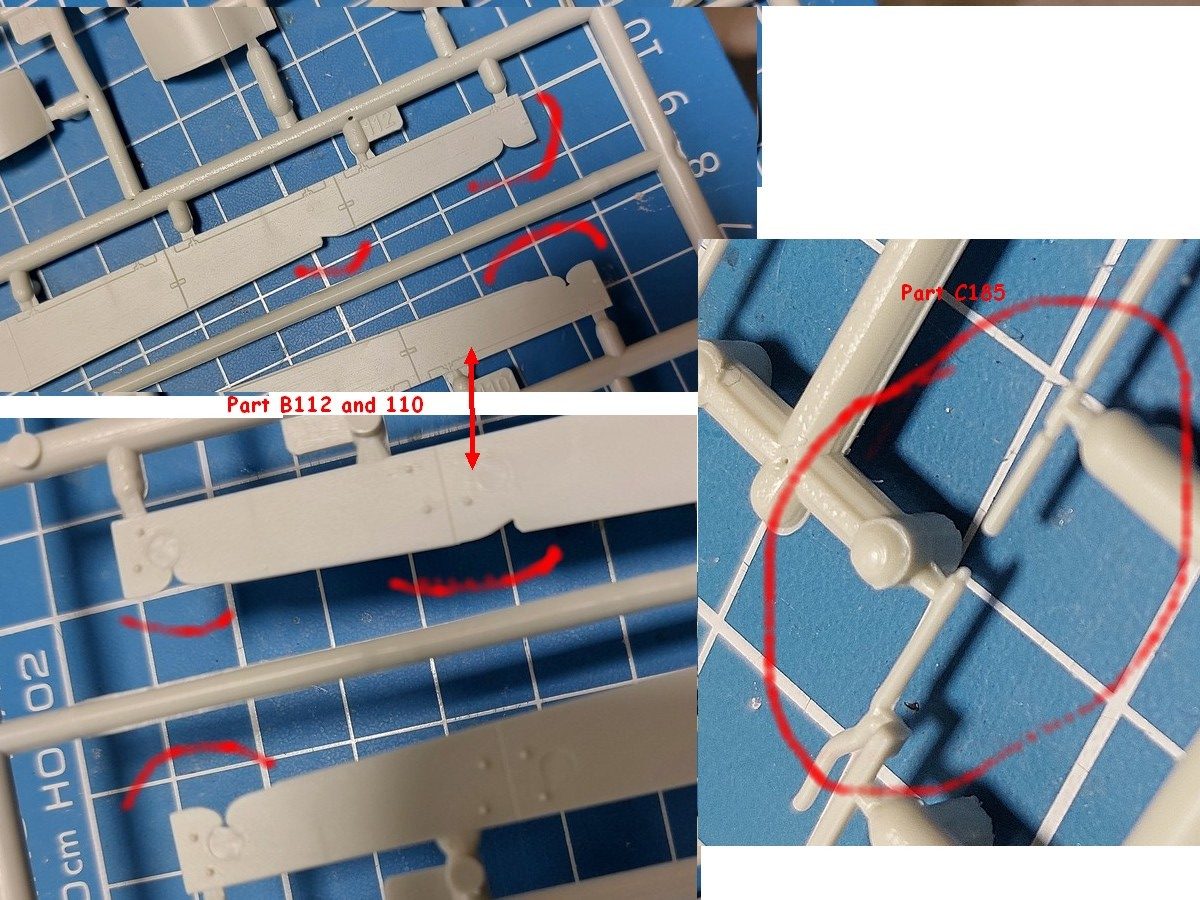
As the build progressed, I discovered major molding issues with my specific kit. I even had to compare some parts with my other Tornado IDS box to understand what was going wrong… Fortunately, Revell’s customer service replaced some of the defective parts without any hassle. Although the kit offers the option for dropped flaps and extended spoilers/airbrakes, given the assembly difficulties and the molding flaws on the finer parts, I decided to abandon that idea.