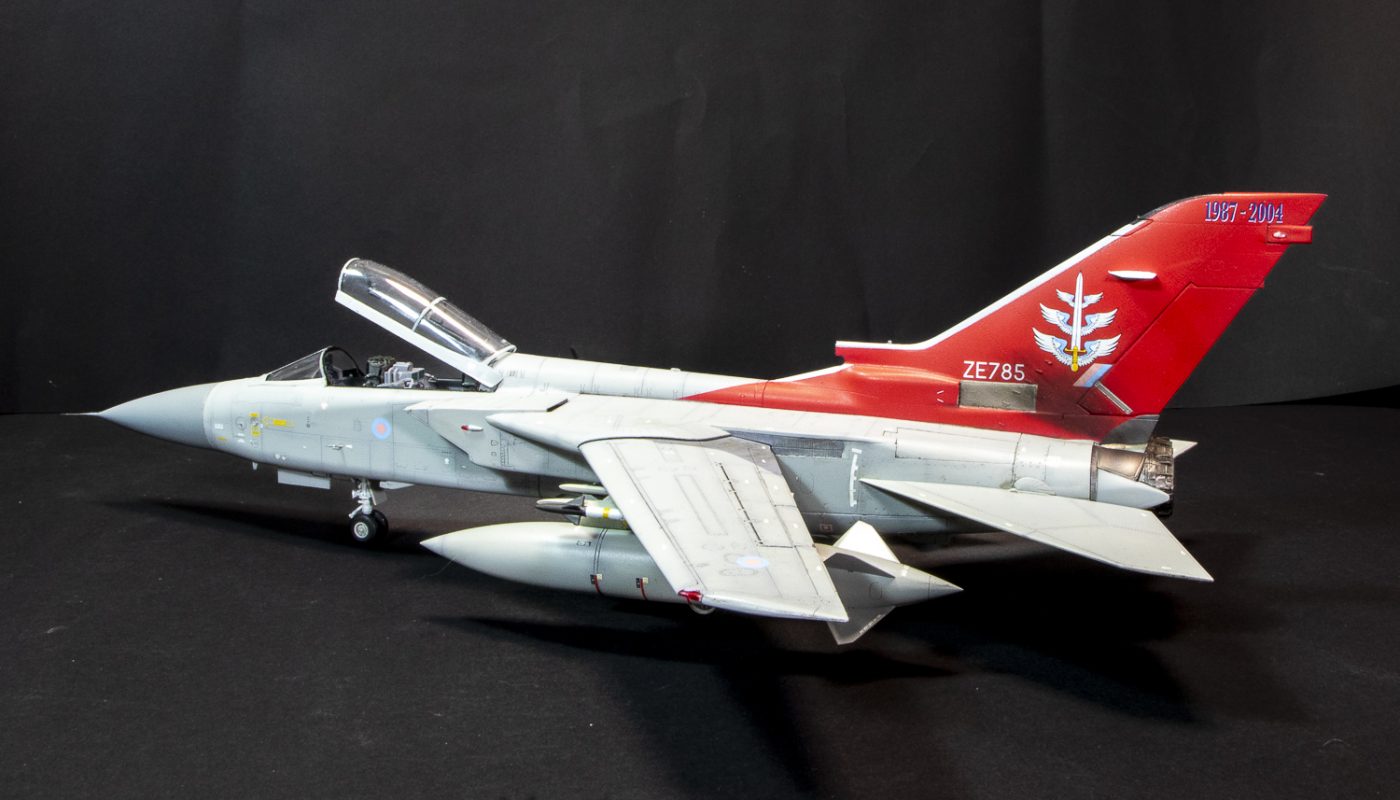
 by
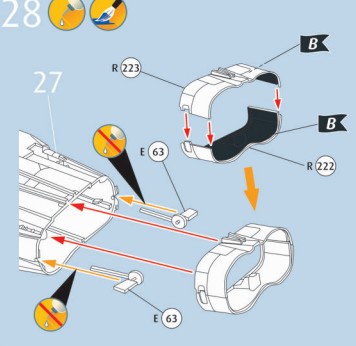
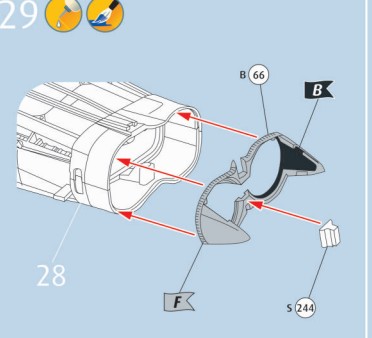
At this stage, I can finally move on to the painting. I decided not to install the nozzle block yet (part B66 and its associated components, see image below), which will fit perfectly once the painting is done. There are two reasons for this:
It allows internal access until the very end of the build to the E63 pins (see parts in the image below) where the elevators are attached. They felt far too loose to provide a secure hold once the elevators were in place… and I’m glad I did, as I ended up gluing them from the inside to keep the elevators firmly in the correct position.
It simplifies the painting, masking, and handling process.
AD
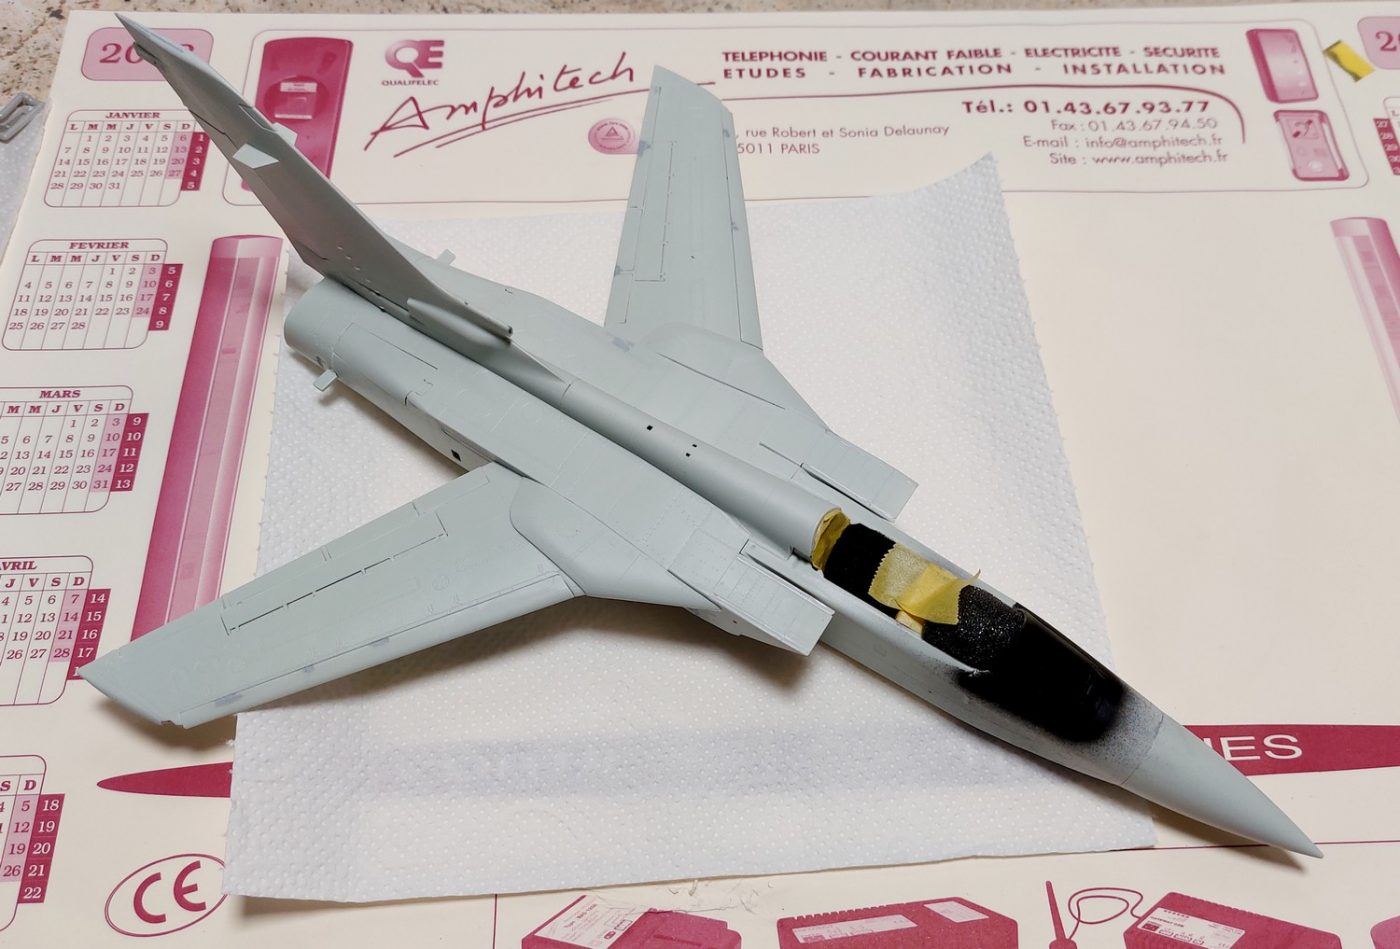
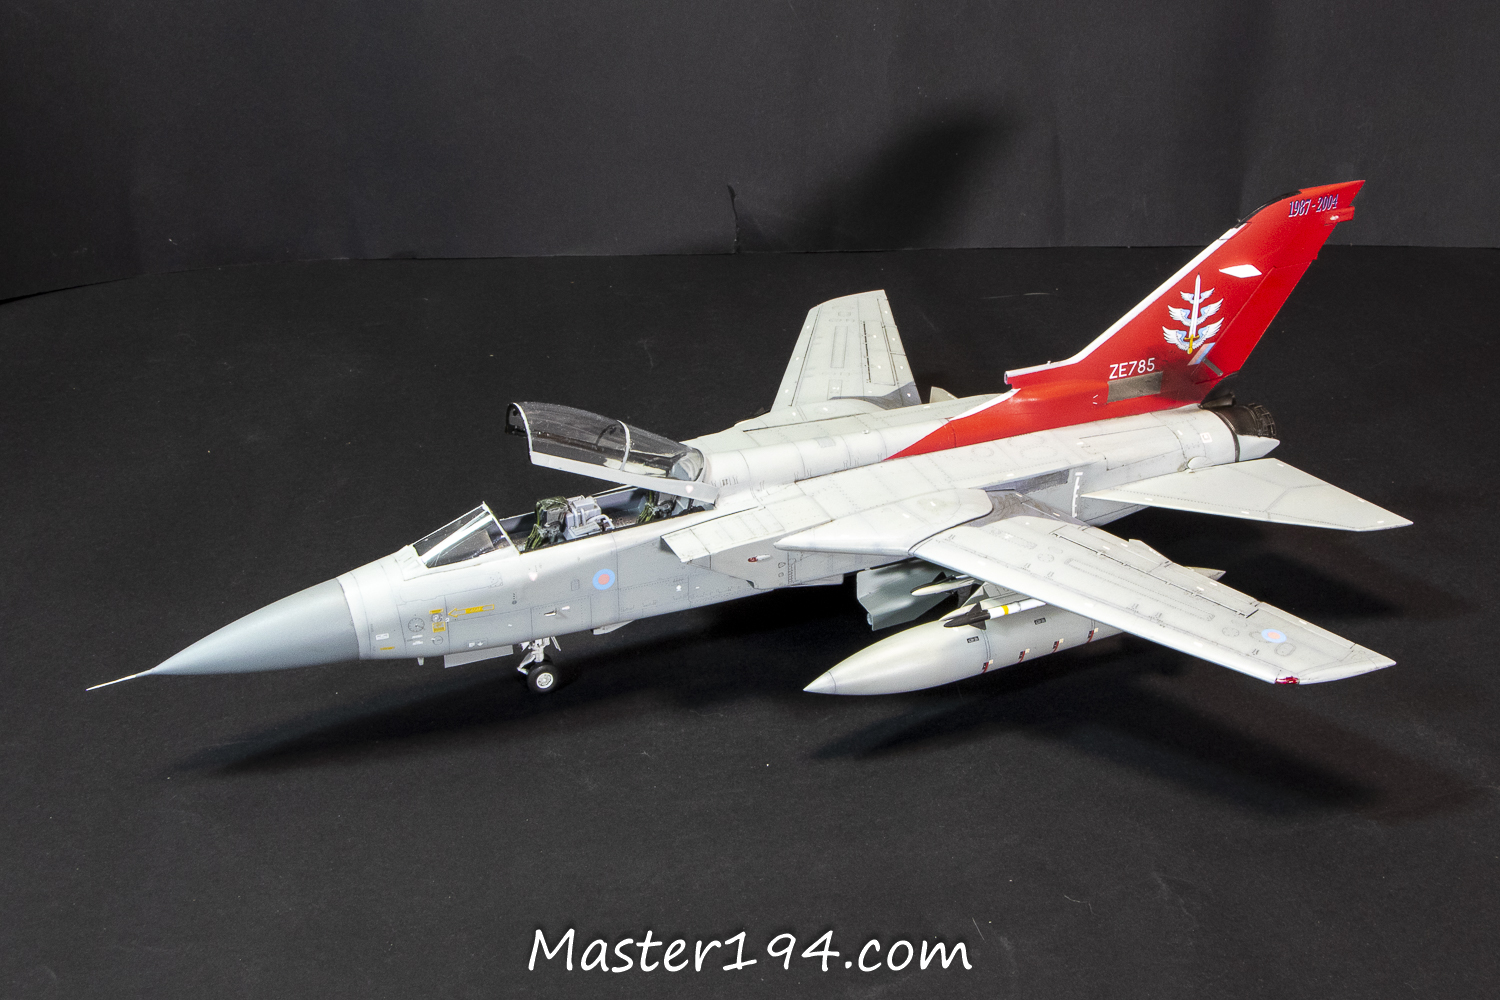
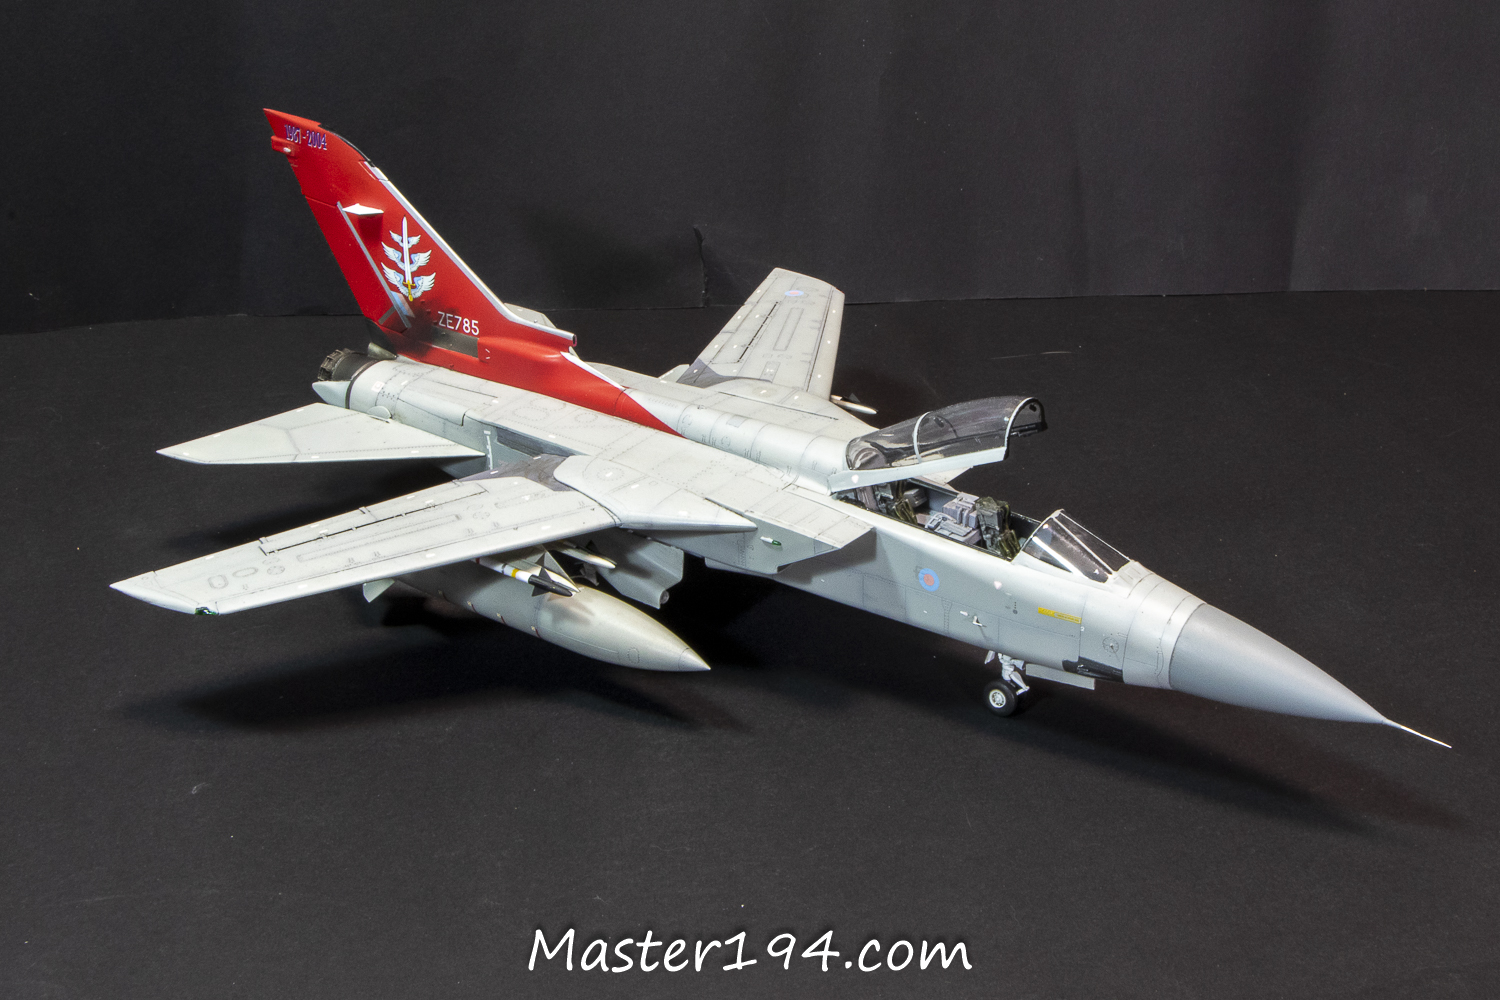
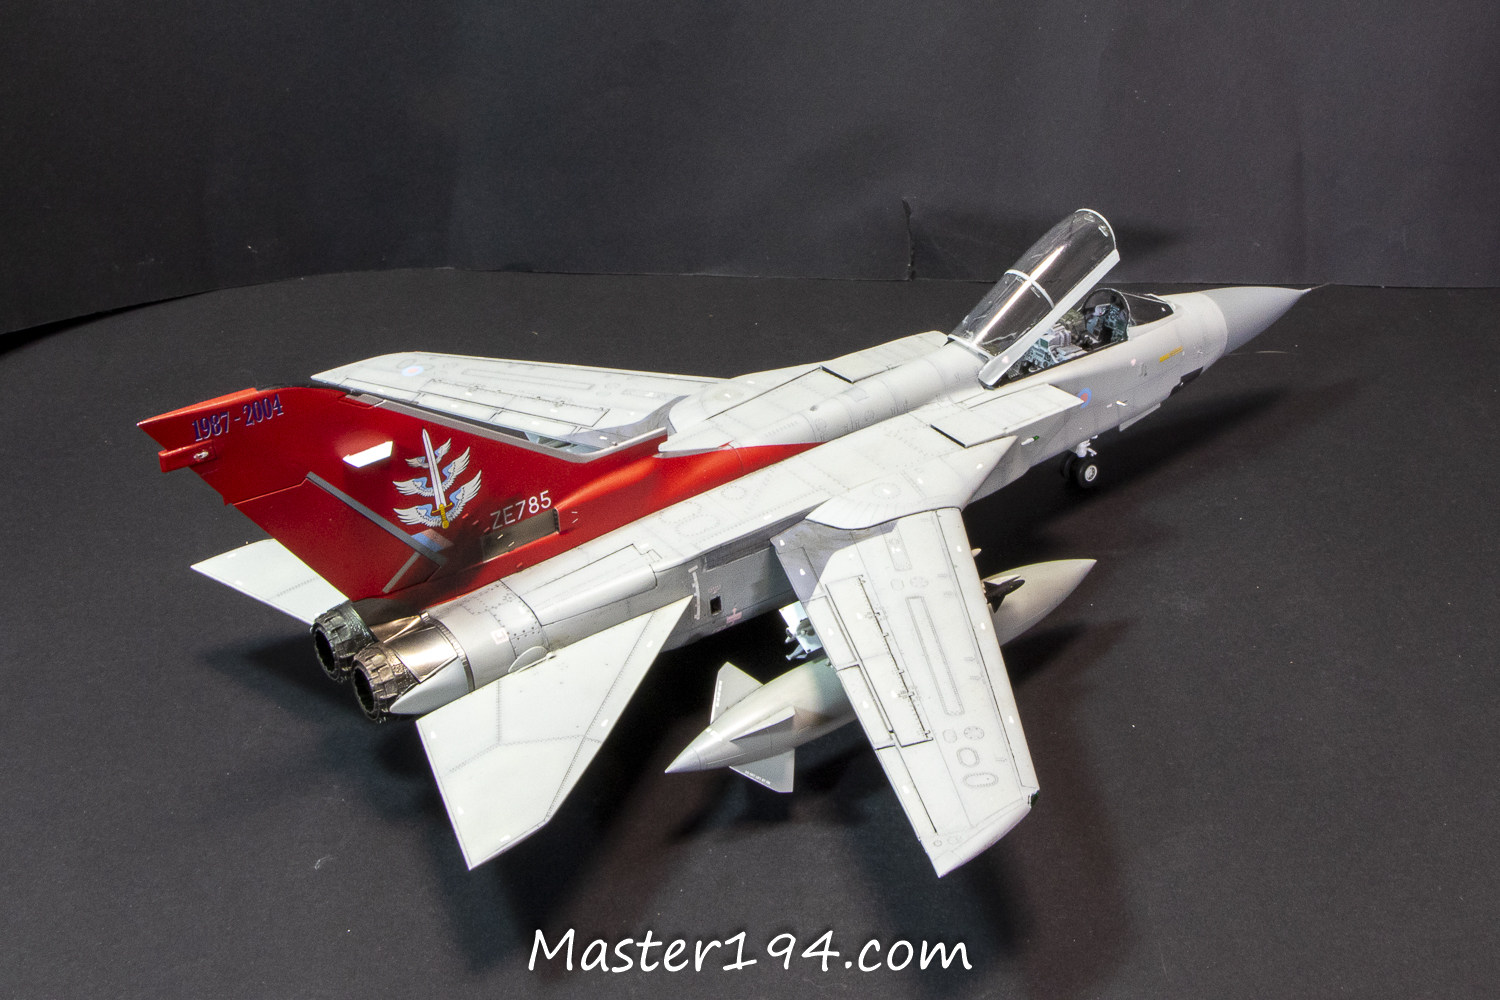
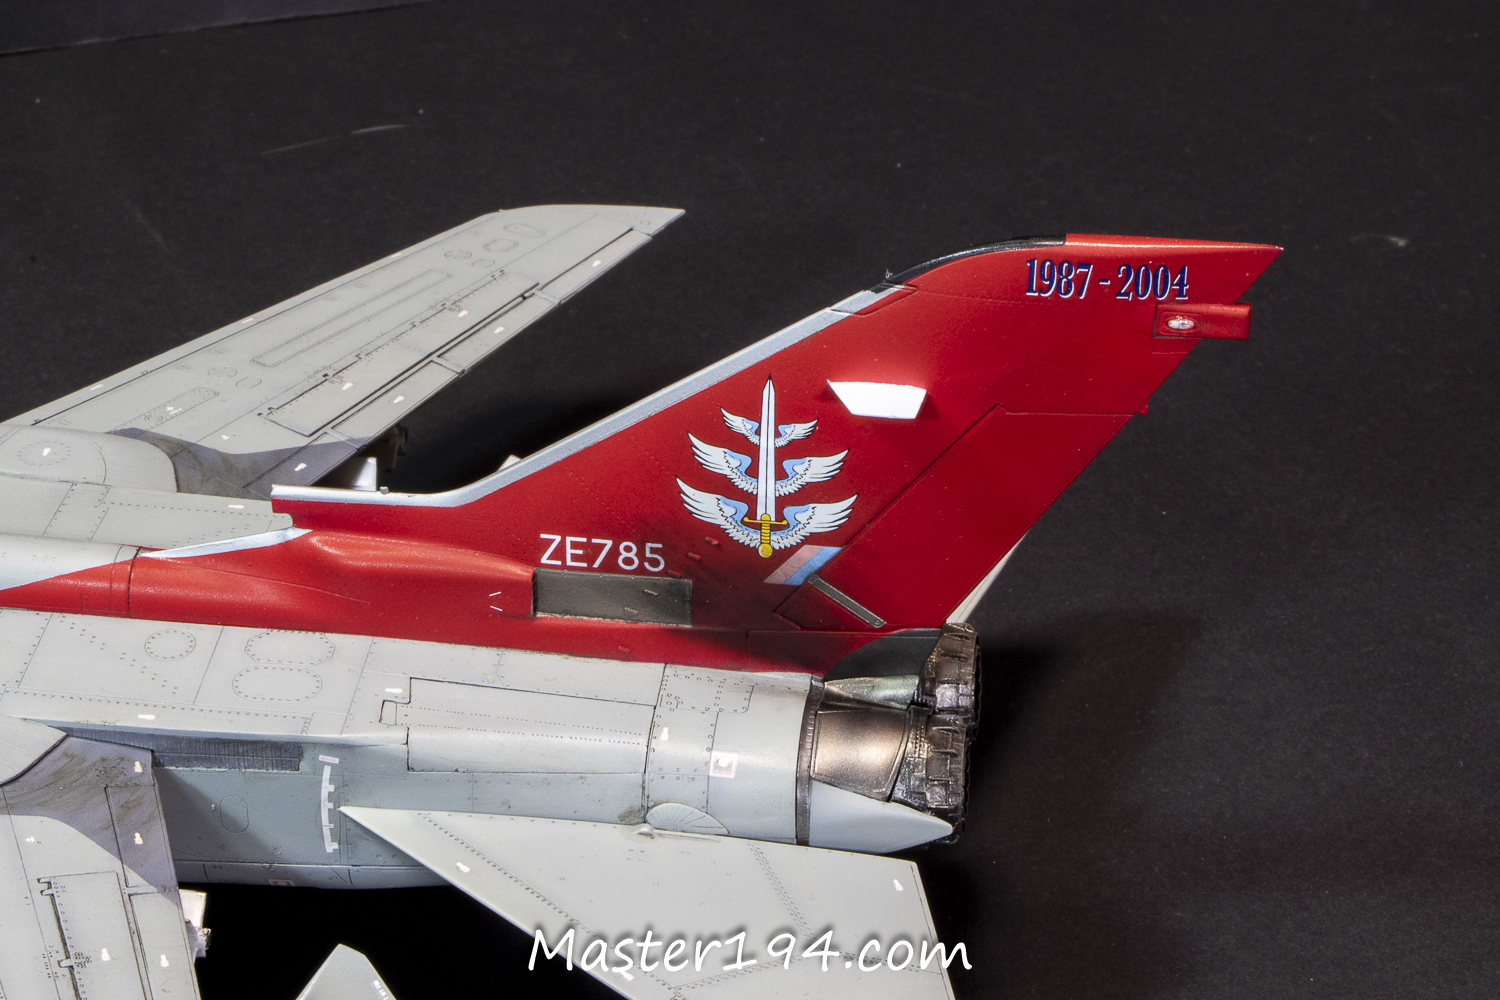
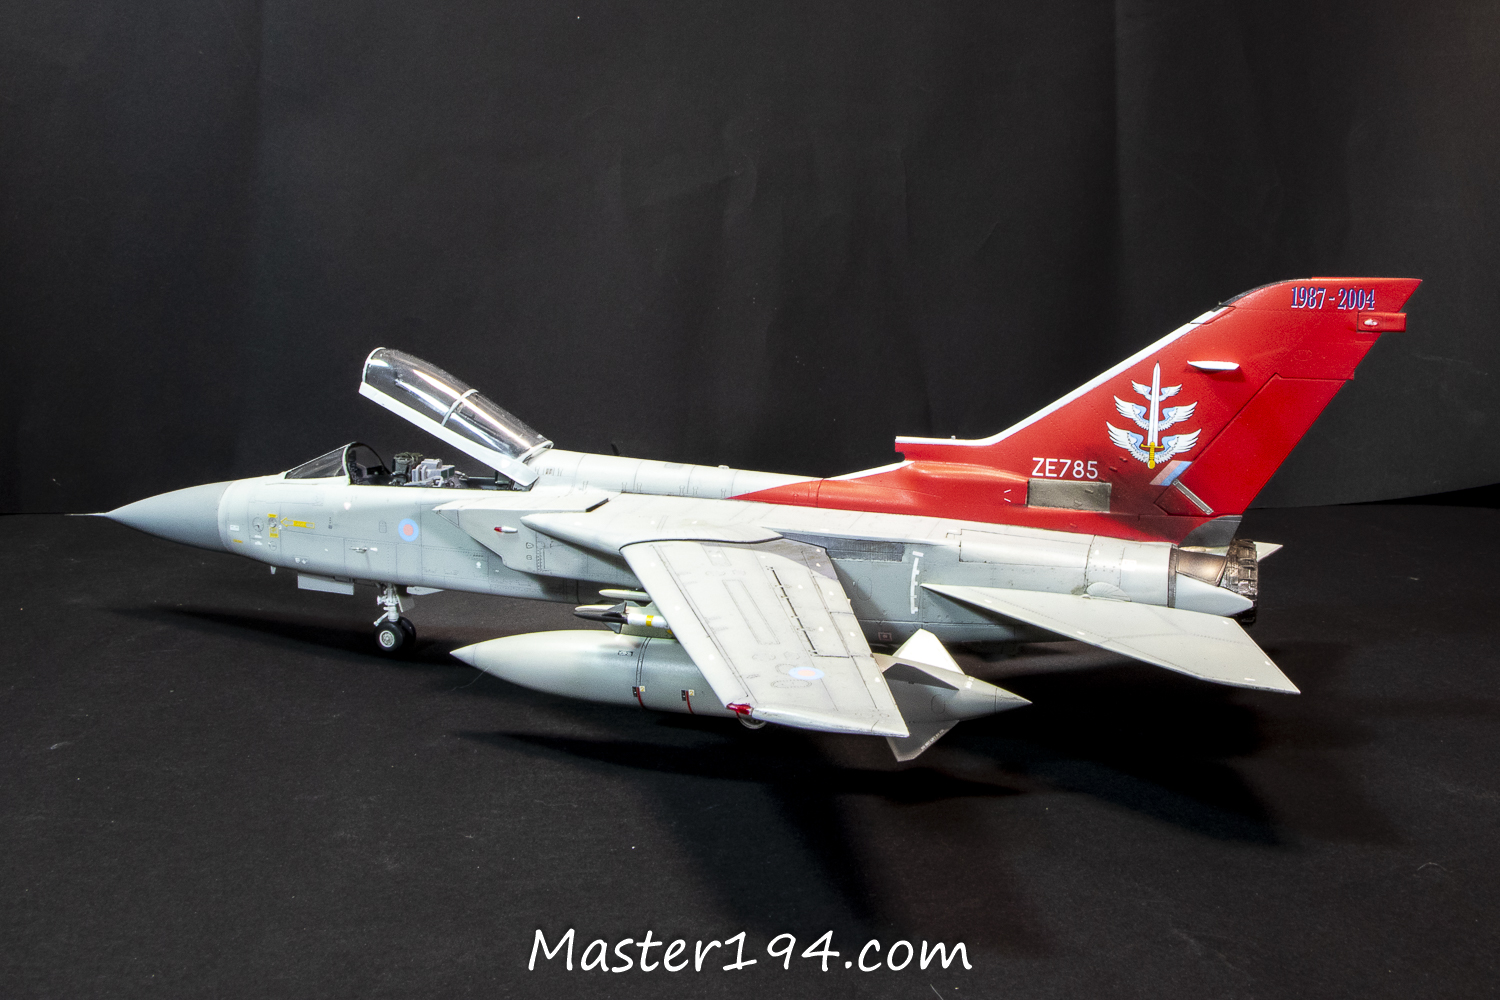
I chose an Xtradecal sheet to create a more colorful scheme: ZE785 with its striking red tail. The Xtradecal instructions weren’t very clear, so I referred to an Eduard manual from one of their previous boxings of this same aircraft. But a word of caution: the Eduard instructions contain a major typo, swapping the colors for the upper and lower surfaces. To be clear: H334 is for the upper surfaces (extrados) and H332 is for the lower surfaces (intrados)—the exact opposite of what Eduard suggests…
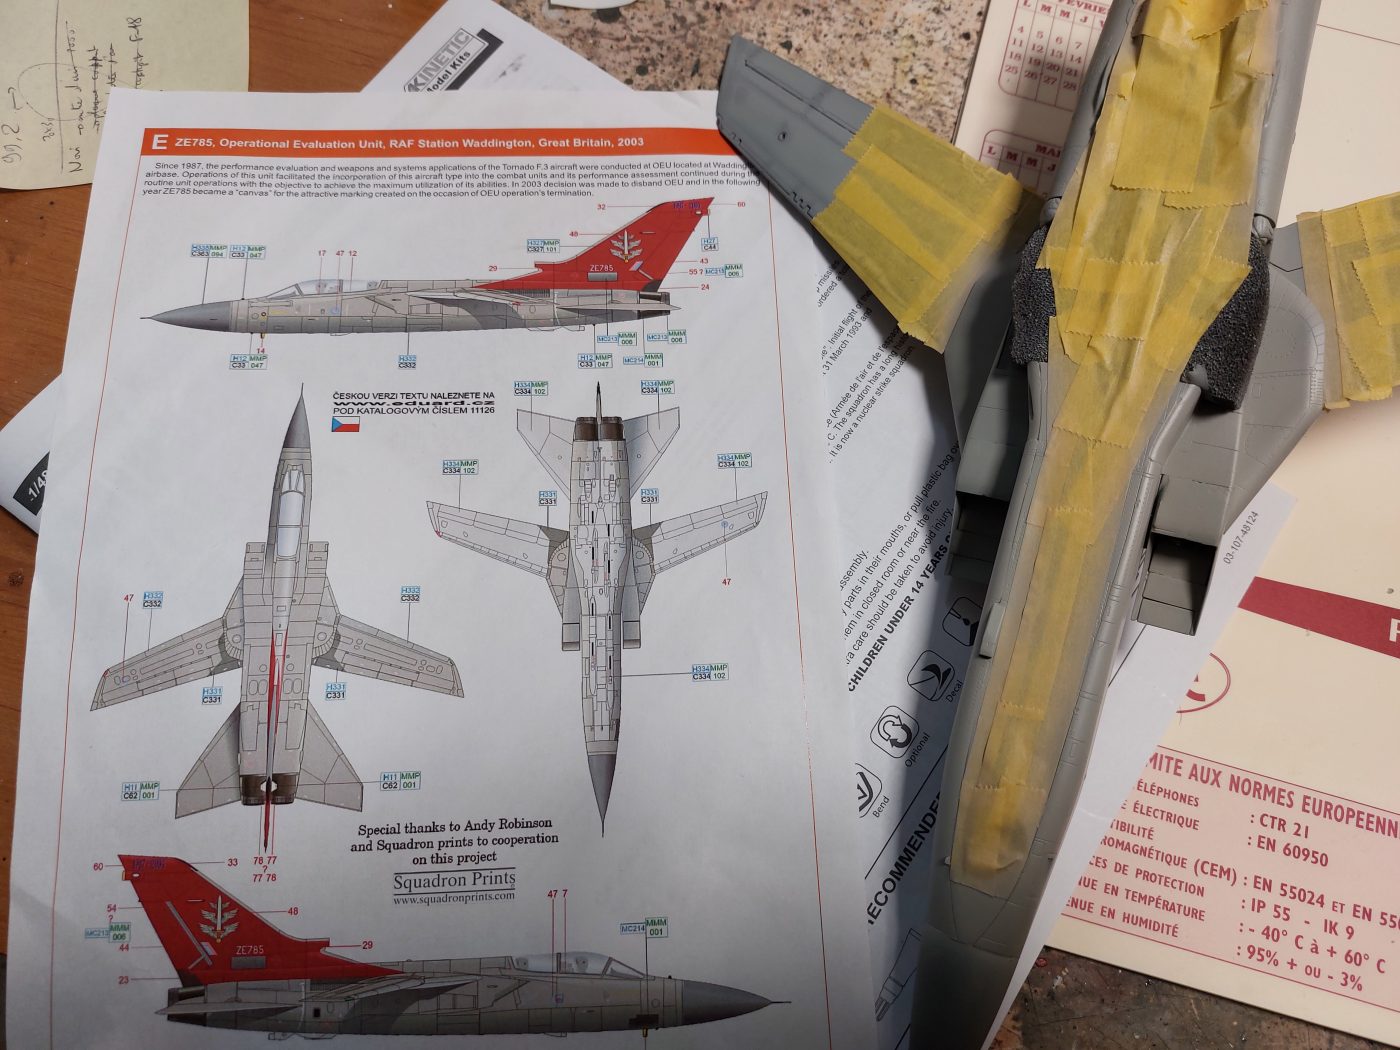
I’m using the pre-shading technique, which I find works quite well with these lighter shades of grey.
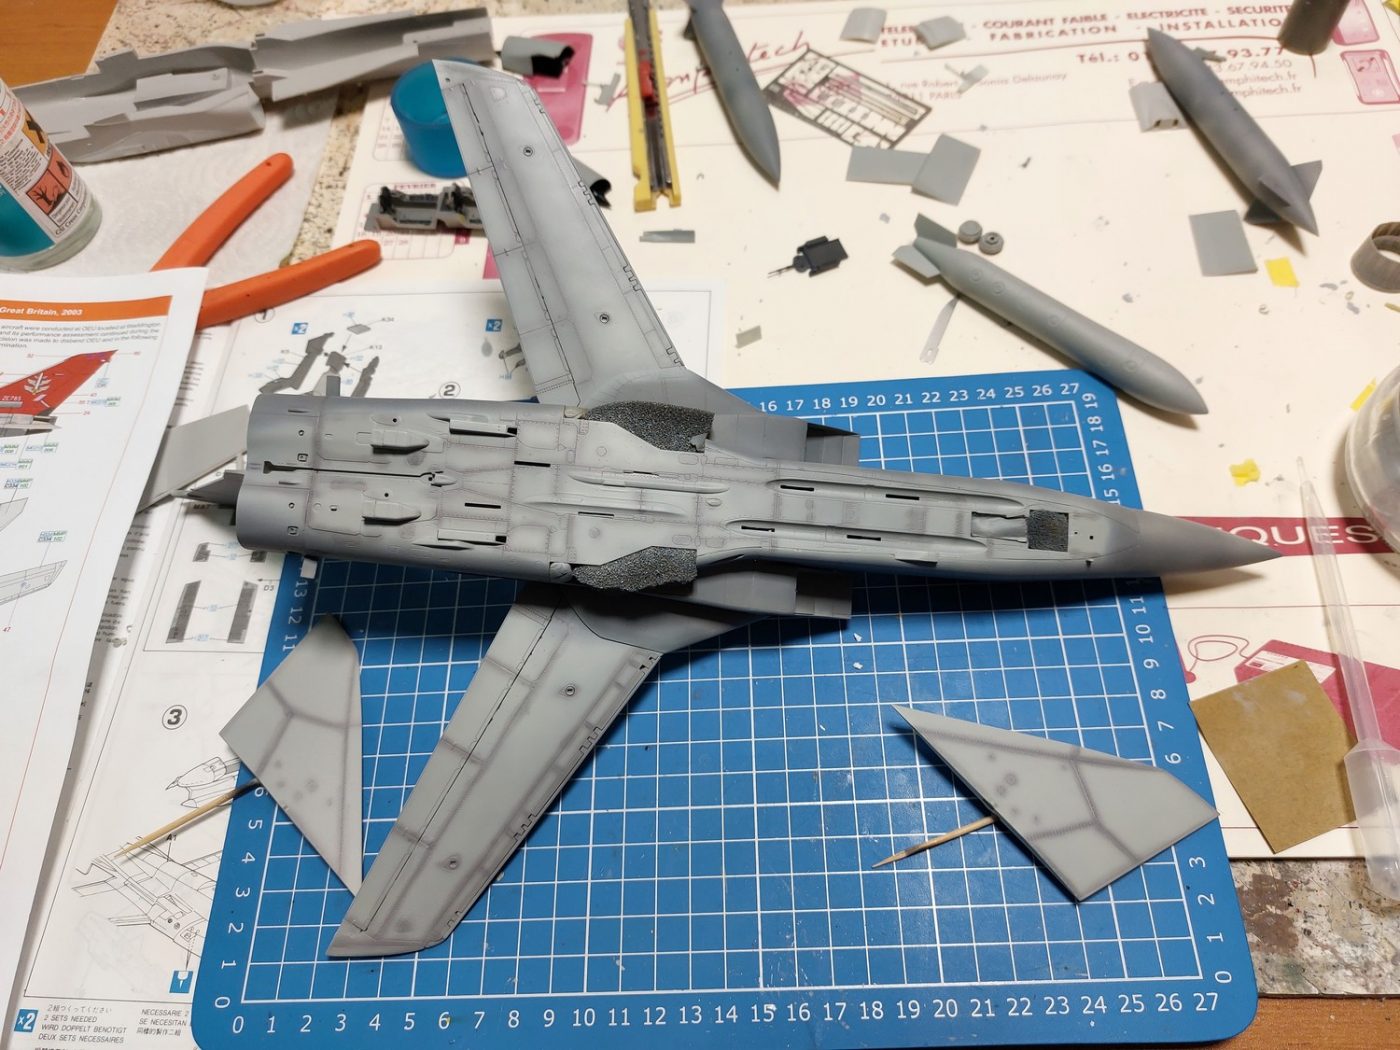
Still quite a bit of masking to do before the painting is finished: the natural metal plates on the tail, the tail antennas, the leading edges, and the parts along the rudder’s moving section, etc.
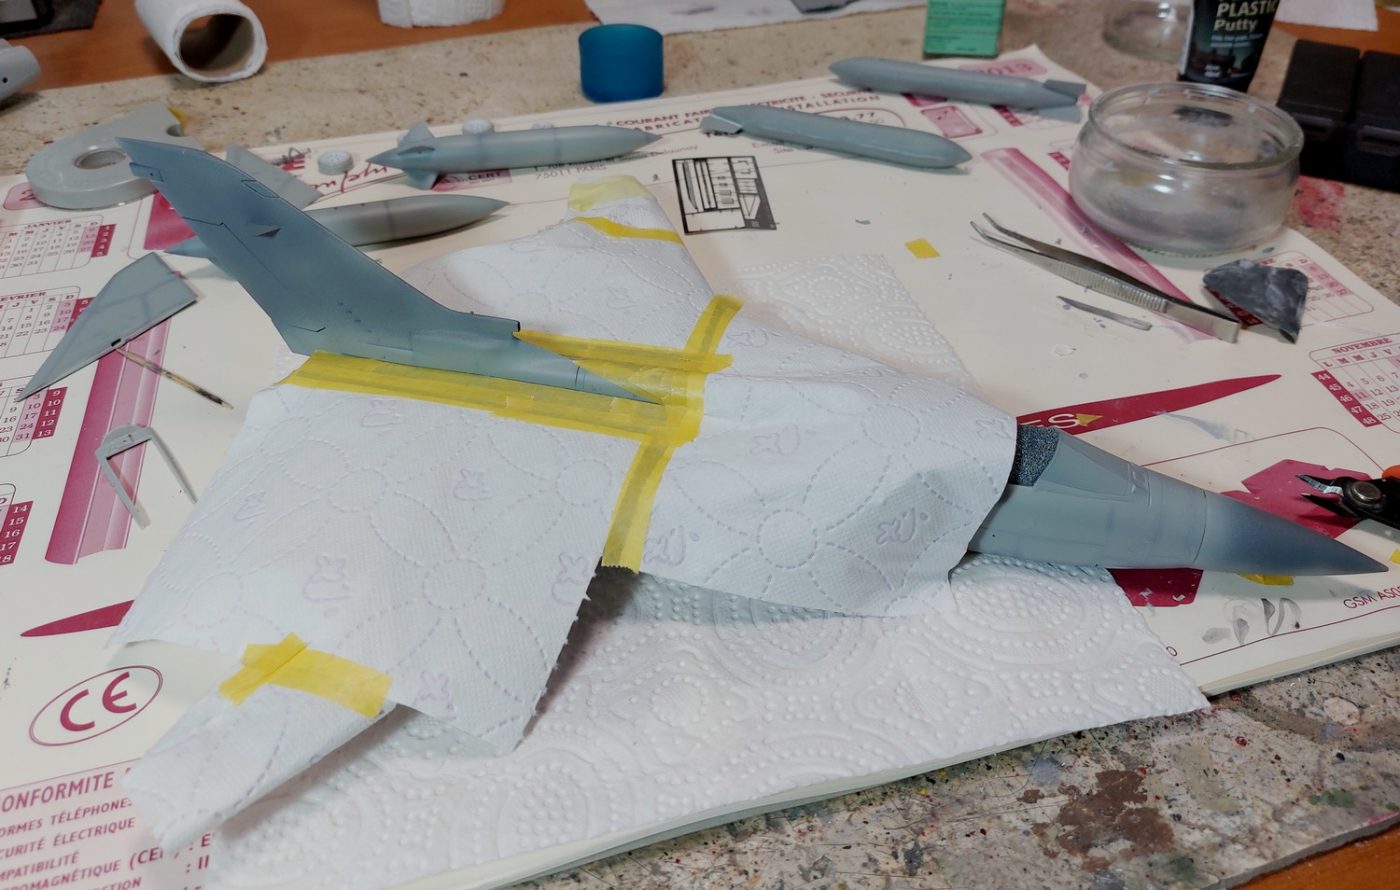
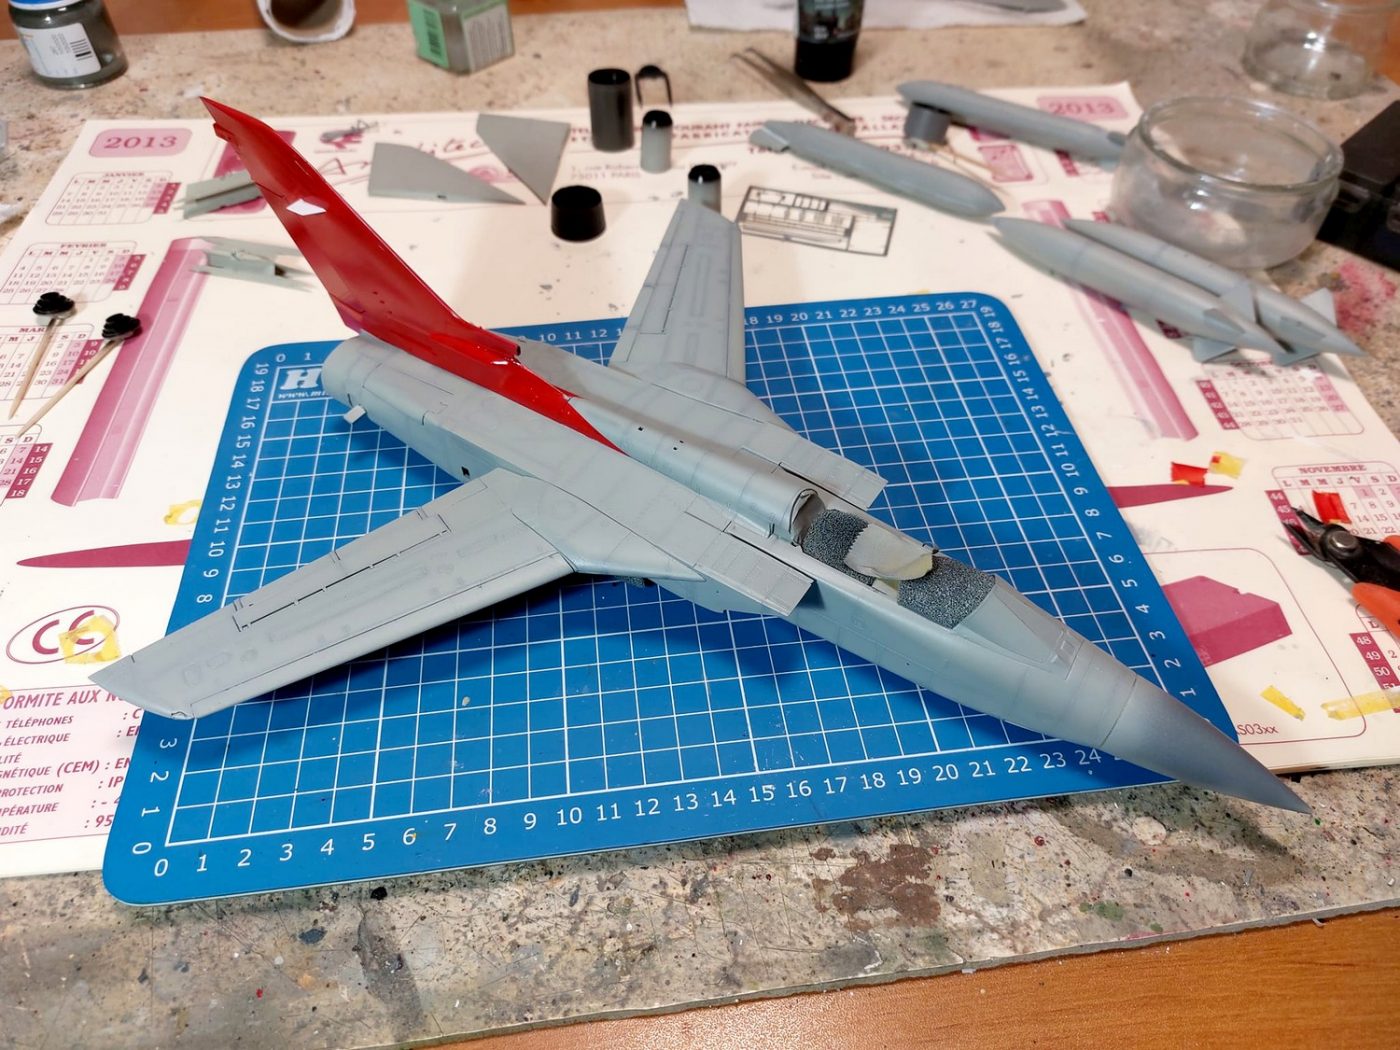
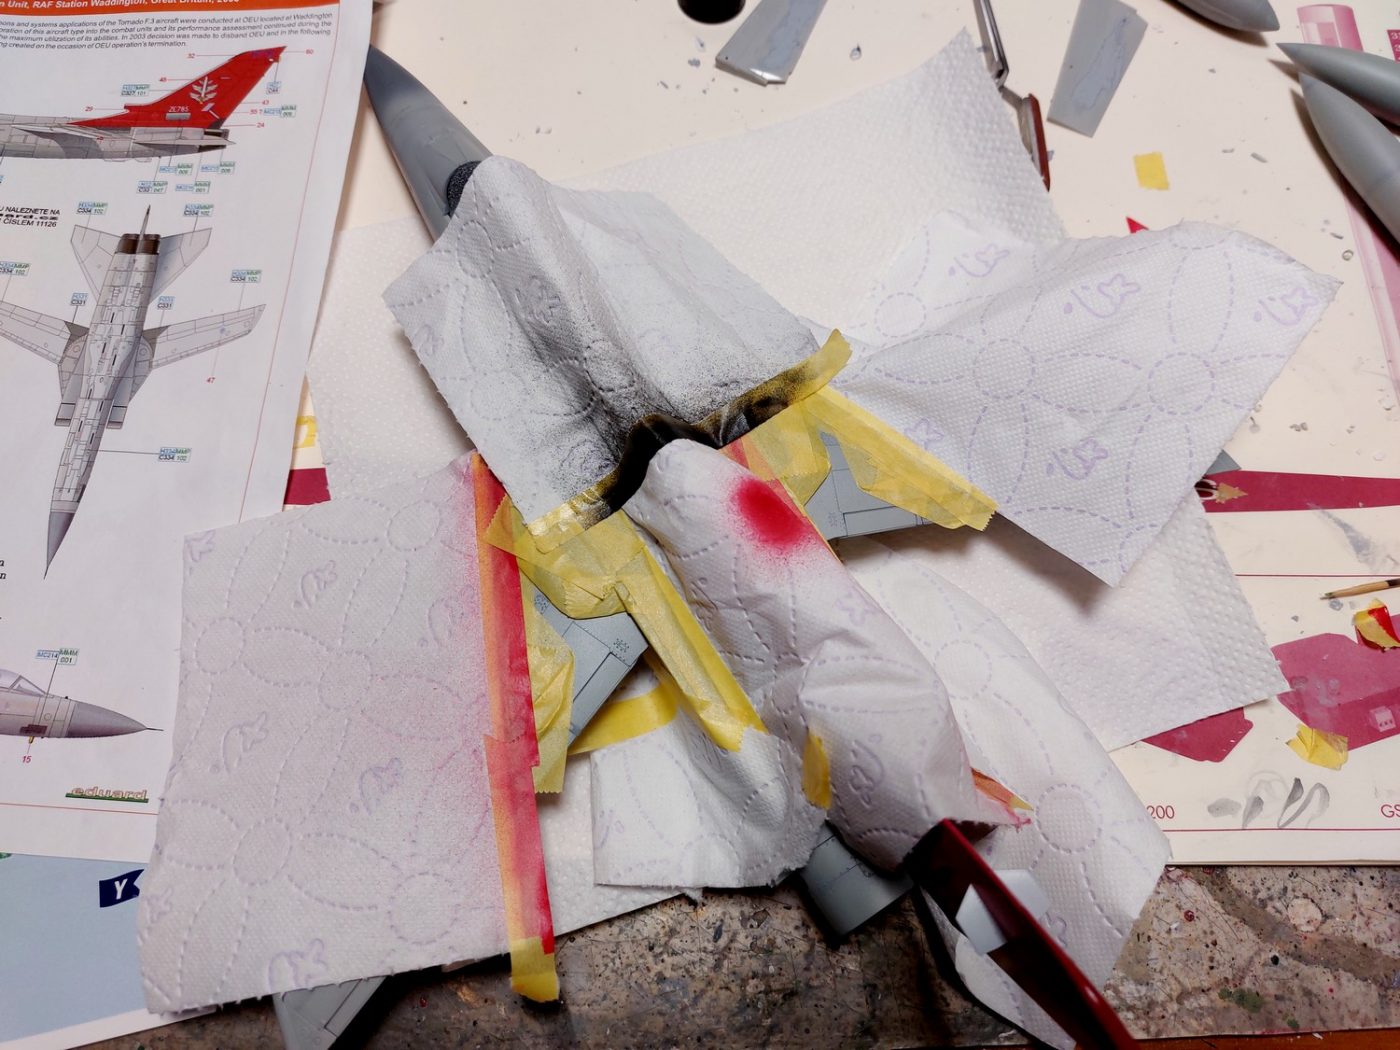
Next, a gloss coat before starting on the decals…
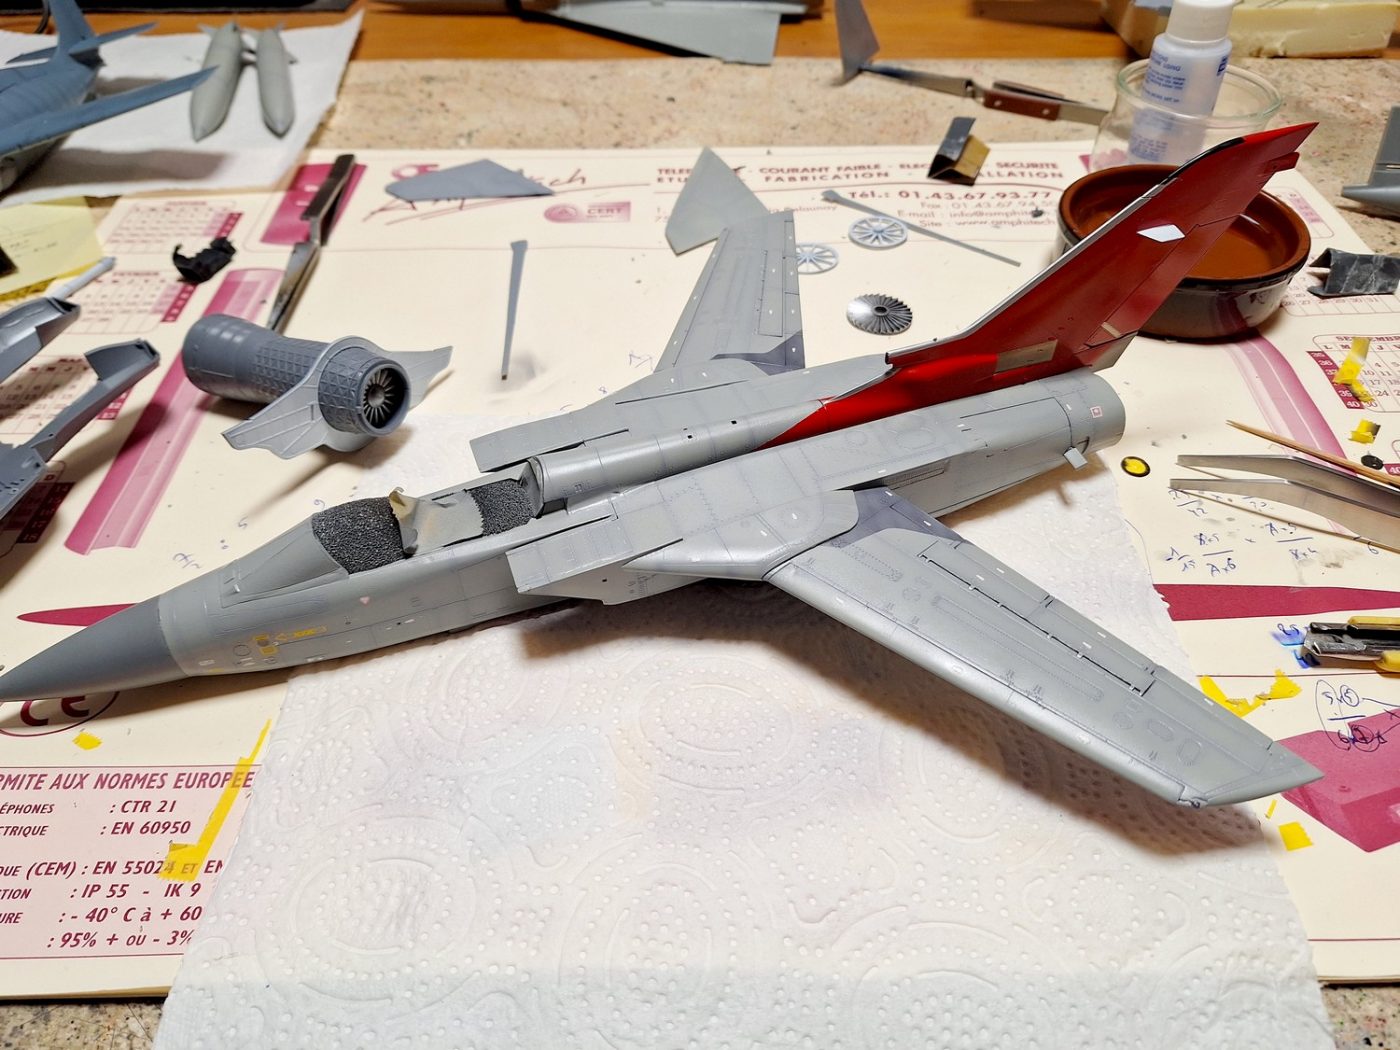
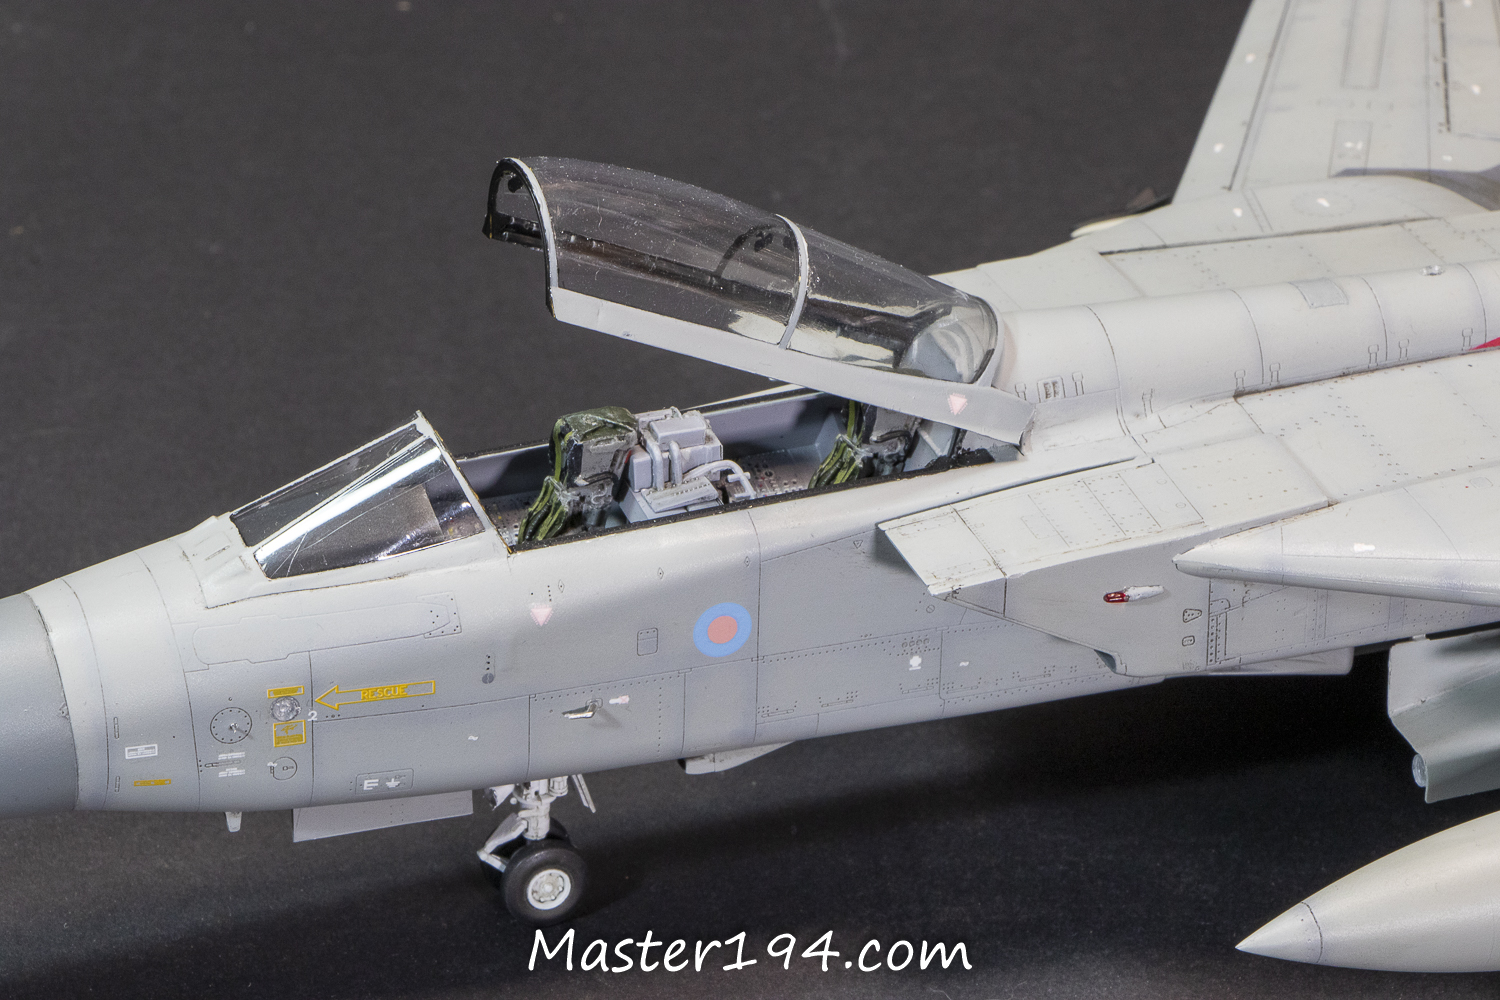
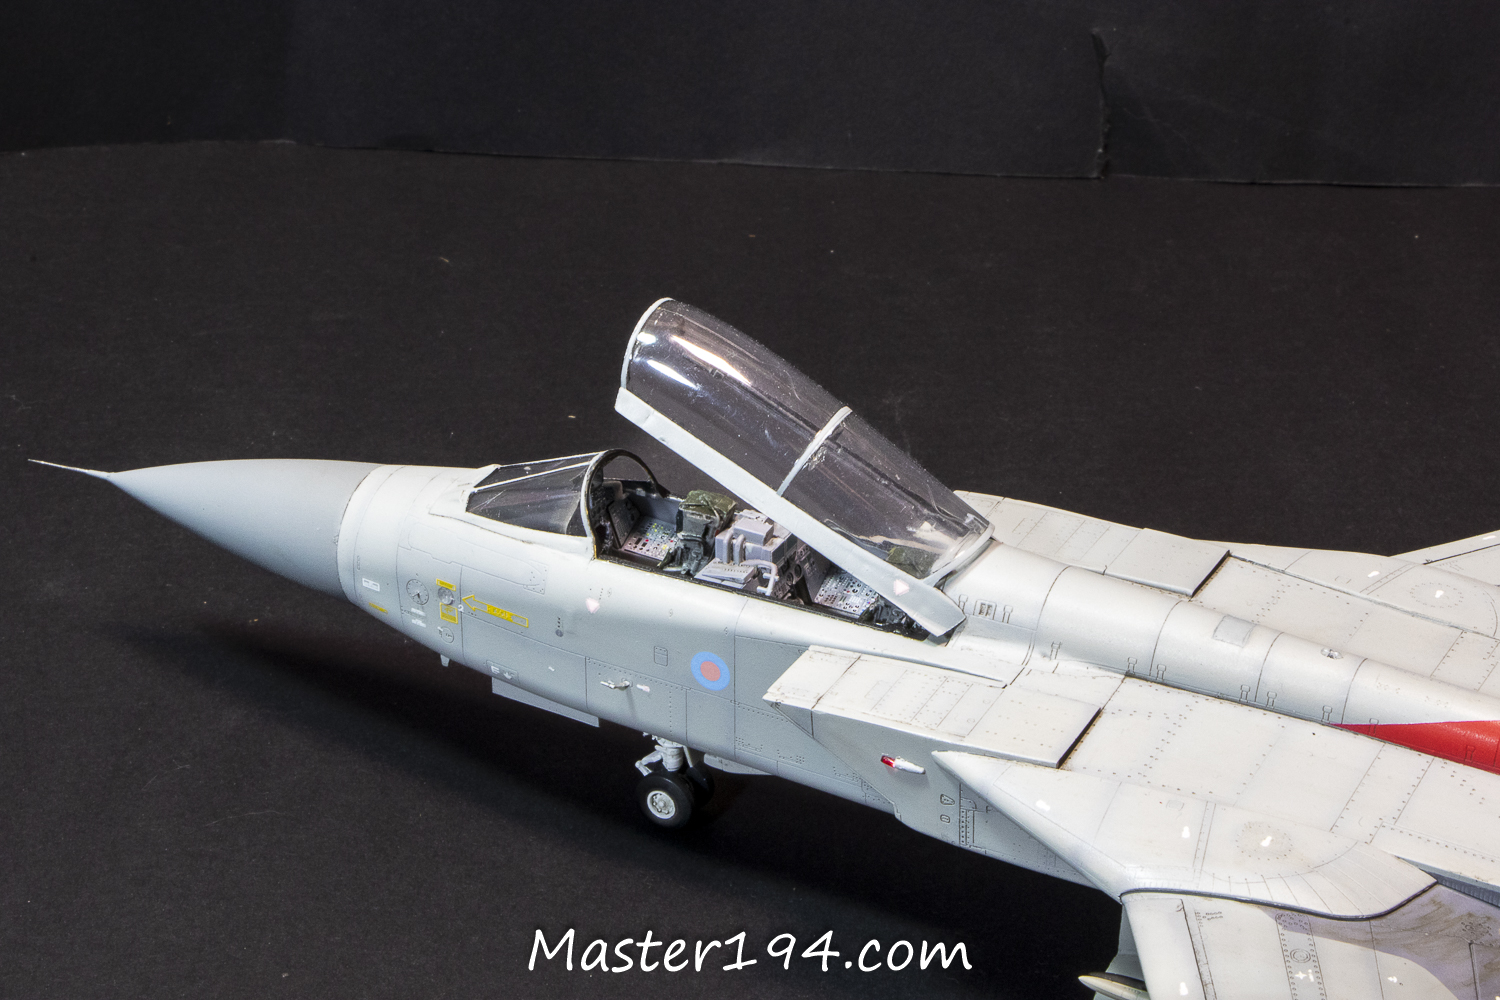
After applying the decals, I added a gloss coat followed by weathering with various washes. Next, a matt varnish was applied, and I finished the weathering with dry pastels for the thrust reverser soot marks on the tail.
A quick note on the exhausts: I replaced the kit parts with Aires resin nozzles. They are much more detailed but require some work and thinning of the kit’s plastic on both sides to fit properly.
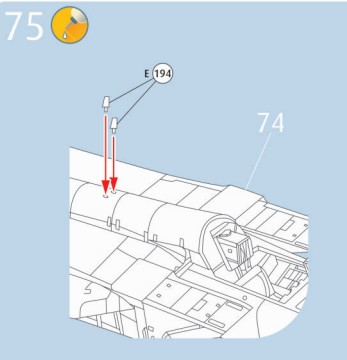
The landing gear, gear doors, elevators, and various antennas will be added next. On that subject, watch out for an error in the Revell instructions: it tells you to install the two E194 antennas on the upper surfaces, but these don’t exist on the F3 version. I had to skip this step and, unfortunately, fill the holes—a task I had to perform after the painting and weathering were already complete!
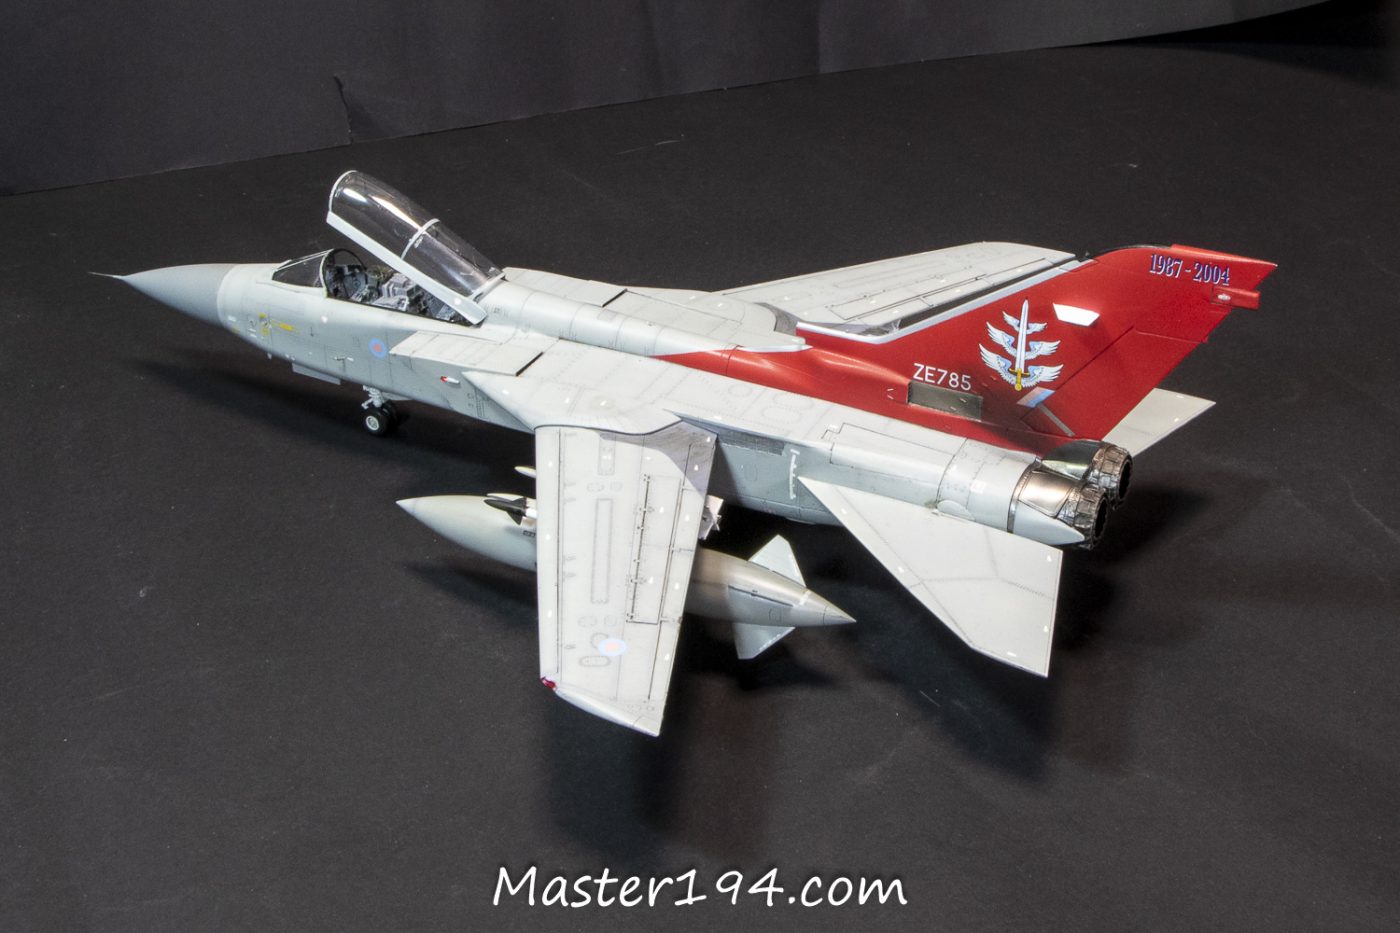
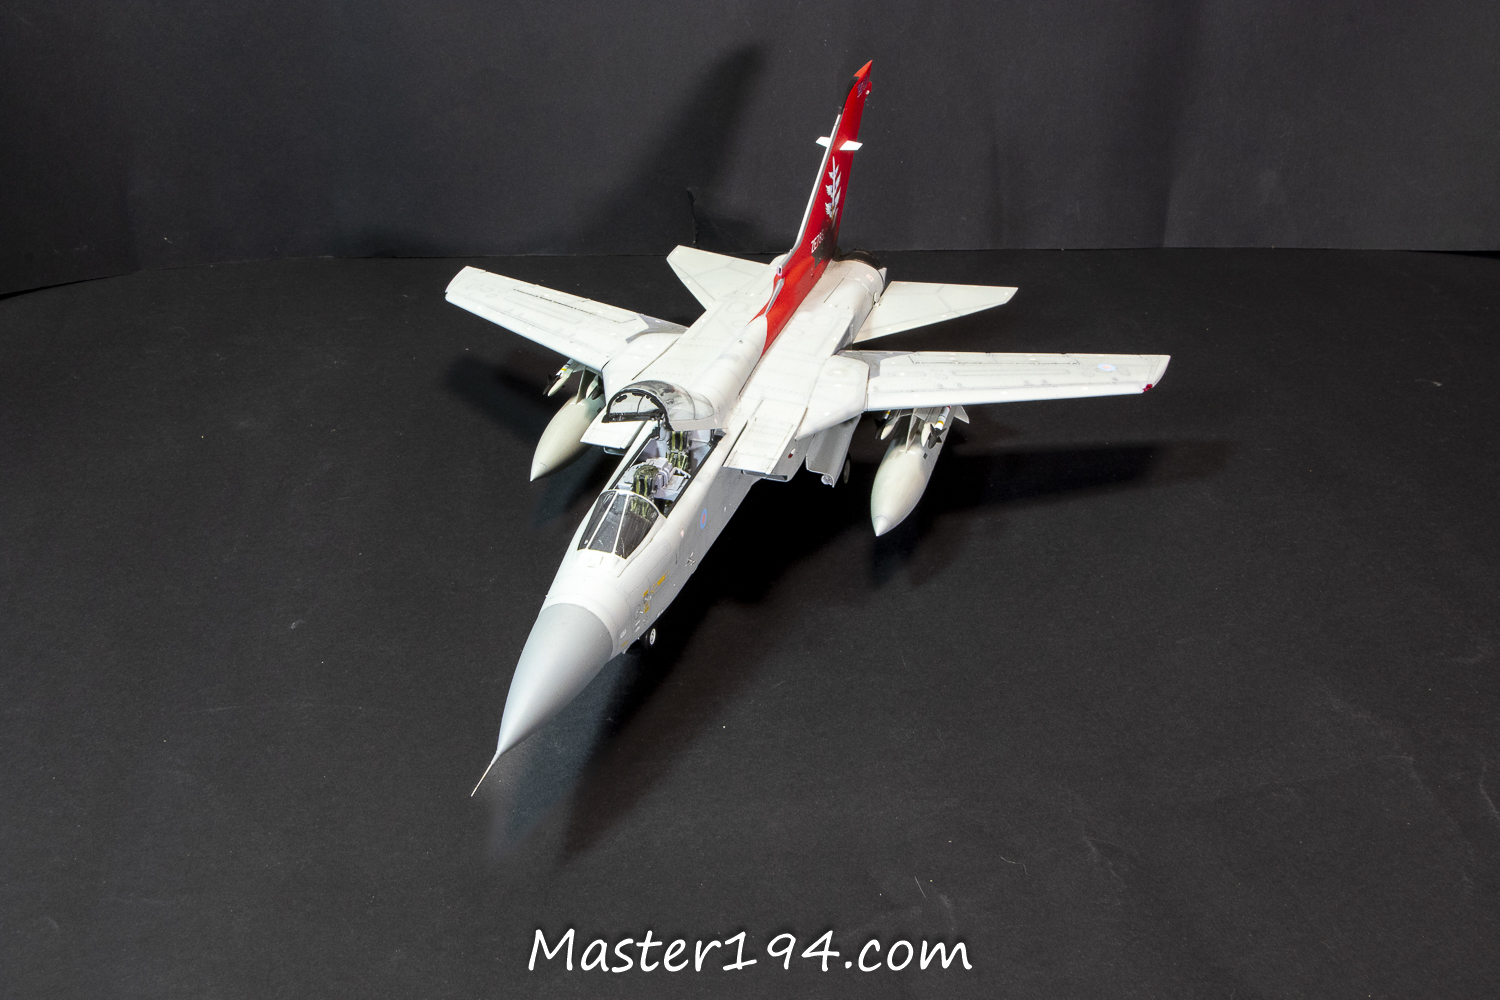
In the end, this is a very handsome Tornado kit, offering a great level of detail and some very welcome options: swing wings, dropped flaps, airbrakes, thrust reversers, and more. Unfortunately, it suffers from some tricky fits and, in my case, molding issues with many short shots and small parts that were either incomplete or simply broken.