by
Even though the YF-23 lost the competition to the YF-22, it certainly left a lasting impression with its unusual silhouette—one that is far more elegant than the YF-22 (in my opinion… which you are, of course, under no obligation to share!).
Click here to see some F-22 Raptor pics
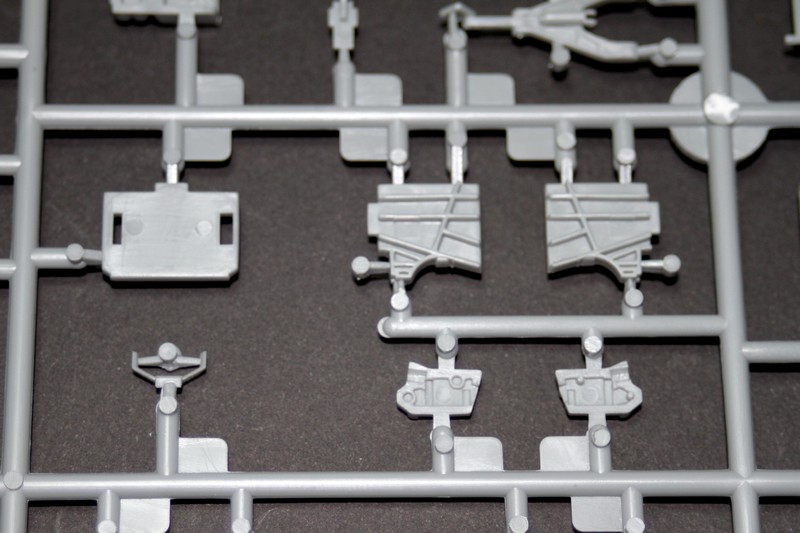
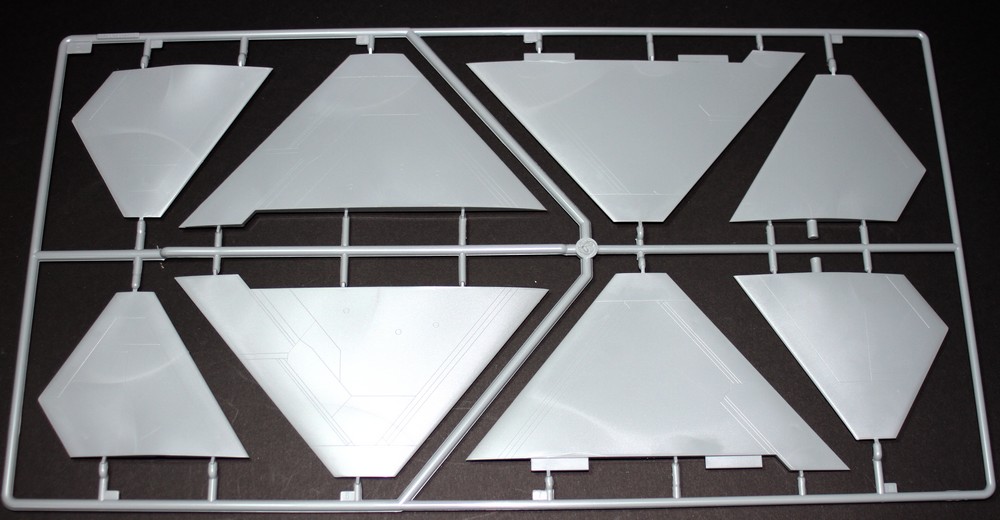
For anyone looking to build a 1/48 scale replica, there isn’t exactly a wealth of choices: HobbyBoss is the only way to go. And at 1/48, it is far from being a small bird…
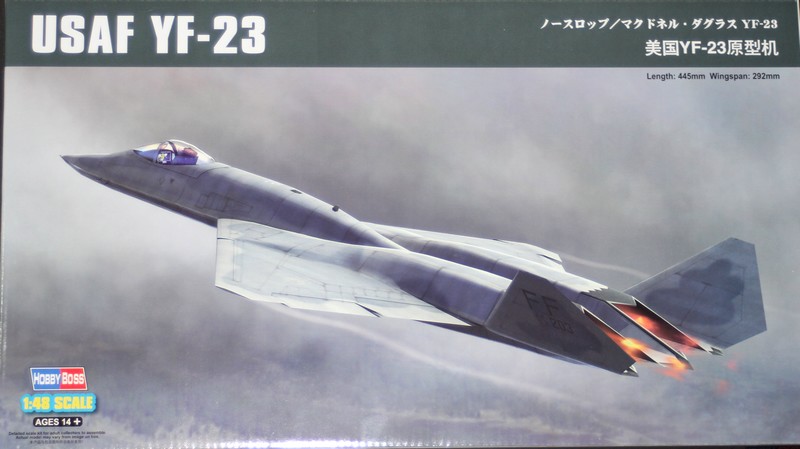
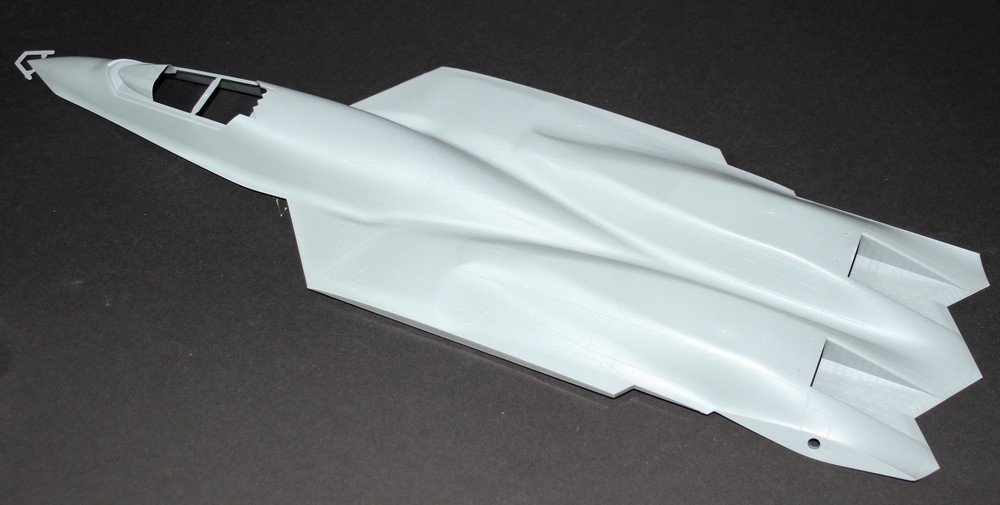
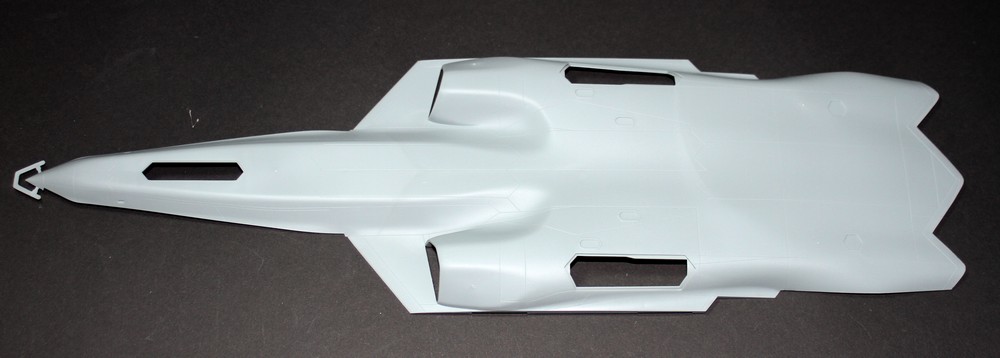
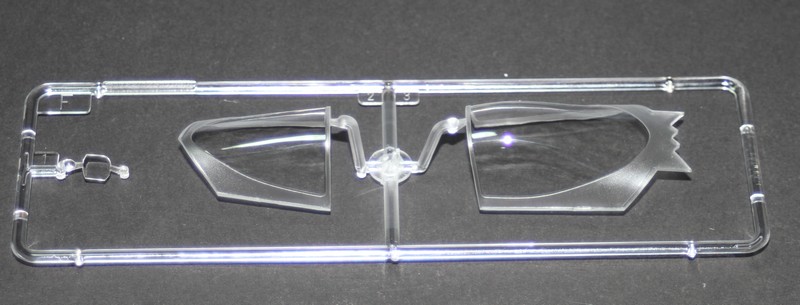
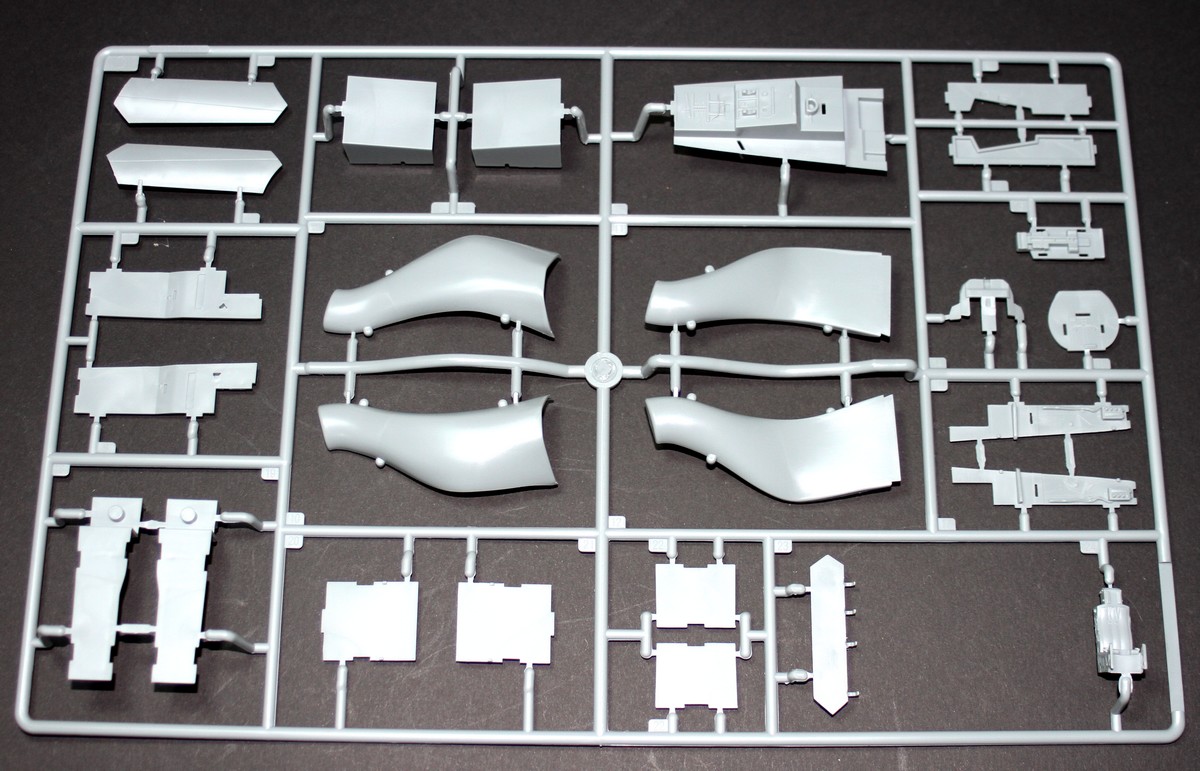
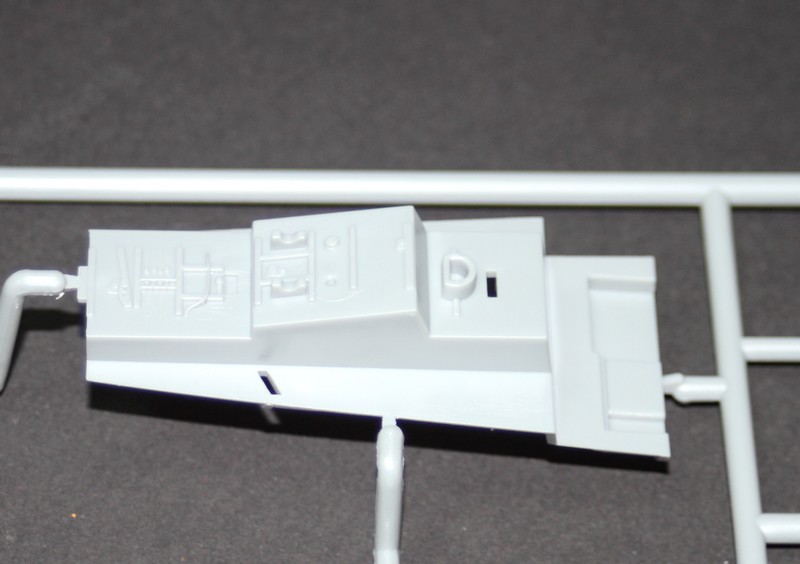
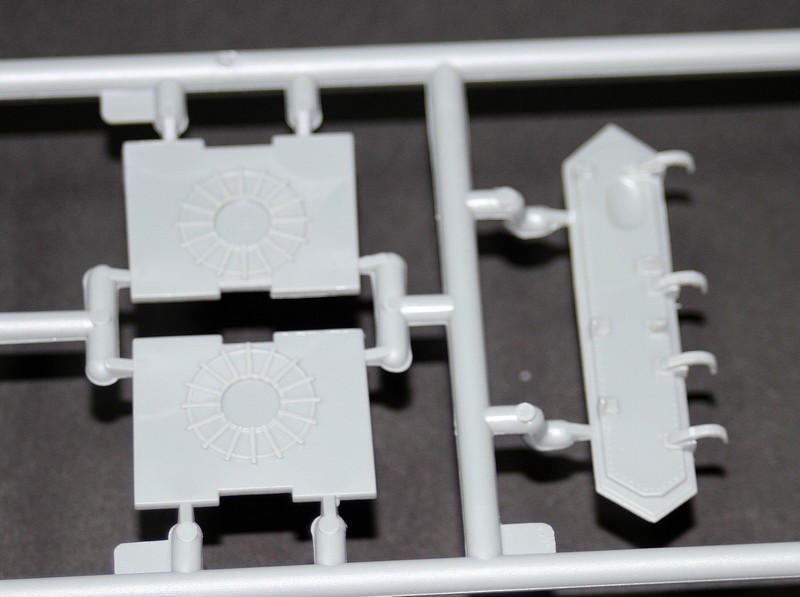
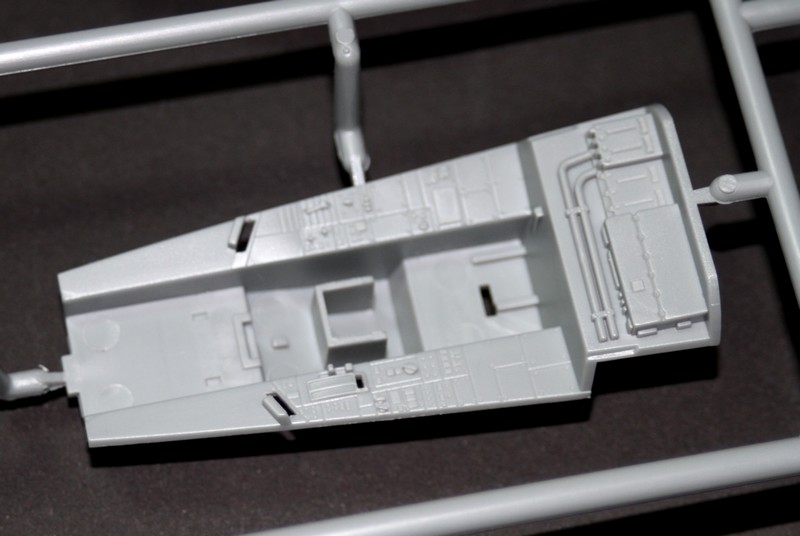
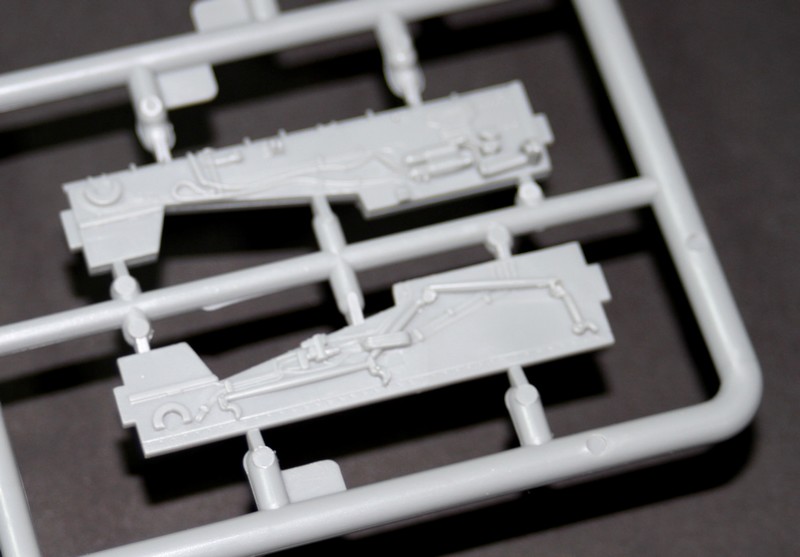
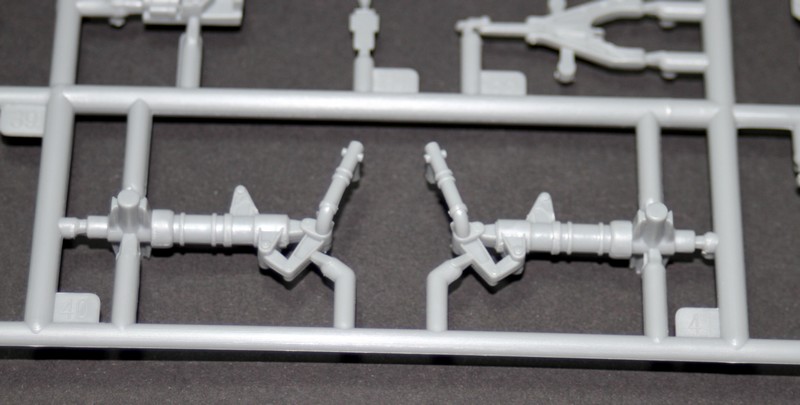
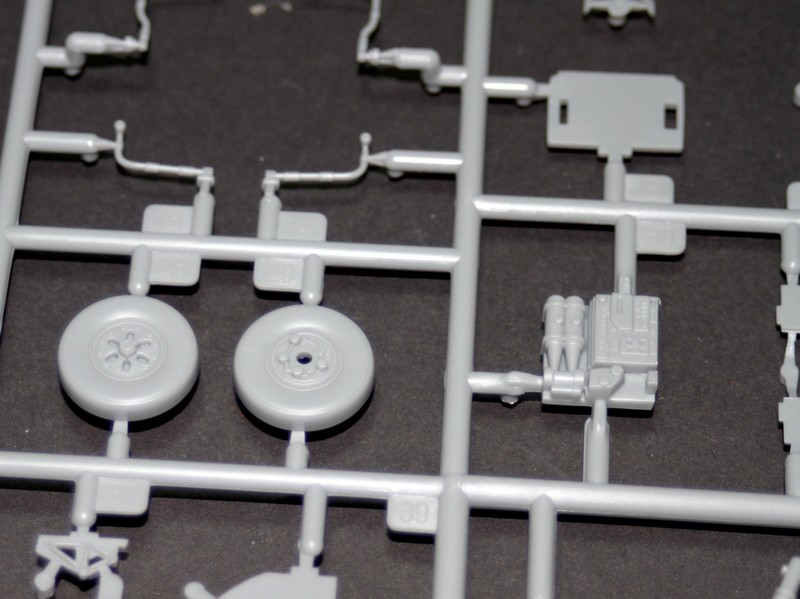
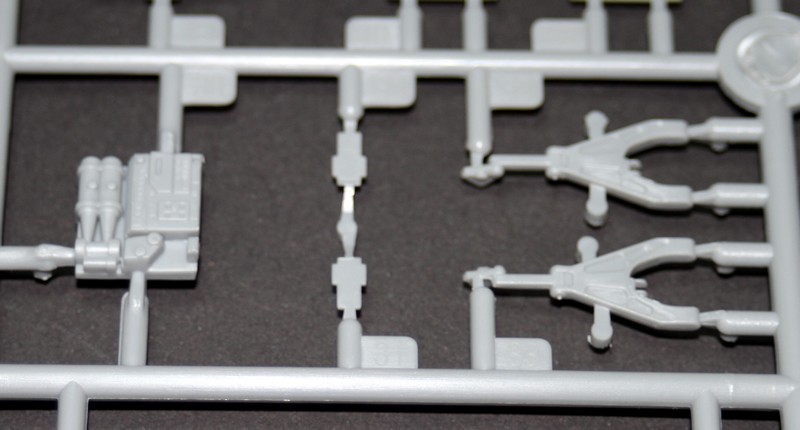
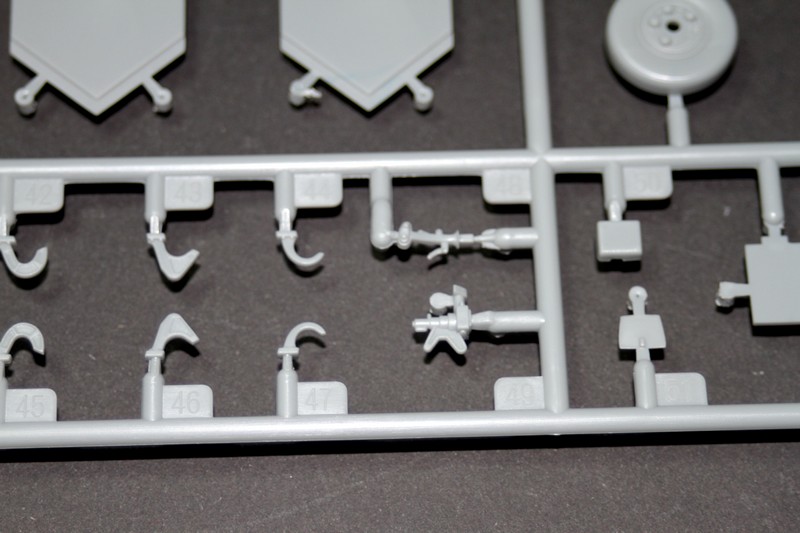
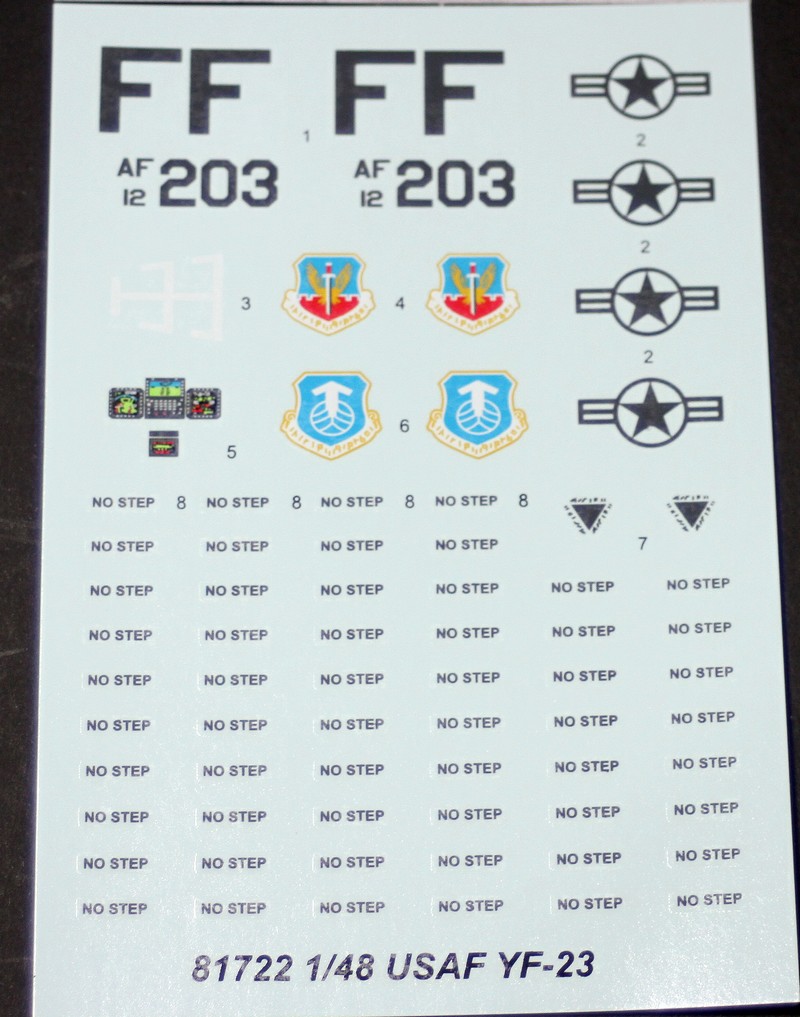
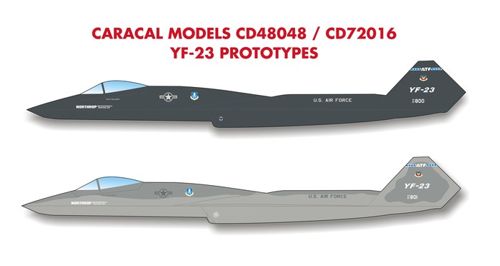
While the kit decals are well-printed, they are strictly ‘What-if’ markings… there’s no way to accurately represent either of the YF-23 prototypes with them. I chose to use the Caracal Models sheet instead; it’s high quality and allows for building both prototypes. By the way, a big thank you again to Dom!
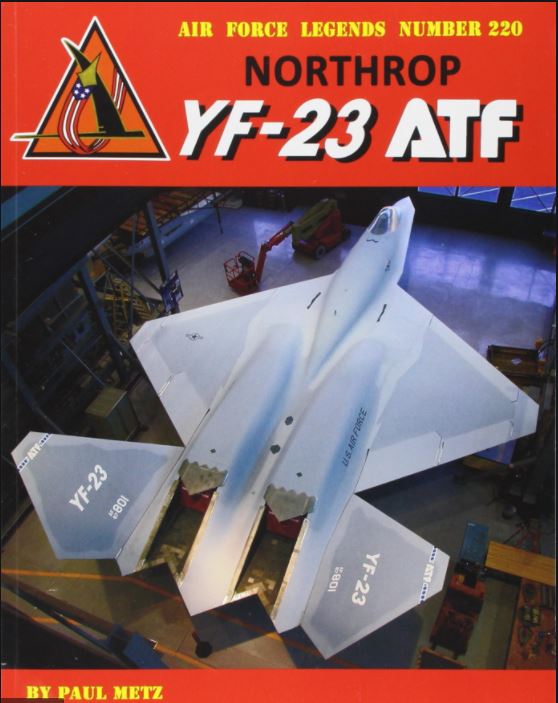
Before jumping into the build, here is an excellent book from the series… Ginter Books :
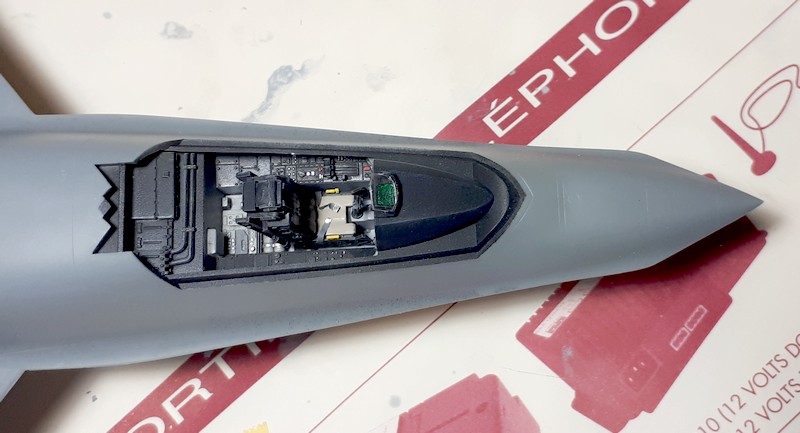
I started the build with the cockpit:
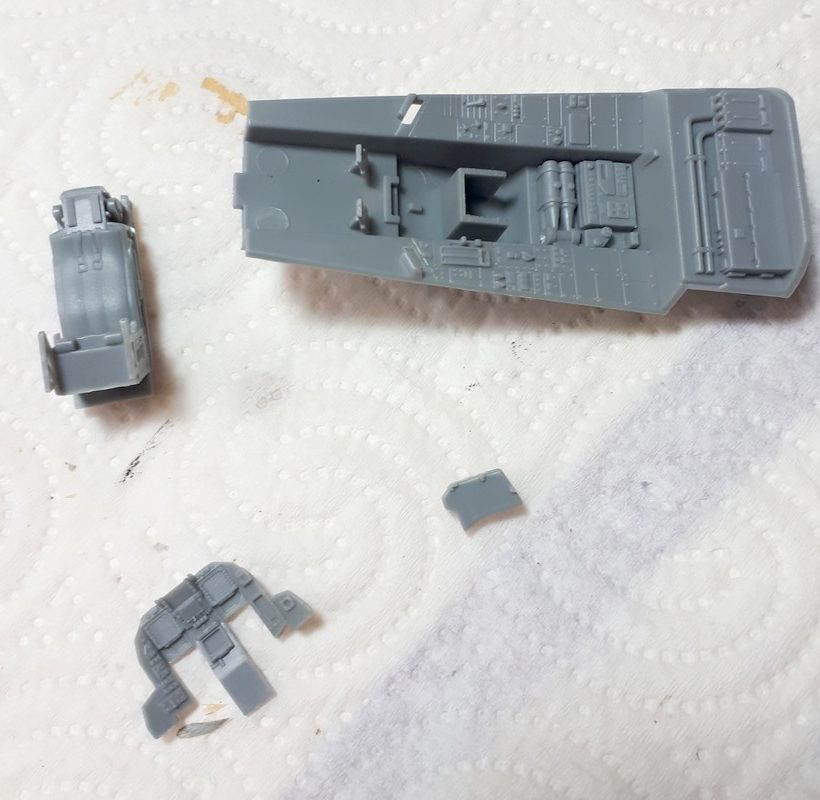
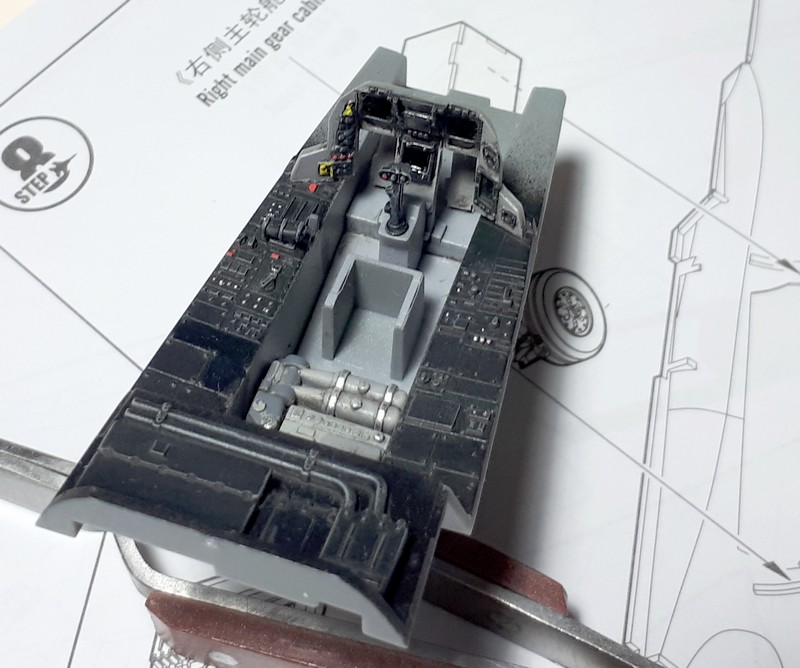
The level of detail is satisfying, though as mentioned before, the rear section seems potentially fanciful… The more courageous builders could easily scratch-build a replacement based on the photos found in the book mentioned above.
A bit of painting, dry-brushing, and light weathering gives a result I find quite satisfactory.
The seat, which strongly resembles an ACES II, was kept as-is. I could have added a resin seat… It remains very visible through the large canopy.
HobbyBoss provides decals for the instrument panel: while it adds a touch of color and life, it’s not exactly typical for an ‘unpowered’ aircraft… I stuck with black screens topped with a layer of translucent green to achieve that characteristic display look.
One of the biggest painting tasks involves the characteristic exhaust nozzles and the various tiles that compose them, which are highly visible.
The internal sections are easily handled using Alclad paints.
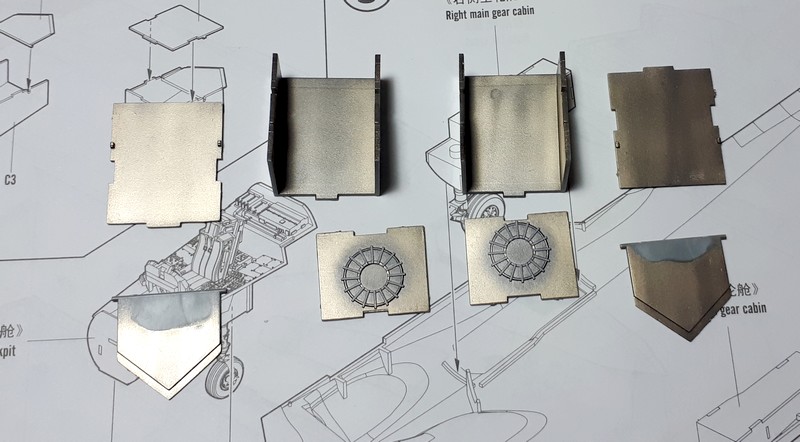
As for the ’tiles’, it’s a bit more delicate. I start with an initial metallic base coat.
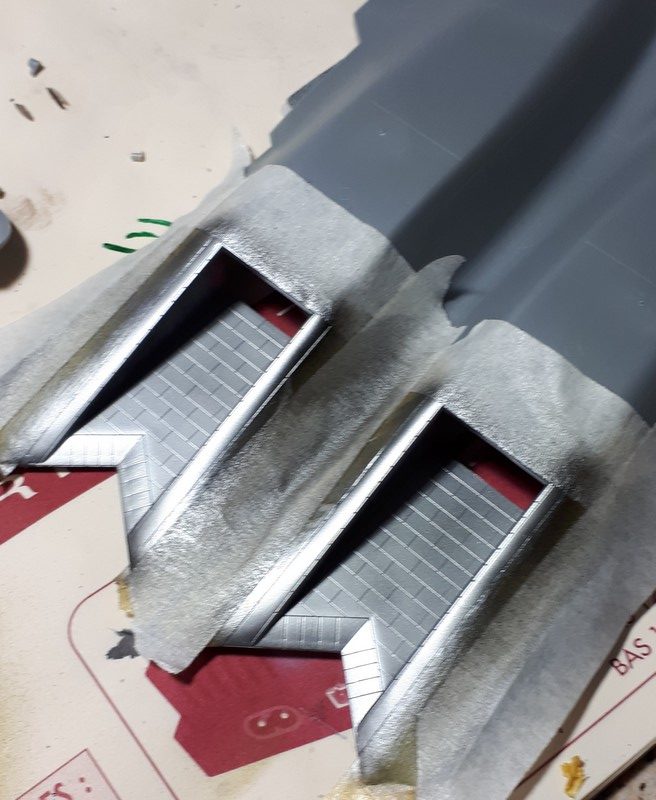
I then go over each element individually, drawing inspiration from photos where gold or darker tones are clearly visible and scattered; one tile might have golden reflections while the neighbor appears darker.
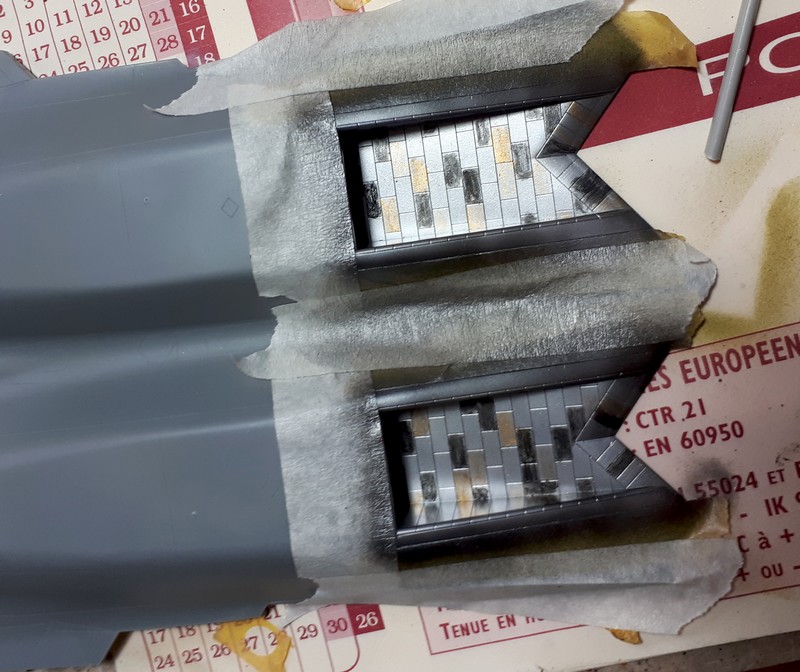
Of course, a final metallic mist coat is then needed to blend everything together, as it doesn’t look realistic in its current state. The end result is actually almost more subtle than the real thing (a quick internet search for ‘YF-23 exhaust’ will show you these effects).
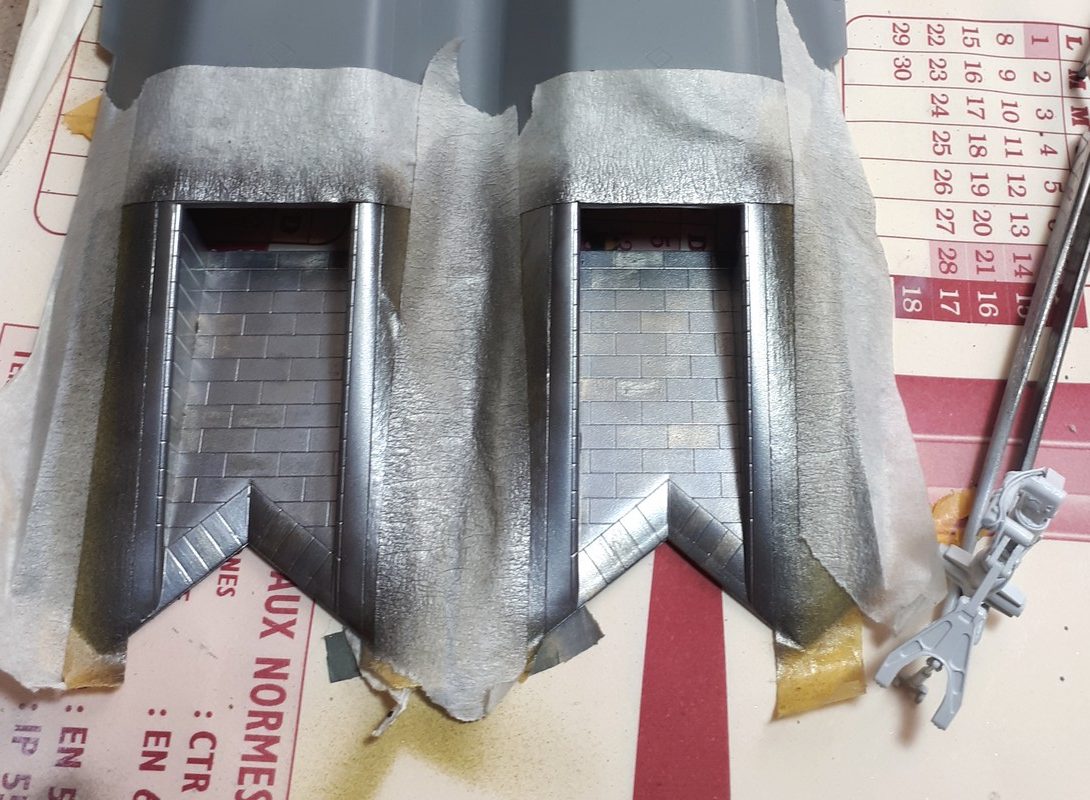
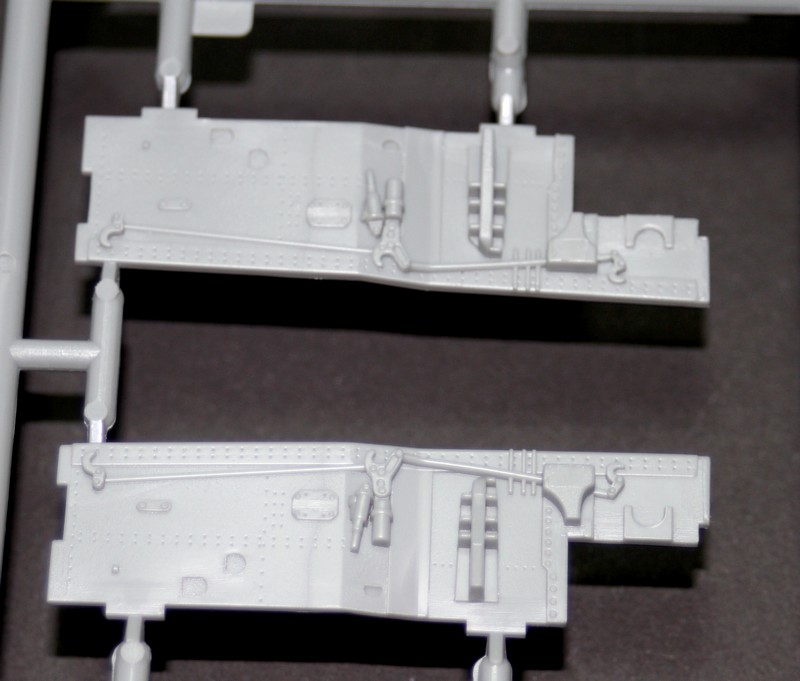
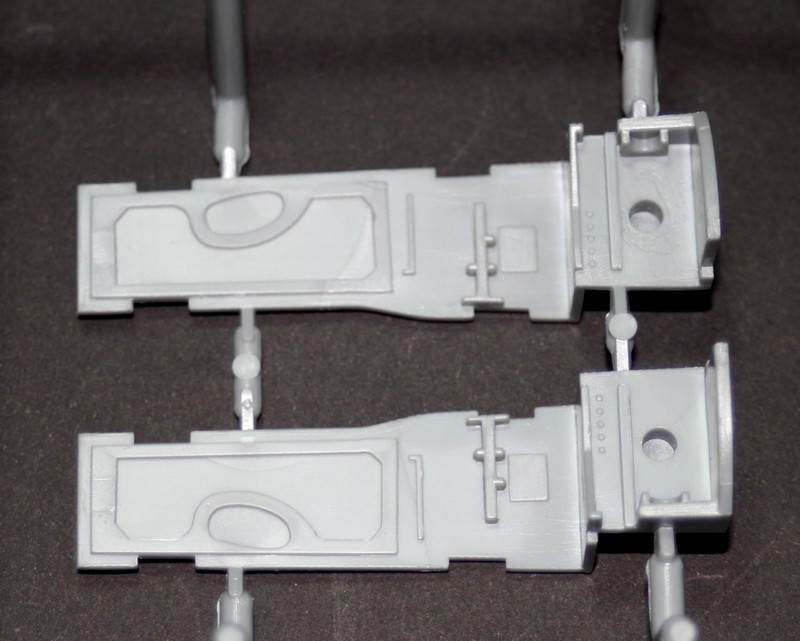
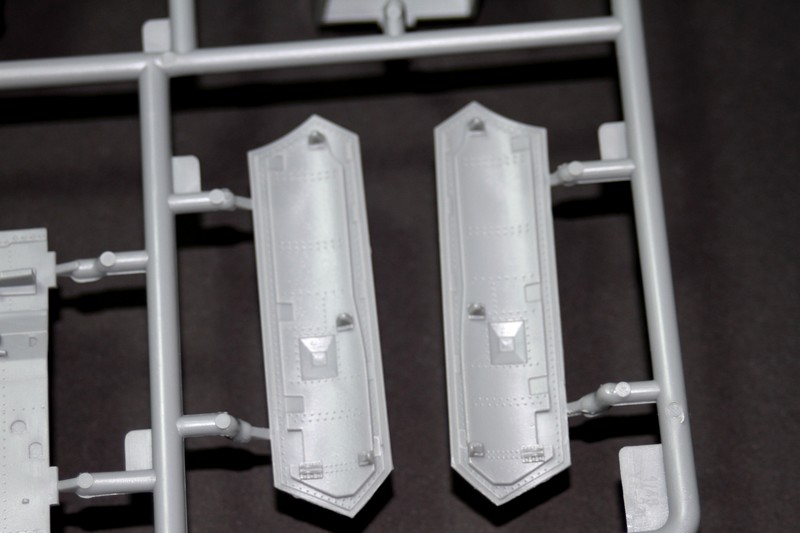
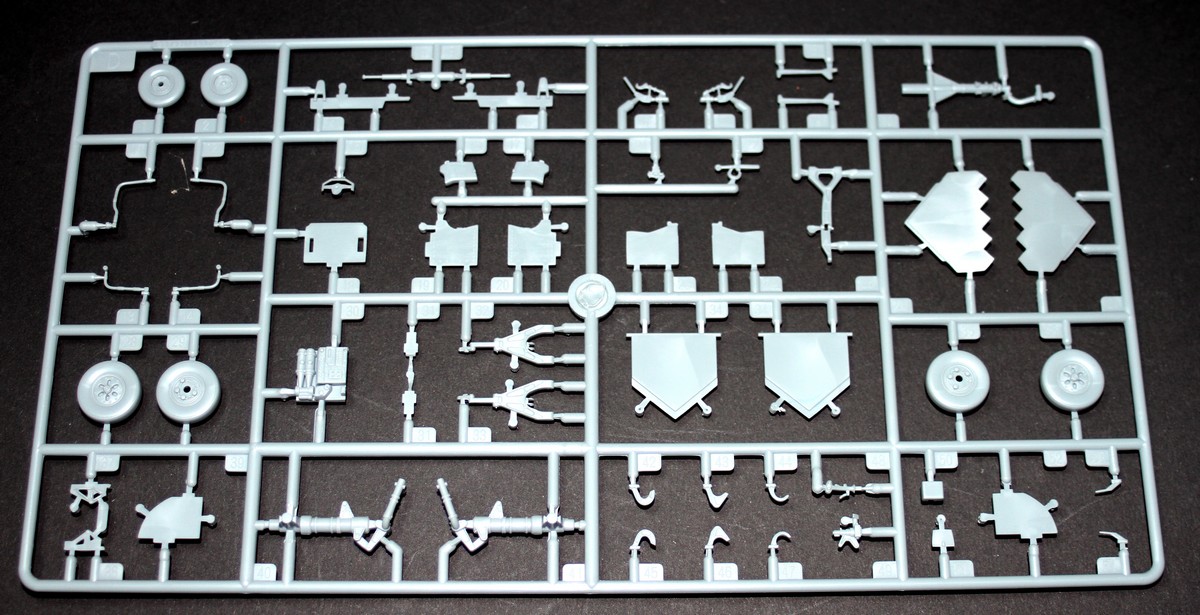
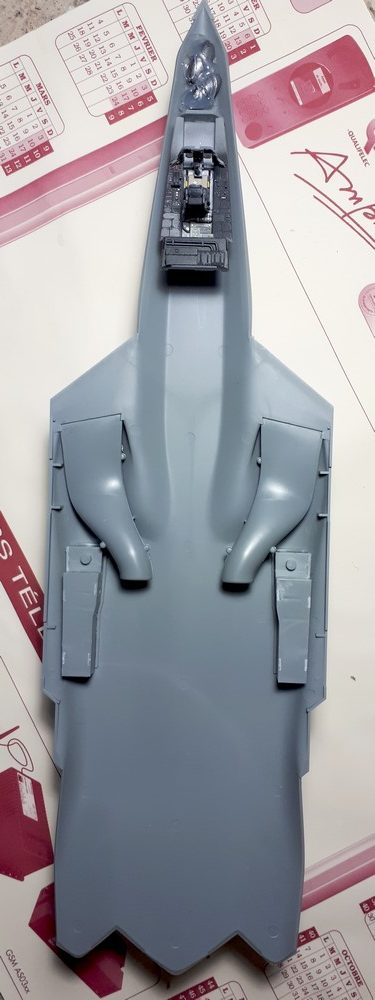
With the exhaust nozzles finished, it’s time to tackle the air intakes and the wheel wells… At the same time, the main landing gear struts have been detailed with hydraulic lines.
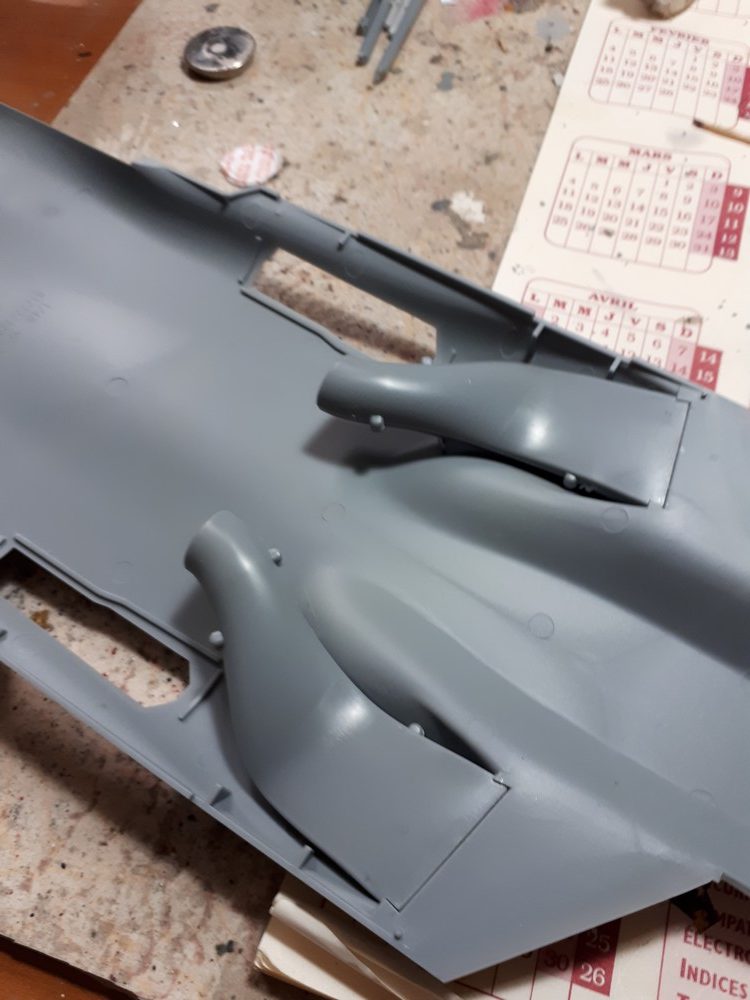
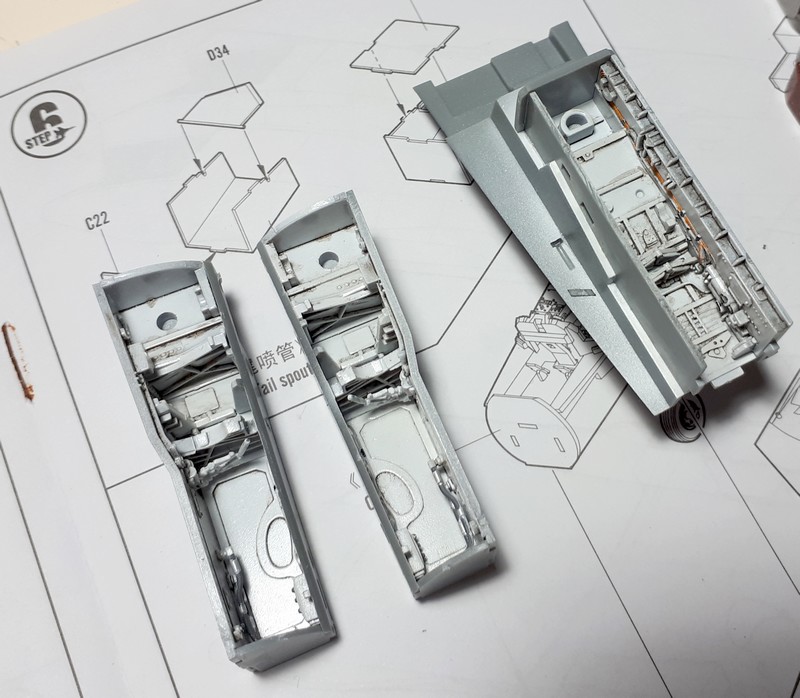
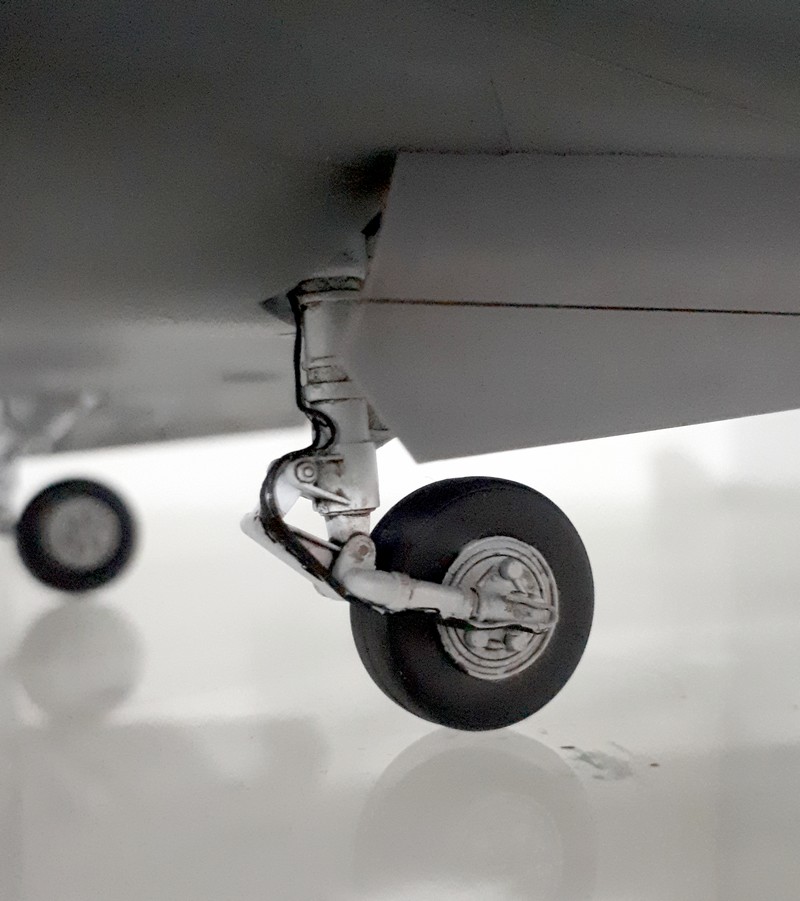
As mentioned earlier, I’ve added the various hydraulic lines to the main landing gear struts. There is quite a significant overhang, and the model is heavy… it’s always nerve-wracking when you first set the model down and see the part holding the wheel begin to flex.
Don’t forget to add some weight to the nose of the aircraft.
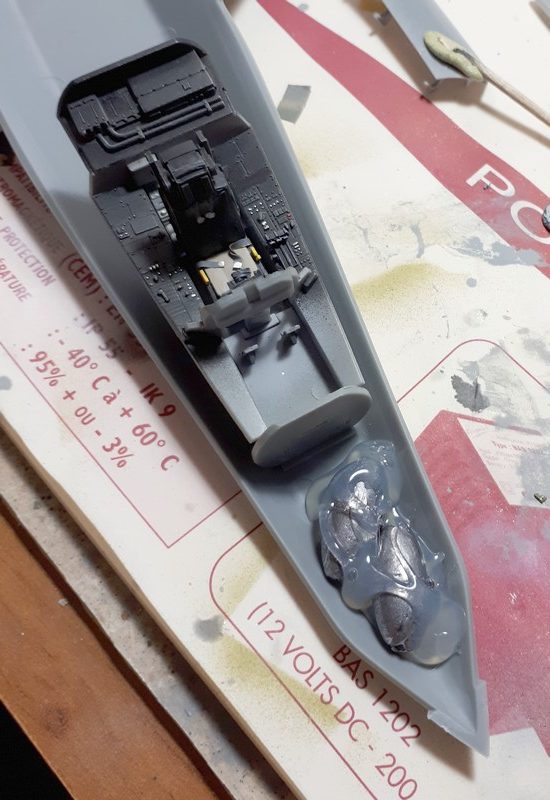
Once you’ve reached this stage, you’re ready to close up the fuselage!
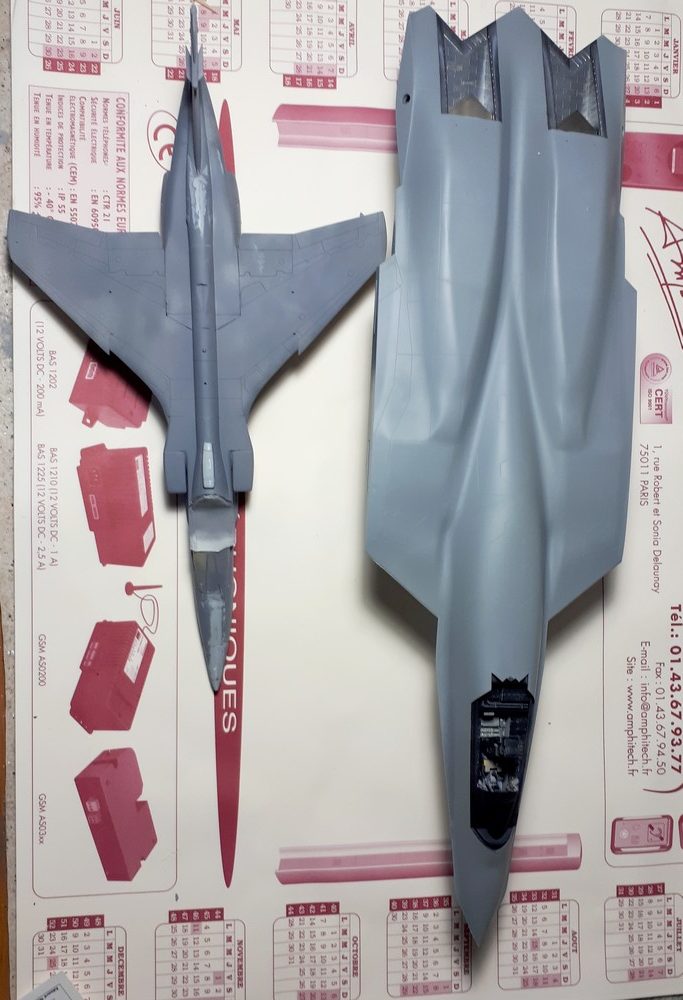
The Jaguar looks tiny… and yet, they are both 1/48 scale!
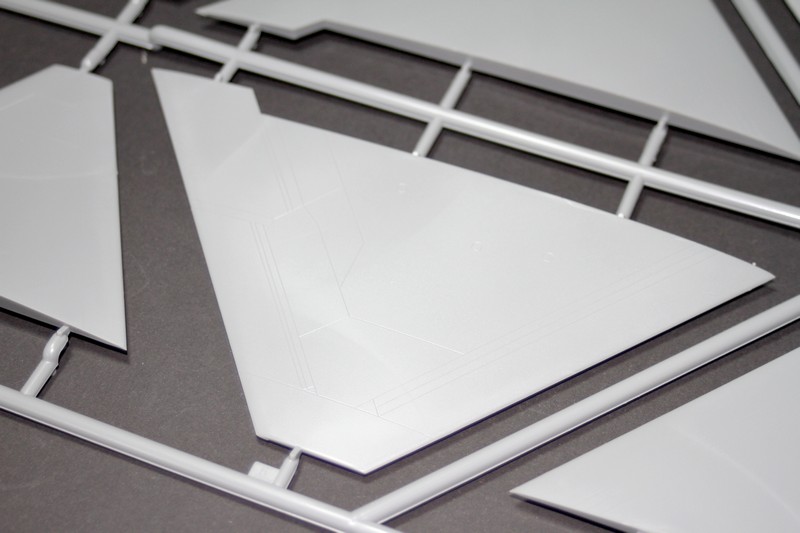
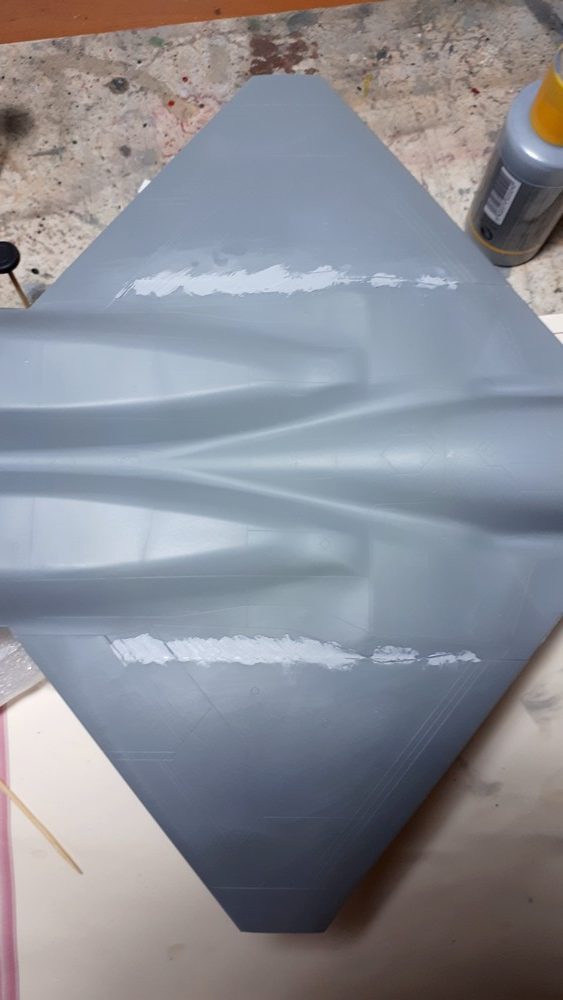
Next, you have to tackle the wings and that nasty seam line that needs to be partially erased, as there is no panel line in that location on the real aircraft!
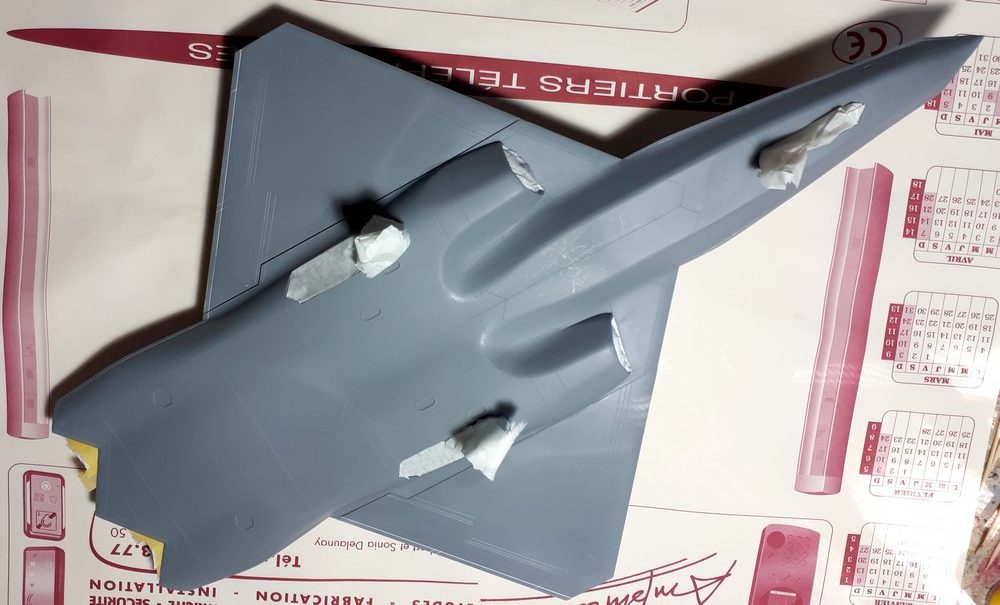
A coat of primer to make sure the work is clean…
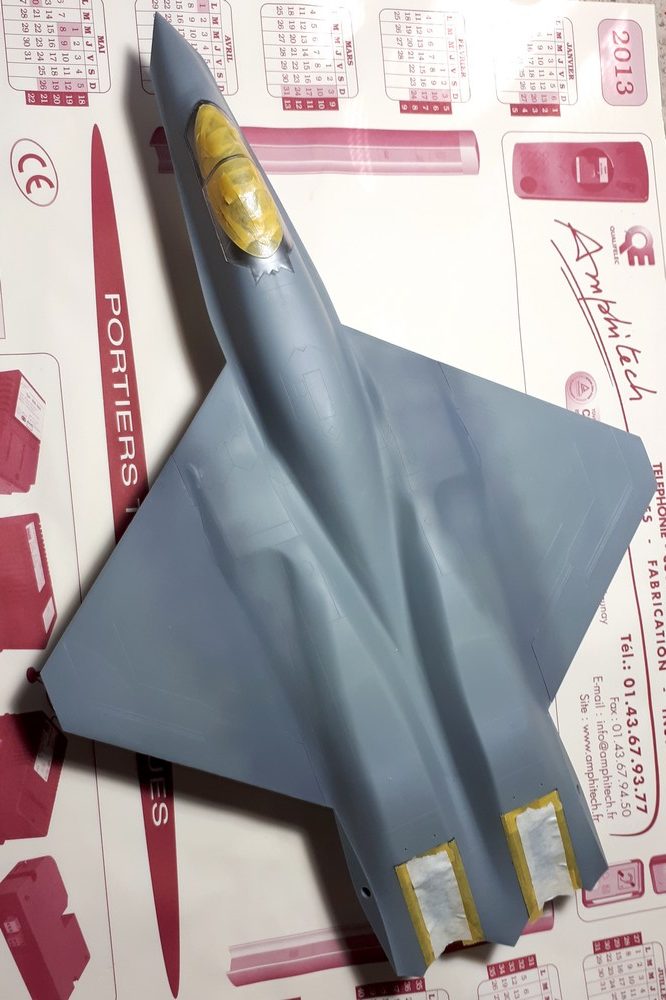
On these mid-gray aircraft, I like using the pre-shading technique to add some depth to what would otherwise be a nearly uniform paint job.
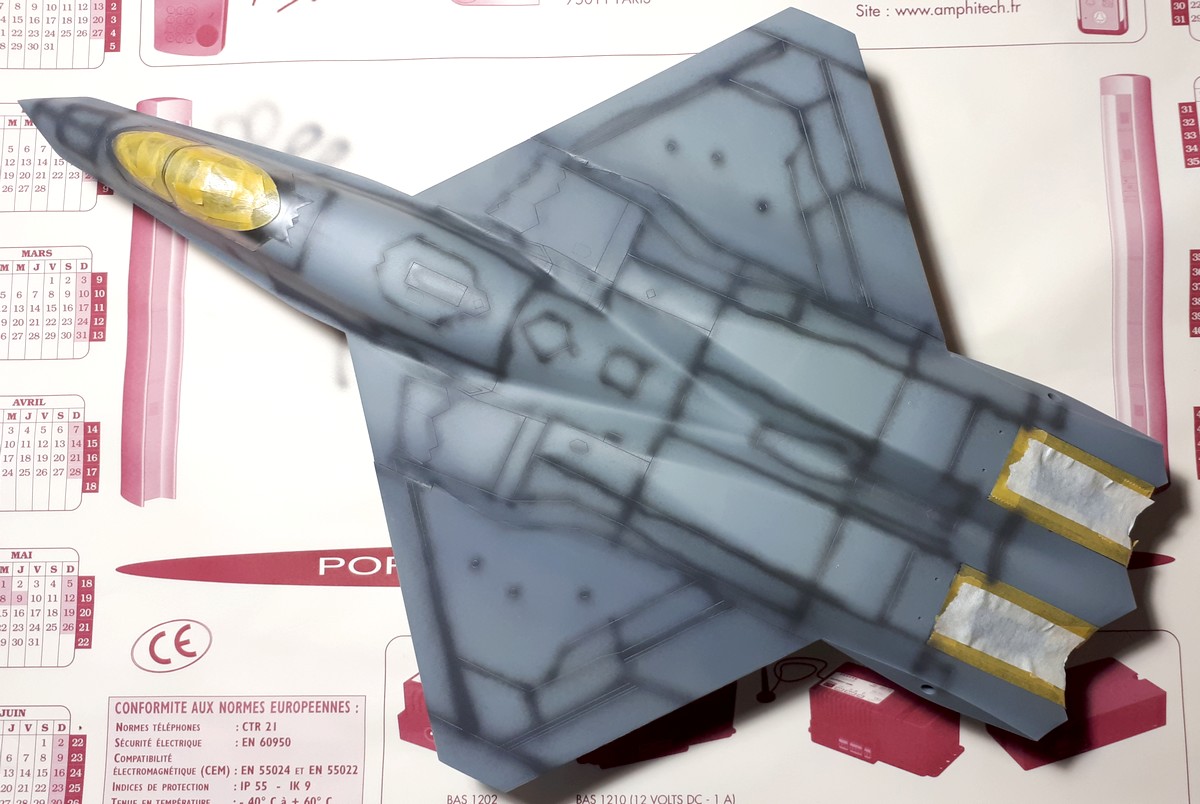
Starting the paint job… I began with the lightest color (Gunze H308 – FS36375).
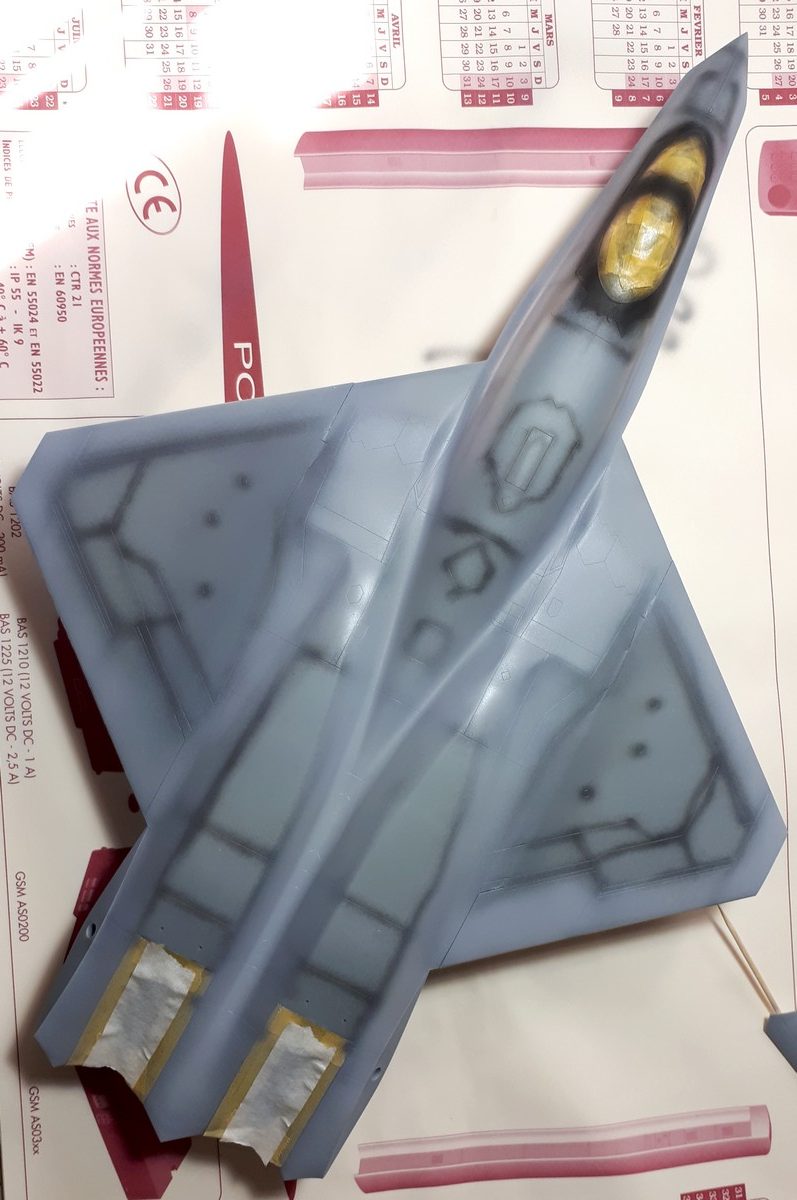
Next, the second shade: Gunze H307 – FS 36320.
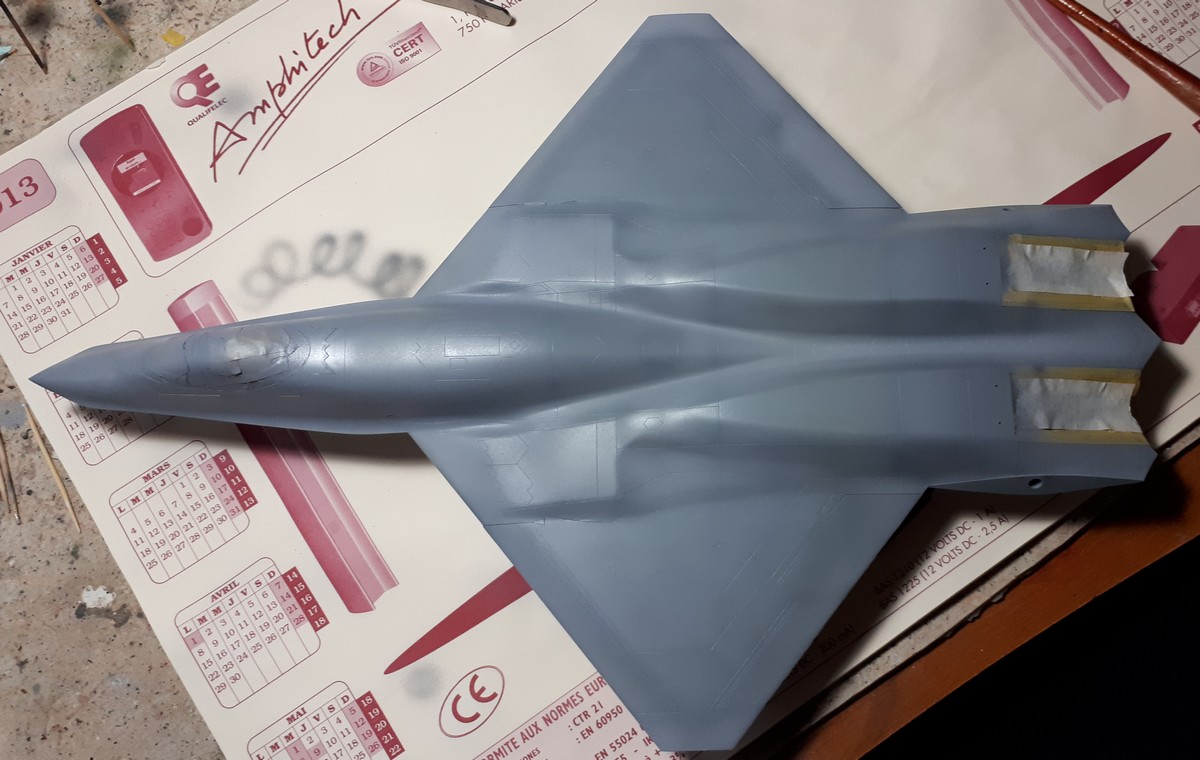
A coat of Gunze H030 gloss varnish, and it’s time to apply the decals.
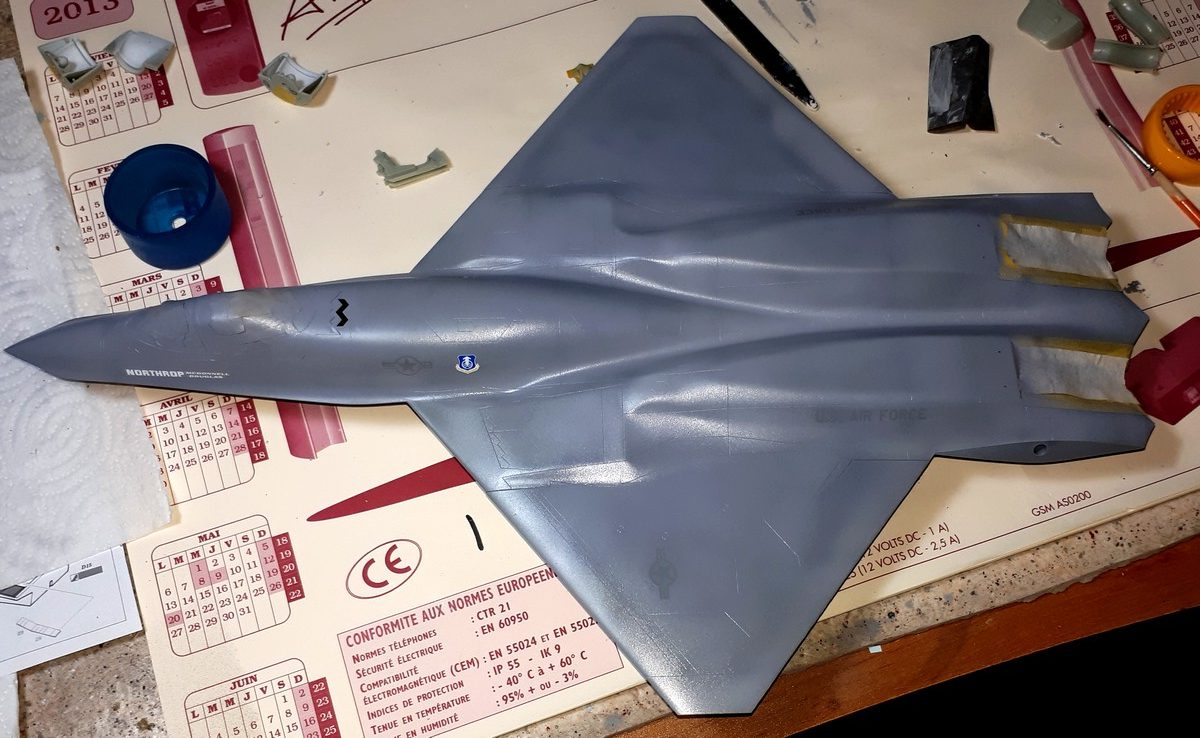
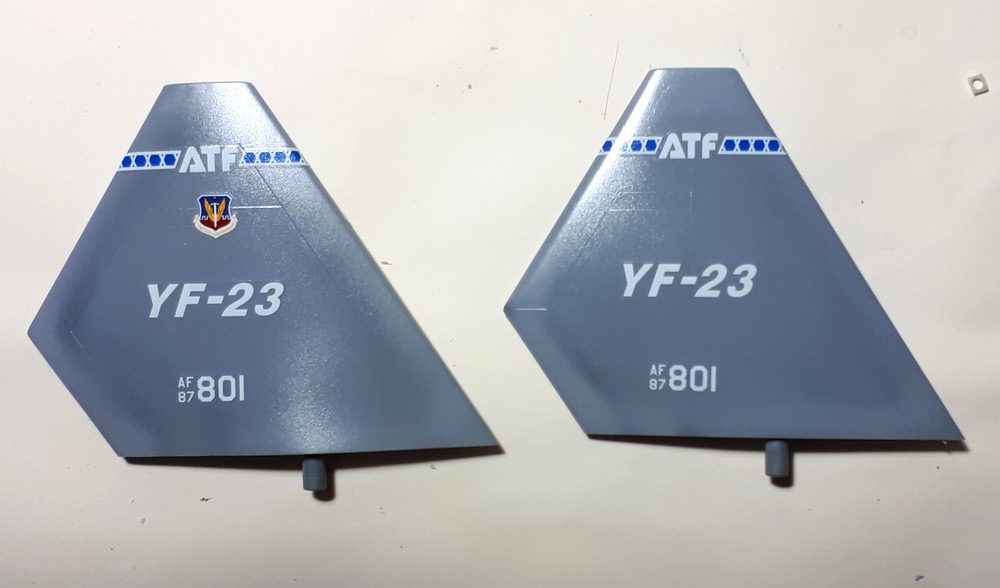
Next, a dark wash to make the panel lines pop. I’ve recently started using AMMO by Mig’s Panel Line Washes. It’s simply more practical and faster to use than my old method of oil paint diluted with white spirit (Essence F).
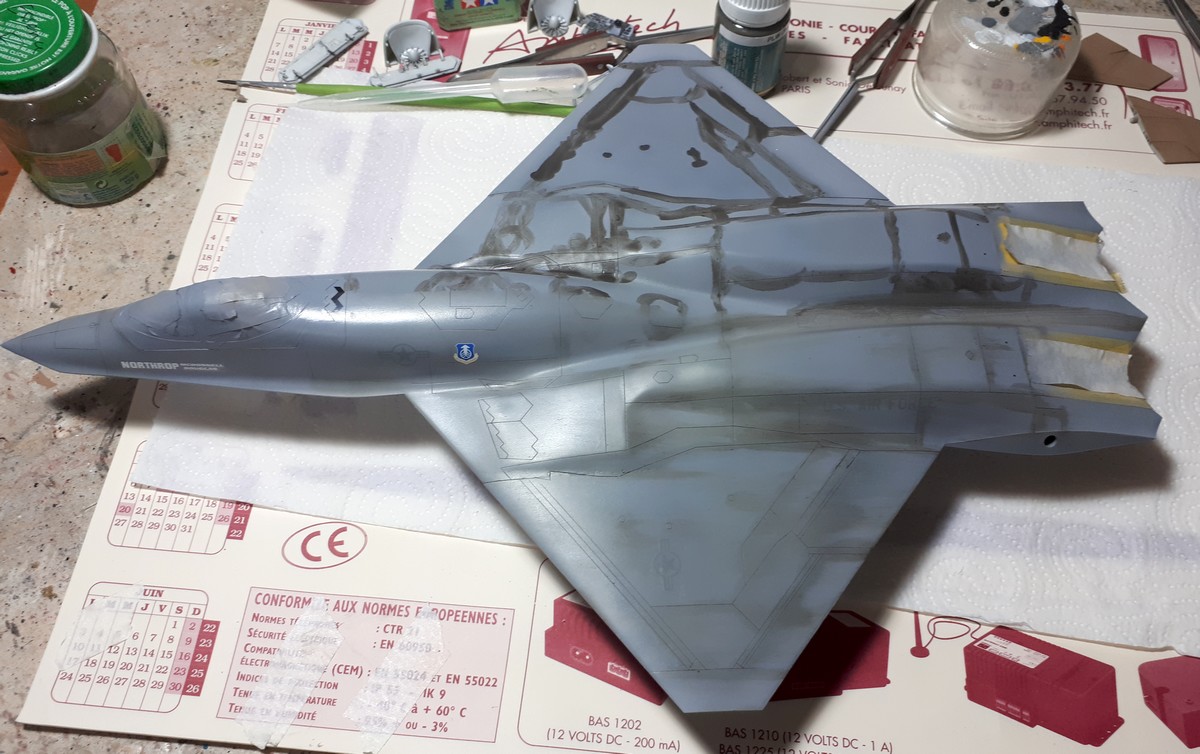
Once thoroughly cleaned, here is the result:
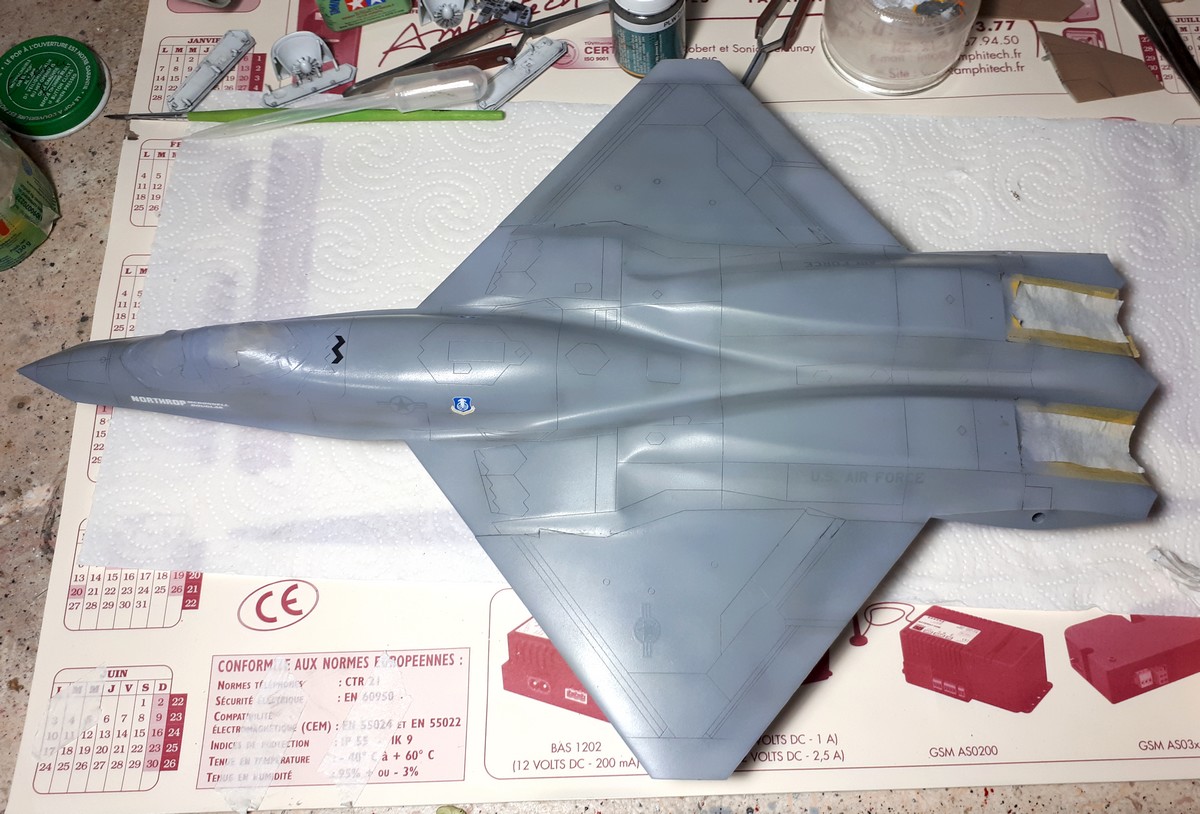
Masks removed, a few painted details added…
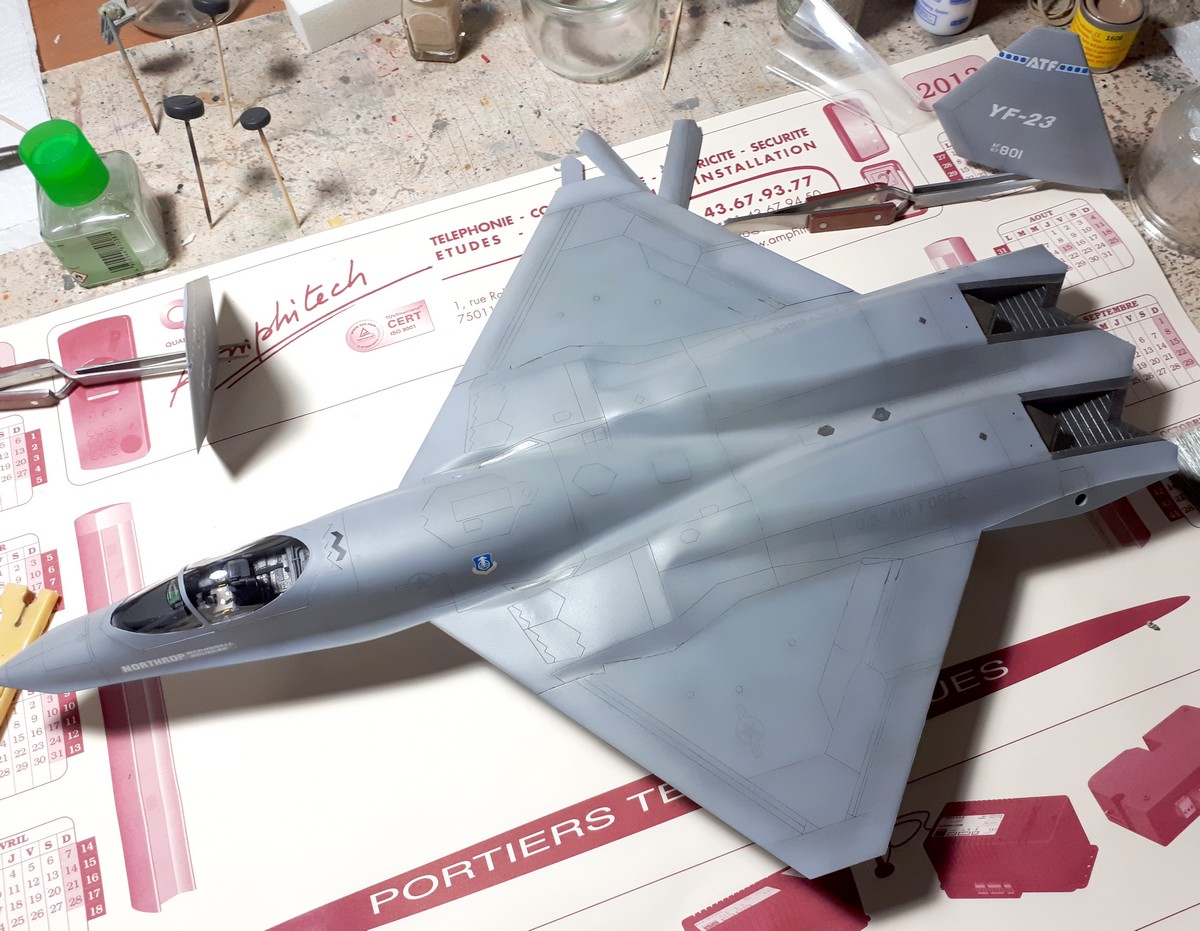
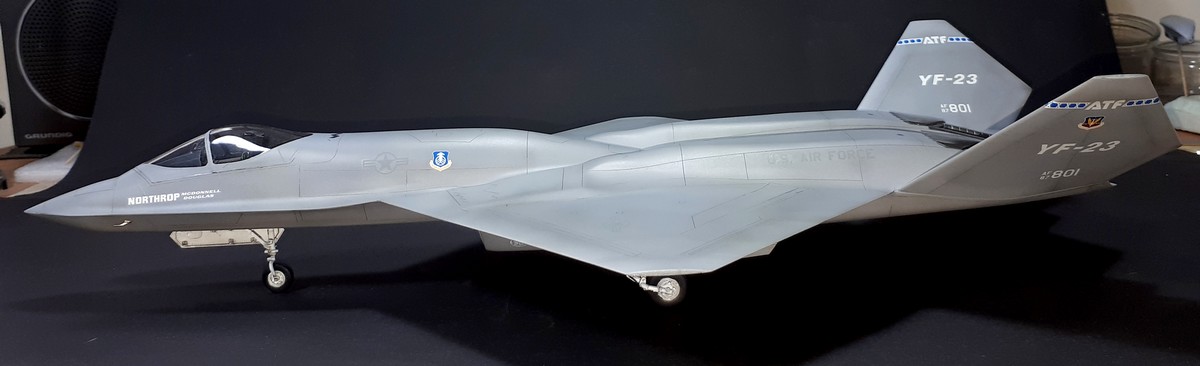
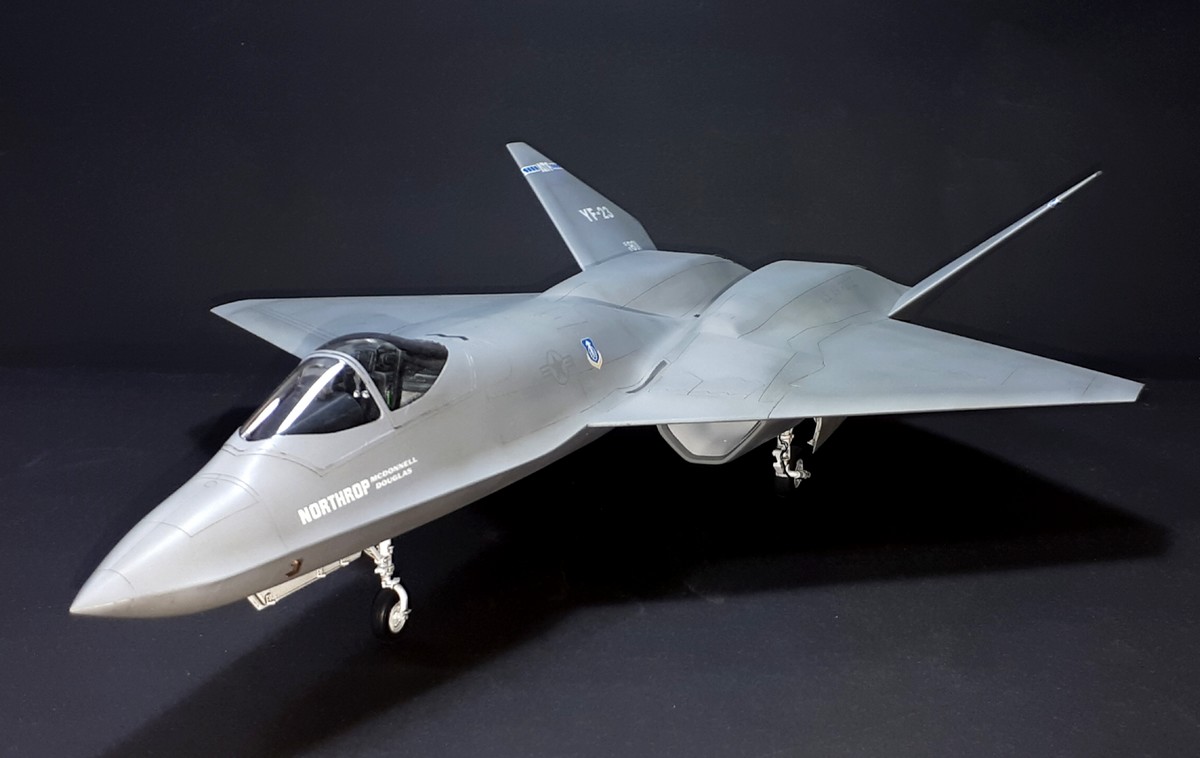
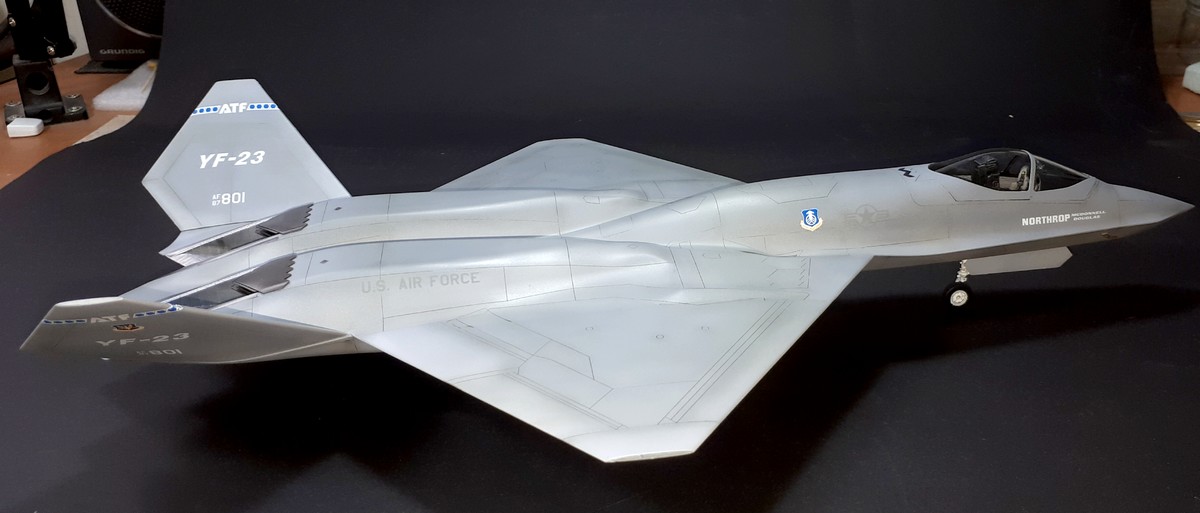
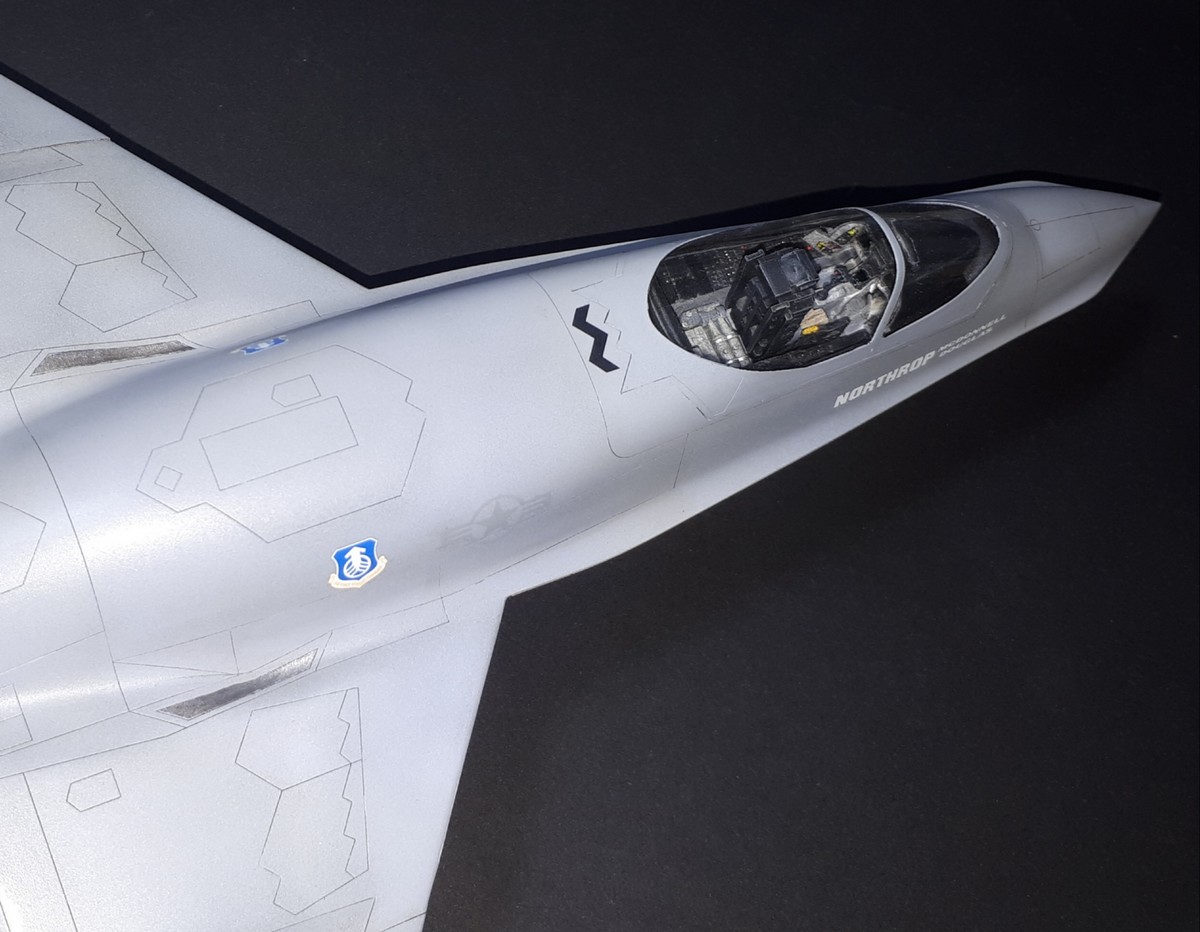
Final result !