
 by
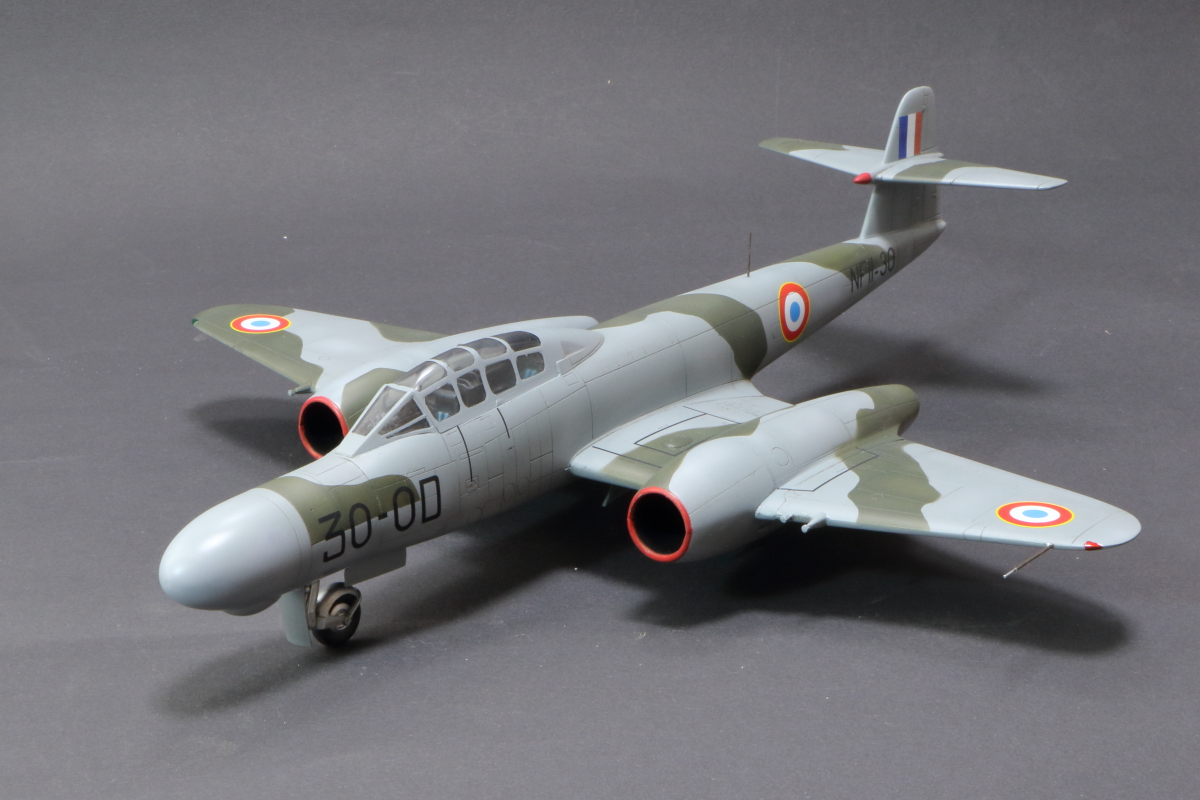
This build really gave me a run for my money… I’ve never been a huge fan of the Meteor’s aesthetics, but I’d had this kit in my stash for a while, and reading Frédéric Bellet’s excellent book ‘Pilote de chasse au LA FAYETTE’ was the final push I needed to get started.
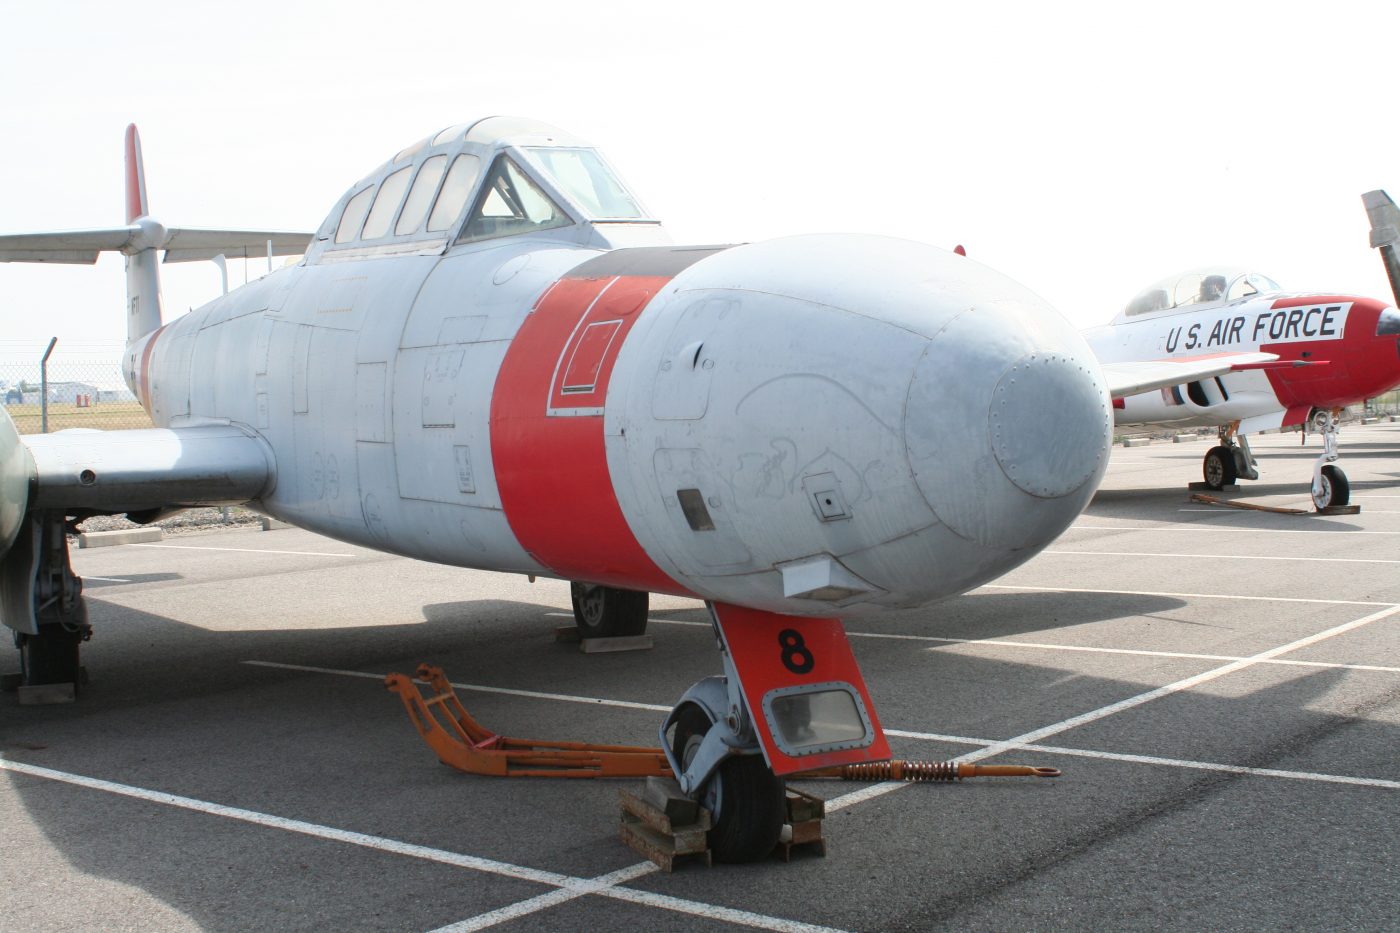
The Meteor NF.11 first took to the skies in 1950. It served with the French Air Force (Armée de l’Air) between 1953 and 1958, though a few airframes assigned to the CEV (French Flight Test Center) continued flying until the early 1980s.
This is a multi-media short-run kit: injection-molded plastic for the main components, resin for the cockpit, and a vacuform canopy… and the first few dry-fit sessions didn’t look promising.
Building the Gloster NF11
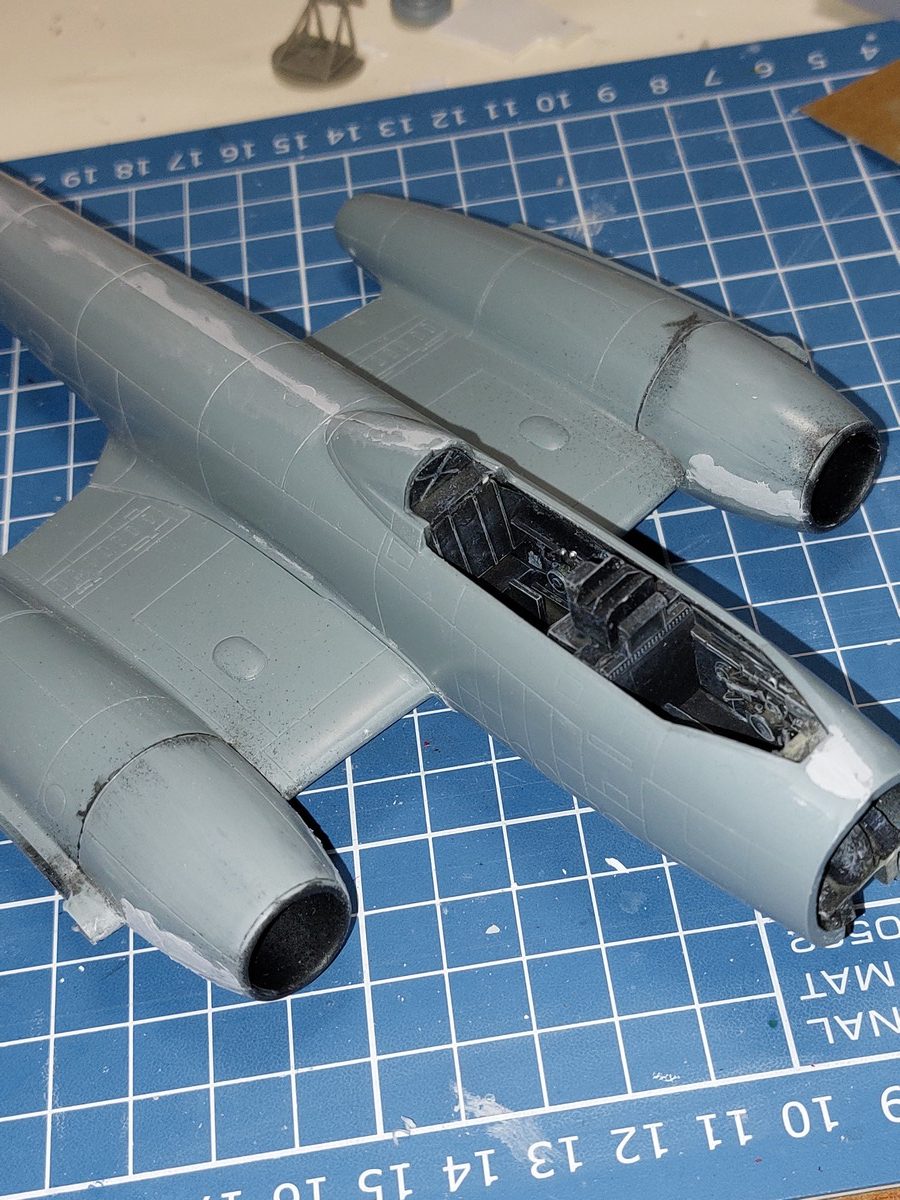
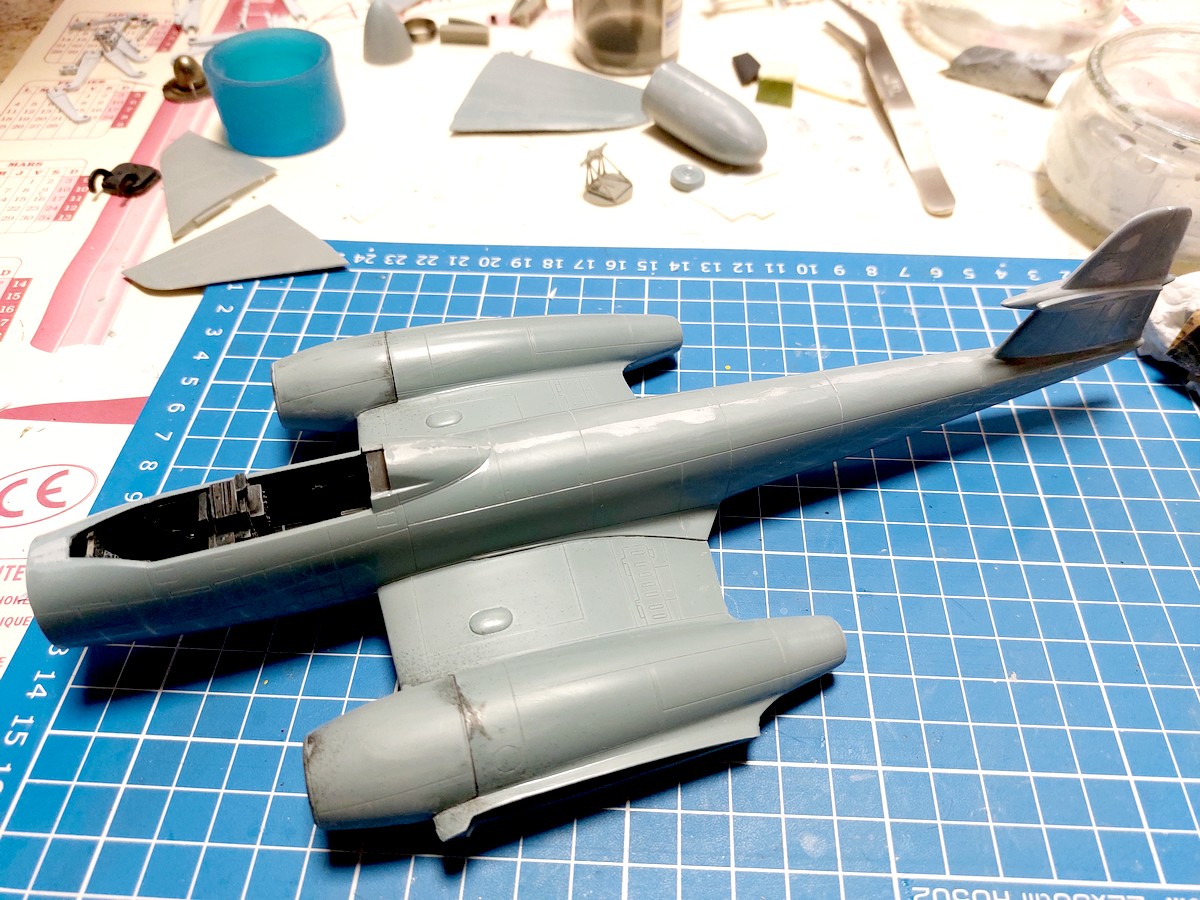
I started with the wings and engine nacelles, beginning with a thorough cleaning of the parts: de-burring and removing the injection gates/flash.
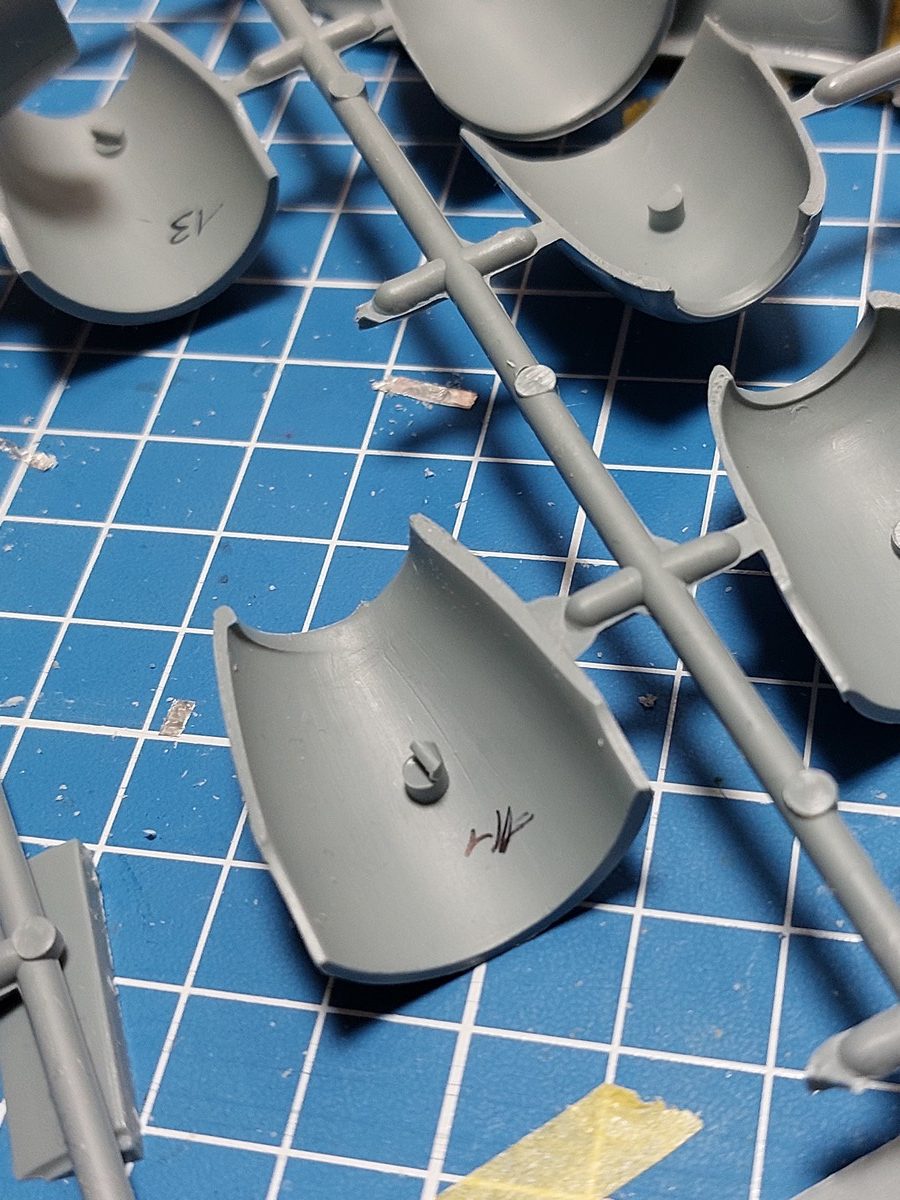
Just getting the wing halves to close with the wheel wells inside is a challenge… if you have a Dremel and a large file, you’re going to save yourself a lot of time
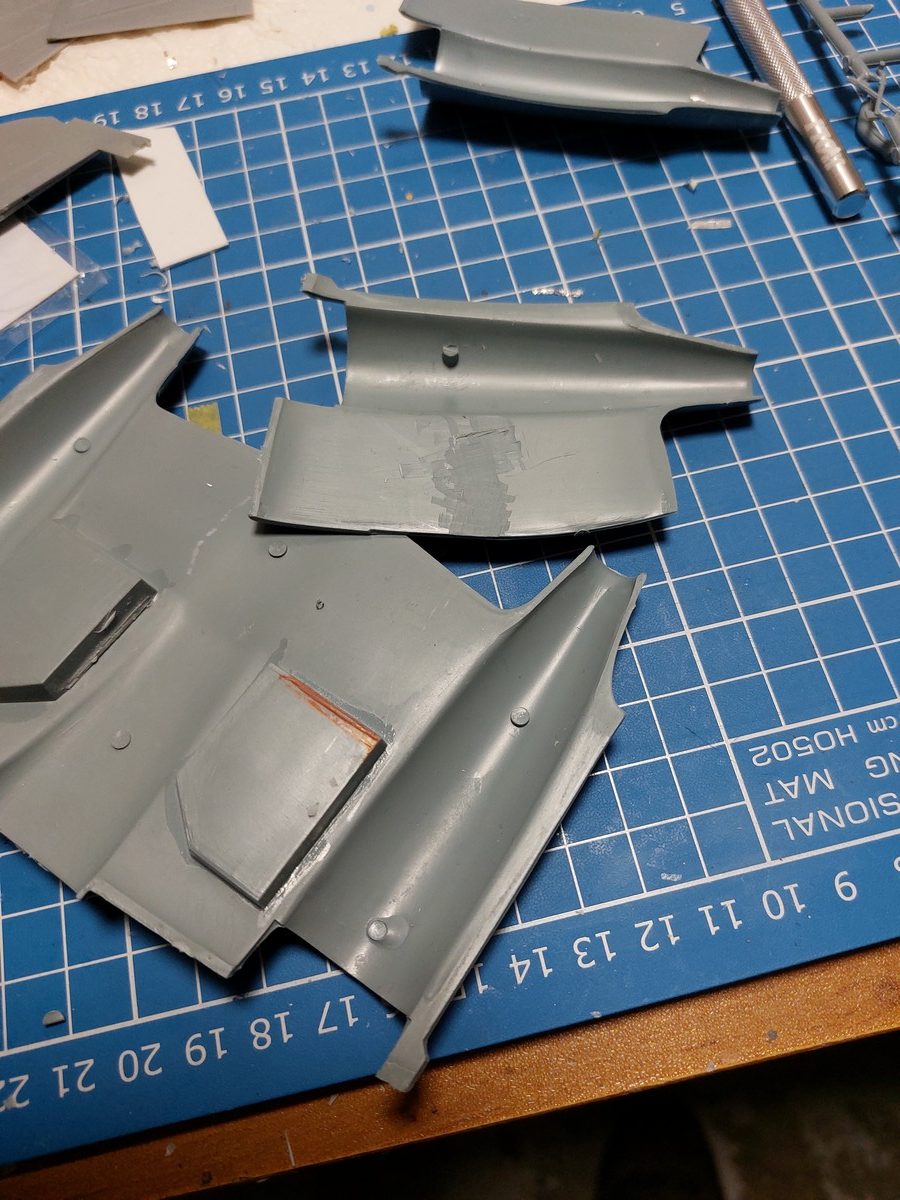
Once enough material has been removed to get the parts to close, you have to integrate the exhaust nozzle and the front section of the engine… Once again, a Dremel with a ball-head burr comes to the rescue, as you need to hollow out the plastic to seat the front section correctly and allow the halves to meet.
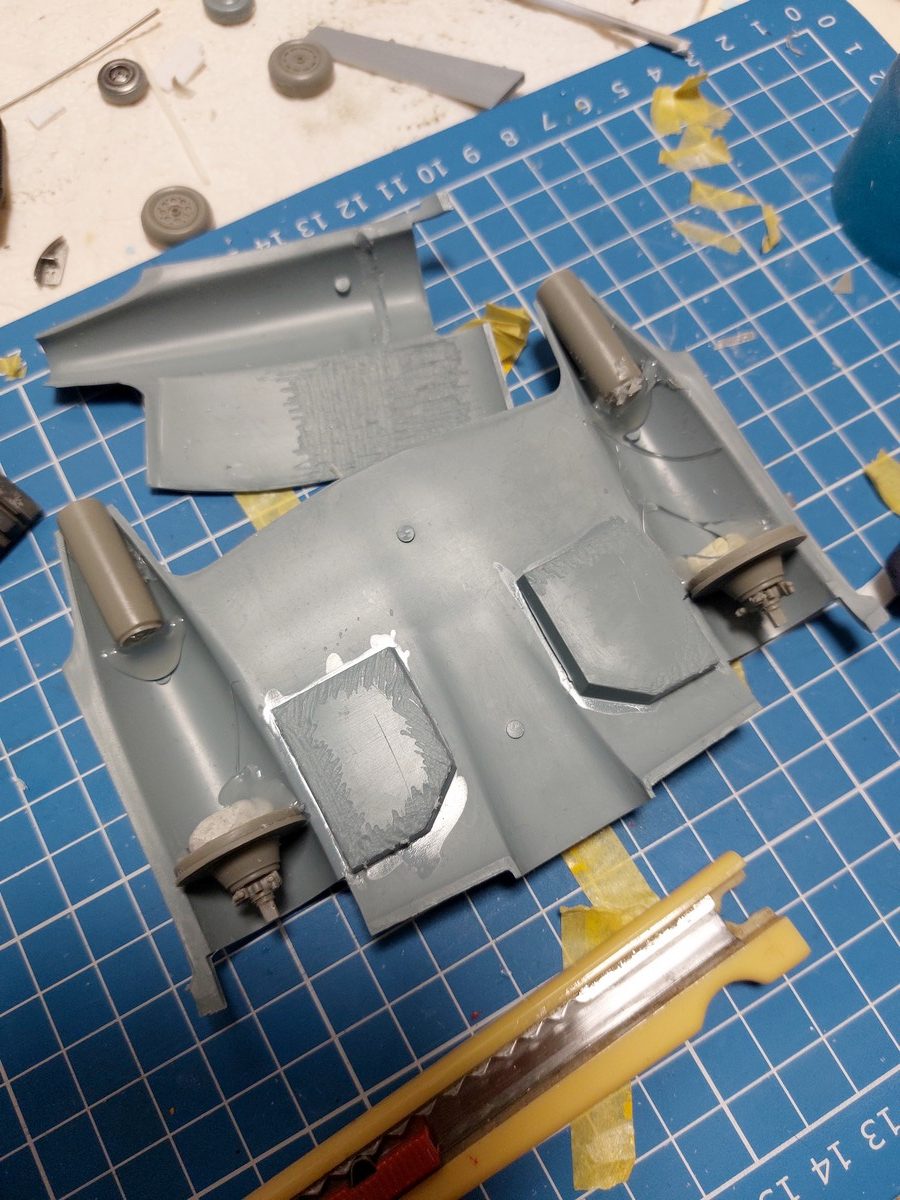
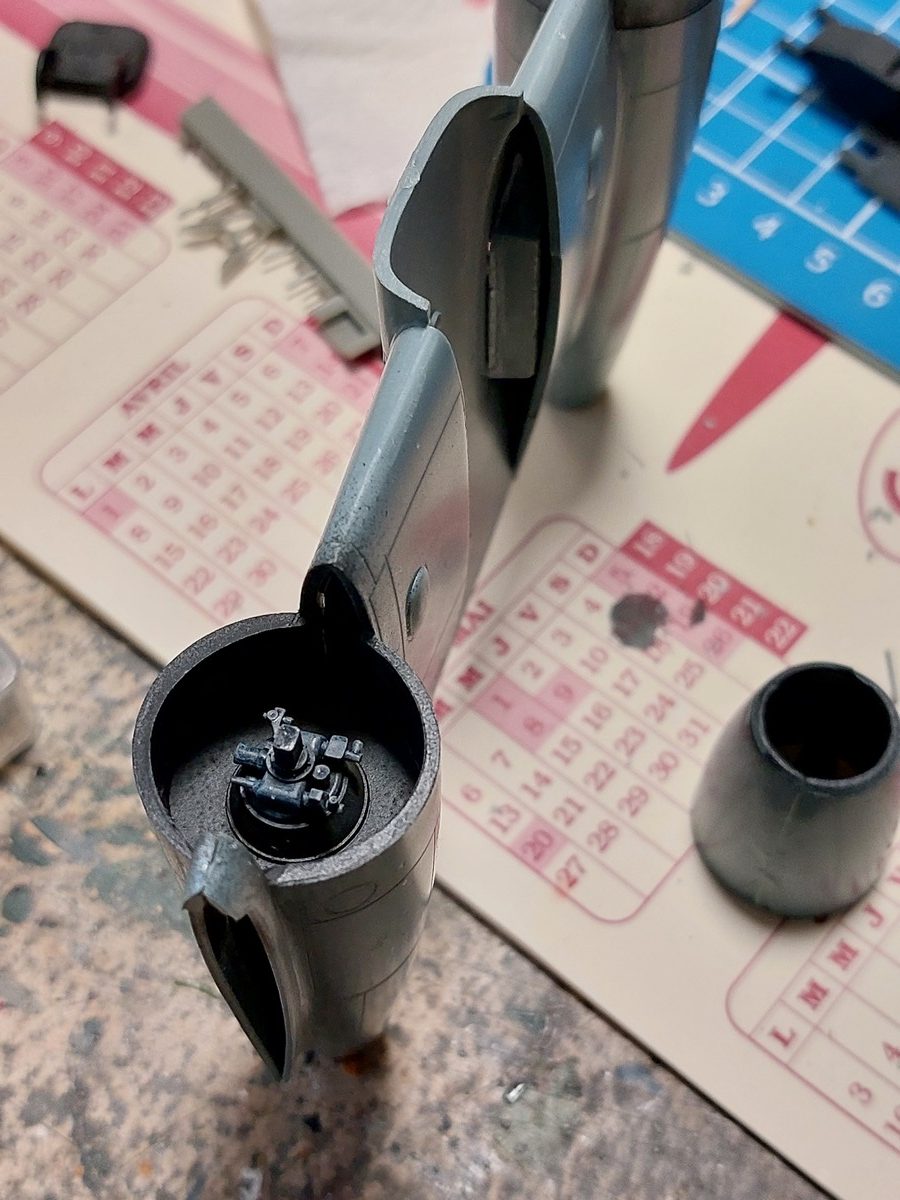
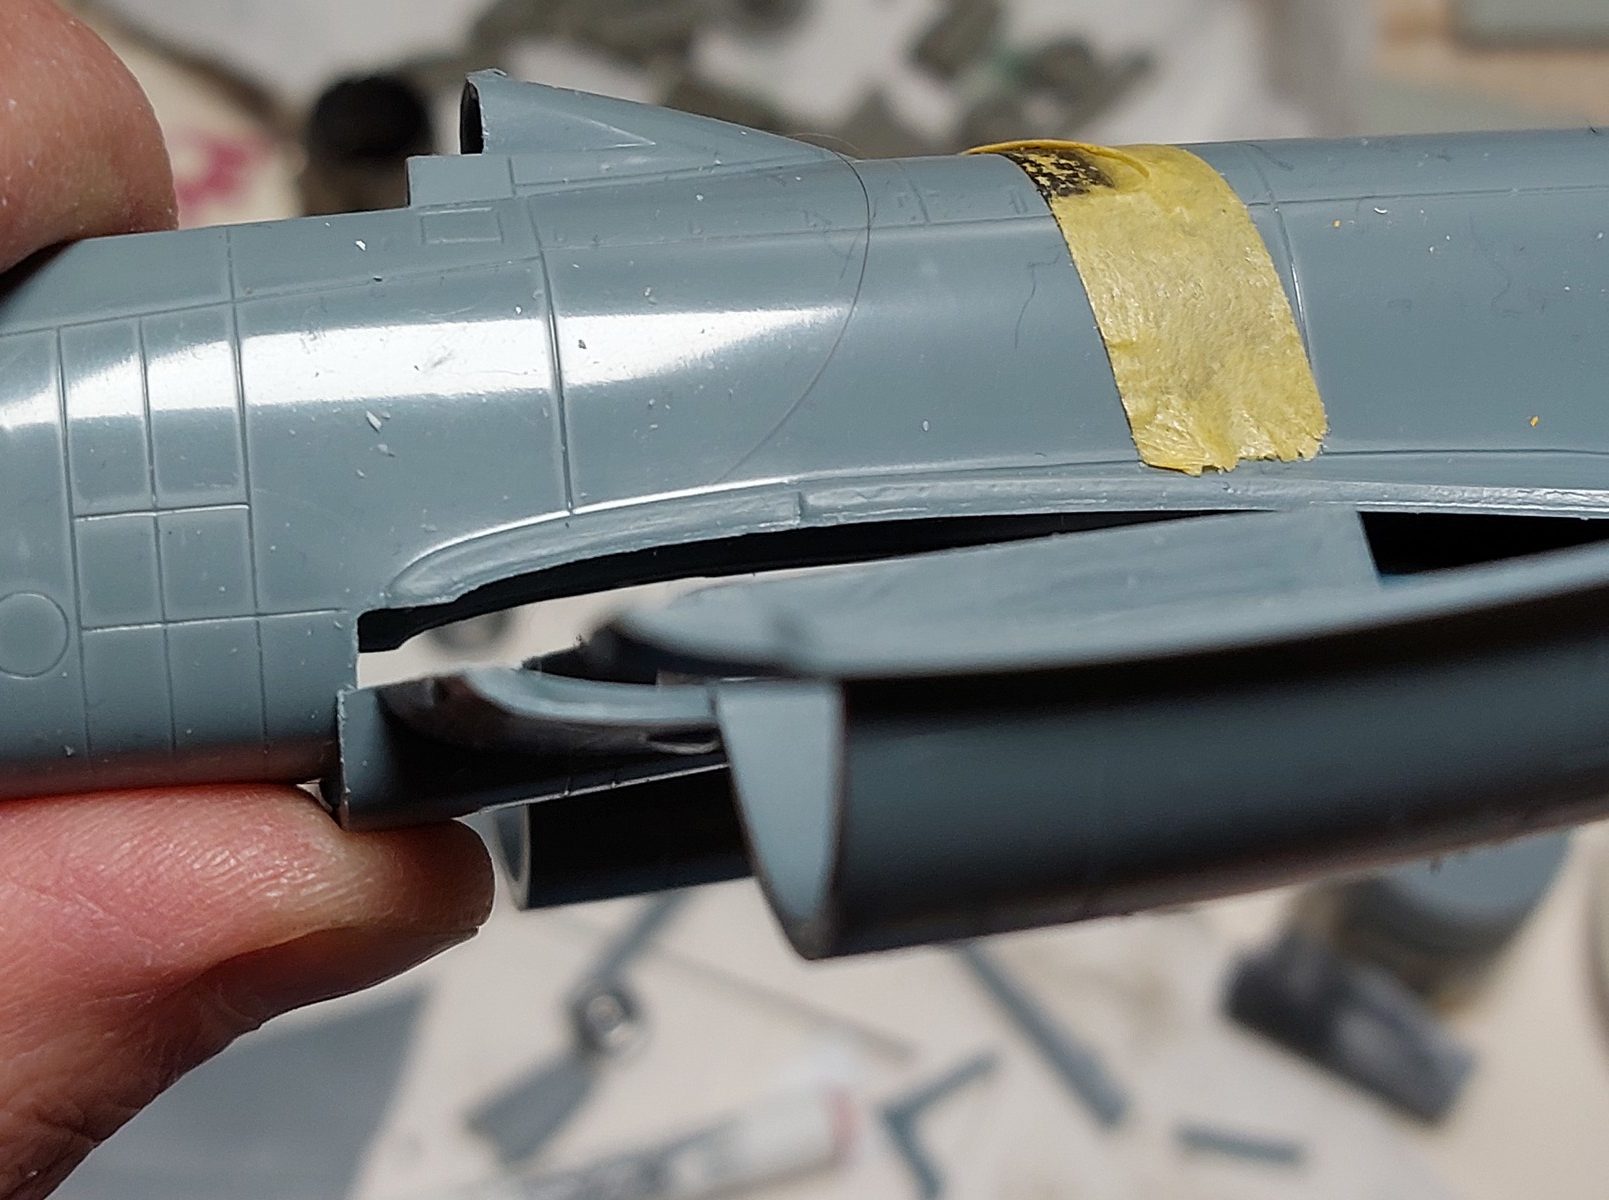
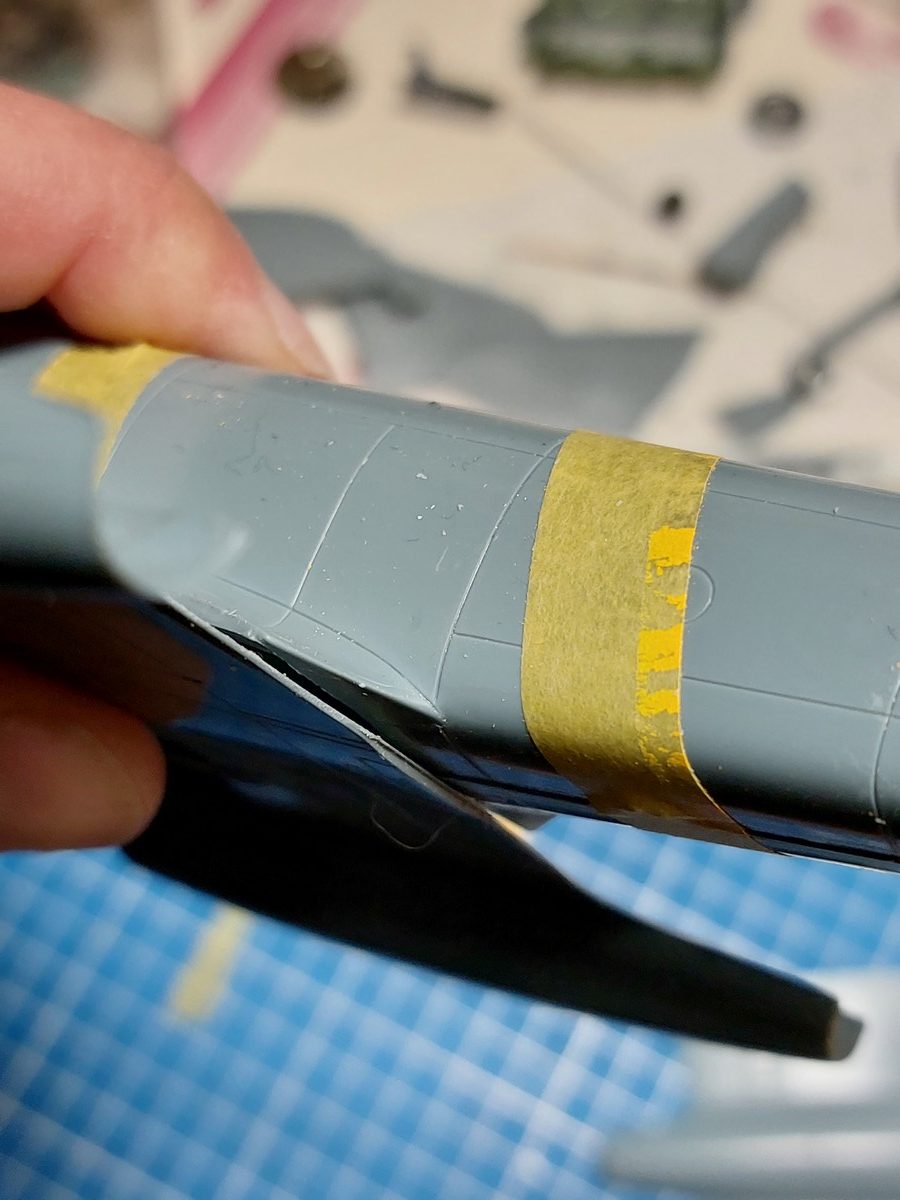
At the same time, a quick test fit with the fuselage… and it just doesn’t fit. In fact, I had to trim both the front and the back to get the part to seat properly, all while trying to maintain the correct alignment of the leading edge!
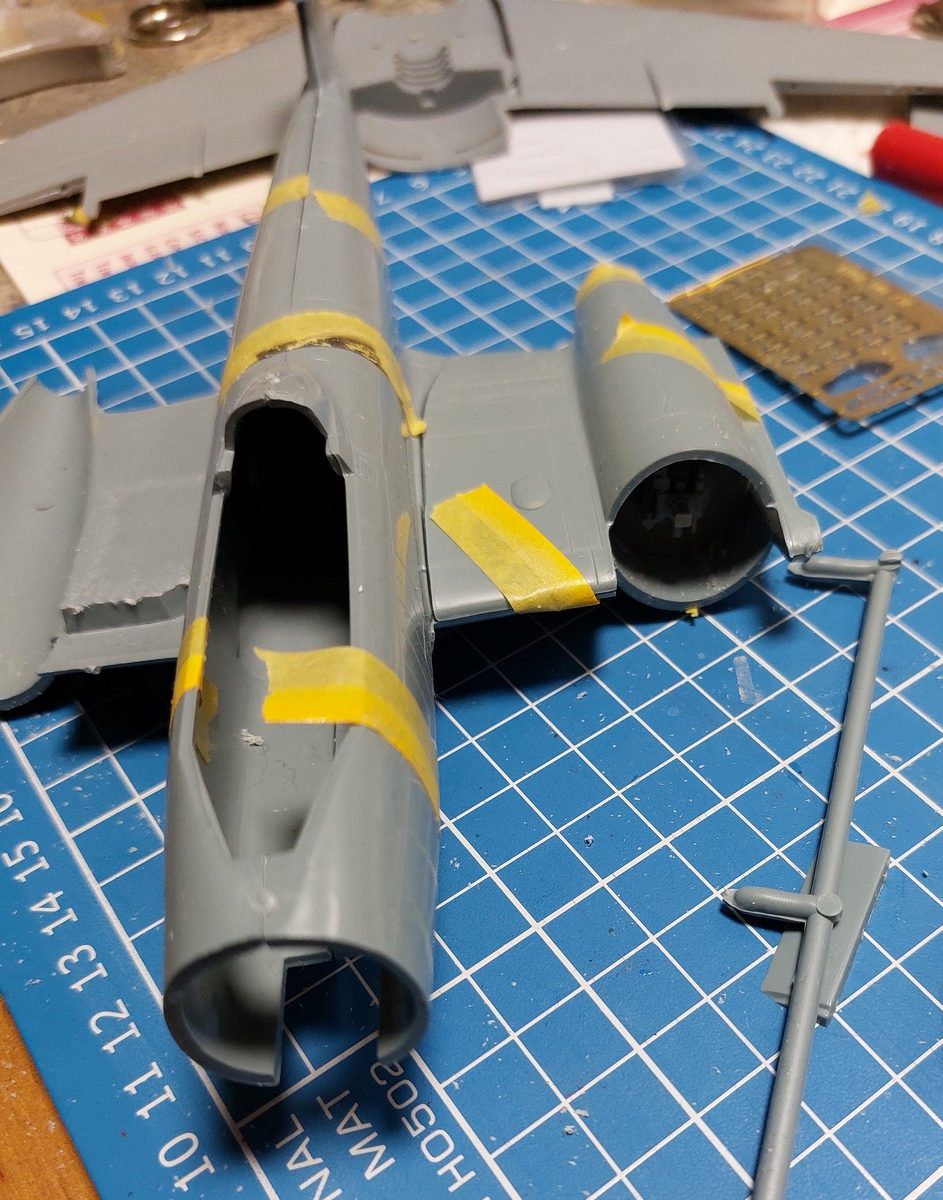
Next, before closing up the fuselage, the resin cockpit had to be dealt with. Despite systematically cleaning the resin parts with soapy water before painting, for some reason, I just couldn’t get a decent finish. I had to strip the paint twice before it finally adhered properly.
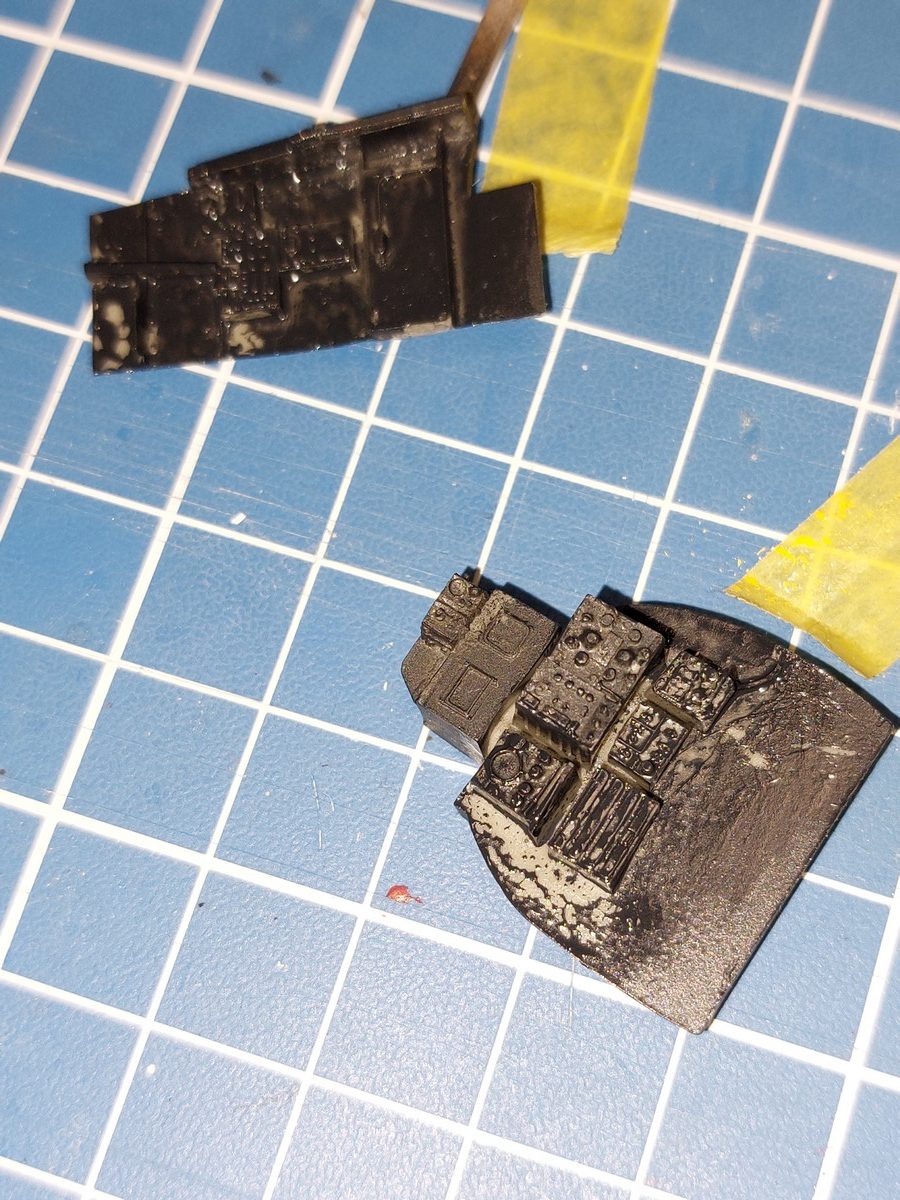
There are no locating pins or alignment tabs at all. Getting the cockpit positioned inside the fuselage—and ensuring the front and rear stations were correctly aligned—required a good deal of dry-fitting before I finally found the sweet spot!
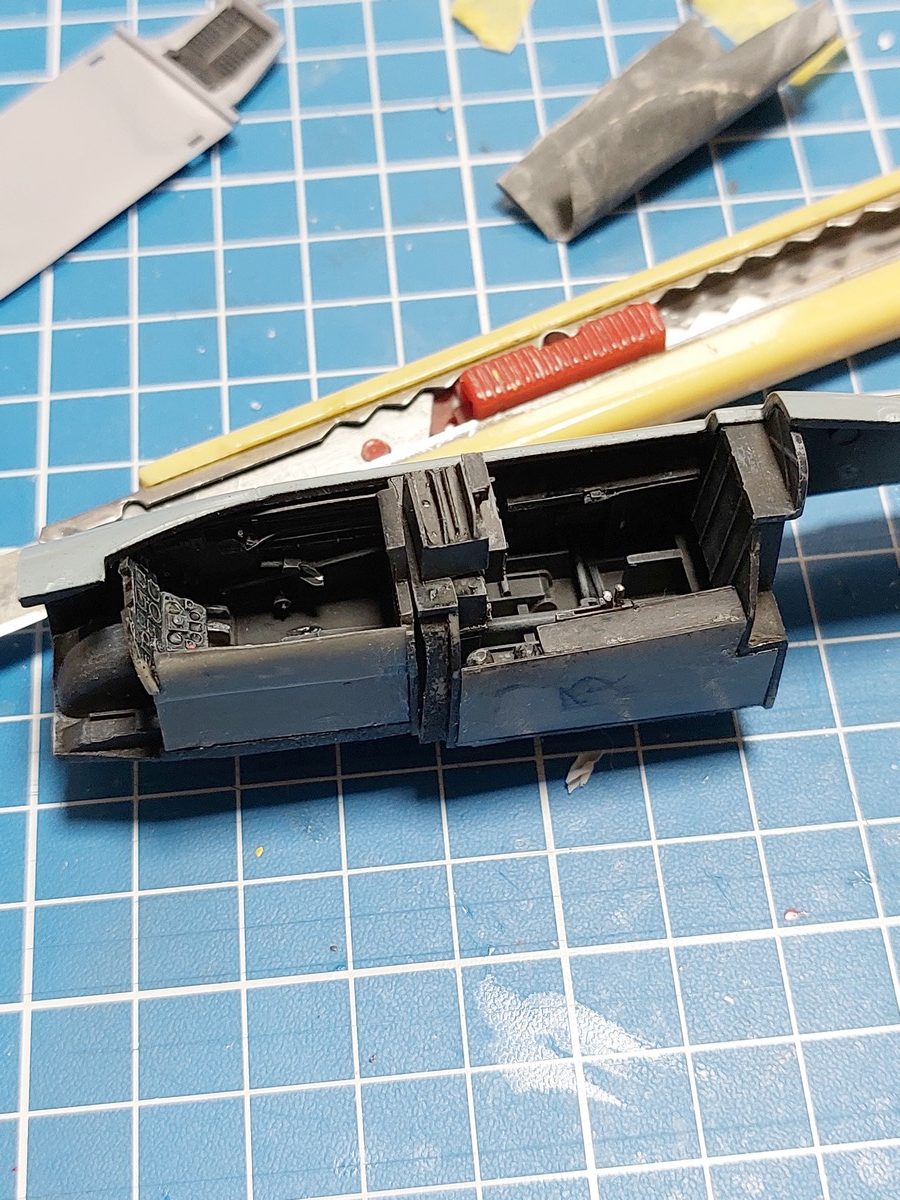
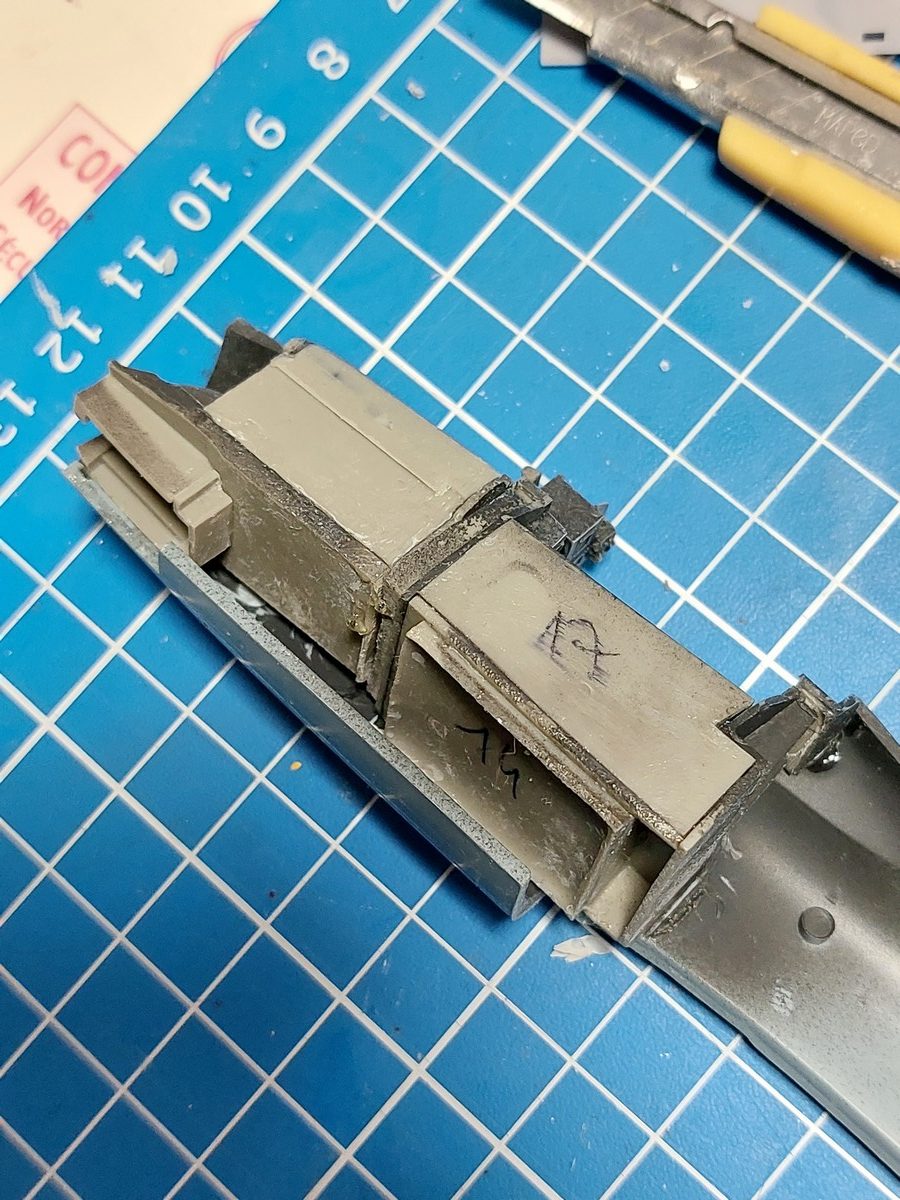
Be careful with the nose section: the nose gear attachment point is very fragile. Before closing the fuselage, I chose to add a piece of sprue as a reinforcement. This provides a much sturdier support for the resin part that holds the landing gear.
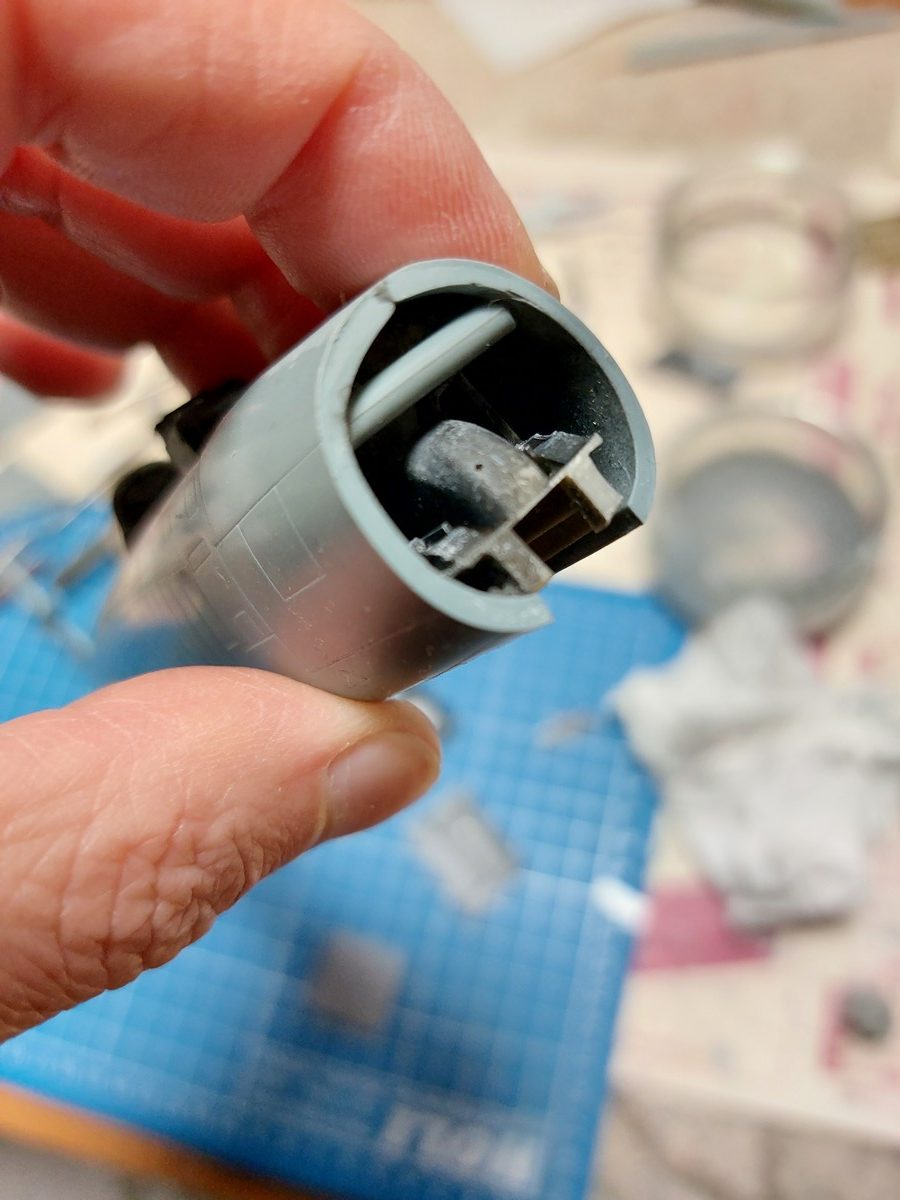
All that’s left is to putty the whole thing… and then attach the outer wing sections, which needed to be spread using plastic card shims to get a halfway decent fit at the joint.
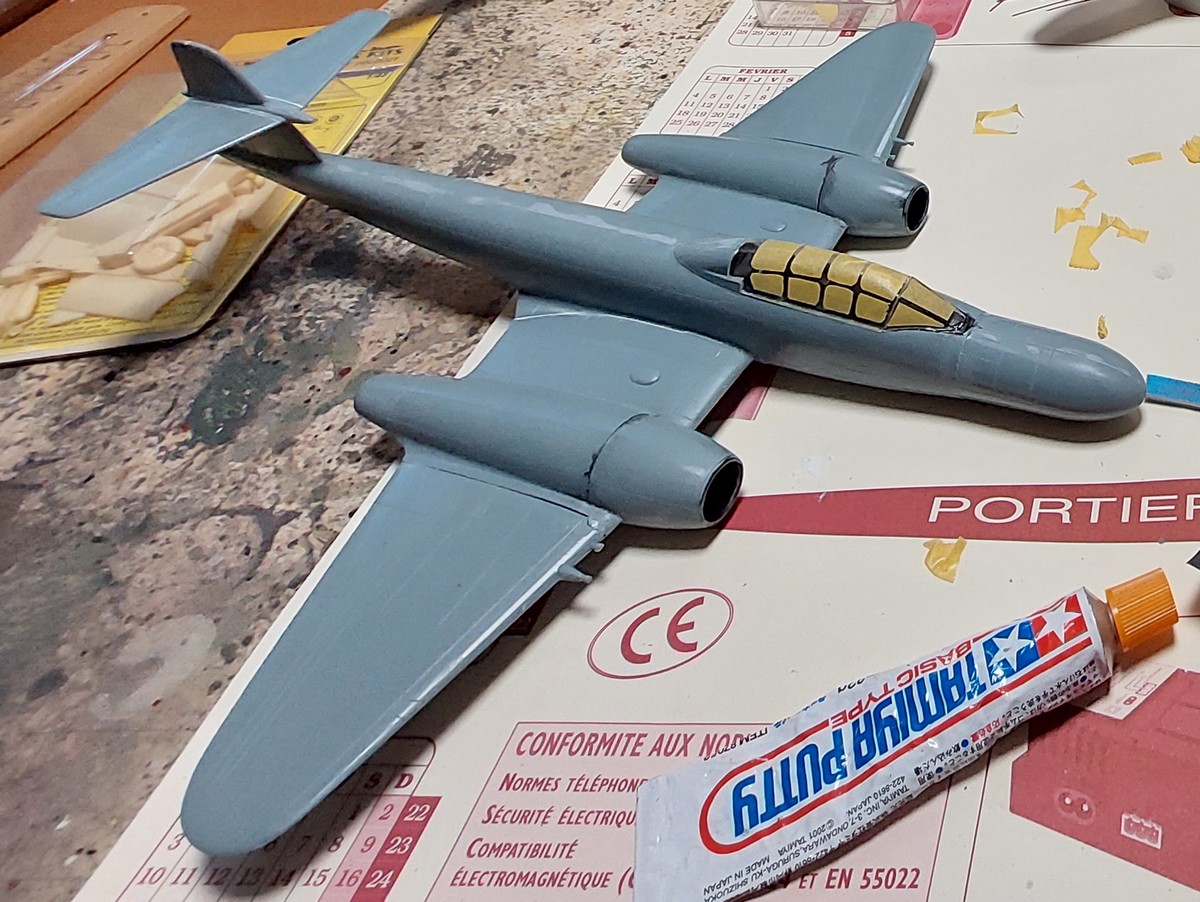
Painting the NF11
Once the assembly was finished and after numerous sessions of filling and sanding, the most tedious part was behind me! Time to start the paint job. First, a coat of black on the canopy, followed by a grey One Shot primer to unify the surfaces. Then came the classic Meteor NF.11 camouflage: RAF Dark Green (Gunze H309) and RAF Medium Sea Grey (H335). I worked with slightly lightened shades of each color to create weathered effects (light grey for the Medium Sea Grey; yellow and grey for the Dark Green).
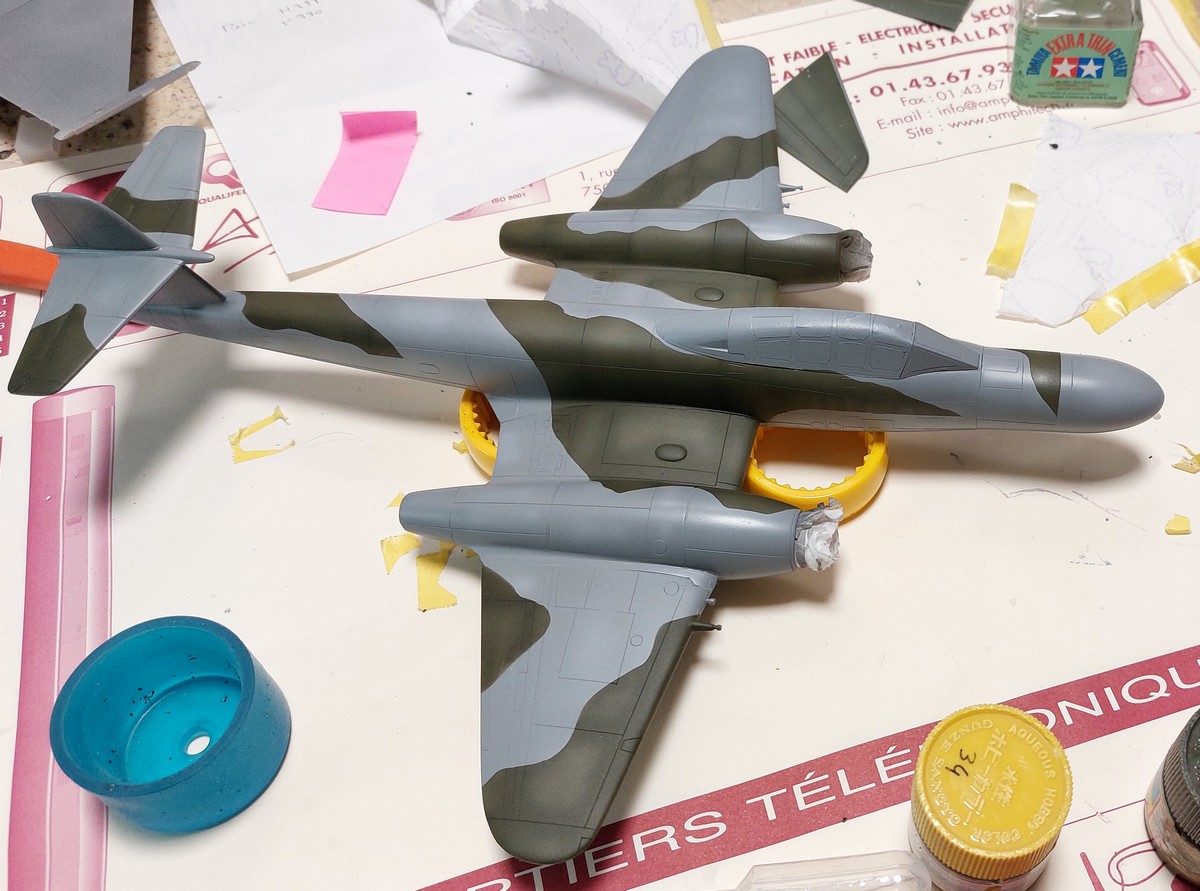
After that, a coat of gloss varnish, then on to the decals (I used roundels from the spares box to avoid the thick, multi-layered ‘puzzle’ decals from the Classic Airframes sheet). I followed this with a wash and sealed everything with a matt varnish.
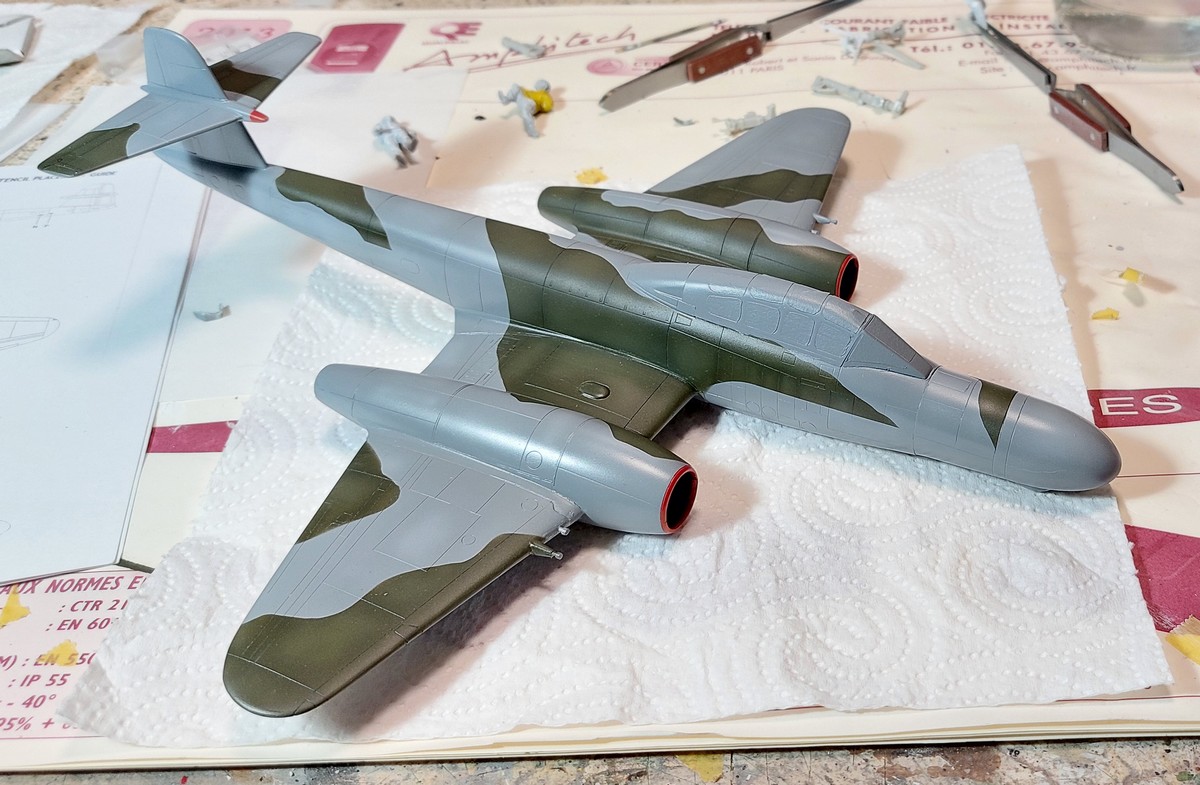
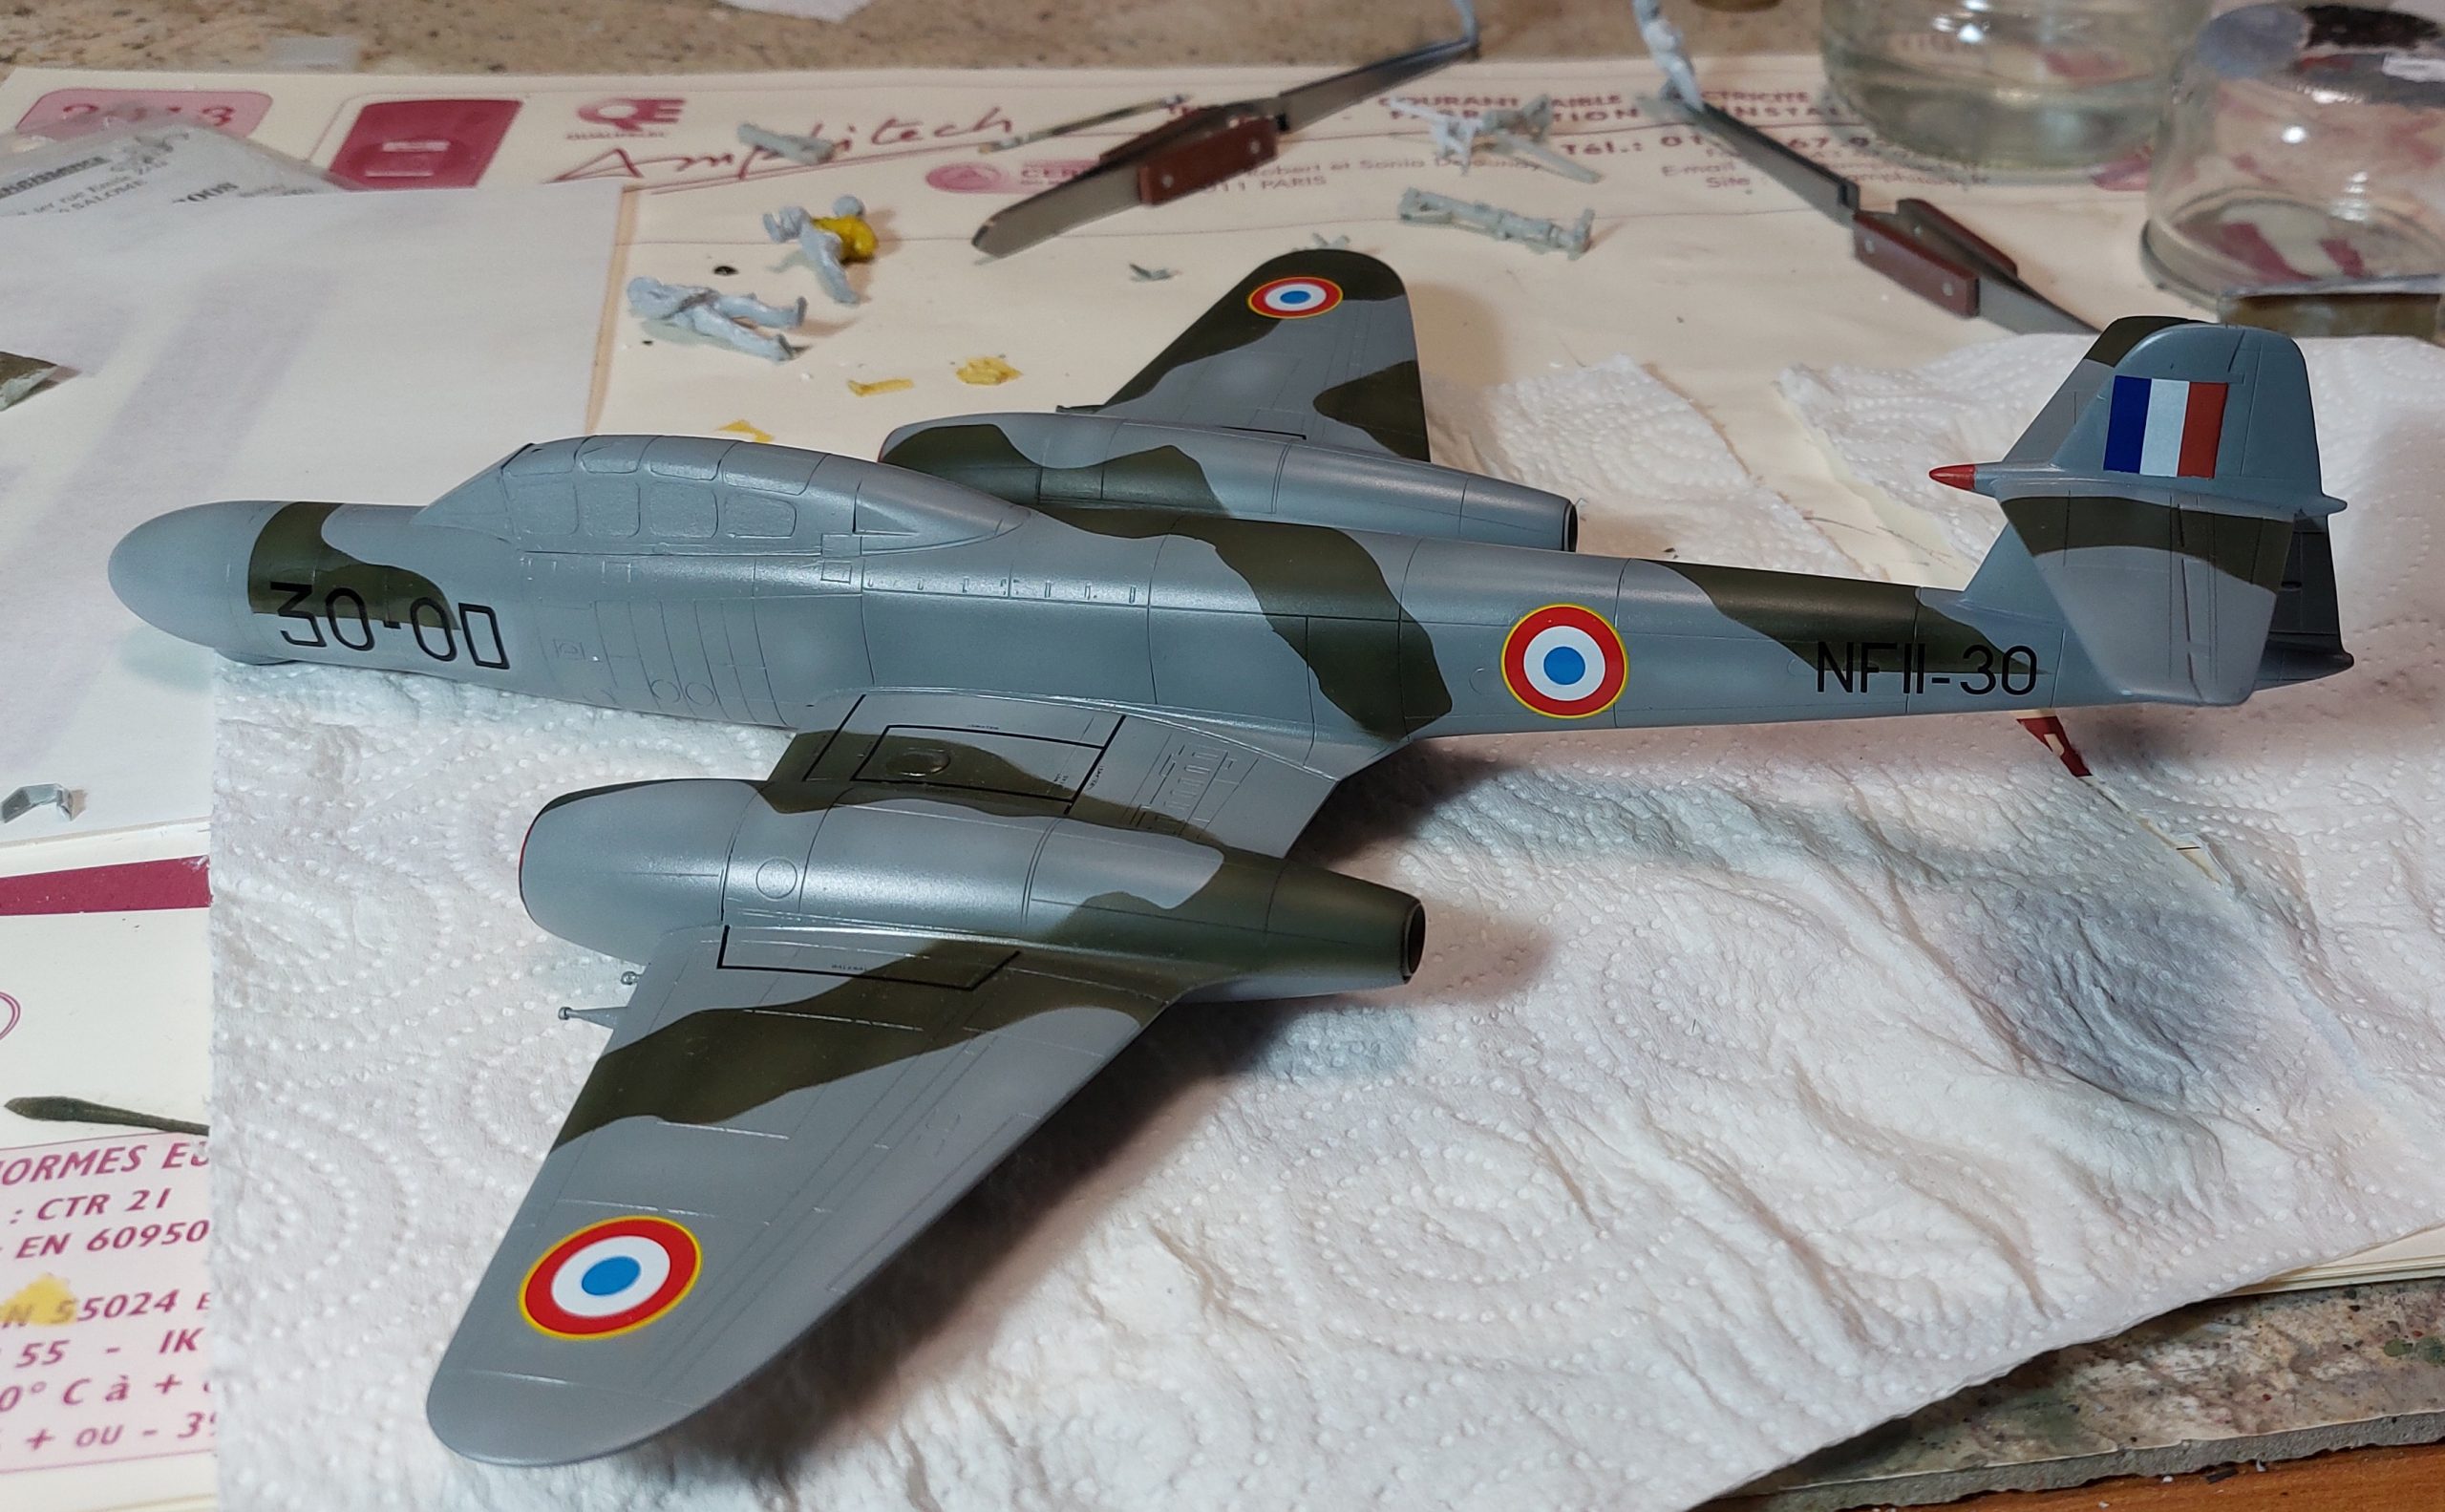
To finish it off, I added the antennas and the trickiest part: the landing gear and gear doors. This stage requires careful preparation—getting everything properly aligned and sturdy is no small feat. The pitot tube was scratch-built using metal rods.
Conclusion
This definitely isn’t an easy kit to build, but I’m quite happy with the result. I now understand why you rarely see them on display at model shows.
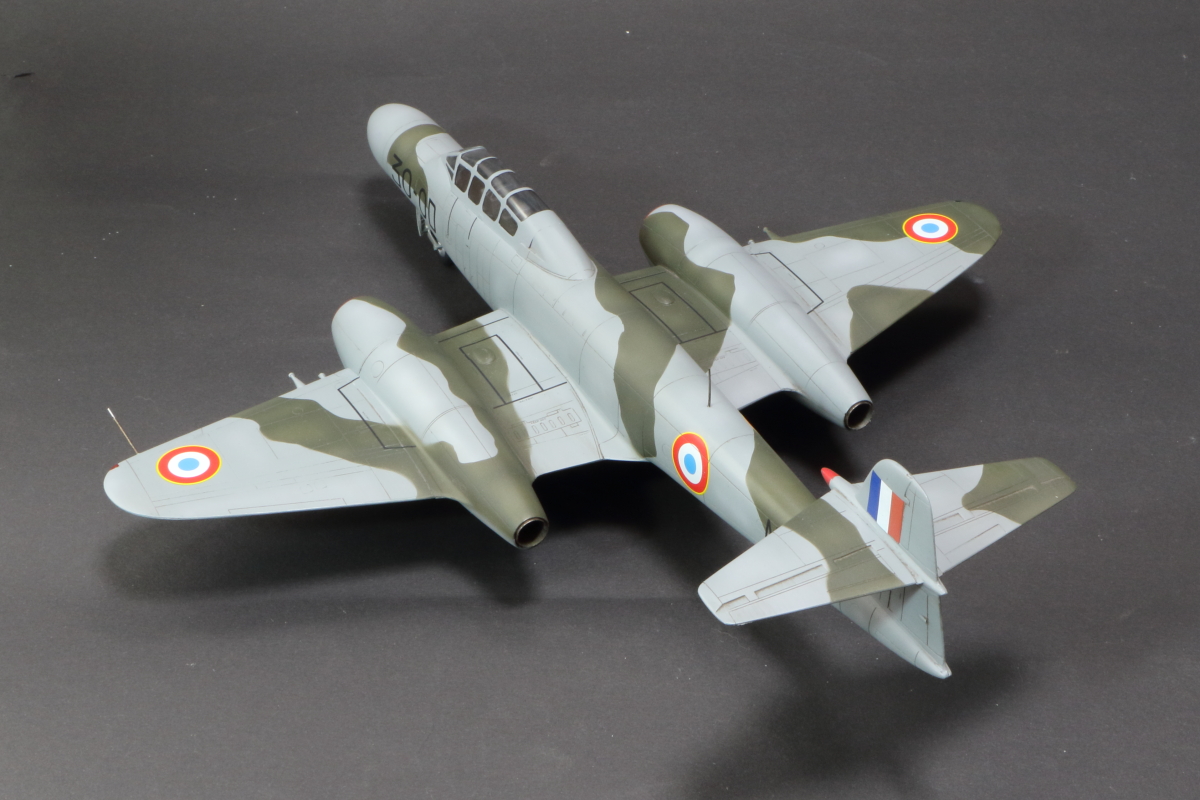
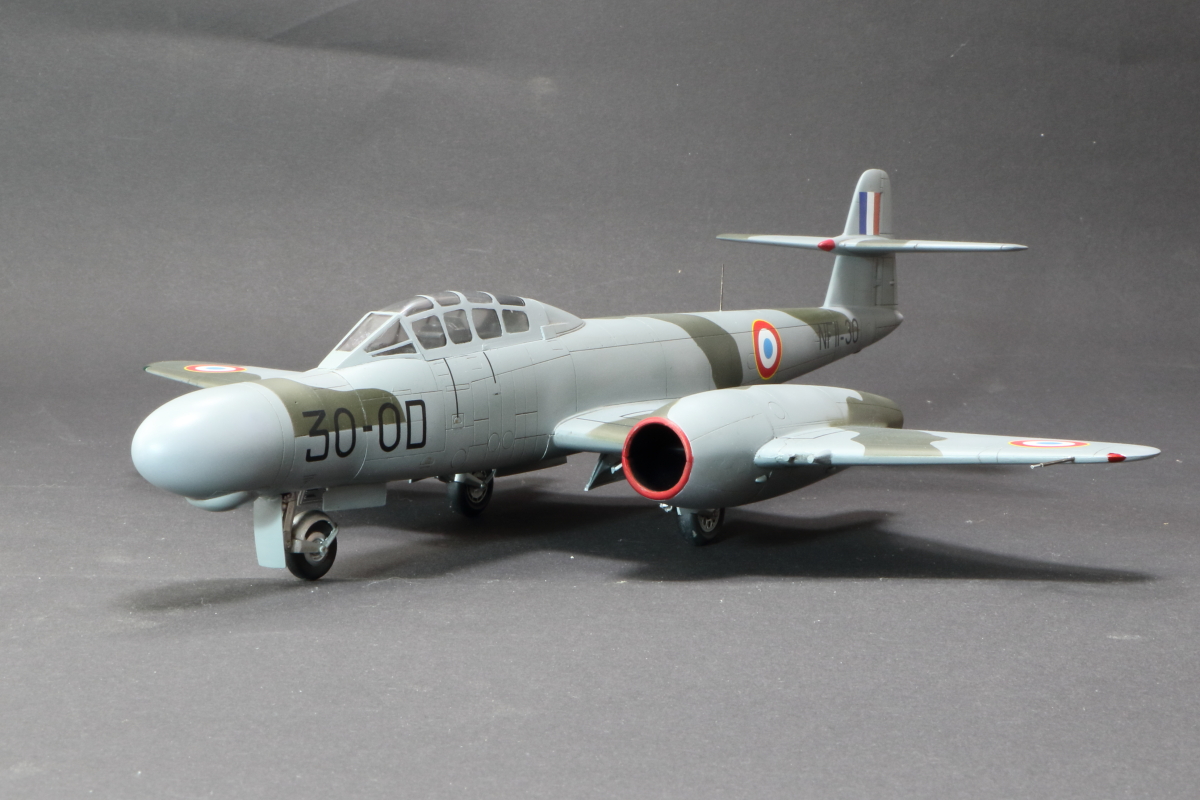
You can find the walkaround for the Meteor NF.11 on the website (click on the image below…):