by
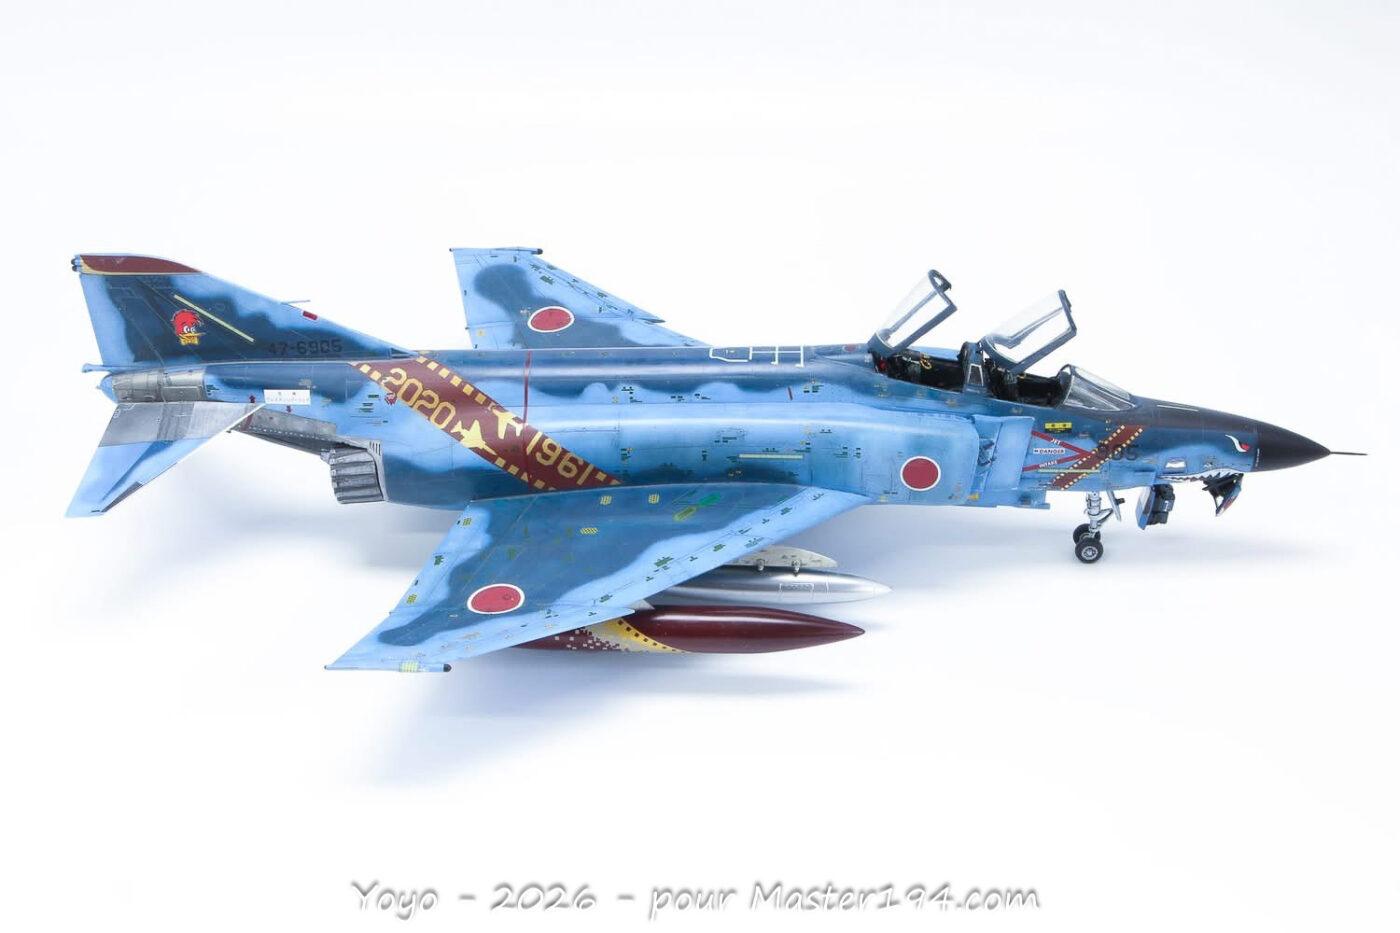
When the urge to build a 1/48 JASDF RF-4E in its stunning two-tone ‘Ocean Blue’ livery struck me, I didn’t have much of a choice and had to turn to the aging Hasegawa kit.
Indeed, despite all the new Phantoms released in recent years, only Zoukei-Mura (ZM) has announced the reconnaissance version—months ago, in fact—but it has yet to become a reality.
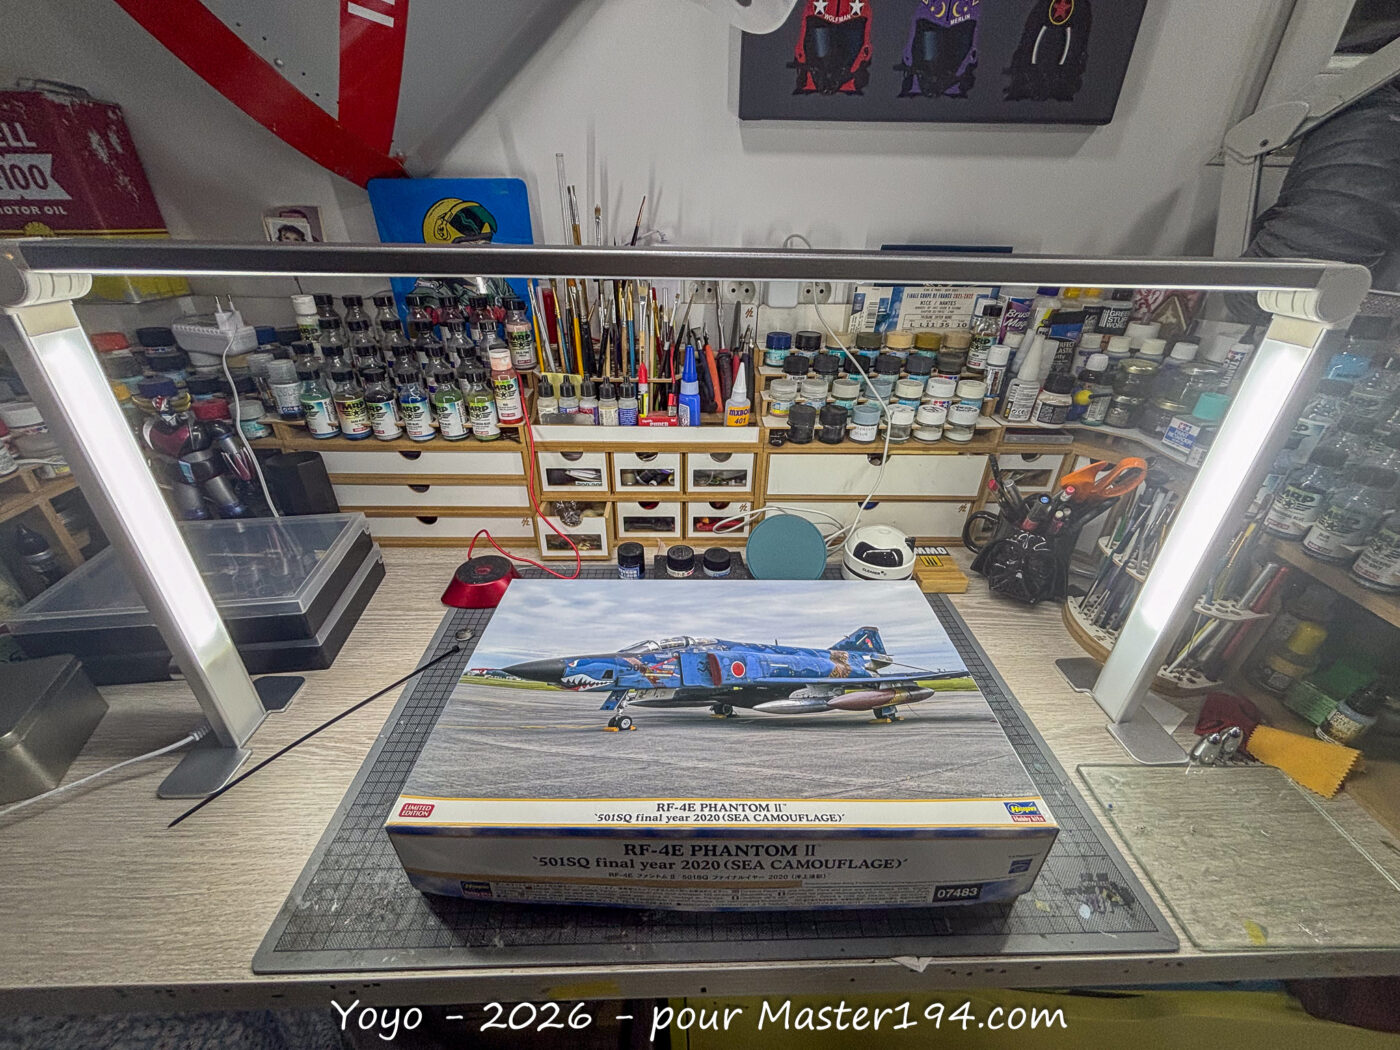
The Hasegawa Phantom mold is three decades old, and let’s be honest, it shows: a general lack of detail, somewhat soft panel lines, and mediocre fit…
To bring it up to 2026 standards, I opted for a long list of aftermarket accessories: Aires sets for the RF-4 (cockpit, nozzles, camera bays, and wheel wells), full Kirrey intakes, Chute Expert 3D-printed landing gear, an Hypersonic canopy, MCC seats, and a Master Models pitot tube.
Let’s be clear: as expected, I certainly didn’t make life easy for myself.
Assembly
Cockpit
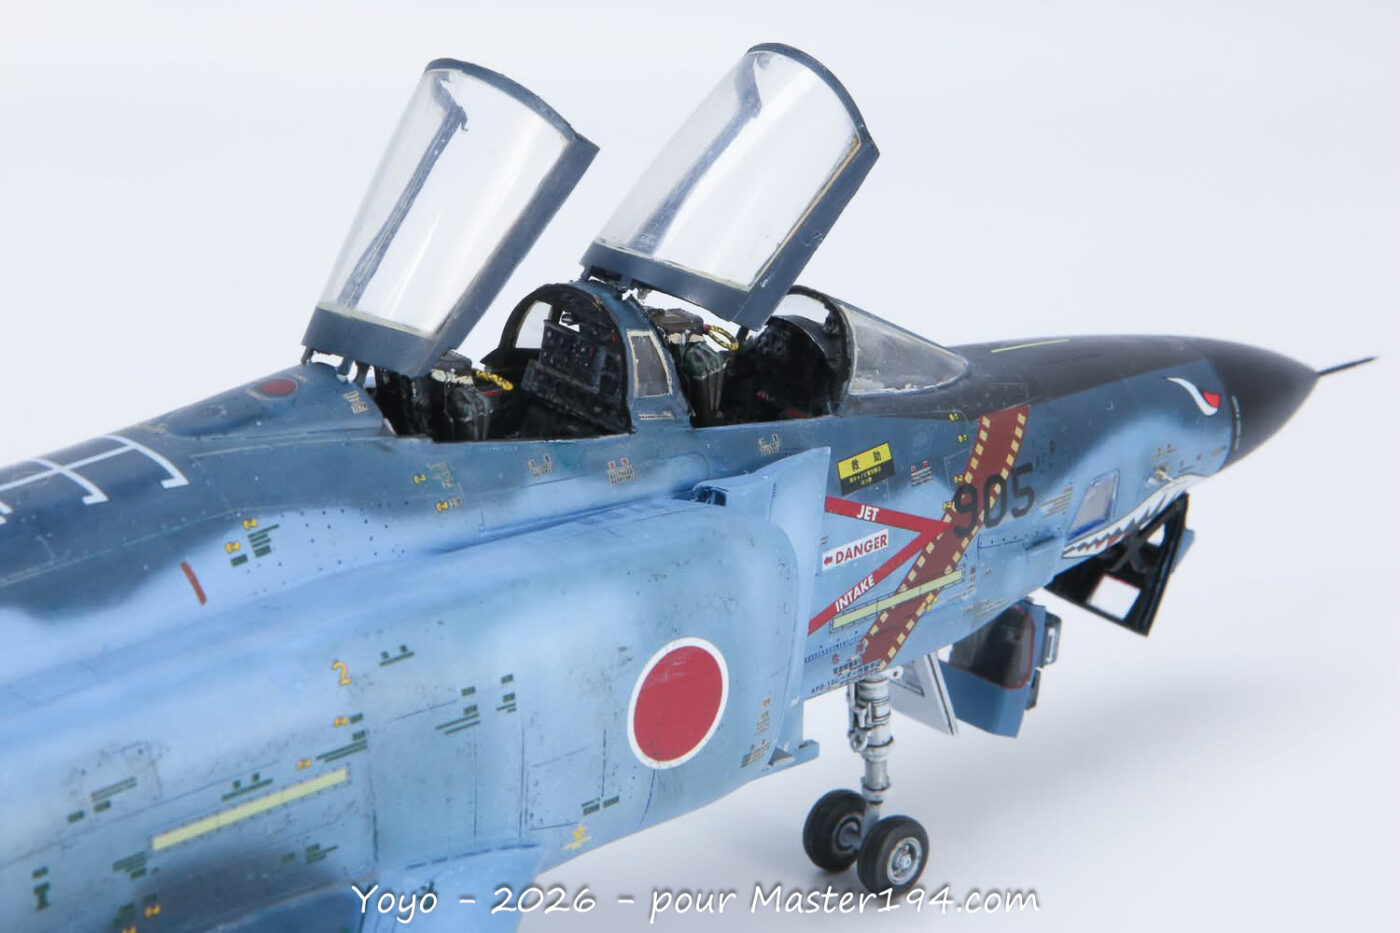
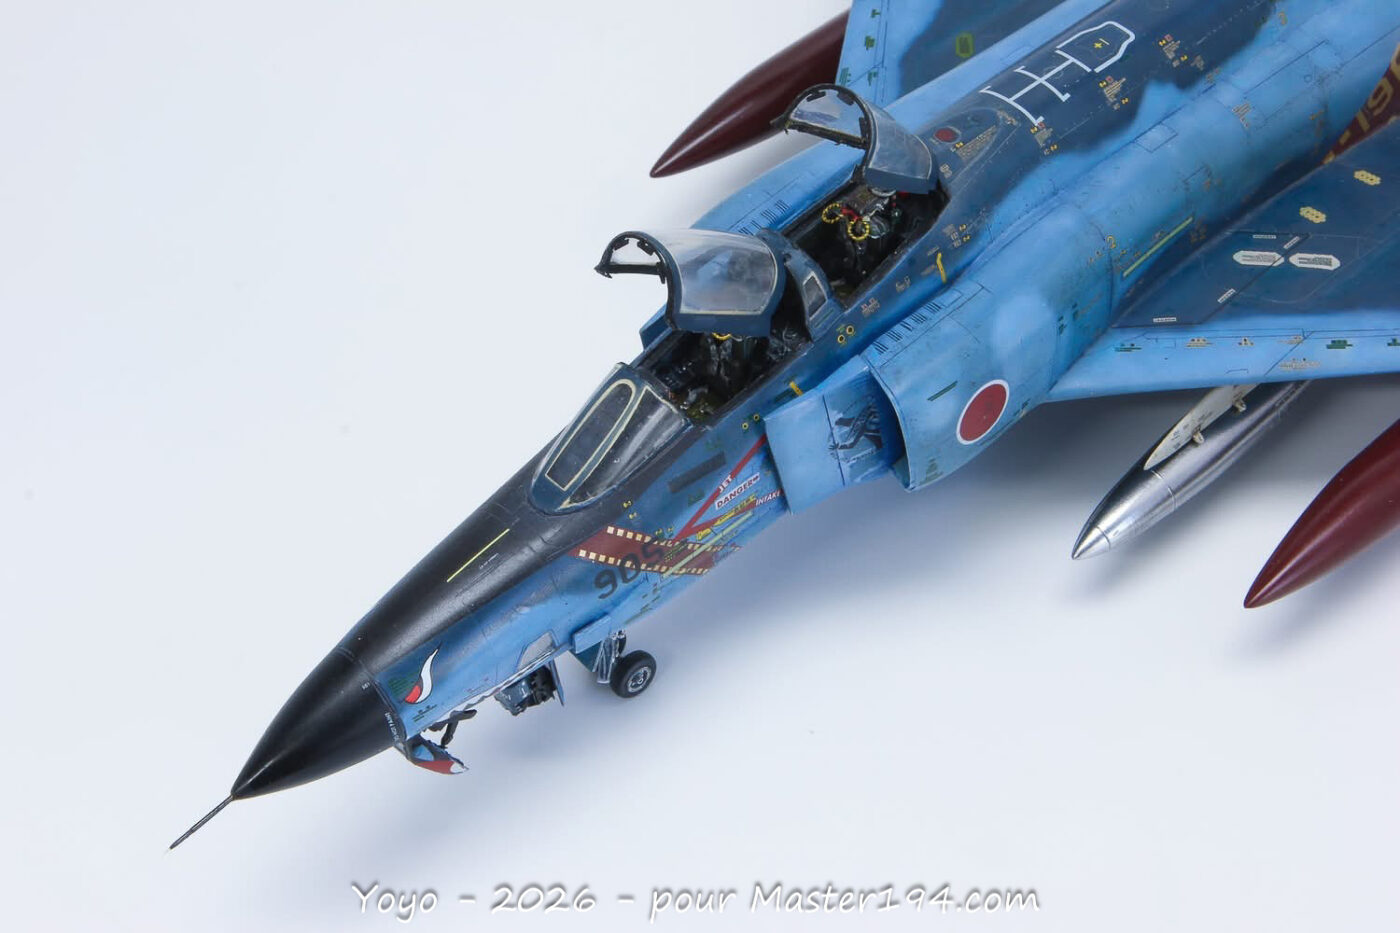
The Aires cockpit looks great, but since it’s designed for an RF-4B, the instrument panels (IP) needed some modifications to accurately represent a Japanese RF-4. Interestingly, the IPs provided in Hasegawa’s ‘Final Year’ retirement edition are more accurate. So, using some plastic card, photo-etched dials, Airscale decals, and a bit of soda can aluminum… and there you go!
As for the seats, after comparing Aires, Sparkit, and MCC, I finally went with the latter for their incredible finesse.
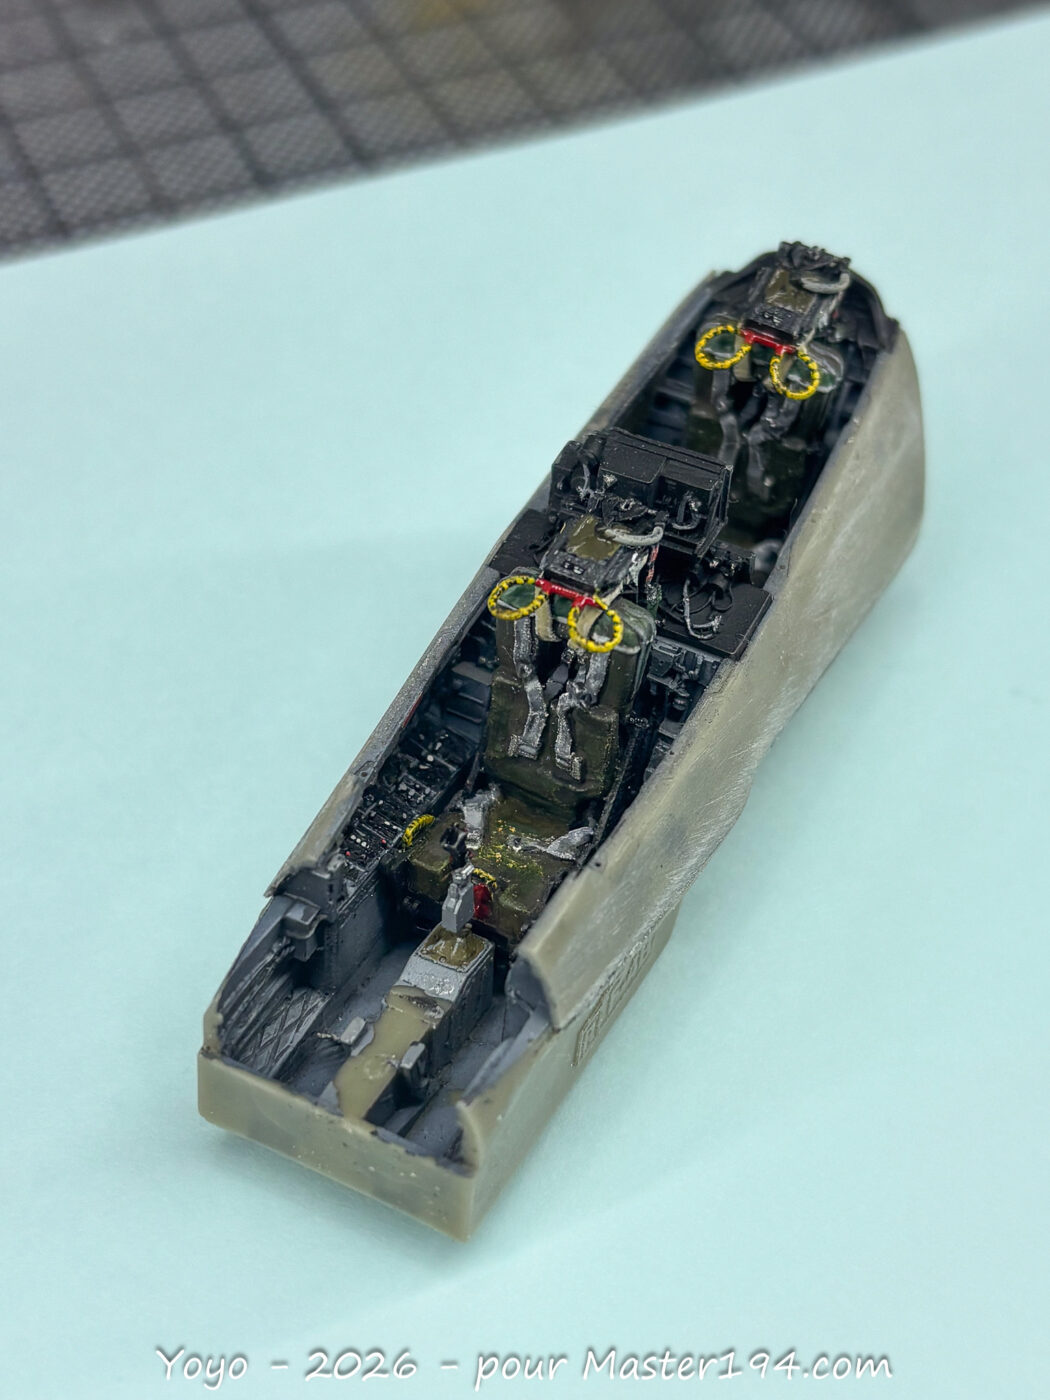
To get the wheel well to fit, I had to sand the bottom of the cockpit floor and the top of the gear bay until they were paper-thin—almost transparent.
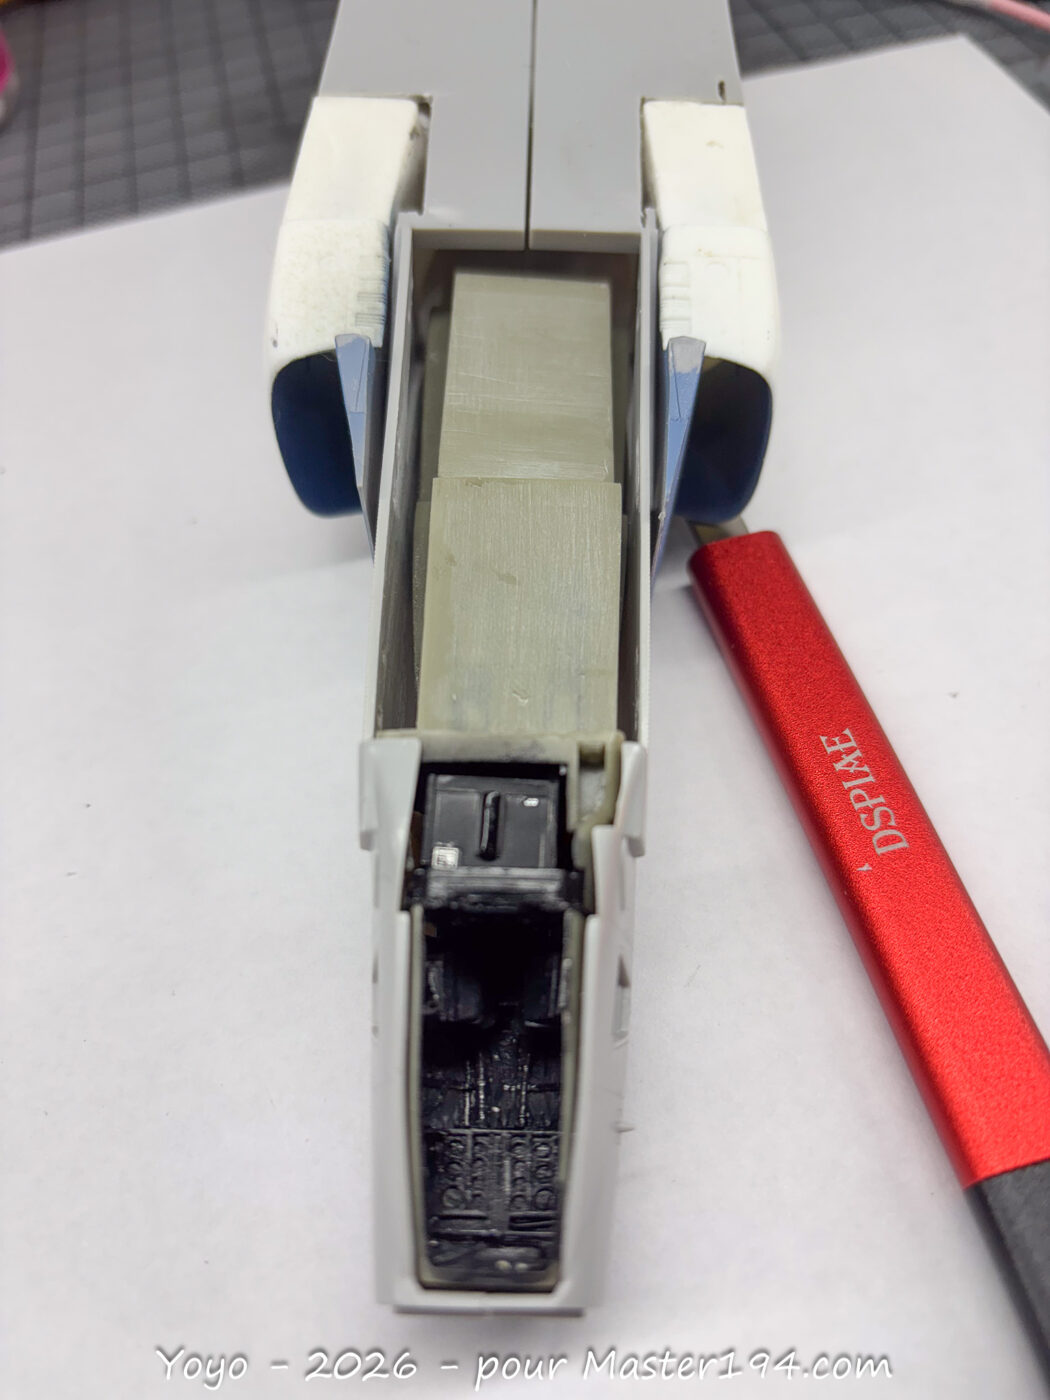
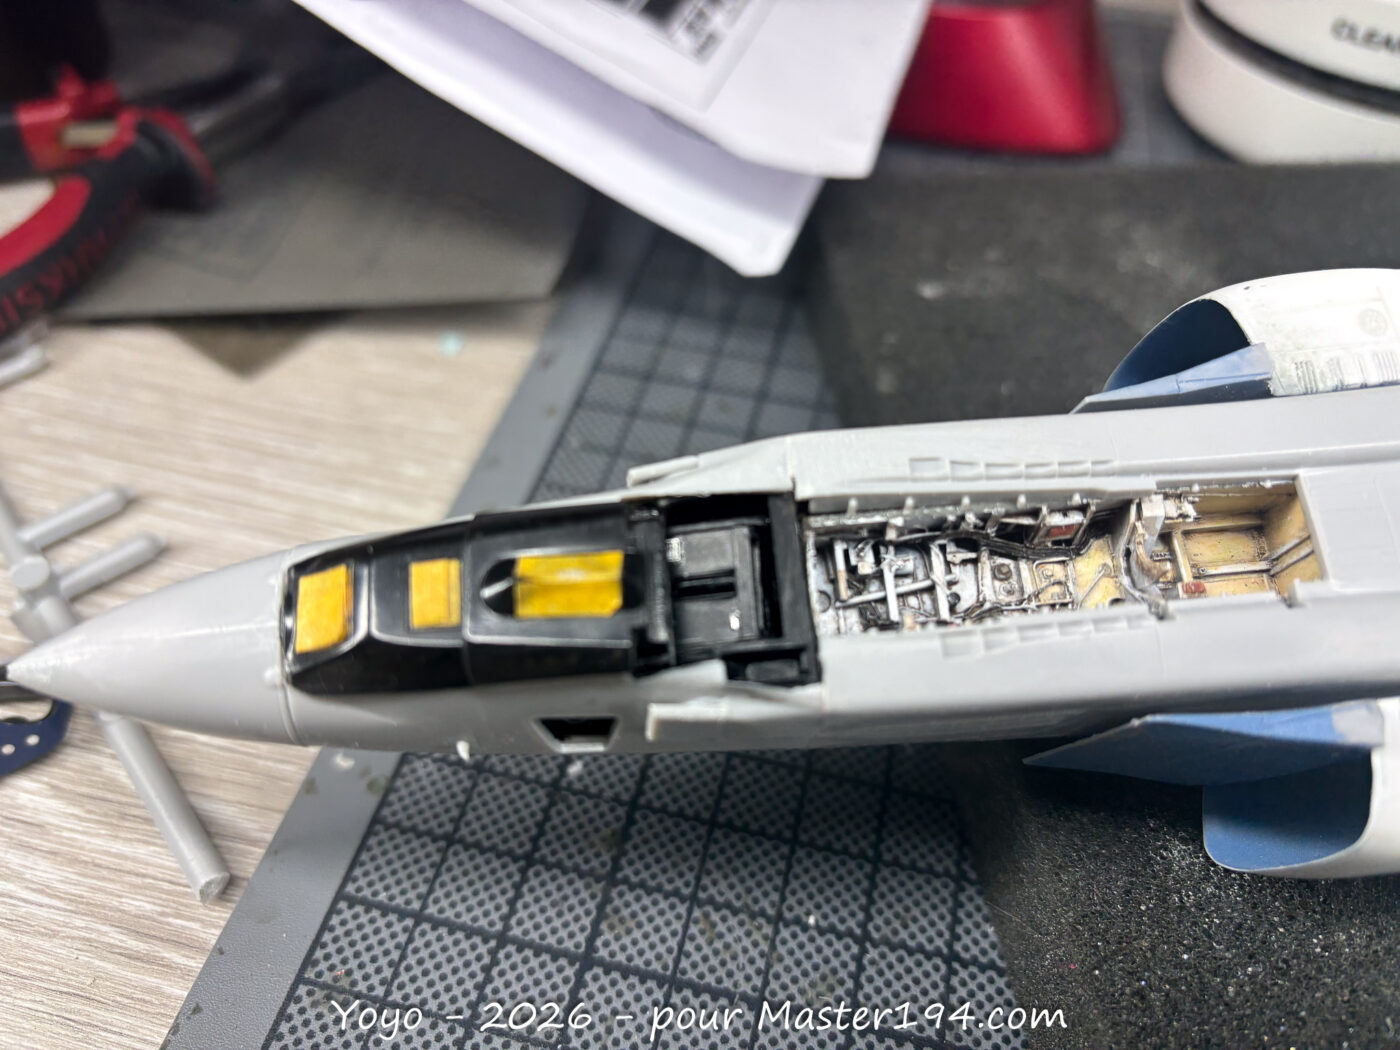
However, pairing the Hypersonic canopy detail set with an Aires cockpit wasn’t the best idea. The instrument panel cowlings just wouldn’t align with the Hypersonic canopy bows. I had to trim them back and sacrifice some details, which was a shame. On the plus side, winding ultra-fine lead wire to replicate the springs between the seat and the canopy was a real ‘joy’..
Camera Bays
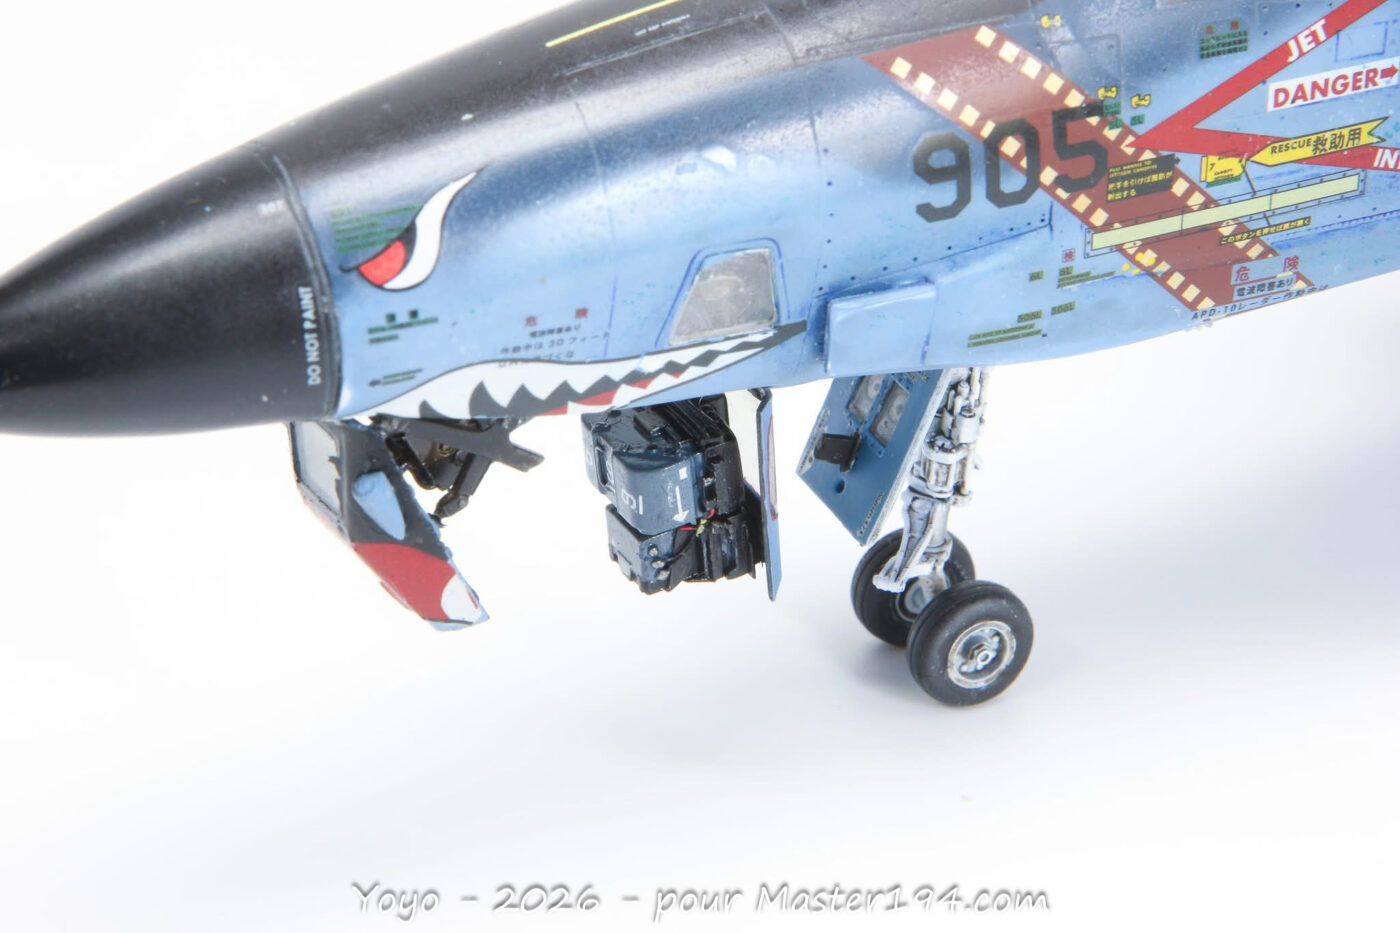
For the cameras, I added transparent plastic headlights from a car model kit to simulate the lenses—I really love the final look. A careful paint job on the details, using black and grey-blue for the cameras, followed by drybrushing, a wash, and some white decals (thanks, Gilles!) finished the job.
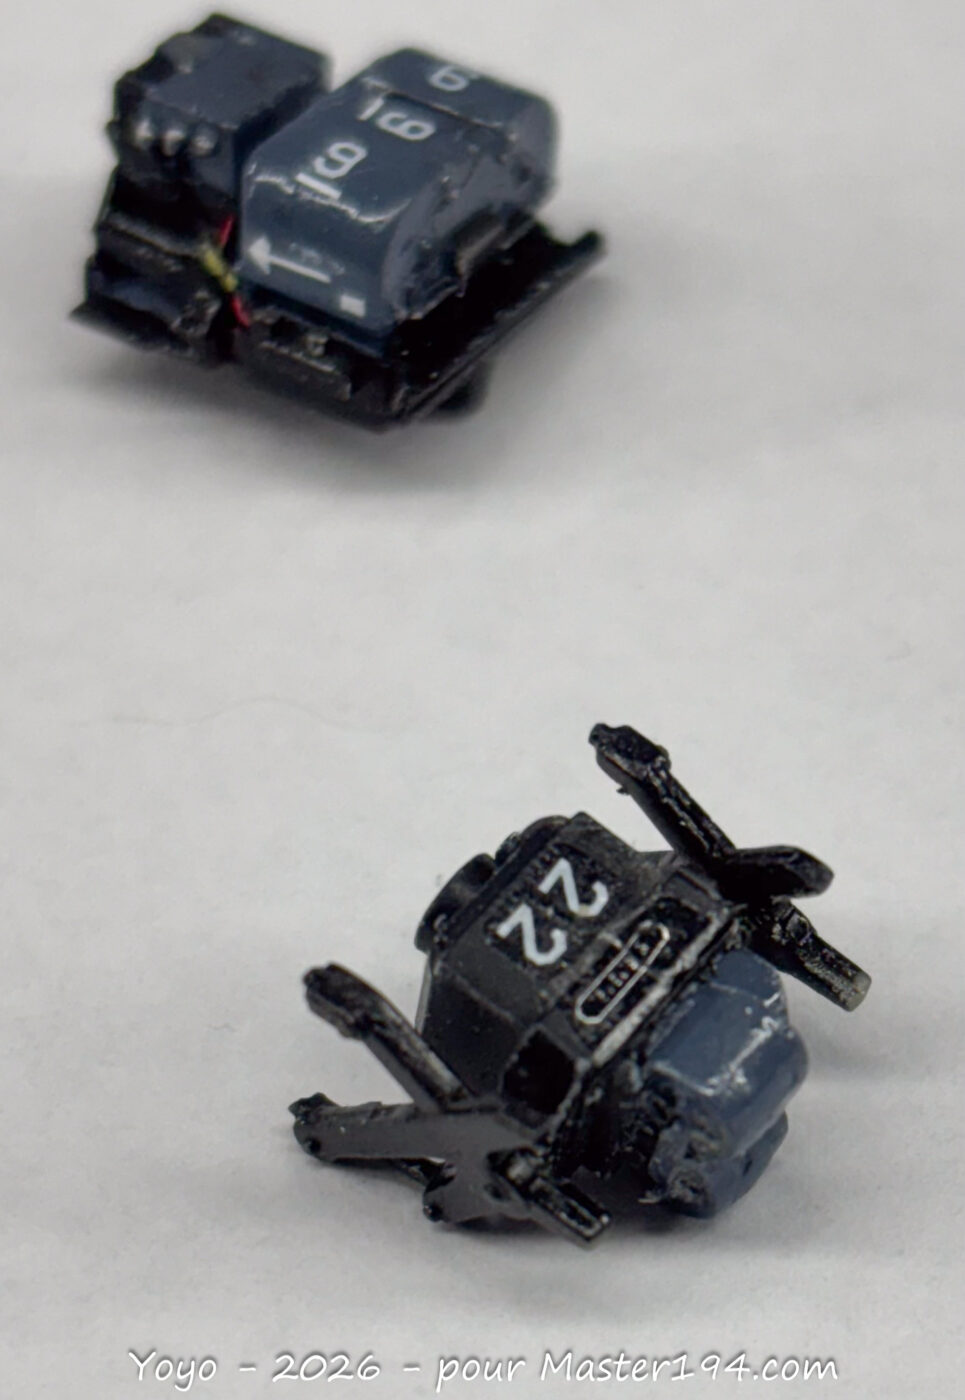
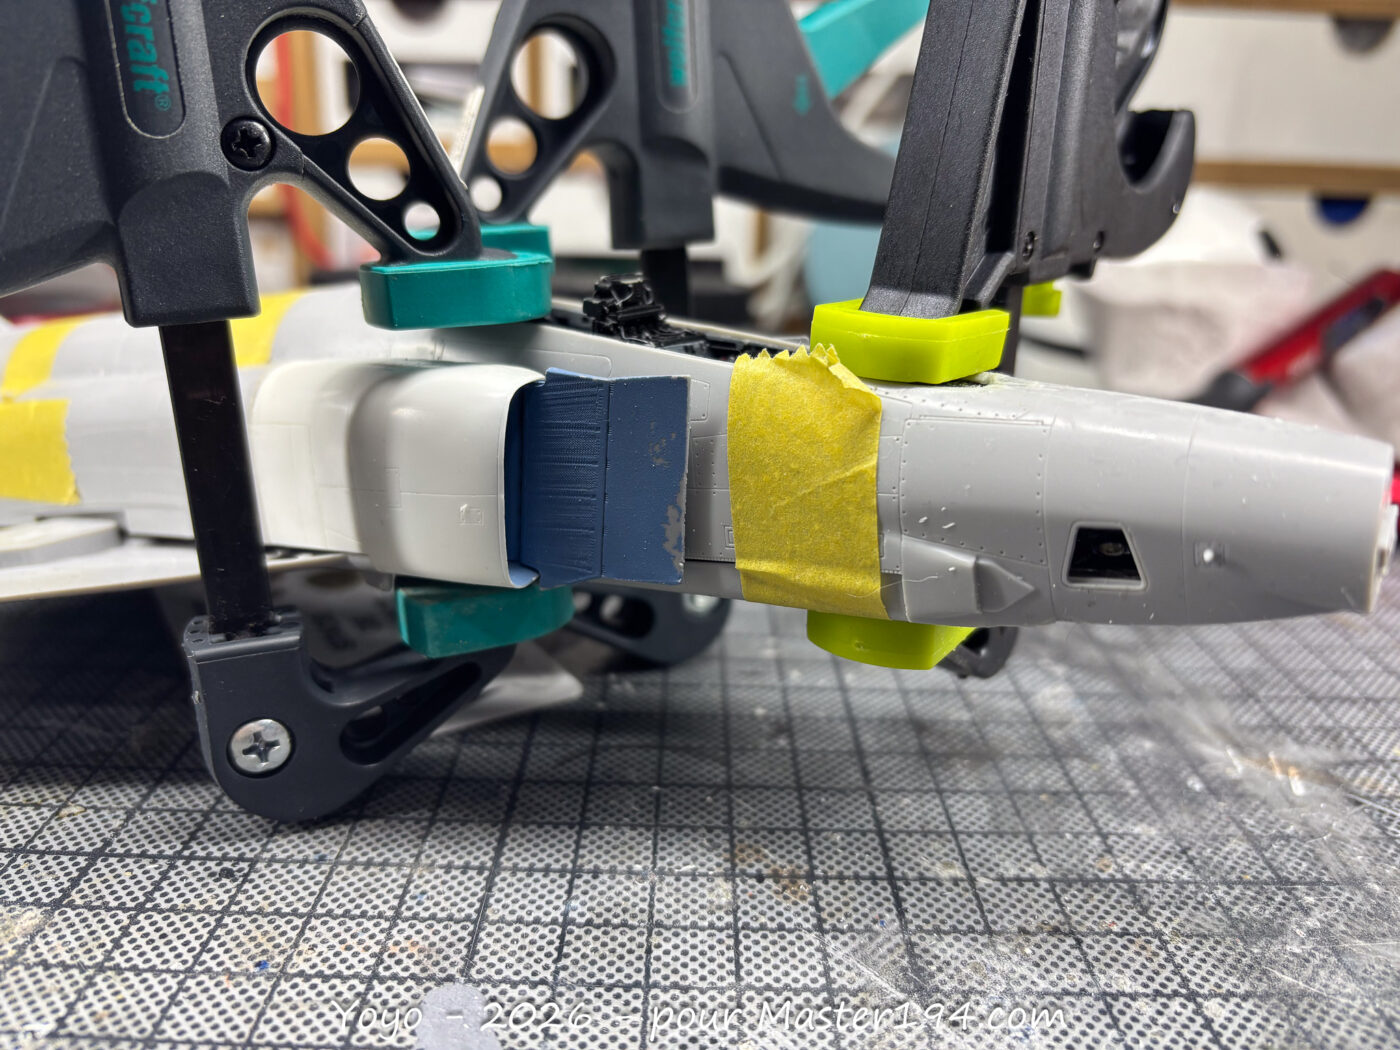
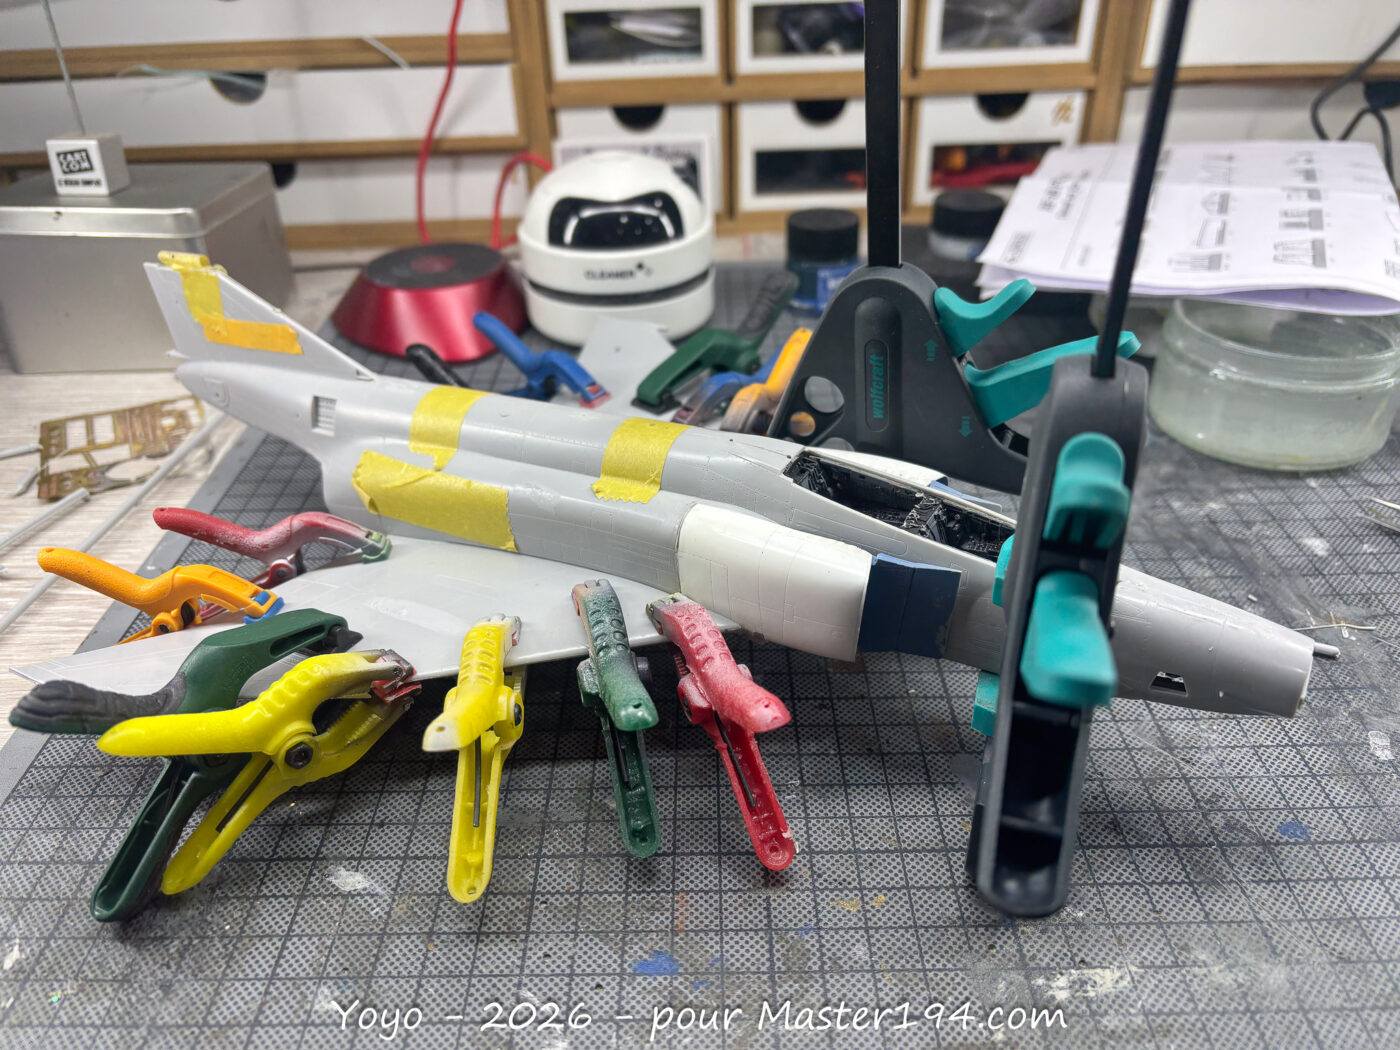
Fitting the Aires wheel well, camera bay, and cockpit into the forward fuselage was quite a workout—forced gluing and heavy-duty clamps were necessary to coerce everything into place.
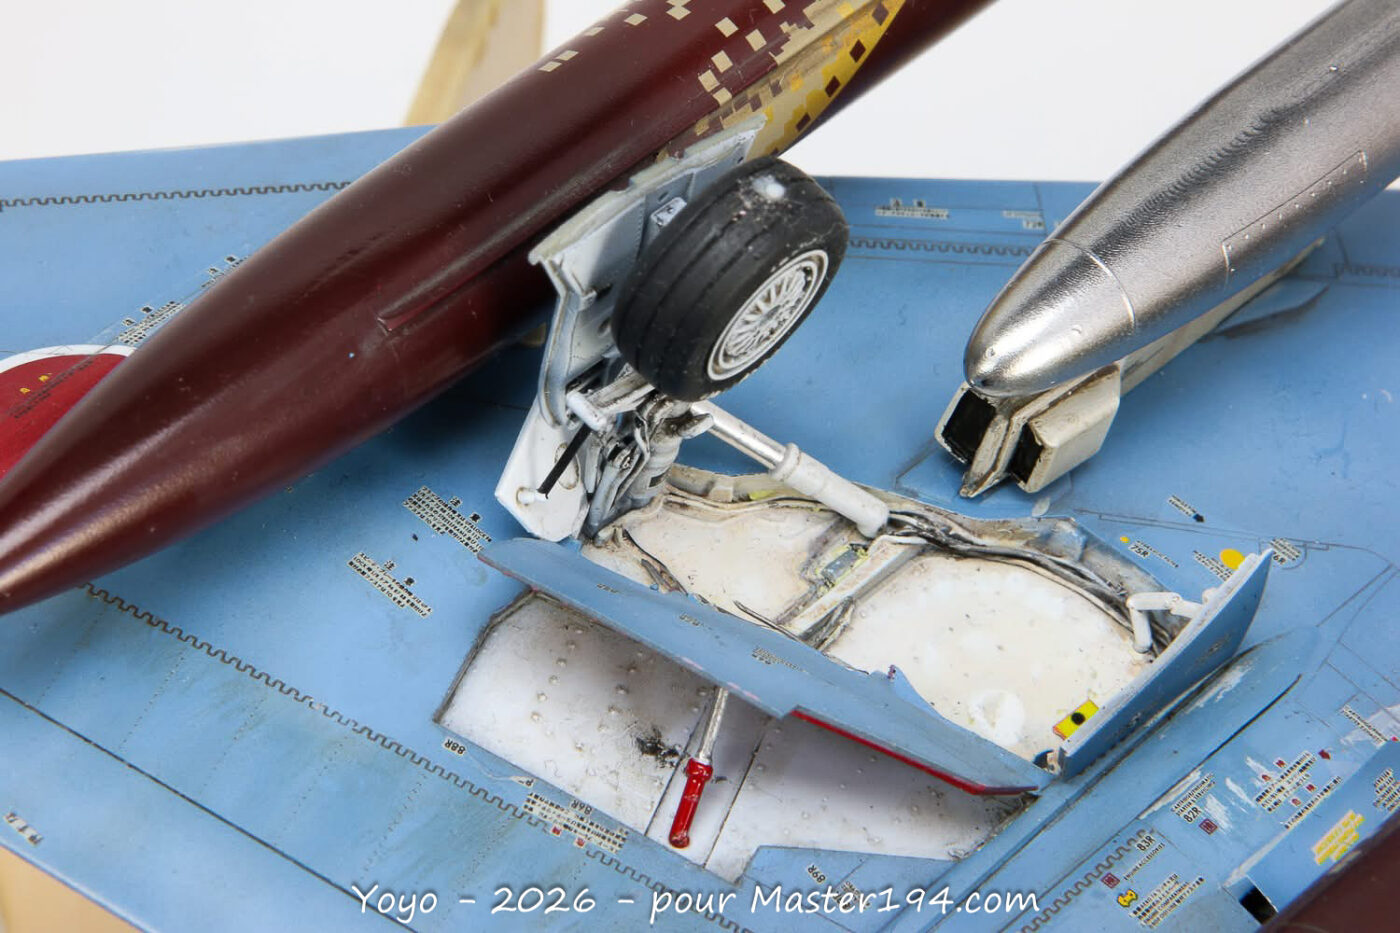
It’s worth noting that I gave up on the main gear bays, as they were far too thick to be installed reliably. Instead, I scratch-built the details in those bays using wire and plastic card.
Intakes
Adapting the Kirrey intakes and their trunking requires careful assembly, a bit of putty, and some re-scribing in certain areas. Nothing too nasty, though.
Exhaust
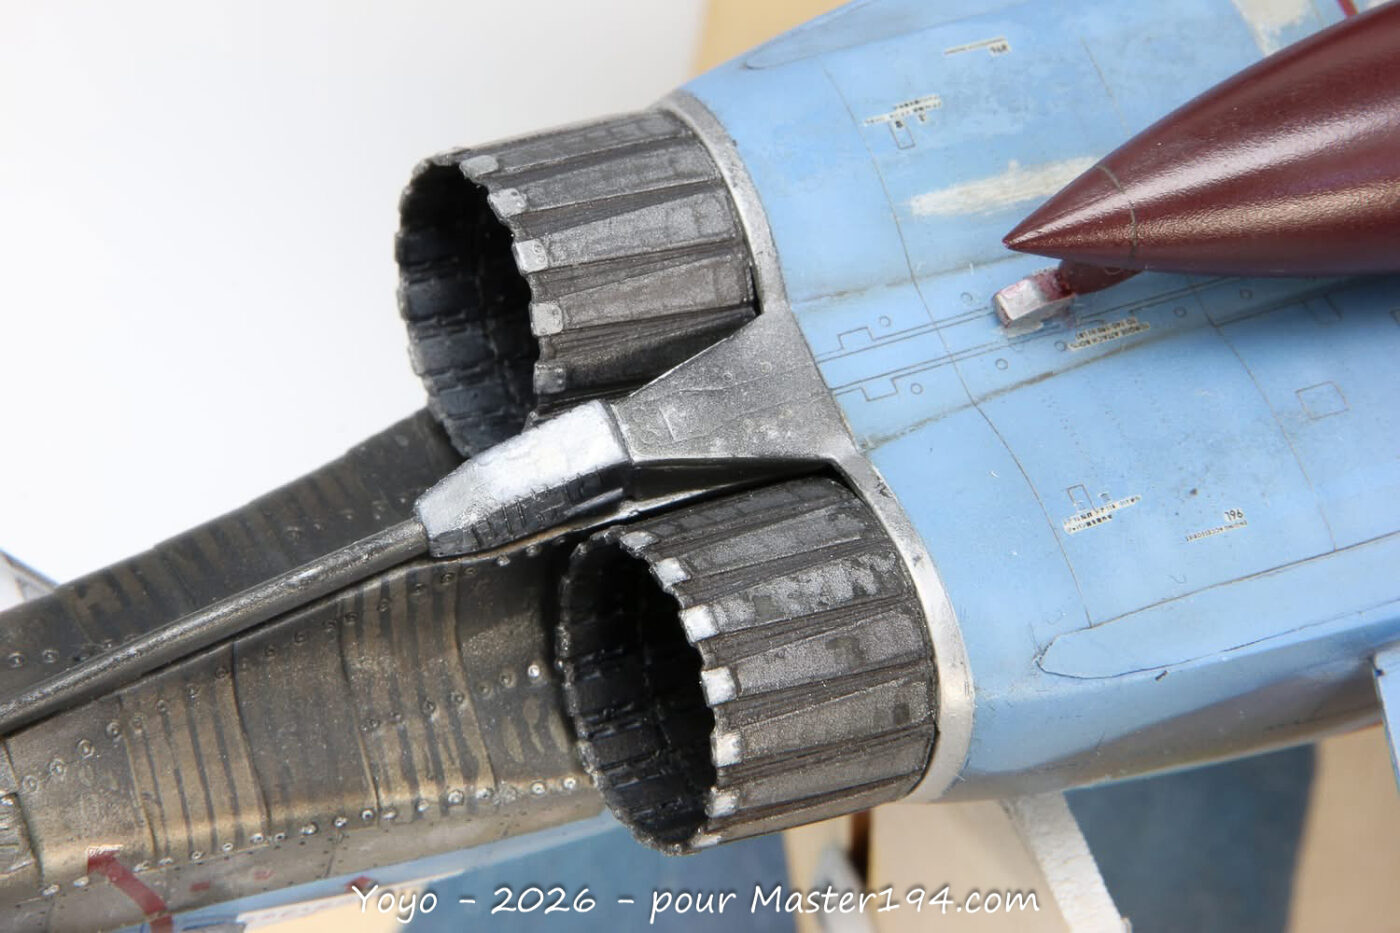
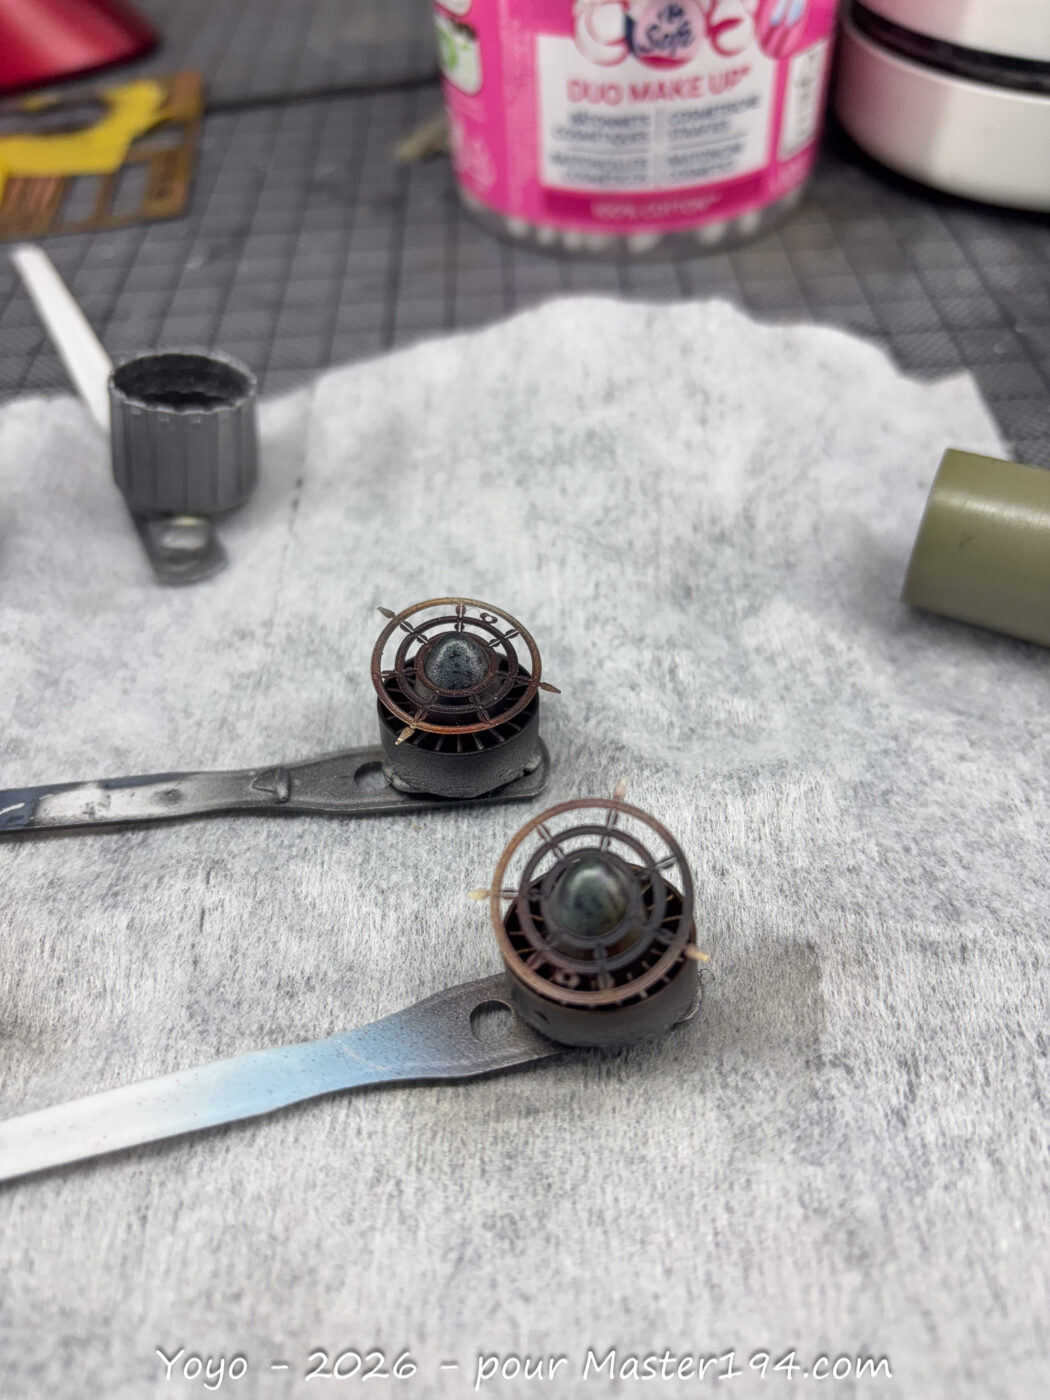
A few dry-fits are necessary to make the intake trunks and the exhaust nozzles coexist; I scratch-built some custom internal supports to lock the nozzles in place.
In the Aires set, you have the choice between long and short nozzles—for the RF-4, the long ones are the correct choice.
Engine Vents
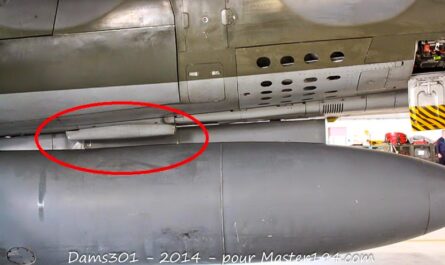
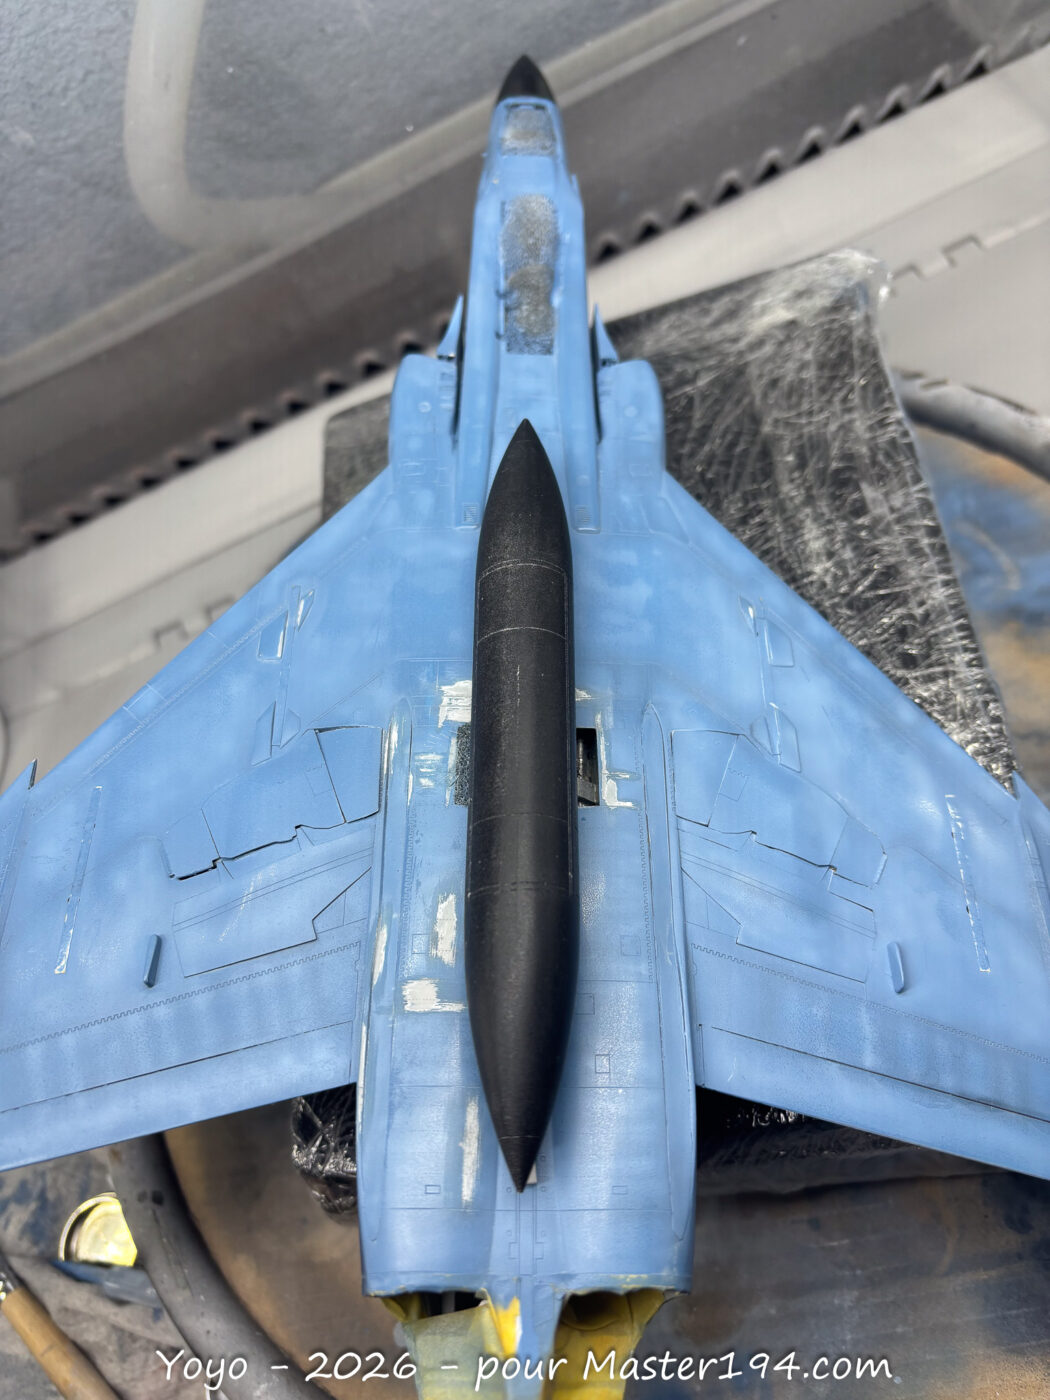
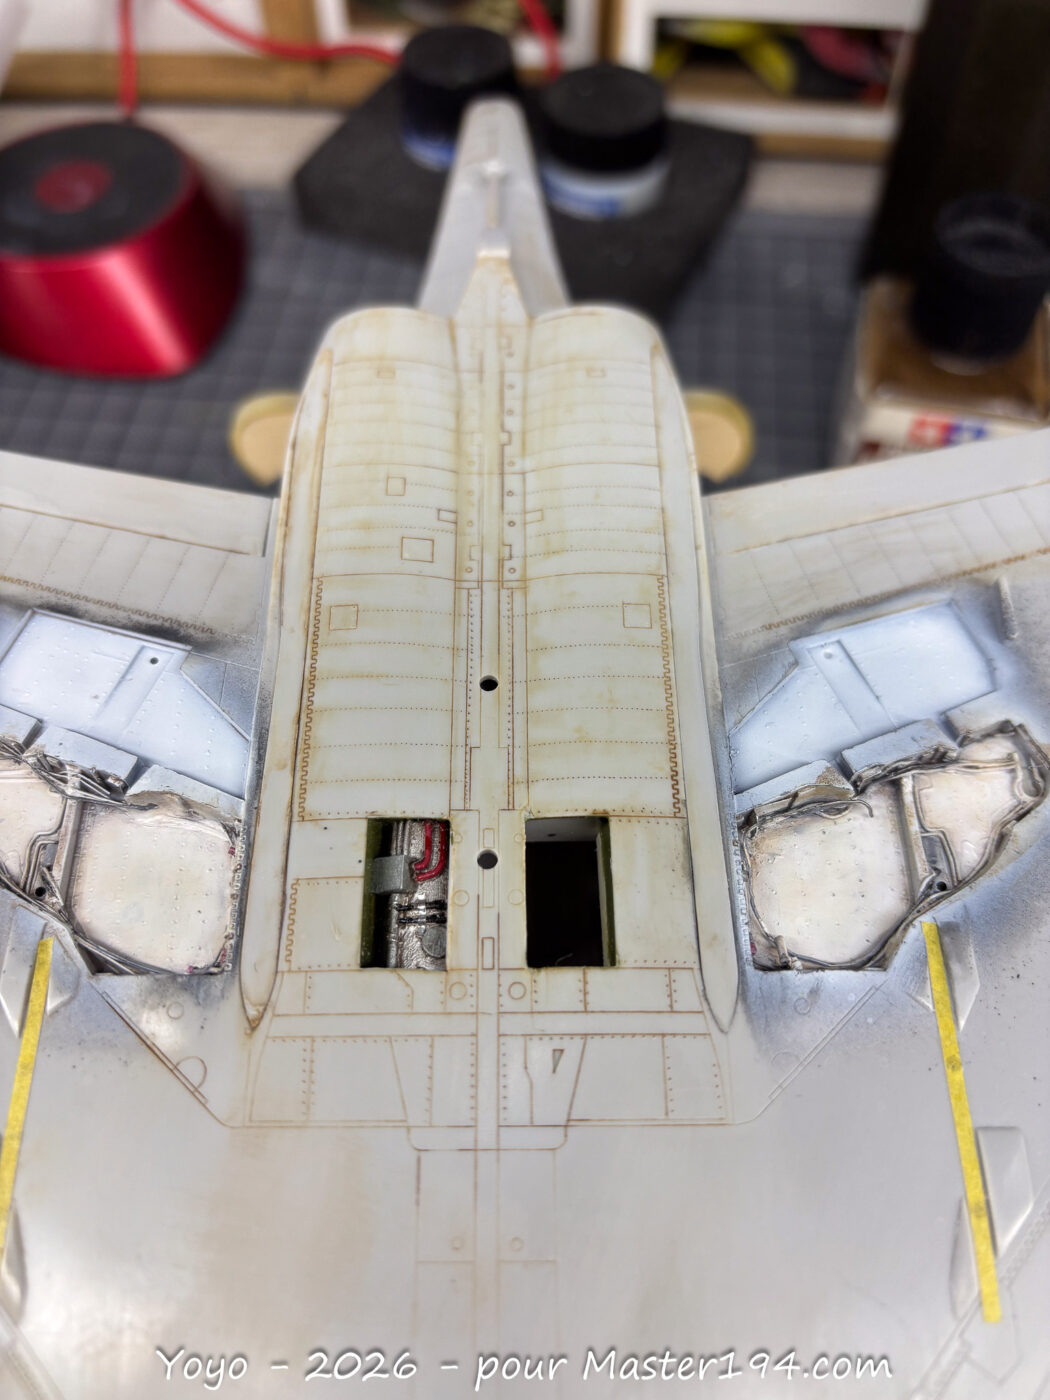
On the ground, two auxiliary air intake doors open under the Phantom’s belly. The Hasegawa parts are very thick, so I thinned them down and scratch-built the internal engine details using various diameters of wire and plastic profiles. To be honest, it was probably for nothing—you can’t see a thing once the large centerline fuel tank is installed!
Scratch-building and Riveting
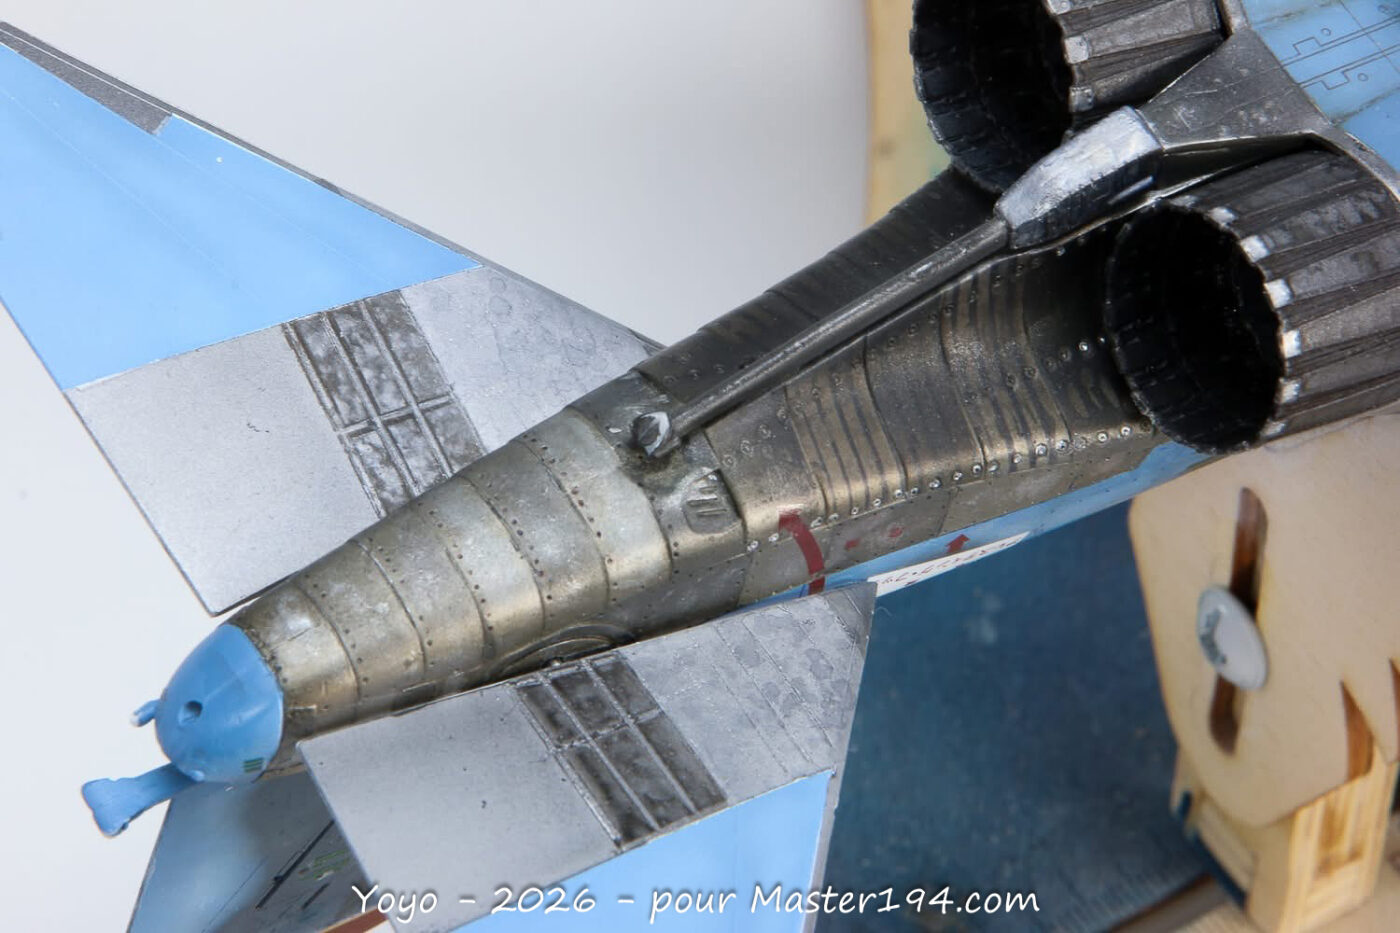
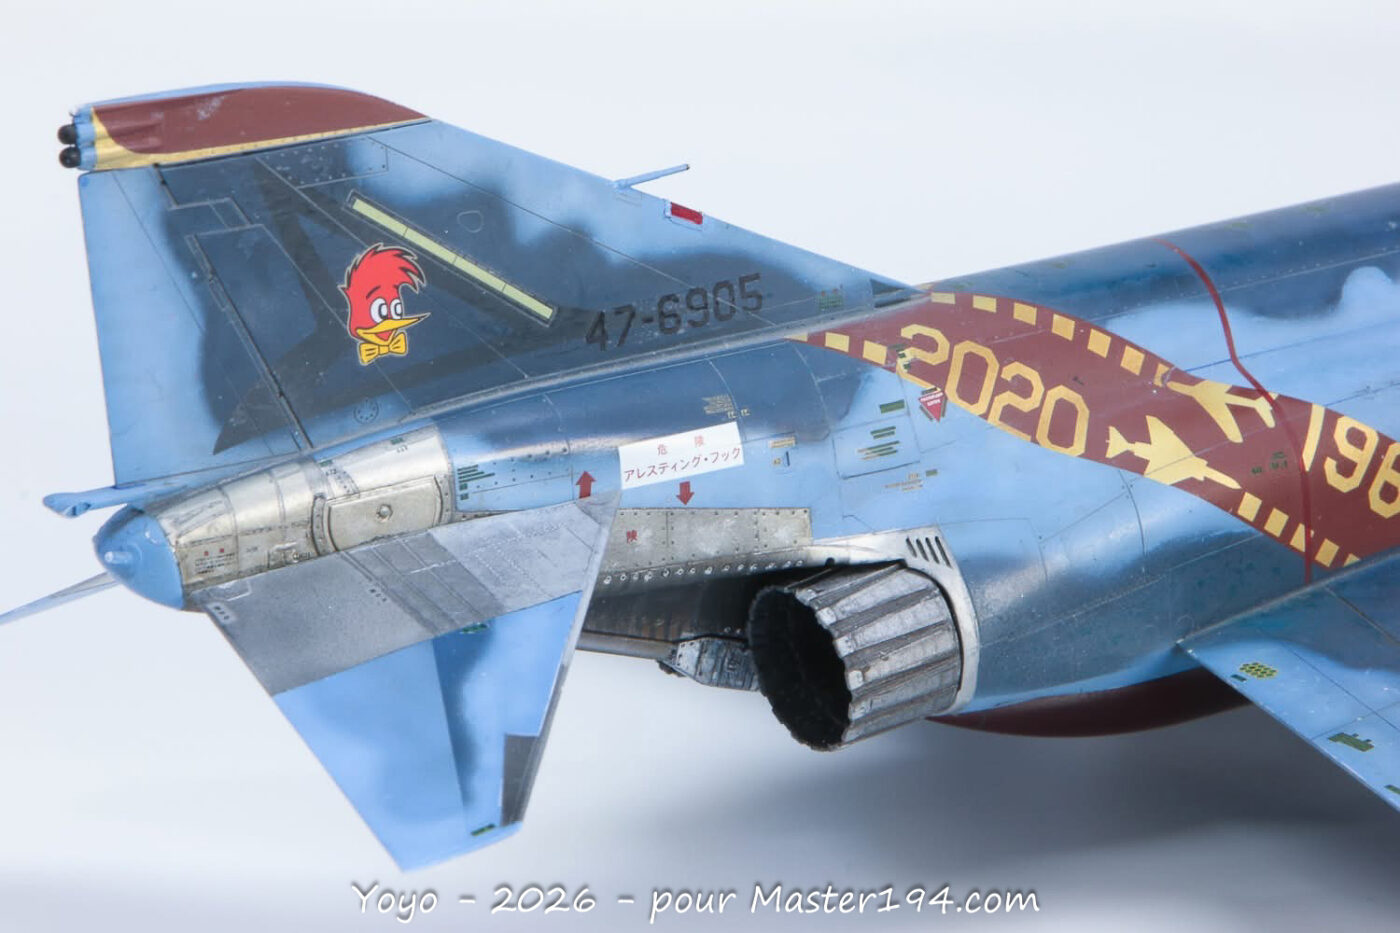
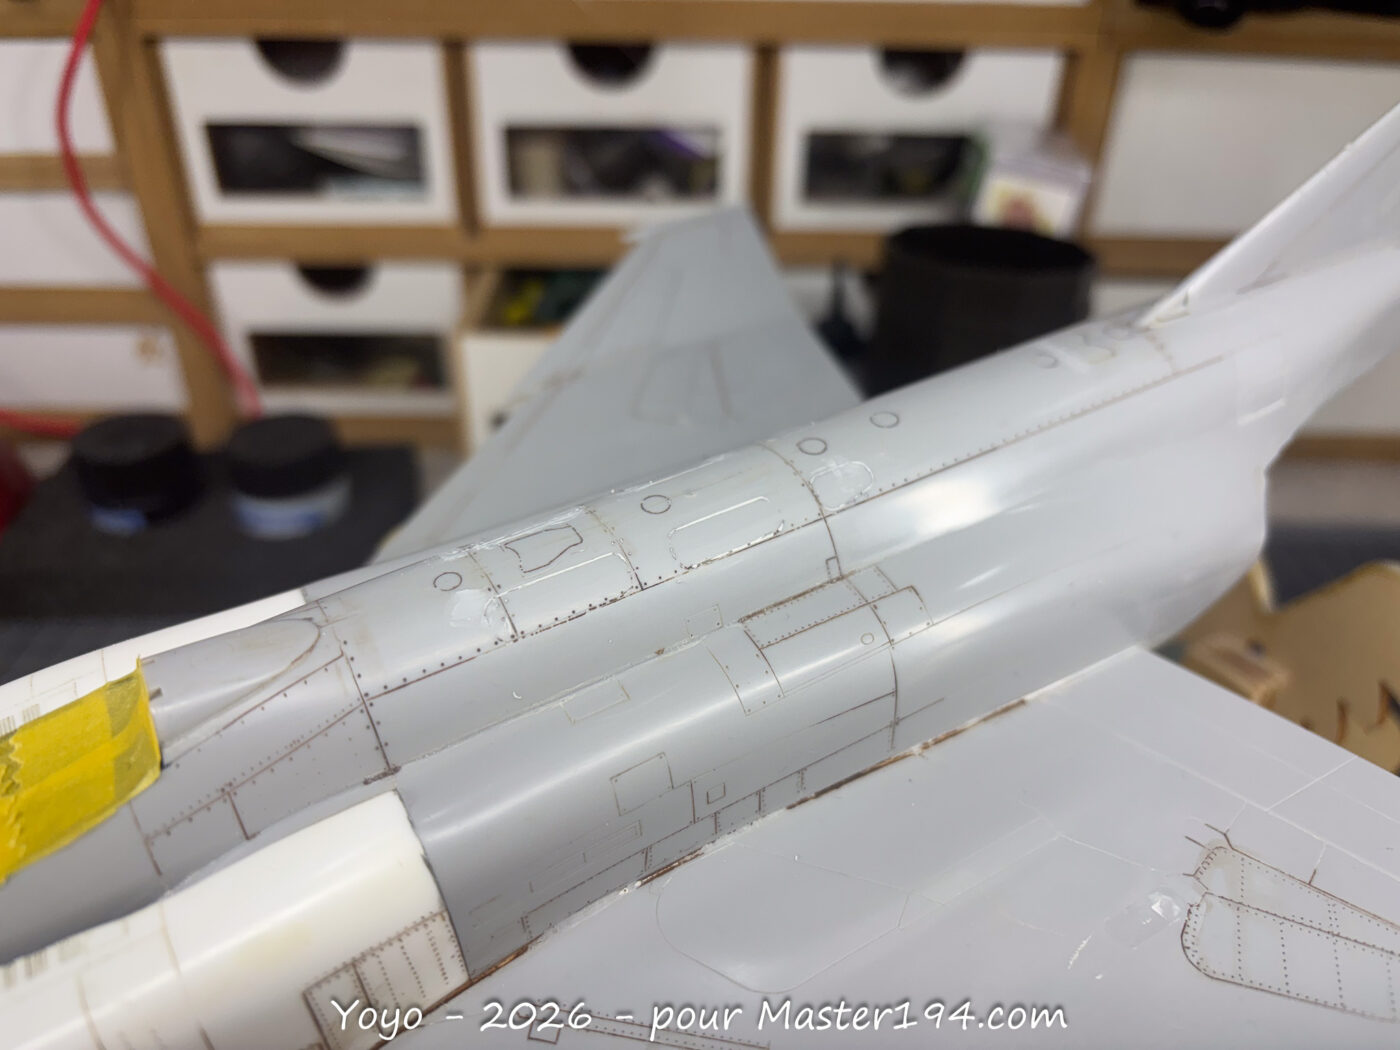
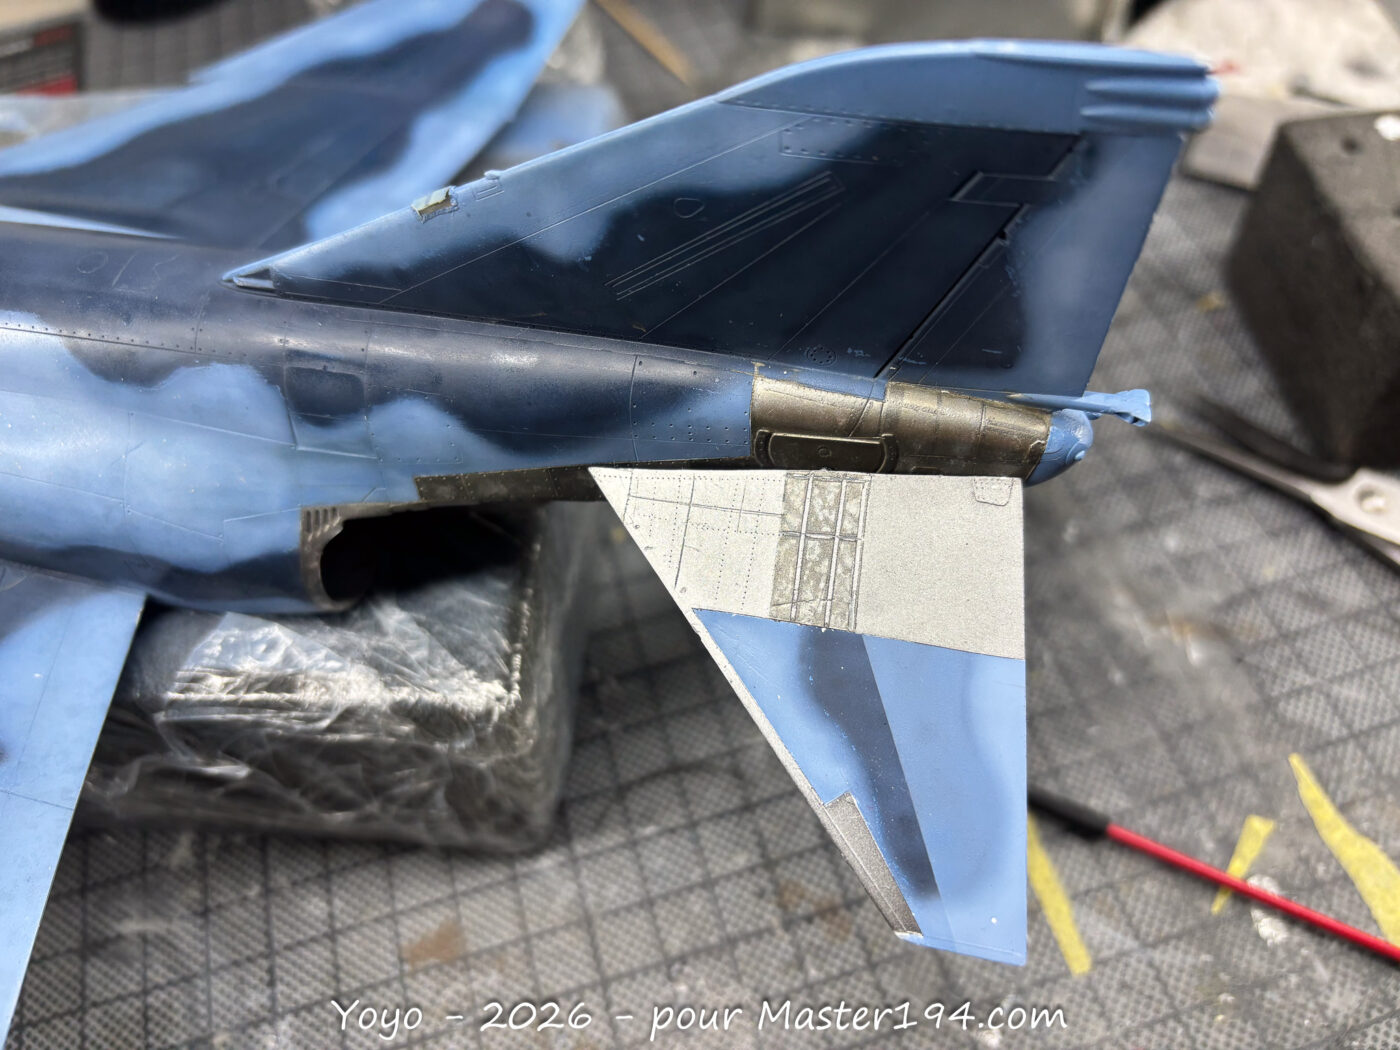
Japanese RF-4s vary from one aircraft to another—some feature reinforcements on and under the stabilators, while others do not, so thorough documentation is a must. Hasegawa actually did a good job on this in their dedicated edition. For my build, I had to remove these reinforcements and, with the help of the Model Art book, I added several others to the tail and stabilators using adhesive aluminum foil.
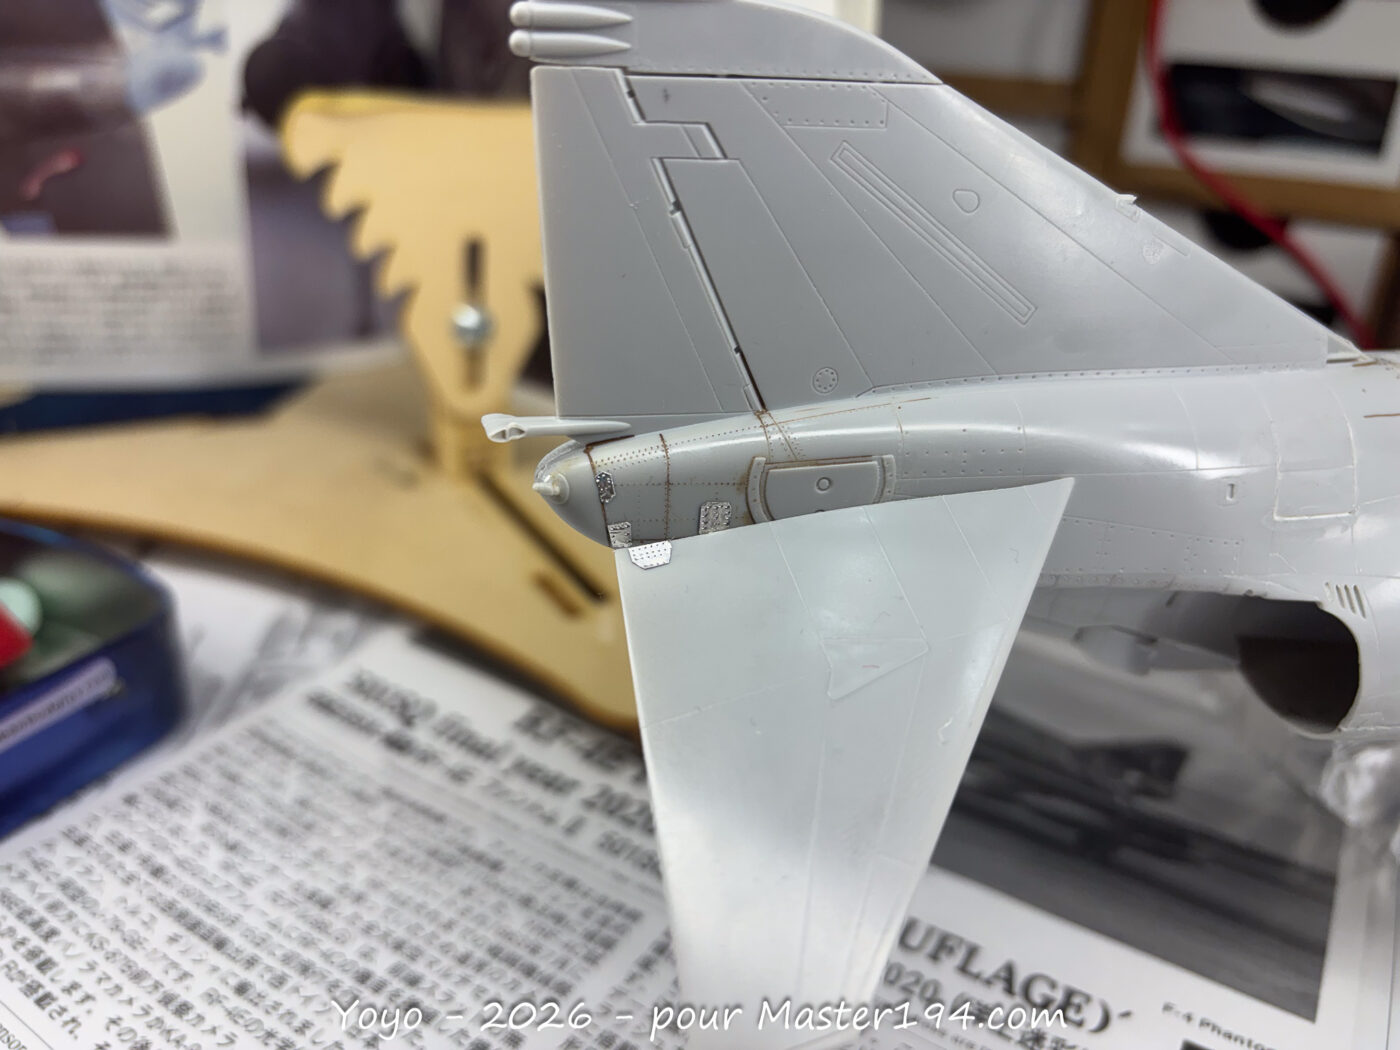
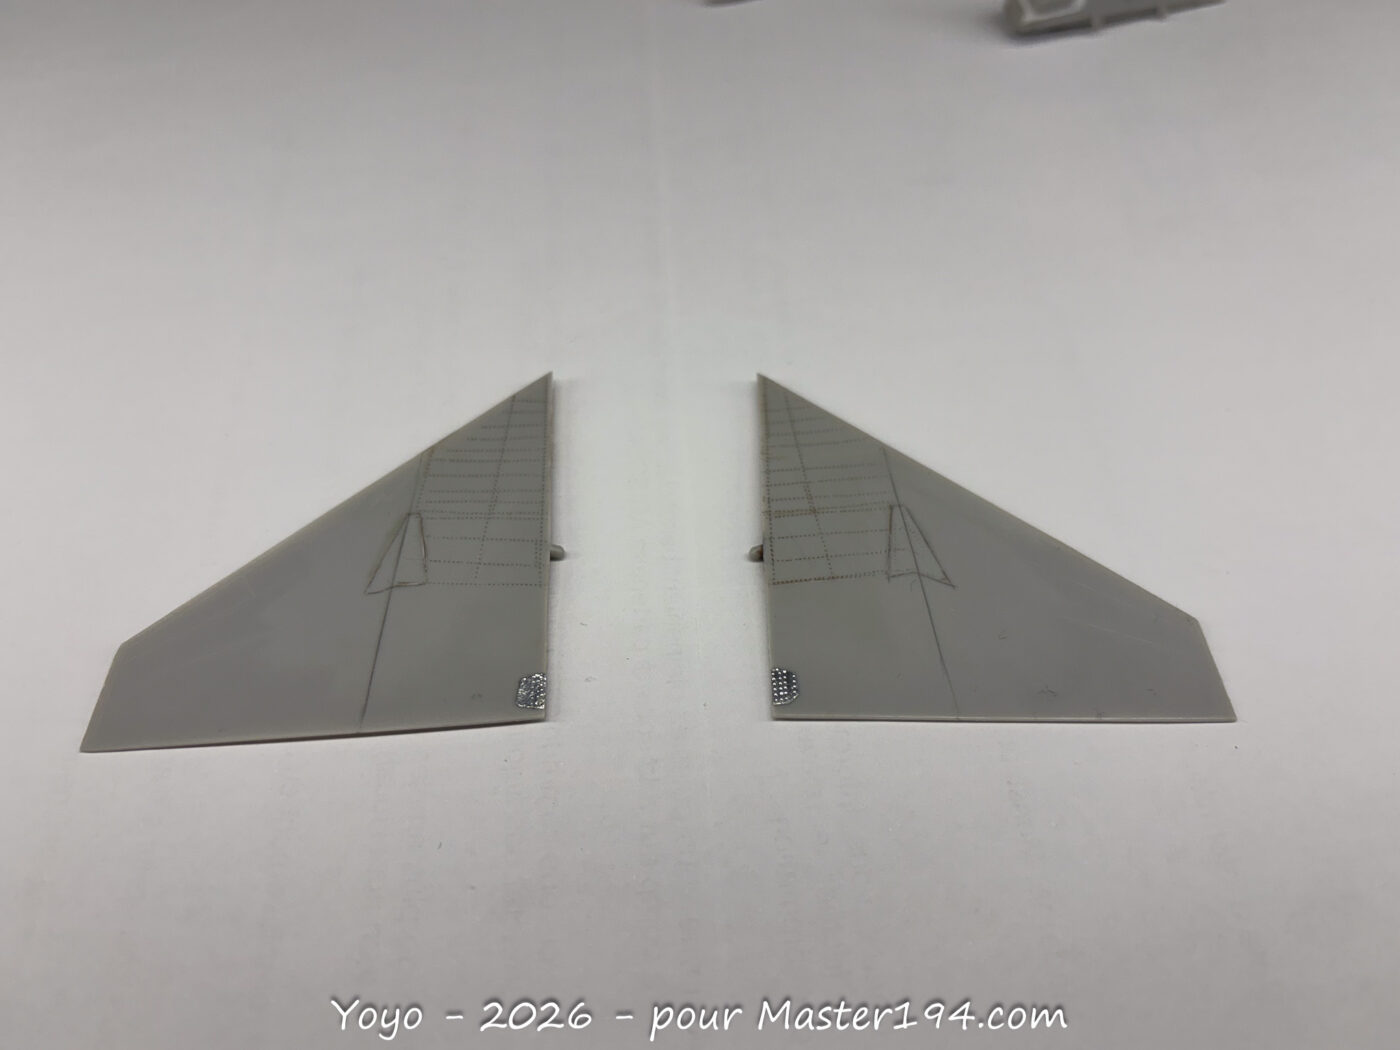
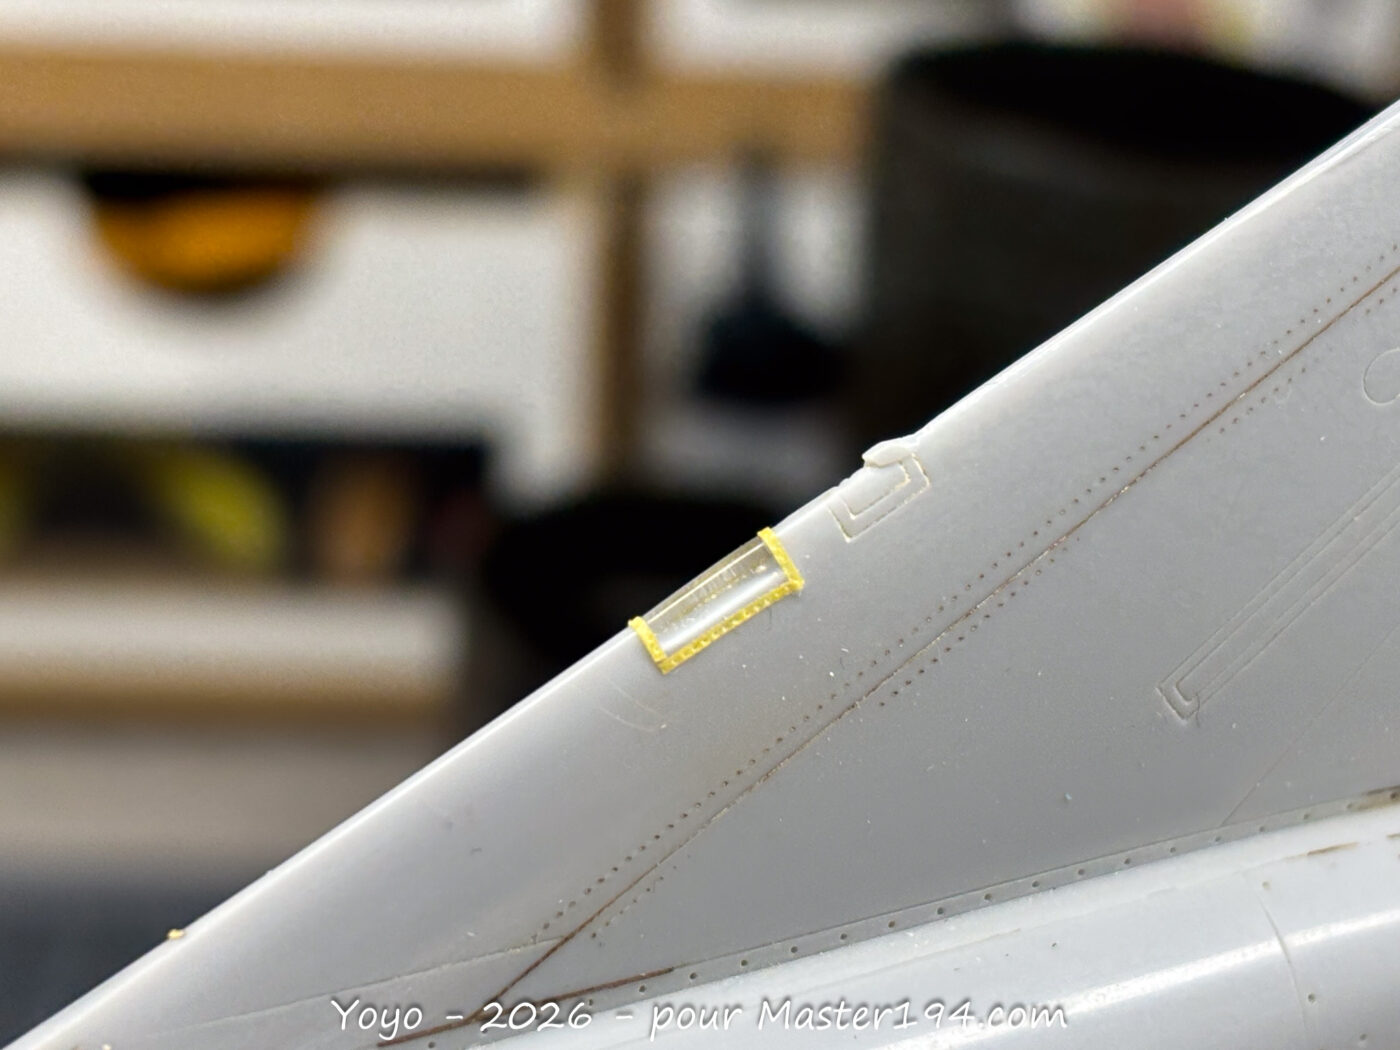
I also added the numerous rivets that Hasegawa missed on the stabilators, wings, and fuselage, and I scratch-built the light that was omitted from the leading edge of the tail fin.
Paint
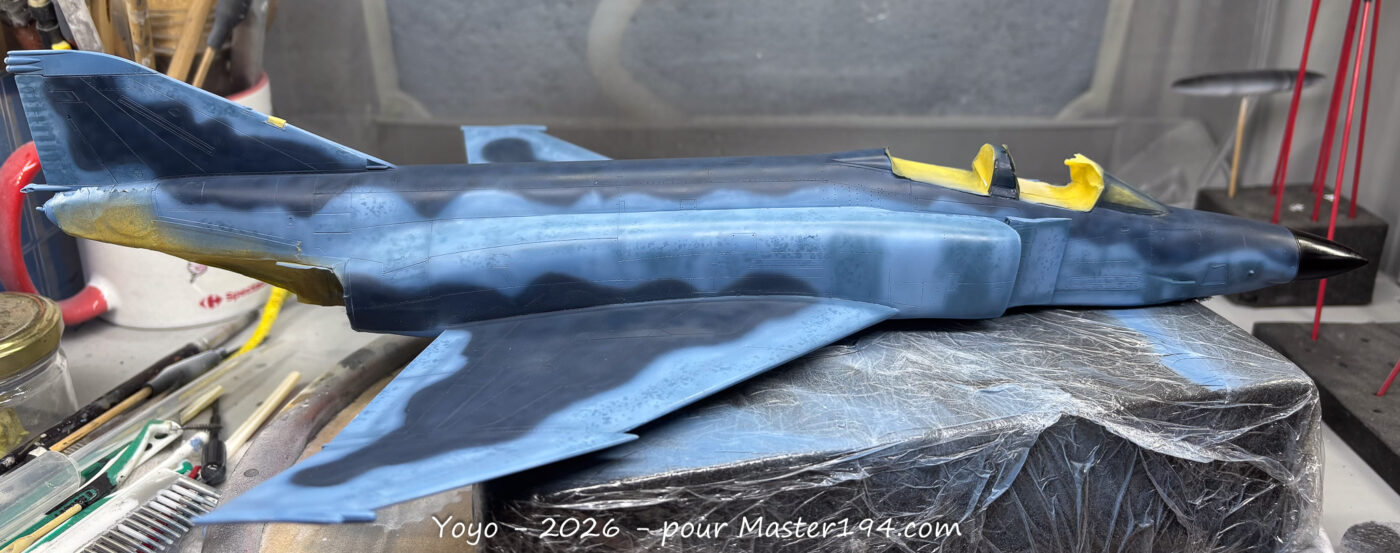
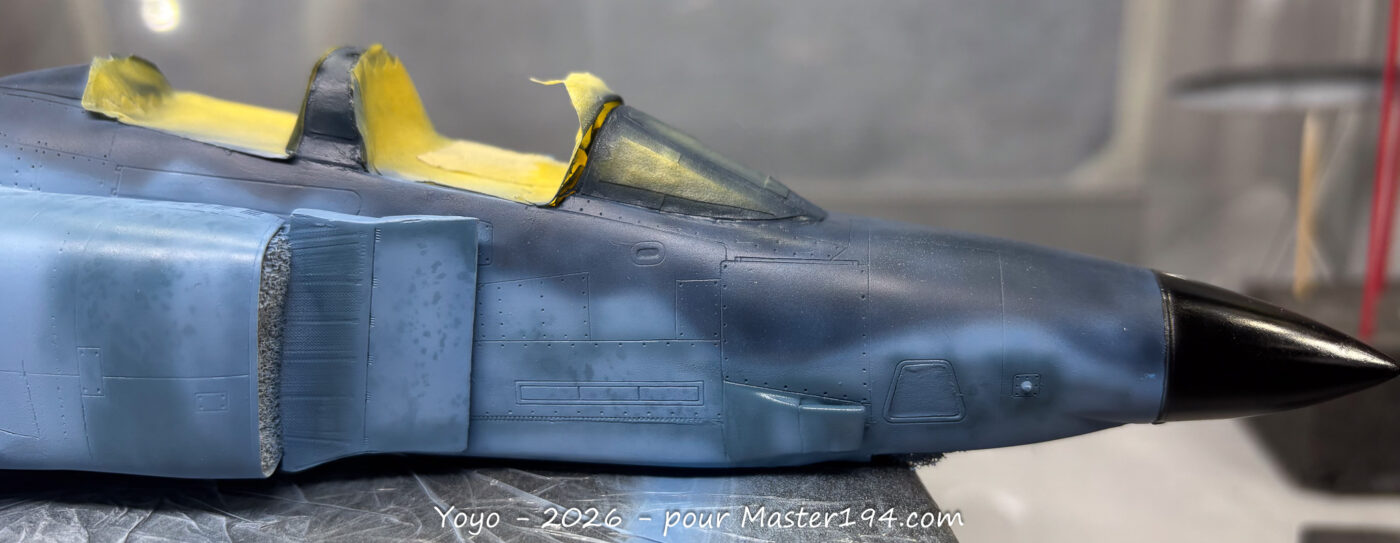
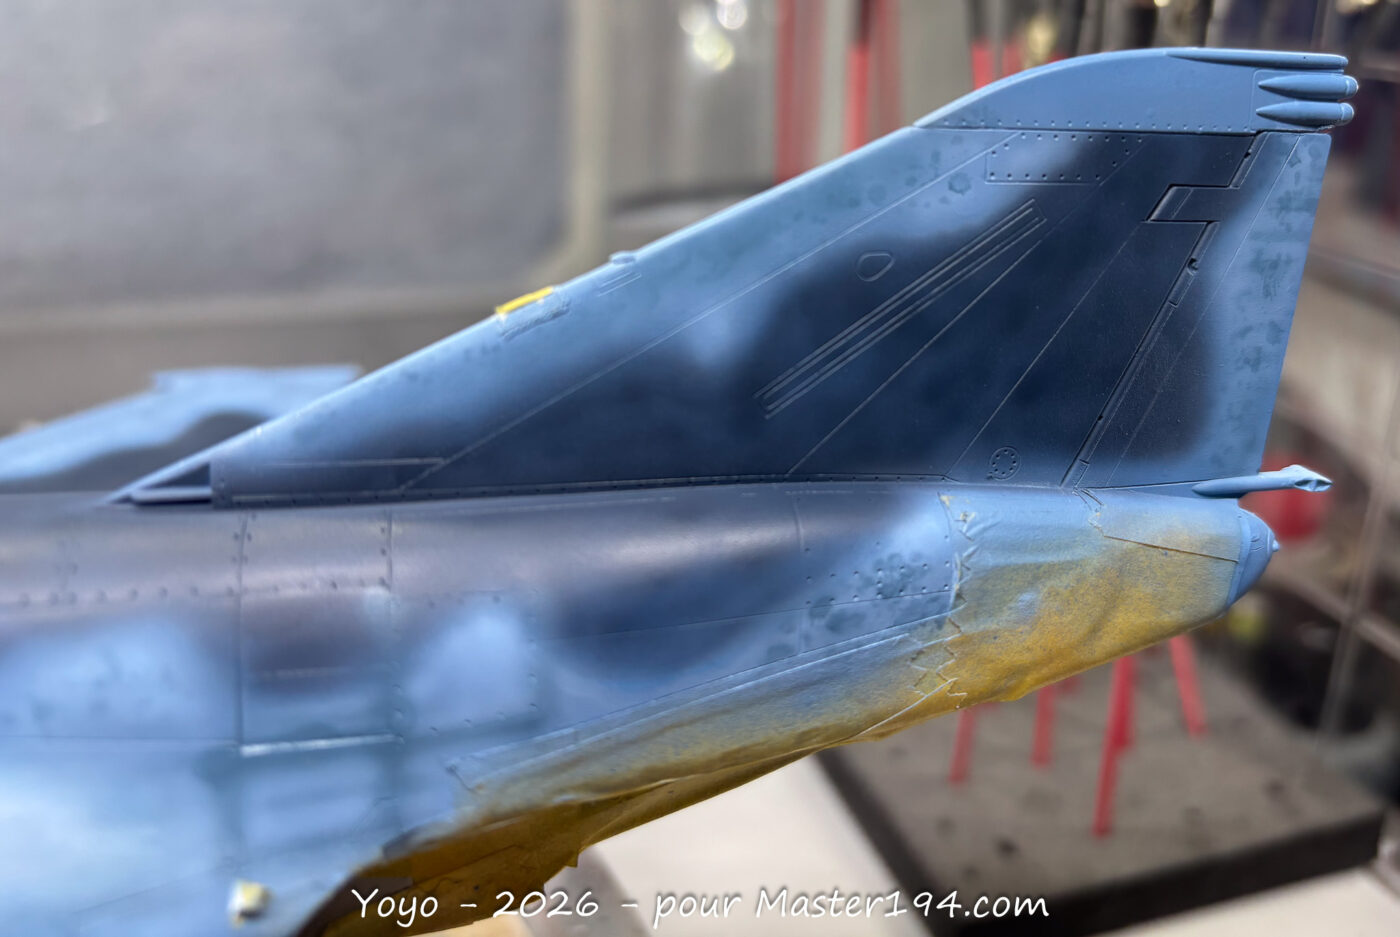
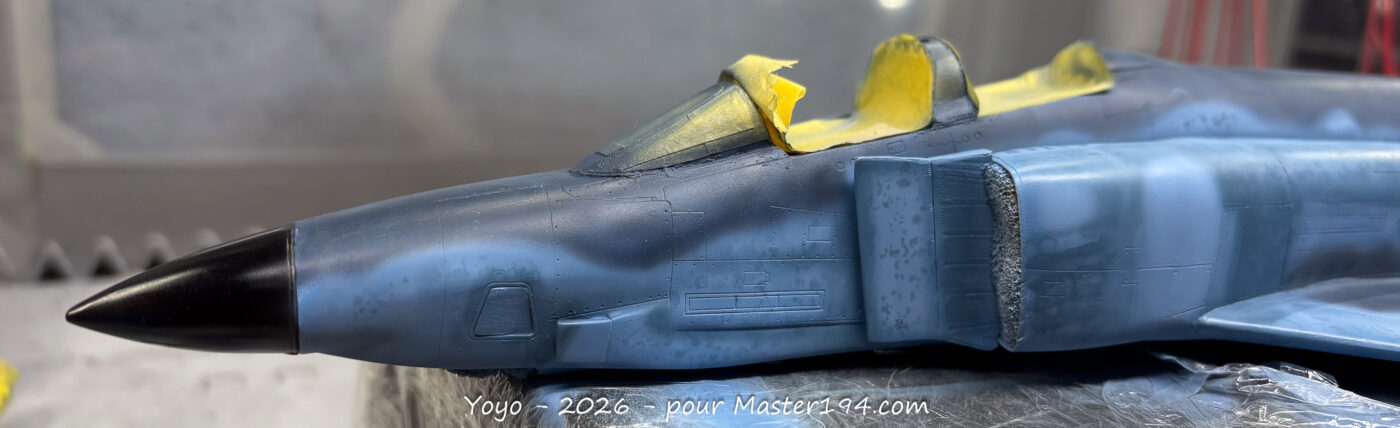
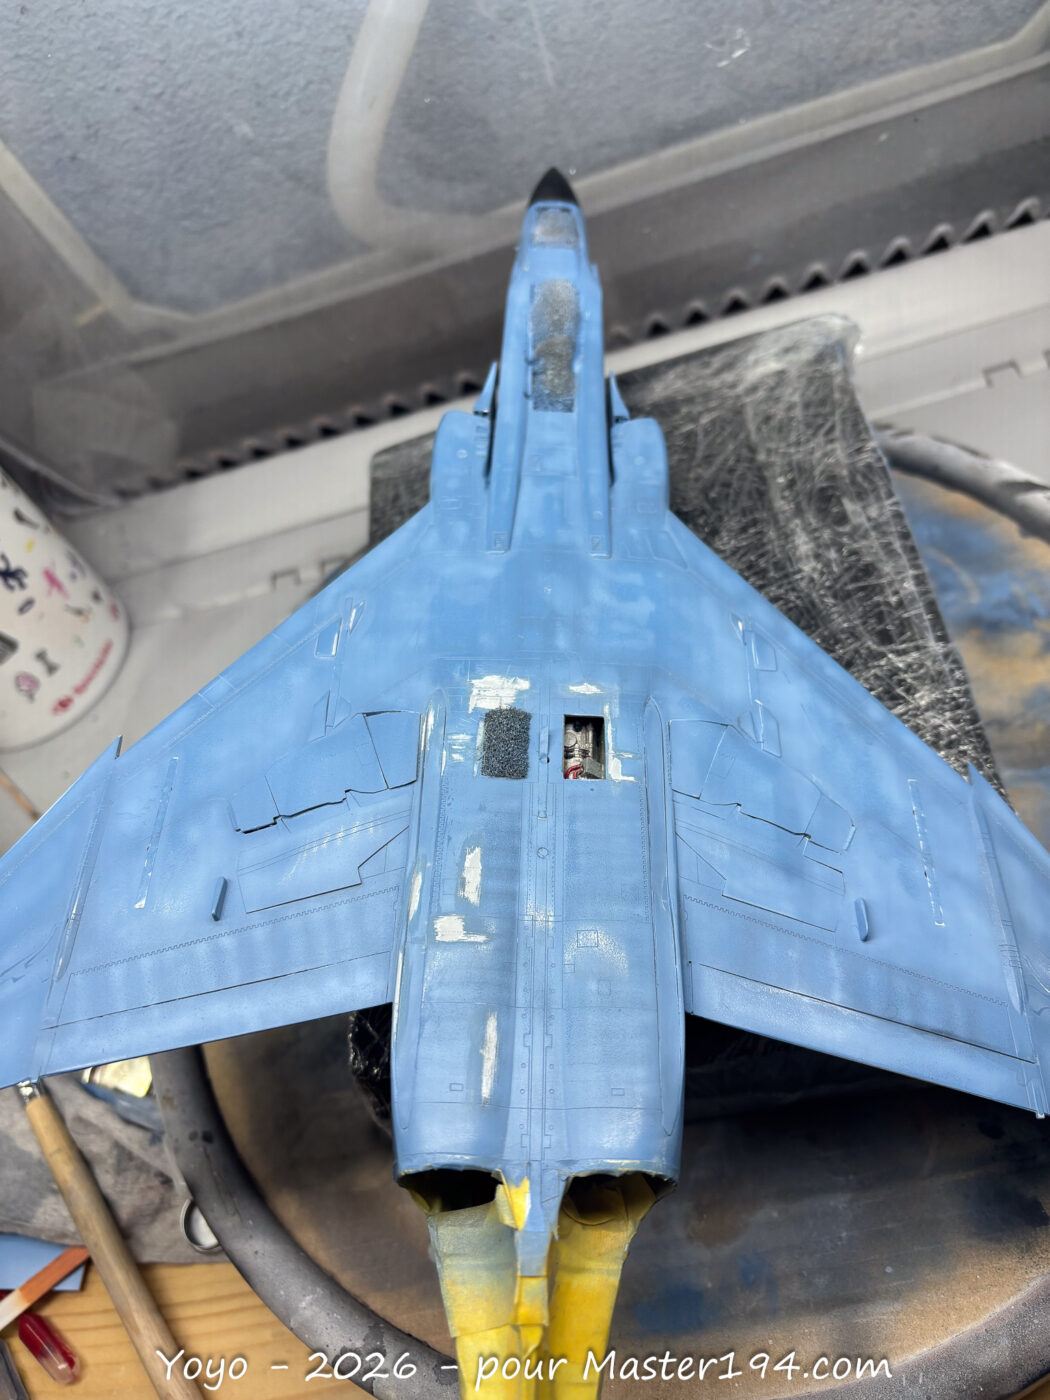
Painting began with a coat of white Mr. Surfacer primer; given all the resin additions, I wanted to unify the kit’s surface, and the white base helps the blue tones pop. After a few touch-ups and some Micro-meshing from 3600 to 12000 grit, the Phantom was ready for its colors.
I chose the dedicated JASDF Mr. Color shades, heavily diluted with Mr. Leveling Thinner (60-70%). These are perfect, flowing flawlessly through my airbrush with its 0.15mm and 0.2mm nozzles.
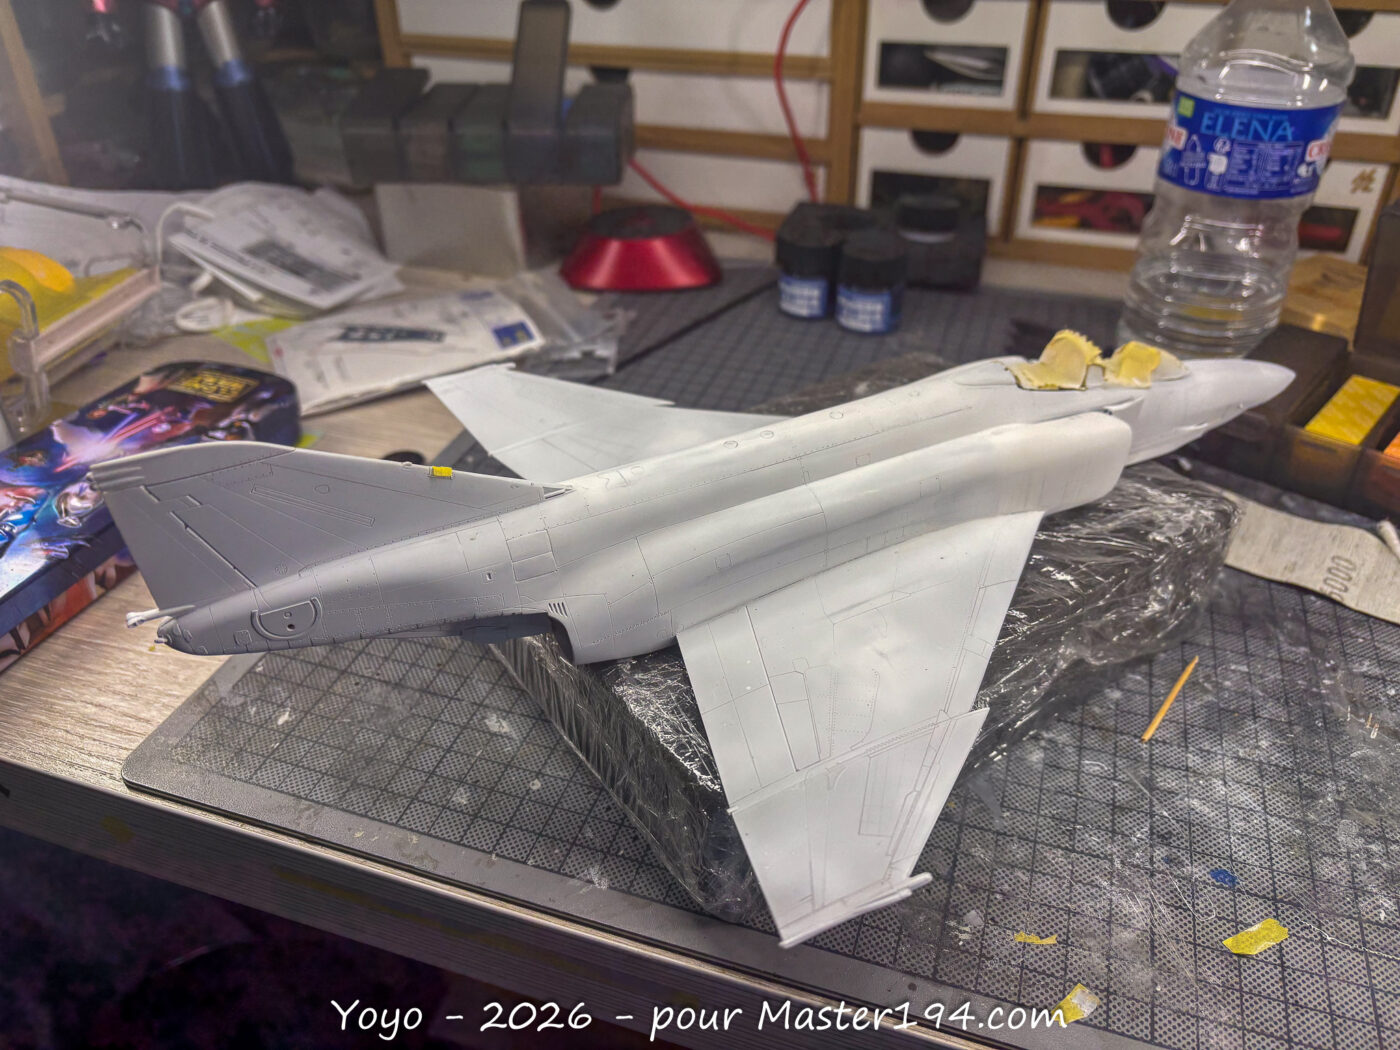
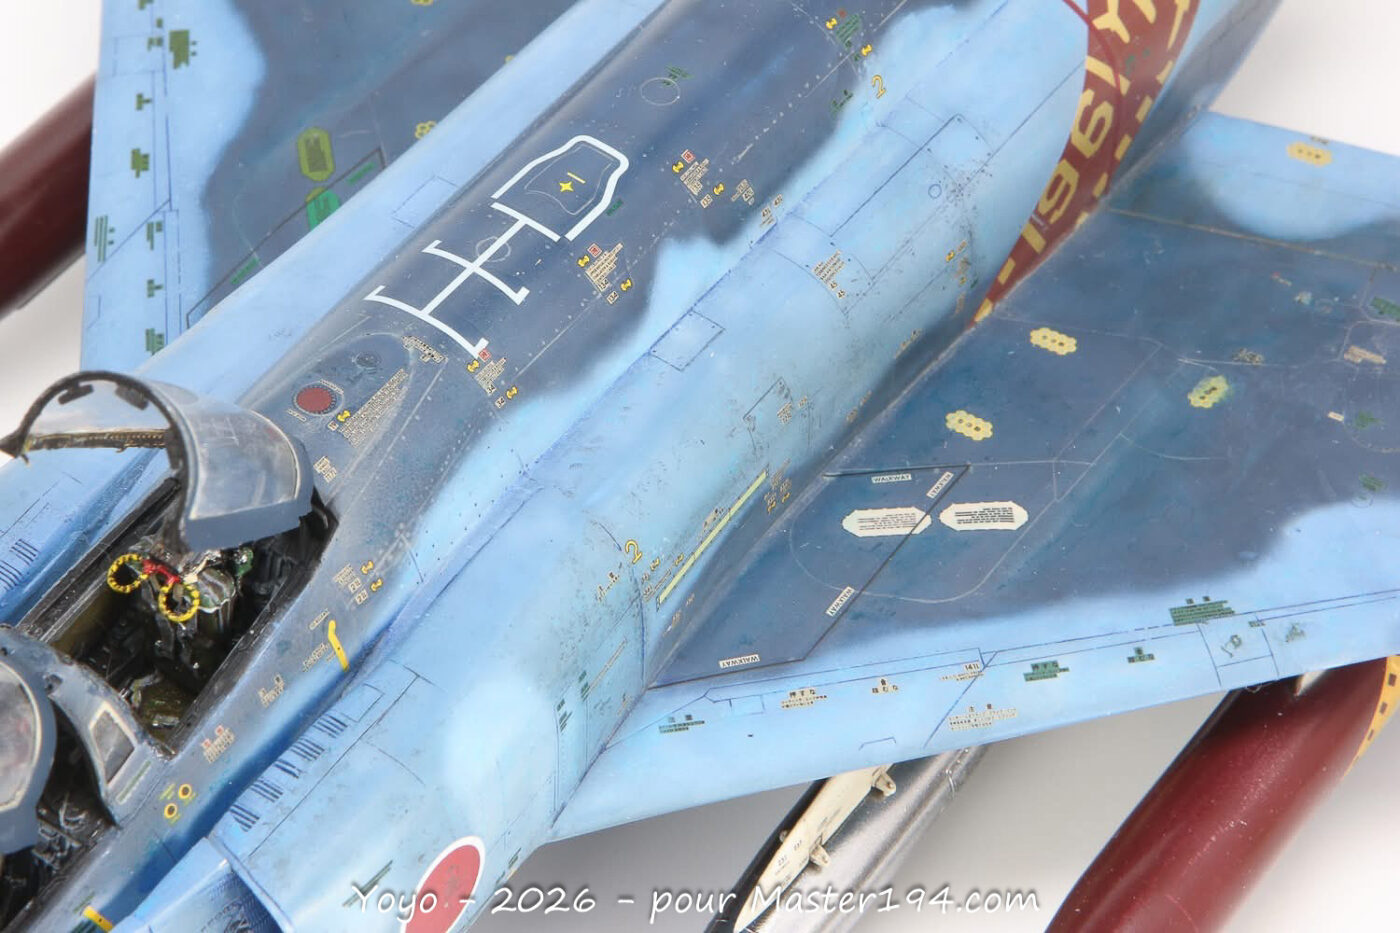
Naturally, I started with the lightest shade, Swallow Ocean Blue (C374). Then, using MRP masking putty followed by freehand touch-ups, I applied the Deep Ocean Blue (C375) areas.”
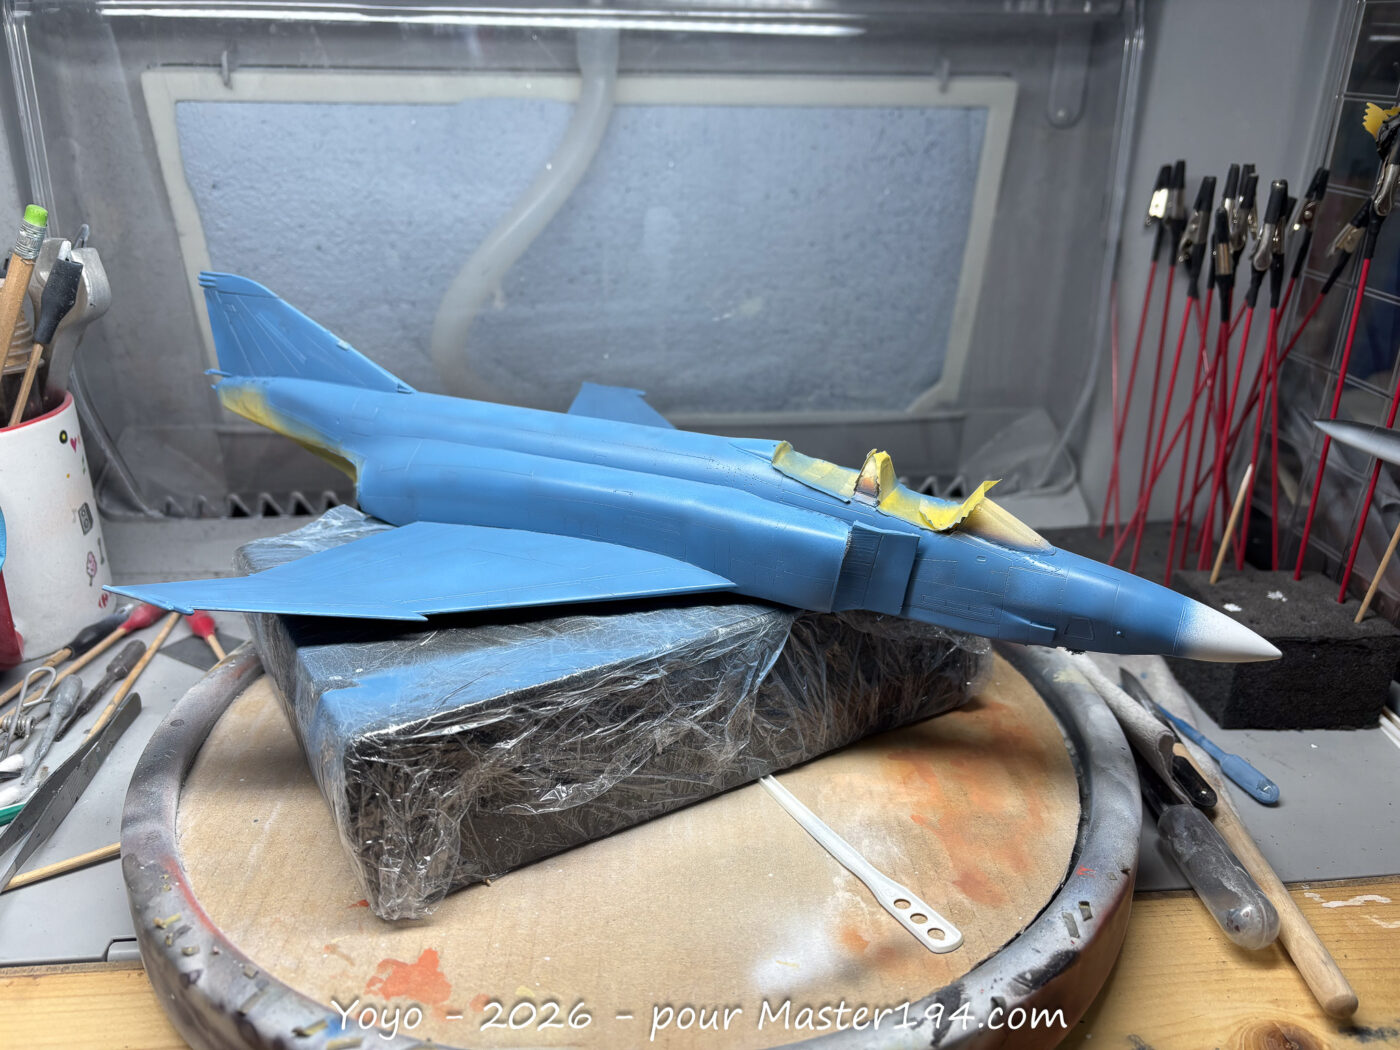
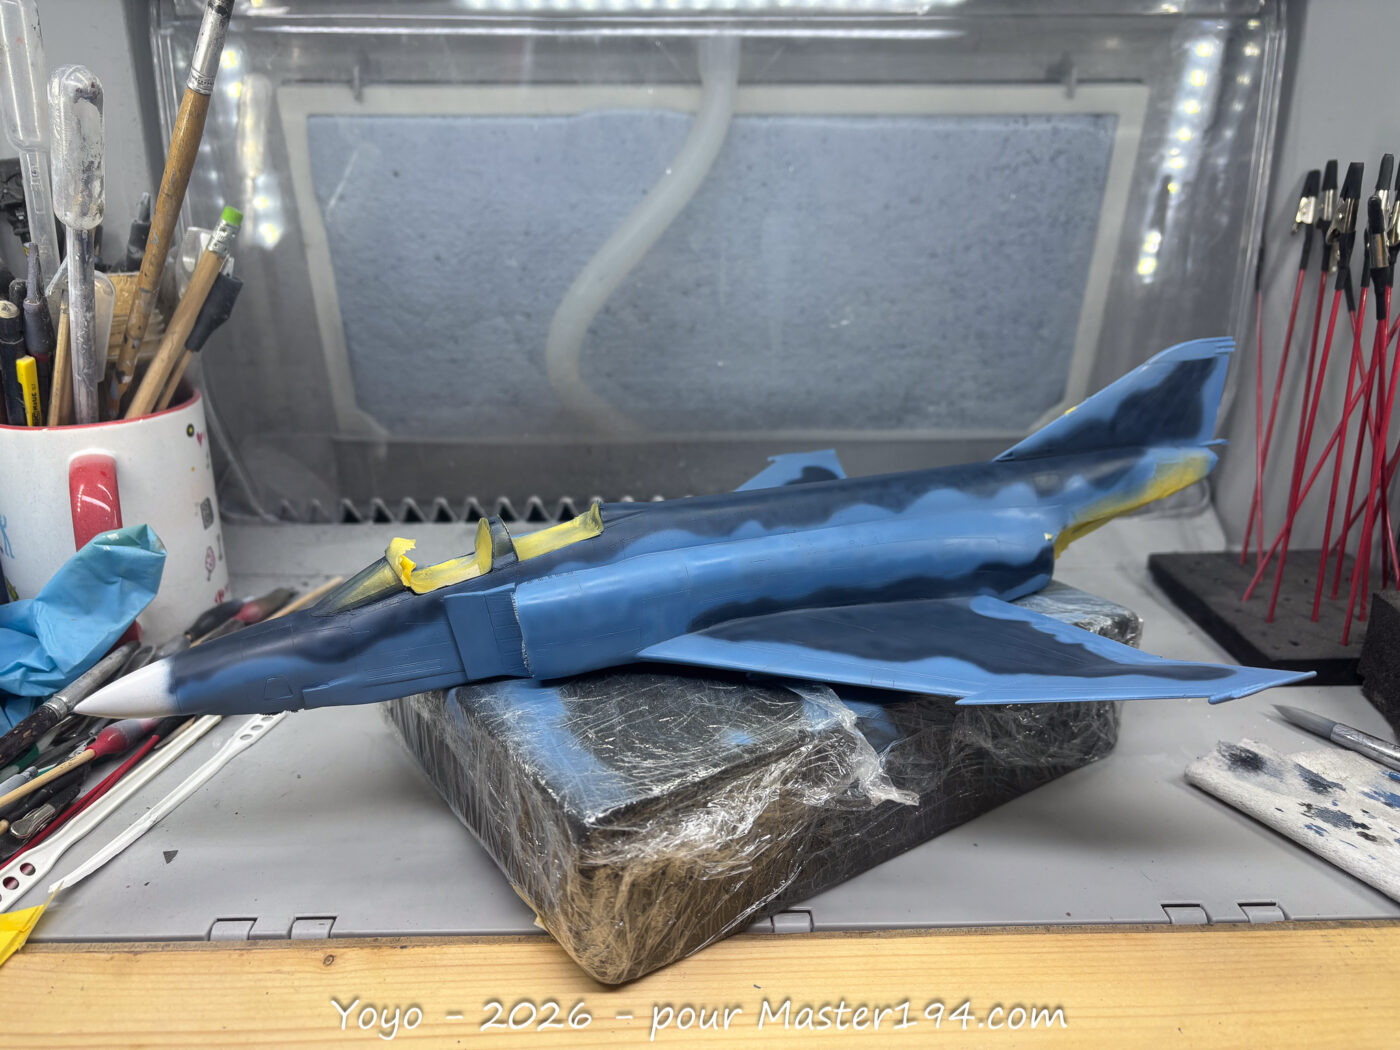
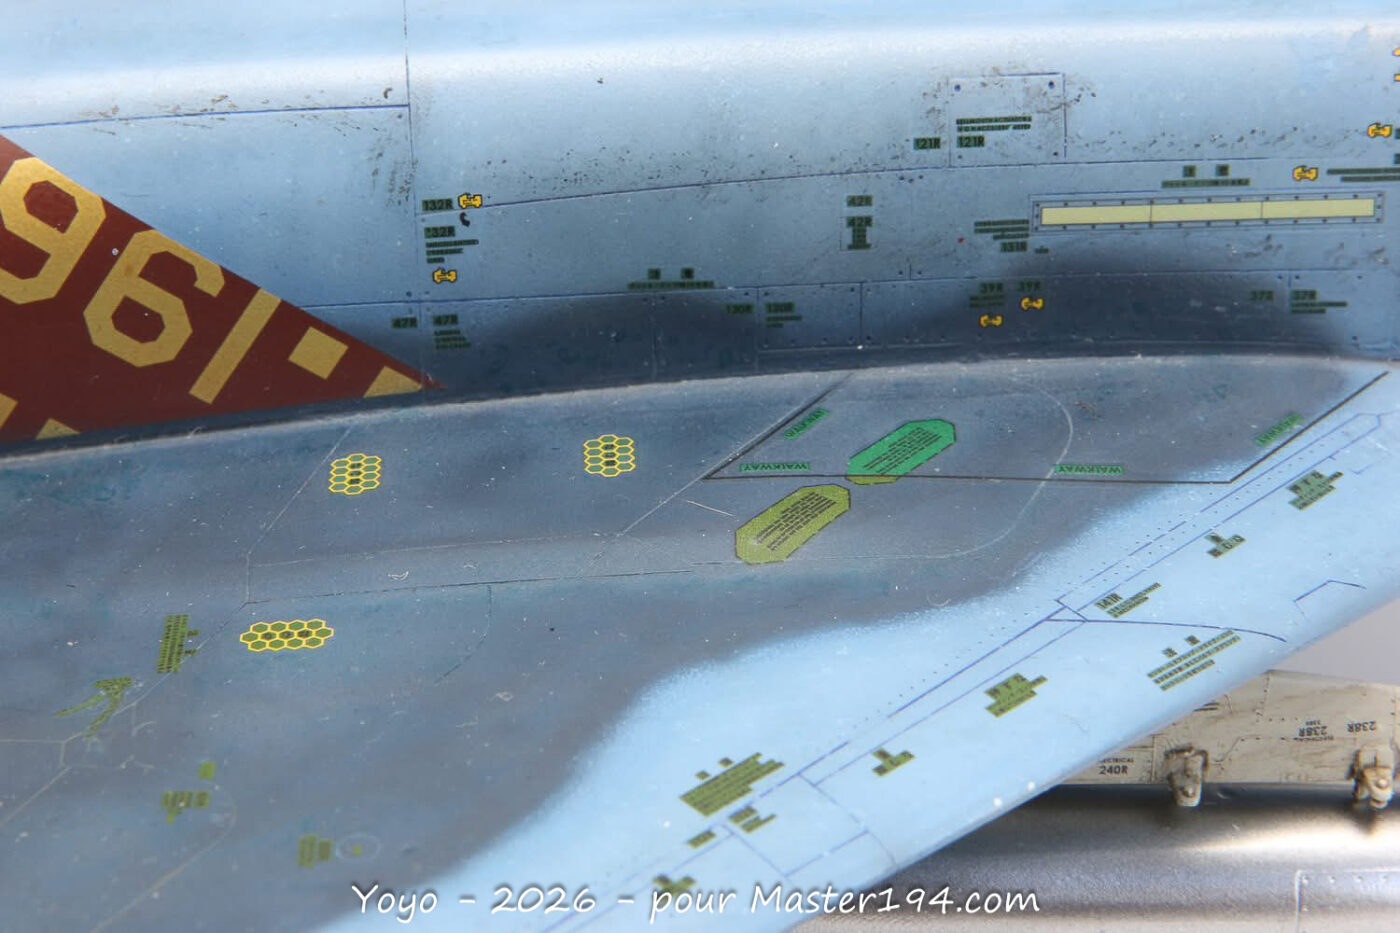
Next came the initial weathering phase using the airbrush: I lightened the base colors with white to add nuance to the panels. I then used a stencil to spray darker spots, sometimes adding a touch of black for variation. Finally, I used markers to further shade and define specific panels.
Landing gear
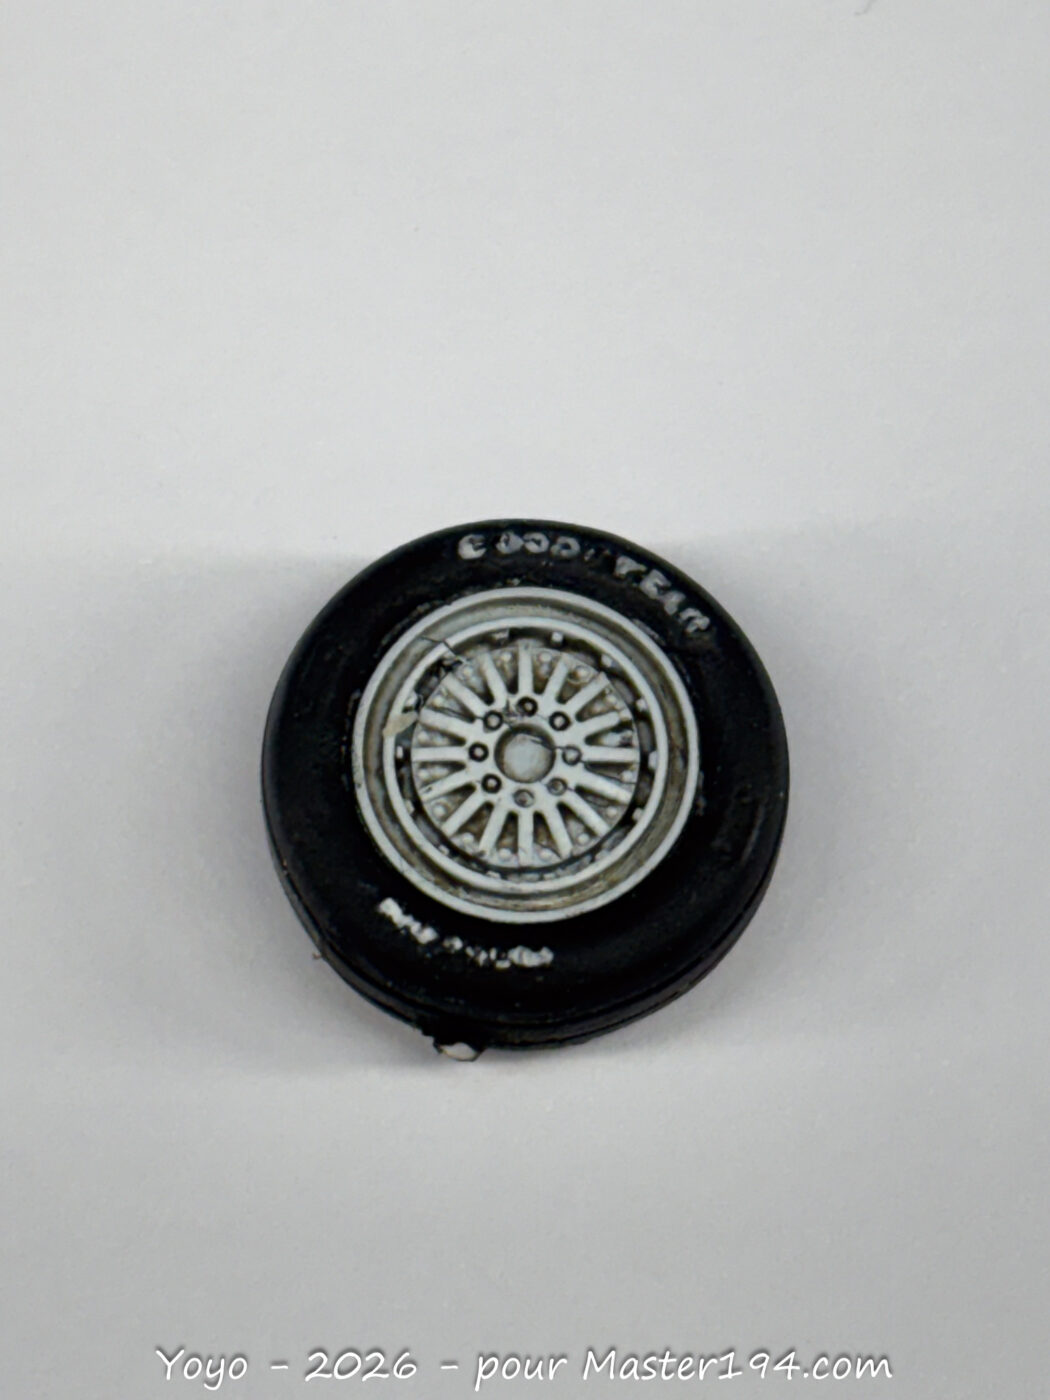
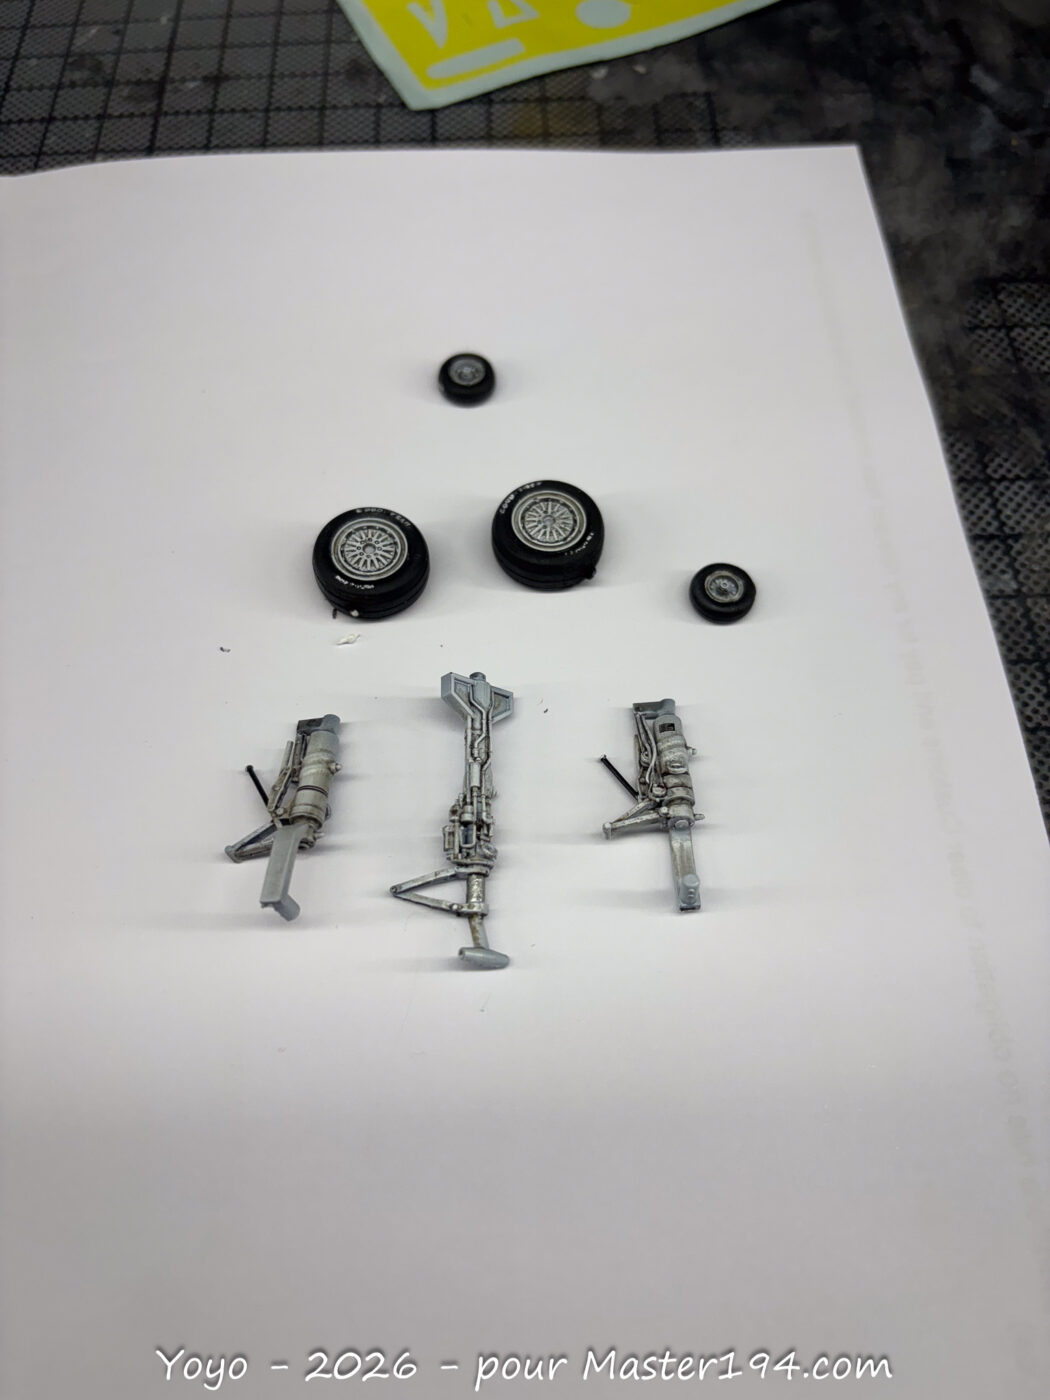
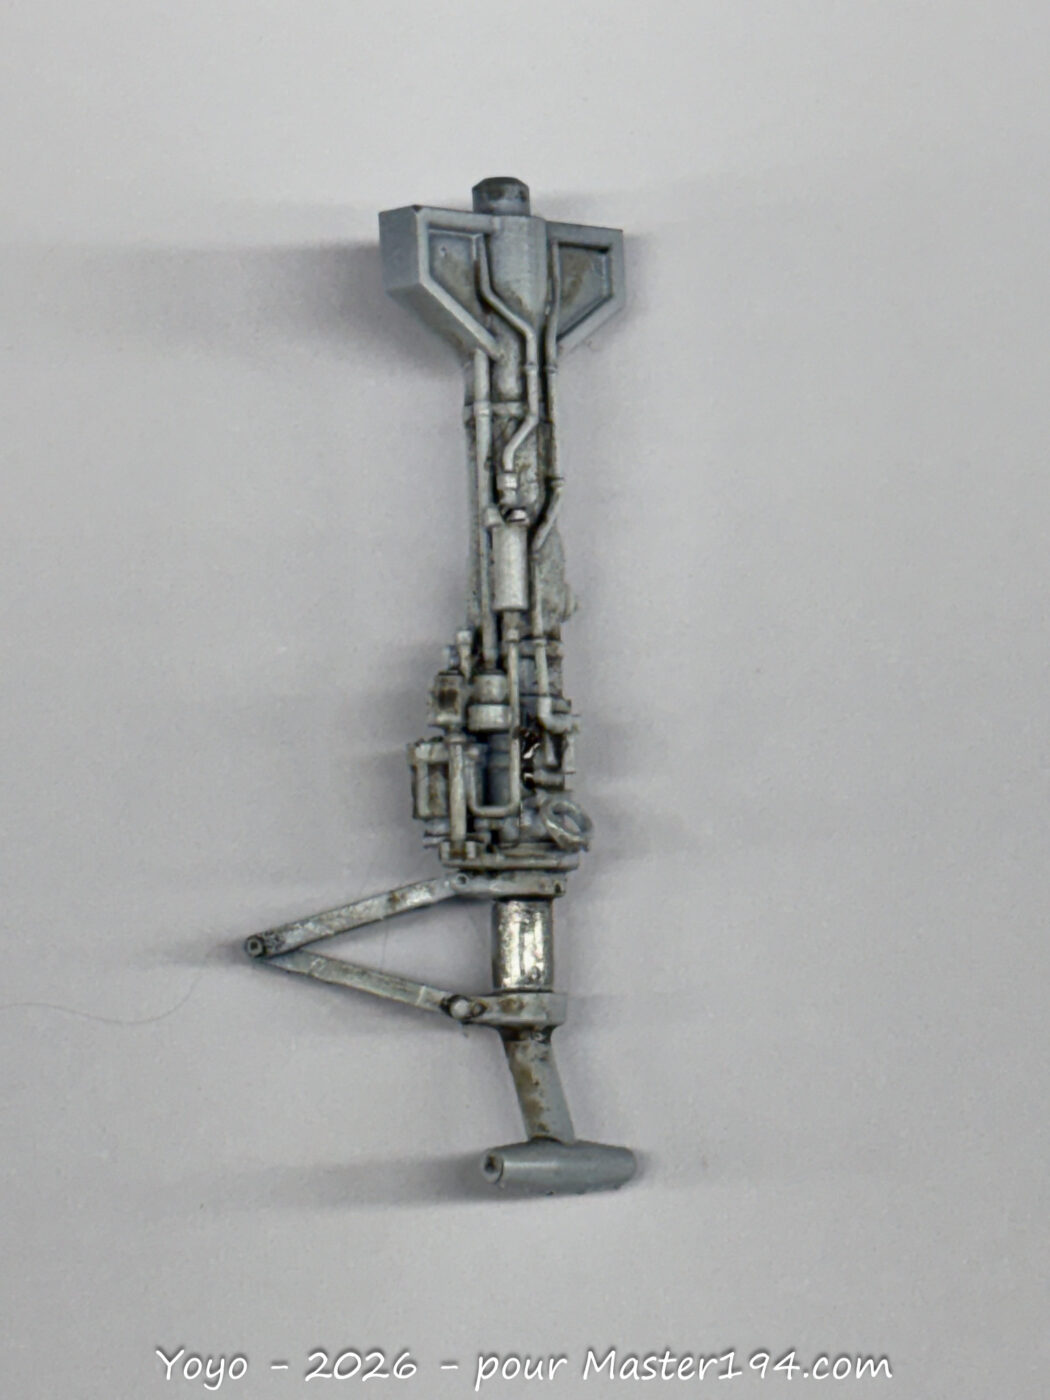
The Chute Expert 3D-printed landing gear is superb. With a careful paint job, some decals from the spares box, and a well-placed wash, they look absolutely stunning
Metallic Areas
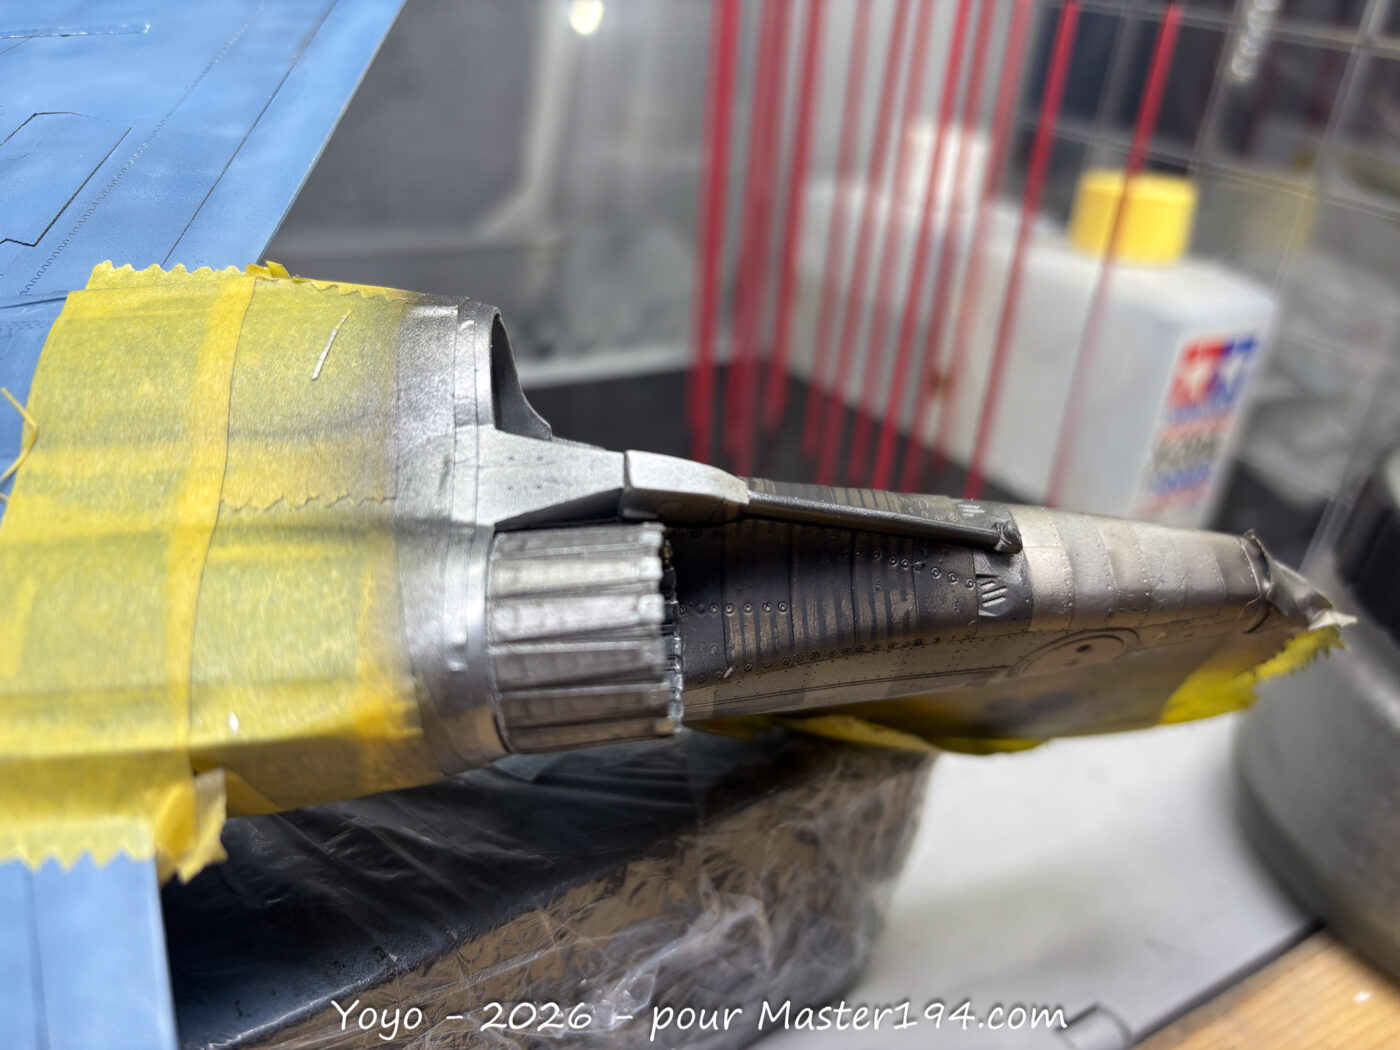
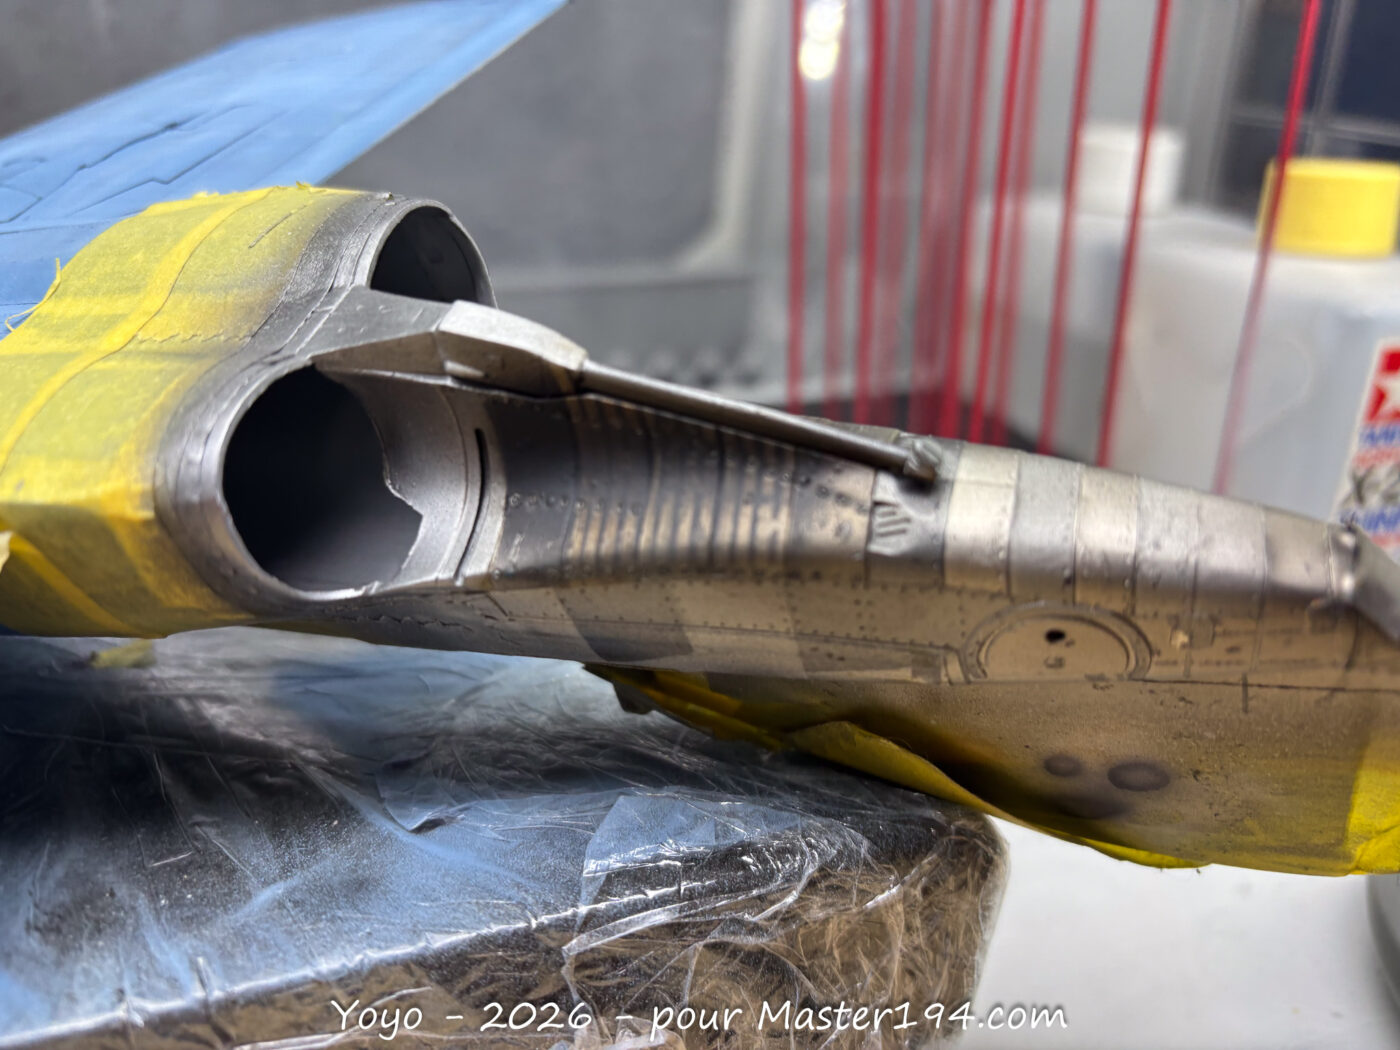
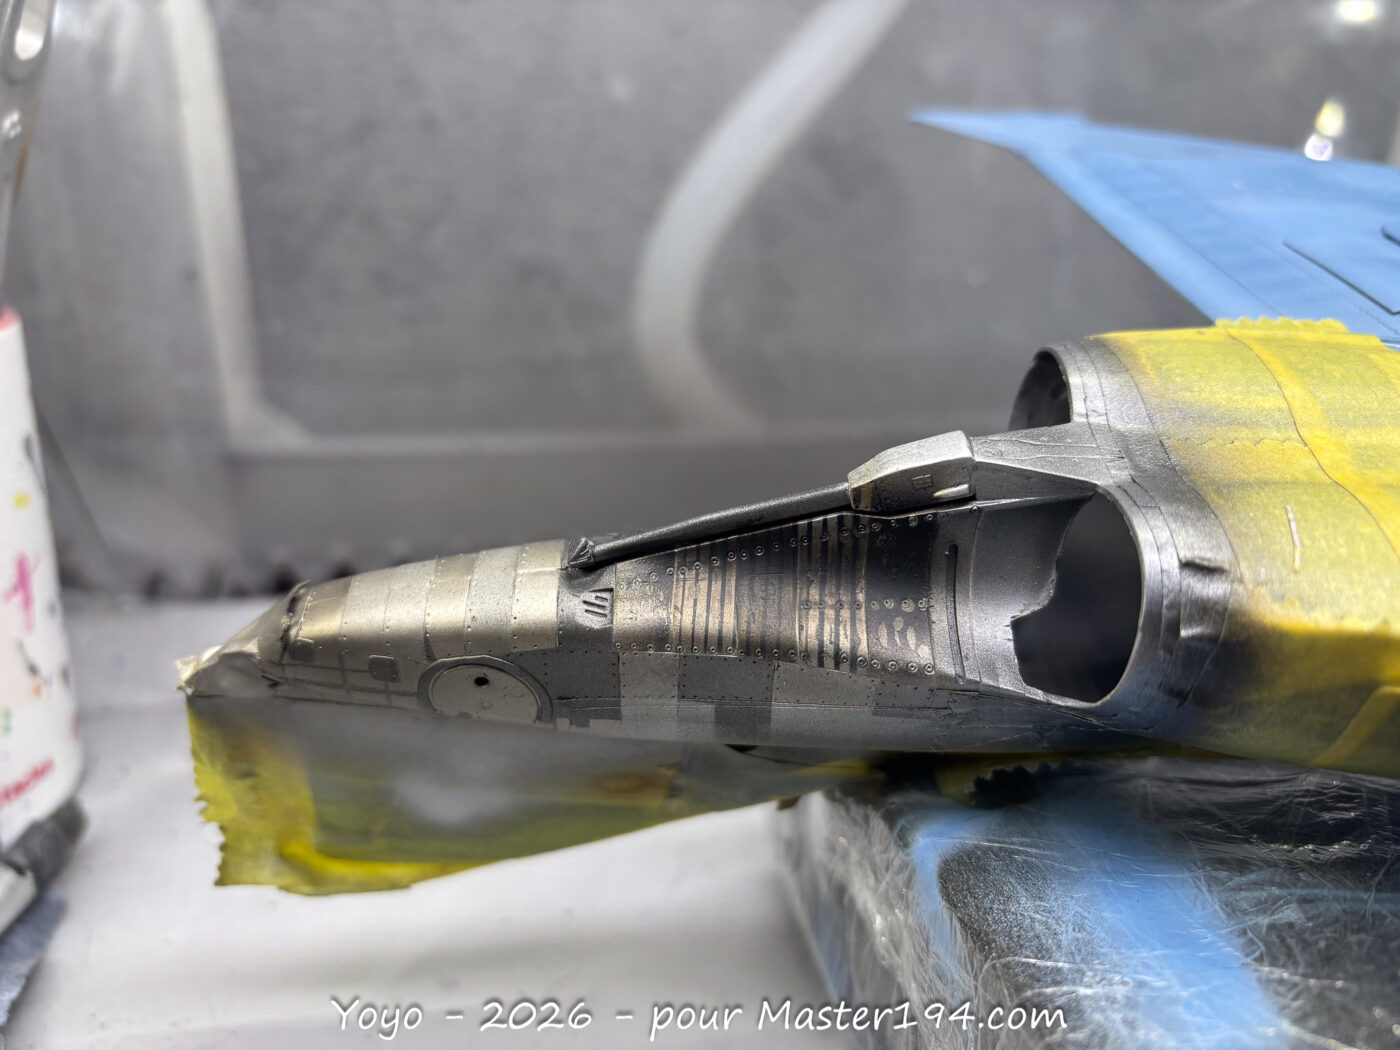
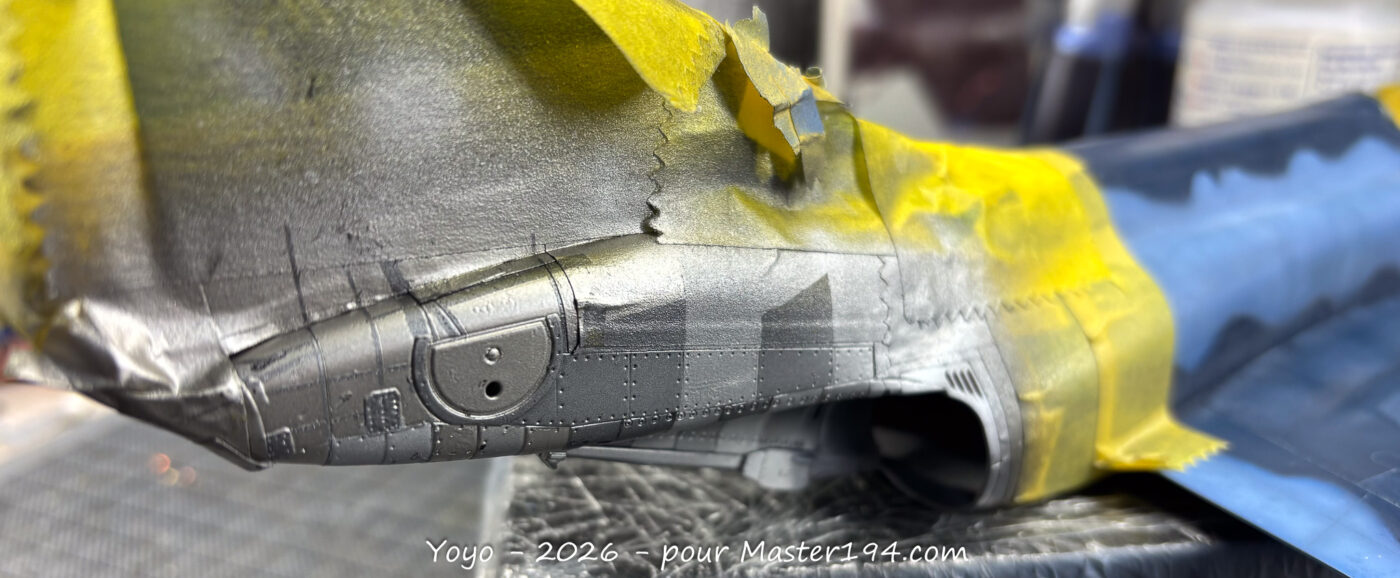
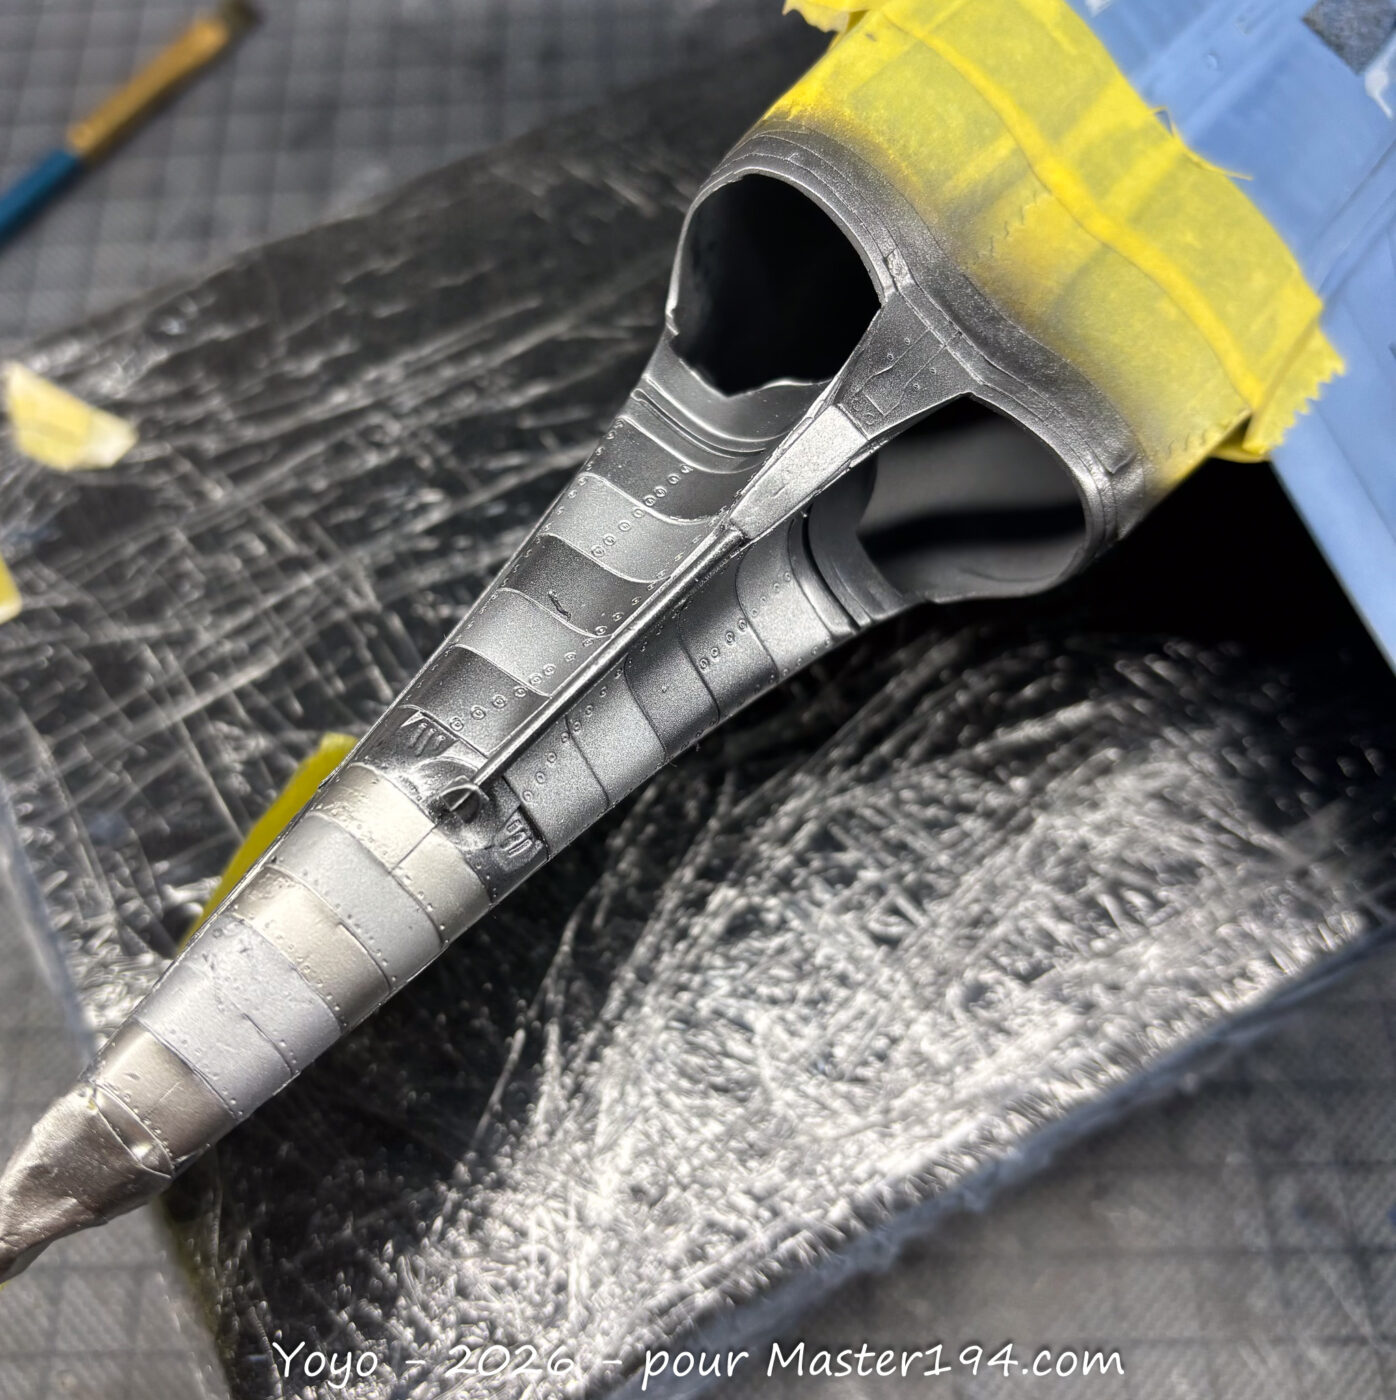
You can’t have a Phantom without its signature bare metal sections—a challenge that actually drew me to this aircraft in the first place. I started by re-scribing and re-riveting the Hasegawa parts. The base coat was applied using Alclad White Aluminum, with paneling done in Mr. Color Super Metallic Aluminum, Dark Aluminum, and Alclad Pale Burnt Metal.
For the area above the nozzles, I used 0.1mm masking strips before spraying a darker aluminum shade, followed by Smoke and Tamiya Soot pigments. A black wash was applied, and finally, I touched up the rivets with a silver marker. Everything was sealed with a custom varnish mix (AK Real Color and Mr. Hobby), which remains invisible while perfectly preserving the metallic sheen.
The nozzles themselves were painted aluminum, then masked between the petals. These were then detailed with Alclad Duraluminum and Exhaust. I added small black squares on the petals using a fine-tip marker, painted the end plates between each petal with a silver pen, and finished it all off with a black wash.
Decals
I clear-coated the kit with a gloss varnish and then Micro-meshed the entire surface again (spending a good half-hour each time) before applying the decals. After another gloss coat over them, I’m happy to say there isn’t a trace of silvering to be found.
The burgundy and gold decal bands on the fuselage—and especially on the fuel tanks—required a lot of patience and precision to get right.
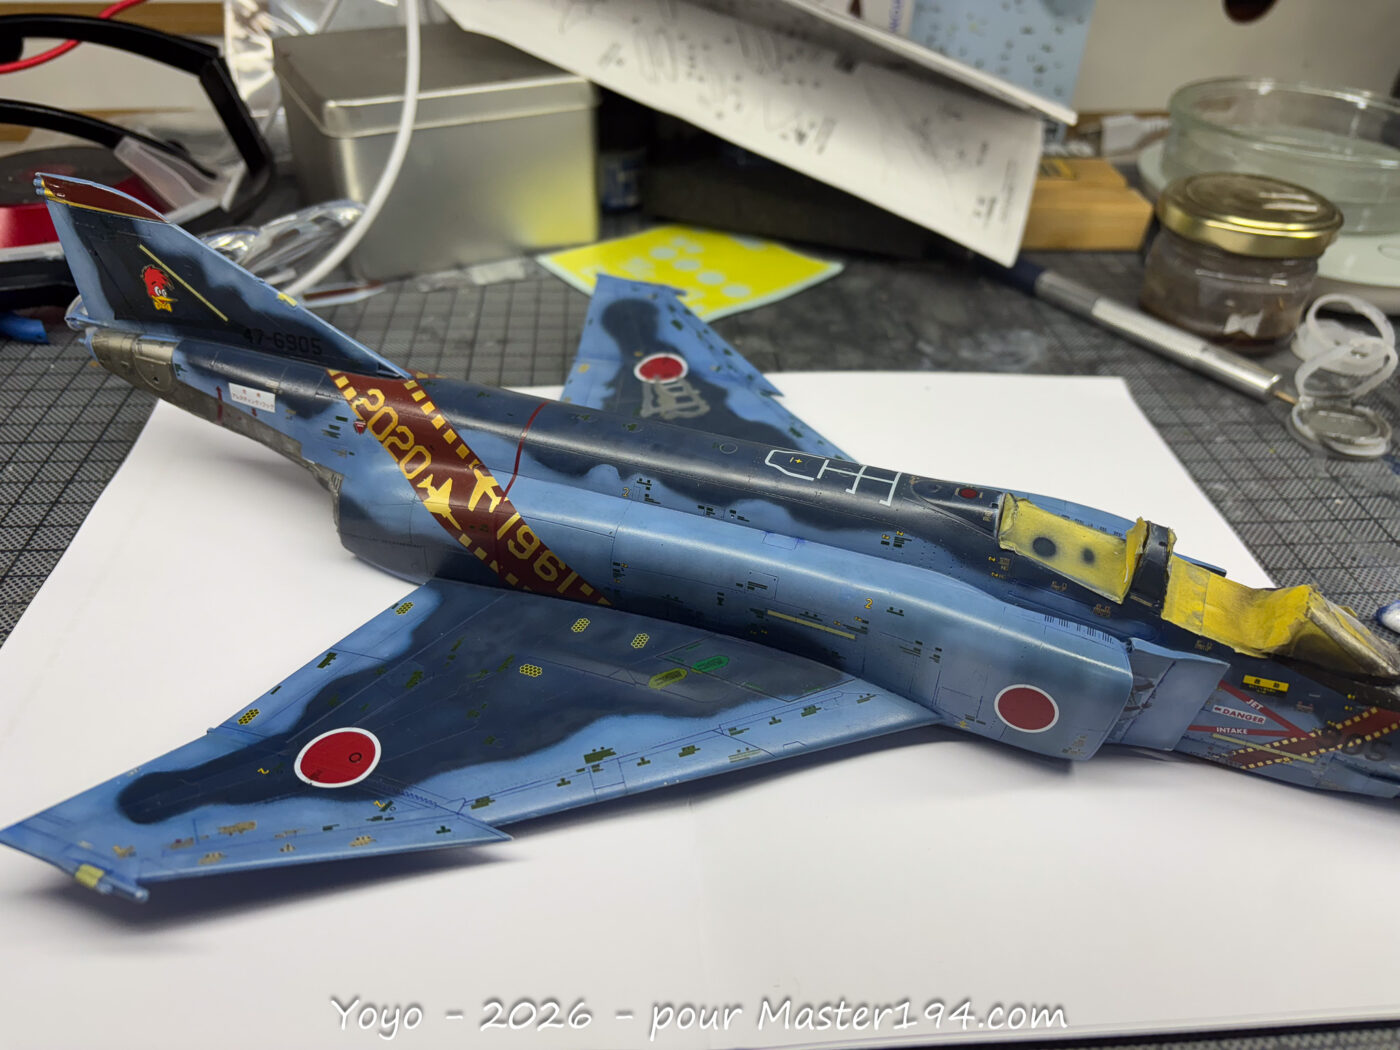
For the decals, I used a mix of the superb DXM sheet dedicated to this aircraft and the original Hasegawa sheet. The special markings are a true gold on the DXM sheet, unlike the kit’s version. For the countless stencils, I also combined both sources; interestingly, the stencils on the actual aircraft retained the colors from the previous grey/green camouflage schemes.
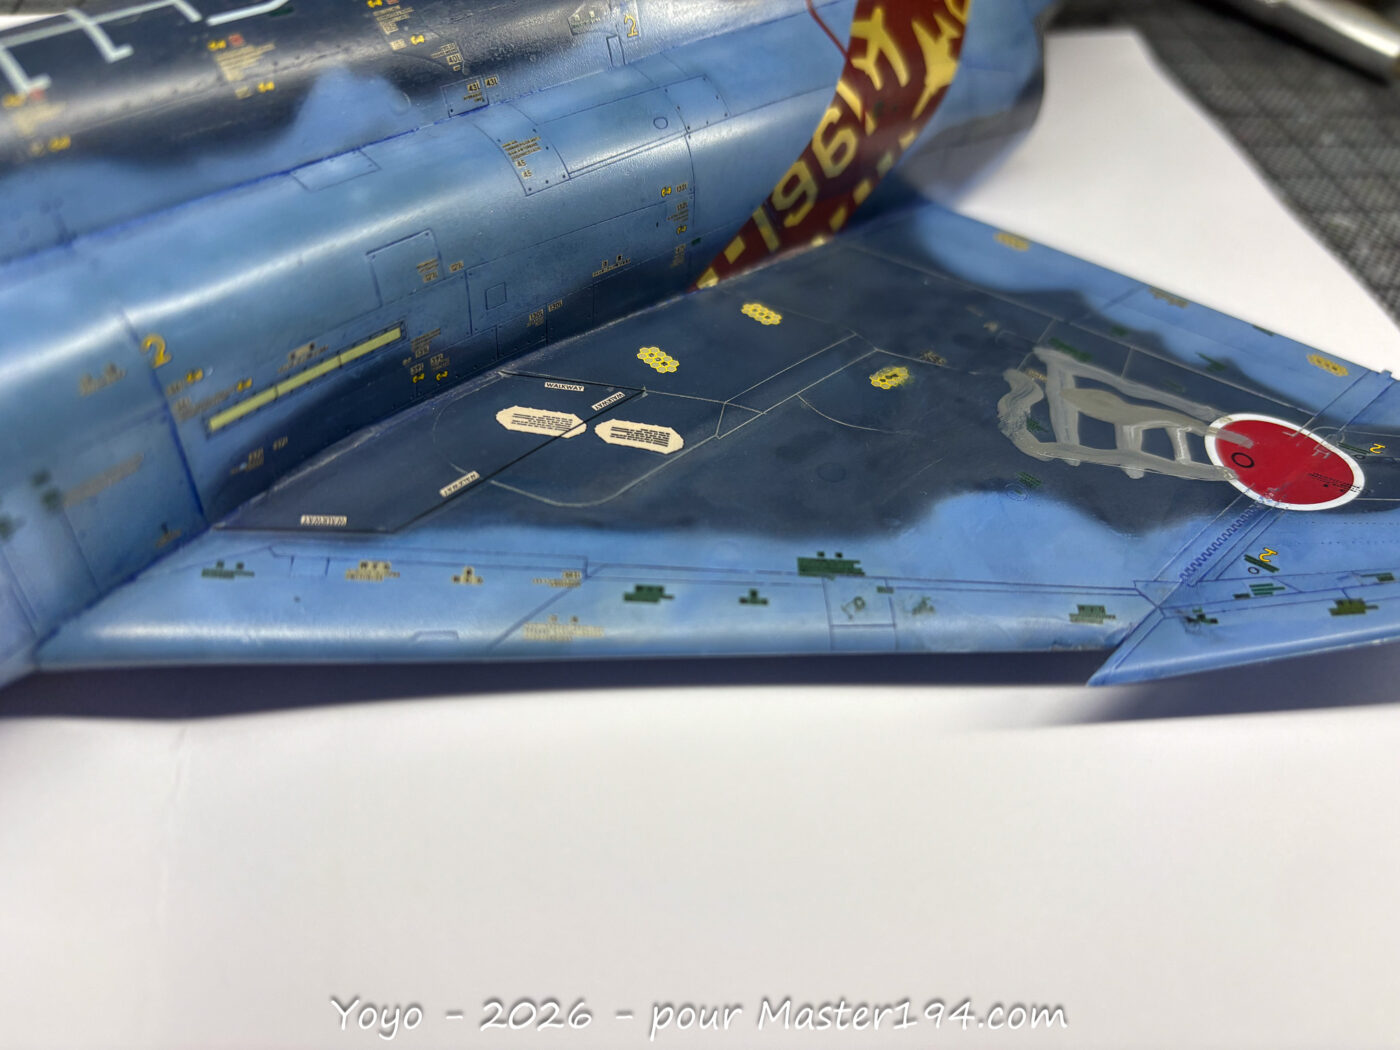
Once the decals were applied, I revisited the weathering to blend them in. Using a combination of airbrushing, pencils, and oil washes, I added further depth. I also applied touches of Liquitex acrylic ink here and there to create even more subtle nuances across the airframe.
External Stores
After some hesitation, the Hasegawa box art photo convinced me to go with a three-tank configuration: three fuel tanks and two chrome travel pods, which I sourced in resin via The 48ers.
The color of the fuel tanks had to perfectly match the decals. I found that the mix suggested by Hasegawa was very close to the mark: a 50/50 blend of Gunze Cocoa Brown (H017) and Russet (H033).
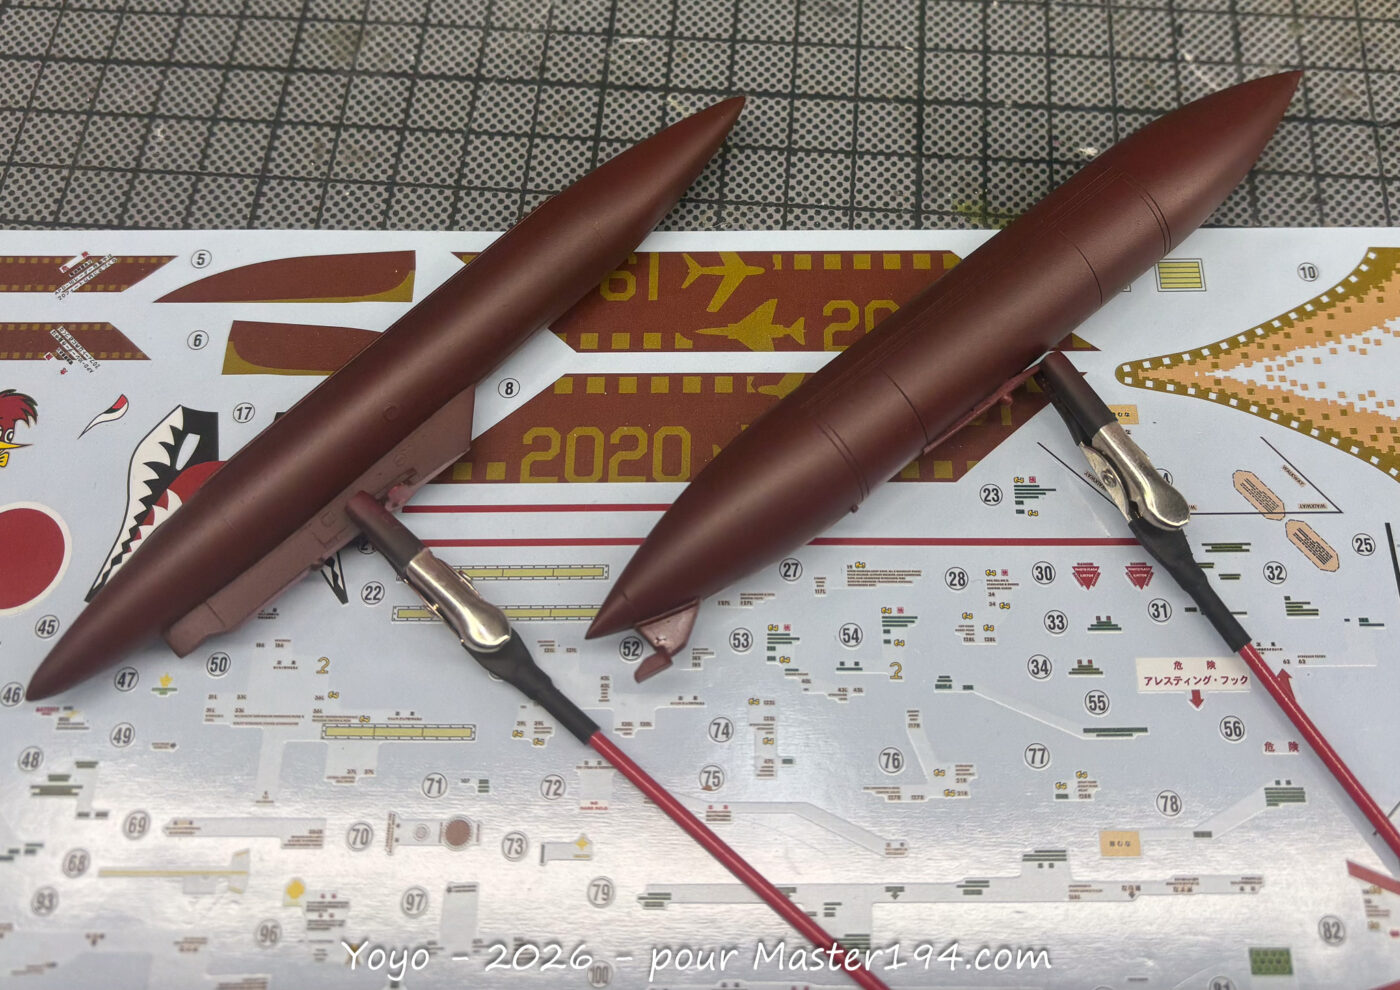
The travel pods were painted in Alclad Chrome over the brand’s specific gloss black base.
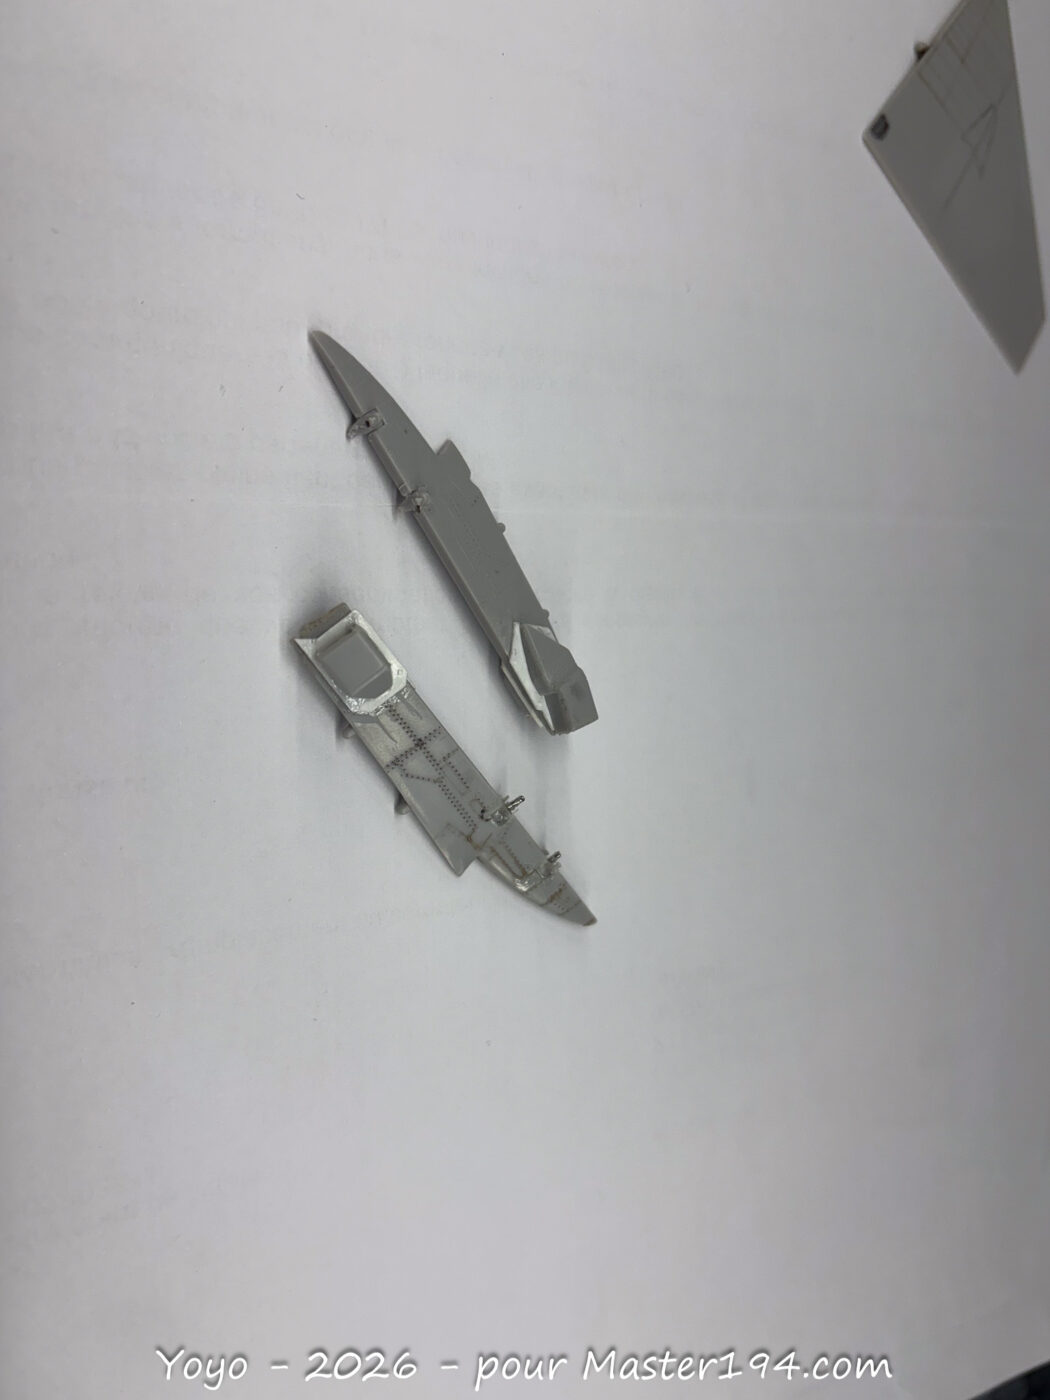
I also modified, re-scribed, and re-riveted the pylons.
The JASDF RF-4E Phantom is finally complete!
Finally, here are the finished photos of this model (special thanks to Fred). This build required a massive amount of work, and I truly owe my motivation to the constant encouragement of my friends