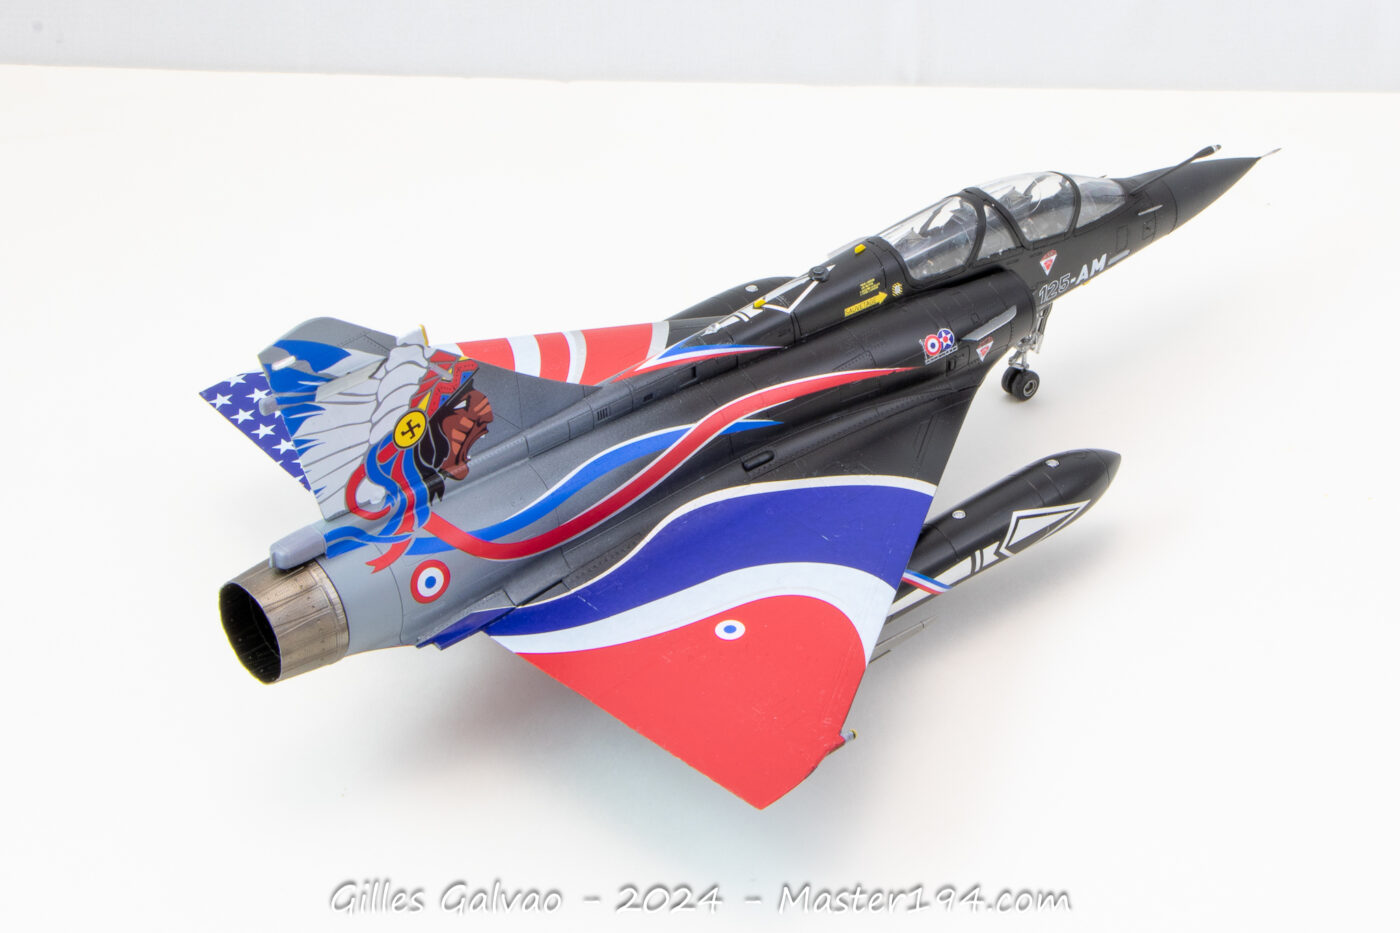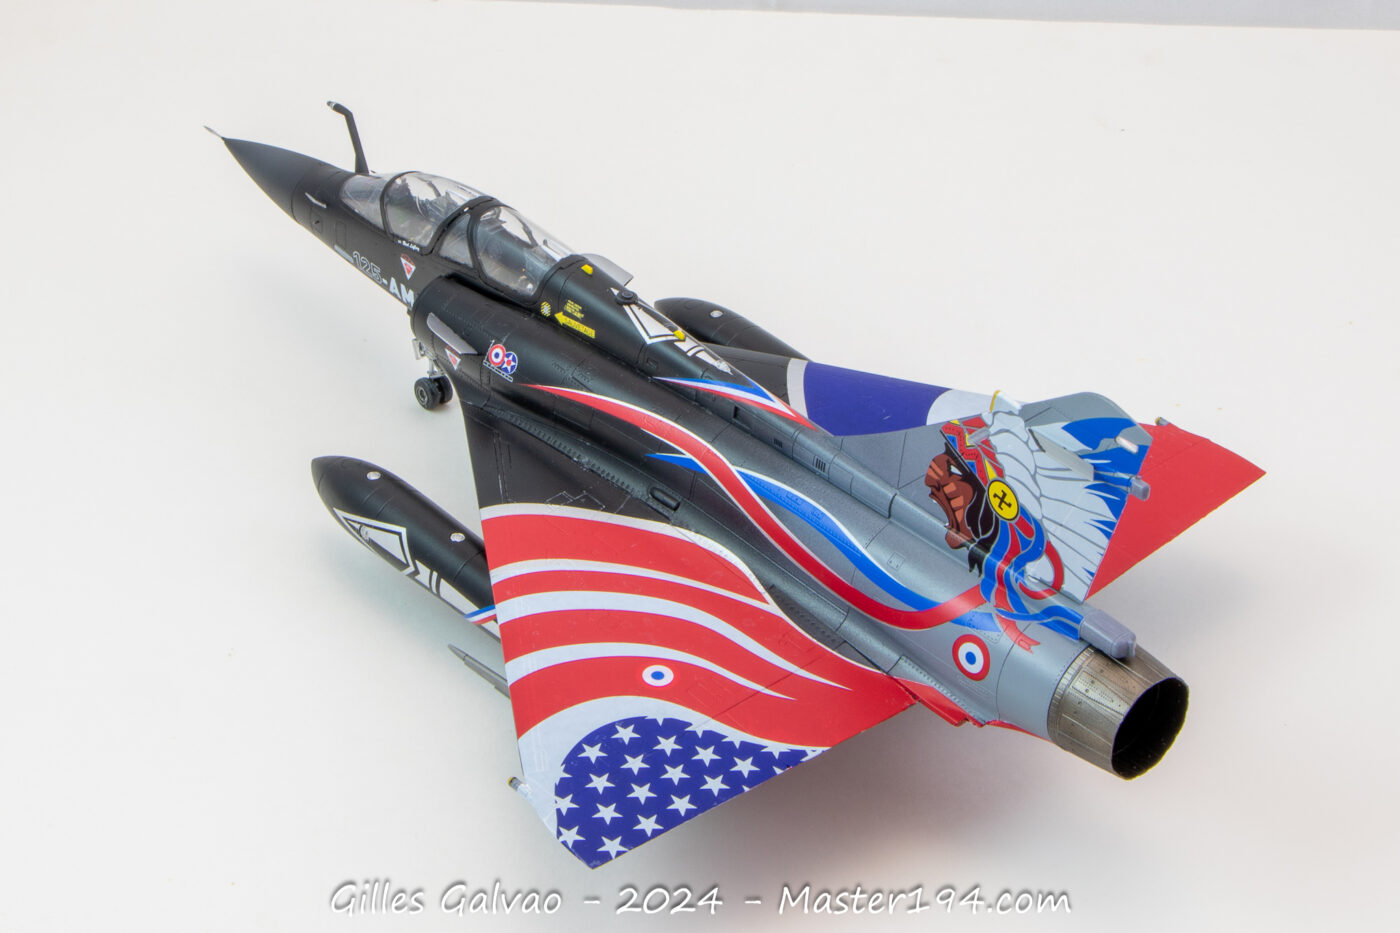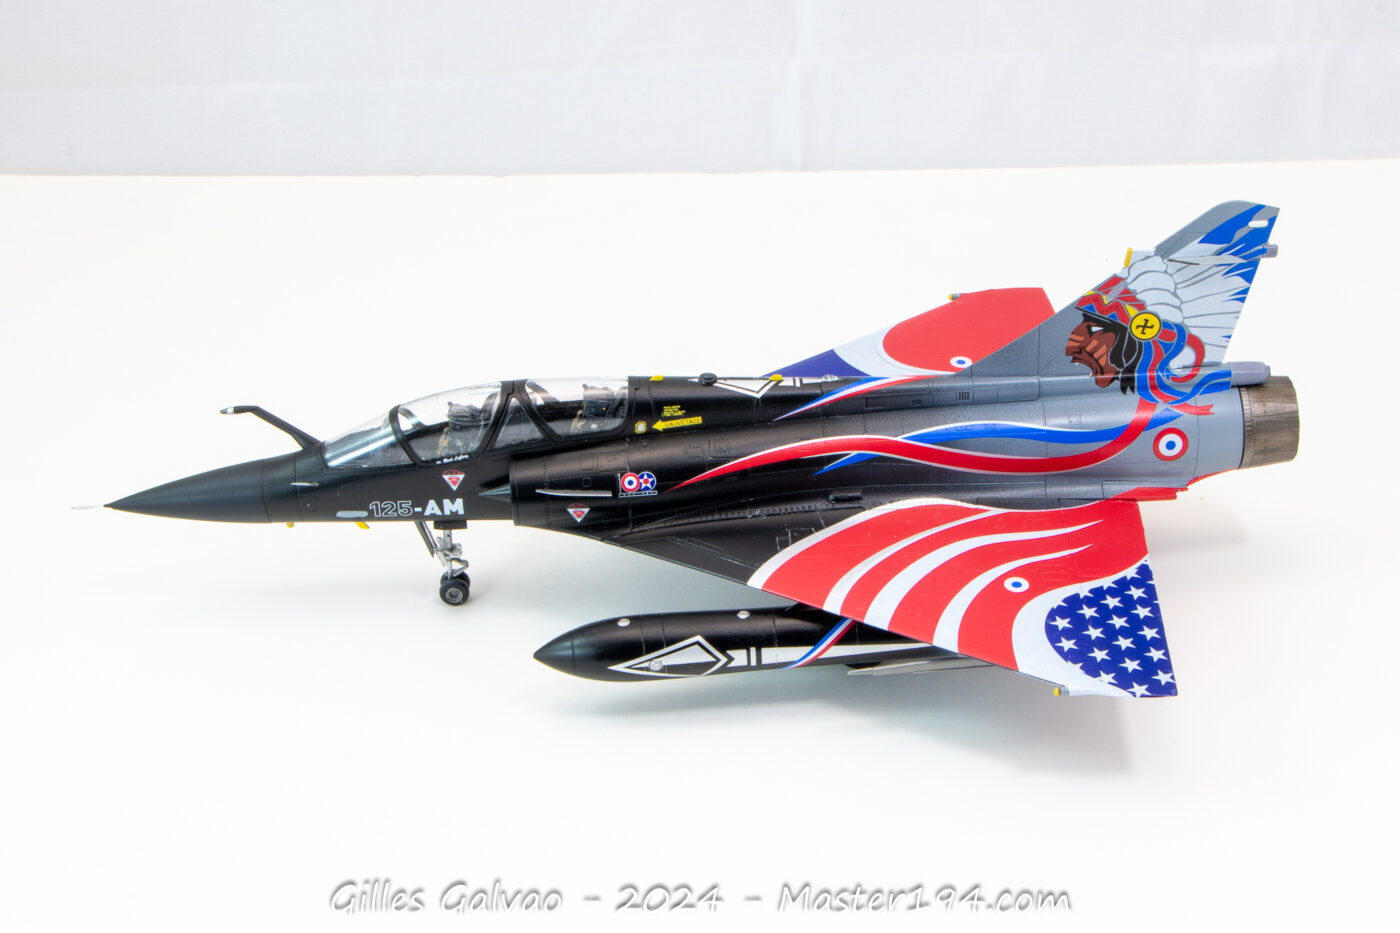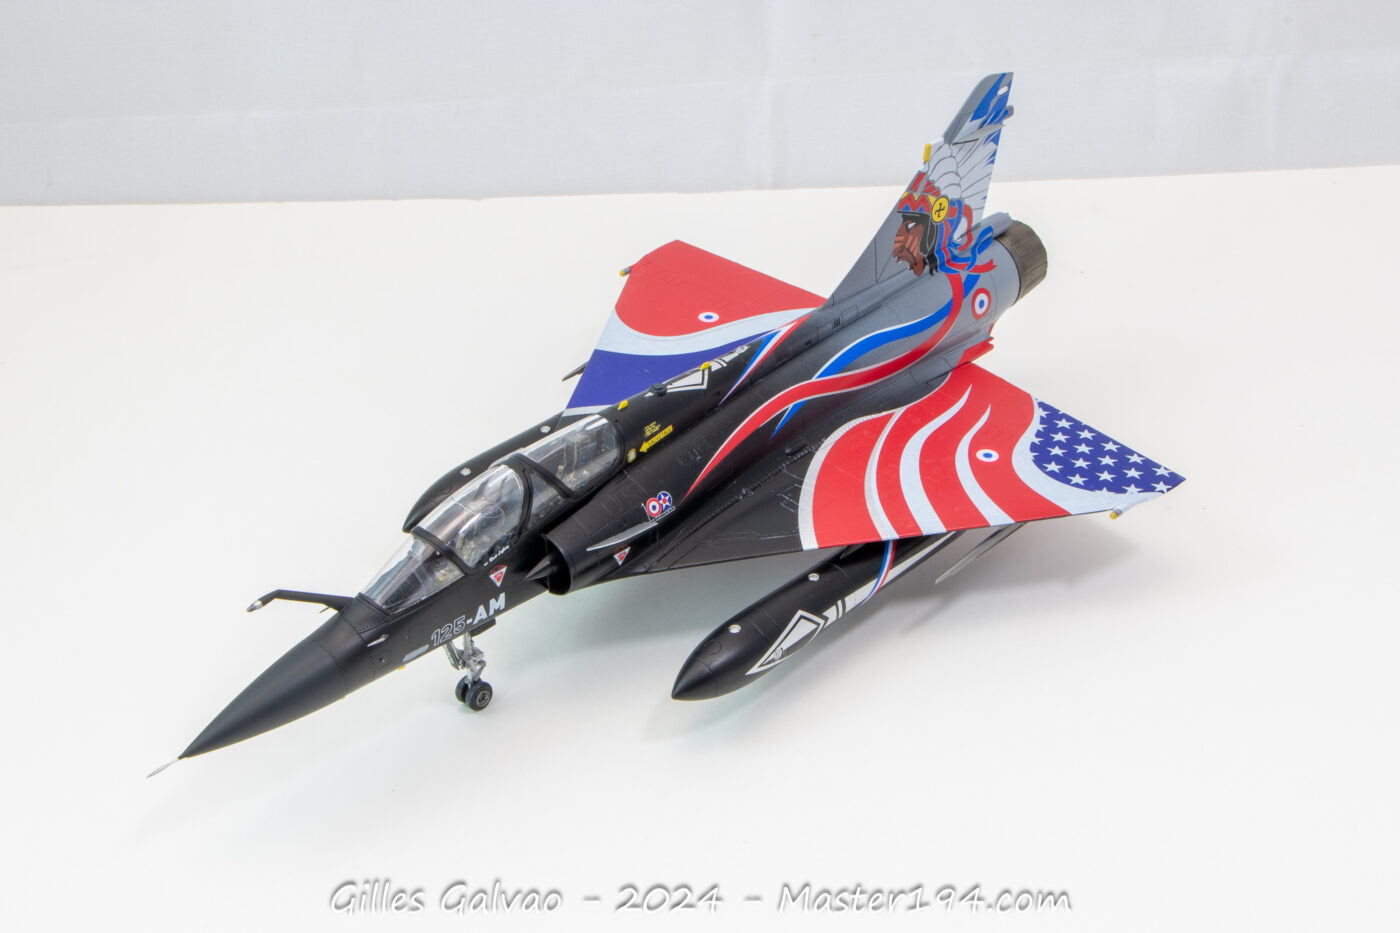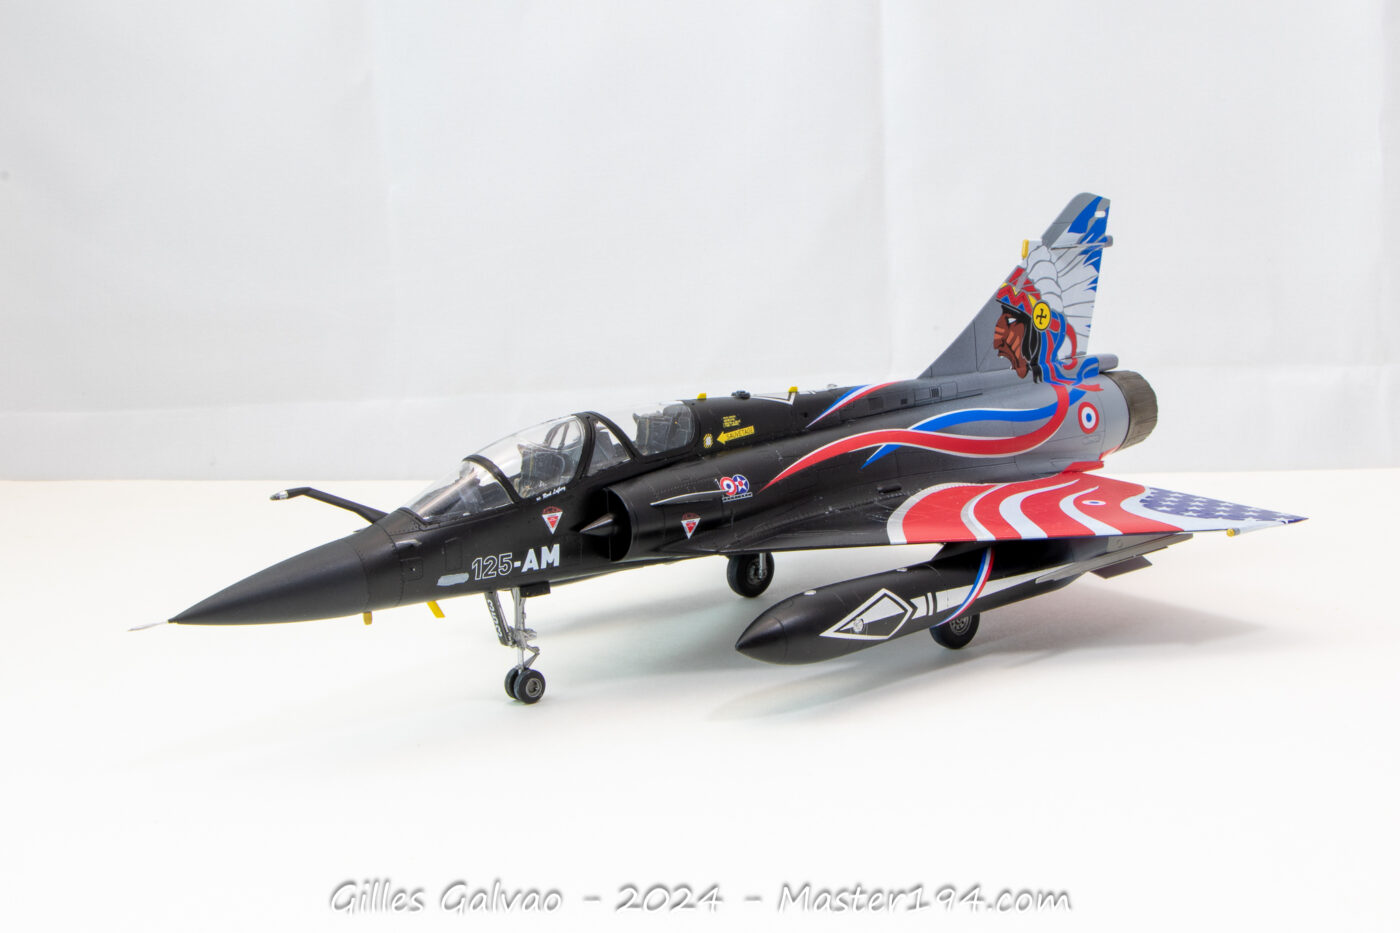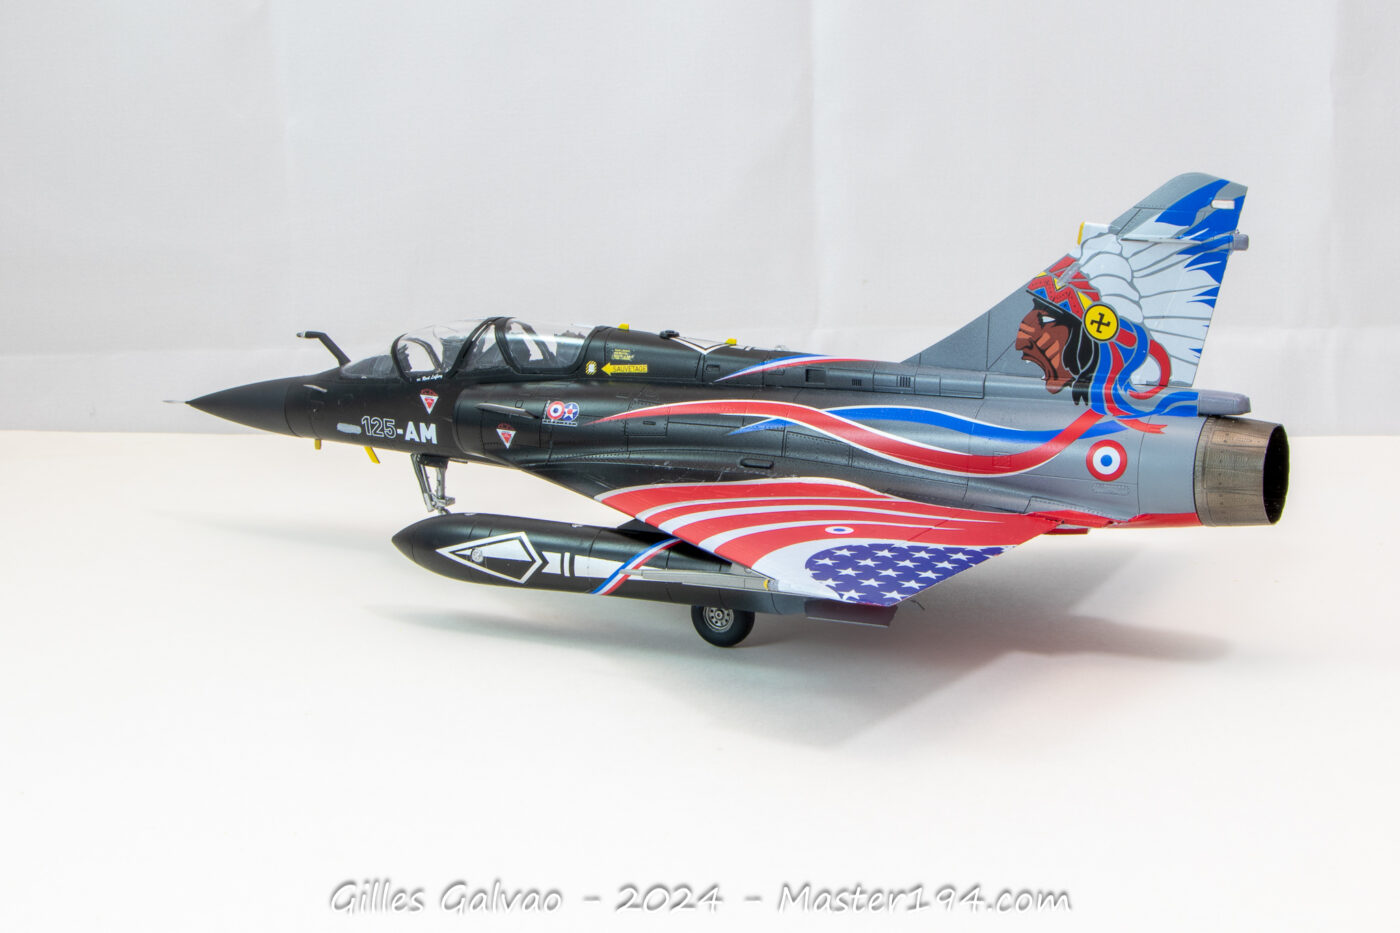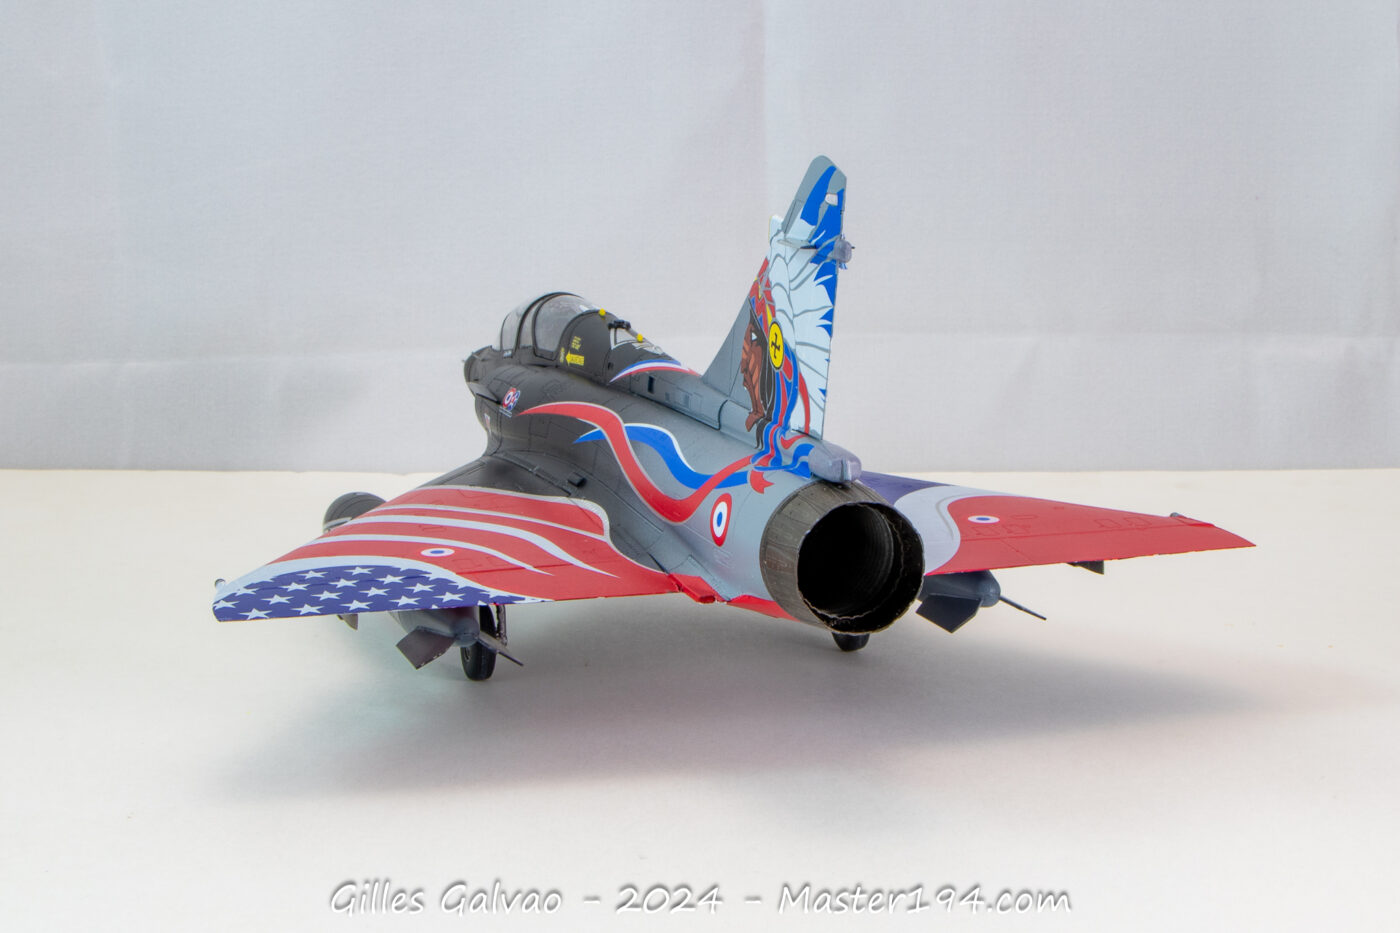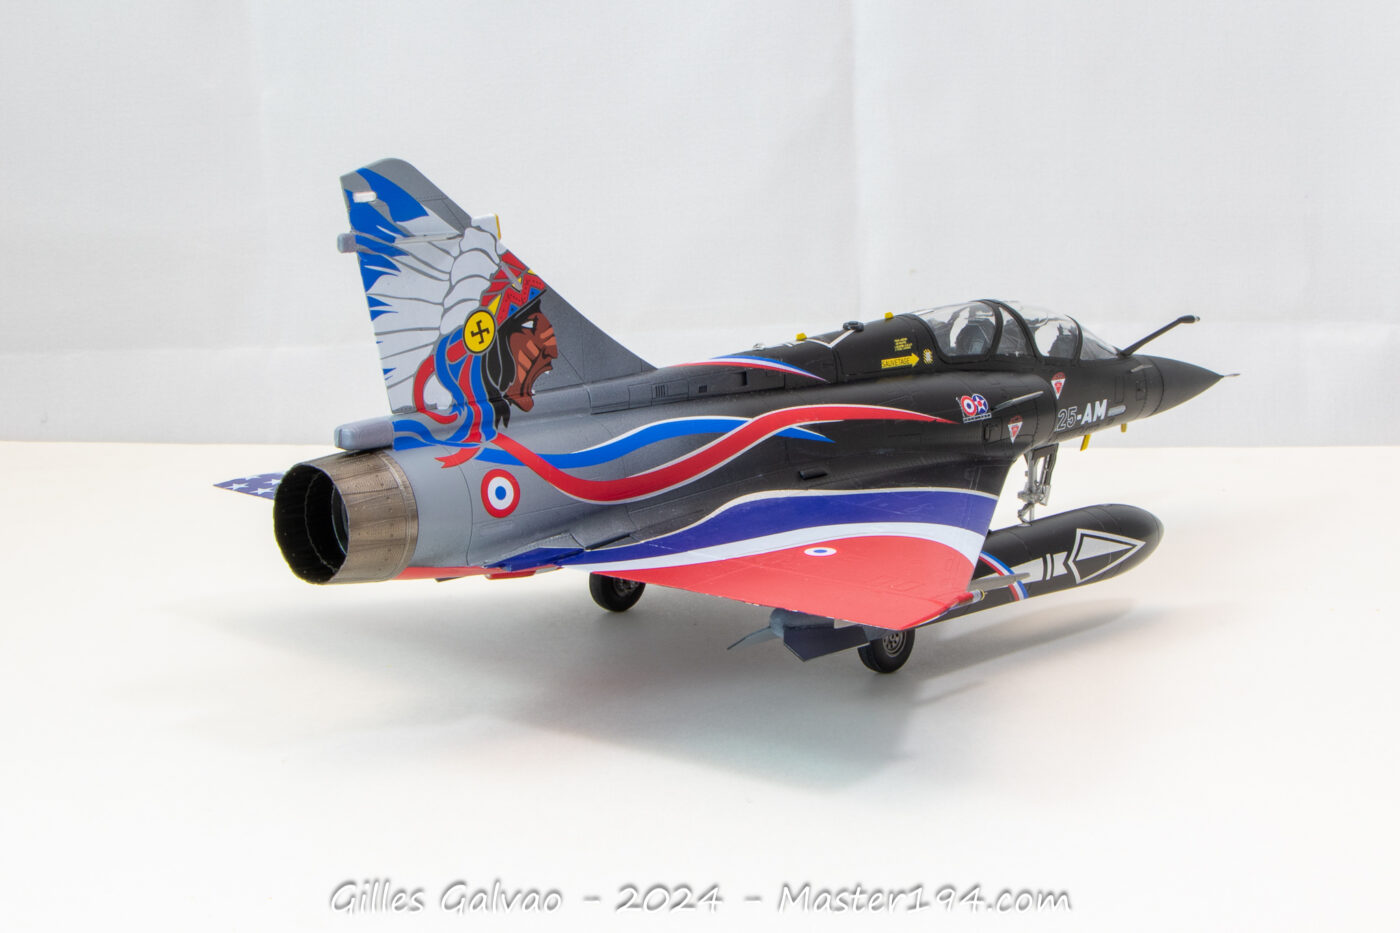
 by
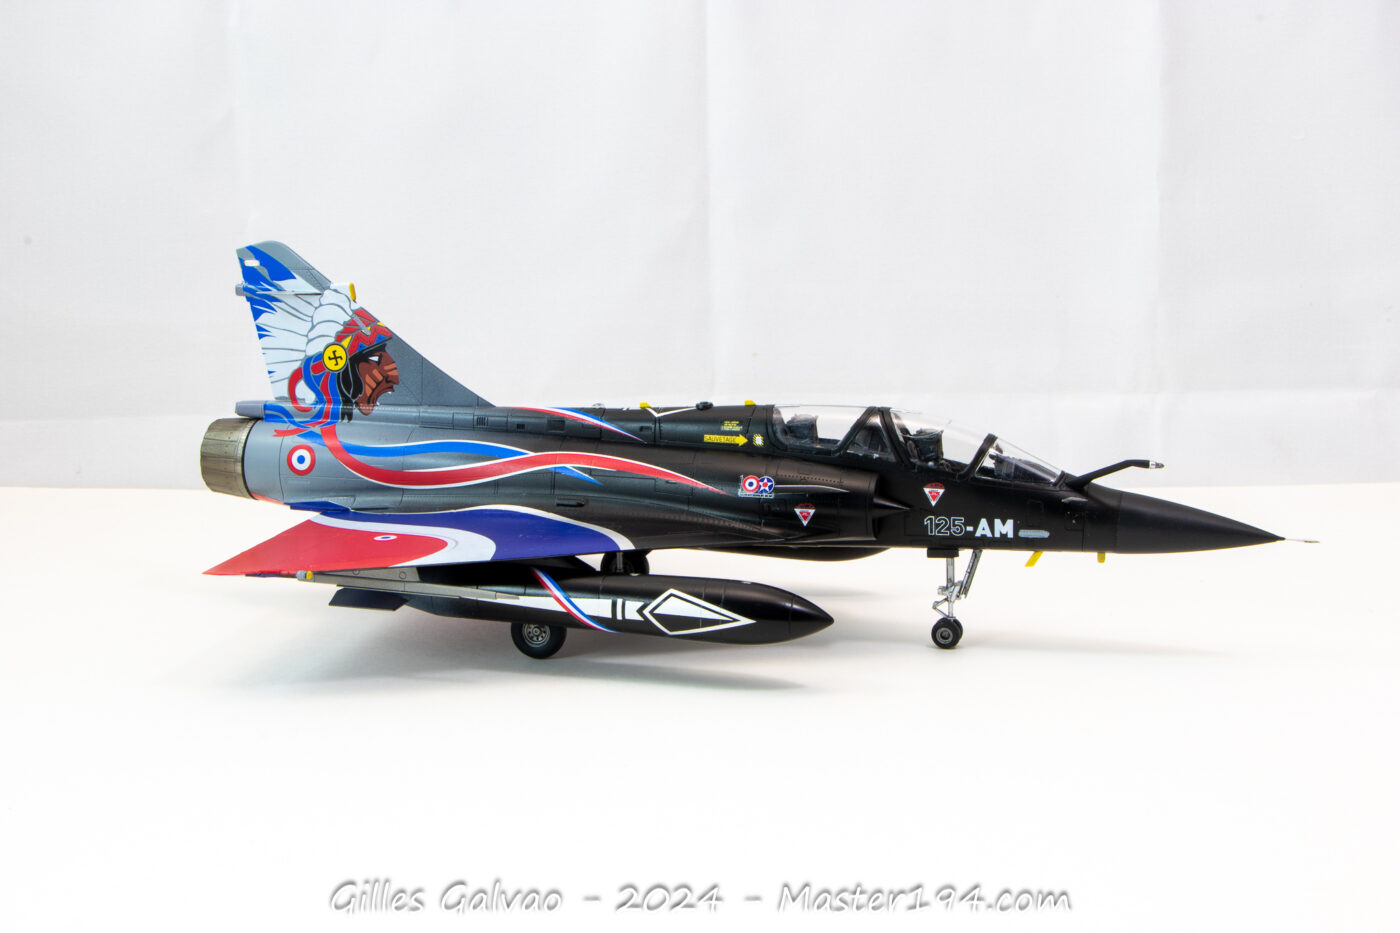
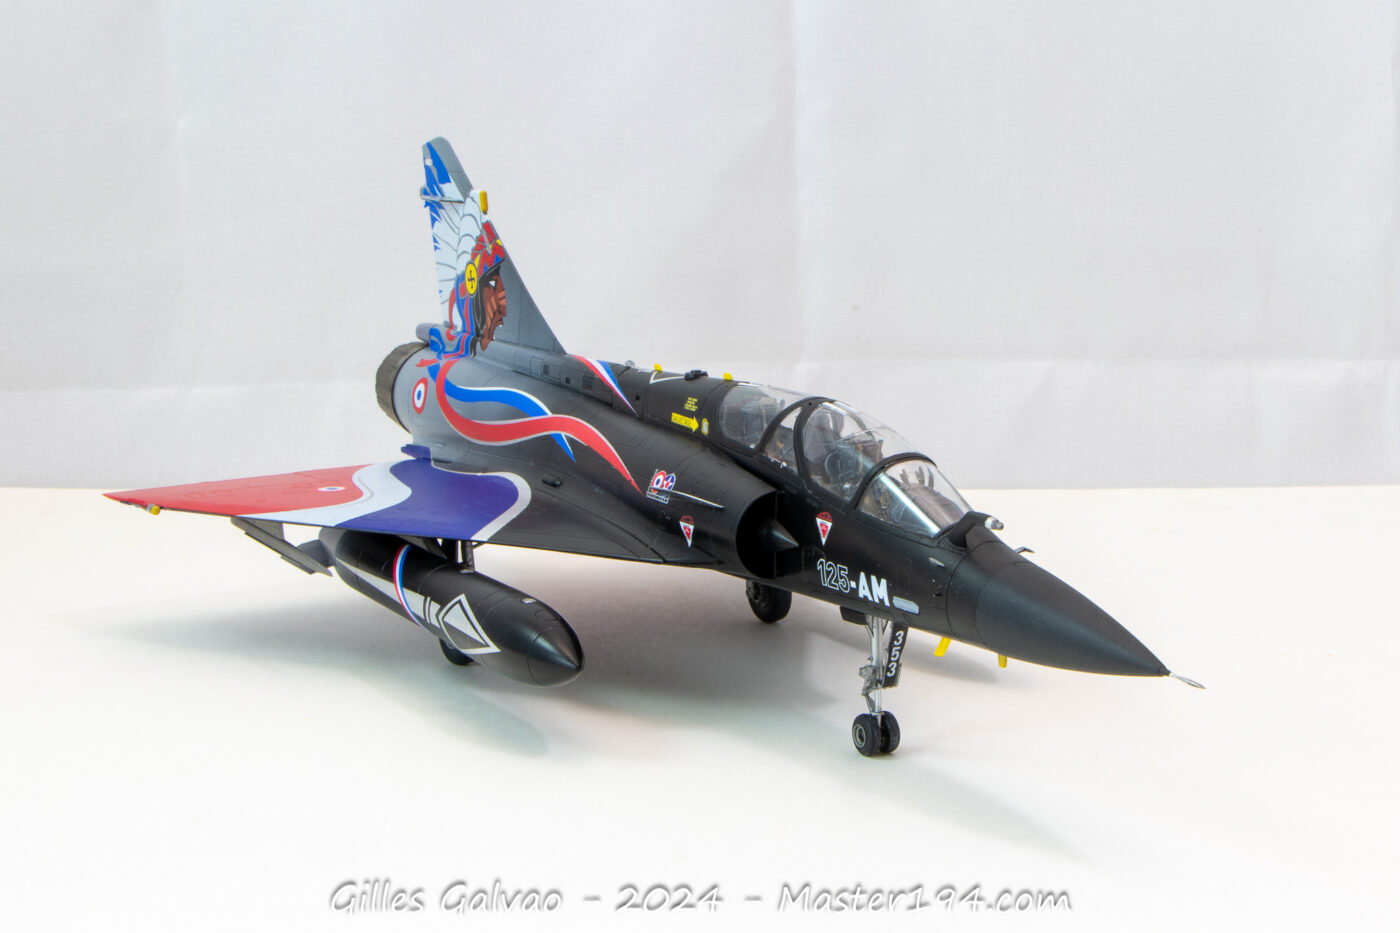
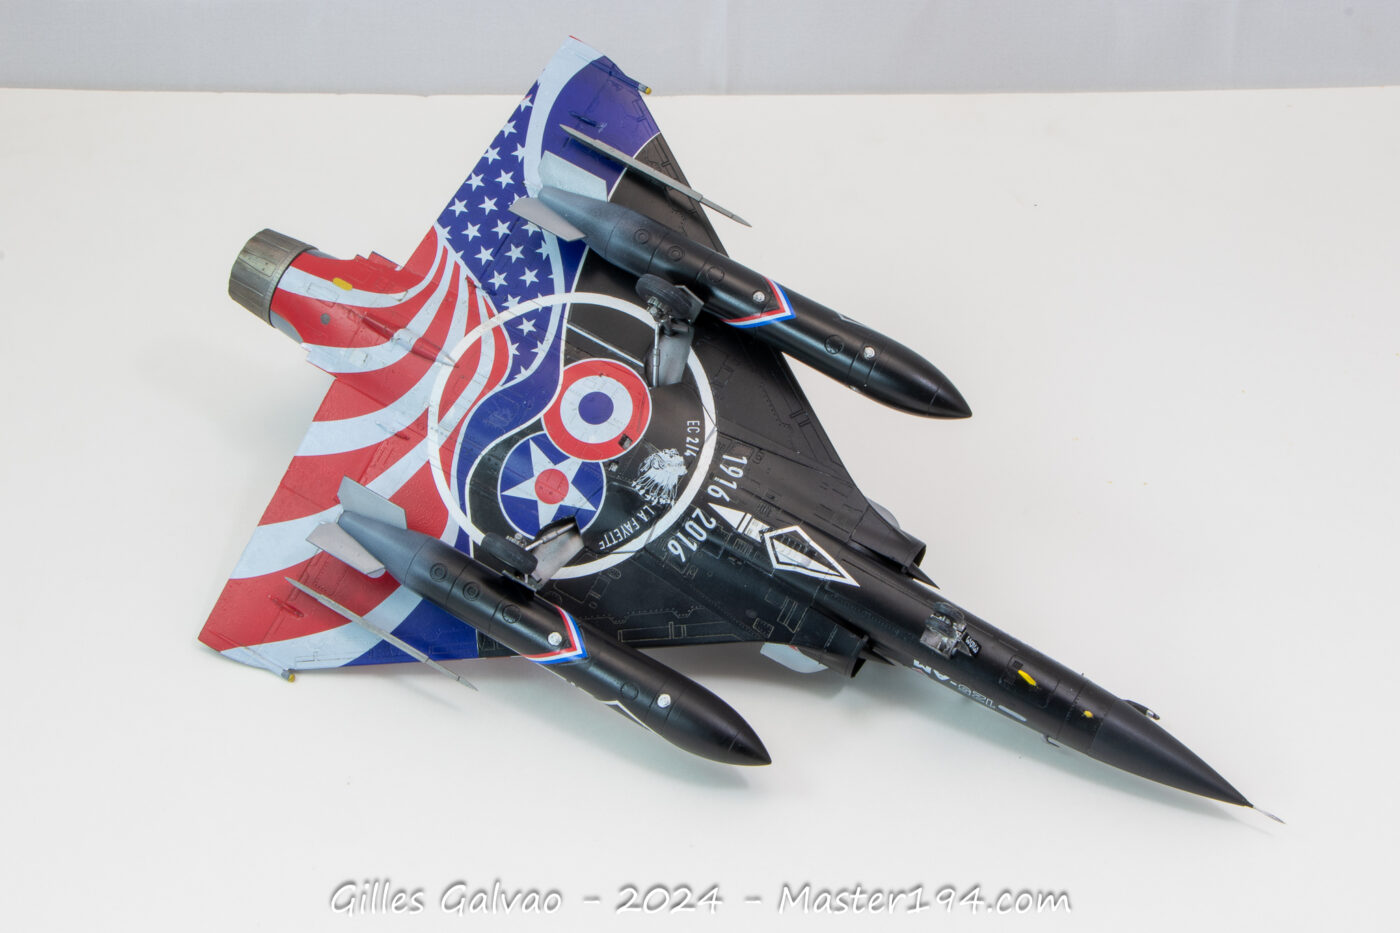
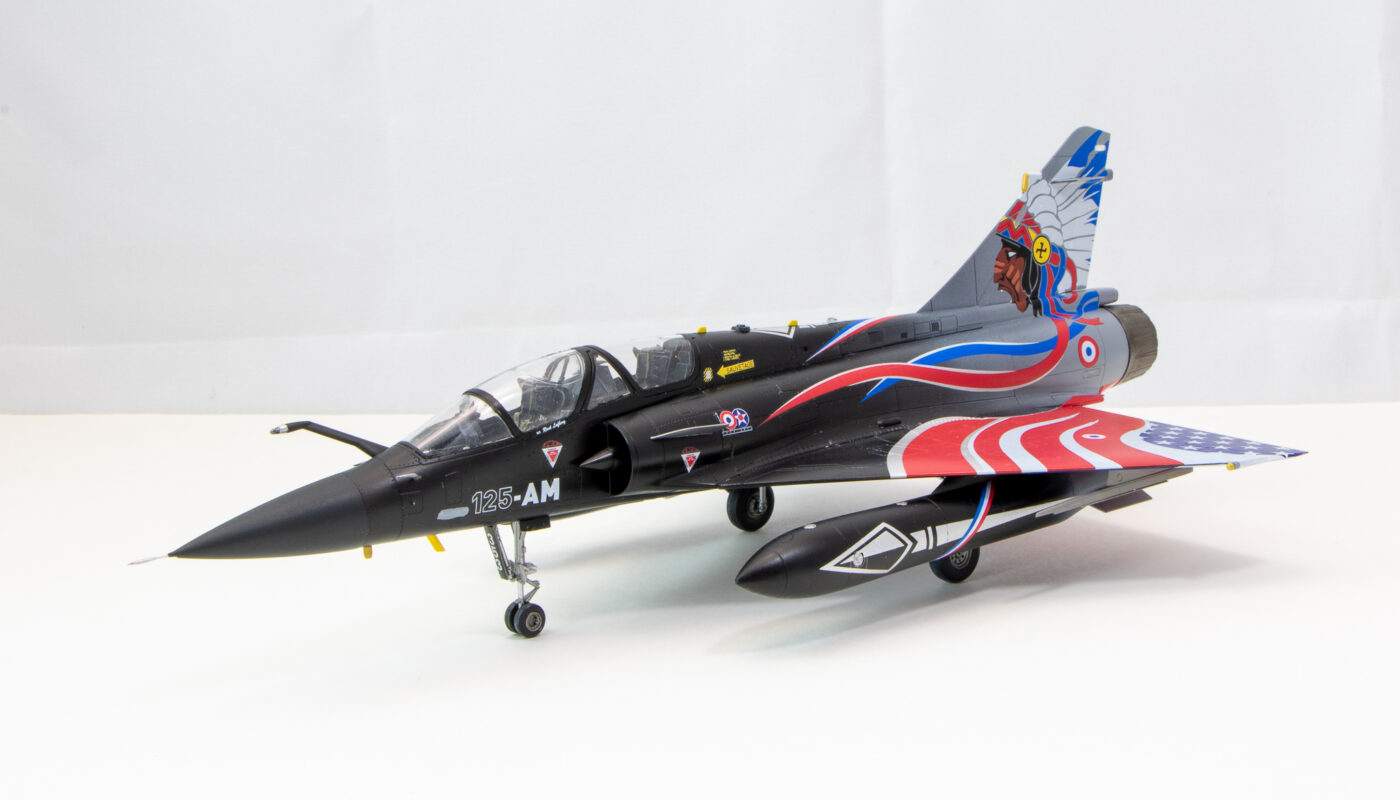
I’ve had the pleasure of seeing the Mirage 2000N fly on several occasions, and I particularly remember the Ramex Delta display at the Avord Air Show in 2016. Aircraft number 353, with its stunning commemorative livery, was especially magnificent!
I previously published a few photos taken during that event, which you can find here:
Mirage 2000N: La Fayette 100th Anniversary Special Livery

Introduction
Of course, when Kinetic released a special boxing for this specific livery, I simply couldn’t resist!
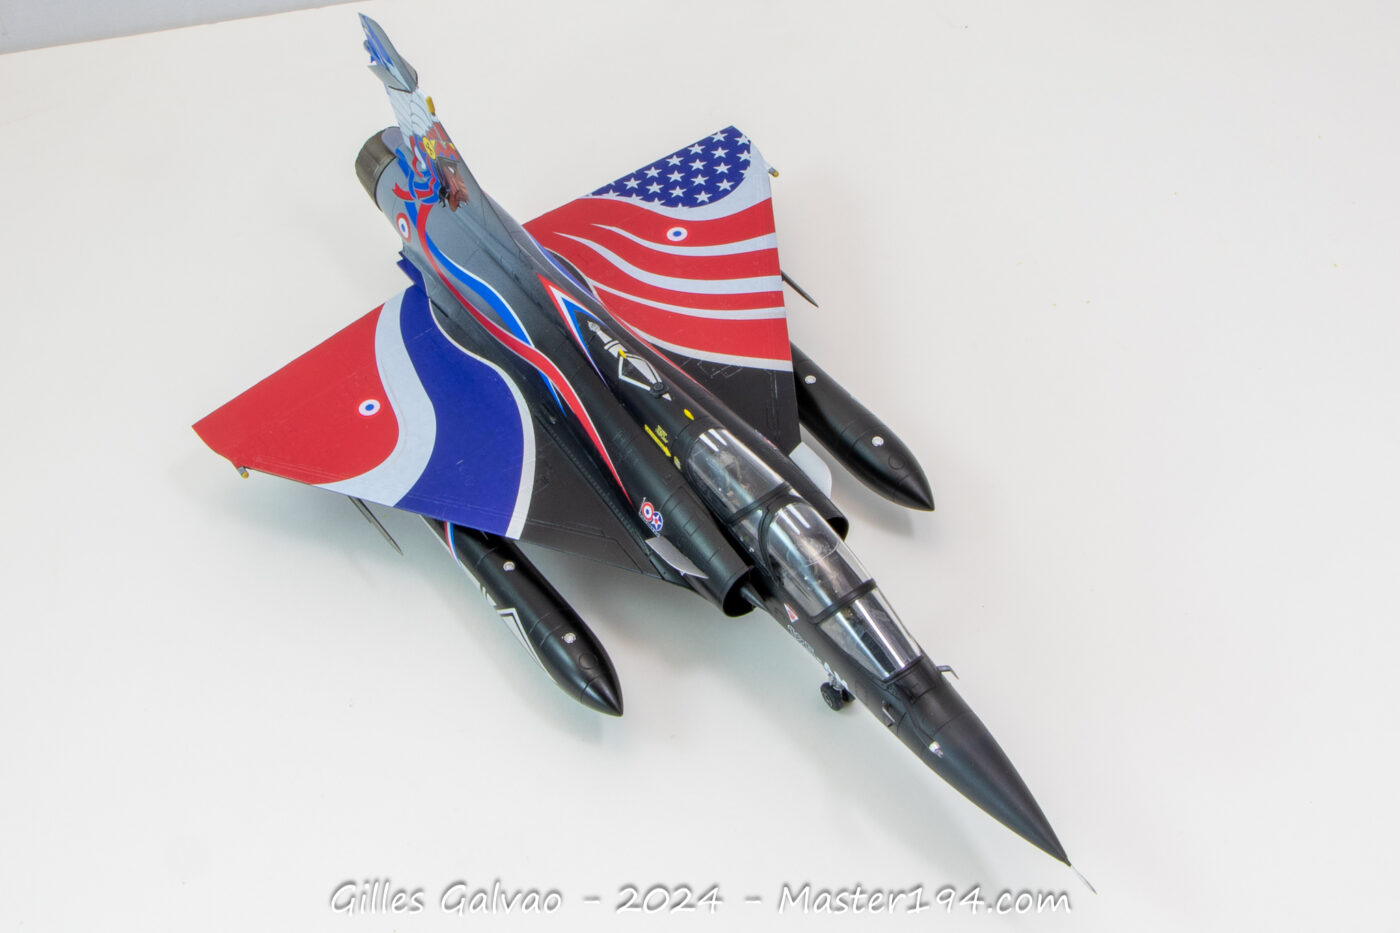
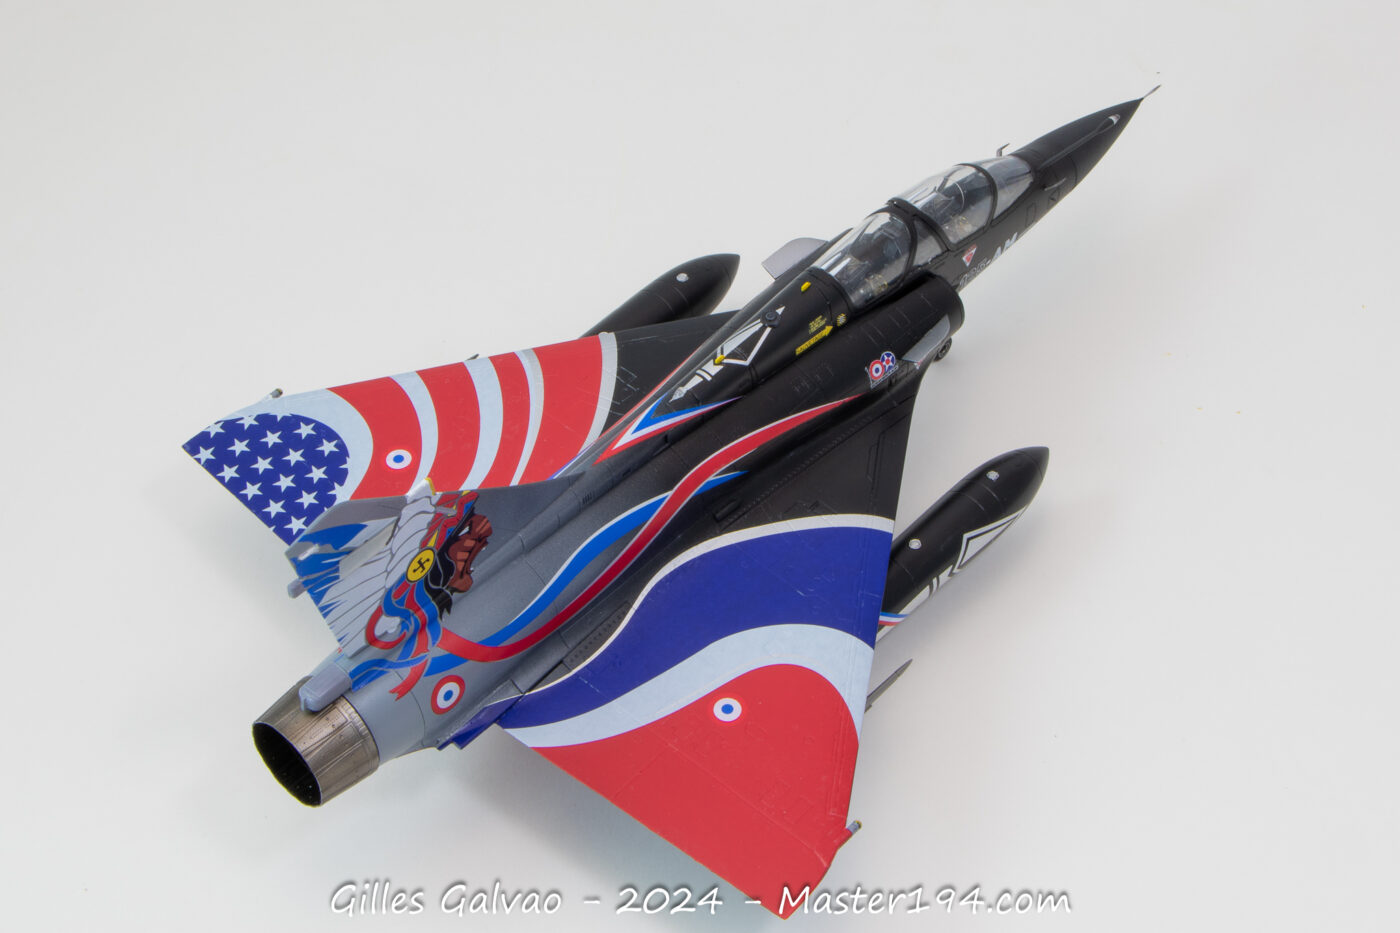
The kit itself needs no introduction, as it has already been the subject of numerous reviews. What interests us here is the decal sheet, which allows us to replicate aircraft No. 353 in its stunning commemorative livery.
The decal sheet was produced by Model Maker Decals and shows no visible issues: both the colors and the registration are perfect. It’s hard to tell at this stage how opaque the white ink will be.
As for documentation, plenty of photos can be found online, but offline, for me, the ultimate reference remains the excellent book by Patrice Ollivier.
The Kinetic instructions are consistent with my previous experiences: full of typos and not always very clear. Unfortunately, I lost most of the “in-progress” photos I had taken to illustrate this article.
So, let’s recap the key build points step-by-step, even without the photos…
Assembly
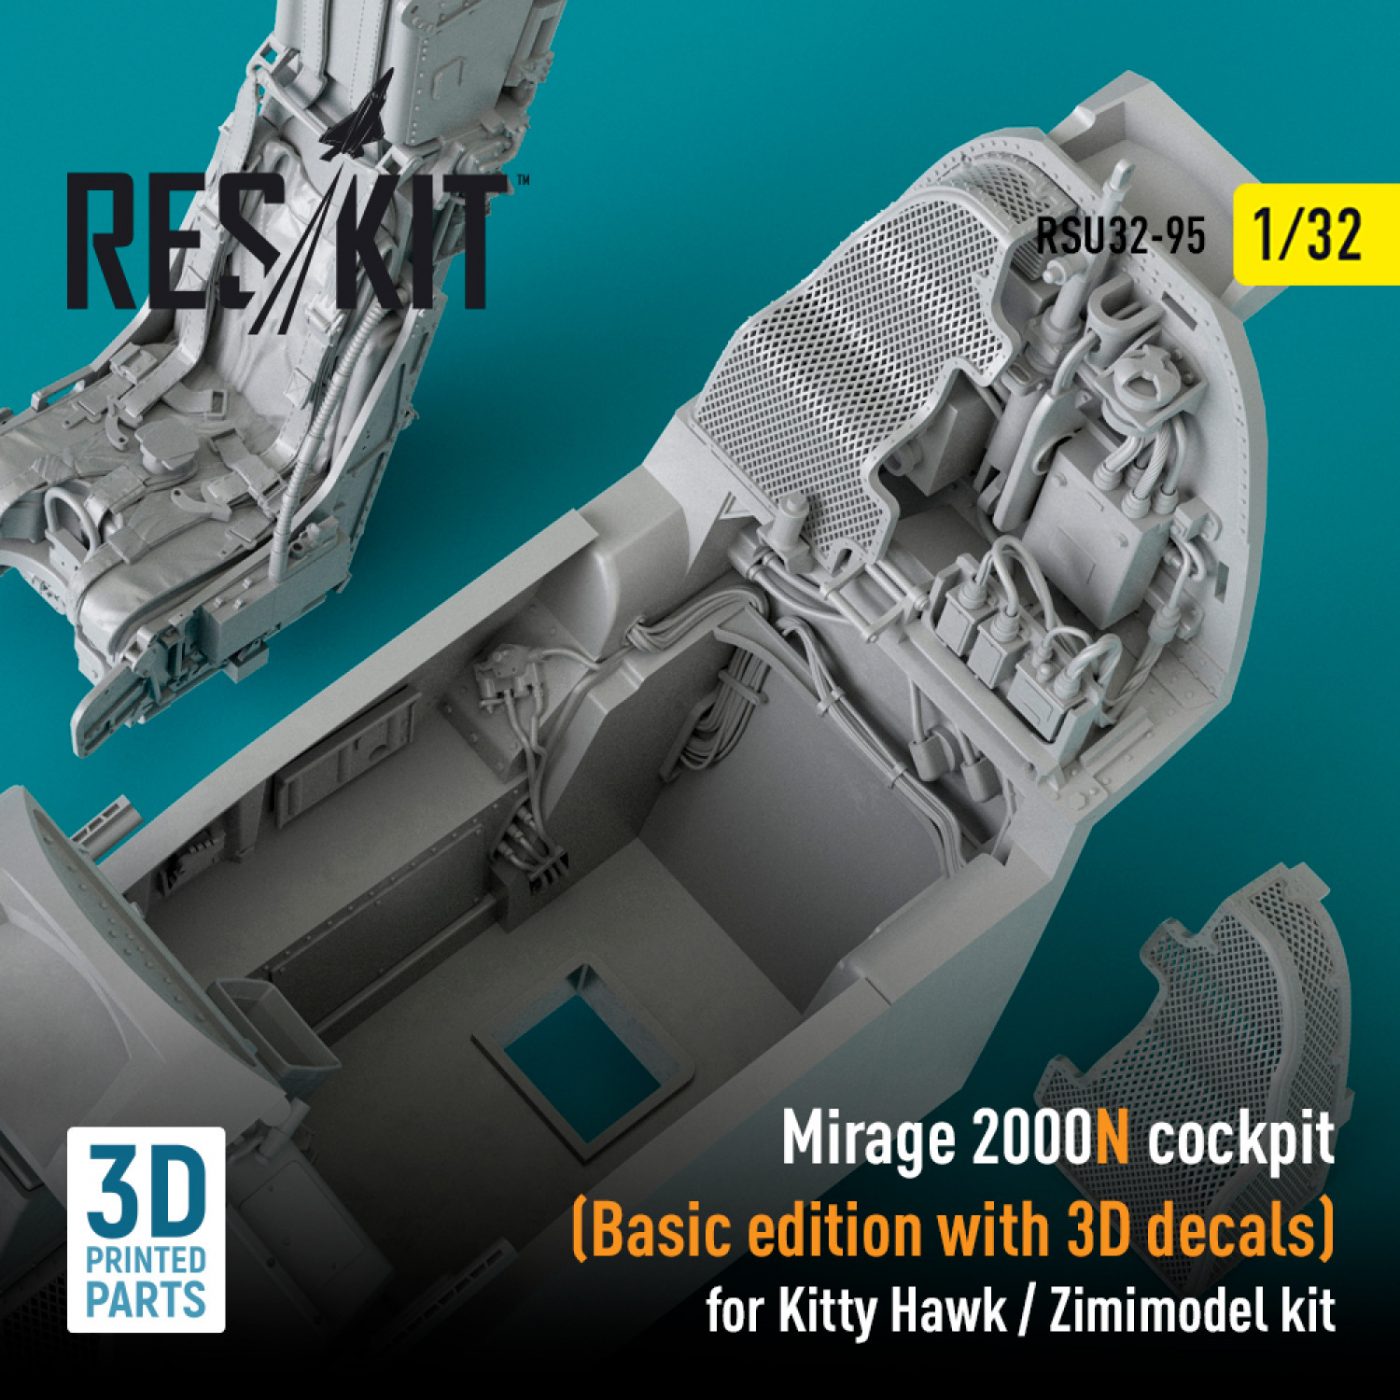
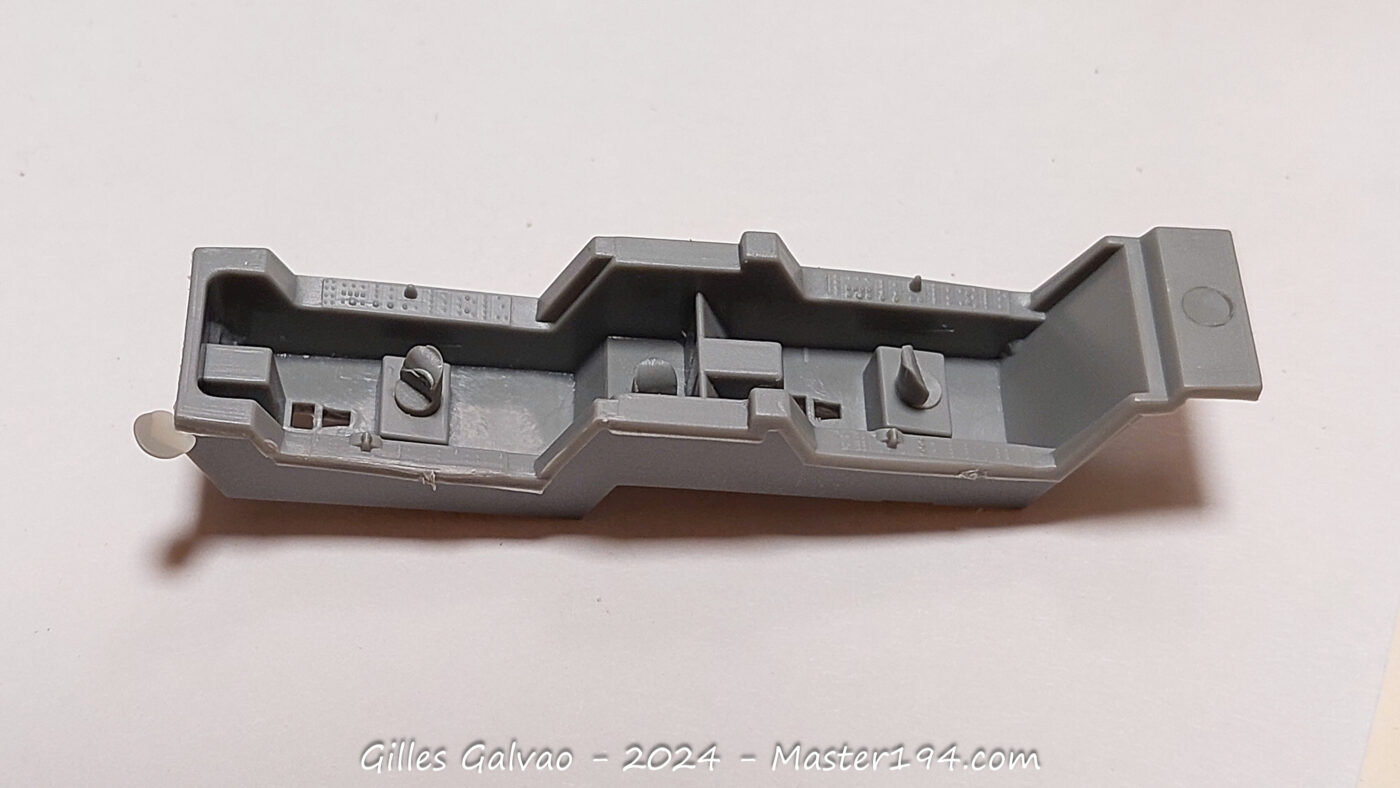
Step 1: Cockpit part E8 is not accurate for aircraft 353. In reality, these components are protected by a fine mesh screen, as is the rear glare shield. This detail is correctly represented in the Reskit 1/32 set shown below, but to my knowledge, no such aftermarket set exists for the 1/48 scale yet. Furthermore, the entire interior should be black, not gray. You will also need to do some cleanup to remove the ejector pin marks where the seats are positioned.
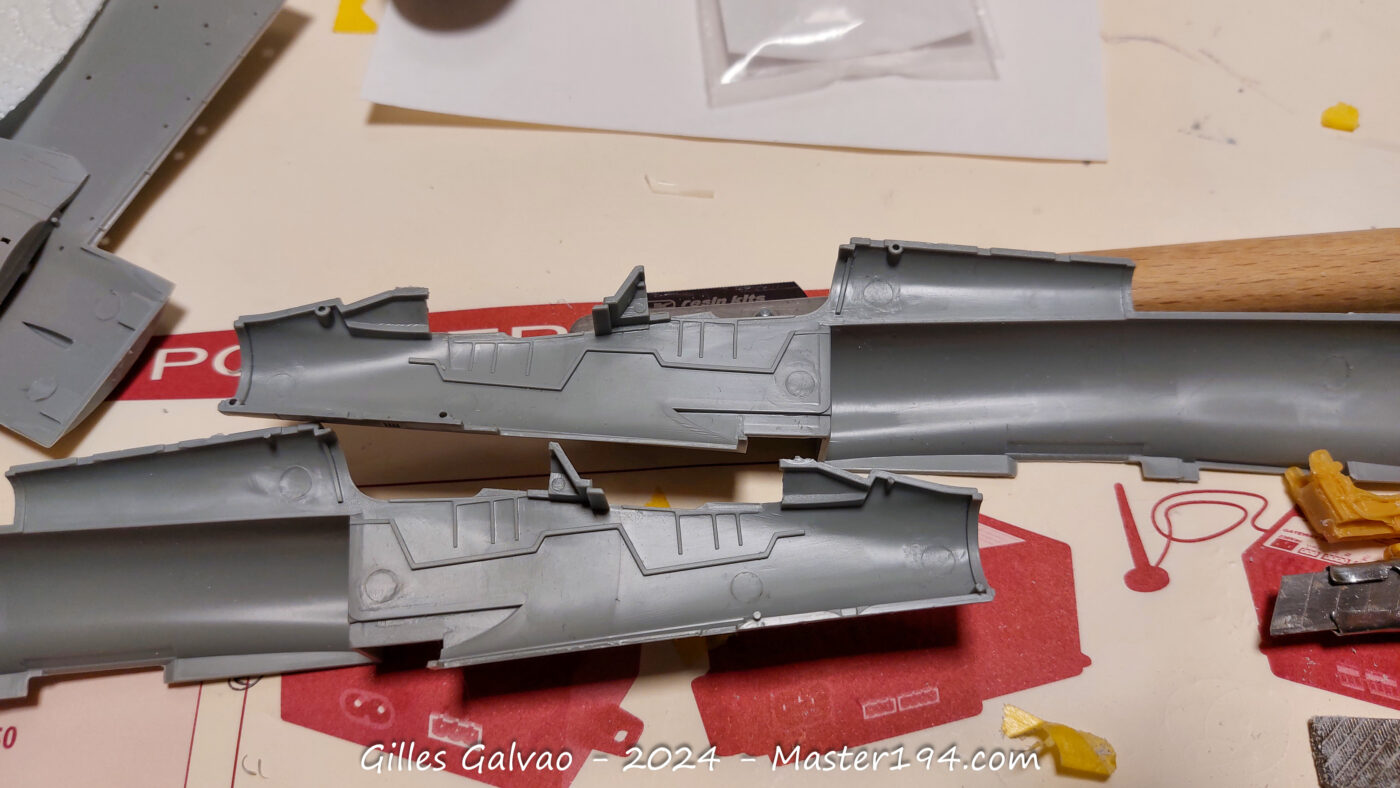
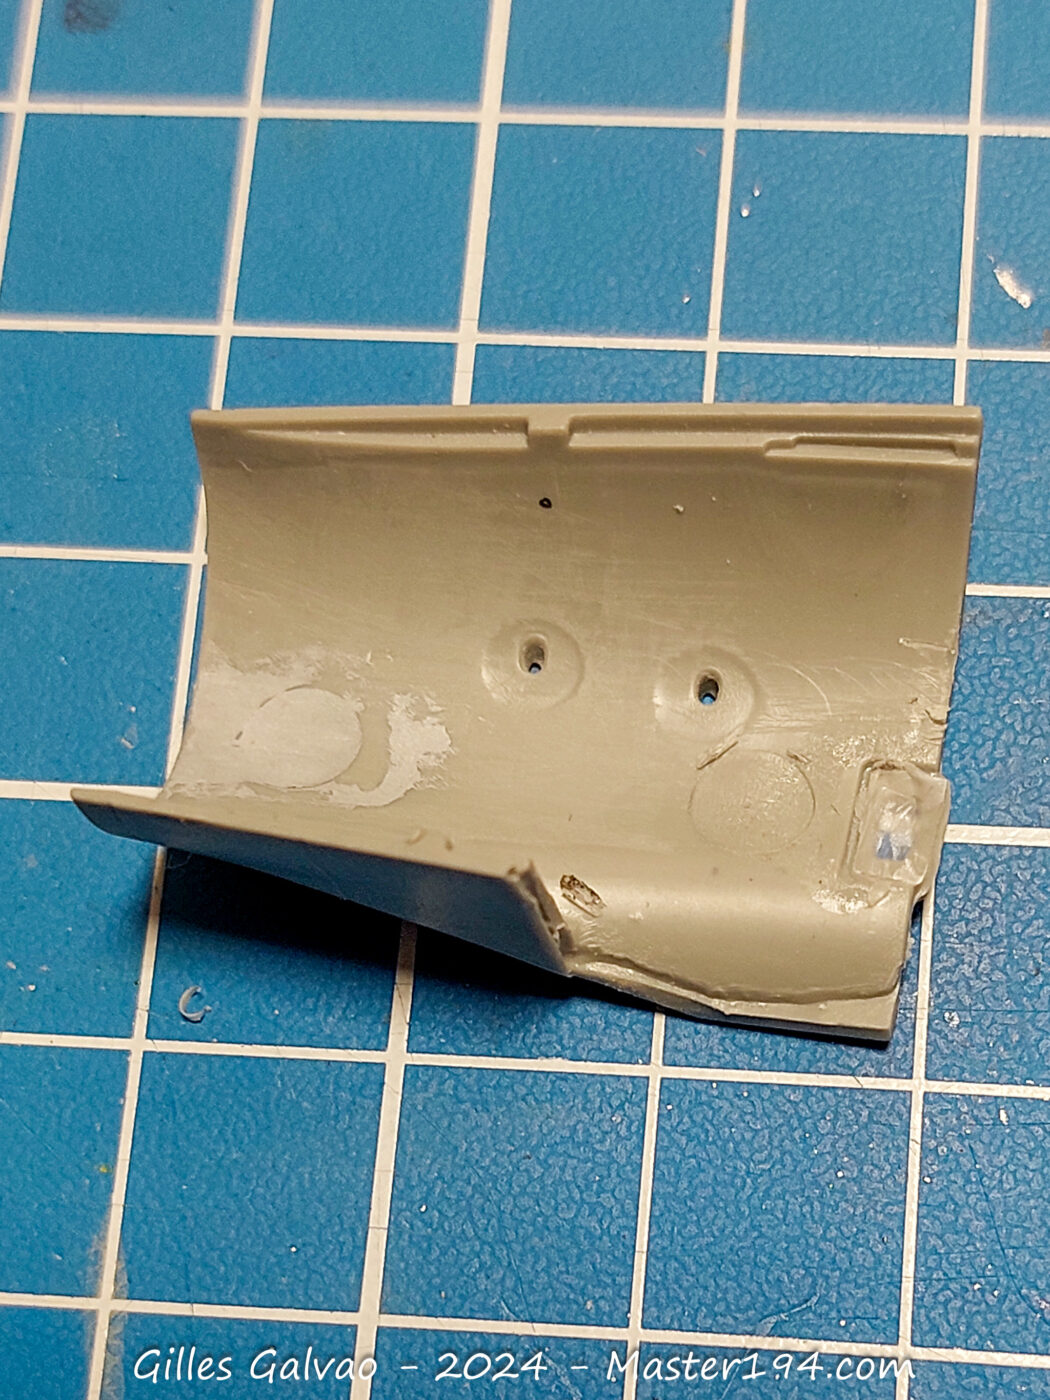
Step 2: The police light (represented by part F6 on the left side) does not exist on the 2000N and must be removed. The air intakes will require a significant amount of fit adjustment, as well as extensive cleaning and filling of the interior to achieve a smooth finish…
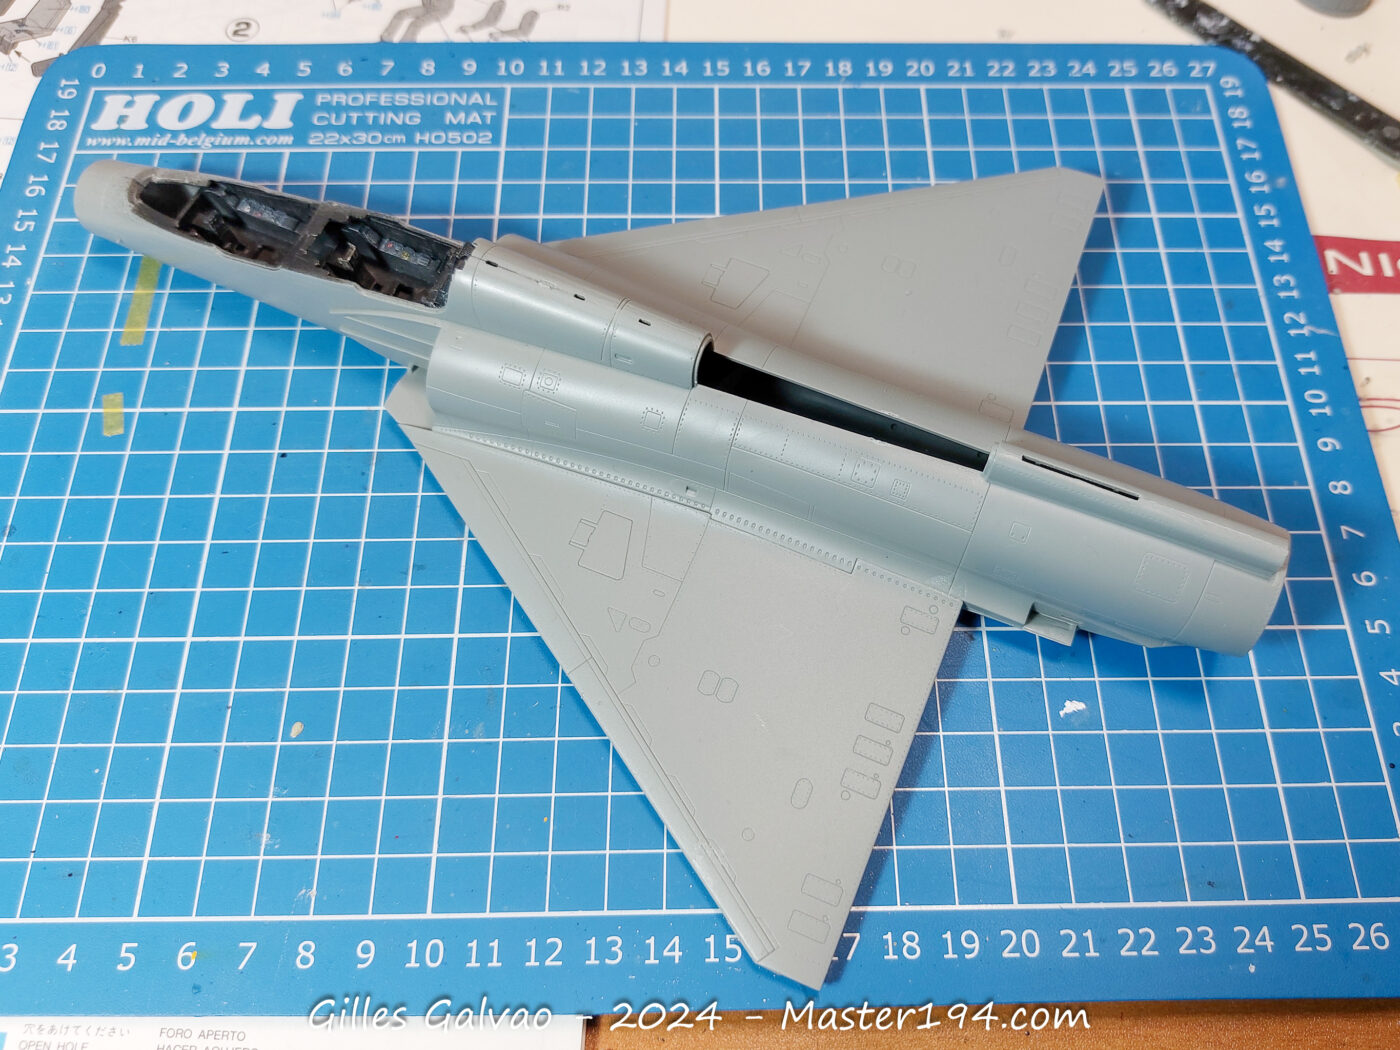
Step 3: This is where the assembly gets tricky. After several rounds of dry-fitting, I recommend gluing the lower wing sections to the fuselage (parts B3 and B2) to achieve the cleanest possible joints. Next, glue parts E5 and B1 together, after thinning down part B1 to ensure everything aligns and fits properly.
Once that’s done, you’re all set!
Pay close attention during this step to the parts on either side of the exhaust nozzle (E17 and E18): Aircraft 353 does not have the flare dispensers mounted. You will need to remove the section representing them—it’s a simple fix (see the photo of the real aircraft below, marked with the yellow arrow).
Step 8: Watch out for the antennas and lights on the aircraft’s spine: the locations aren’t correct, and the GPS antenna present on No. 353 is missing from the kit. See the yellow rectangle in the photos bellow for reference.
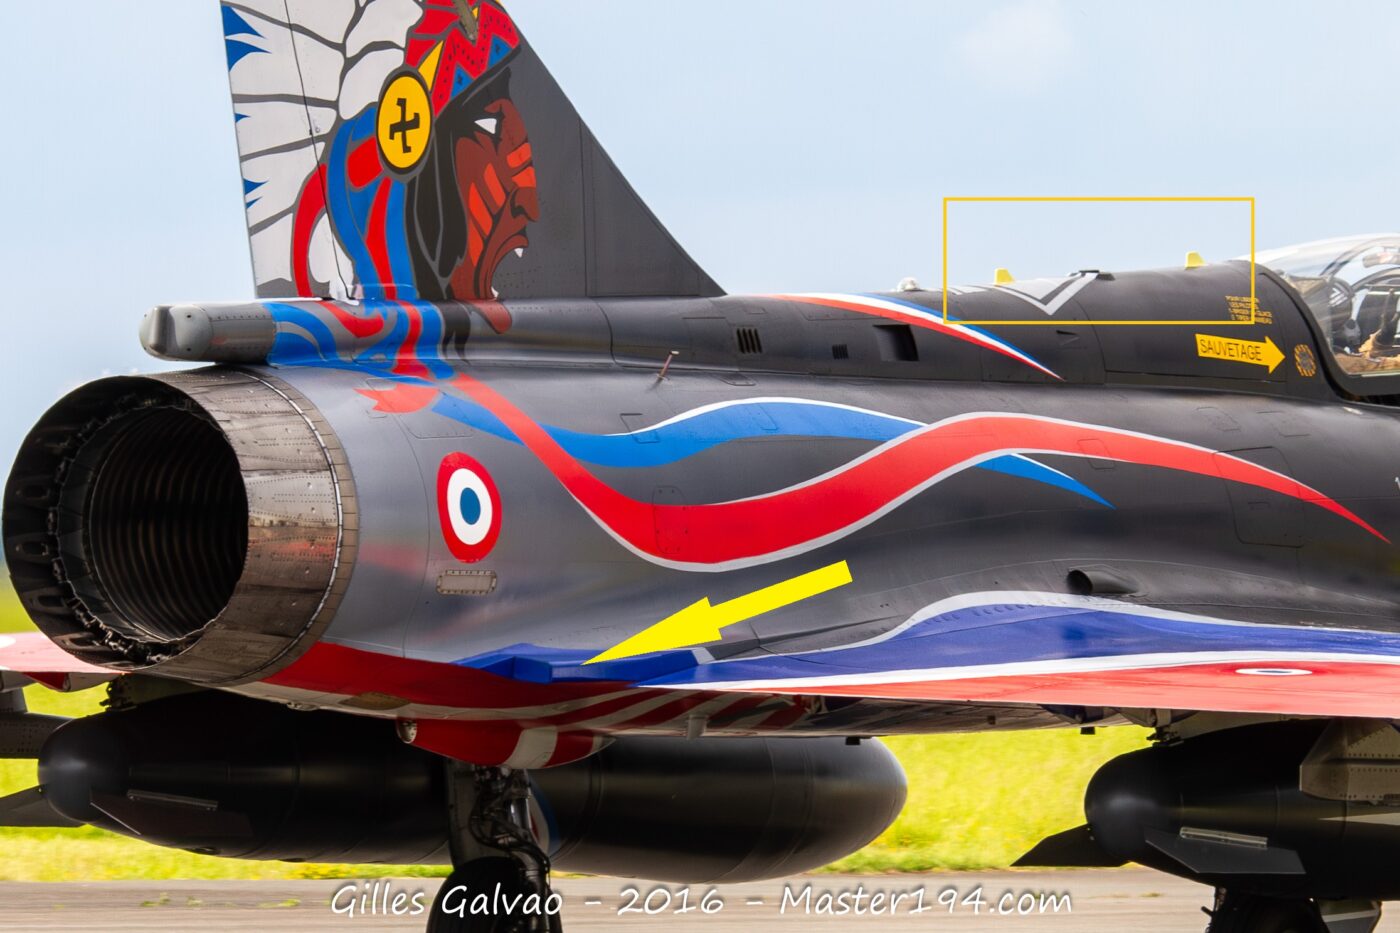
Step 10: Another Kinetic typo regarding the tail fin: do not use part E16. The correct tail fin for this version is part C35.
Painting and Decals
Once assembly was complete, the painting stage proved quite challenging due to that magnificent black-to-gray gradient. I started by painting the entire model in Gloss Black (Gunze H2). I then built up the gradient using successive, highly thinned coats of H307 (FS36320).
Note that the large external fuel tanks also feature this gray/black gradient. It is actually very subtle for a specific reason: the gradient aligns with the rest of the airframe. This means the rear section of the tank isn’t fully gray, but matches the exact shade of the fuselage gradient at that specific position.
The fins on the fuel tanks and the small vanes on the air intakes are painted Aluminum. For the radome, I chose Gunze H77 Tire Black to create a slight contrast with the rest of the aircraft.
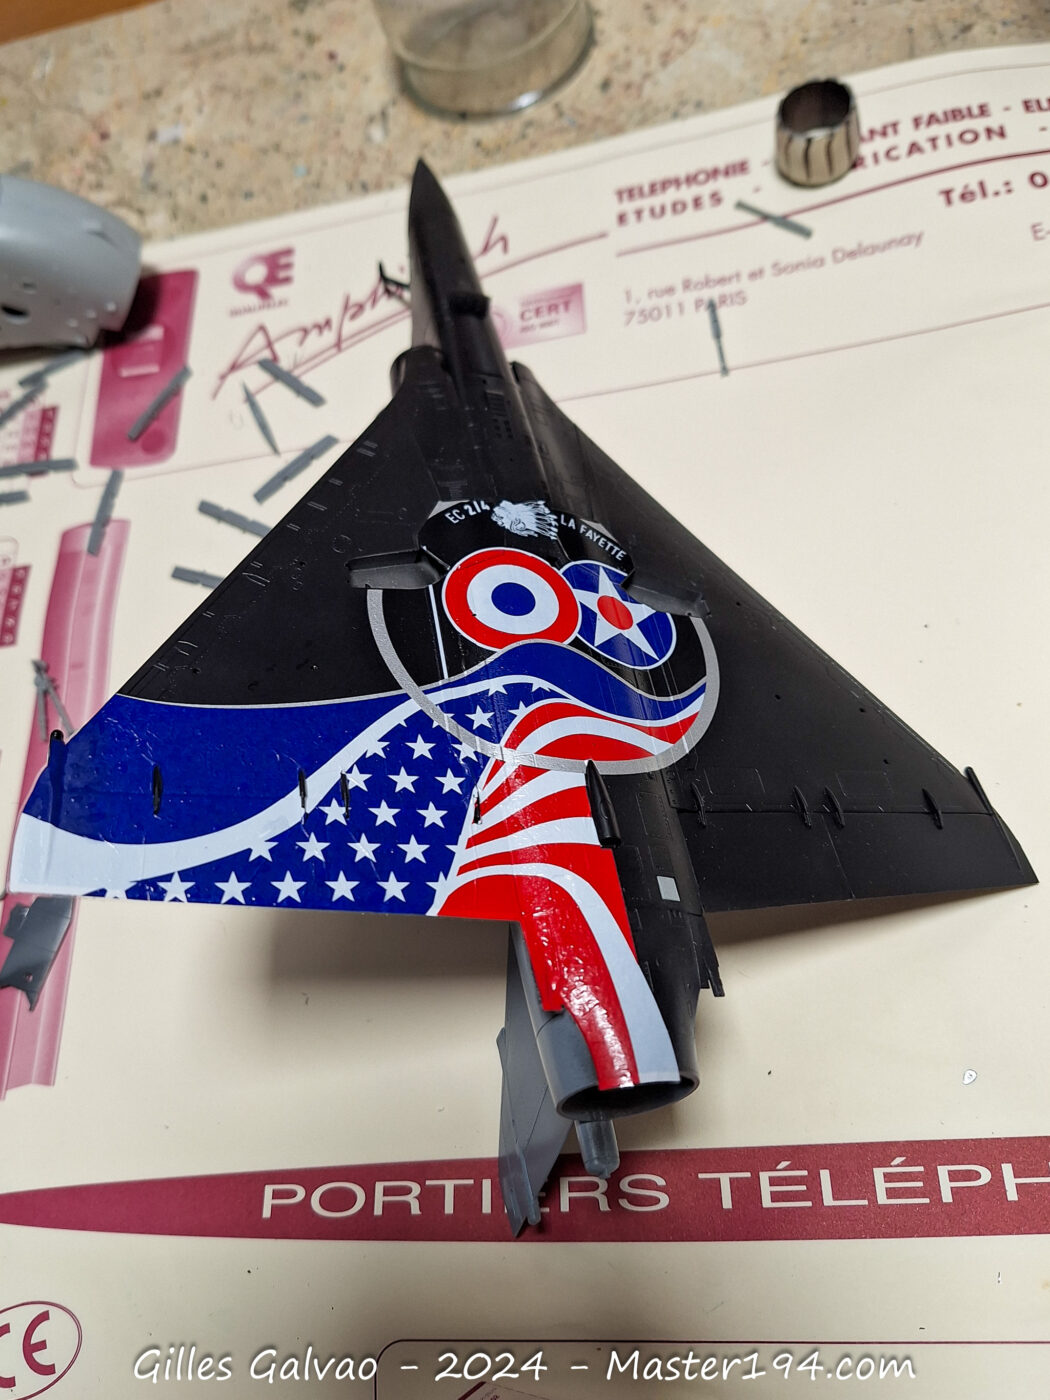
Applying the decals is truly the most stressful moment. There are large surfaces to cover, and while the upper wings are relatively smooth, the underside is no walk in the park… I started with the underside: a bit of Micro Set, followed by the first decal. So far, so good!
I used Micro Sol to help the decals conform to the curves, and they reacted well. Phew! It won’t be easy, but the decals are actually very high quality: thin, not brittle, and they respond perfectly to softening solutions. Now, just to finish the rest… The only downside: I find the white ink to be lacking in opacity.
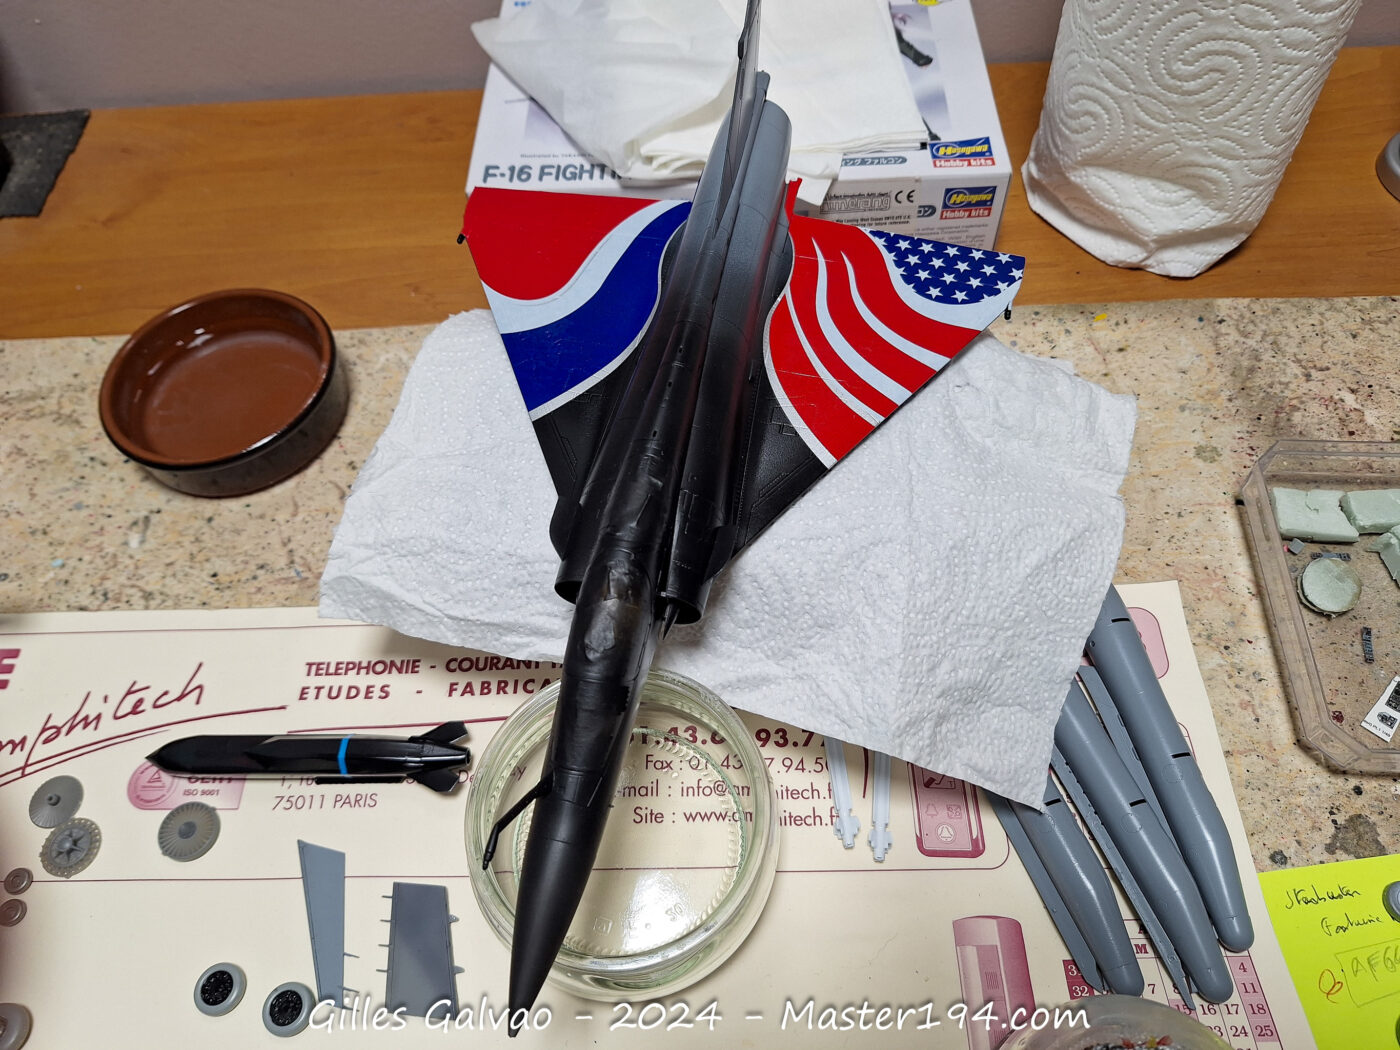
Once the decals were in place, I applied another coat of gloss varnish, followed by some very subtle weathering, and finished with a flat coat (matte varnish).
The landing gear and various fragile accessories were then added to avoid any risk of breakage.
Model finished!