 by
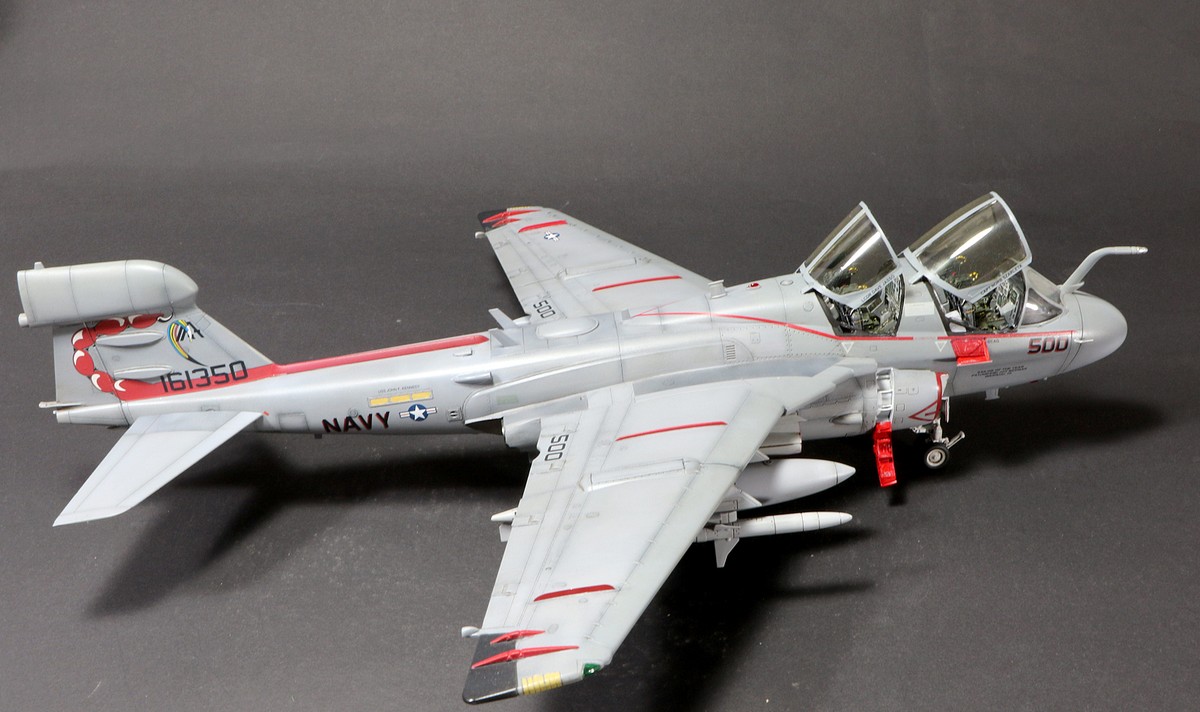
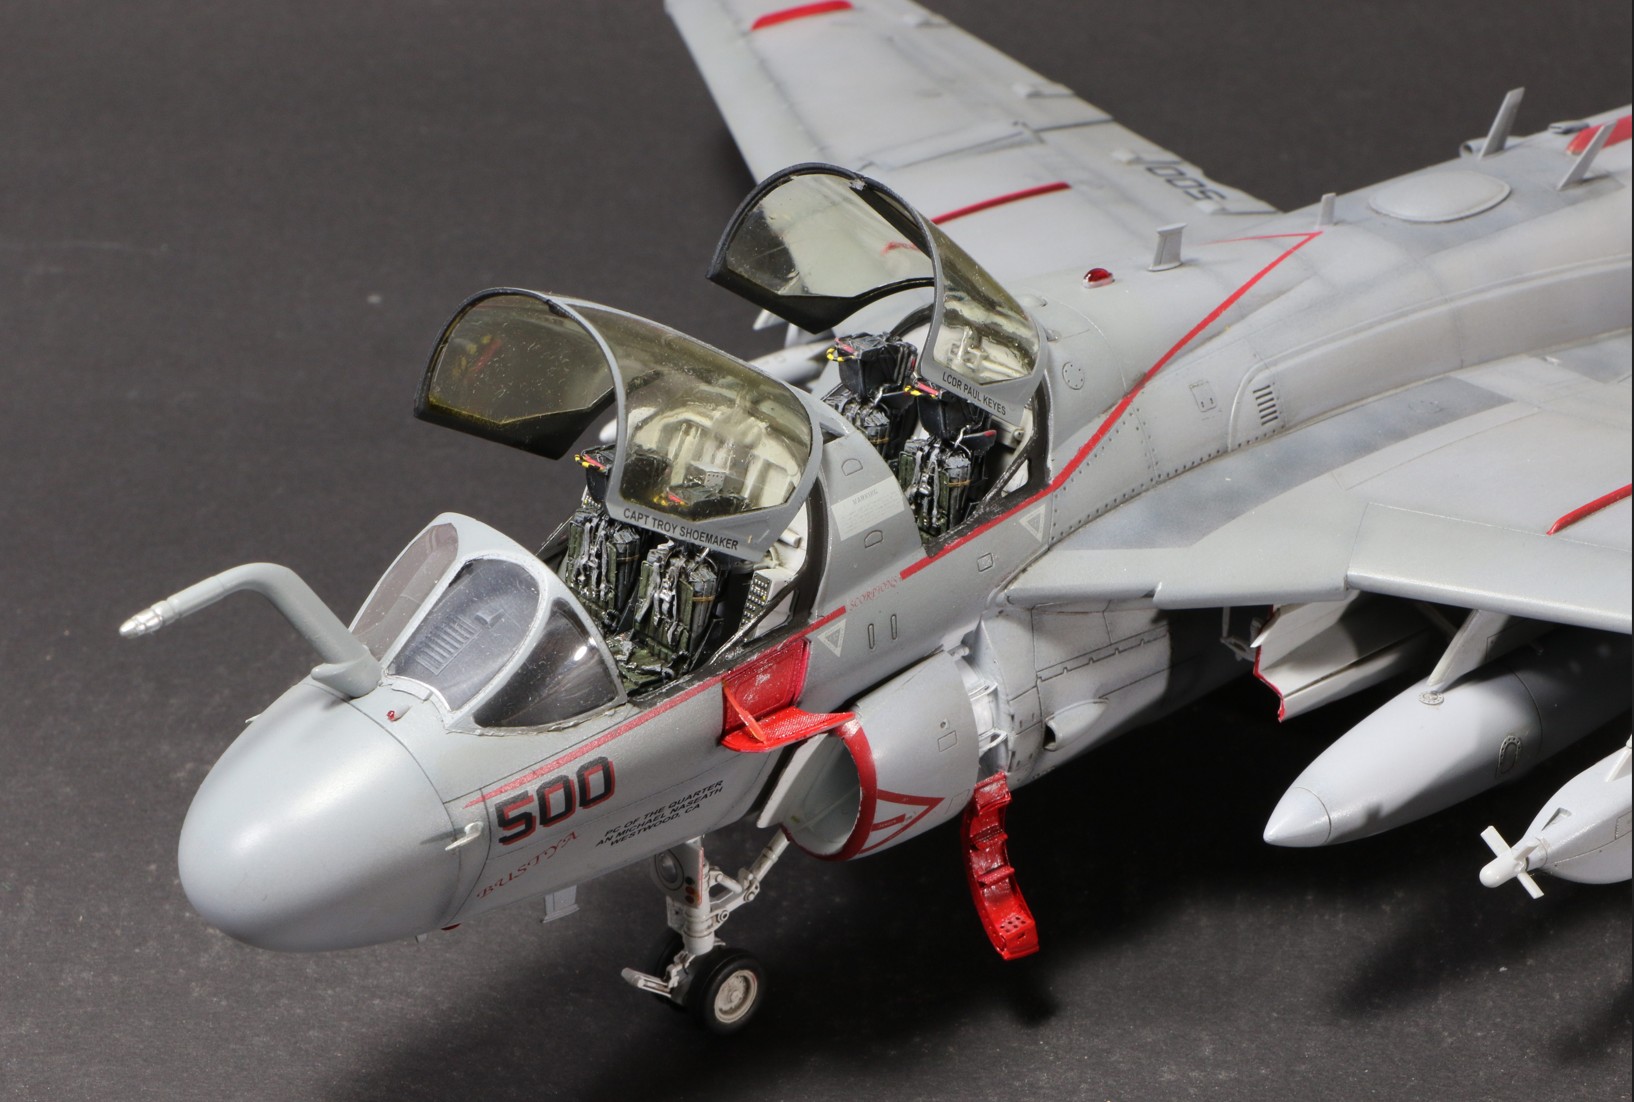
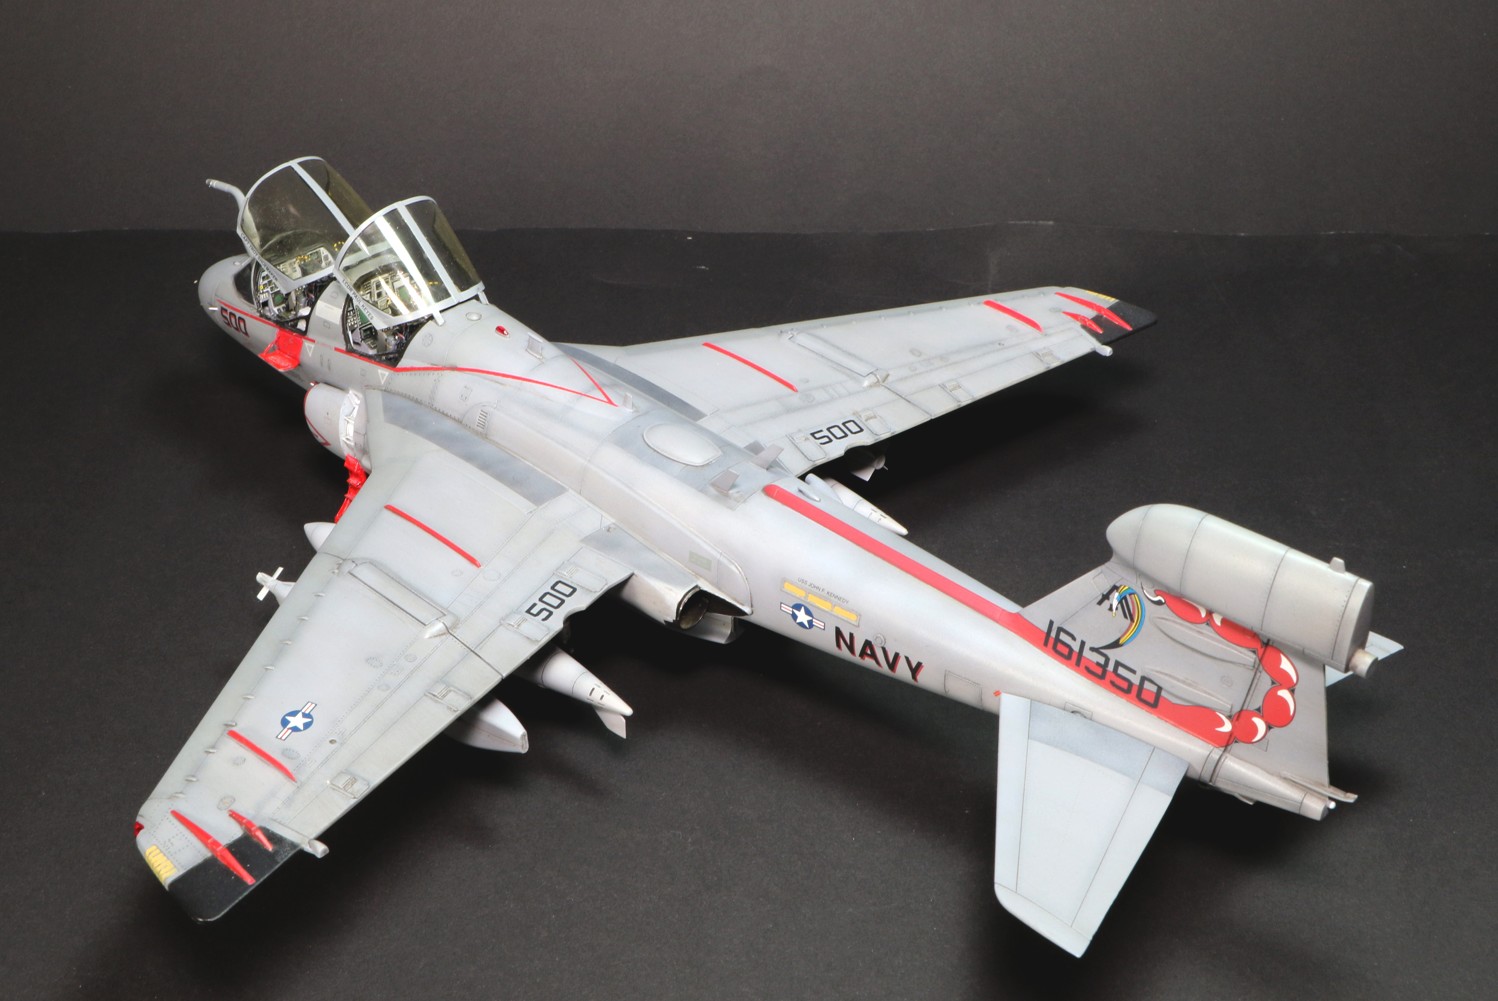
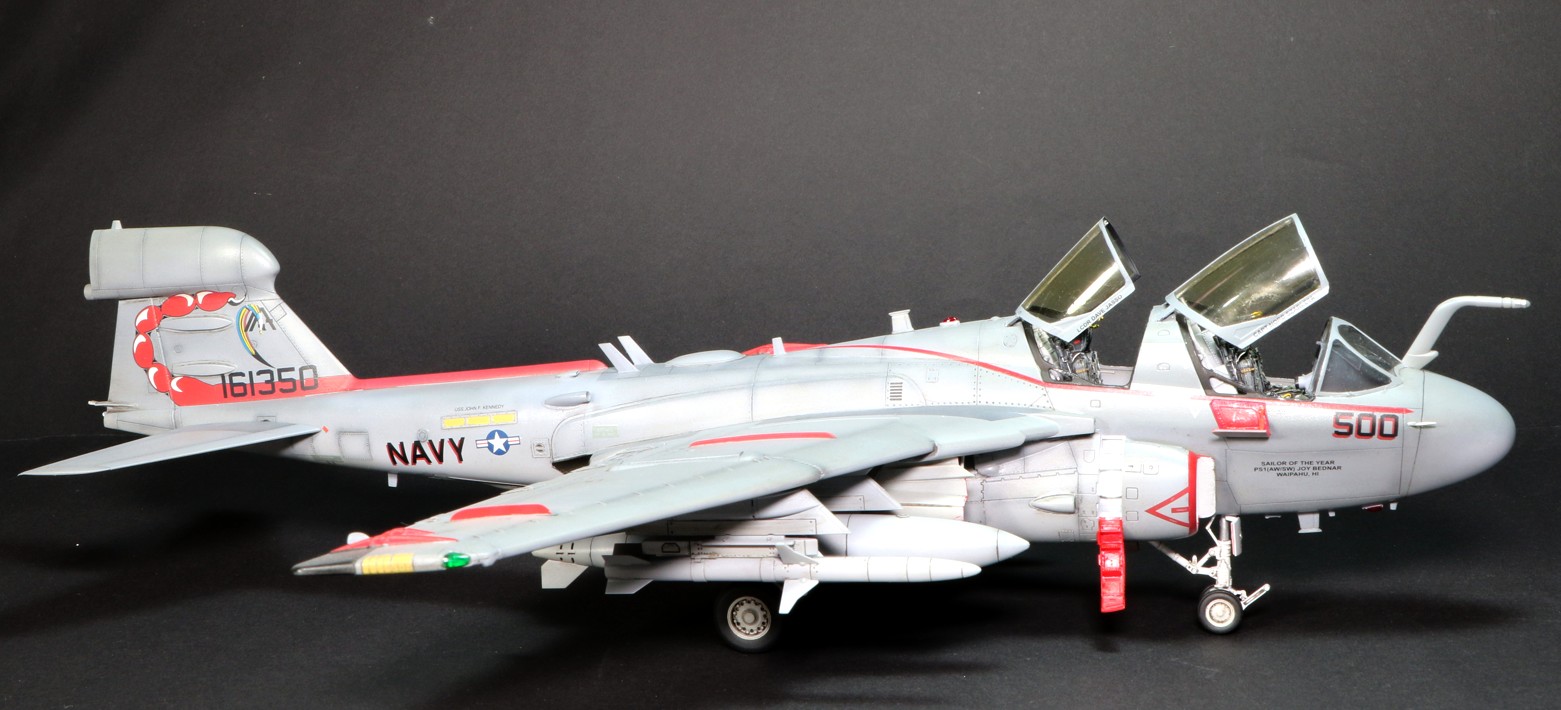
Don’t forget the boarding steps (red for some, white for others) and the main gear wells, which look rather empty…
AD
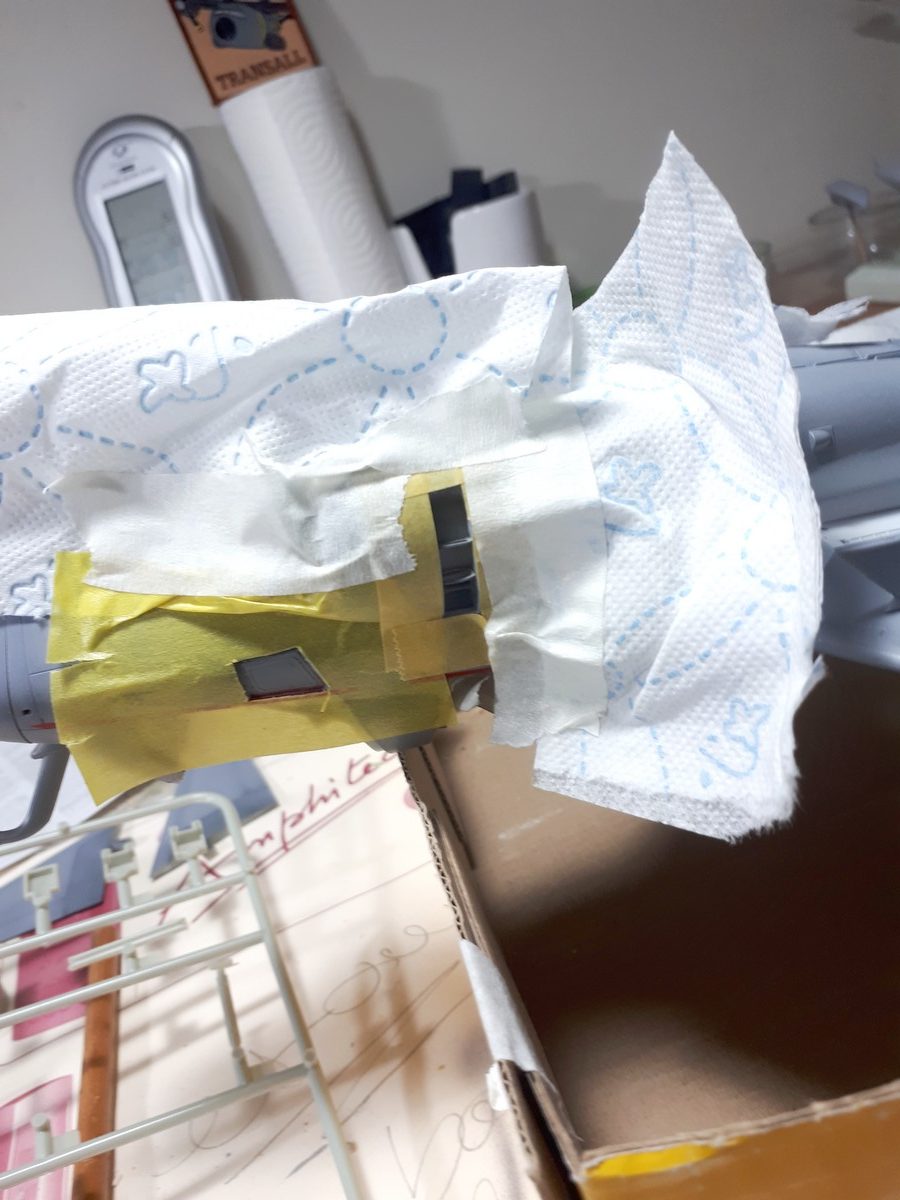
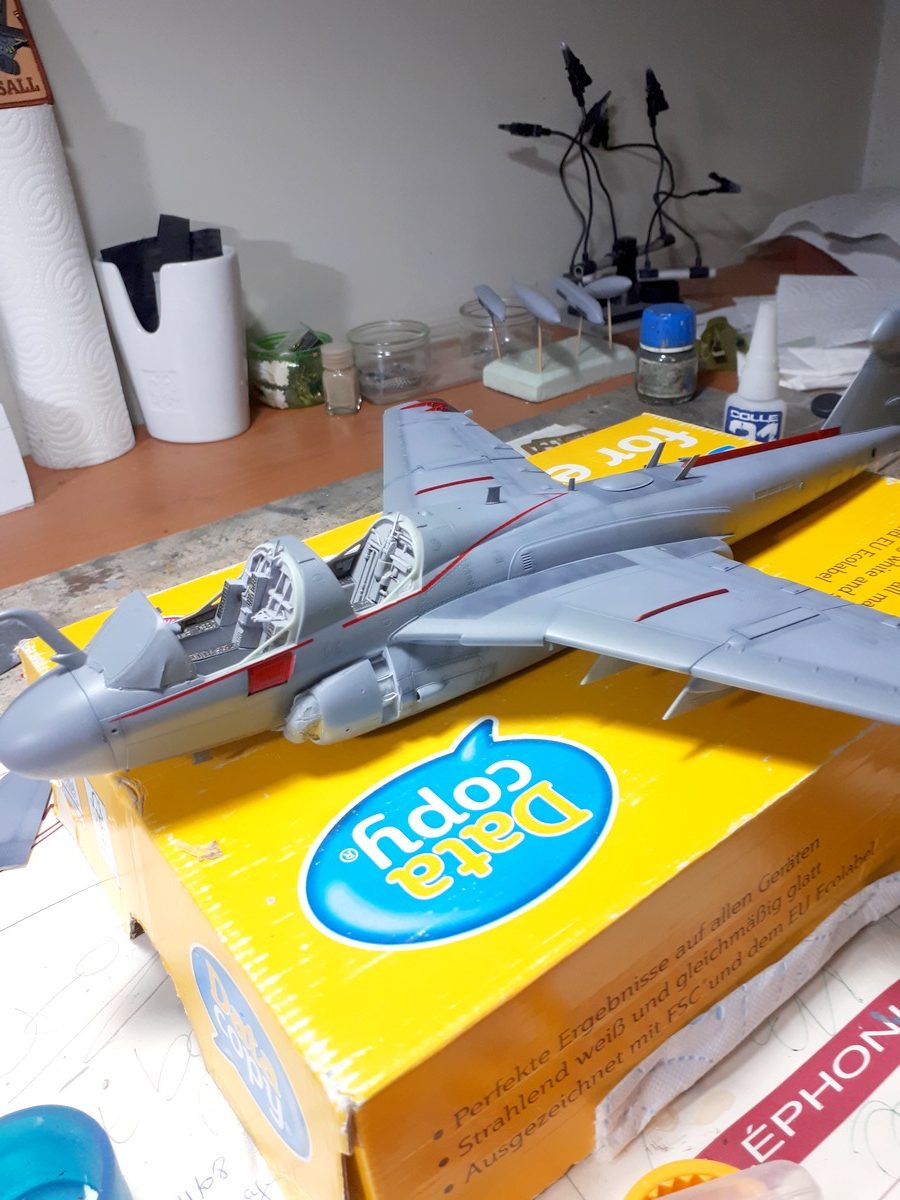
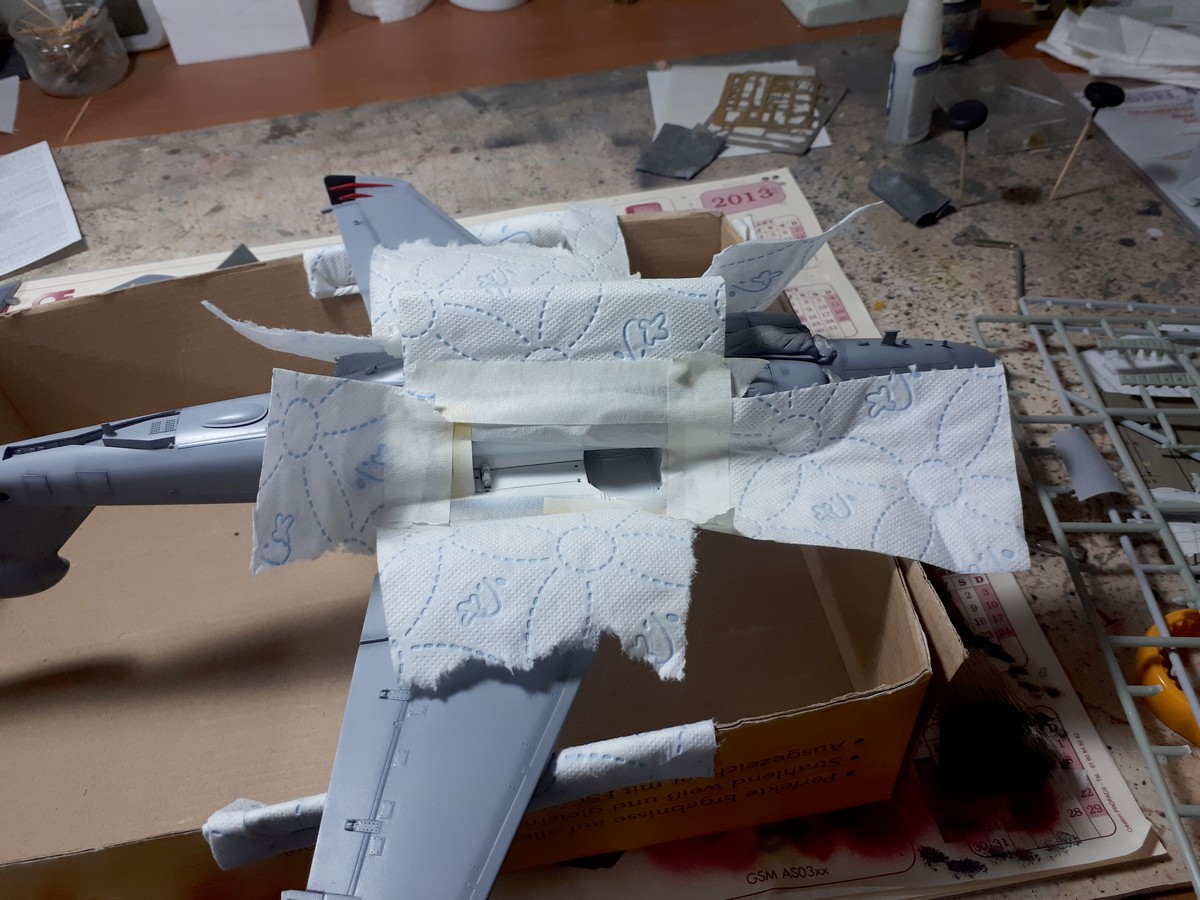
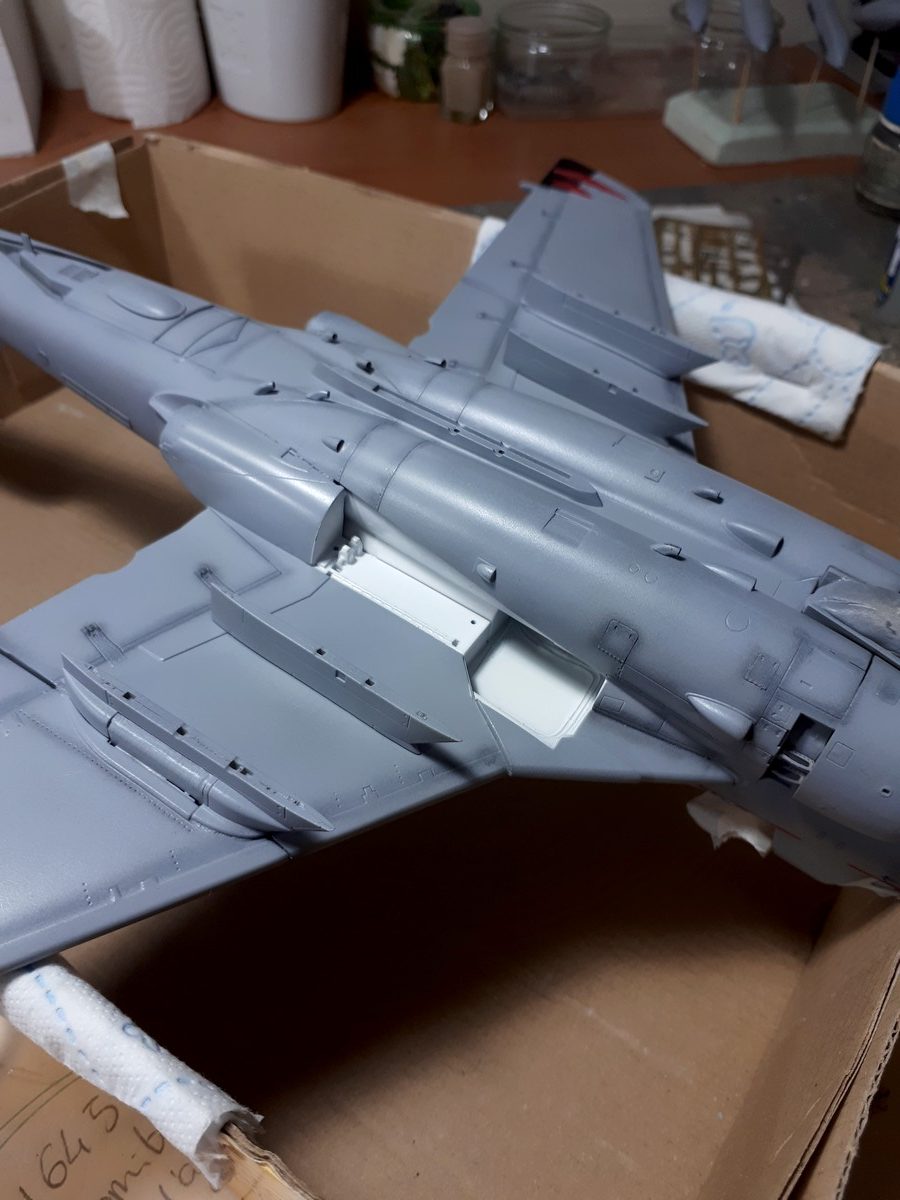
After a coat of gloss varnish, it’s time to start applying the decals.
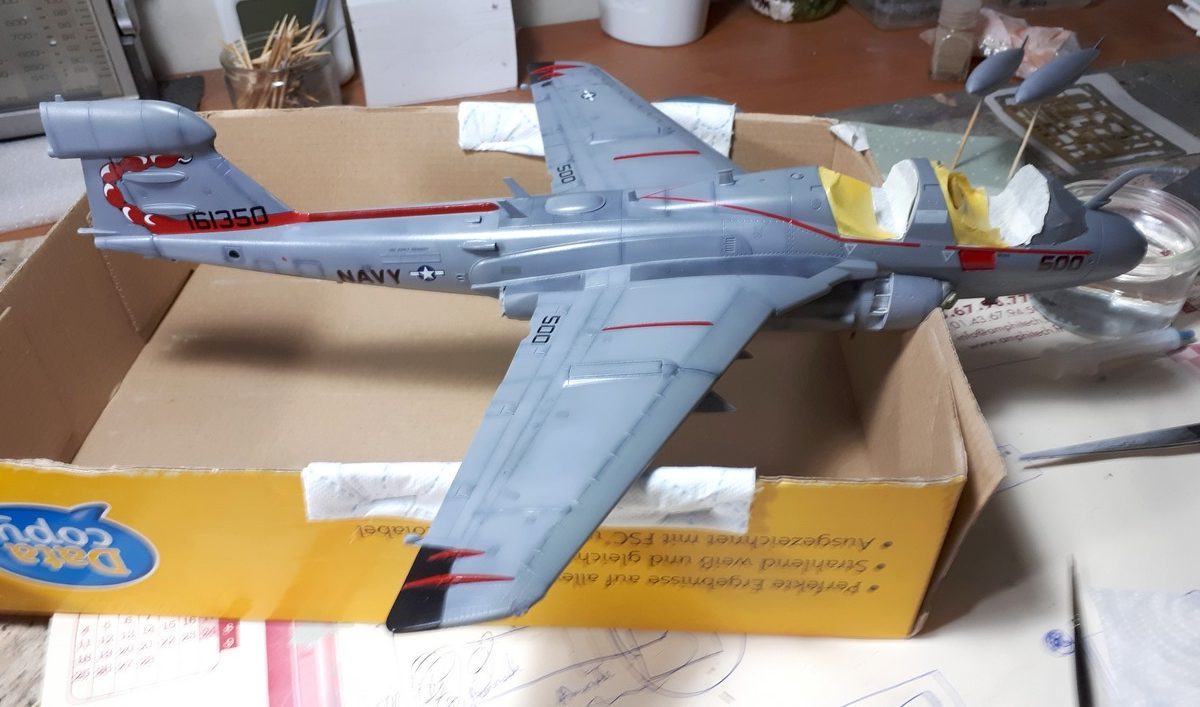
Of course, the shades don’t always match perfectly between the paint and the decals… so you have to go back and blend them to soften the transition. Be extremely careful when masking, though, to avoid pulling the decals right off!
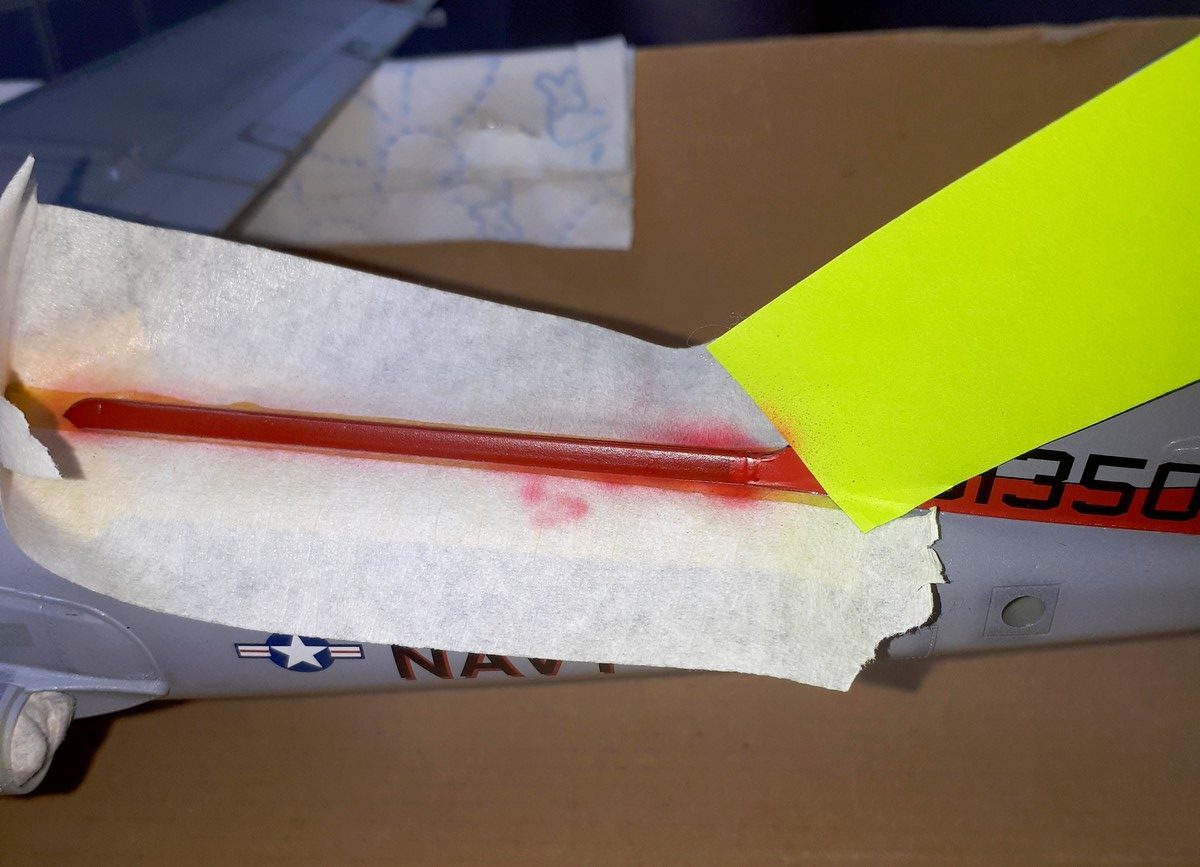
Once the touch-ups were done, everything was clear-coated again, and I could move on to the weathering stage with a wash.
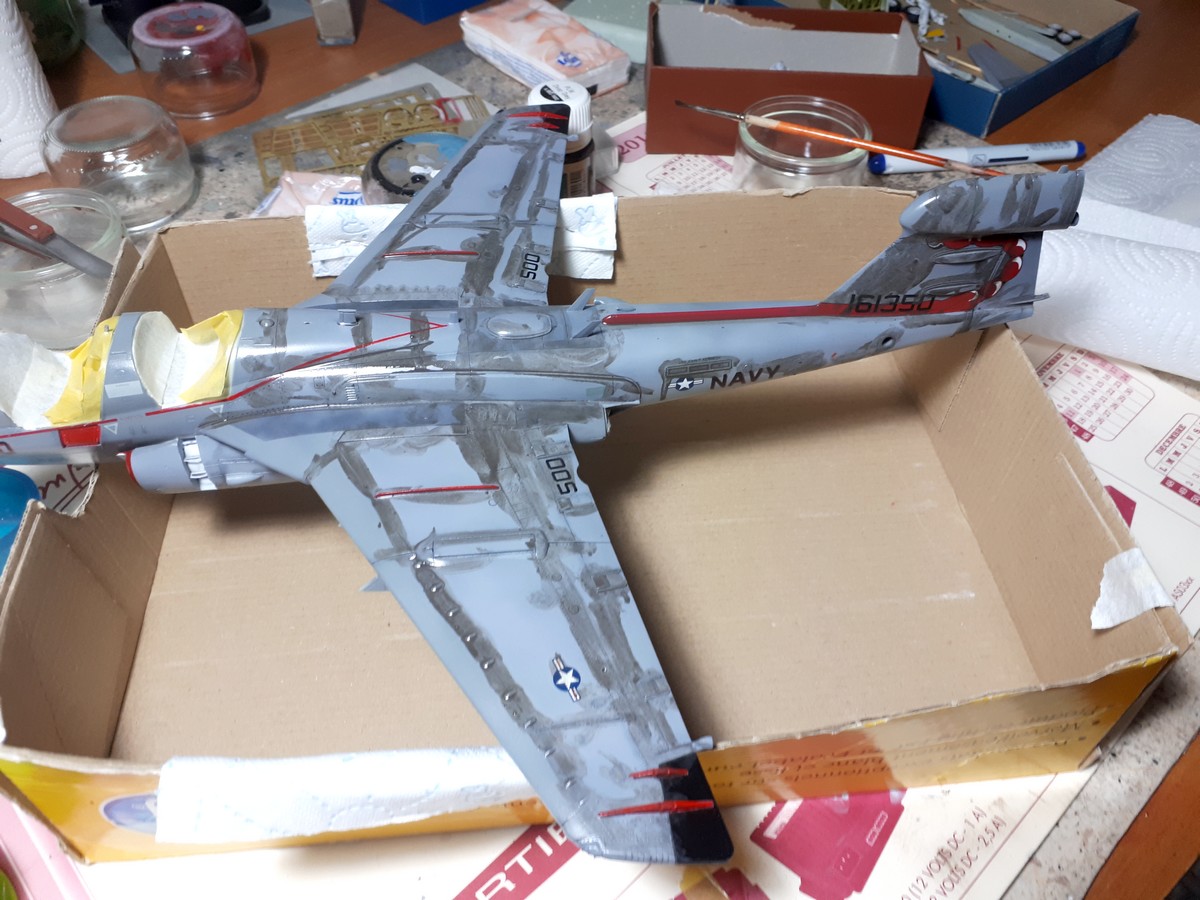
Once all that is done, you’d think the hardest part is over—the final stretch… But then come the canopies, which present two major challenges (one of which is a real nightmare):
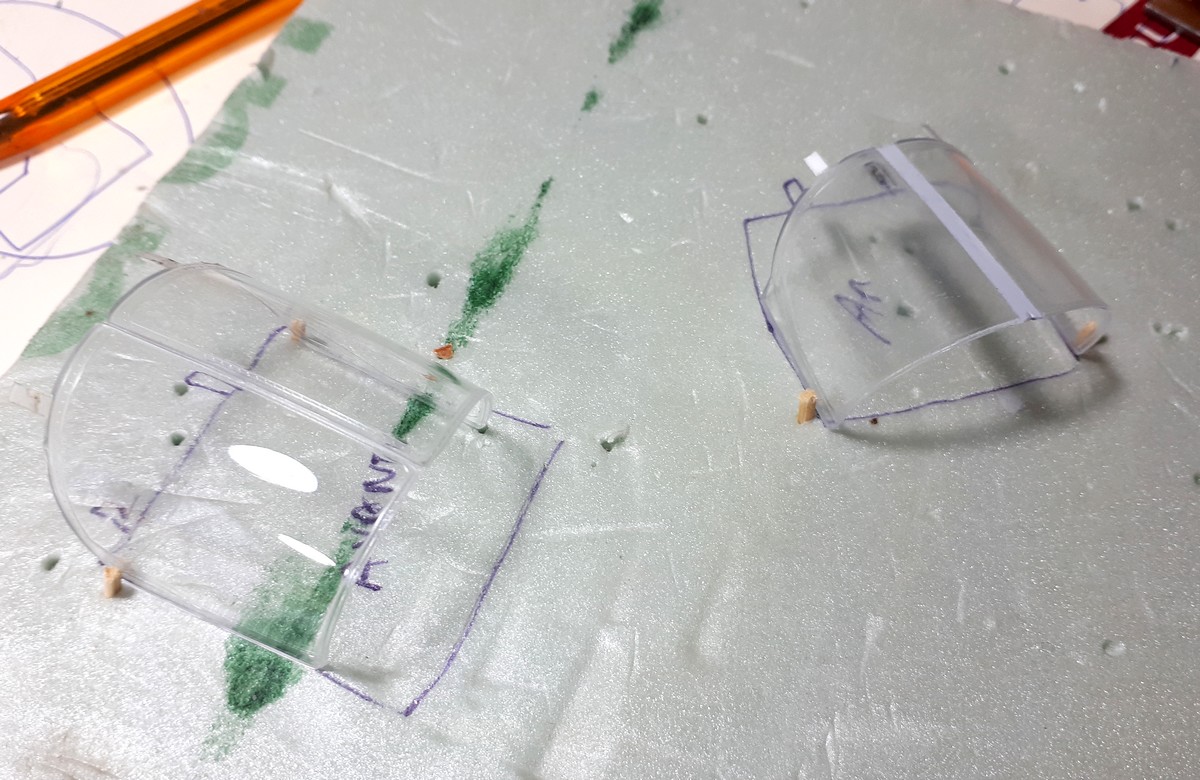
- First, they are split into two halves with minimal contact surface. They must be glued with something strong enough, yet without fogging the clear plastic, all while maintaining the correct curvature and seamless join… quite a tall order!
- Second, they need to be tinted.
Regarding the assembly, after several failed attempts with various glues, I finally dipped them in Future (Klir) to protect against fumes and used CA glue (cyano). To ensure the correct curvature, I measured and used toothpicks as internal spacers. Once glued, I used masking tape and putty… a laborious, stressful process since everything remains so fragile.
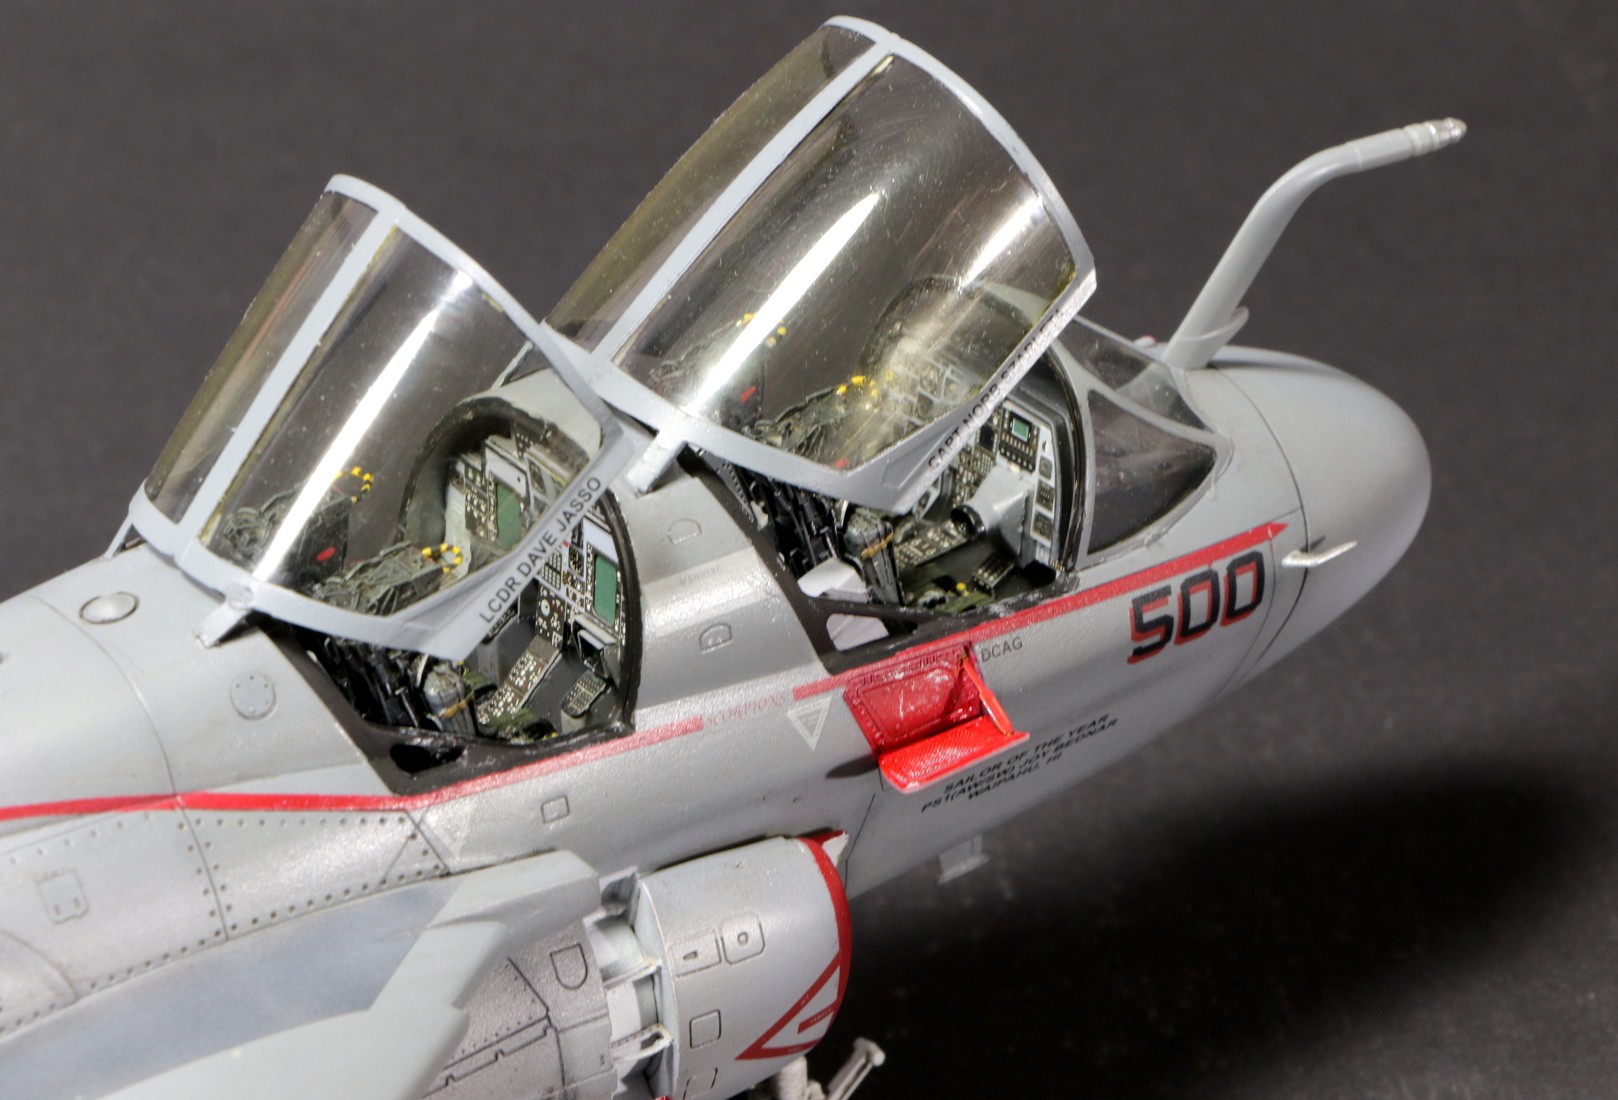
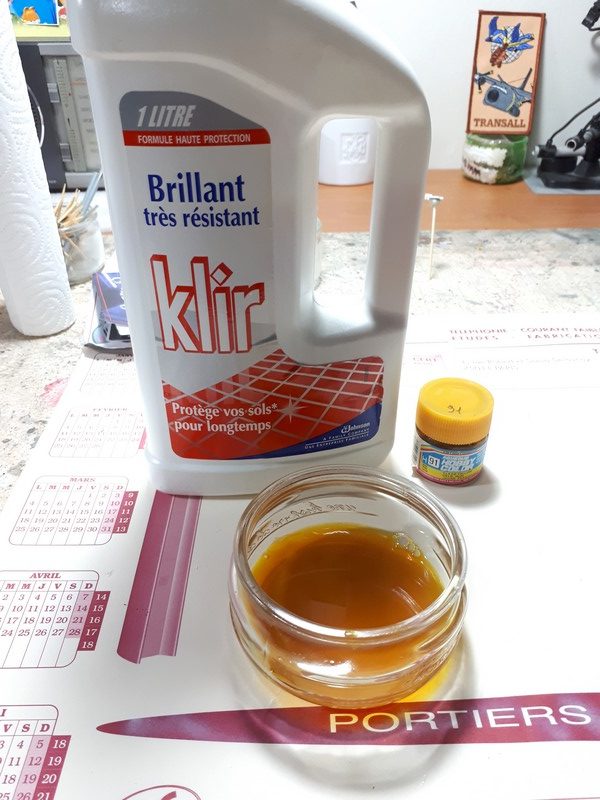
To achieve that distinctive yellow/smoked tint, I opted for repeated dips in a mixture of Future (Klir) and Gunze H091 until I reached a shade I was happy with.
Need more information using Klear ? Check here :
https://master194.com/en/2026/02/18/the-magic-acrylic-varnish-101-uses-for-the-klear-klir-in-modeling/
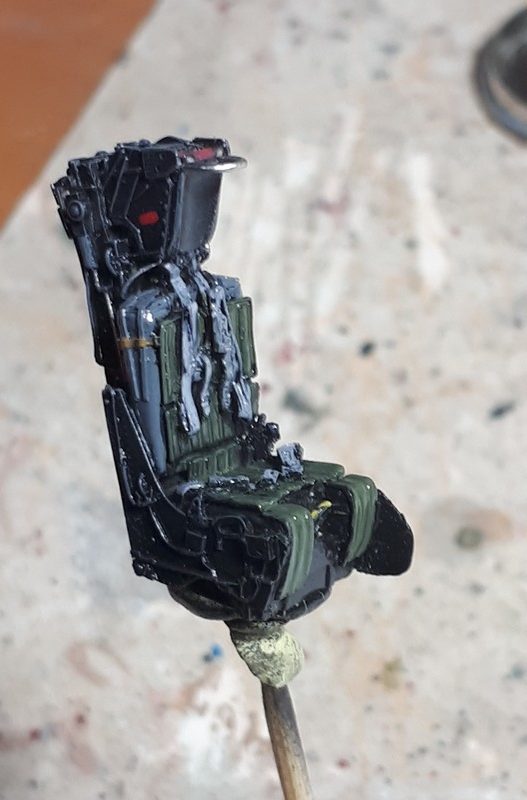
Then it’s time to refine various details, including the seats—and with four of them clearly visible, there’s nowhere to hide!
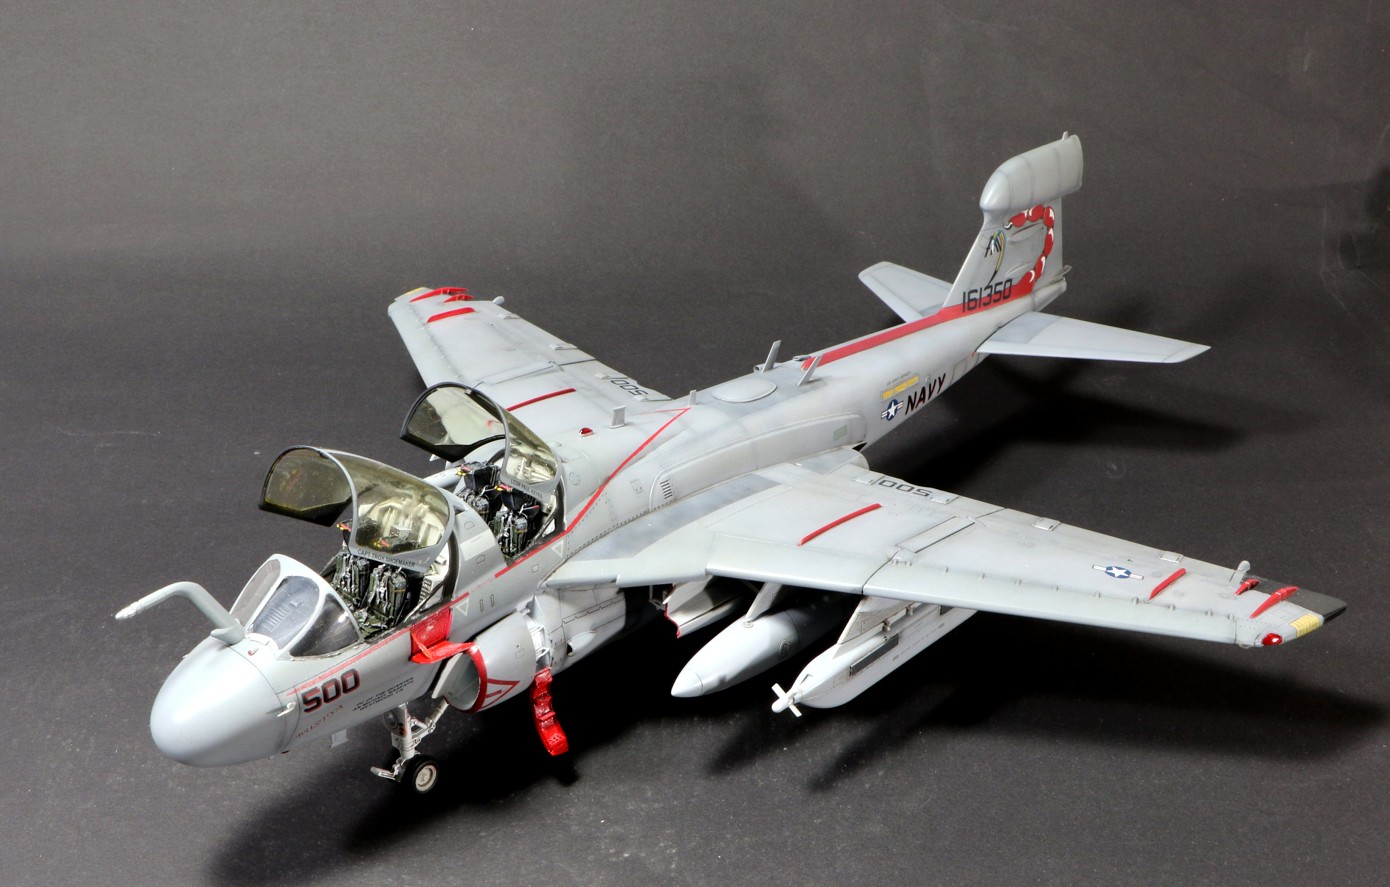
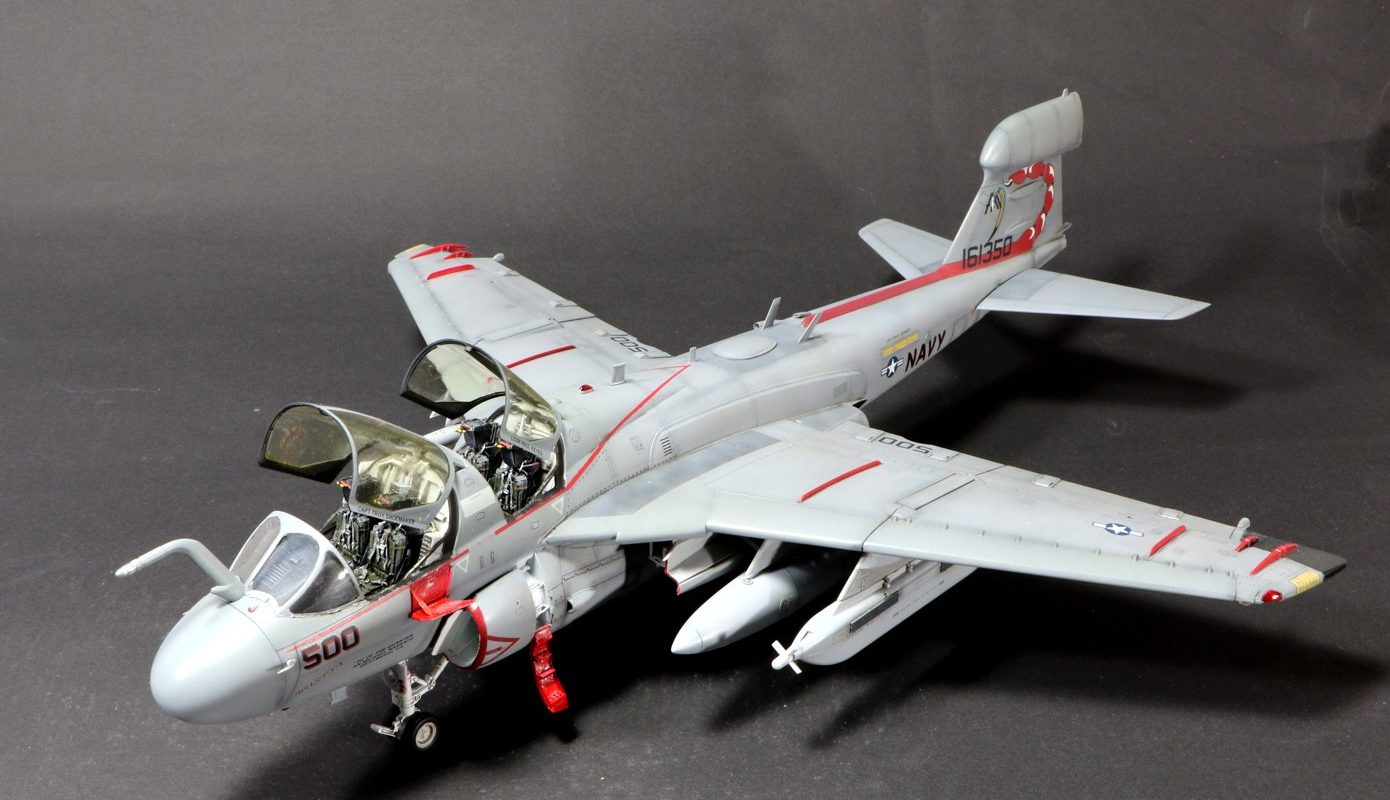
And here is the final result…