
 by
If a wash darkens the recesses to create depth, dry brushing does the exact opposite: it lightens the raised details to make even the smallest elements stand out!
How to Dry Brush:
Take a flat, older brush (dry brushing is tough on bristles) and a paint color lighter than your base coat. Personally, I use aluminum, white, or light grey. Dip the brush into the paint, then wipe it onto a cloth or paper towel until there is almost no visible paint left on the bristles.
Then, gently rub the brush over the part. After several passes, you will see the raised details start to emerge. This technique is perfect for making buttons on instrument panels pop or highlighting the sharp edges of electronic boxes.
Step-by-Step in Images:
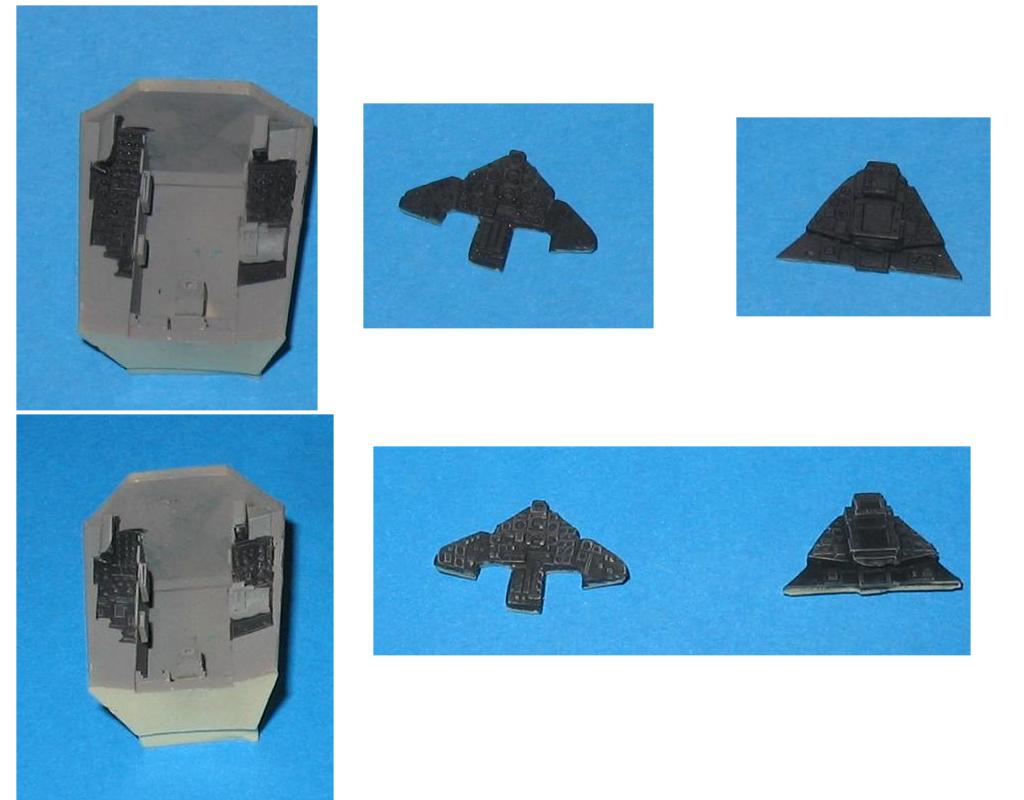
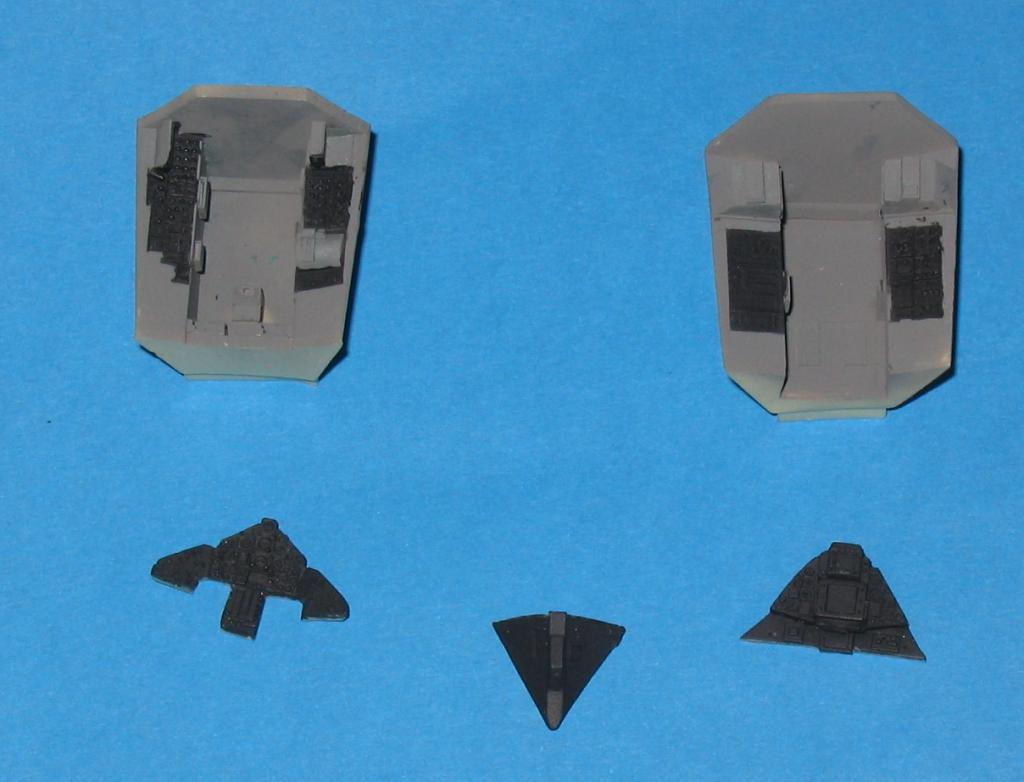
The Subject: A 1/48 scale SR-71 Blackbird cockpit. The tub is Gull Grey, while the consoles, shroud, and instrument panel are Black.
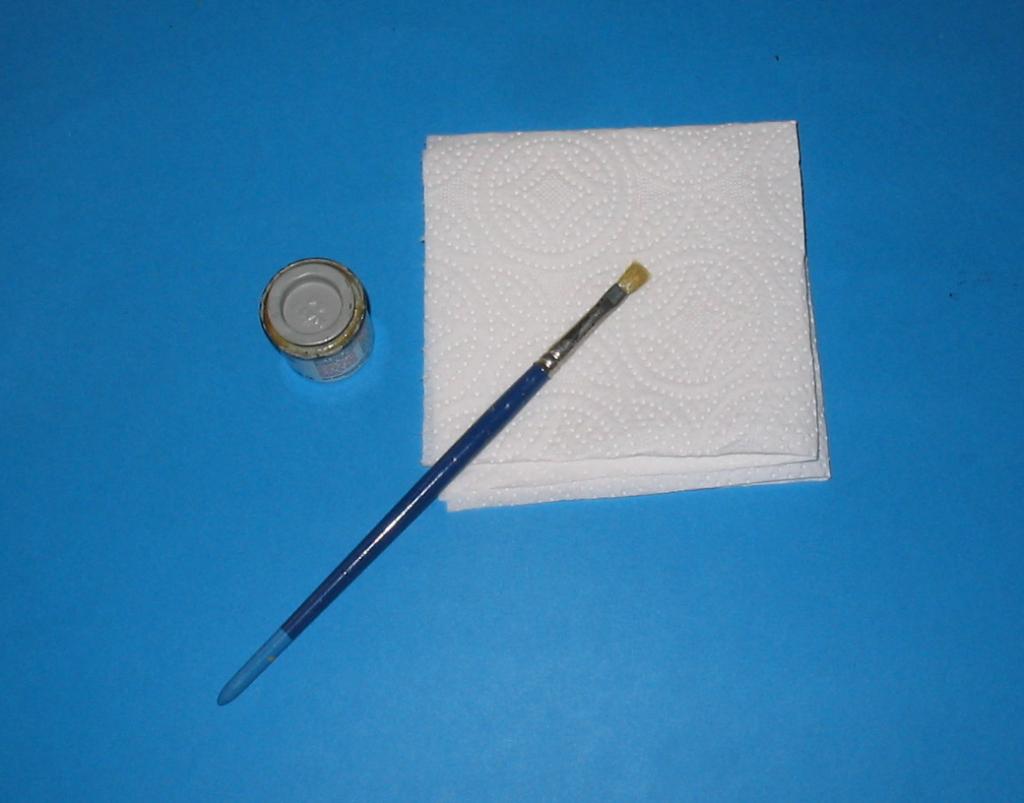
The Tools: A tin of paint (I prefer enamels like Humbrol for this), a flat brush, and a piece of paper towel.
Now, you can find a lot of specific products ready to use !
Loading the Brush: Dip the brush into the paint.
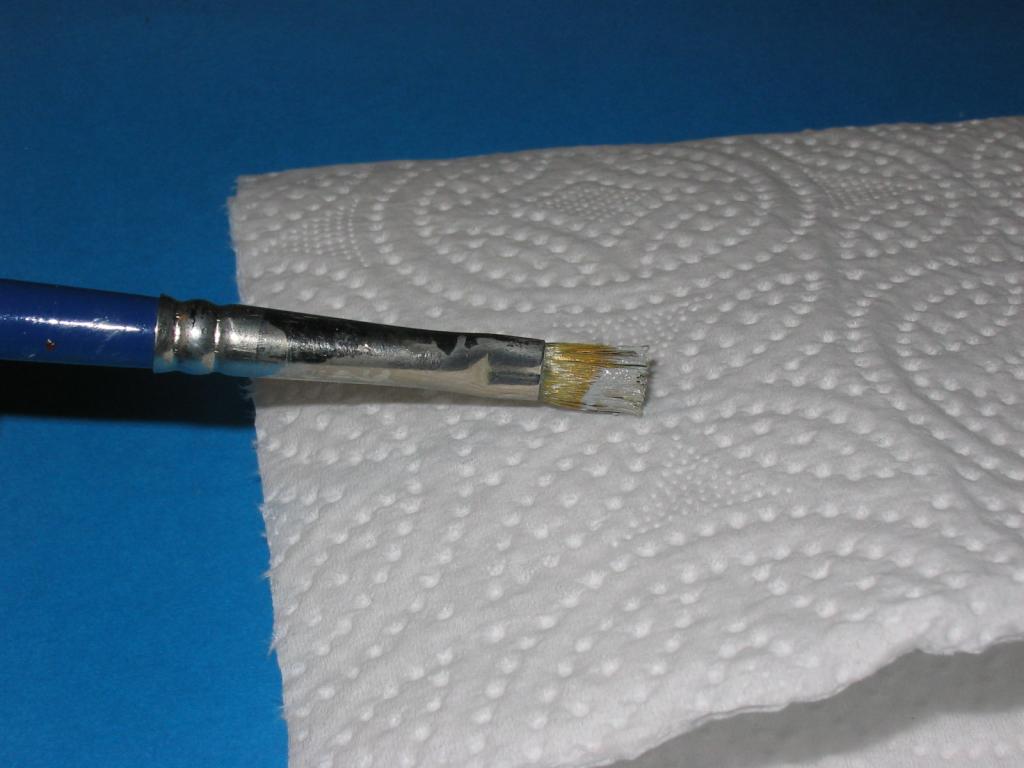
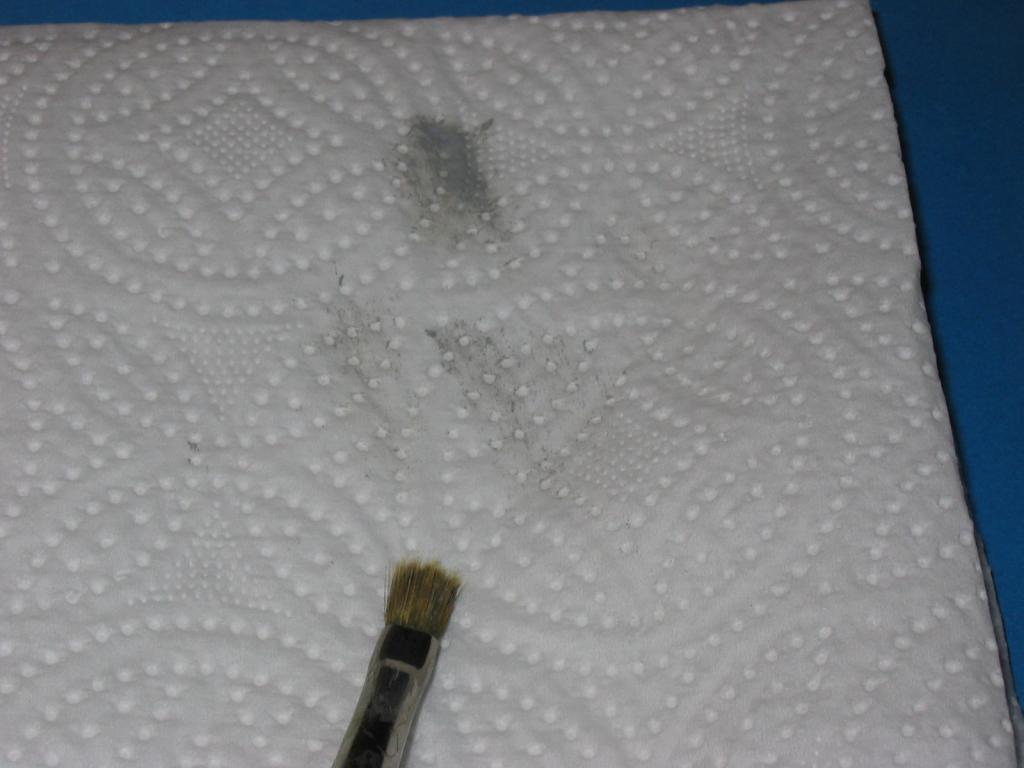
The “Dry” Part: Rub the brush onto the paper towel or a cloth.
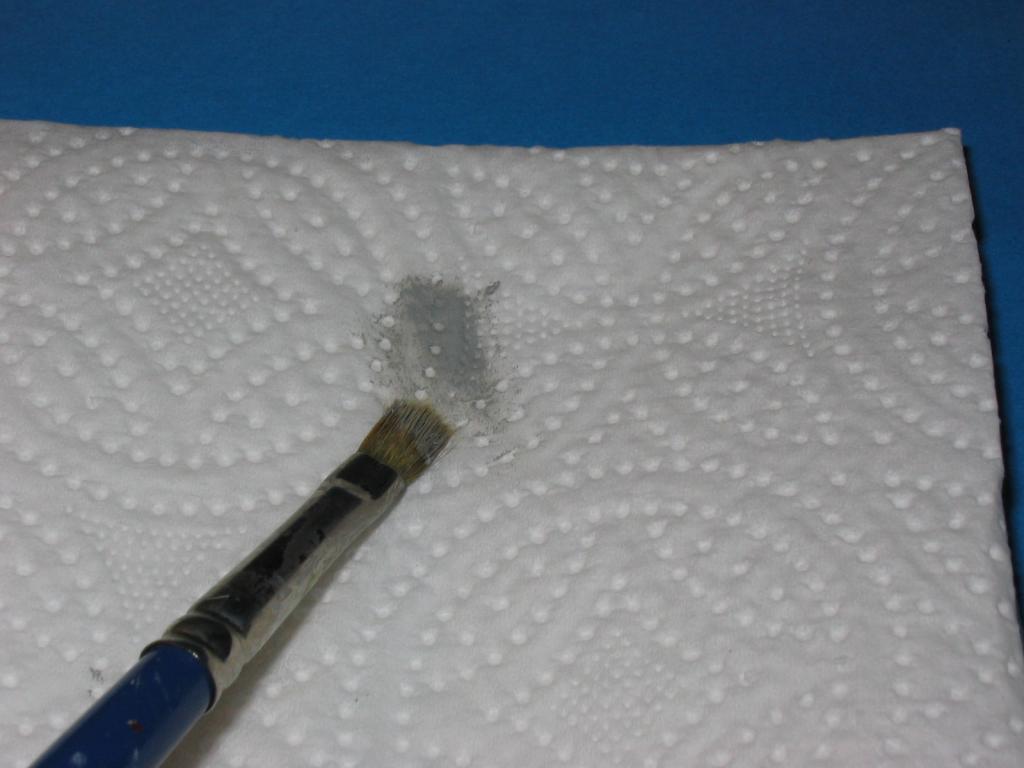
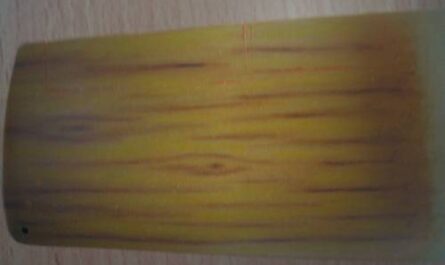
The Test: When the brush no longer leaves visible streaks on the towel, you’re ready!
Application: Keeping the brush straight, scrub the surface of the part. “Brushing” means many quick passes! The paint will deposit very slowly, bit by bit.
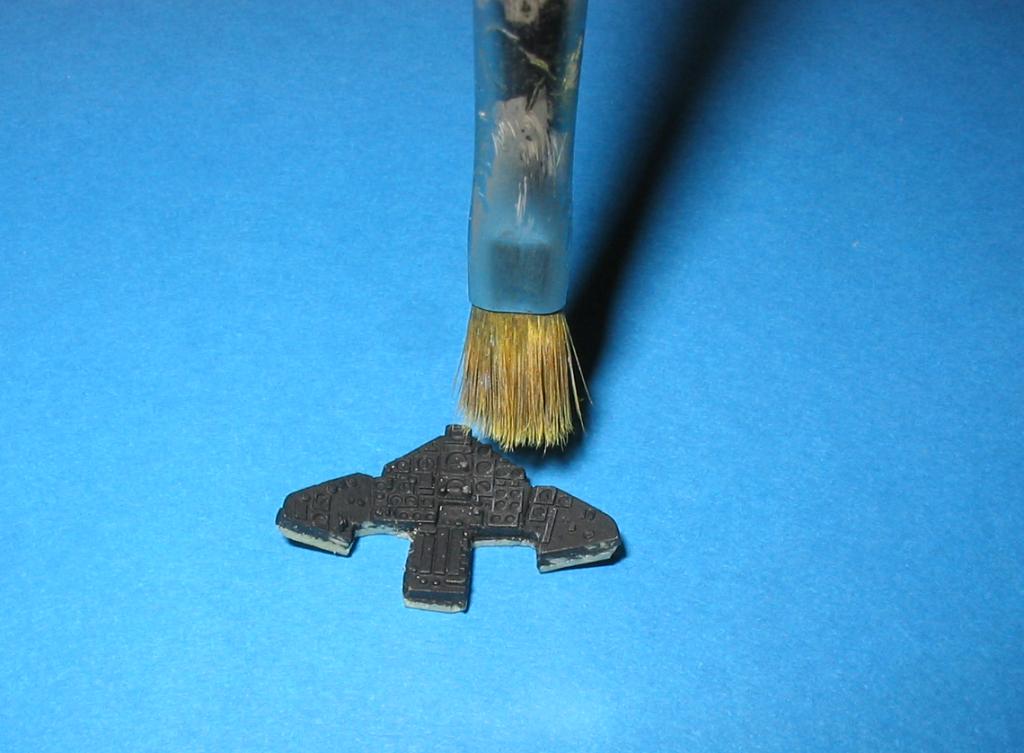
The Result: You can see the right side is brushed while the left is not—the details are starting to appear. Note: The effect is amplified here by the macro lens and flash; in reality, it looks much more subtle.
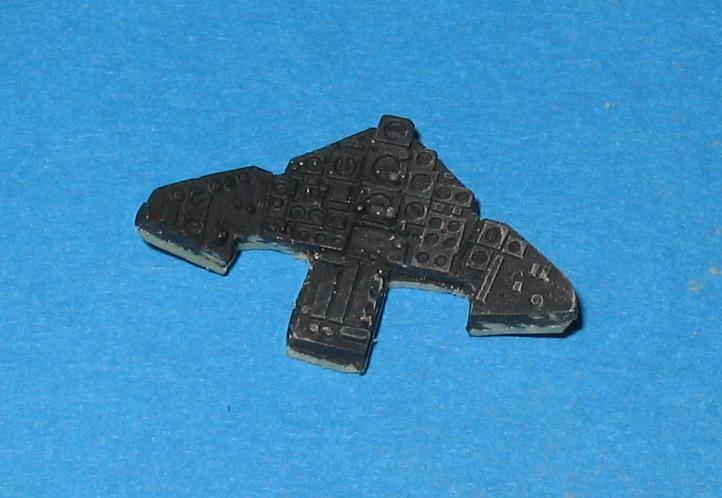
Before & After: The finished process—unbrushed at the top, completed at the bottom.