 by
Landing gear and start of the fuselage
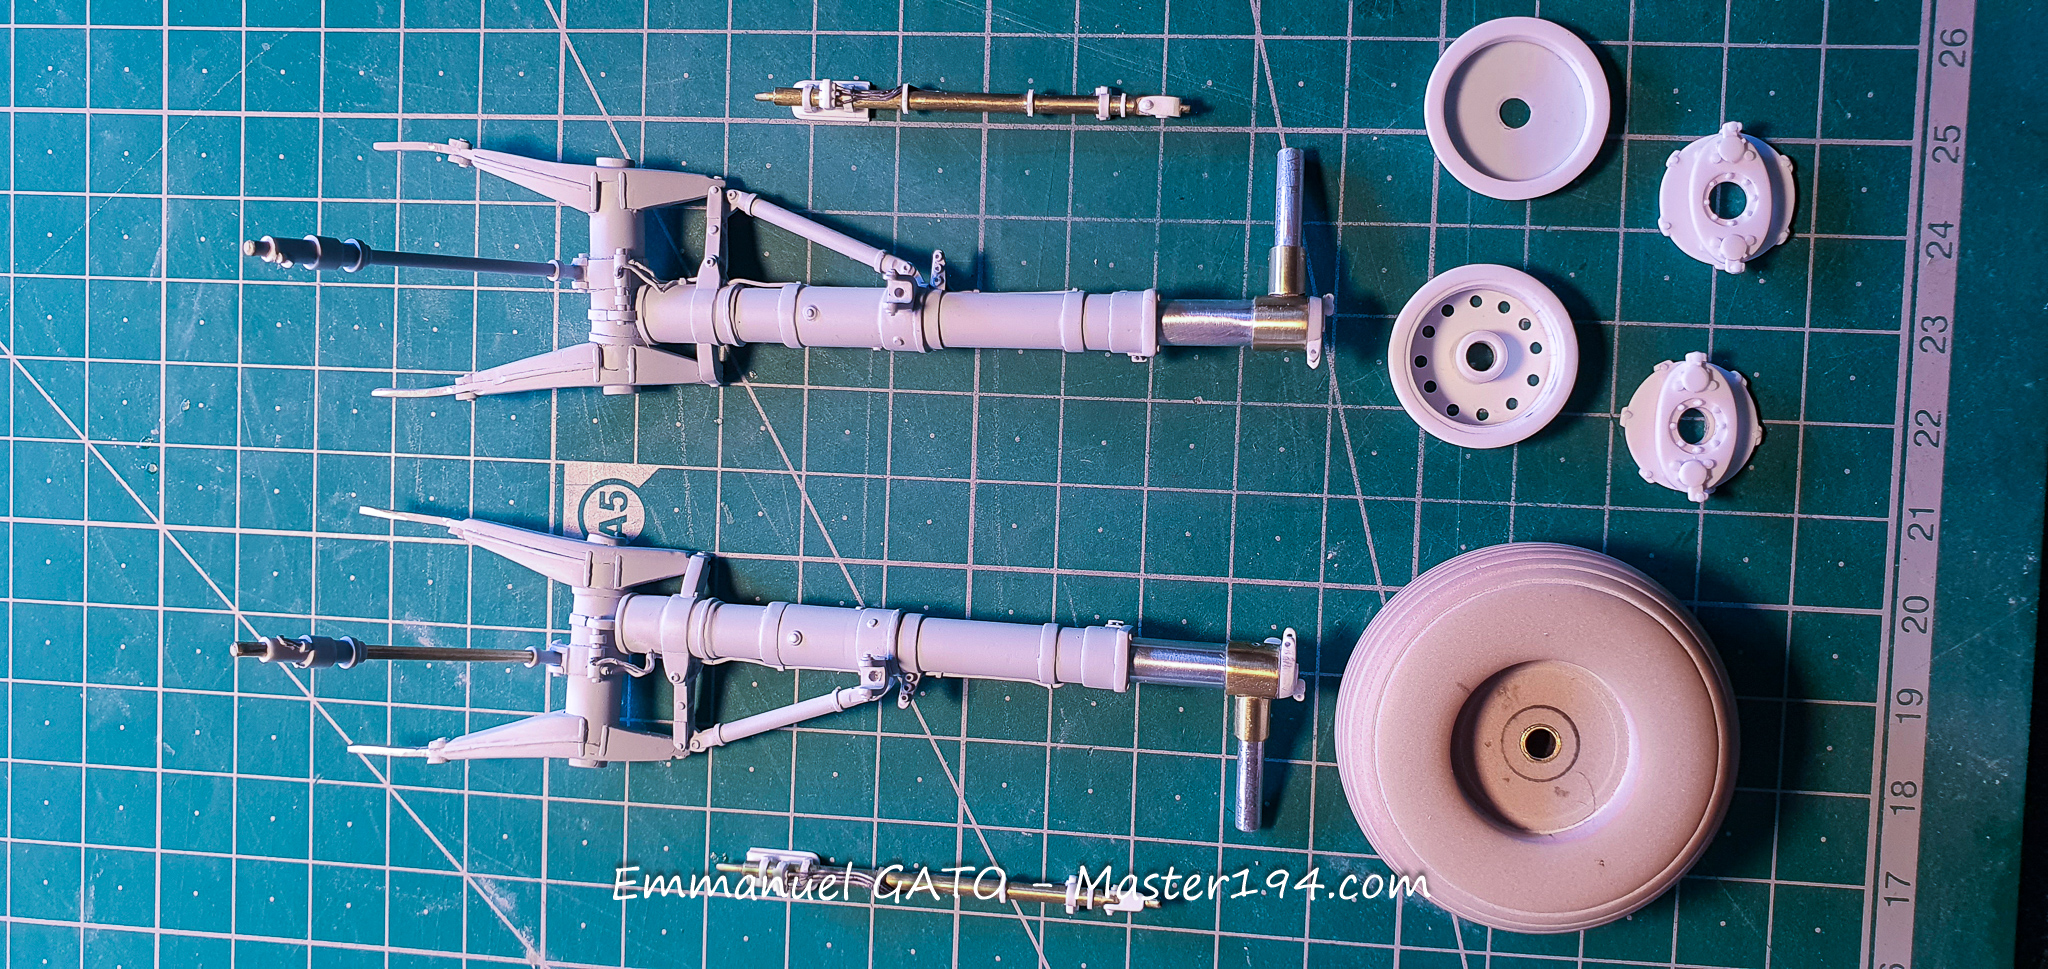
I’ll spare you the finishing steps on the center wing box, which required redoing several components, to show you the main landing gear instead.
The landing gear parts are made of brass/copper and aluminum to provide the essential strength required for the whole assembly. A plastic outer skin makes shaping easier, but the core of both landing gear struts remains entirely metallic.
The wheel was turned on a lathe from “Lab” [urethane tooling board], a particularly durable material. I will then be able to make traditional resin casts to replicate these massive tires, even in 1/32 scale. The hubs and brake assemblies are made of plastic, as their structural strength is less critical.
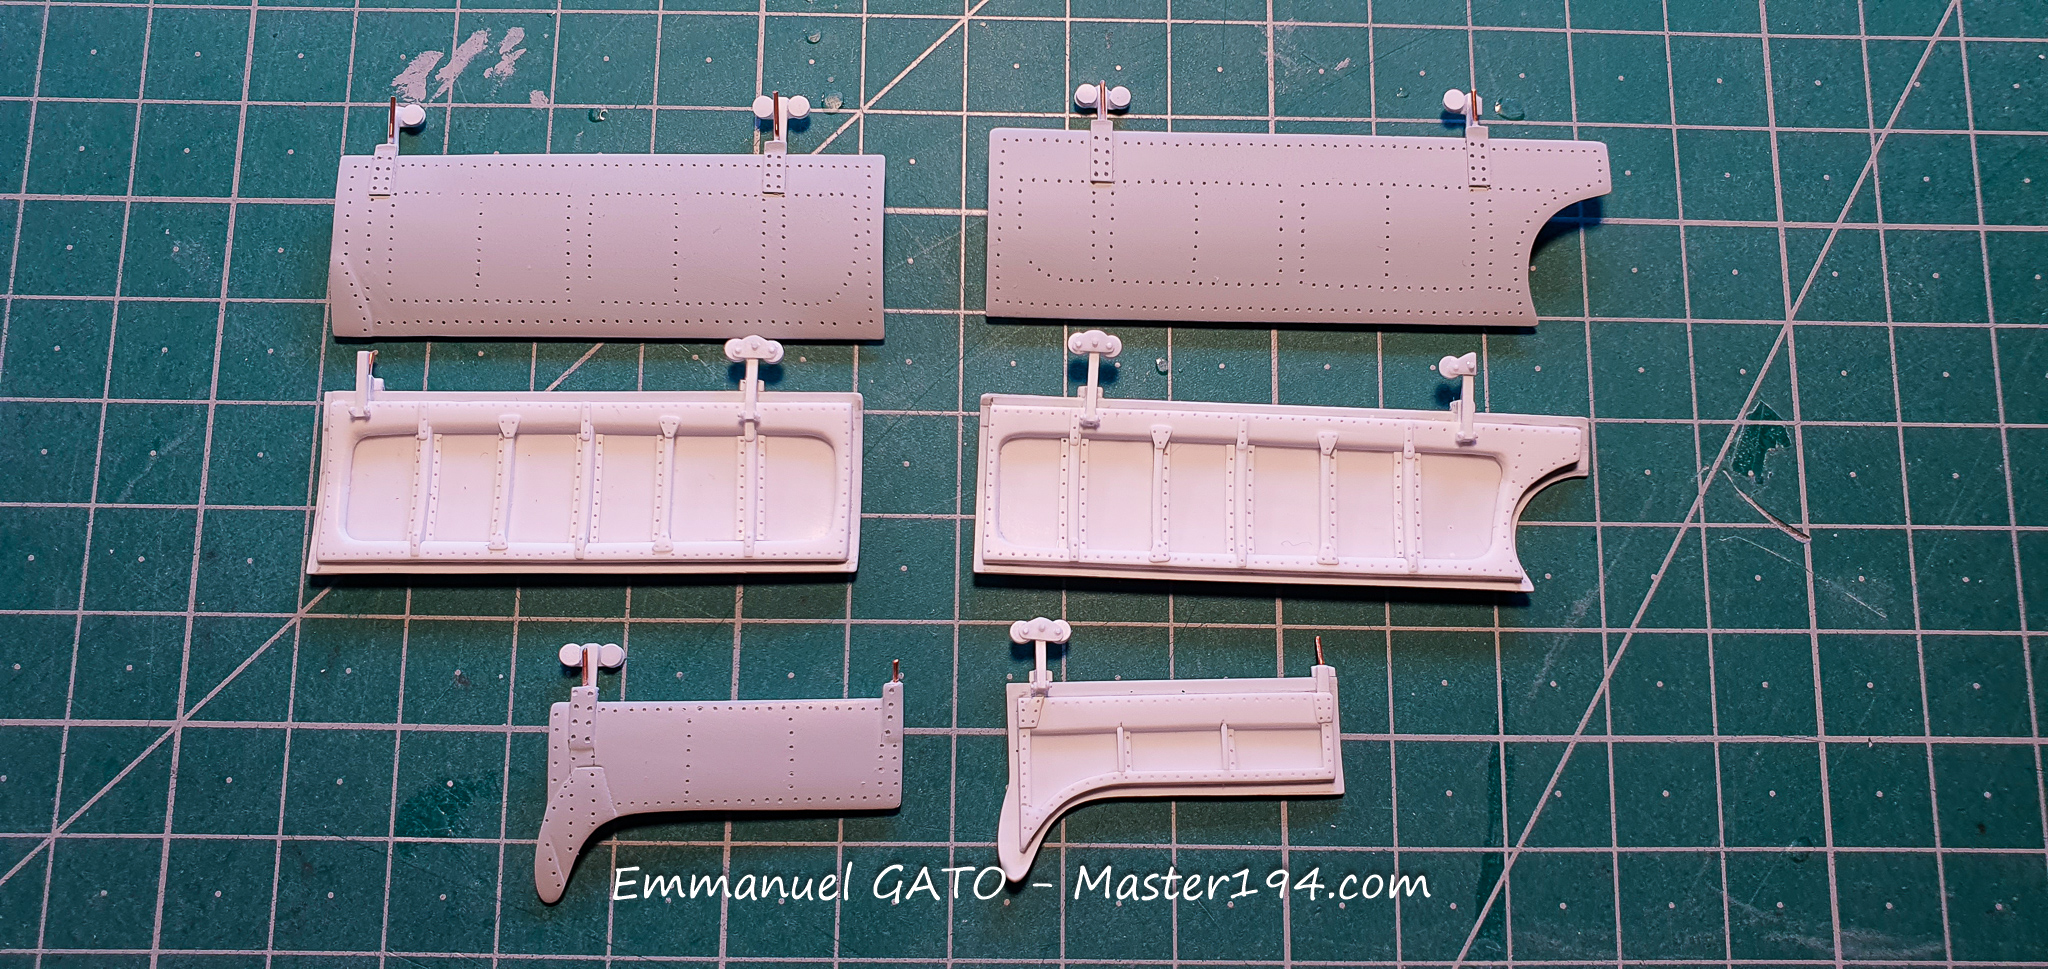
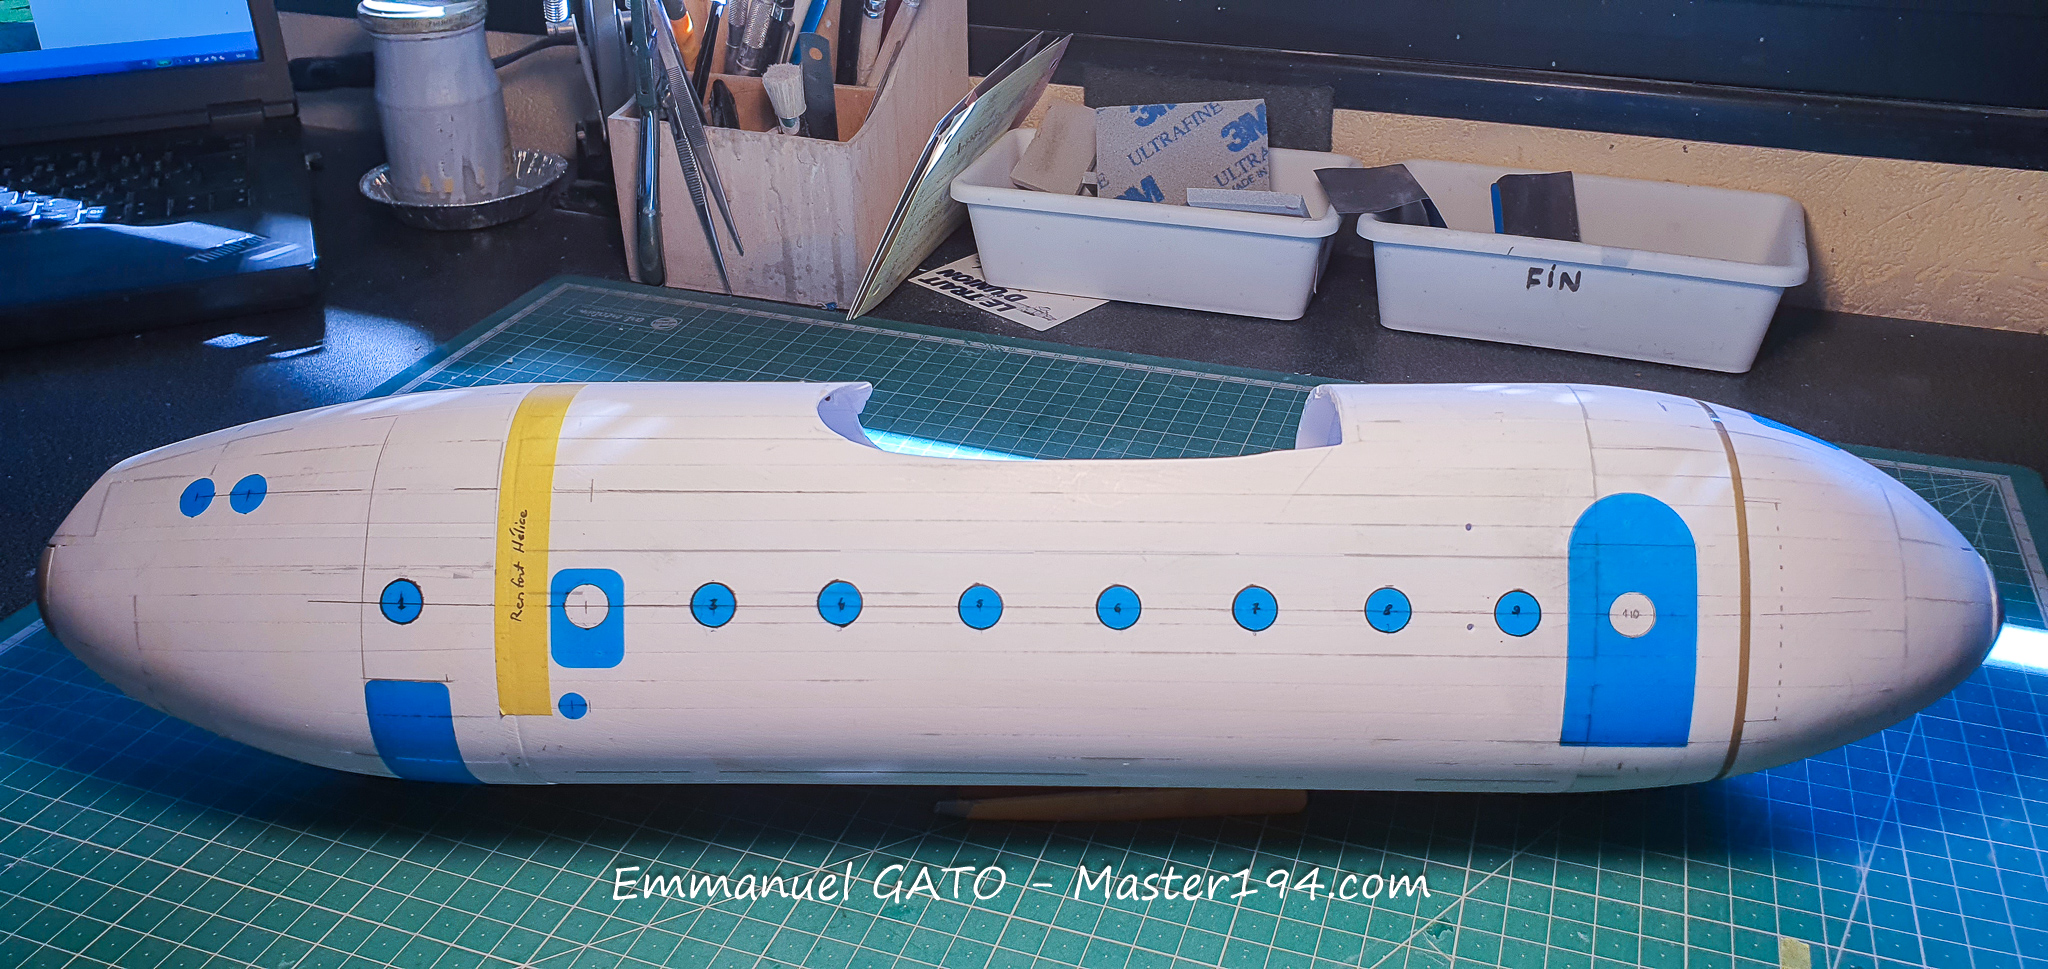
The gear doors were made right after, allowing me to finally move on to another section: the fuselage. This long plastic cigar-shaped body requires getting the positioning of all elements just right—whether it’s the doors, cabin windows, or the various vents and exhausts located on the roof and sides.
AD
To avoid mistakes, I drew the various parts using the Silhouette software, then temporarily tacked them onto the fuselage. This makes it possible to visualize the volumes and locate the exact positions for the openings and interior details. The advantage is being able to peel these templates off and reapply them as many times as needed.
Detailing the cargo hold and forward companionway
Before stepping away from my workbench for a few days, here is the current progress on the cargo hold. It is already getting quite crowded with the multitude of details packed inside.
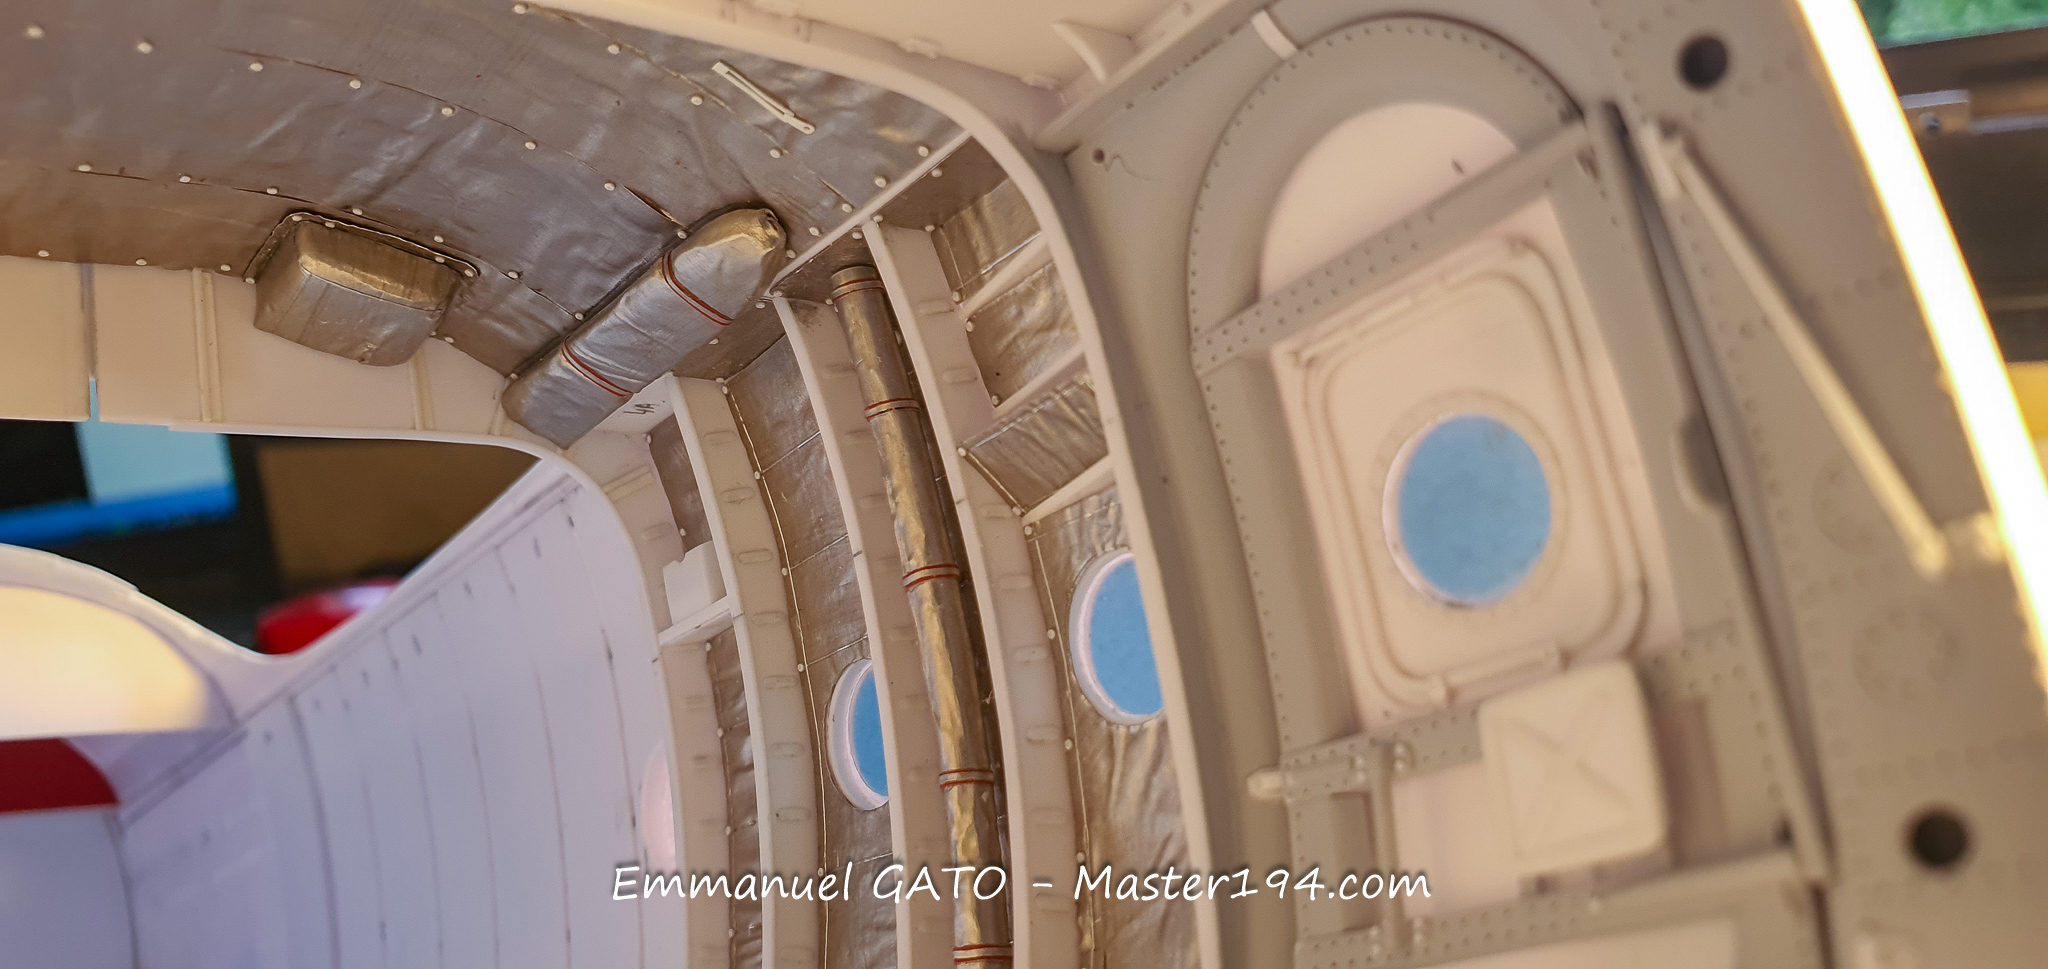
I found a great solution for replicating the quilted soundproofing insulation: tin foil salvaged from wine bottle capsules. I am also waiting on an order of a comparable material sold in sheet form.
Part of this padding will eventually be hidden by the brown canvas troop seats installed later on. However, at this scale—and with the rear cargo doors displayed open—it is hard to skip these details. The real trick will be closing up the two fuselage halves without leaving a visible seam across the quilted lining or the structural frames.
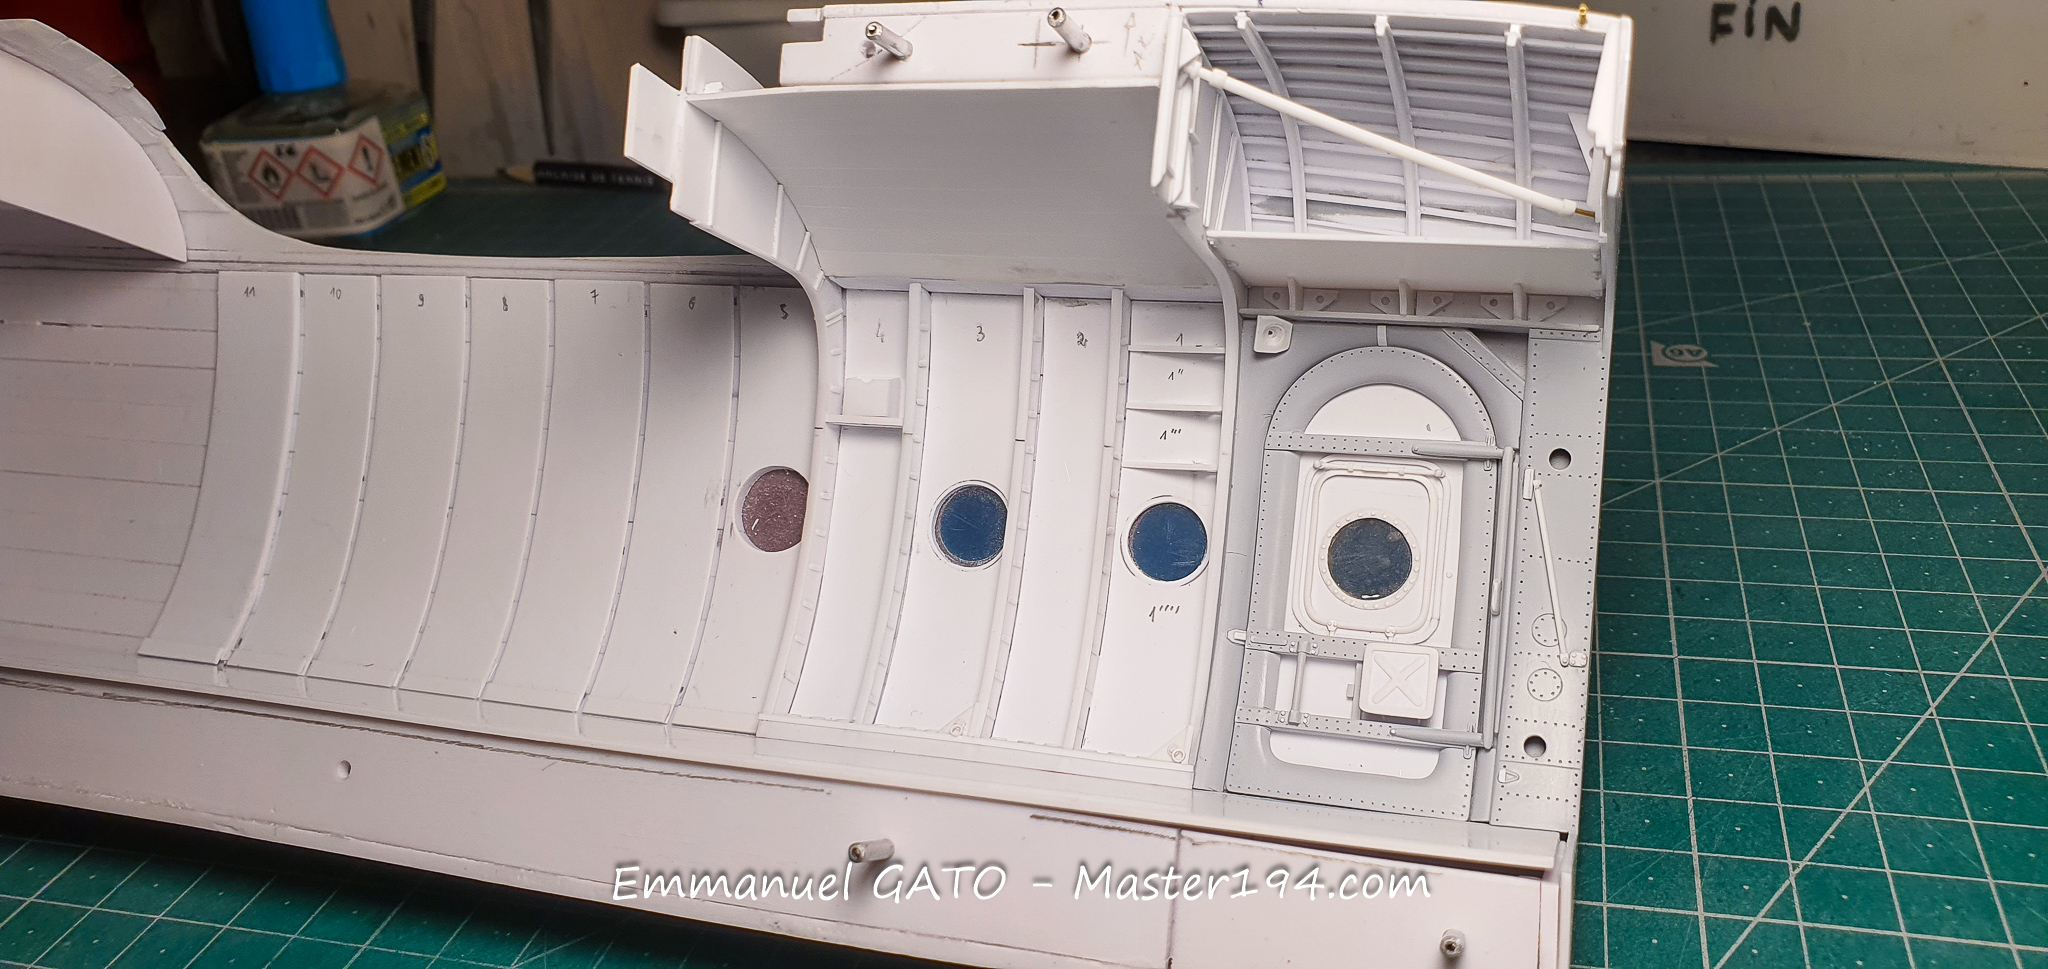
The cargo hold prior to installing the soundproofing padding. Every single location has to be carefully mapped out, as it’s easy to go cross-eyed! In photographs of the real aircraft, the panels are also marked with felt-tip pen codes. It makes you wonder if the crews ran into the exact same headaches as I did…
The soundproofing lining on the rear right section. You can make out the cargo hold’s rather spartan heating system. It must have been freezing cold in there!
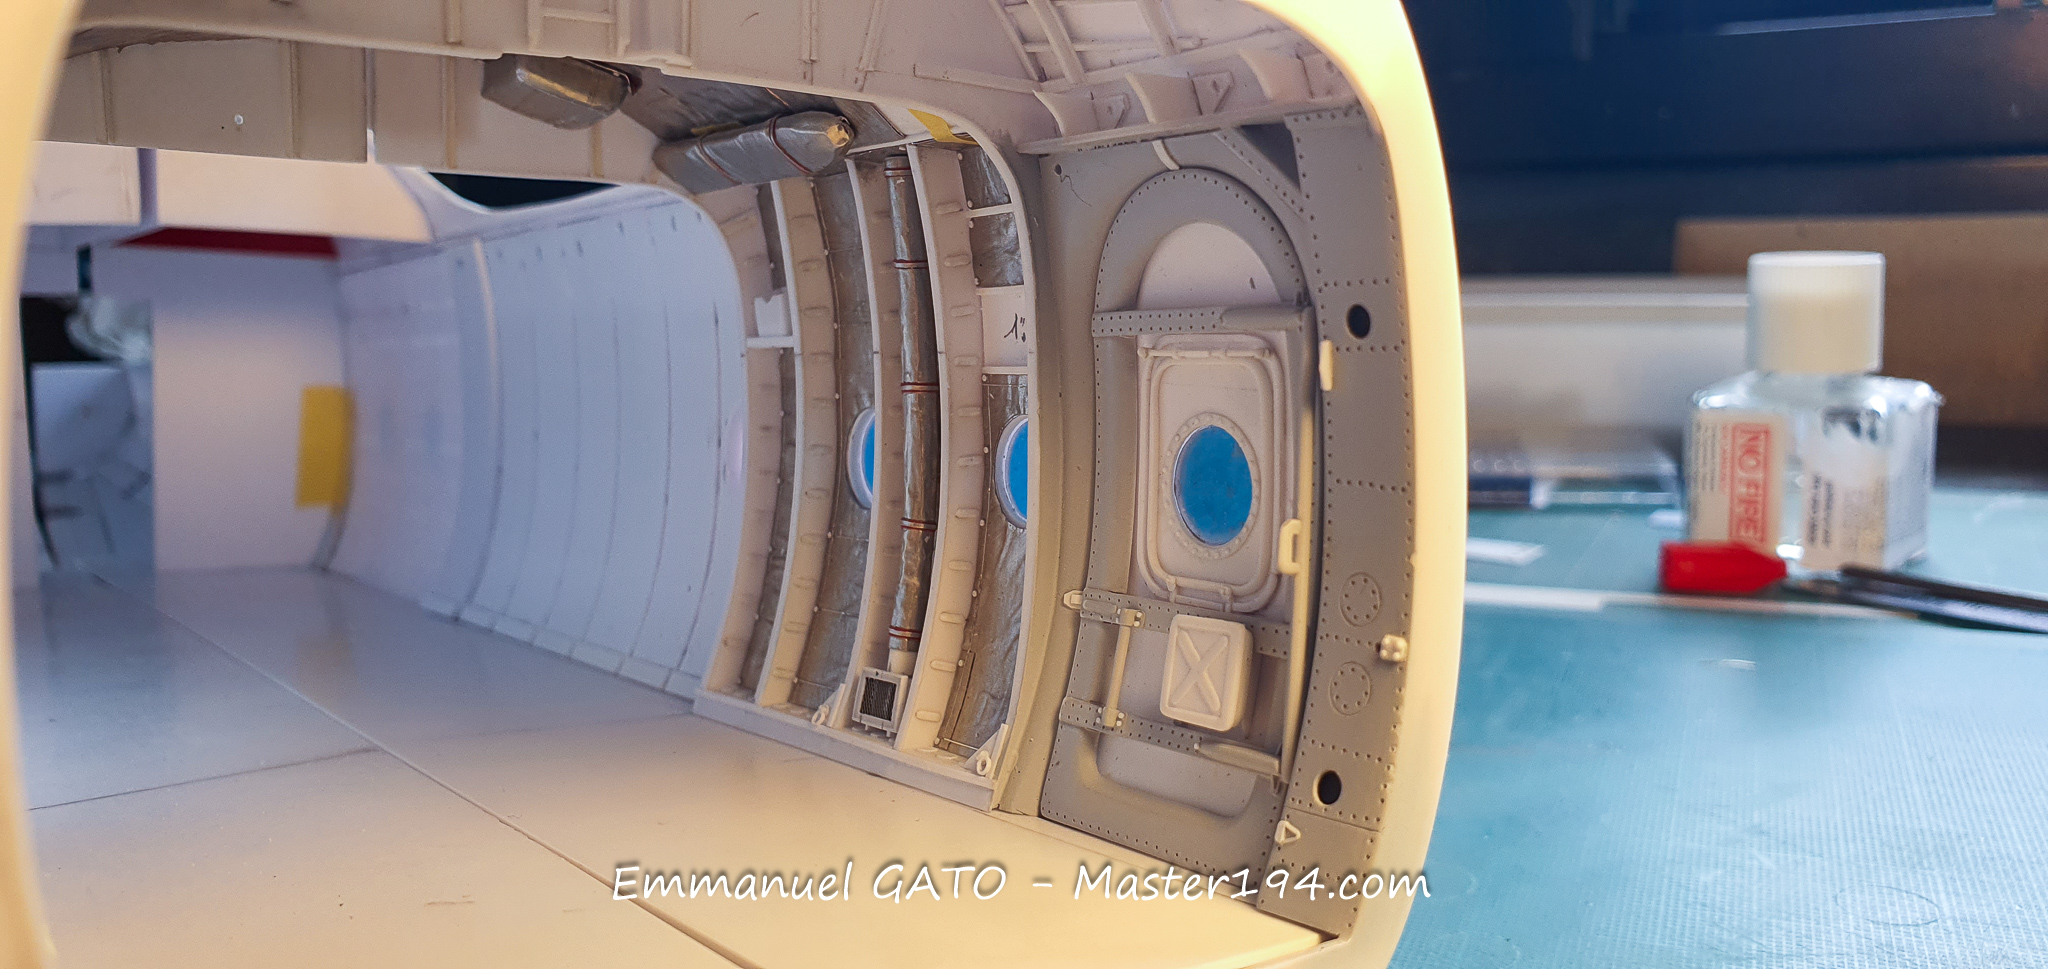
The upper soundproofing lining. The white dots represent the snap fasteners used to secure the canvas padding. I even went so far as to replicate a zipper.
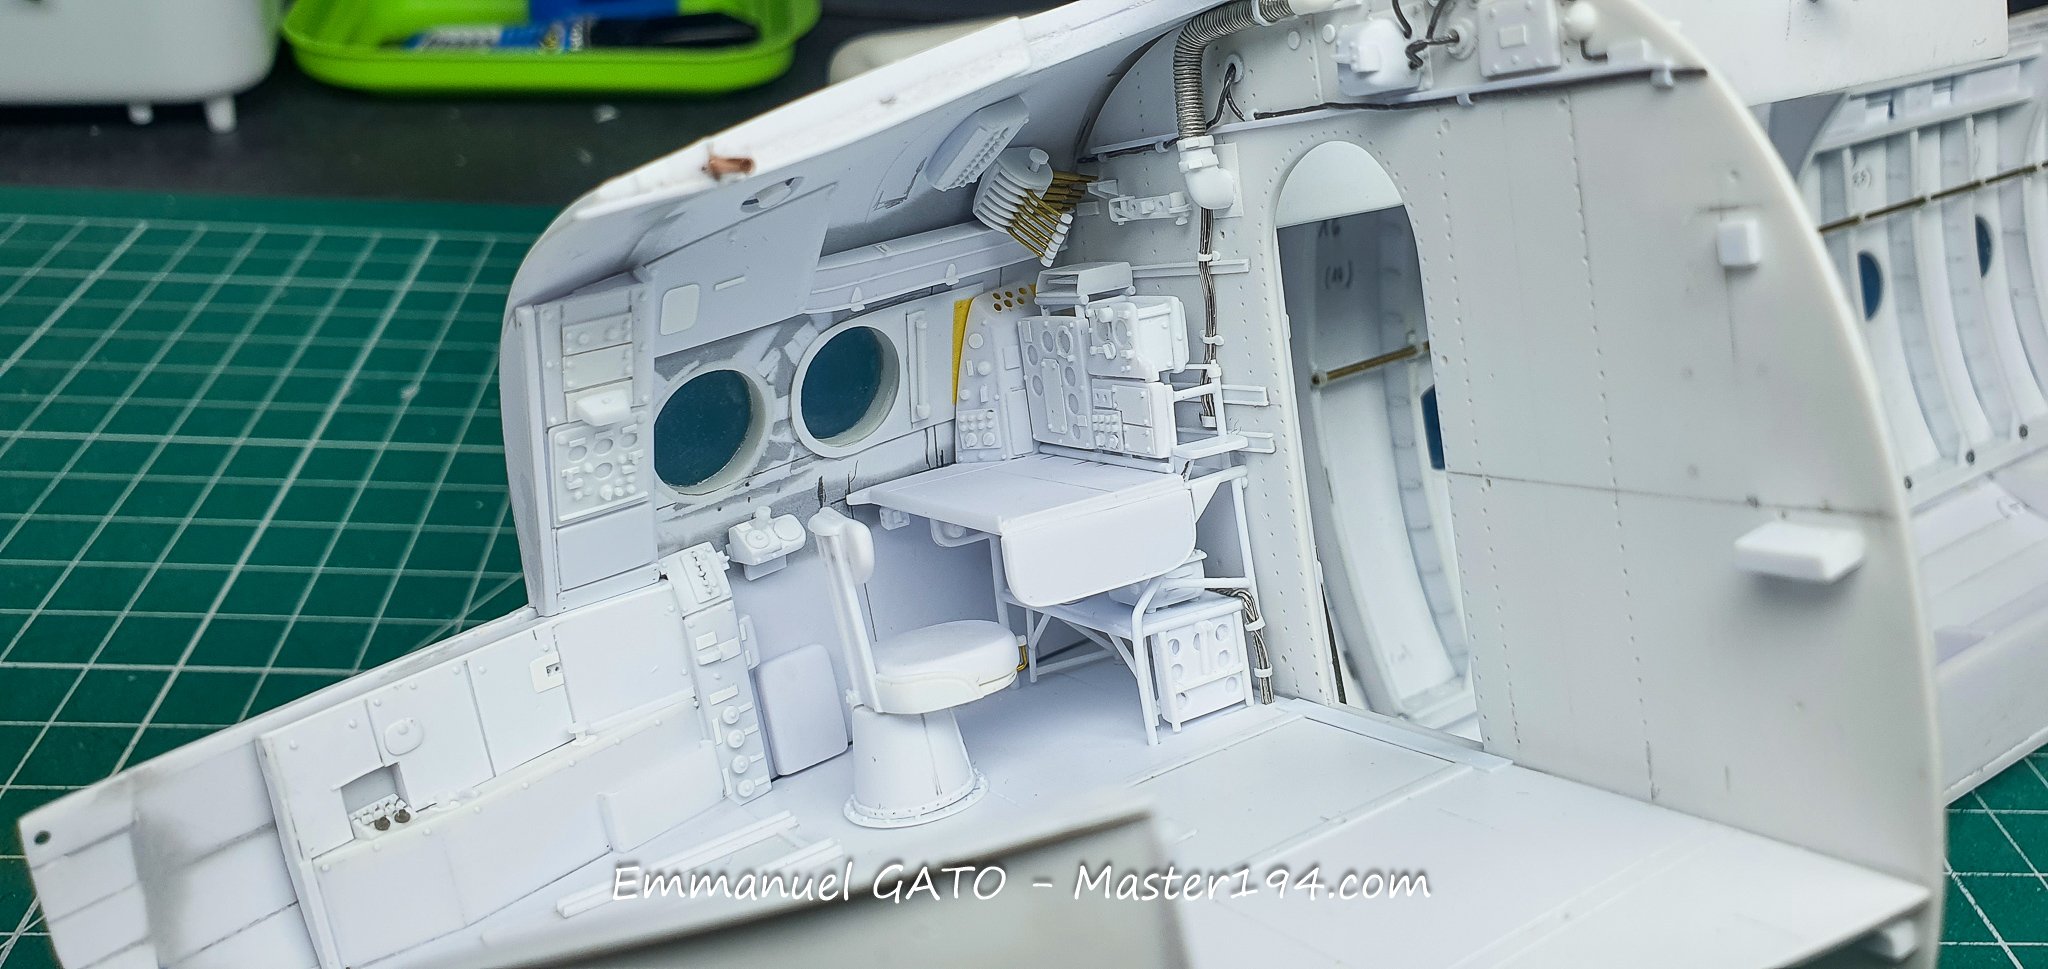
Next, I am moving on to the forward companionway—the section located between the cockpit and the main cargo hold. What a tangle of equipment, emergency gear, stowage racks, and even “relief tubes”! Those in the know will understand.
The assembly is not finished yet, but it is already well under way. As usual, most parts can be disassembled to make painting easier, since many different colors coexist in this space.
The bulkhead separating this equipment area from the cargo hold is particularly packed with devices and levers of all shapes and functions.
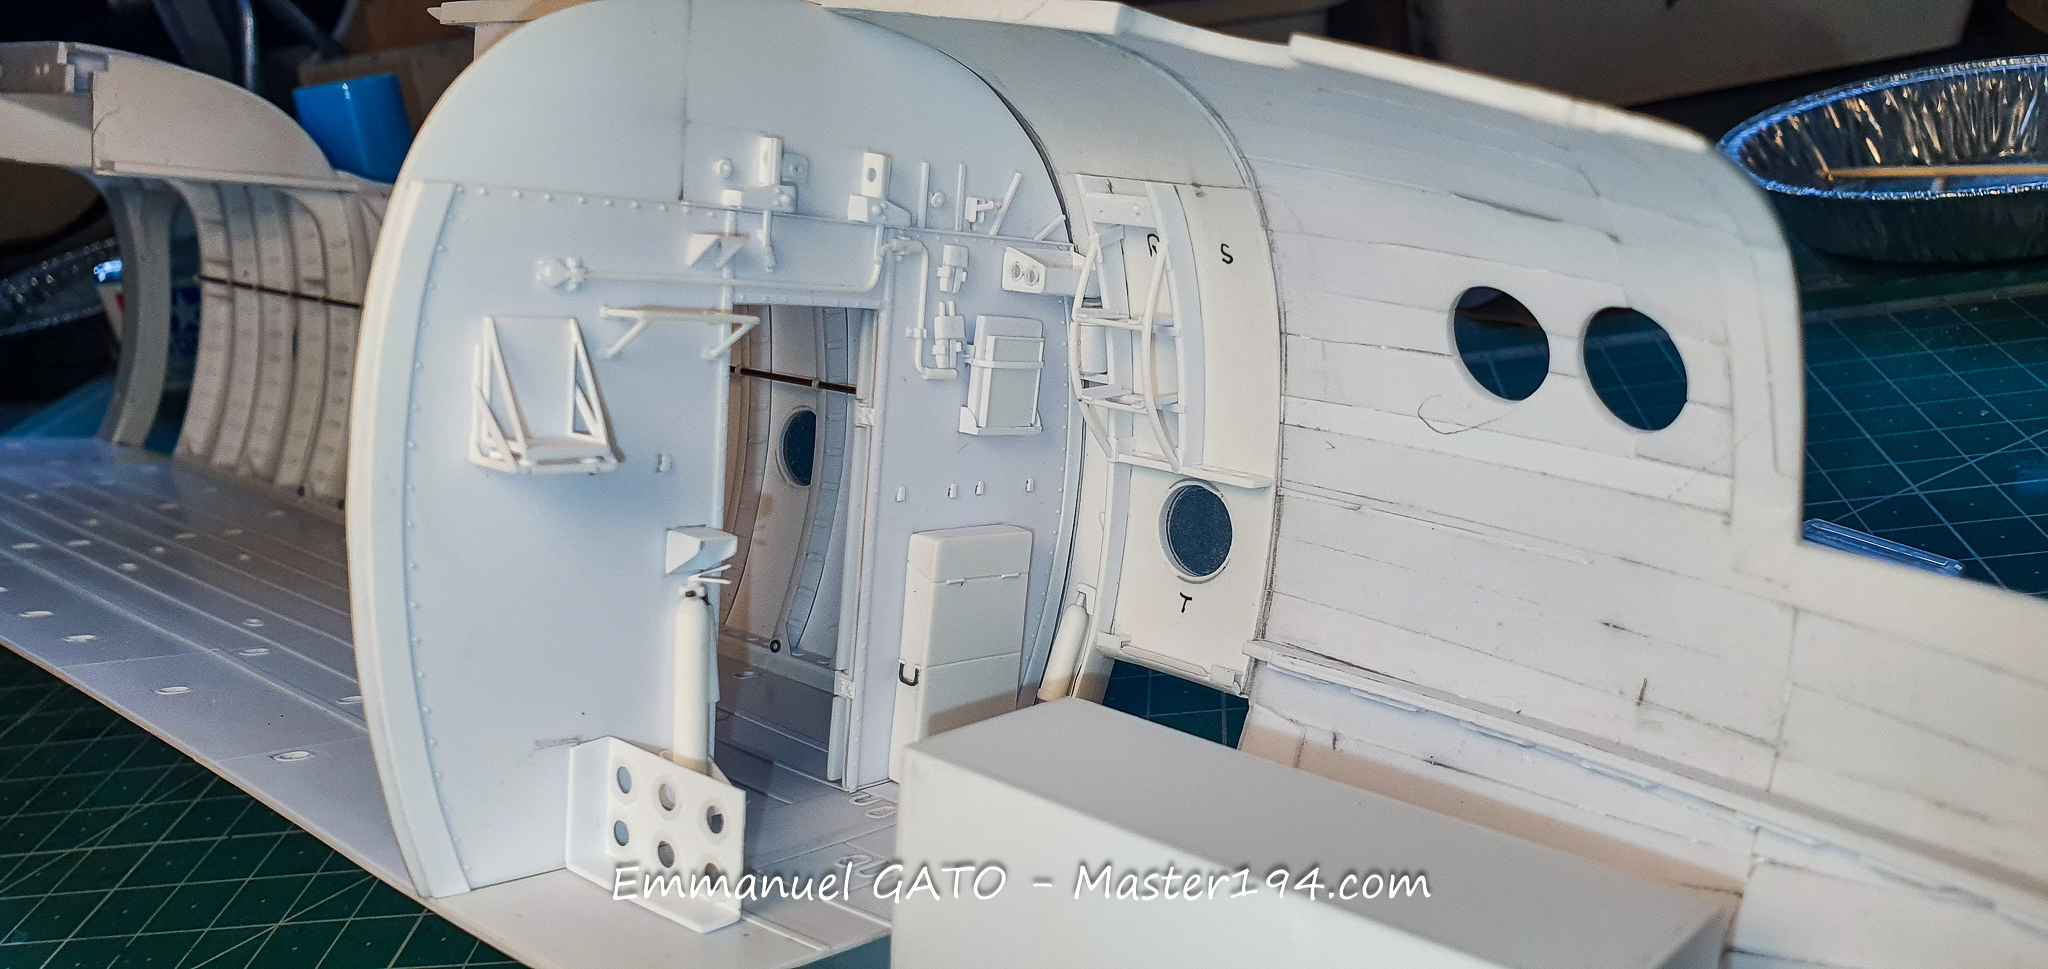
This area is very cramped. All the equipment has to be shoehorned in.
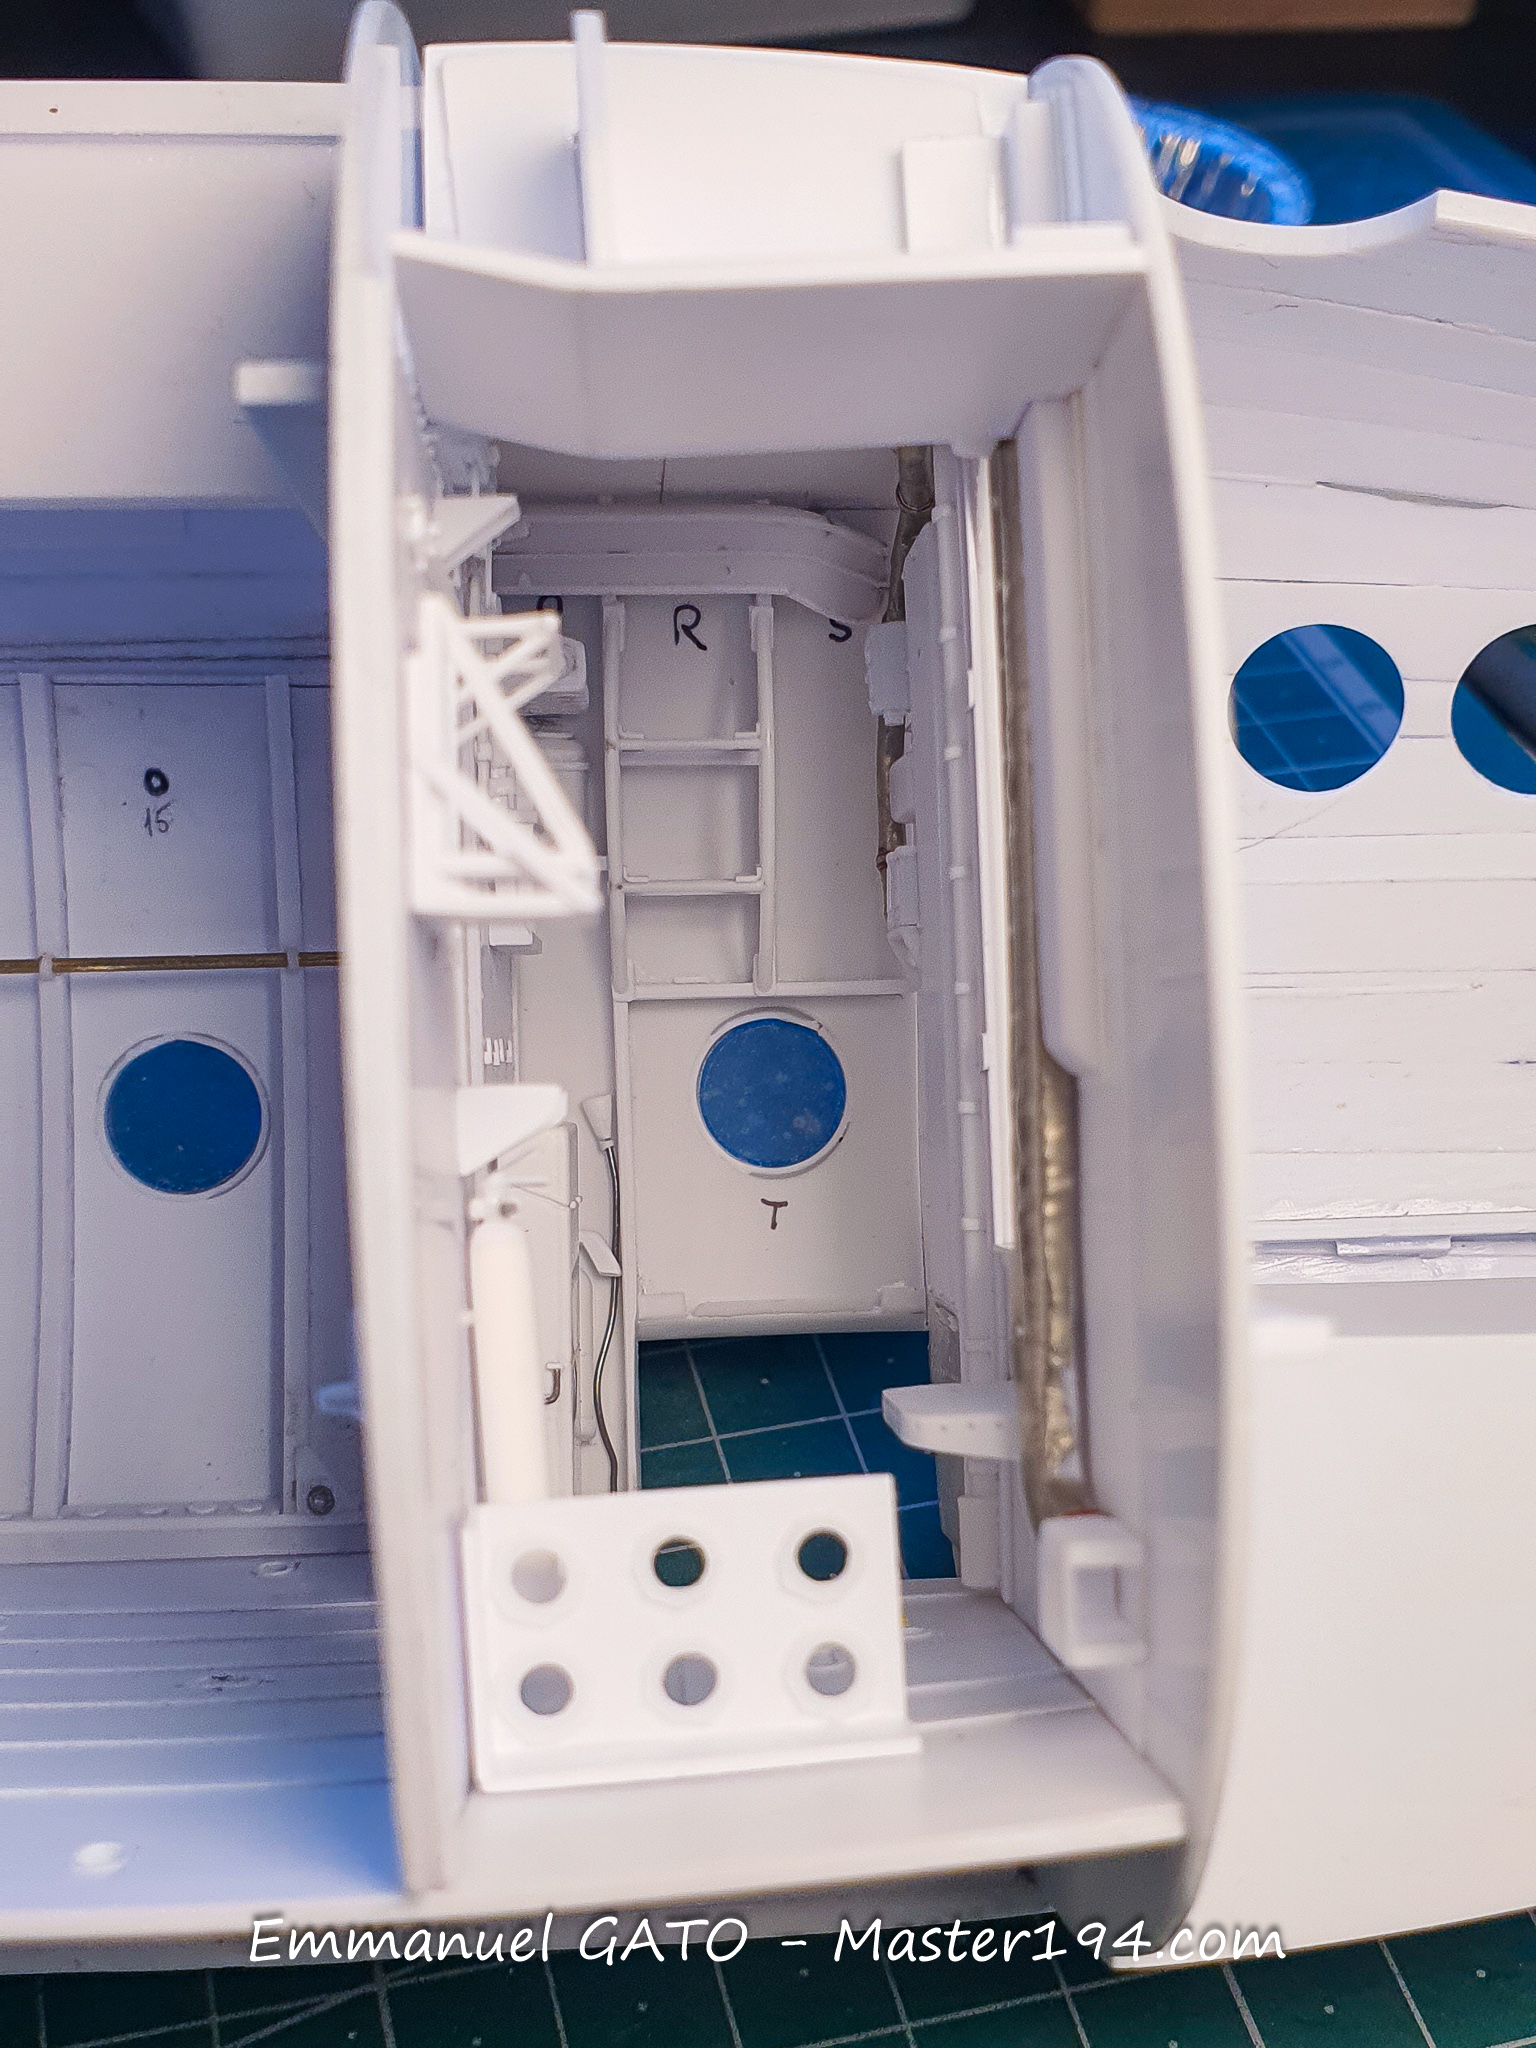
This bulkhead is the one leading to the cockpit. The step used to access it is quite substantial, because the nose gear and its large wheel are located right beneath the floor. To reach the flight deck, you’d better have strong calves!
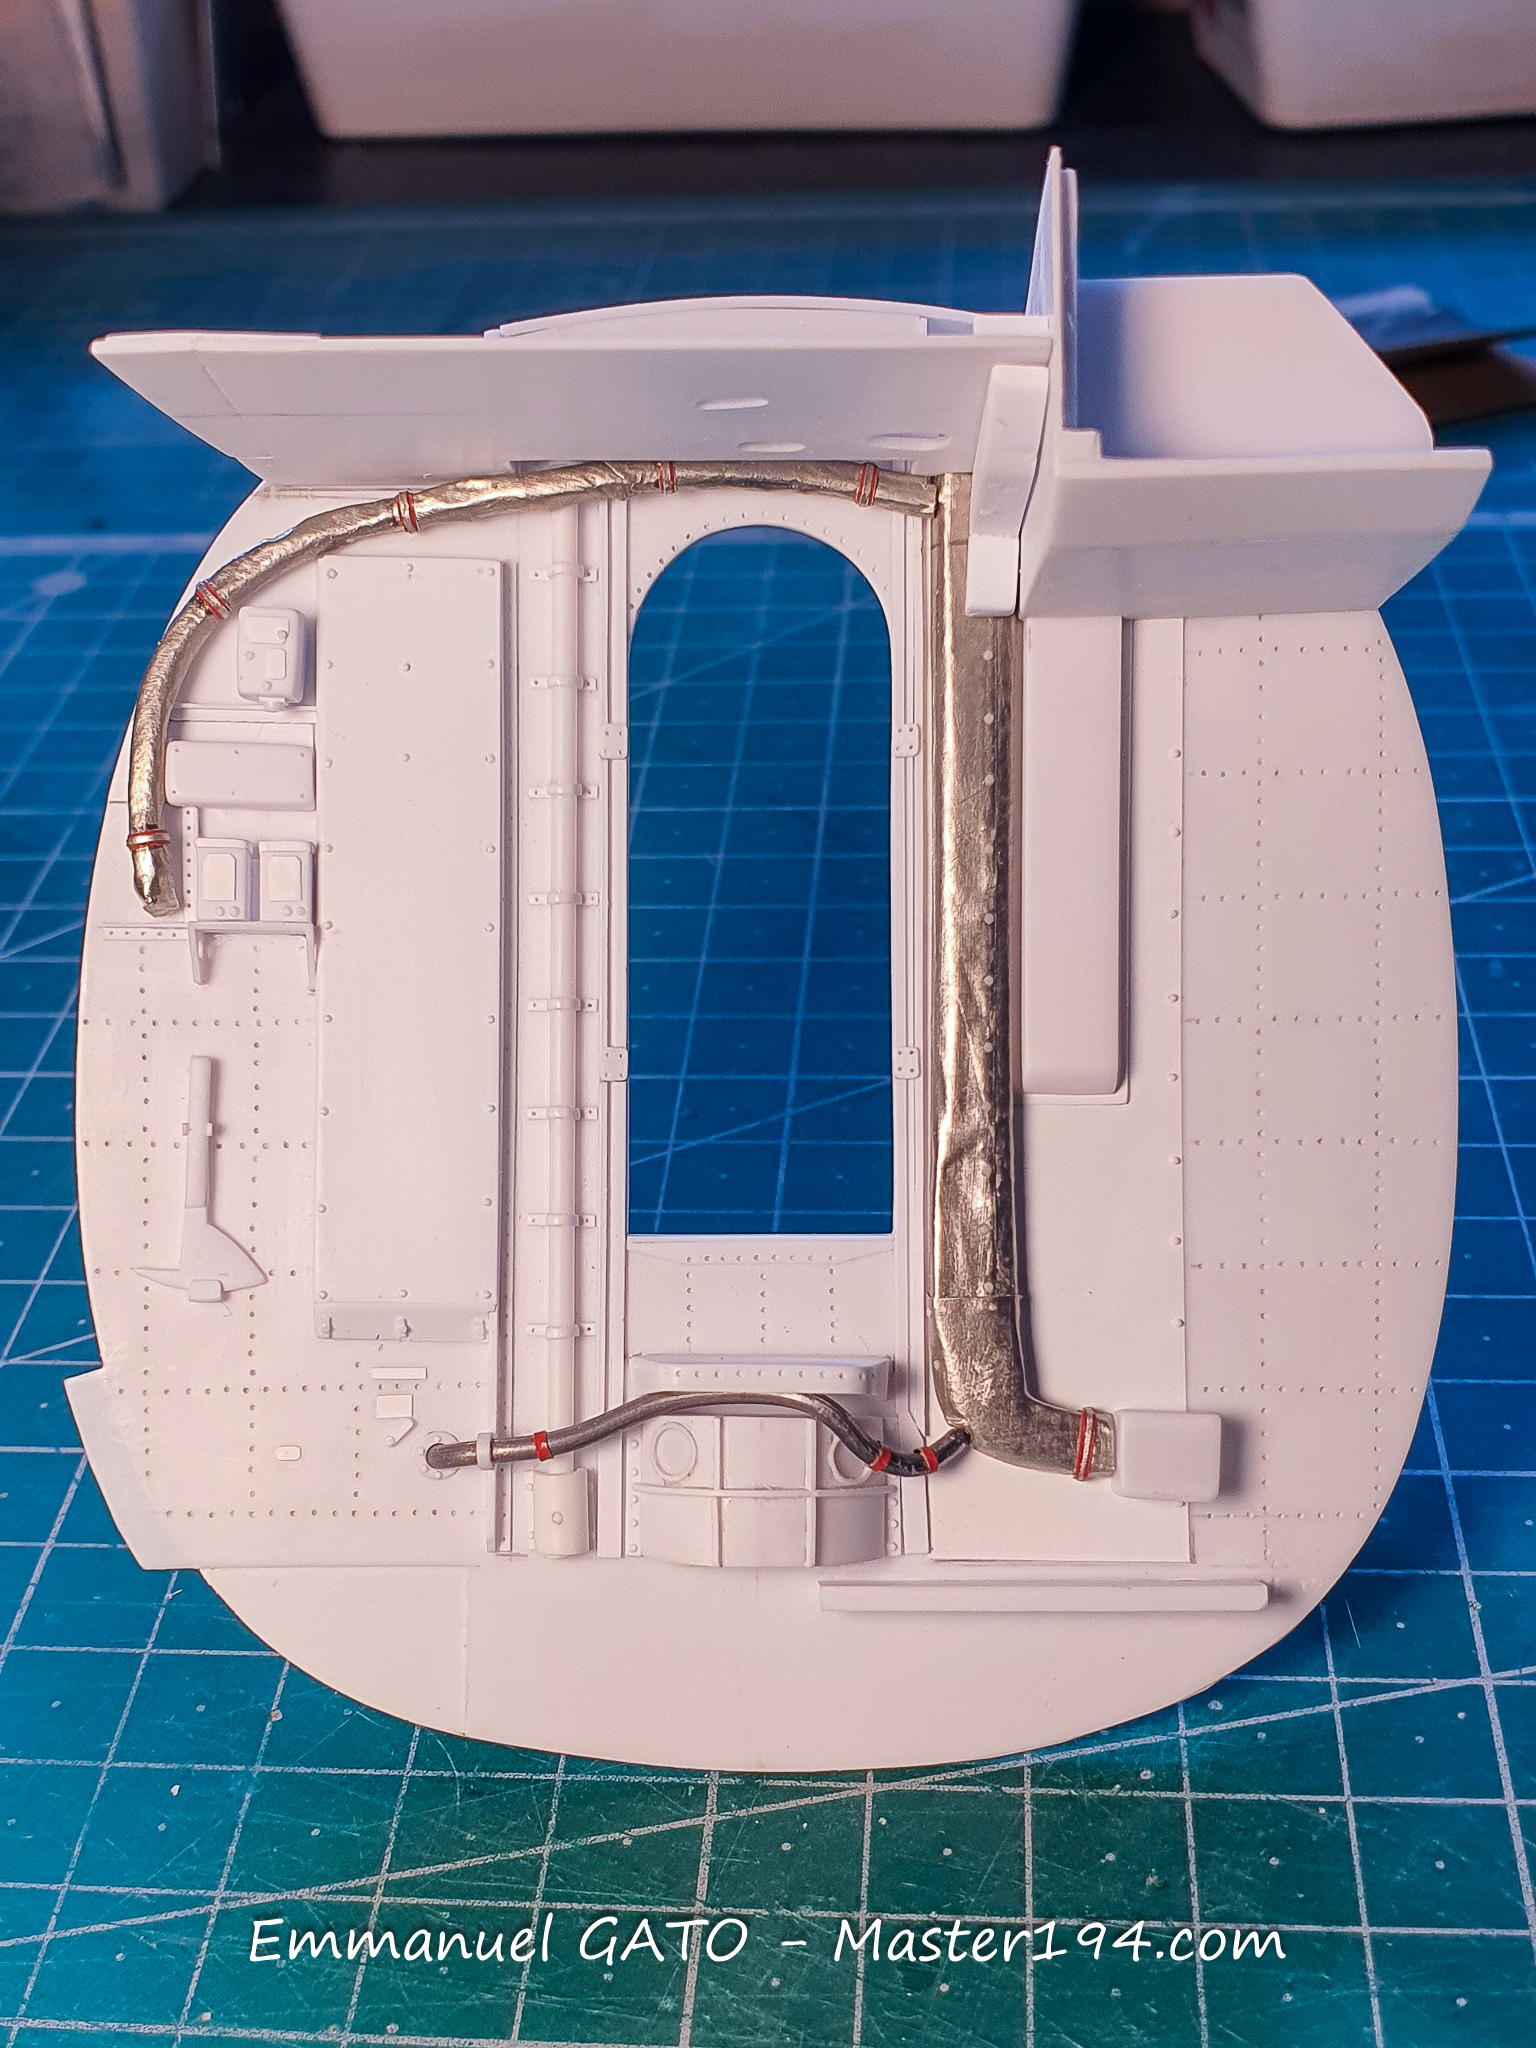
At this stage, I am once again reaching out to the community to find photographs of the companionway equipped with the “black boxes.” I have the items listed in the 1968 technical manual, but I believe the equipment evolved significantly up until the aircraft’s retirement from service in the early 1980s. I am therefore looking for any documentation from the late 1970s.
The cockpit
The Noratlas is a long-term project. If you want to detail it seriously, you quickly run up against the question of time spent. What is the point of all this? Not much of one, obviously!
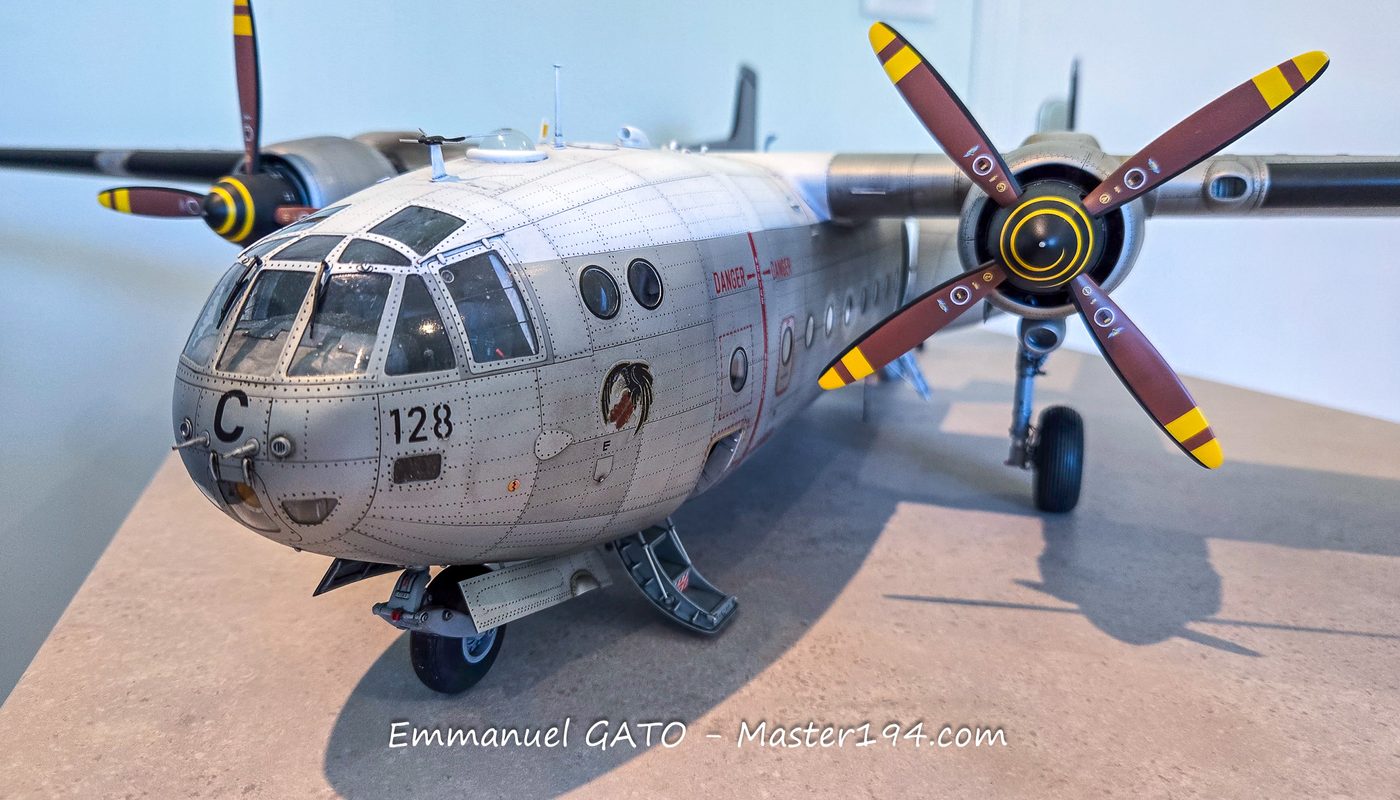
It took me a while to put words into this highly detailed building approach. I finally realized that I am essentially creating a book about the aircraft, but in three dimensions. Like the authors of a monograph, I gather documentation, study the historical and technical aspects, and seek to understand the aircraft down to its smallest details.
It is in this spirit that I manufacture as many parts as possible, including some that will barely be visible once the model is completed. The goal is also to truly get to know the aircraft inside and out.
I am continuing with the instrument panel. Having most of the dimensions makes fabrication easier, because despite the imposing size of the Noratlas, the space available for the crew is very limited. Many components have to be squeezed in tightly. Precision is therefore a must.
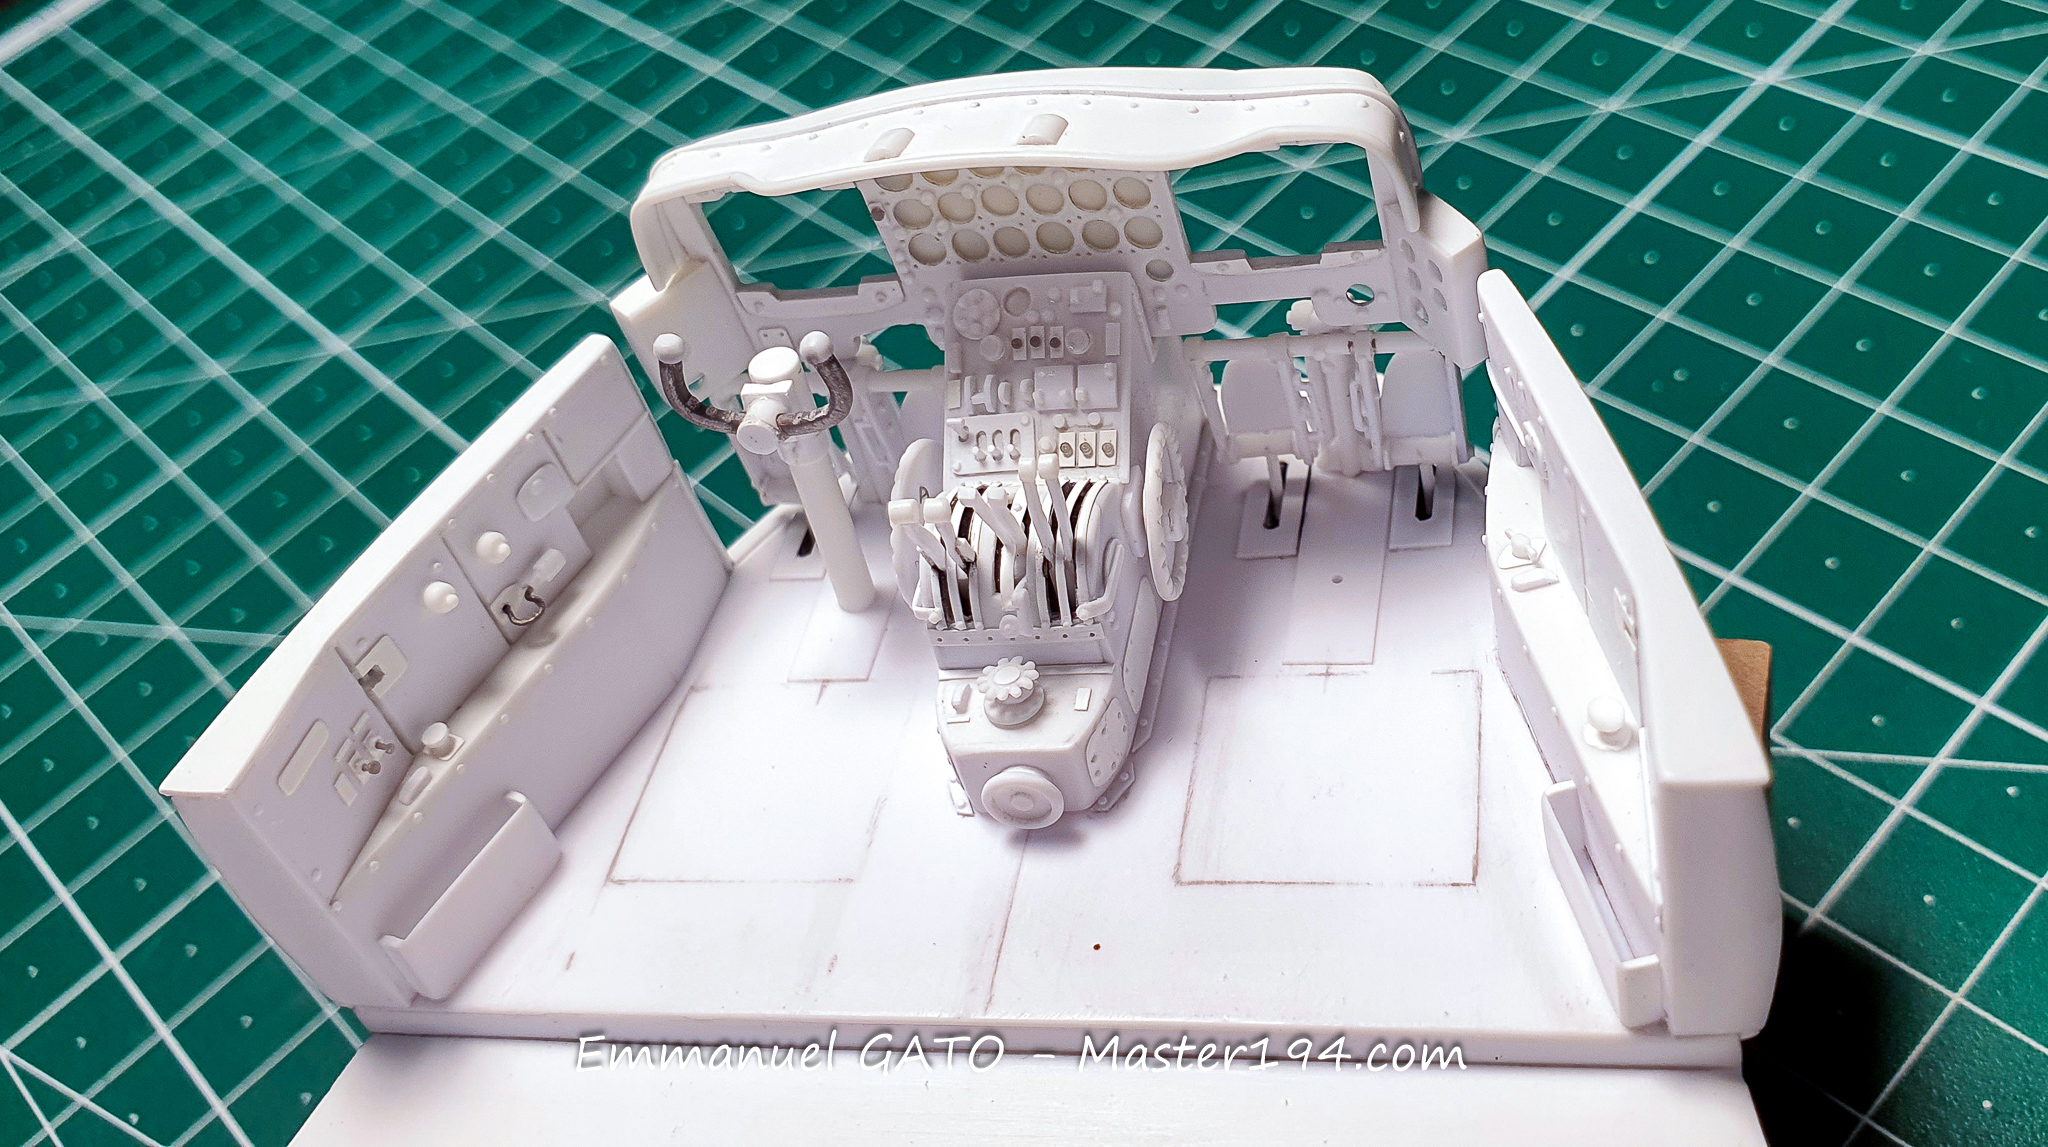
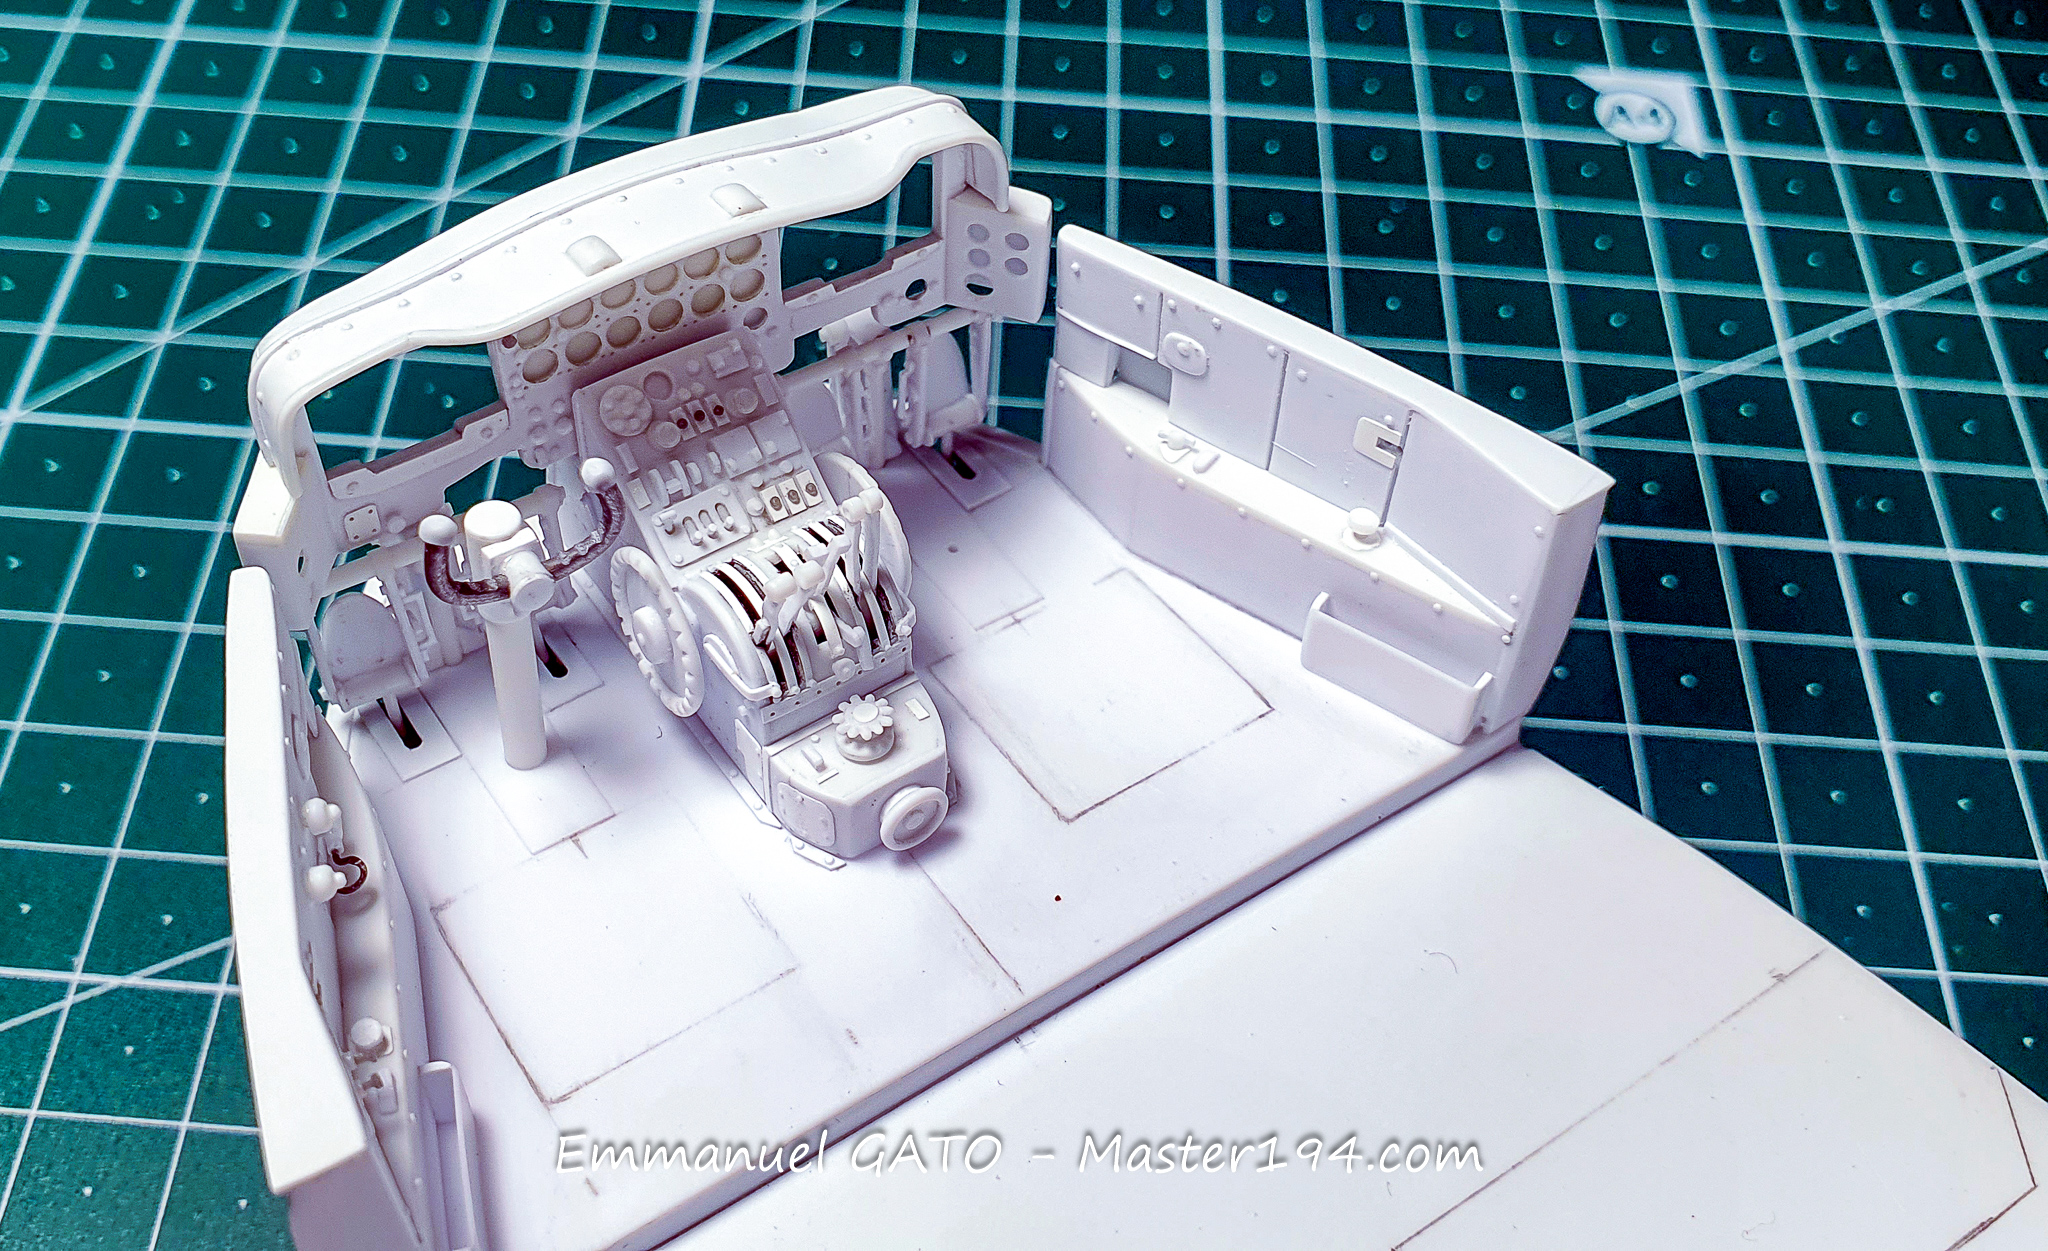
A few days of end-of-career leave allowed me to make more progress on the cockpit than expected. The instrument panel and its accessories have received several additional details.
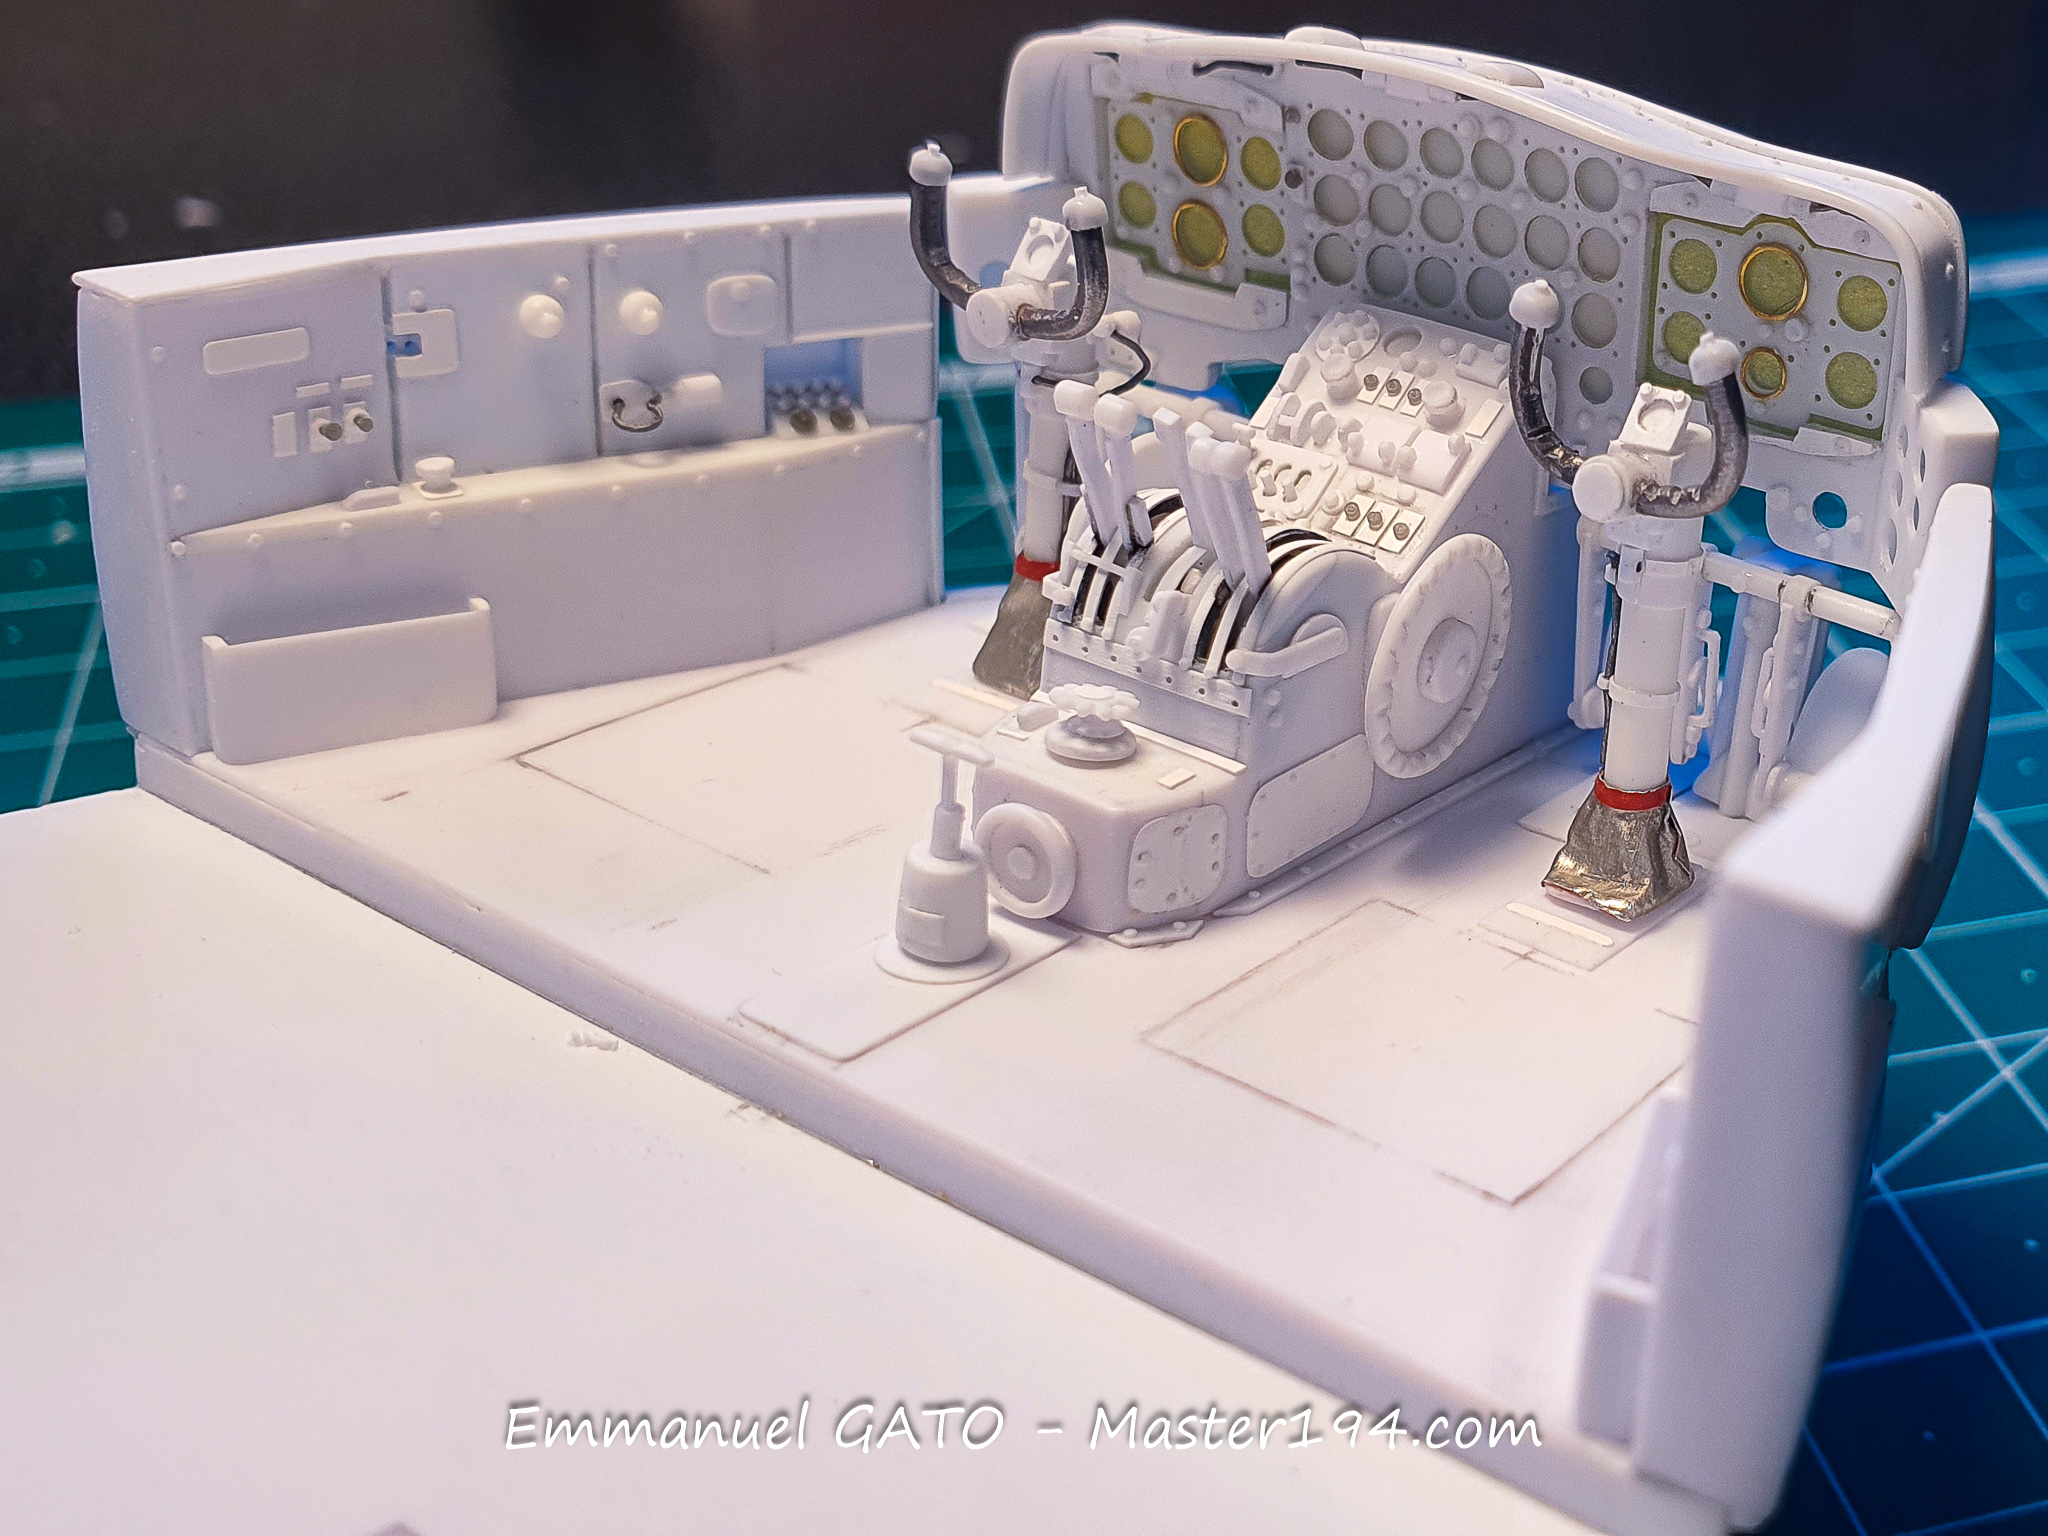
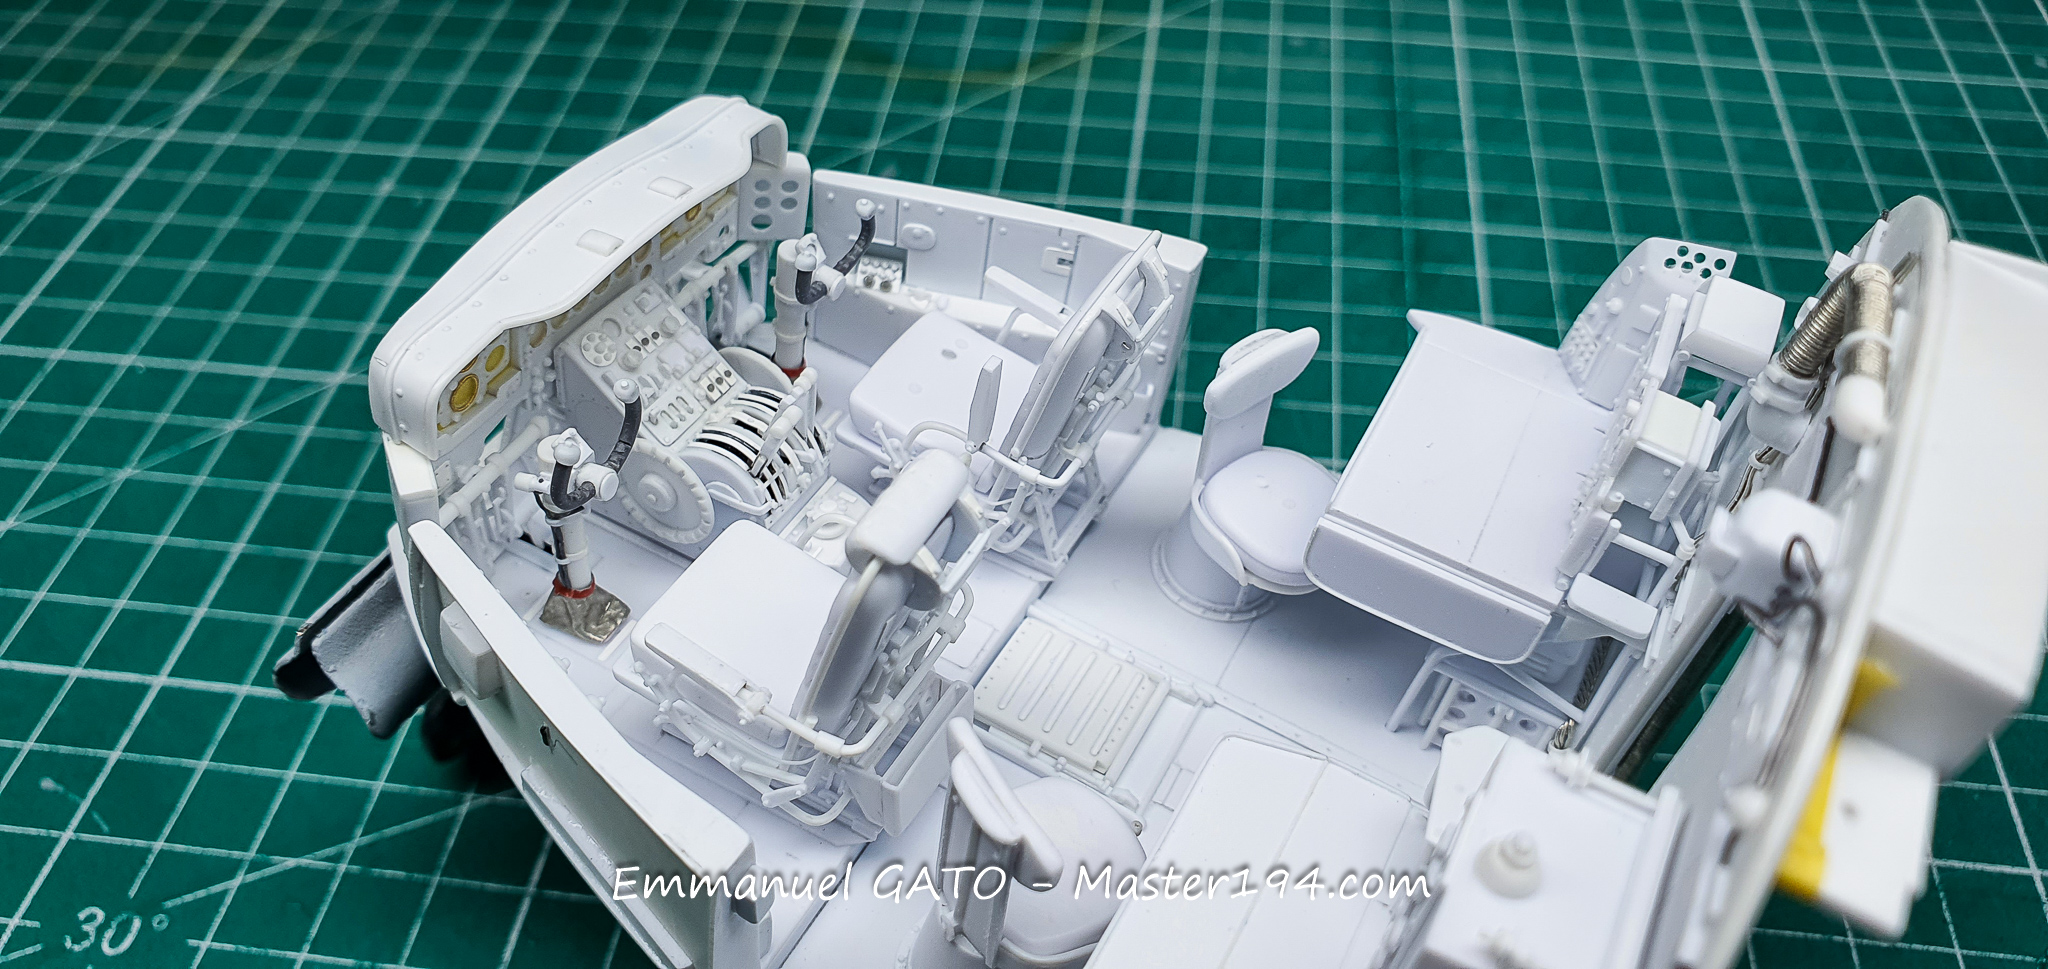
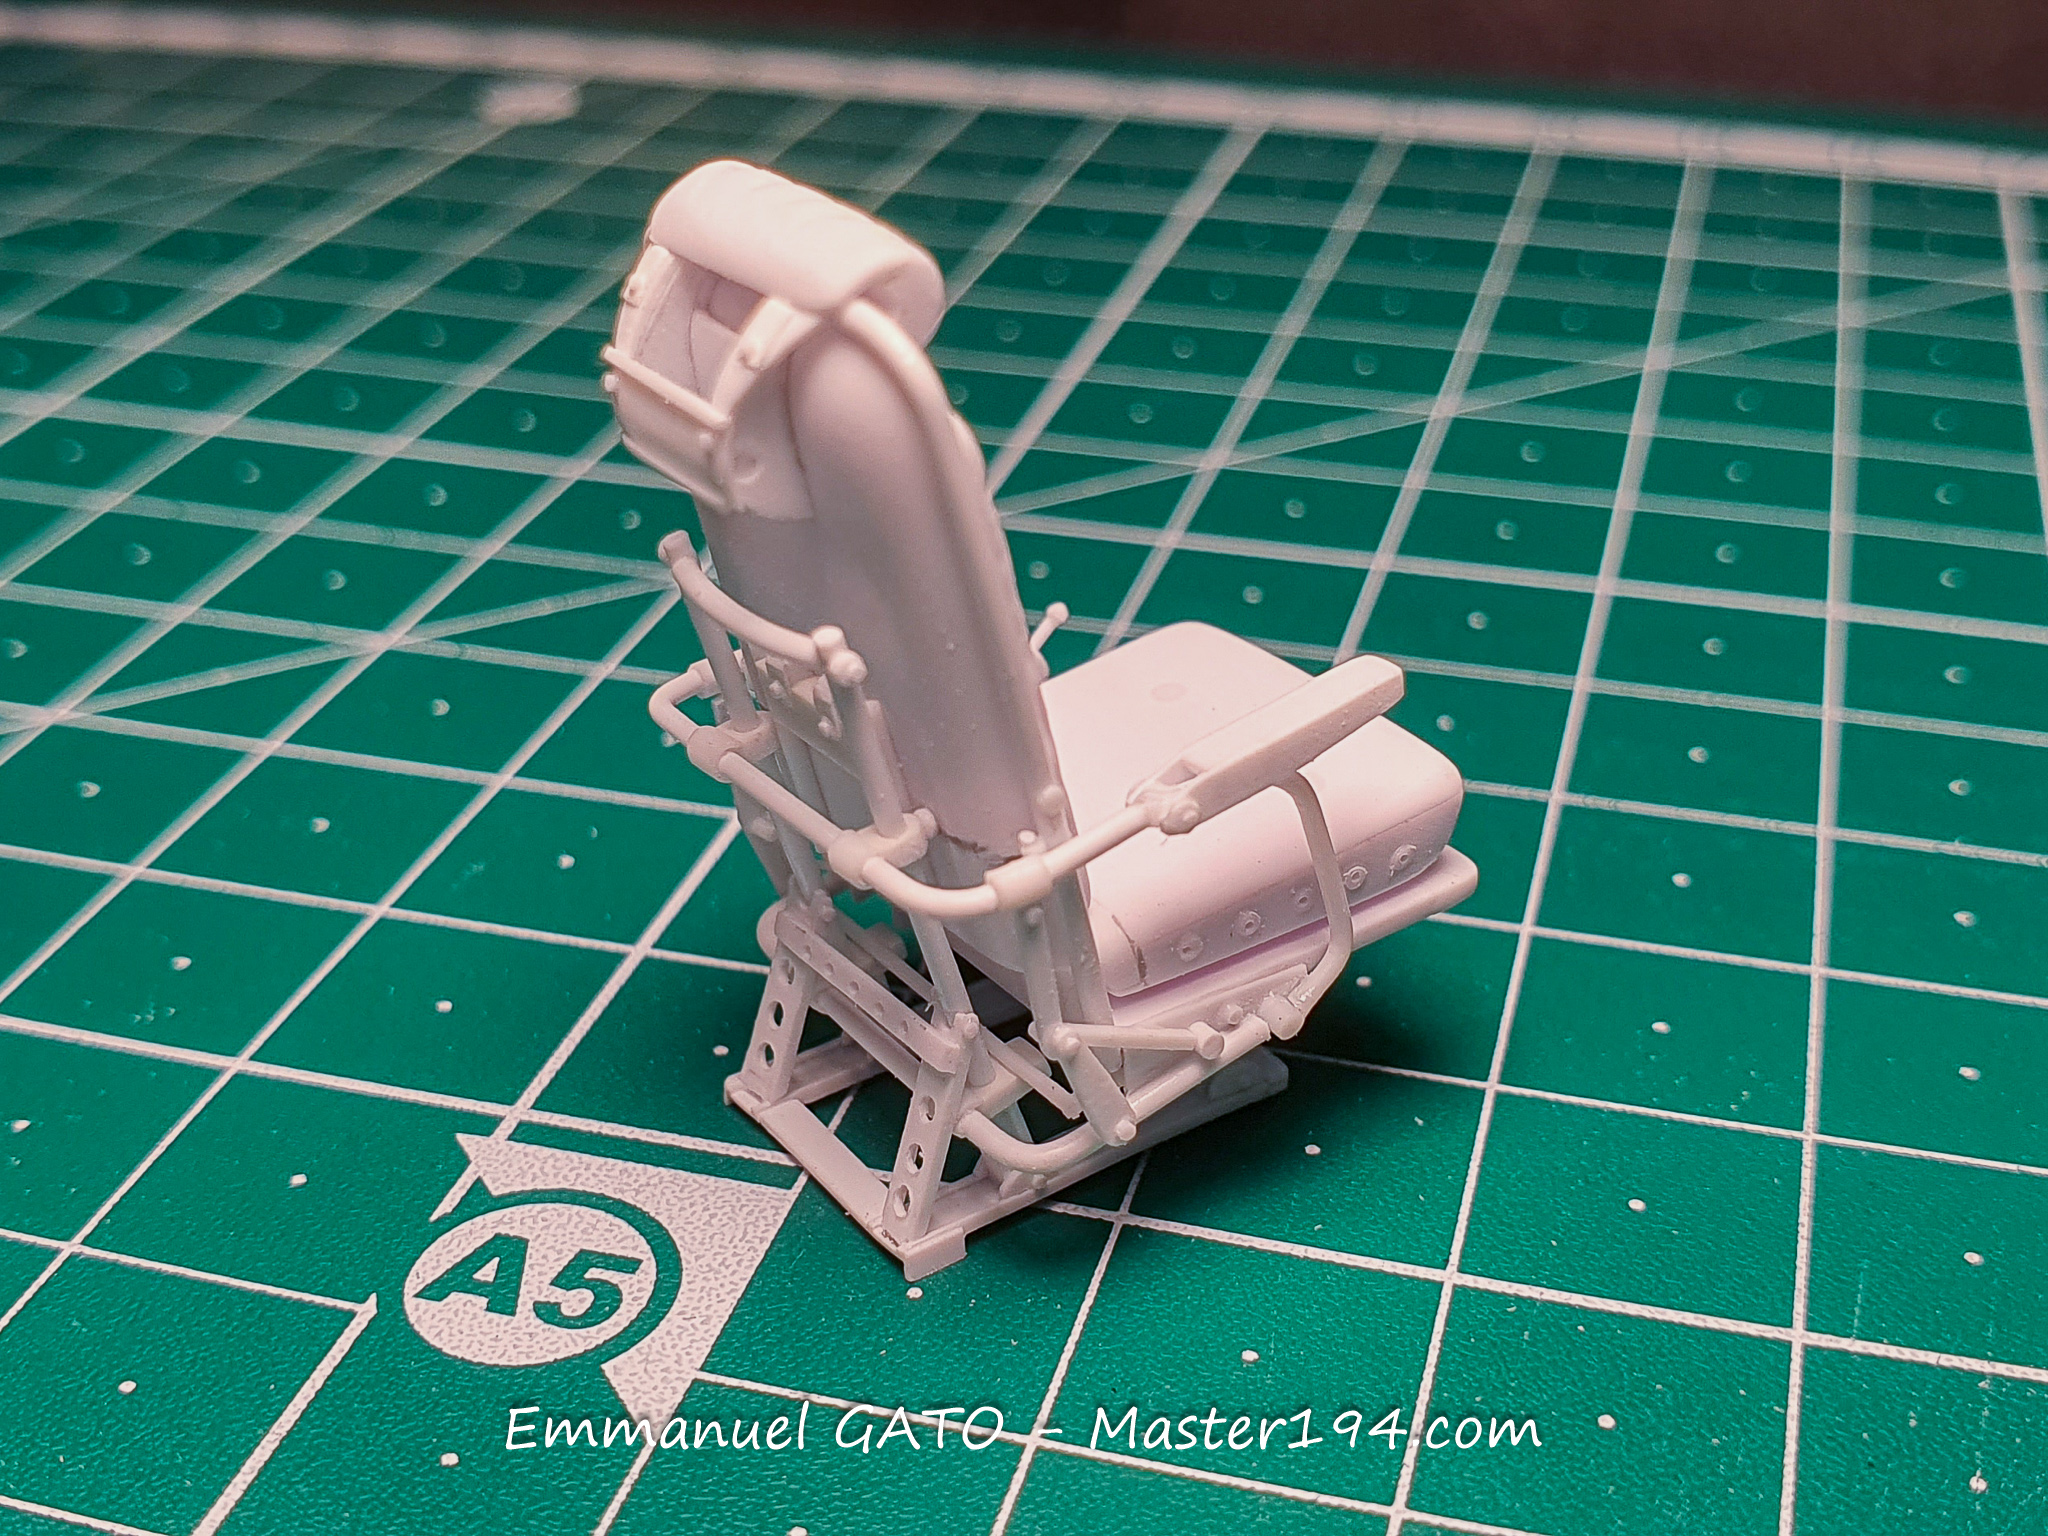
I then tackled the seats, which are packed with adjustment mechanisms to fit different body types. Their design is not as simple as one might think. I had to understand how they worked before I could reproduce them. The seat shown here is the co-pilot’s; it is still missing its harness.
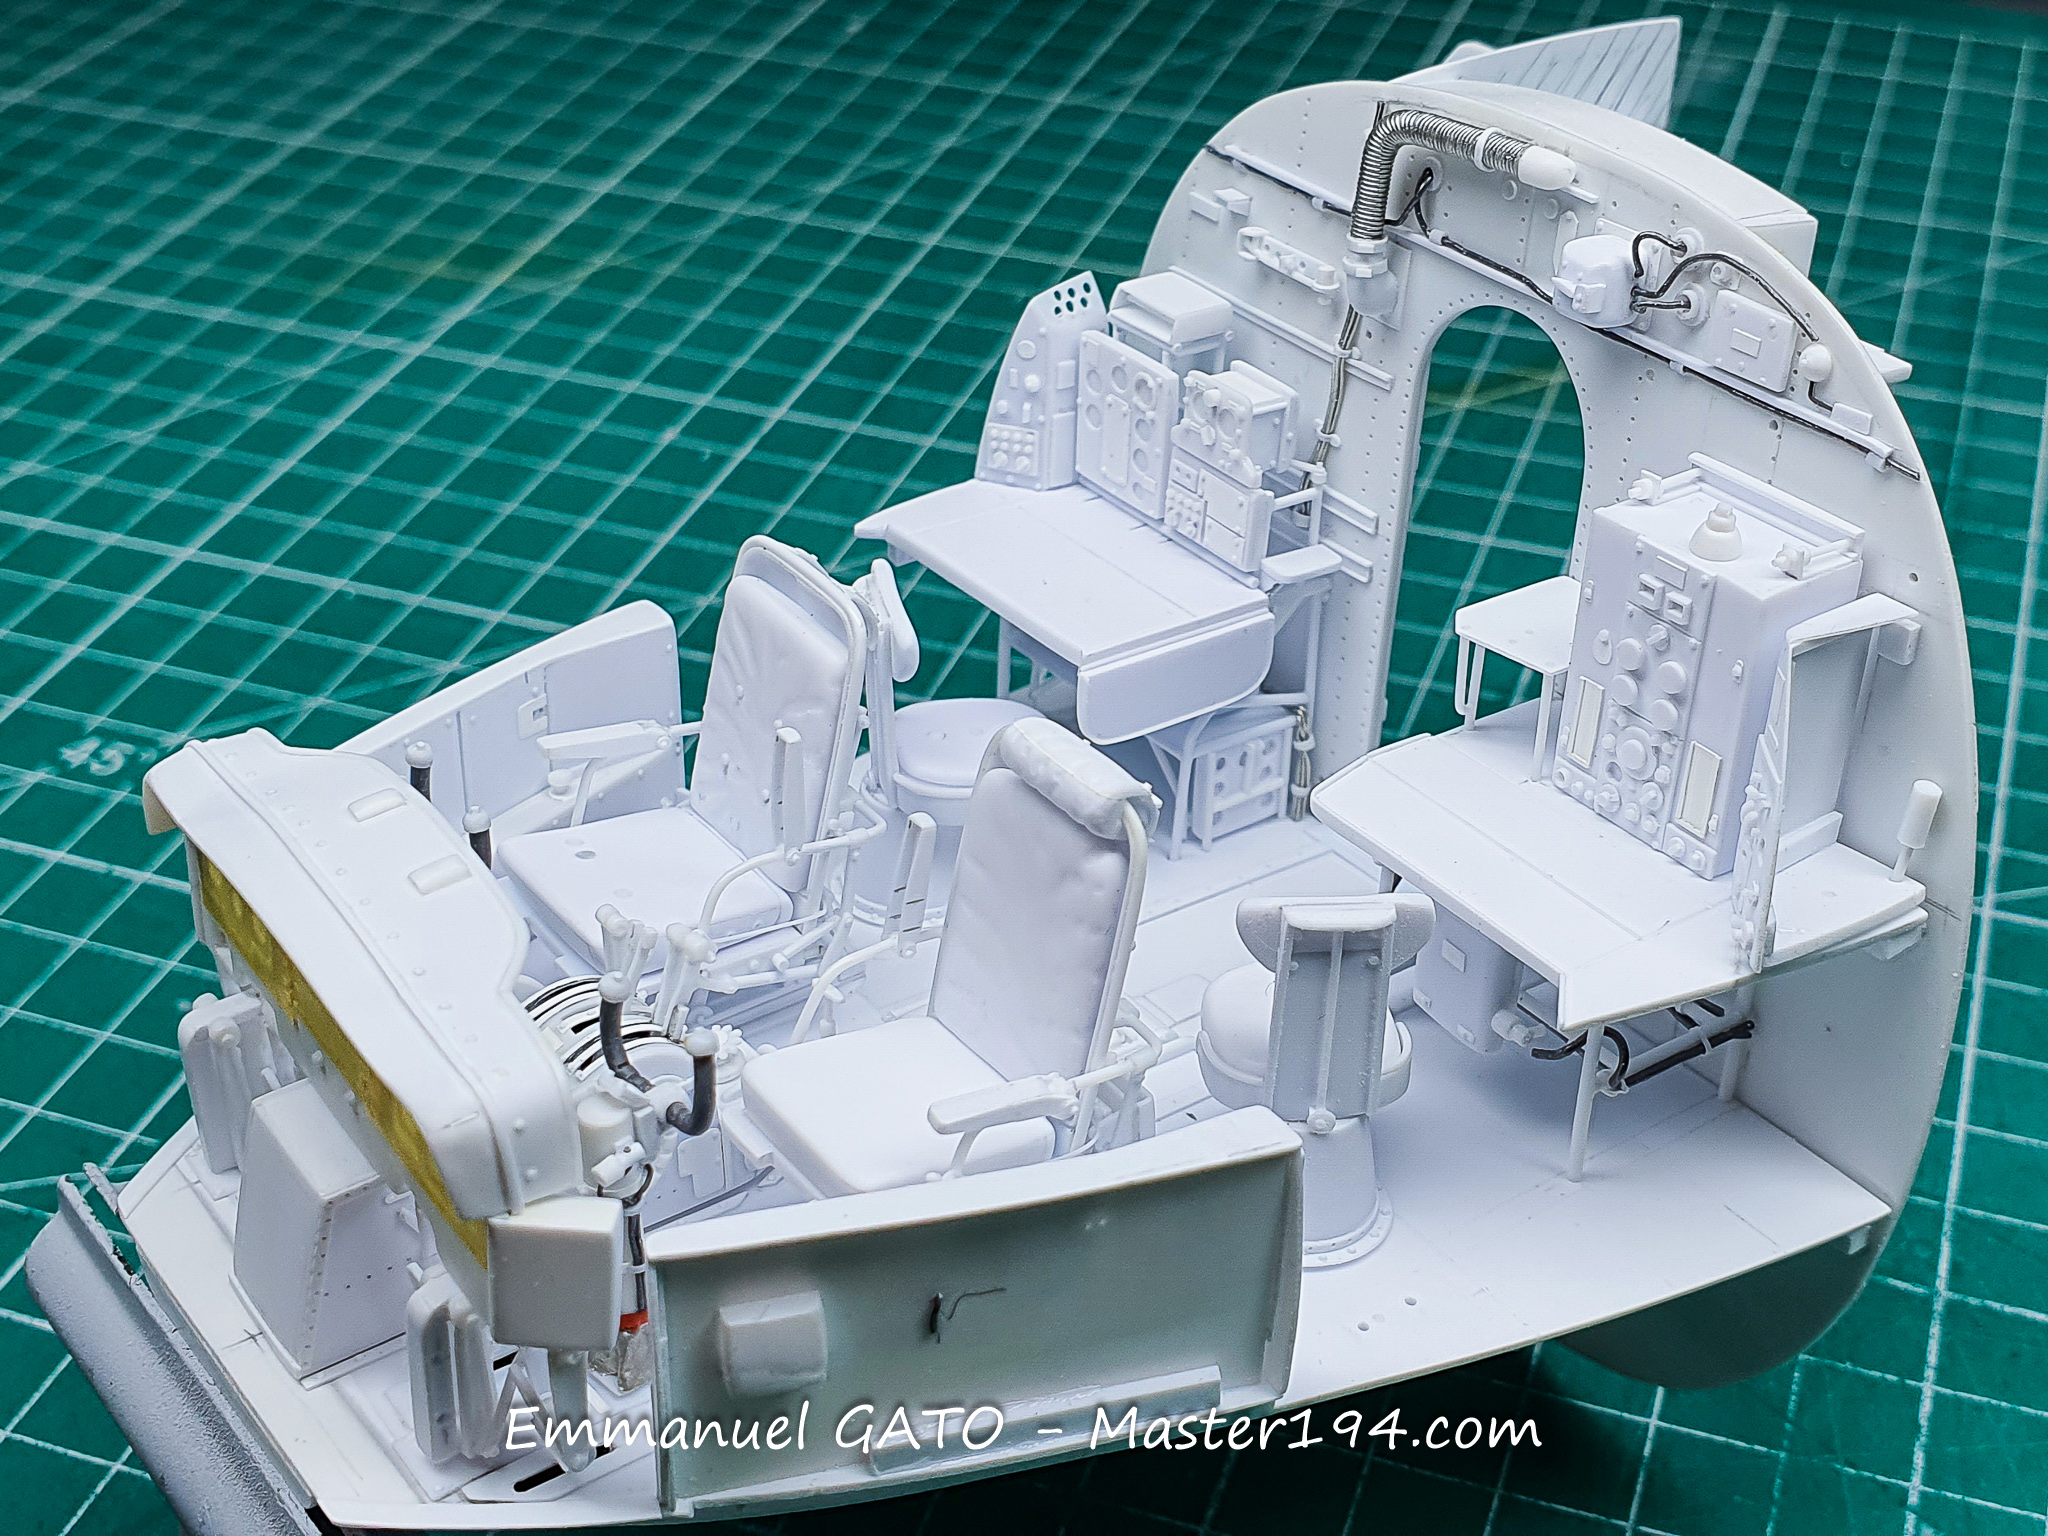
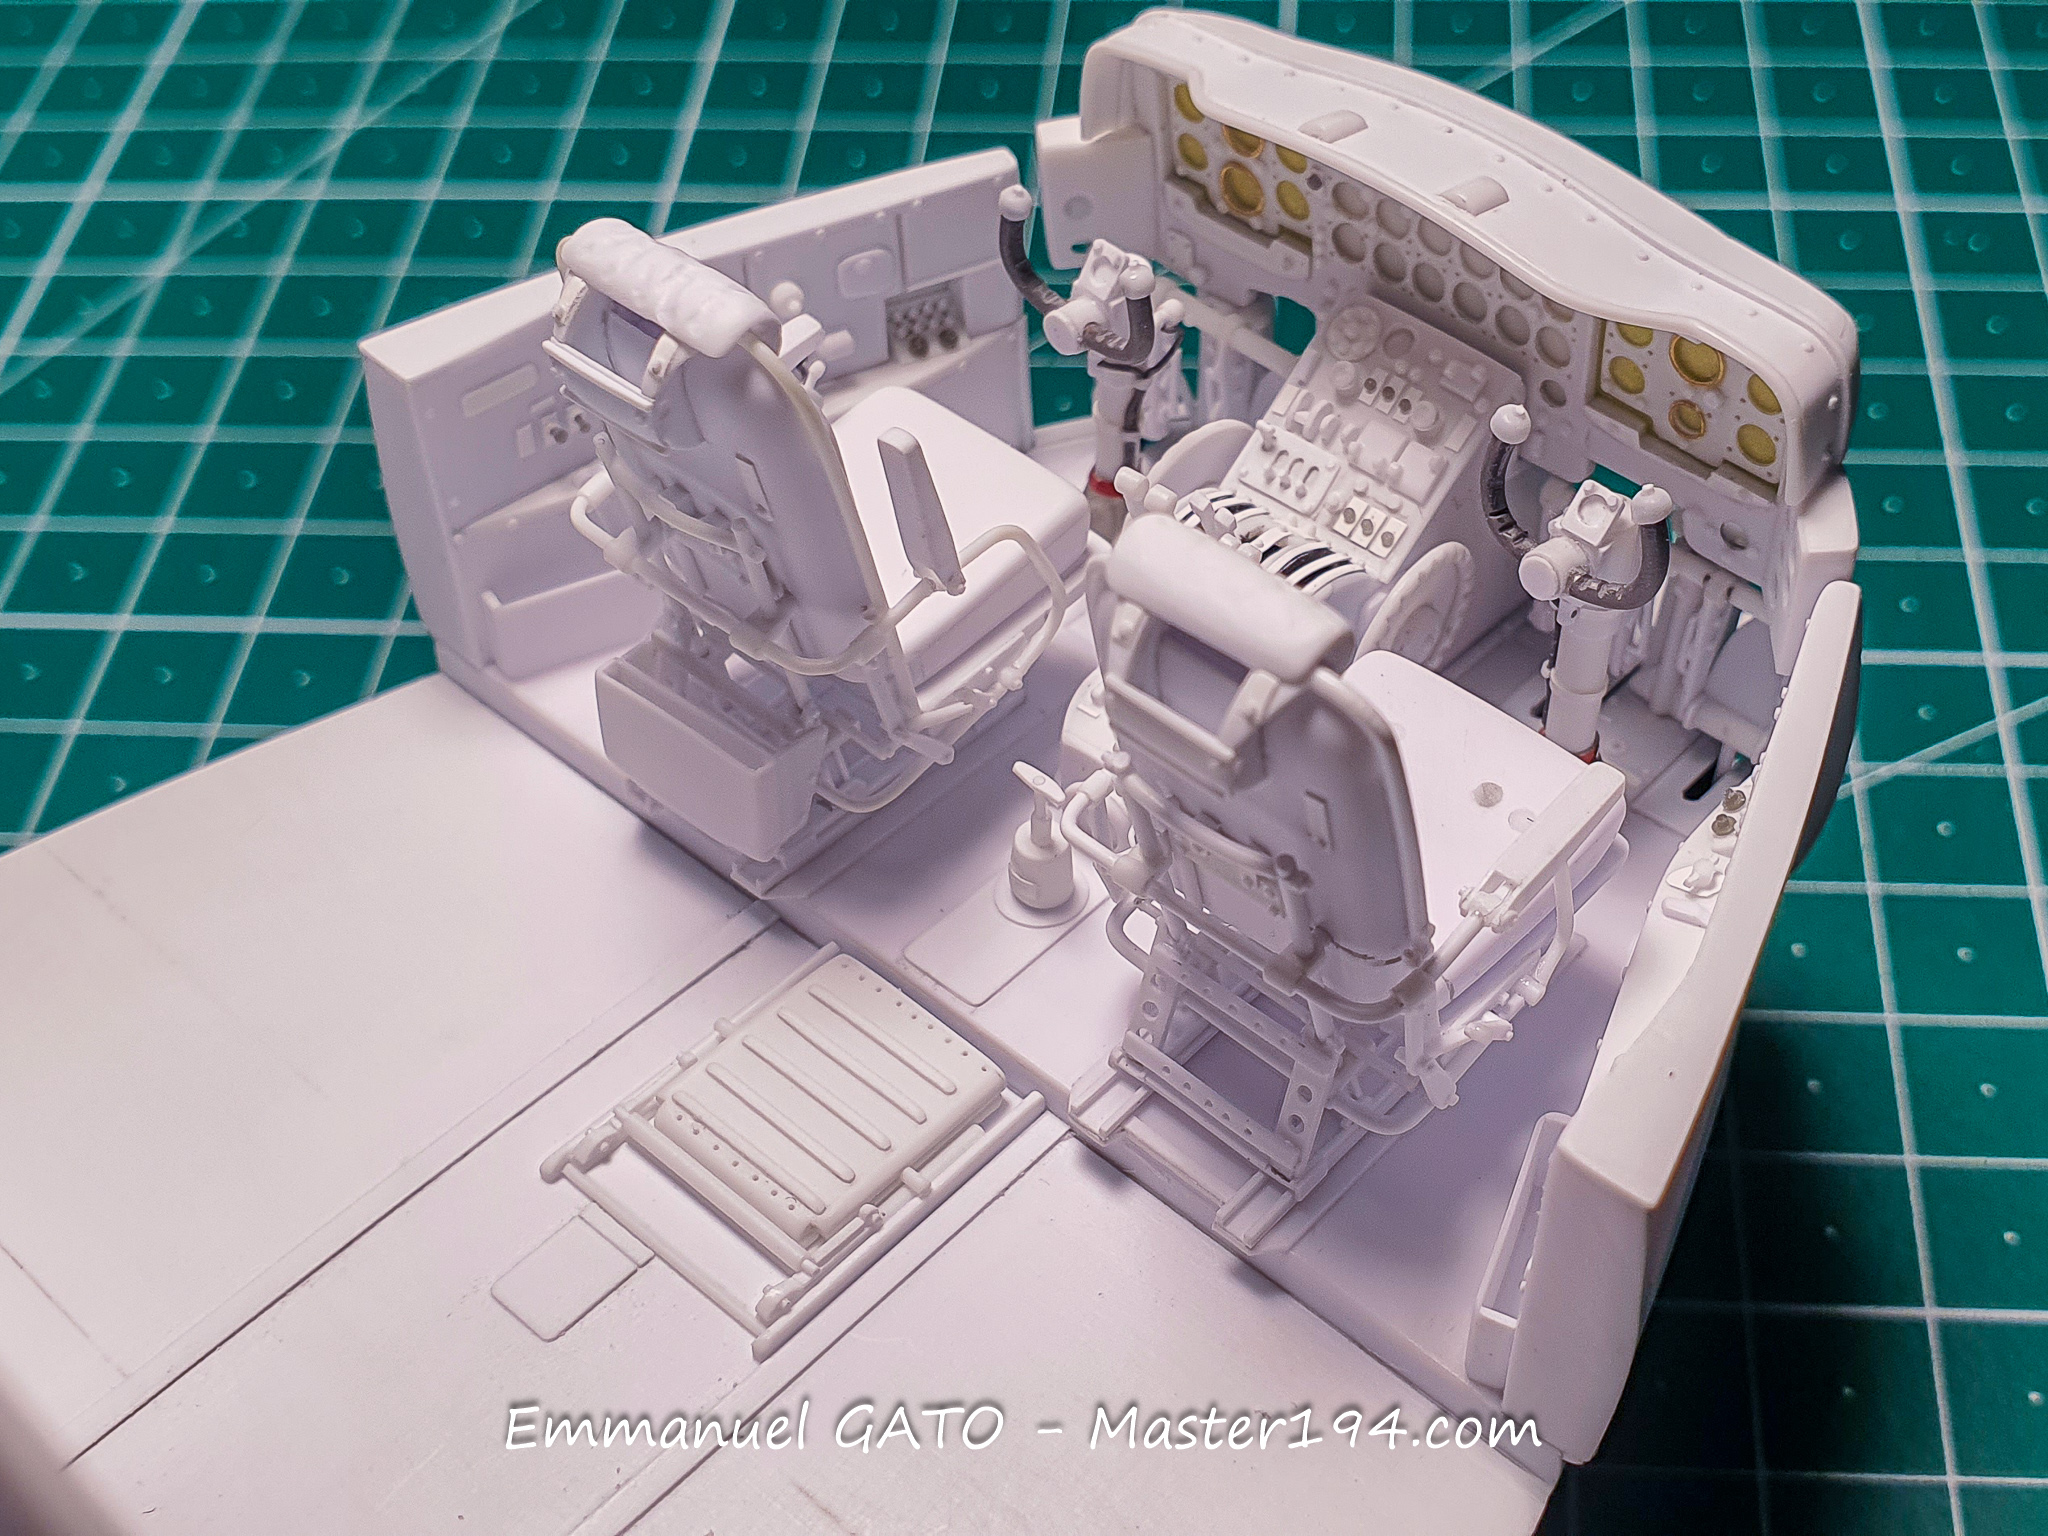
After building and installing the seats, the flight deck becomes just as cramped as on the real aircraft. I raised the inner armrests to make it easier for the pilots to get in and out, just like on the actual machine. You can also make out the fold-down flight engineer’s seat, located behind the pilots’ seats.
I then hurried to build the cockpit’s radio station before packing up the workshop into moving boxes. The technology of the era wasn’t yet based on transistors and today’s miniaturized equipment. We’re talking about rather bulky and heavy avionics.
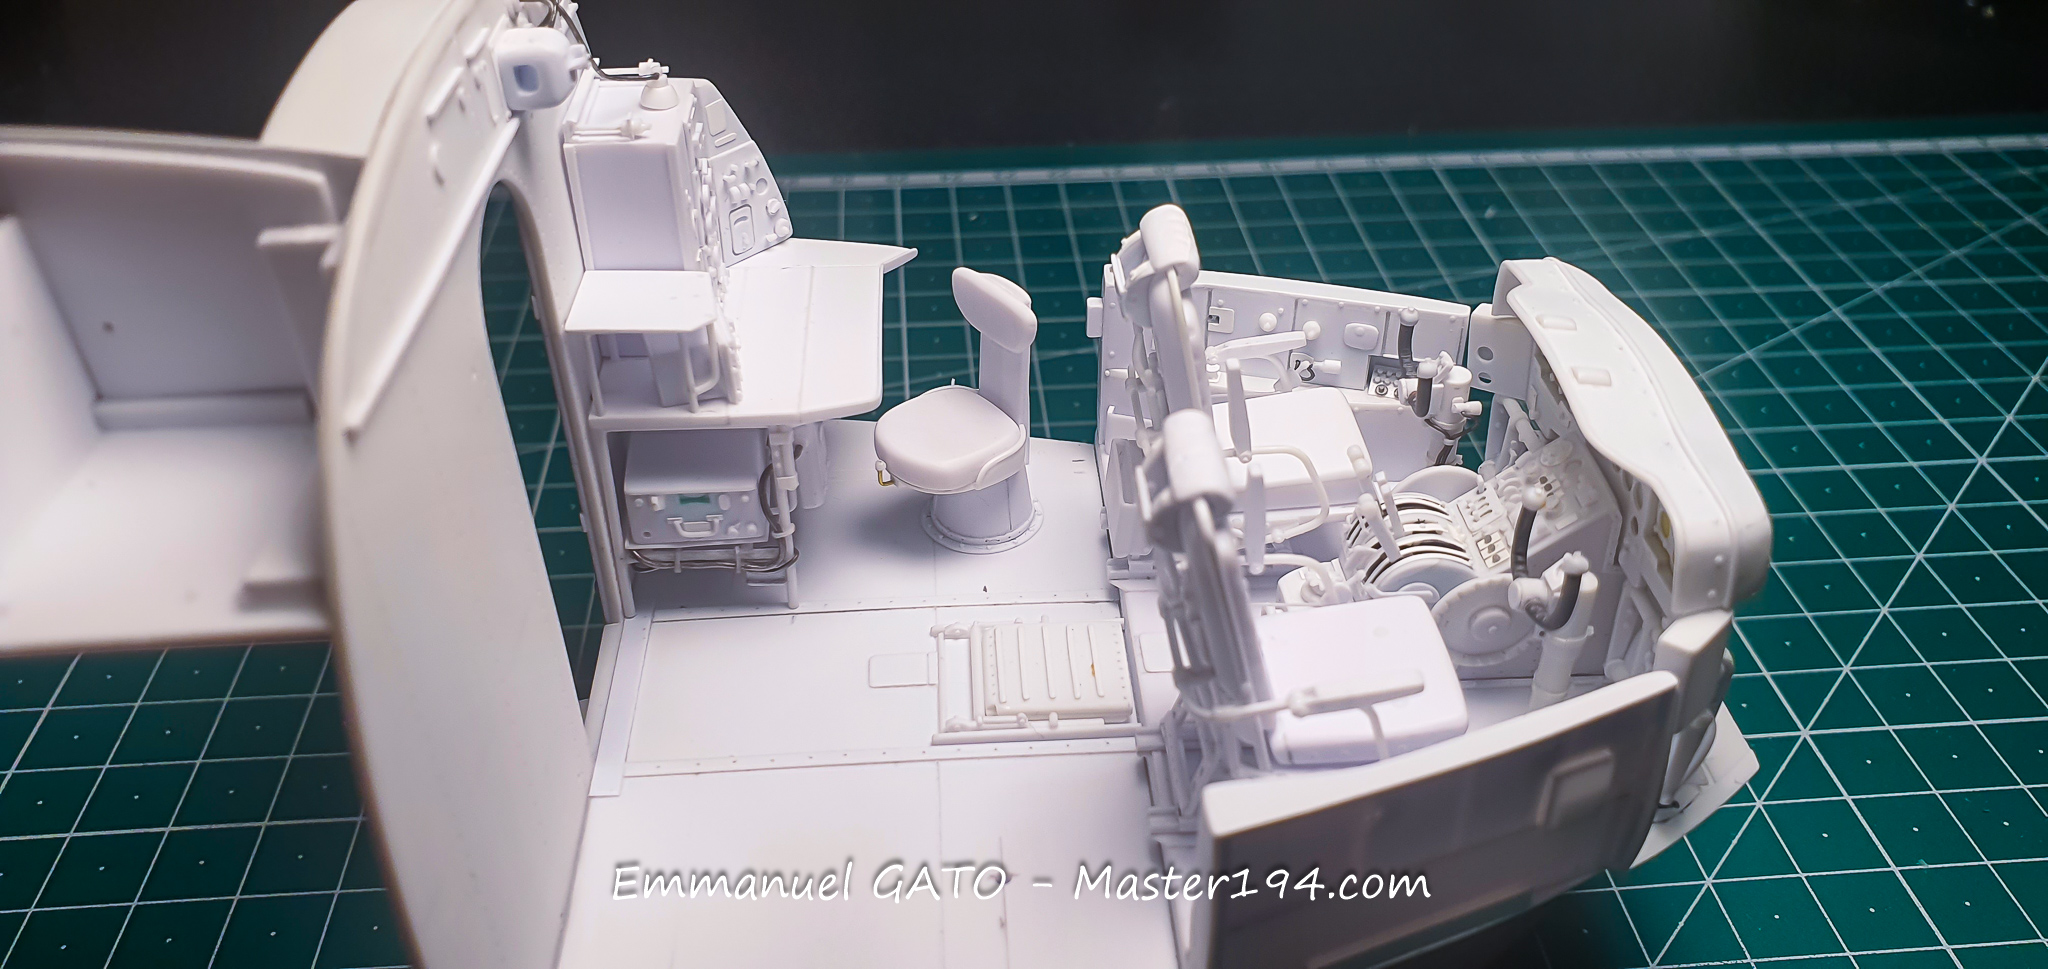
That explains why the five-member crew—pilot, co-pilot, flight engineer, radio operator, and navigator—had to share such a limited space. Next up will be building the navigator’s station, which is also packed with various devices meant to guide the “Grise” safely to her destination.
Here are the various details of the radio station. All components are detachable to make painting easier. The seat harnesses are still missing.
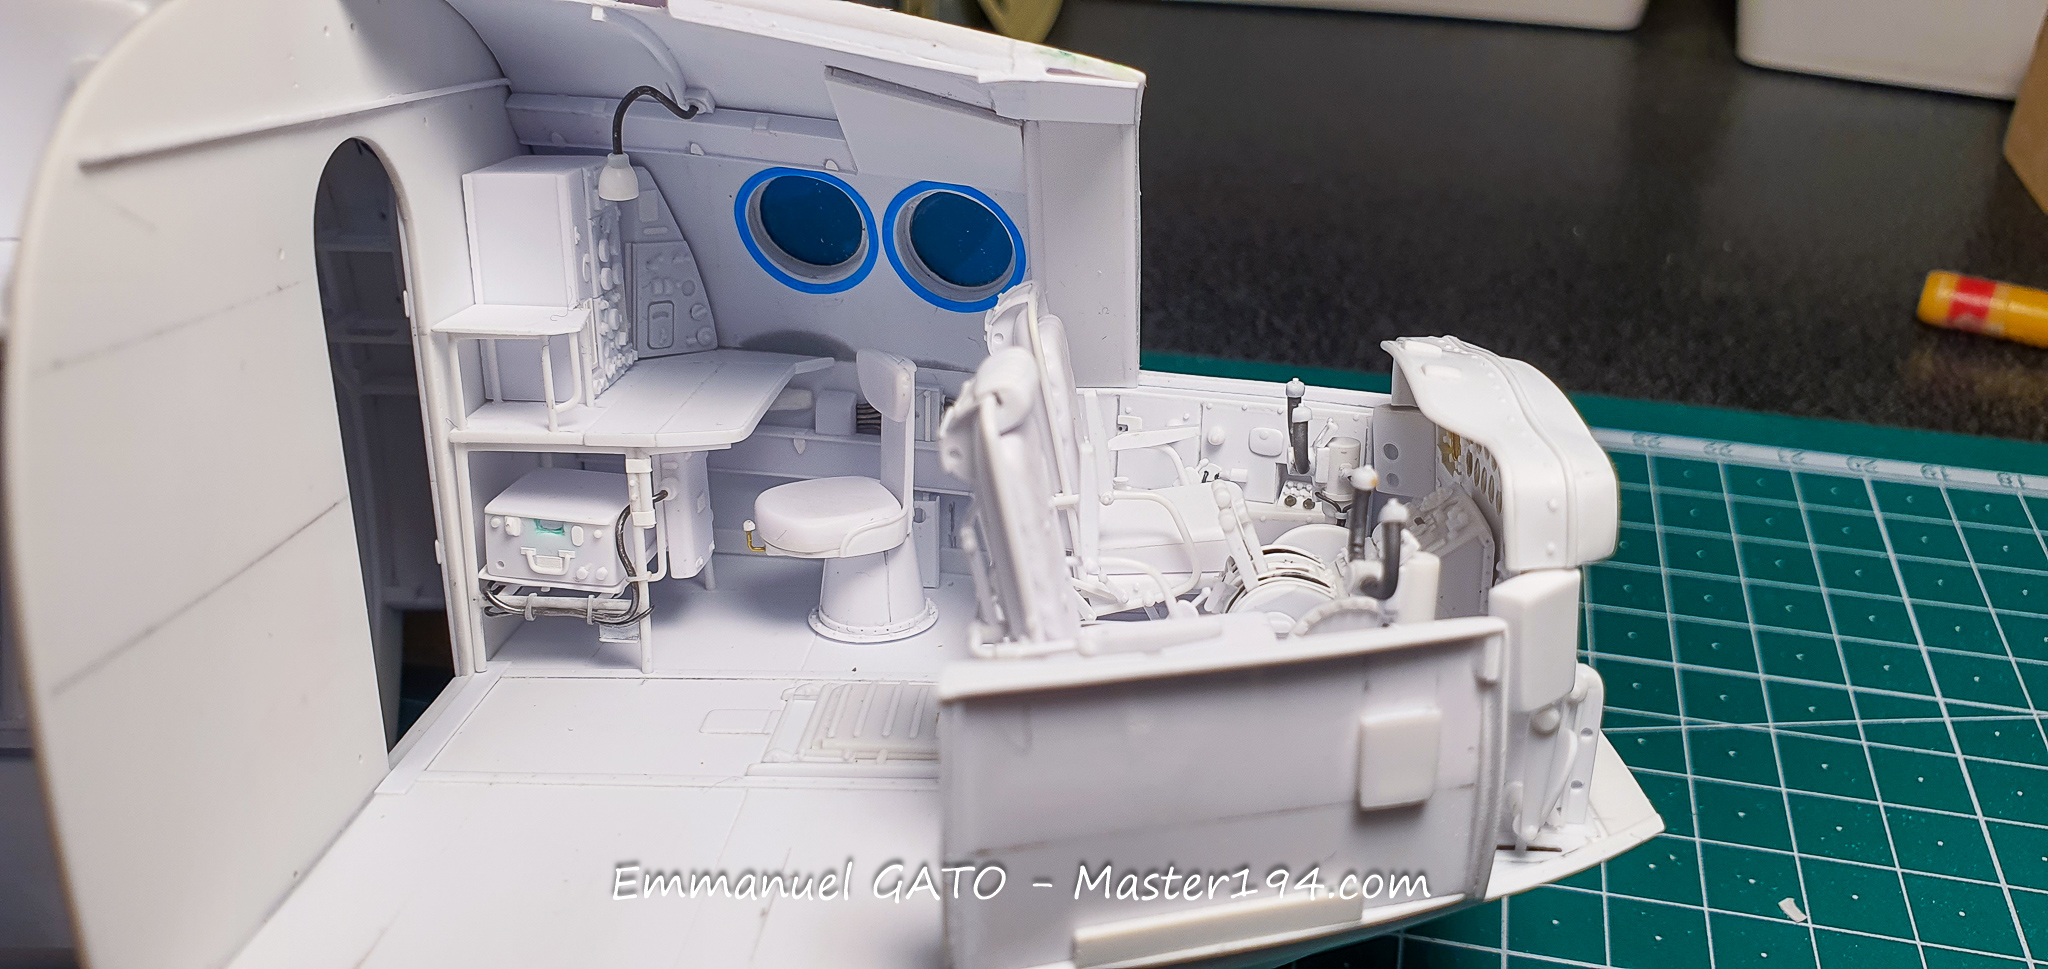
This second photograph shows the cockpit floor installed inside the model’s fuselage half. The various bulkheads have also received plenty of details. I don’t really worry about what will be visible or not: the glazed areas will reveal quite a bit anyway. My rule of thumb remains simple: if an element appears in photographs or in the technical documentation, I reproduce it. It also helps me get to know the aircraft inside and out.
After the move and setting up my new workshop in our new home in Provence, I am back on the airwaves!
The initial goal is to finish the cockpit, which is still missing the navigator’s station. That is now done. Only the overhead panel between the pilots and the interior padding remain before moving on to the next step.